Today is the final day of the exhibition of ‘Oracle of Stillness: Weaving Coherence in the Chaos’ at Harcourt House Gallery in Edmonton, AB. If you are in YEG, do step over to the gallery, as they have done such an exquisite job of lighting the show that the Woven Women fairly dance on the walls.
I offer my most enormous gratitude to Darren Kooyman, Jacek Malec, Marija Nikolajev and the Board members of Harcourt House- it is such an honor to have been invited to exhibit at Harcourt House and I am eternally grateful for all the hard work that you have done to create and sustain such a wonderful centre for the arts in Edmonton!
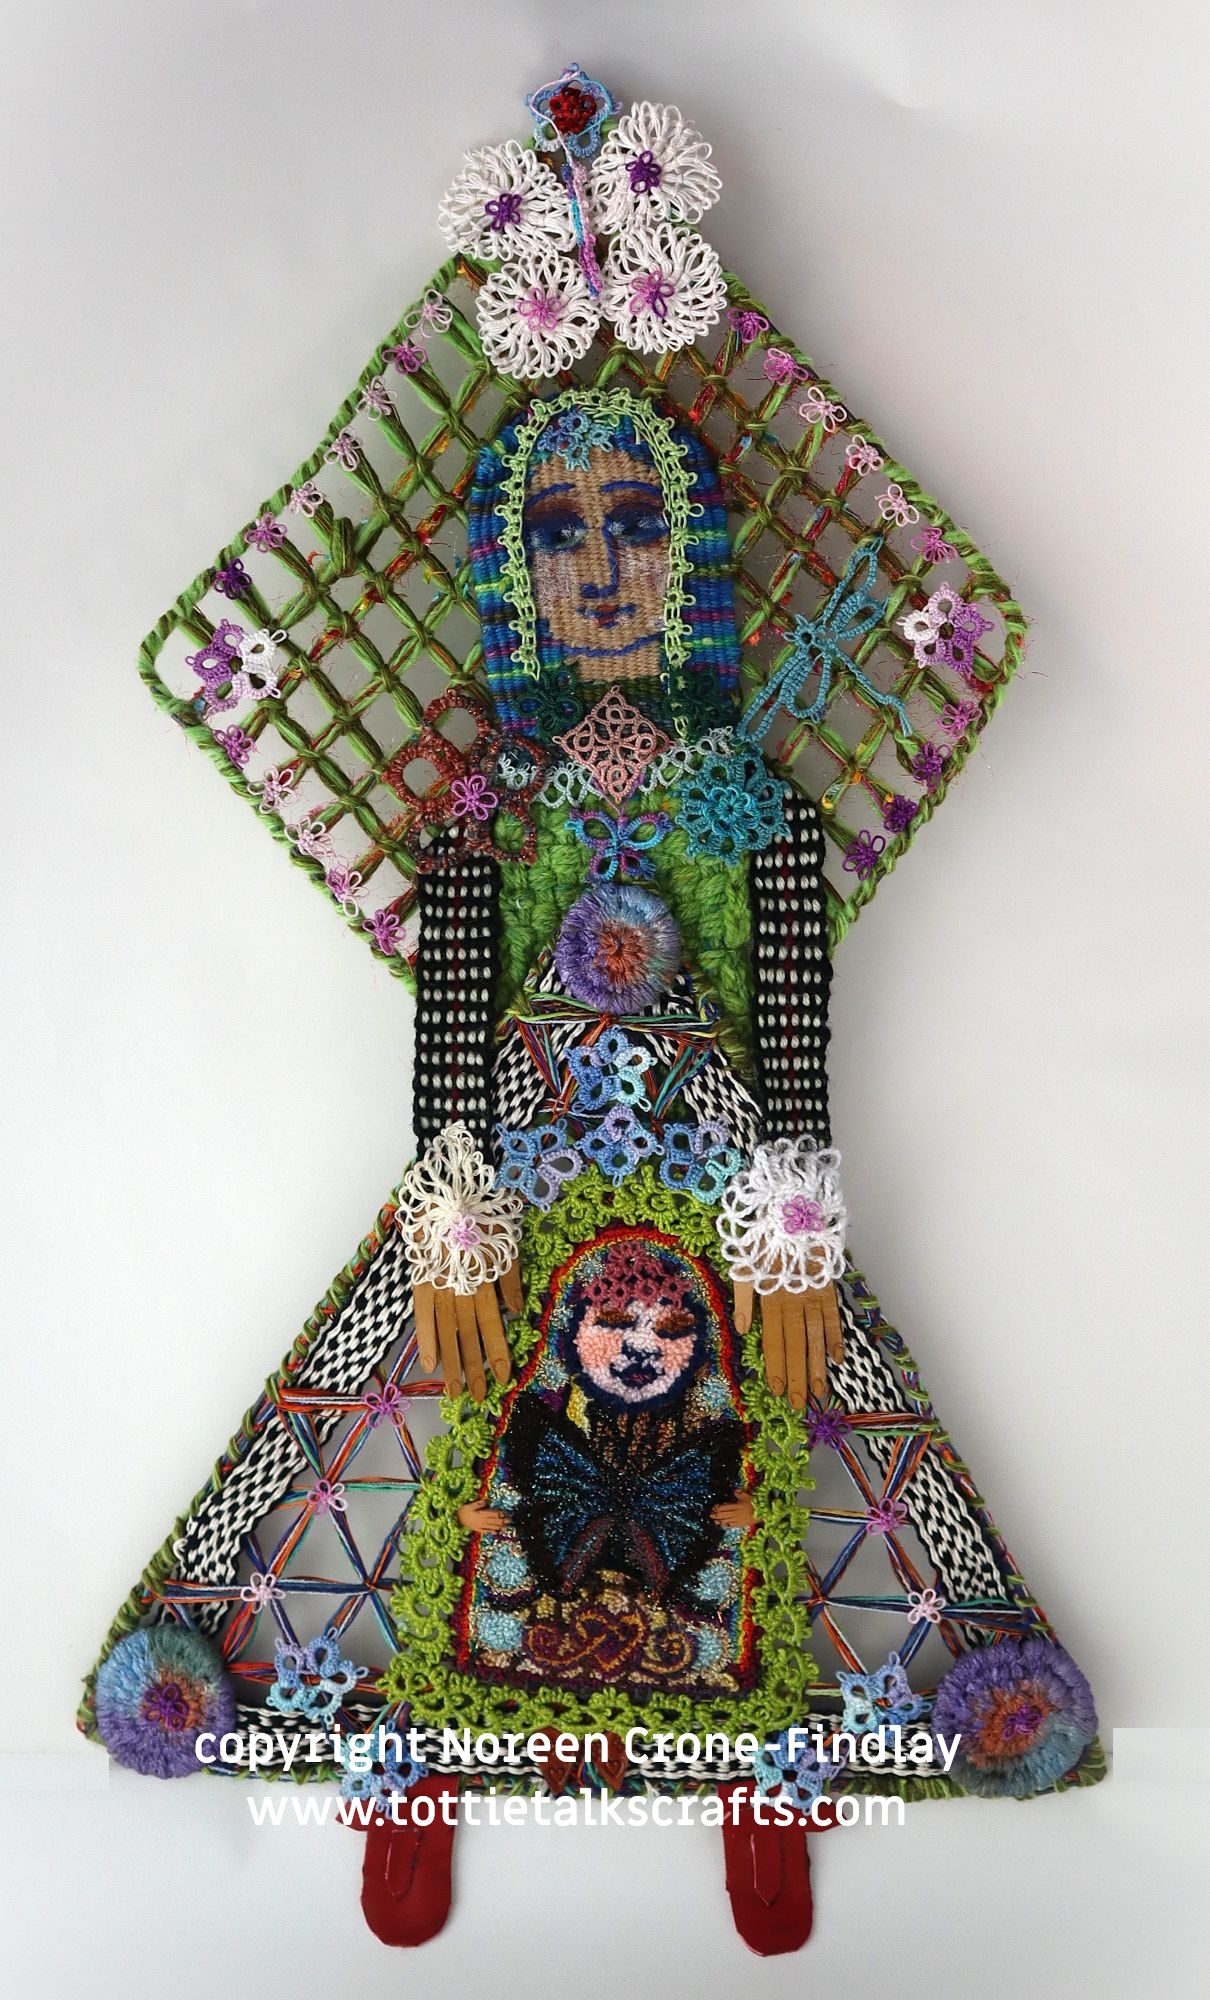
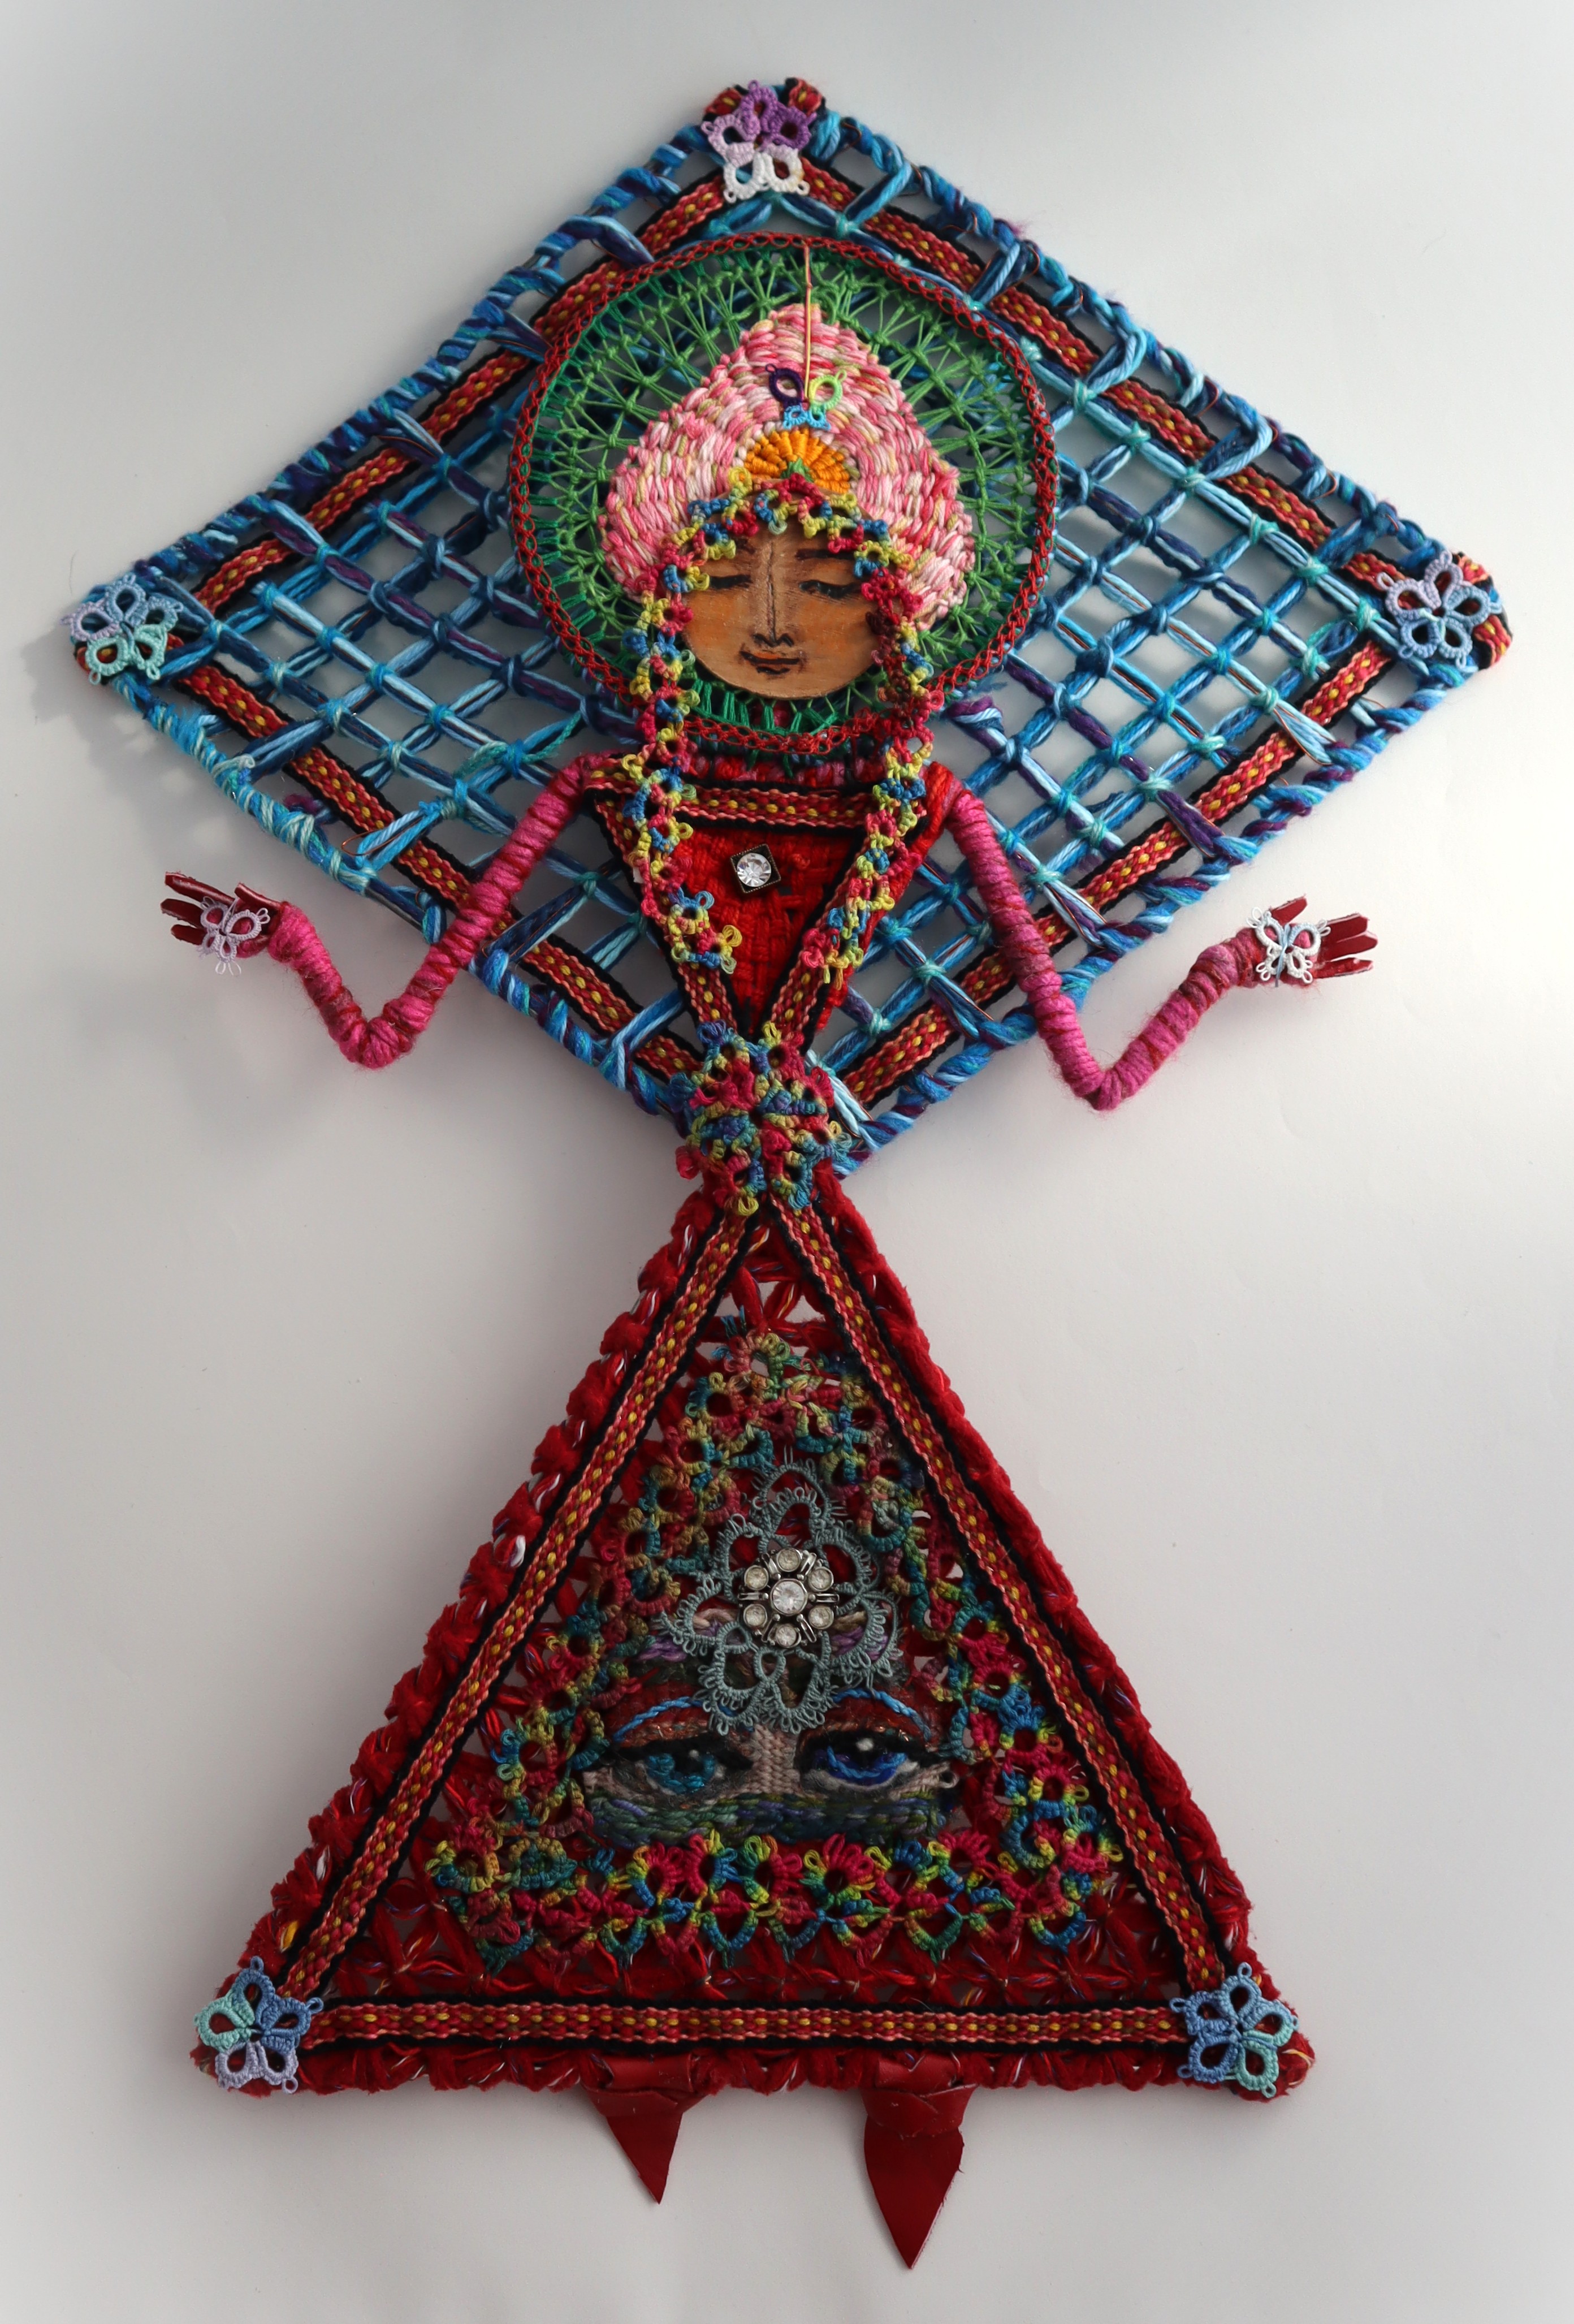
The last Woven Woman that I wove for the series of the Oracle of Stillness is: “The Mysterious and the Magical Have a Way of Waiting Patiently to Reveal the Astonishing”.

She announced herself in a dream and I had to wake up to be sure to write down the correct words in the right order, as she was very clear that that was essential.
And, it was fascinating to feel that she was the final piece- the 50th one…. I knew that I would be weaving 50 Oracles of Stillness, and was intrigued by how that unfolded.
She was very clear about exactly what I needed to do to make her fully true and accurate to her raison d’etre.
There wasn’t enough room in the gallery for all 50 of the mixed media Woven Women Oracles of Stillness to be in the exhibition, but I will get all 50 of them uploaded here on: www.tottietalkscrafts.com