In June of 2025, my brother (Jonathan Crone -an awesome woodworker- https://www.instagram.com/distinctivewoodworking/ and I started talking about making spool knitters and small looms together.
We live in different cities and provinces so we’ve been sending each other tons of drawings, photos & “What if messages”. Hurrah for the miracle of the interwebs!
Jonathan and his son, Kieran have been turning lots of wonderful things on the lathe.
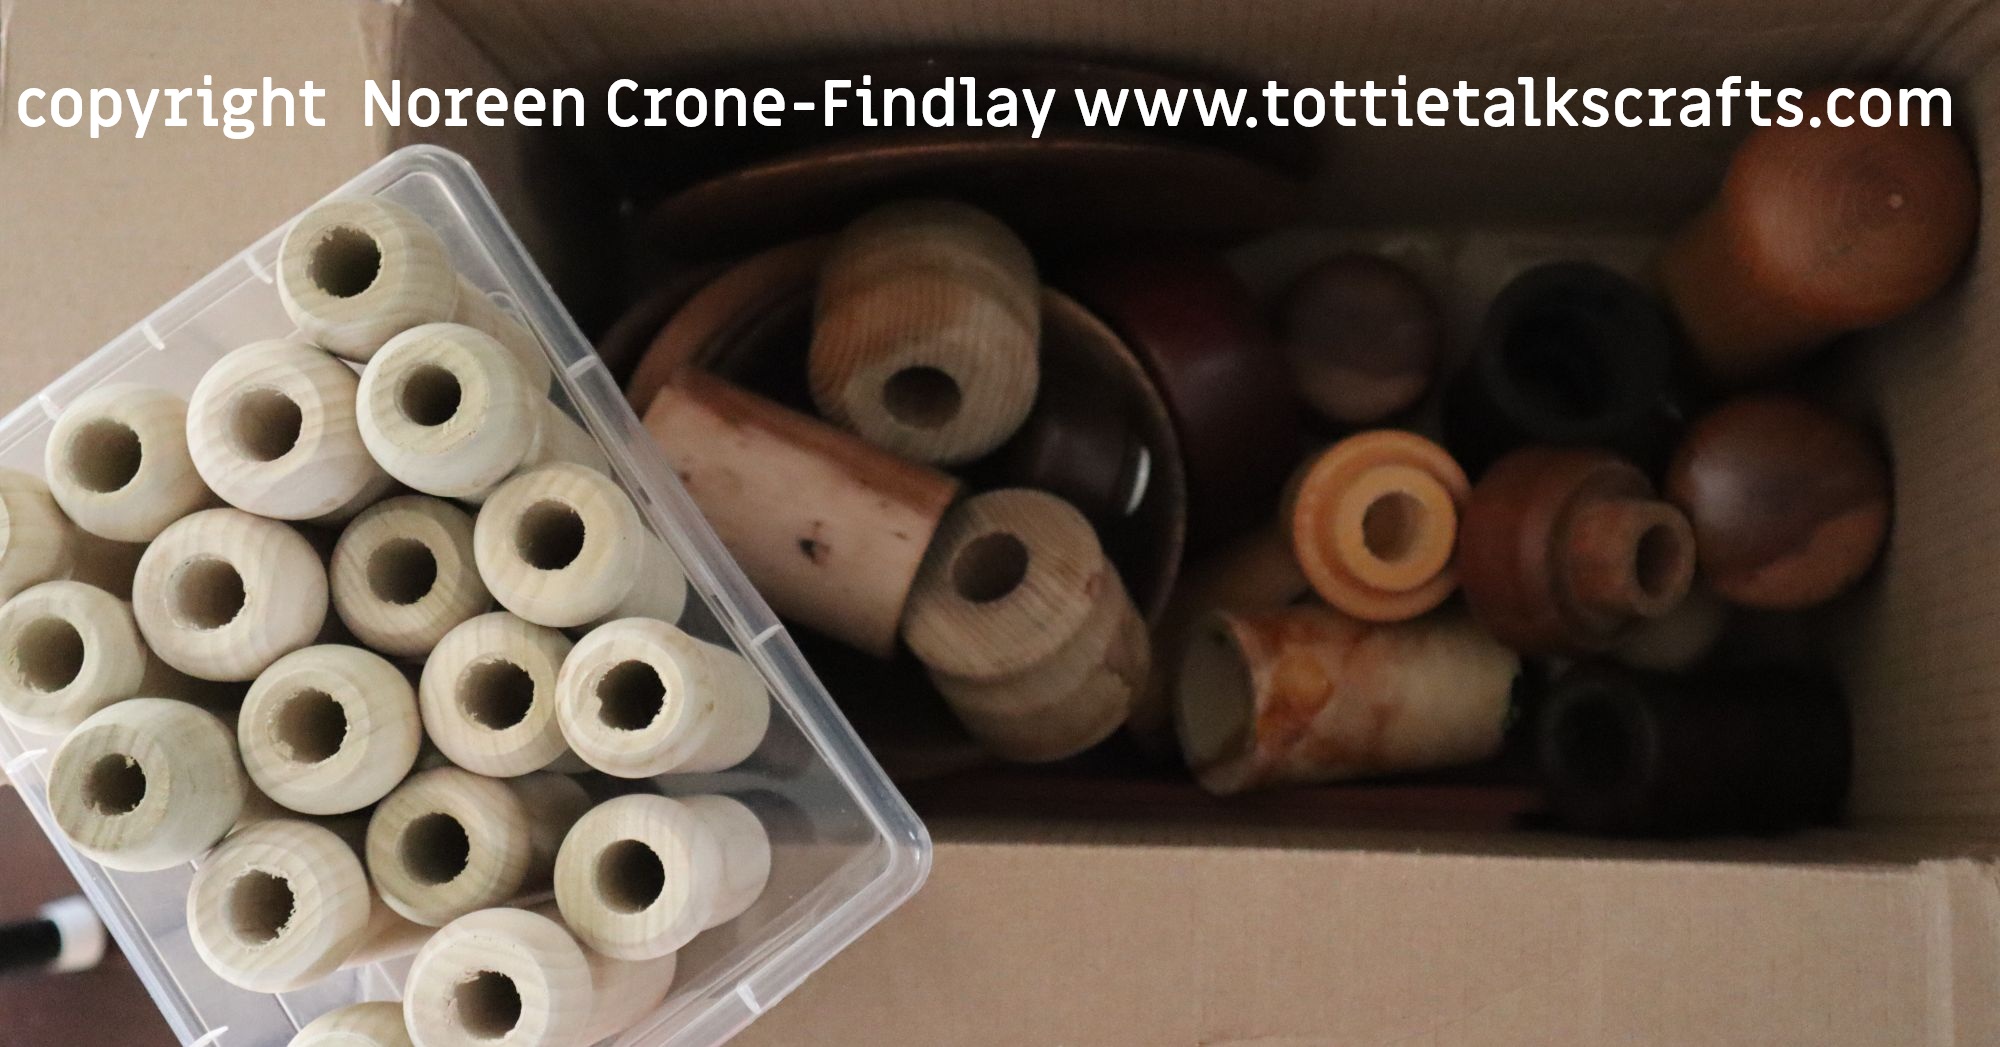
Jonathan shipped me a small but heavy box of treasures in January.
AND.
The courier managed to loose the box! EEK!
Eventually they found it & delivered it.
Whew!
Our spool knitting/small loom adventure is in gear now!
I am excited about it, but a little anxious, thinking- oh my word-can I handle doing #the100dayproject right now? (Living with chronic illness and other commitments and life in these turbulent times. oh my).
Well, fingers crossed-
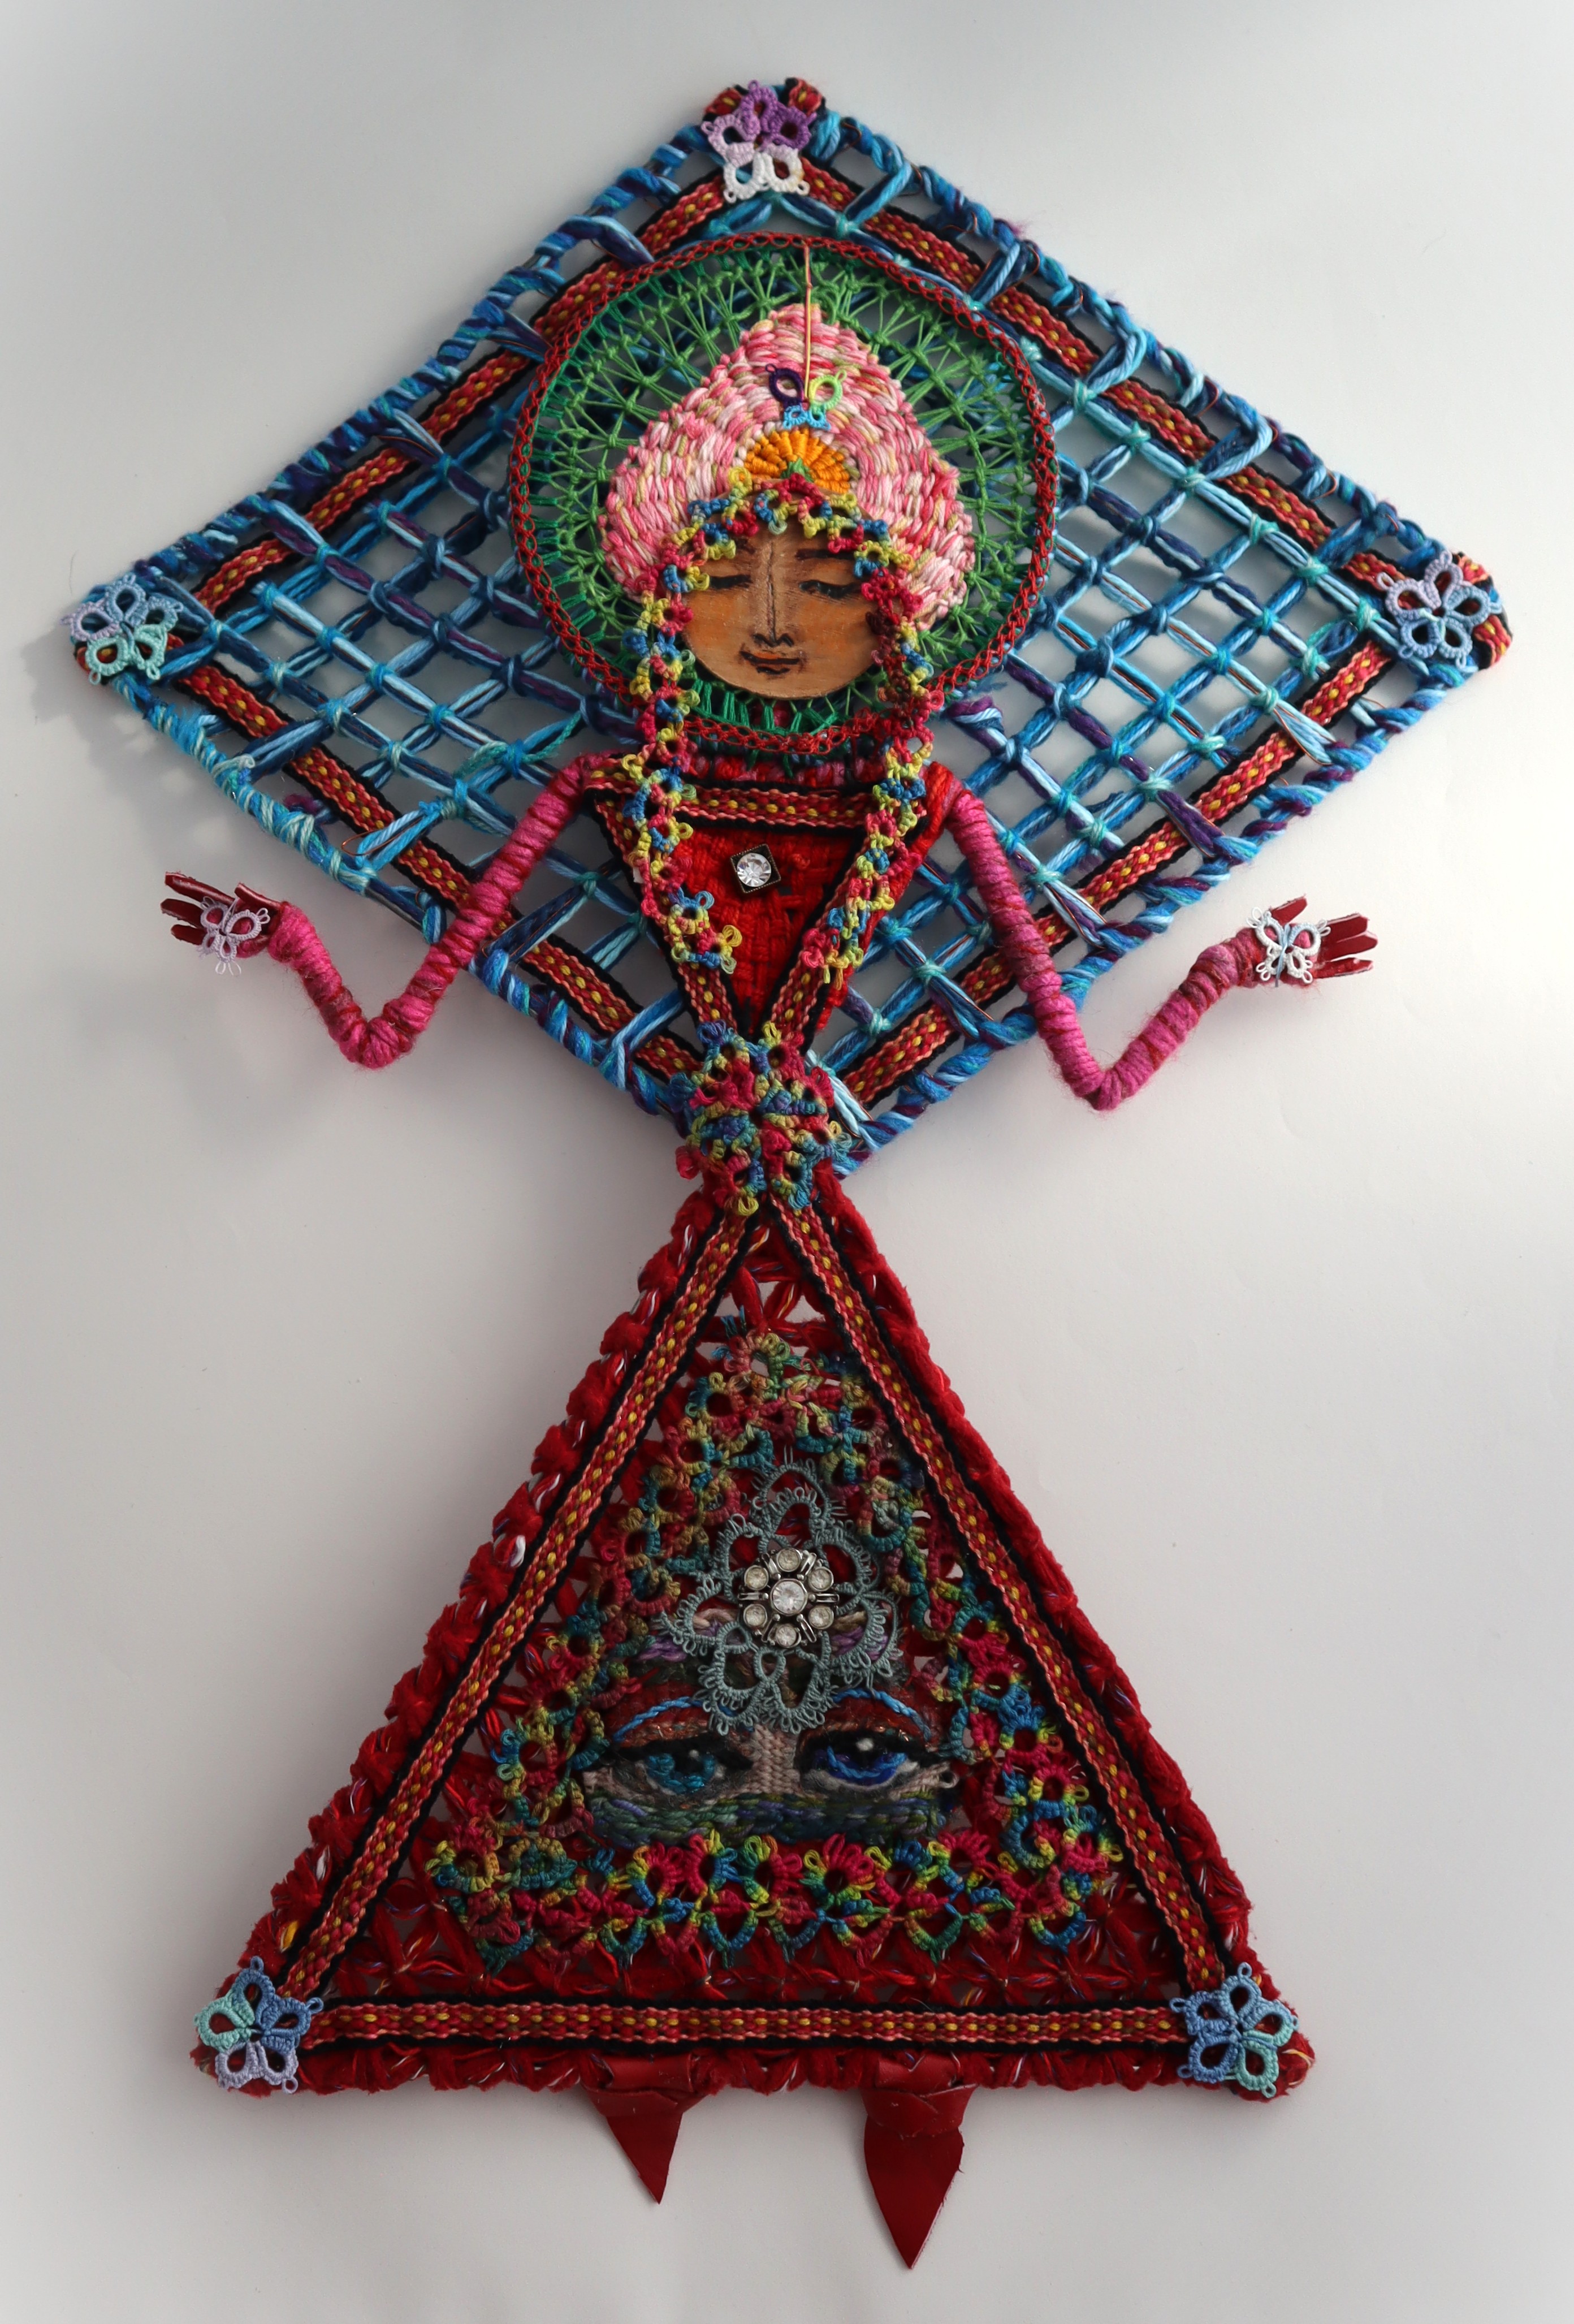
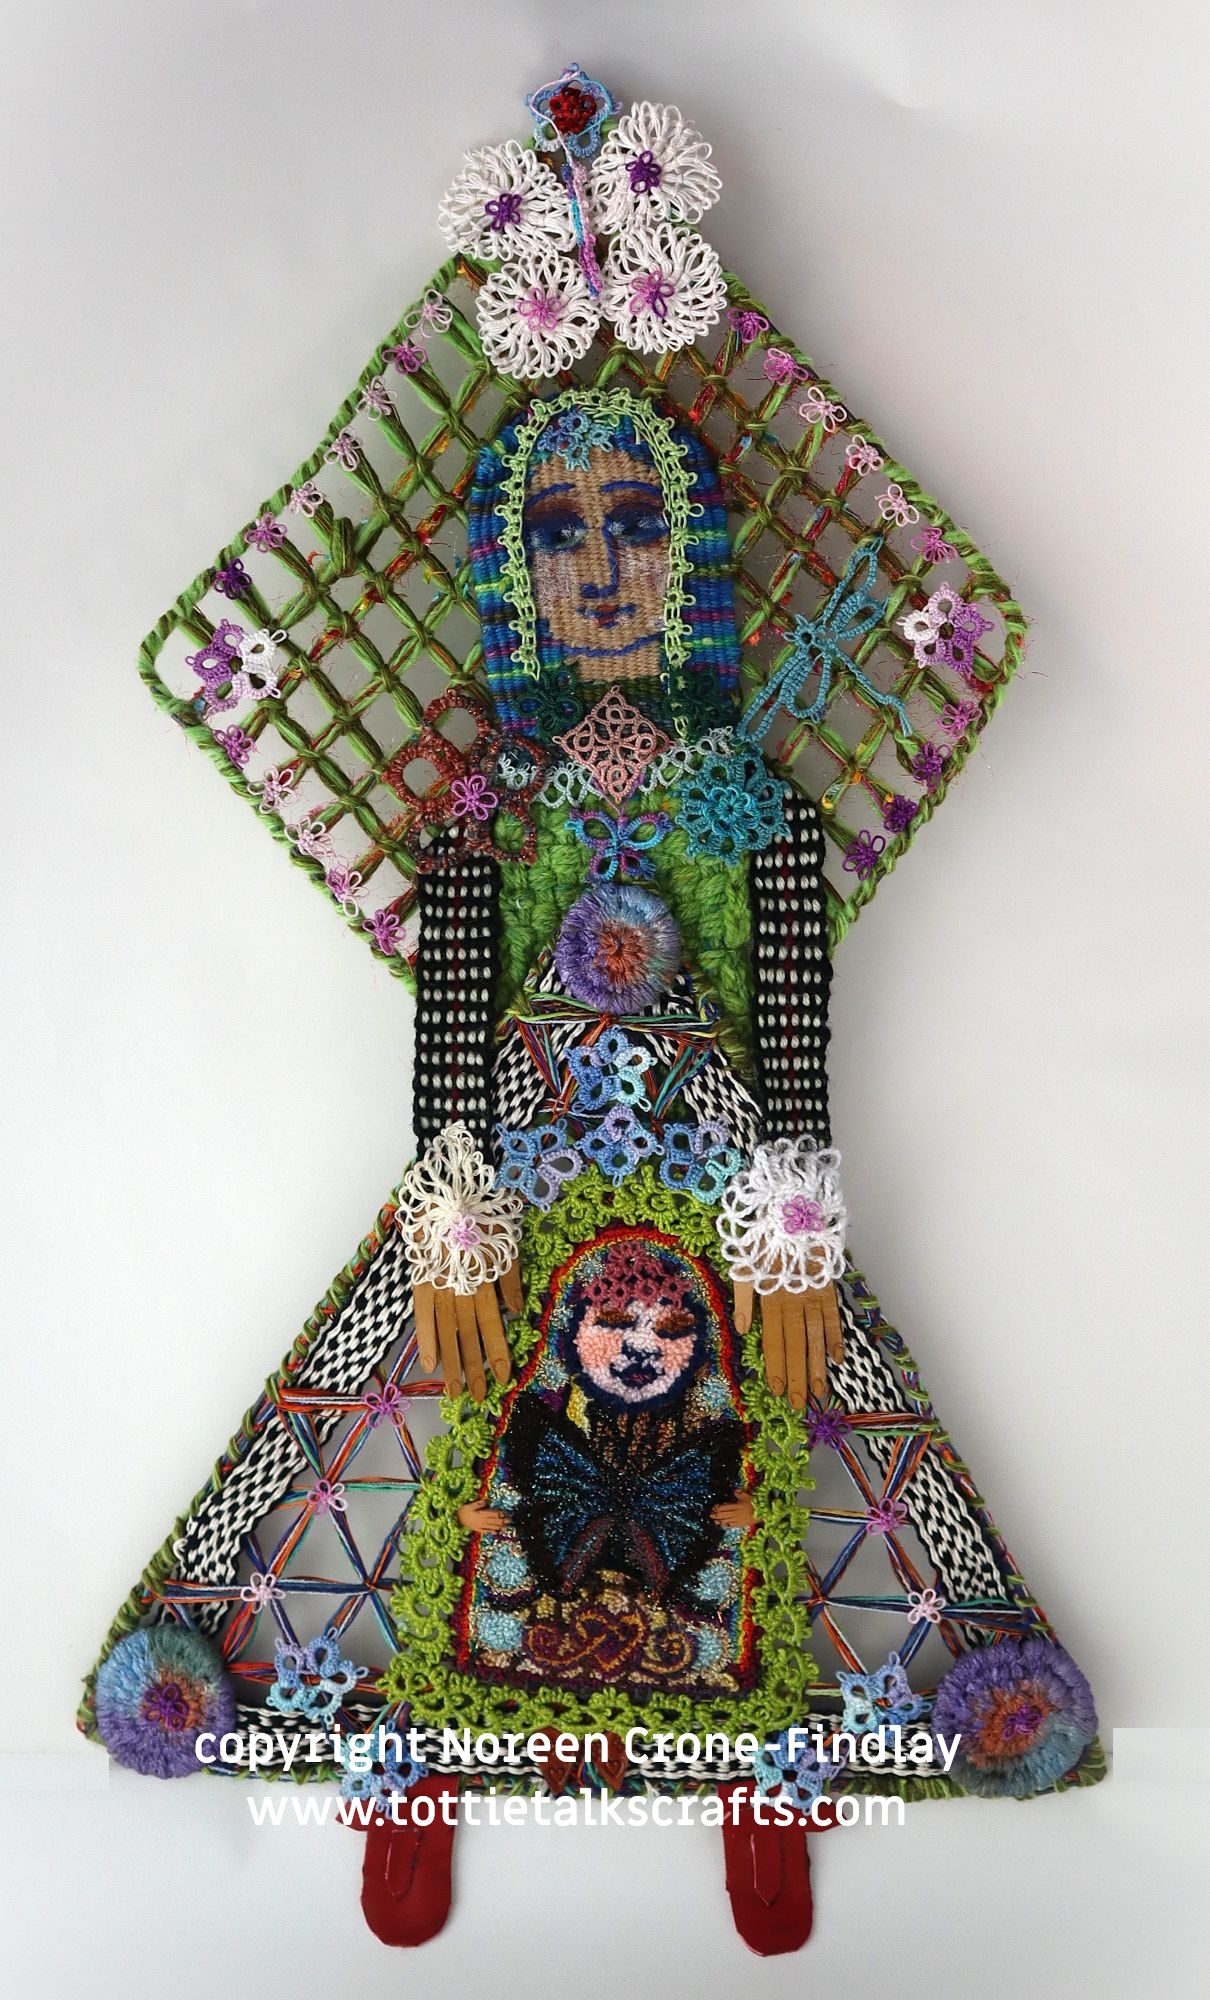
Here’s Day 1 of Two Crones and One Crone-Findlay Making Spool Knitters and Small Looms Together Across Many Miles.
Not a snappy title for my100 day project- but if I come up with a catchy title, I’ll post it.
I am so inspired & really excited about these co-creations.
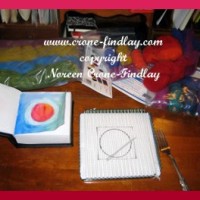
Here are a couple of pics of the box, with the packing paper and some bags of bits and pieces pulled out already.
Sorry, the pics don’t show how much amazing stuff there is for me to make magic with.
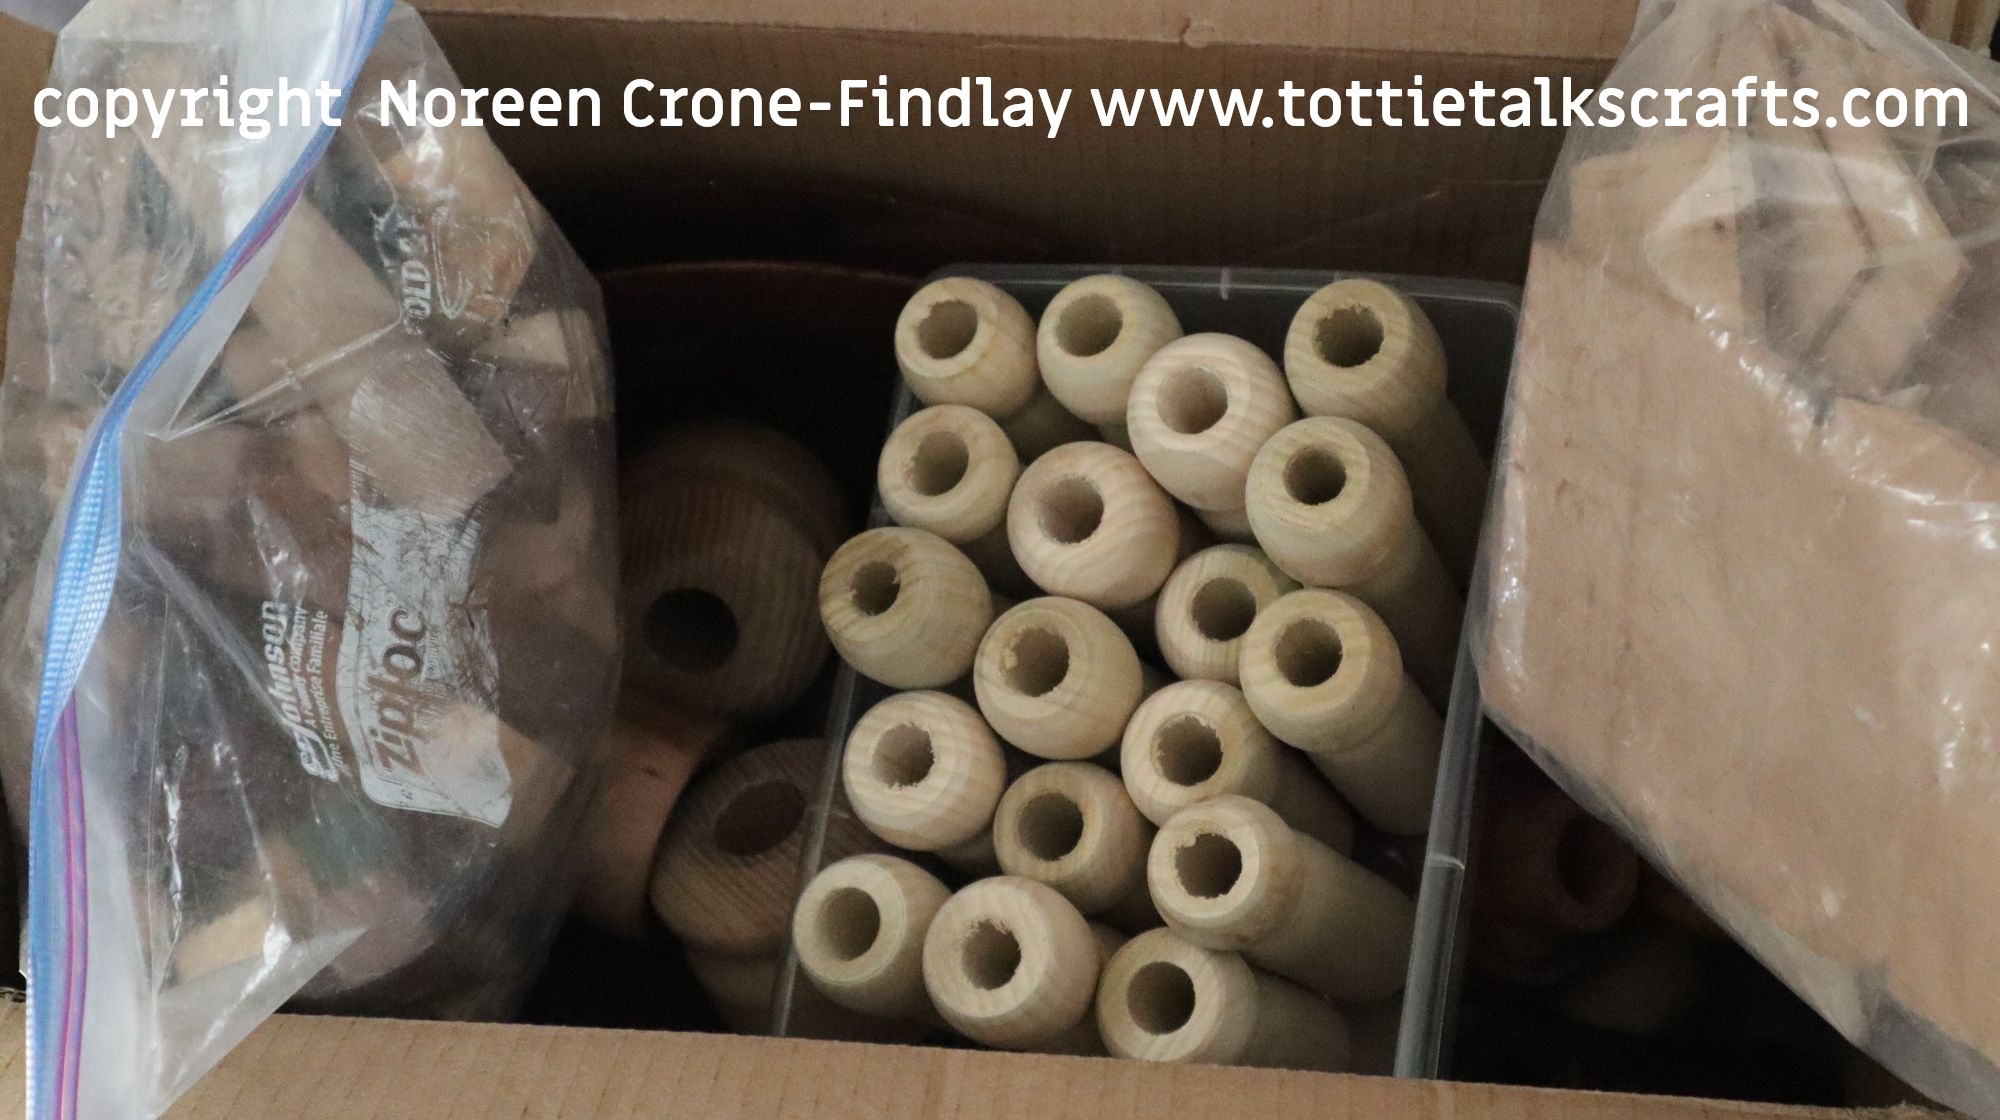
All shall be revealed over the next 100 days!