I spent a challenging day in the hospital yesterday, being treated by the most incredibly kind and compassionate Health Caregivers… the EMTs, nurses and doctor were wonderful.
What started out looking like a cardiac even has turned out to be (after more than 8 hours of testing and examination) to be Long Covid.
This explains so much about why I have been feeling so awful for the last 5 months…. I thought that my slowness in recovering from Covid was because of the grief I was suffering over the death of my beloved son in law, and other illnesses in the family.
That might have had an impact, but now that I have had Long Covid explained to me and the fact that I am ticking all the boxes and then some, makes sense.
Please, friends and family, if you are feeling ill- get help! I am now being entered into a Long Covid program with lots of dr apts and hopefully a happy and successful outcome that will leave me feeling like me again.
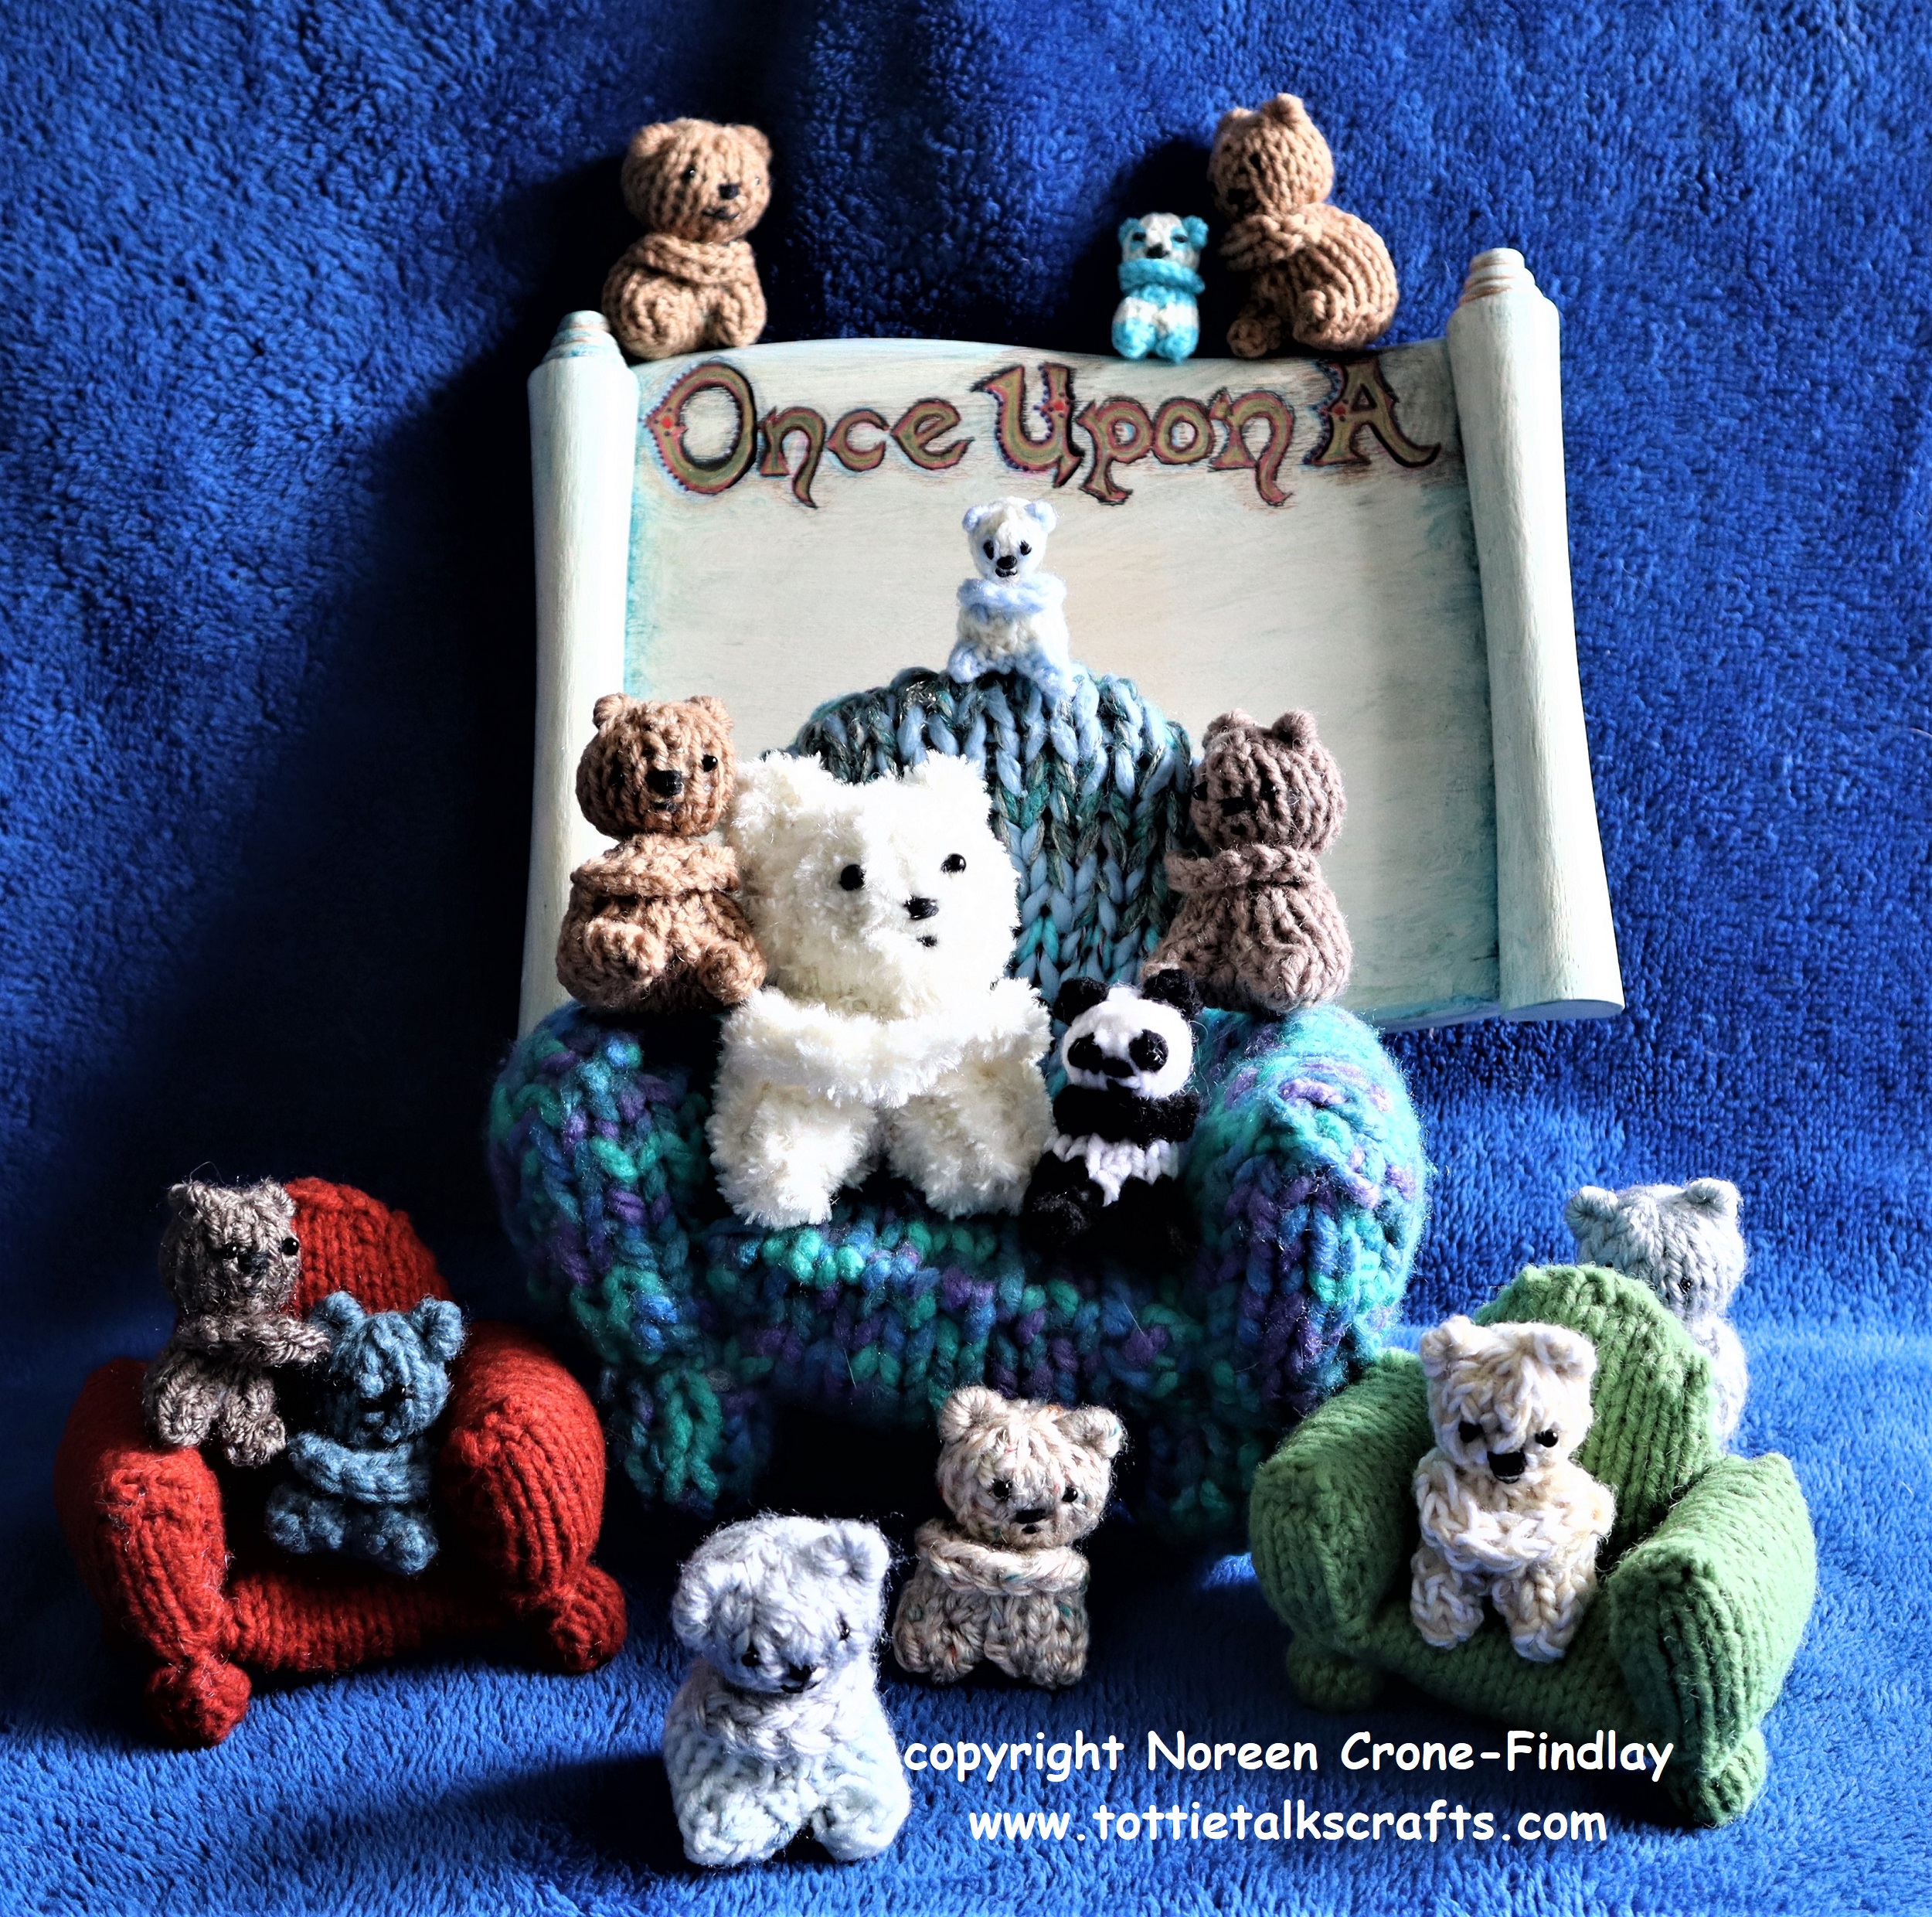
I wish I had taken more Comfort Bears with me, but I only took one, and gave it to the lovely woman who cared for me in the ambulance (her partner was kind, too, but was more in an admin role than caregiving)…. and she loved it
. Once I am feeling more energetic, I am going to make sure that I send a whole bunch of Comfort Bears to the Emergency Ward!
And, wow, am I ever lucky that one of my close friends is an Emerg Nurse, who took care of me before the ambulance came and who talked with the intake folks. Bless her heart!
I am also soooooo grateful to my darling husband and precious daughter who were there with me through it all and to our sweet son and daughter in law who cared for our puppies while the whole long thing was going on.
So…. please take care of yourselves!
Get help!
I am embarking on some radical self care, so slowing down on all kinds of things. Hugs all round!
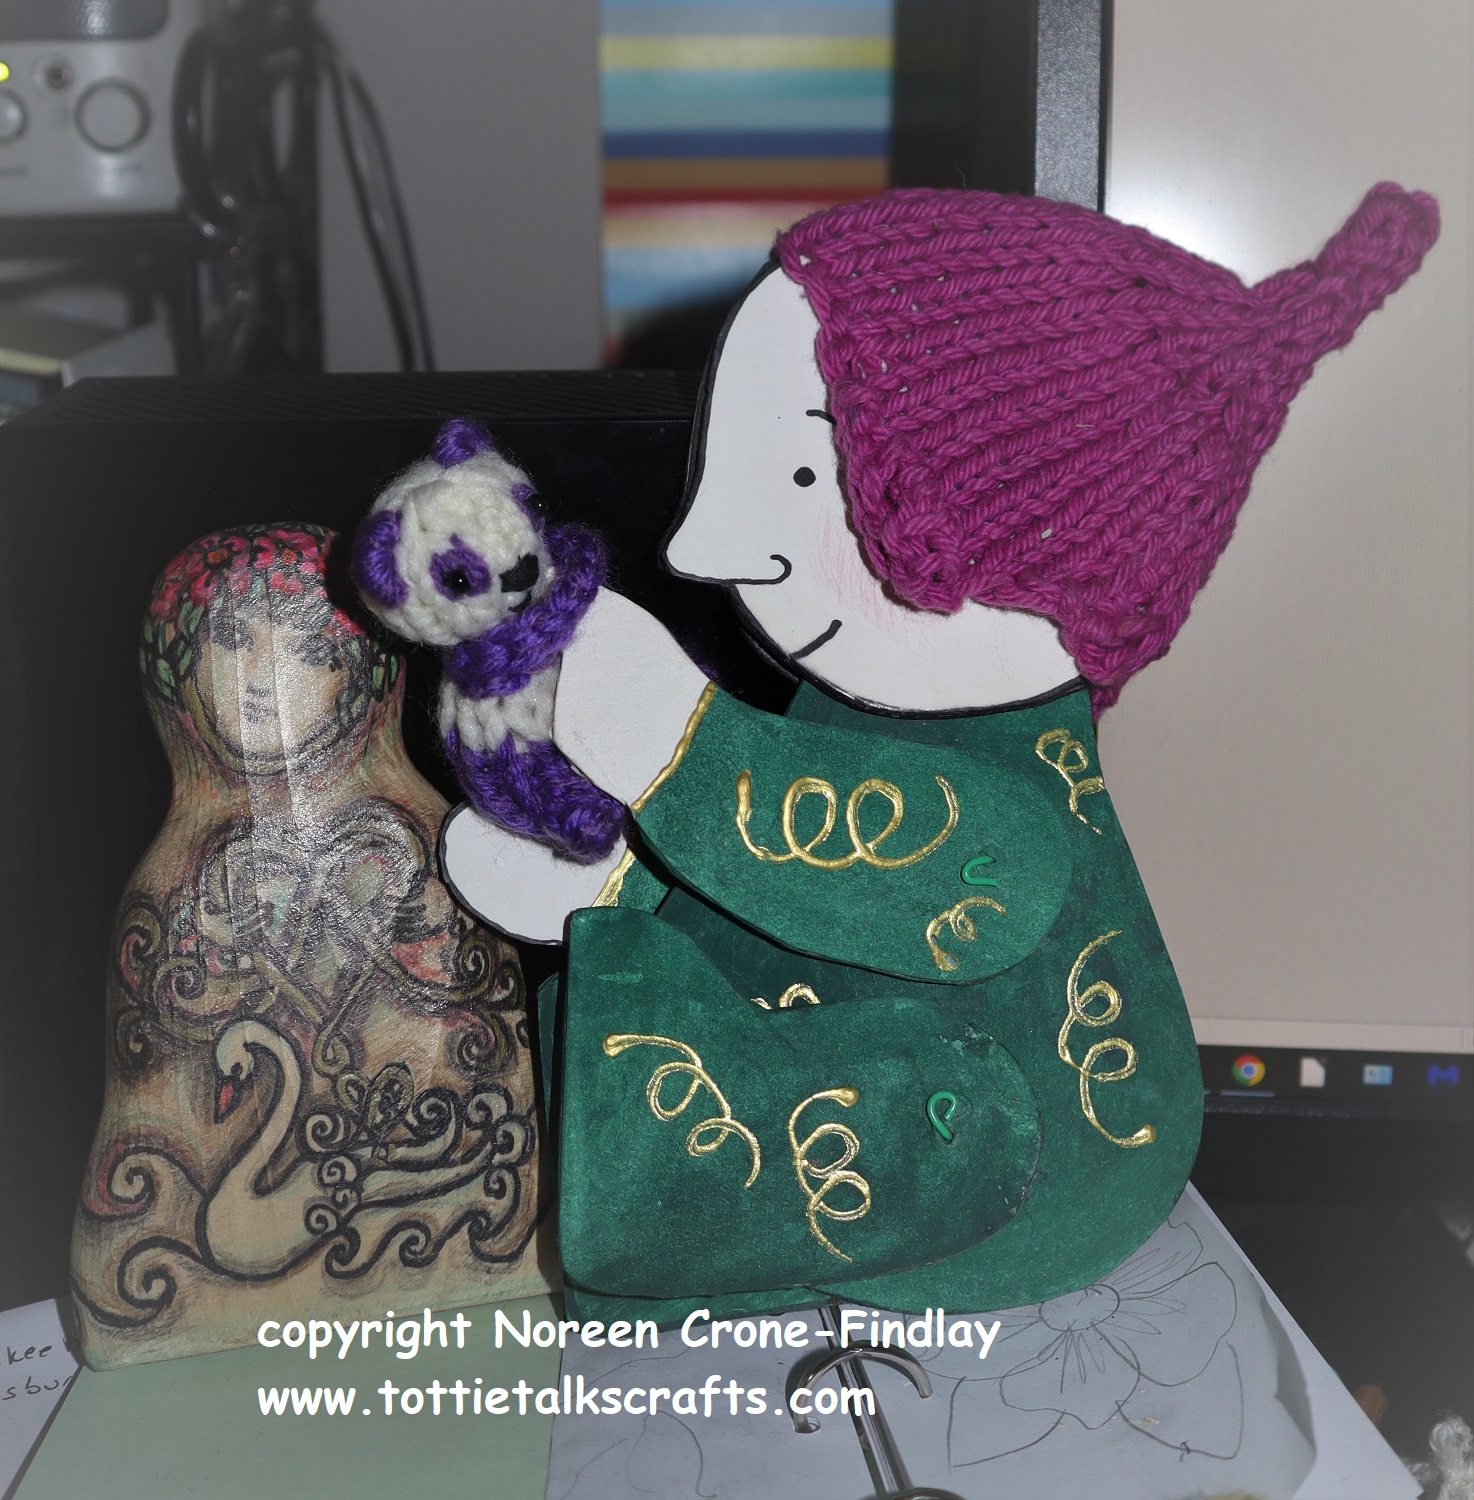
The knitted Clancy Comfort Bear is my latest design for comfort bears.
I designed it in honor of my beloved son in law who died last year.
Clancy was kindness incarnate and always kept several Comfort Bears in his pocket to offer to people who were having a difficult time. So, the Clancy Bear is a living legacy to keep his kindness unfolding in the world. With love in every stitch……
THE ‘HOW TO’ VIDEO FOR THE CLANCY COMFORT BEAR IS AT:
NOTE: The finished size of the Clancy Bear is determined by the thickness of yarn and size of knitting needles that you use.
WHAT YOU NEED:
Knitting Needles in a size that is appropriate for the thickness of your yarn,
Yarn: Less than an ounce for each Clancy Comfort Bear
A crochet hook that is appropriate for the thickness of your yarn.
Black 6/0 glass beads for eyes, Stuffing,
Black sewing thread and a needle that is small enough to sew on the beads, Tapestry or darning needle
Sewing machine thread in a color that matches your yarn (optional)
Felting needle, Tape measure, Row Counter, 4 small safety pins, Scissors or thread snip
INSTRUCTIONS: Beginning at the feet:
Cast on 11 stitches.
Rows 1- 16: Work in st st (knit one row, purl the next)
Place one of the little safety pins at each end of Row 6 and then 1 more pin at each end of Row 10.
At the end of Row 16, cut the yarn, leaving a 42 inch/105 cm long tail
Thread the tail end into a darning or tapestry needle and lift all the stitches off the needle.
Pull up to gather the top of the head.
Take the needle through the stitches one more time to secure them.
HEAD:
Sew the centre front seam using the Baseball stitch to the first set of safety pins. (see video for how to).
Take a couple stitches to secure the head. Remove the 2 safety pins.
Stuff the head.
Wrap the yarn tightly around the neck 2 times then stitch over the wraps to secure them.
EARS:
Take the yarn up to the side of the head at the top of the head and stitch over the knitting needle or crochet hook twice.
Stitch over these loops several times to make the first ear.
Repeat for the 2nd ear.
Take the needle back down and out at the ‘shoulder’ to be used to make the arms.
TUMMY SEAM:
Thread another strand of yarn or the sewing machine thread into a needle and stitch the center front down to the next set of safety pins.
Stuff the body.
LEGS:
Fold the cast on edge in half to find the midpoint.
Take the needle through it and stitch it to the end of the tummy seam.
Stitch in place a couple of times to secure it.
Squeeze and fold the edges of the front to meet the cast on edge, forming the leg with the corner point becoming the toe. It’s a bit like origami.
Stitch the leg inseam together, pulling up tightly.
Stitch the second leg inseam.
Secure at the middle.
Take the needle through the body to the back, and snip.
ARMS:
Take the crochet hook through the stitch at the shoulder where the yarn came out.
Yarn over, pull up a loop through the stitch on the body.
Chain by taking the yarn over the hook and pulling it through the loop on the hook.
Do this 7 to 9 times, depending on the thickness of your yarn.
Take the crochet hook through the shoulder on the other side of the body and pull up a loop.
Thread the yarn end into the tapestry needle and stitch the loop to the body.
Take the hook through the first chain stitch at the shoulder, and make a slip stitch in it by pulling up a loop through the chain stitch.
Repeat this for all the chain stitches, ending at the first shoulder.
Stitch the end into the body and use the felting needle to secure the arms to the shoulders and to bury the yarn end.
NOSE:
Take the black thread through the head, coming out at the center of the face.
Secure it with a couple of tiny stitches.
Make several horizontal stitches for the nose.
MOUTH:
Move down and take a couple of shorter horizontal stitches for the mouth.
EYES:
Take the needle up slightly above and to one side of the nose and sew on the bead for one eye,
then the other.
Secure the stitches by going back down to the nose and taking a couple of tiny stitches at the corner of the nose, then taking the needle back through the head. Snip the ends.
PANDA:
INSTRUCTIONS: Beginning at the feet:
Cast on 11 stitches with black yarn.
Rows 1- 6: Work in st st (knit one row, purl the next)
Place one of the little safety pins at each end of Row 6
Rows 7 & 8: Join white yarn and work in st st
Rows 9 & 10: Drop white yarn and work in black yarn.
Place 1 more pin at each end of Row 10.
Cut the black yarn, leaving a tail of 42 inches/105 cm.
Rows 11- 16: Work in white yarn.
At the end of Row 16, cut the yarn, leaving a 20 inch/50 cm long tail
Thread the white yarn end into a darning or tapestry needle and lift all the stitches off the needle.
Pull up to gather the top of the head.
Take the needle through the stitches one more time to secure them.
Stitch the center front seam of the head with the white yarn.
Stuff the head and wrap and secure the neck.
Take the black tail end out through to the shoulder and leave it there for now.
Work the rest of the Panda body, legs and arms the same way as the Basic Clancy Bear.
EARS:
After working the Arms, take the black yarn up to the top of the head and make the ears.
EYE PATCHES:
Take 3 small vertical stitches for each eye patch.
NOSE:
Take 2 horizontal stitches for the nose.
MOUTH:
Take 1 smaller horizontal stitch for the mouth. Secure the yarn by stitching through to the back of the neck and stitching in place the burying the yarn in the body.
EYES:
Sew the eye beads to the center of the patches. Secure the thread ends in the eye patches.