Knitting, crocheting and weaving Comfort/Compassion/Kindness/Pocket/Prayer Bears is really important to me.
I have crocheted, knitted and woven thousands of them over the last 20 or so years, and have given them all away.
I designed my first Comfort Bear in response to 9/11 in the hopes of soothing frightened, grieving hearts.
The first version was a crocheted Comfort bear, and was the front page of the Craft Yarn Council of America website for a couple of years. The link is still there: LINK
And, here’s the link to the Crocheted Comfort Bear that I tweaked slightly for my blog: LINK
A few years ago, I designed a knitted Comfort/Blessing Bear that has a ‘hugging’ single loop for the arms so it can hug you back: LINK
I’ve also designed a very simple little knitted Pocket Bear with Stitched Arms: Here’s the Link to the video:
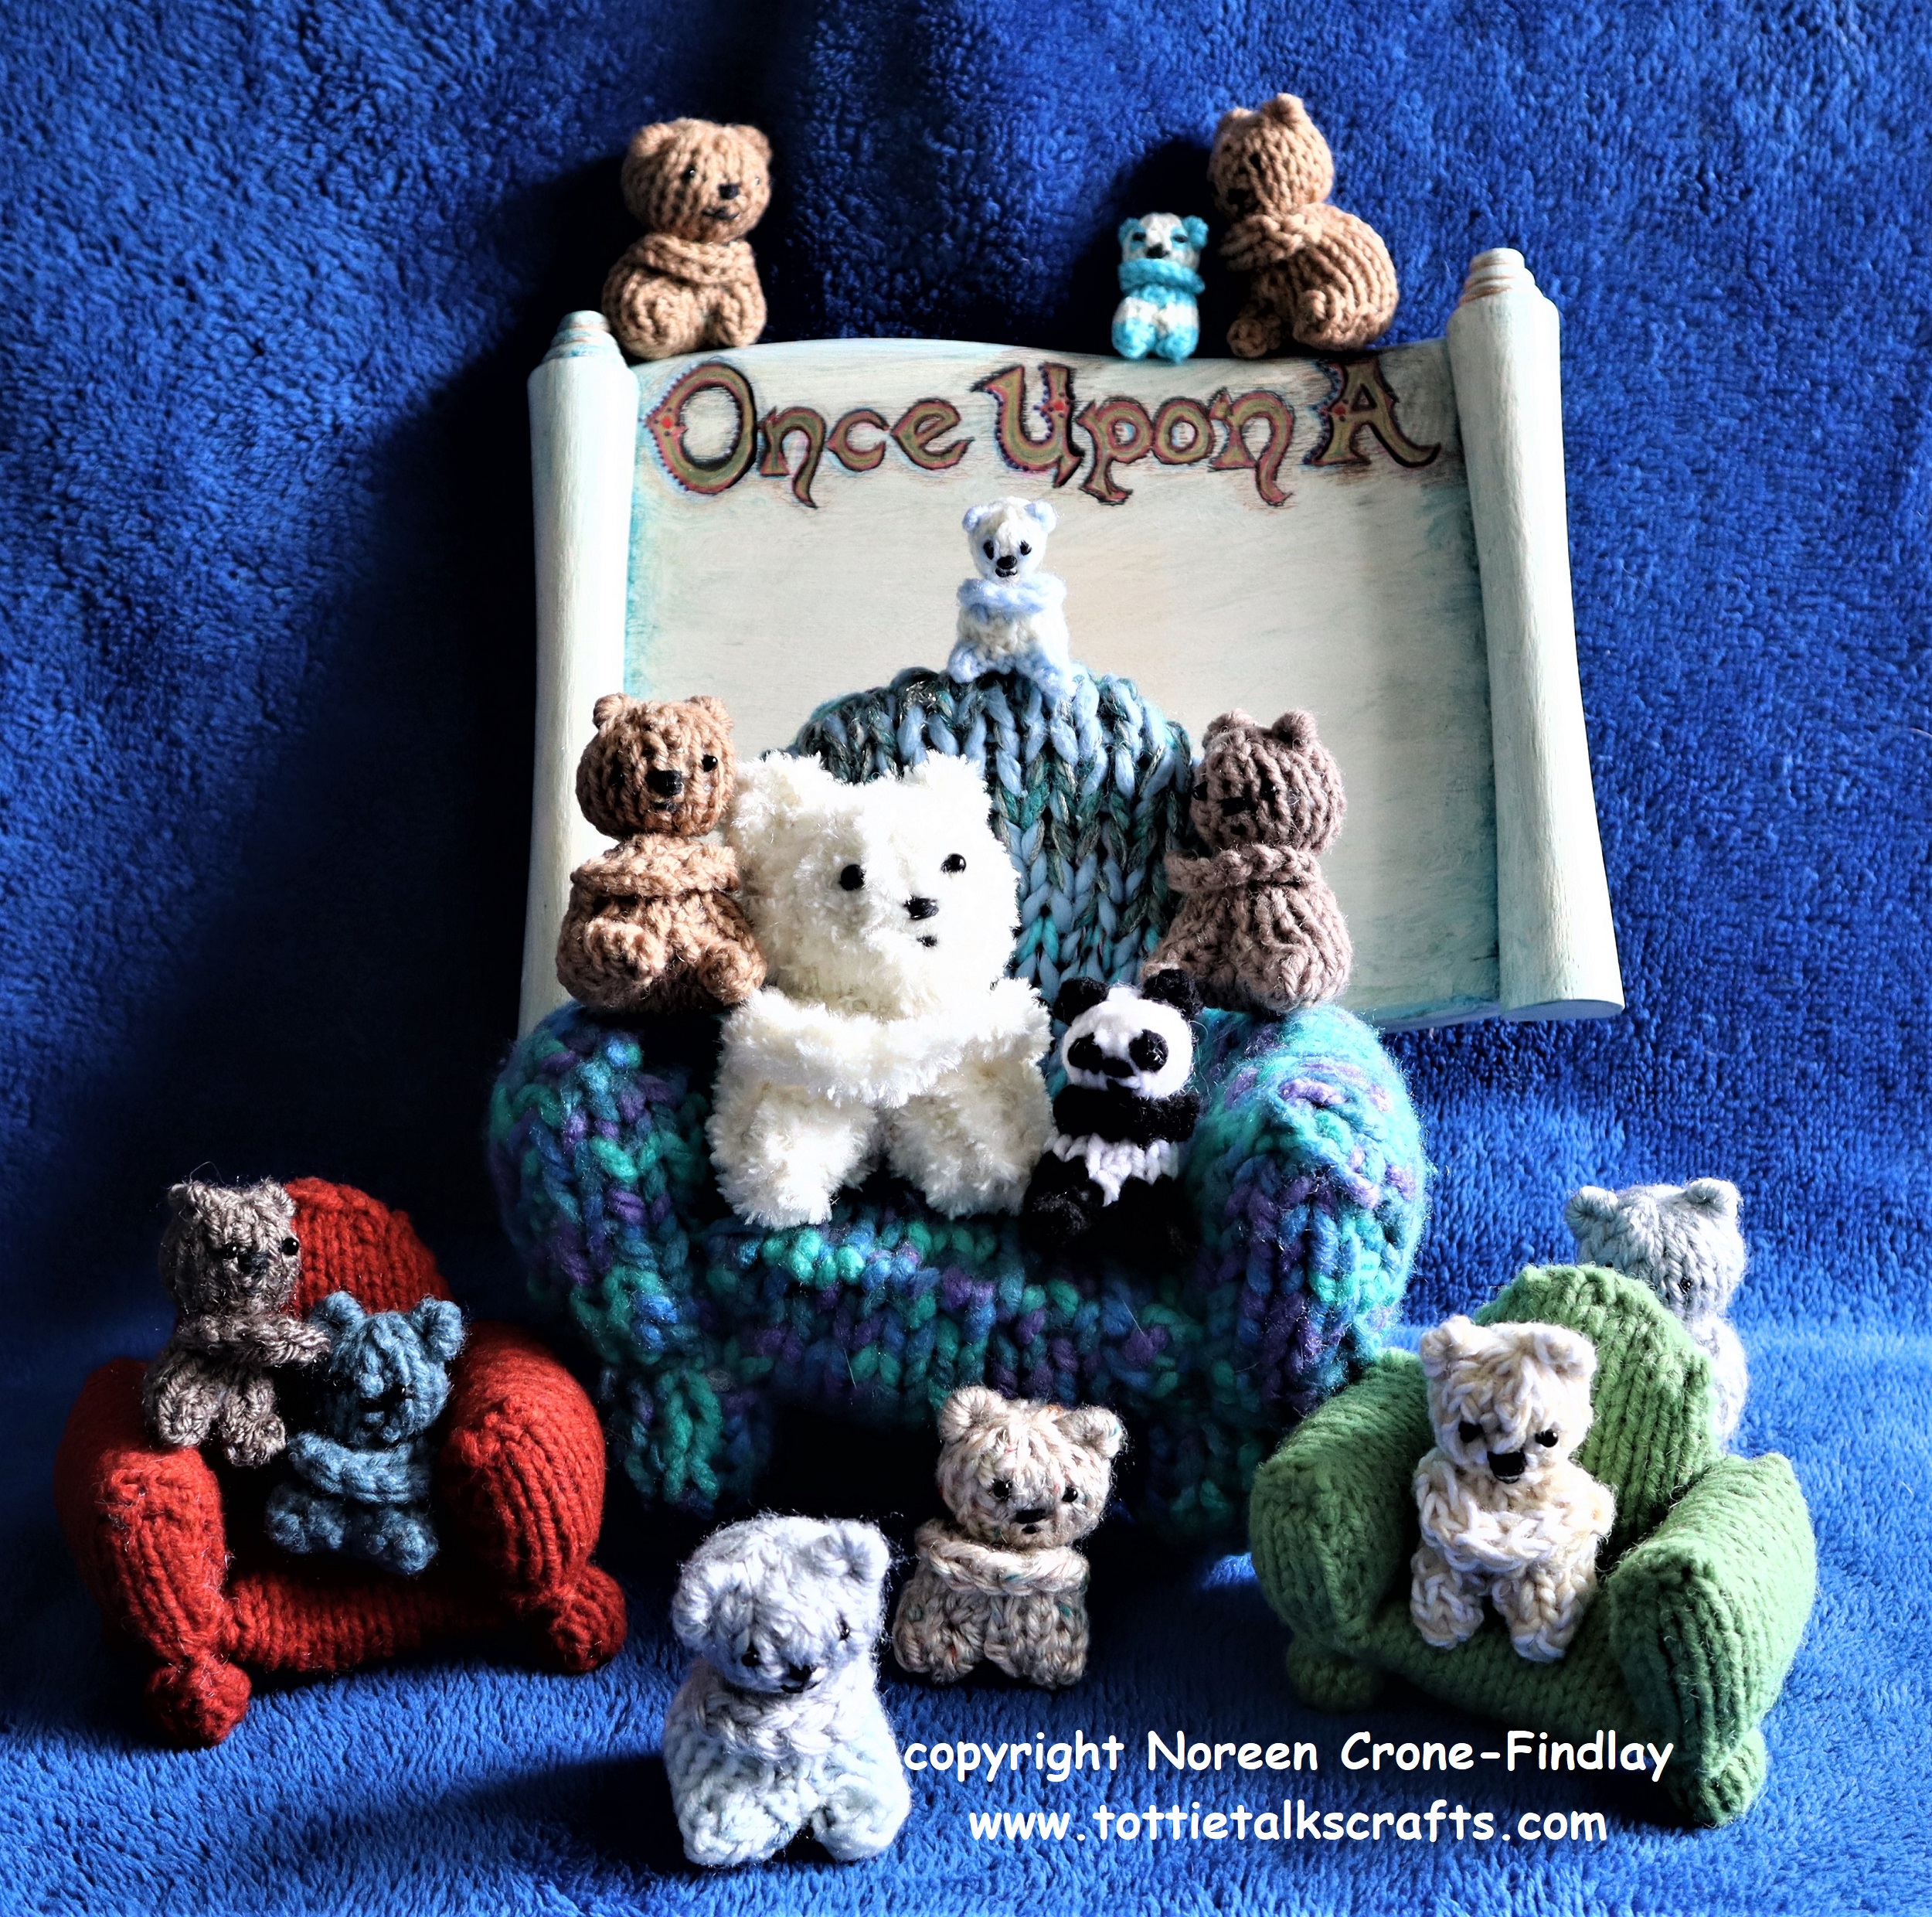
Note that you don’t have to make it as a Panda…. crochet it in blue yarn to make a Blue Bear of Happiness, or in more traditional brown yarn…..
Another kind of Blessing Bear or Compassion bear is to make them for people who are grieving the death of someone they loved.
Use garments that the person used to wear and either cut the garment into fabric strips and knit, crochet or weave a Memory Bear, or unravel one of the person’s sweaters and knit, crochet or weave a Blessing/Memory Bear with that.
Here are some links for Memory Bears: LINK and LINK
I did mention that I have woven Comfort/Blessing bears didn’t I?
One of my favorite projects in my new Potholder Loom Weaving book is a Blessing Bear woven on the potholder loom:
Here it is, peeking out of a little pocket on one of the baskets that is in the book:
Here’s a link to order it online, but you can also order it from your local bookstore worldwide: LINK
For the last almost 20 years or so, I have been crocheting, knitting and weaving little bears and giving them away as my way of spreading kindness, comfort, solace and delight.
I have made thousands of them, and I have never had anyone say no when I offer them one.
And, the lovely stories that people tell me about their experiences with them are so special.
(LINK to the Craft Yarn Council of America Website for the explanation about how I was inspired by the events of 9/11 to design the first Comfort Bears and the pattern for the very first one.)
So, anyhow… back to Panda Pocket/Comfort/Blessing Bears……
Last week, I had an ‘Aha’ moment… I thought….. I should design a Blessing Bear that is a Panda!
After all…. who doesn’t love a Panda?
I set to work on it and came up with this little darling:
I’ve seen that people love the ‘hugging arms’ that allow the bear to hug them back, so I designed the arms to be all one piece. Perfect for giving hugs.
Although, the little huggetty arms can also cleverly hang onto things….
A dear friend came for tea today and fell madly in love with the Panda, and she was thrilled when I gave the prototype to her. It immediately jumped onto the clasp on her bag:
I thought that that was very clever of her!
Even though I designed the pattern to be a Panda, it doesn’t have to just be a Panda….
Crochet it in blue yarn, and it’s a Blue Bear of Happiness.
Crochet it in brown yarn, and it’s a dear little ‘Regular Sort of a Bear’.
No matter how you crochet it, please put love into every stitch.
Please DO NOT SELL THEM.
Please make tons of them and carry them in your pockets, because you’ll be amazed at how much joy you can spread by giving them away. You will bring kindness and happiness and goodness knows, we all need that.
I make Blessing Bears as often and as much as I can and give them to the ministers at our church, and they give them away as part of pastoral care. Please feel free to do the same.
I love that these bears bring a ray of sunshine. I hope that you’ll enjoy making and sharing them, too!
HERE’S THE PATTERN- IT IS MY ORIGINAL DESIGN, SO PLEASE RESPECT COPYRIGHT AND SEND PEOPLE TO MY BLOG (AND YOUTUBE FOR THE VIDEO)- PLEASE DO NOT COPY OR SHARE THE PATTERN.
Scroll down the page for the video of how to crochet the Pandas.
CROCHETED PANDA BLESSING BEAR
Designed by Noreen Crone-Findlay (c) 2019
The size of your hook and weight of your yarn will determine the gauge of the crocheting, and the finished size of your bear. When made with worsted-weight yarn, the Panda Blessing Bear is approximately 3 inches tall. When made with thicker yarn and a larger hook it will be bigger. When made with thinner yarn and a smaller hook it will be smaller. To make this bear, you will need to know how to make a chain, slip stitch and single crochet.
MATERIALS:
The bears in the photos were made with less than half an ounce of worsted-weight yarn or bulky weight yarn. Hand spun is wonderful.
Black embroidery floss for embroidering the features. 2 tiny beads for eyes- but embroider the eyes if you are going to give it to a child who is younger than 3 years old.
Crochet Hook in a size slightly smaller than you would usually use for the size of yarn to give a denser fabric
A tiny amount of stuffing
Darning needle for sewing seams
Embroidery needle for embroidering features ABBREVIATIONS:
Ch= chain
Sc= single crochet Turn= turn the work over and start the next row in the last st of the last row
* to *= you will repeat the instructions that appear between the two”*” signs however many times stated in the pattern.
DIRECTIONS
BEGIN WITH THE FIRST LEG: With Black Yarn:
Ch 5, leaving about 4 inches of yarn at beginning of ch. This tail will be used to sew the legs up later. Row 1: Sc in 2nd ch from hook and in each ch to end. (4 sc). Ch 1 and turn. Row 2: 4 sc, ch l, turn. Cut yarn, and draw end through last ch l.
SECOND LEG: Repeat Rows 1 & 2 for the second leg. Tie white yarn to black yarn end, leaving a 4 inch/10 cm tail.
NOTE: If you are doing a bear in just one color, don’t cut the yarn at the end of the 2nd leg. Just continue working with it.
BODY: With White Yarn: Row 3: Work l sc in each of the 4 sc of one leg, then work l sc in each of the 4 sc of the other leg. (8 sc). Ch l and turn. Rows 4 & 5 & 6: 8 sc, ch l, turn.
HEAD: Row 7: 2 sc in each sc, (16 sc ) ch l, turn. Row 8: 16 sc, ch l, turn. Row 9: (l sc , sk next sc) 8 times, 1 sc in last sc. (9 sc) ch l turn. Row 10: *1 sc, skip next sc* Repeat from * to * 5 times. (5 sc).
Cut yarn, leaving a tail of about 10 inches, pull yarn end through last ch l.
ARMS: Make 1: Note: The arm piece should be about 2 1/2 inches/6 cm long, so depending on your choice of yarn and hook, you may have to change the number of stitches you use to make it.
Row 1: Ch 10, slip stitch in 2nd ch from hook, and in each remaining ch. (9 slip stitches). Cut yarn, leaving a tail of about 4 inches, pull yarn end through last ch l.
FINISHING: HEAD: Take the yarn end into the needle and then go through each of the 4 sc at the top of the head to gather the upper edge of head, then pull up tightly. Stitch to anchor.
-Sew center back seam of head.
-Stuff head.
NECK: Wrap yarn end around neck of bear 3 or 4 times, and pull up tightly.
– Stitch over the neck wraps 2 or 3 times to lock in place.
BODY: Stuff body and sew shut.
LEGS: Fold the leg edges together. With the starting yarn end, sew the leg seams. Tie the yarn ends in a tight knot and take all ends inside body.
ARMS: Take one yarn end of the arm through the shoulders of the bear. Pull up to lock the arm piece to the bear. Use the end to stitch the other end to the bear’s shoulder. Take the ends inside the bear.
Stitch the other end of the arm piece to the bear and then take the ends inside the body.
EARS: With Black yarn: Push crochet hook into a stitch in the top of the head, yo, pull up a loop onto hook. Ch 4.
-Cut yarn, pull end through last loop on hook.
-Tie a knot with first yarn end, then thread yarn end into darning needle, and hide yarn ends inside
head.
-Repeat for other ear.
FEATURES: With Black yarn:
EYE PATCHES: At the midpoint of the head, take 2 or 3 stitches that cover 2 sc for the first eye, then 2 or 3 stitches that cover 2 sc for the second eye. Note, if you are making a bear that isn’t a Panda, skip the eye patches.
NOSE: take one stitch slightly below and between the eye patches.
MOUTH: Take 2 stitches slightly below the mouth. Take the yarn end inside the Panda’s head.
EYE BEADS: Stitch one small black bead at the center of each eye patch. Start at the back of the neck- take the needle in through the body and out at the neck, then make a securing stitch then take the needle to the front of the face, stitch one bead on for the first eye, then go to the second eye and stitch another bead on. Take the needle back through the head and out at the back of the neck. Make a tiny securing stitch and then take the needle into the body and out, pull up and snip the end close to the body.
Here is a link to a bunch of posts for patterns that I have designed. Sometimes, I call them ‘Comfie Bears’, sometimes, ‘Blessing Bears’, sometimes, ‘Pocket Bears’, sometimes, ‘Prayer Bears’ or ‘Compassion Bears’. LINK
I love baskets. I love weaving them and I love using them.
These soft baskets hold a lot of stuff, and fit great on shelves and into cube shelving.
When they are empty, they are easy to store, because they fold flat. You can fill a soft woven basket with other soft woven baskets until they are needed.
I designed a whole bunch of them for my new Potholder Loom Weaving book.
The baskets are a compendium of a slew of techniques (some of which I figured out for the book) that can also be used in all kinds of other ways- the sky’s the limit on the creative possibilities!
By the way, the baskets work great as market bags or project bags.
Here’s the video:
The Potholder Loom Weaving book is available now online for pre-ordering and will be available in stores and online worldwide in January of 2020.