I have just uploaded a video that shows how to weave Tiny Comfort Looms on Sharon Brener’s Swatch Looms.

Here’s the story of how this came to be:
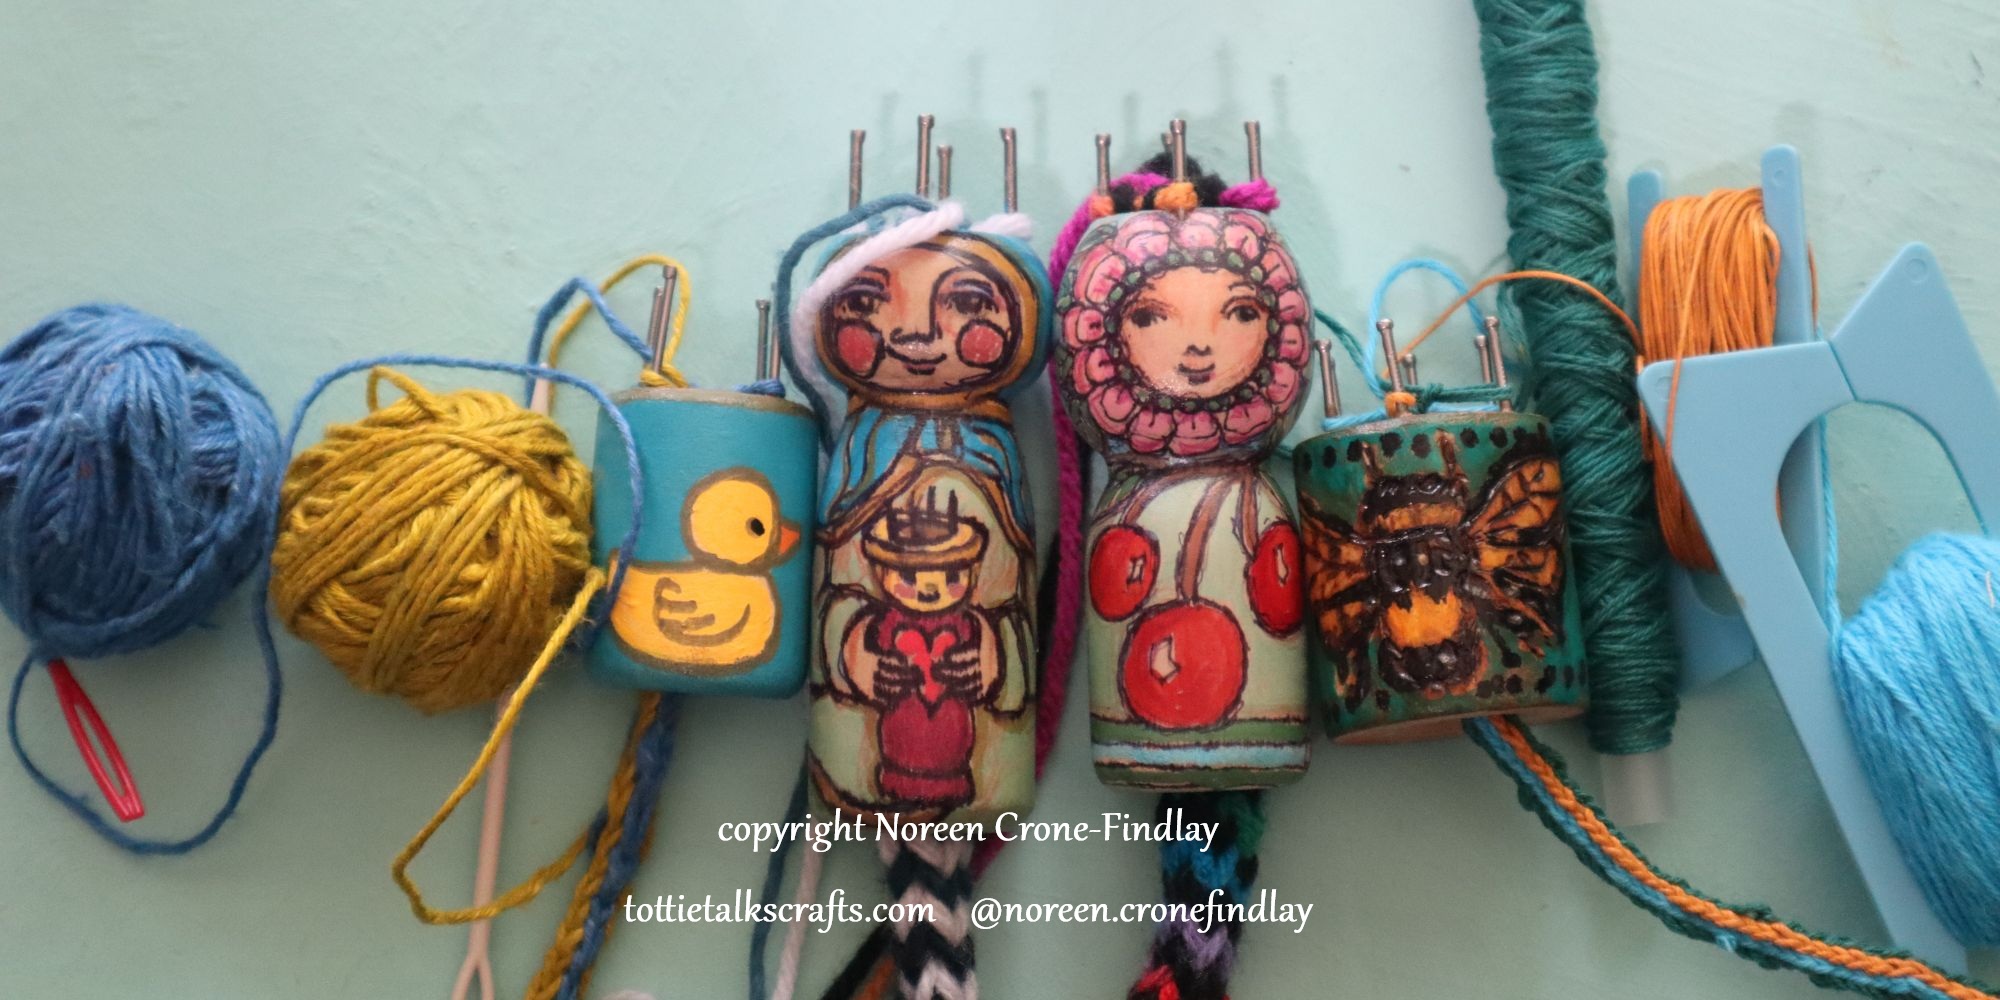
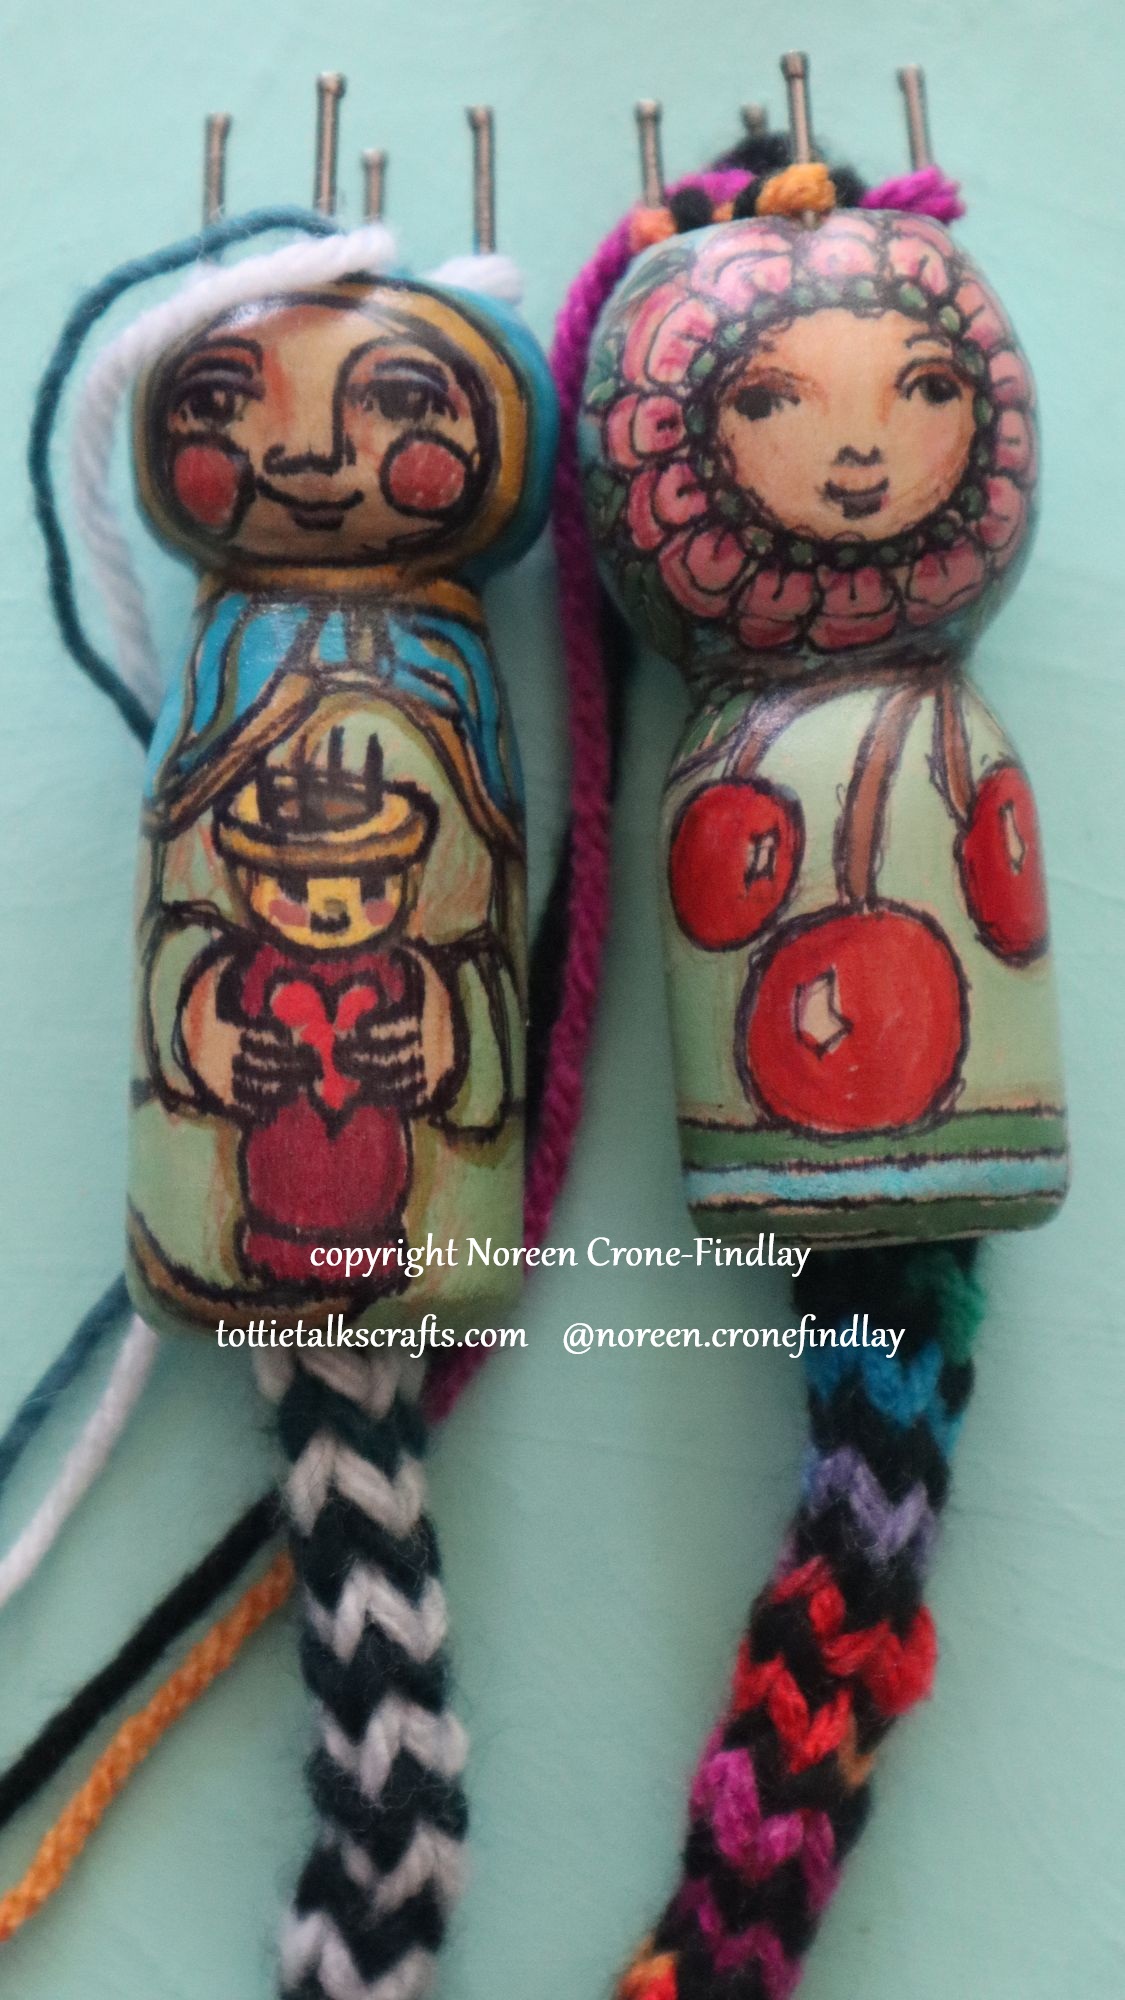
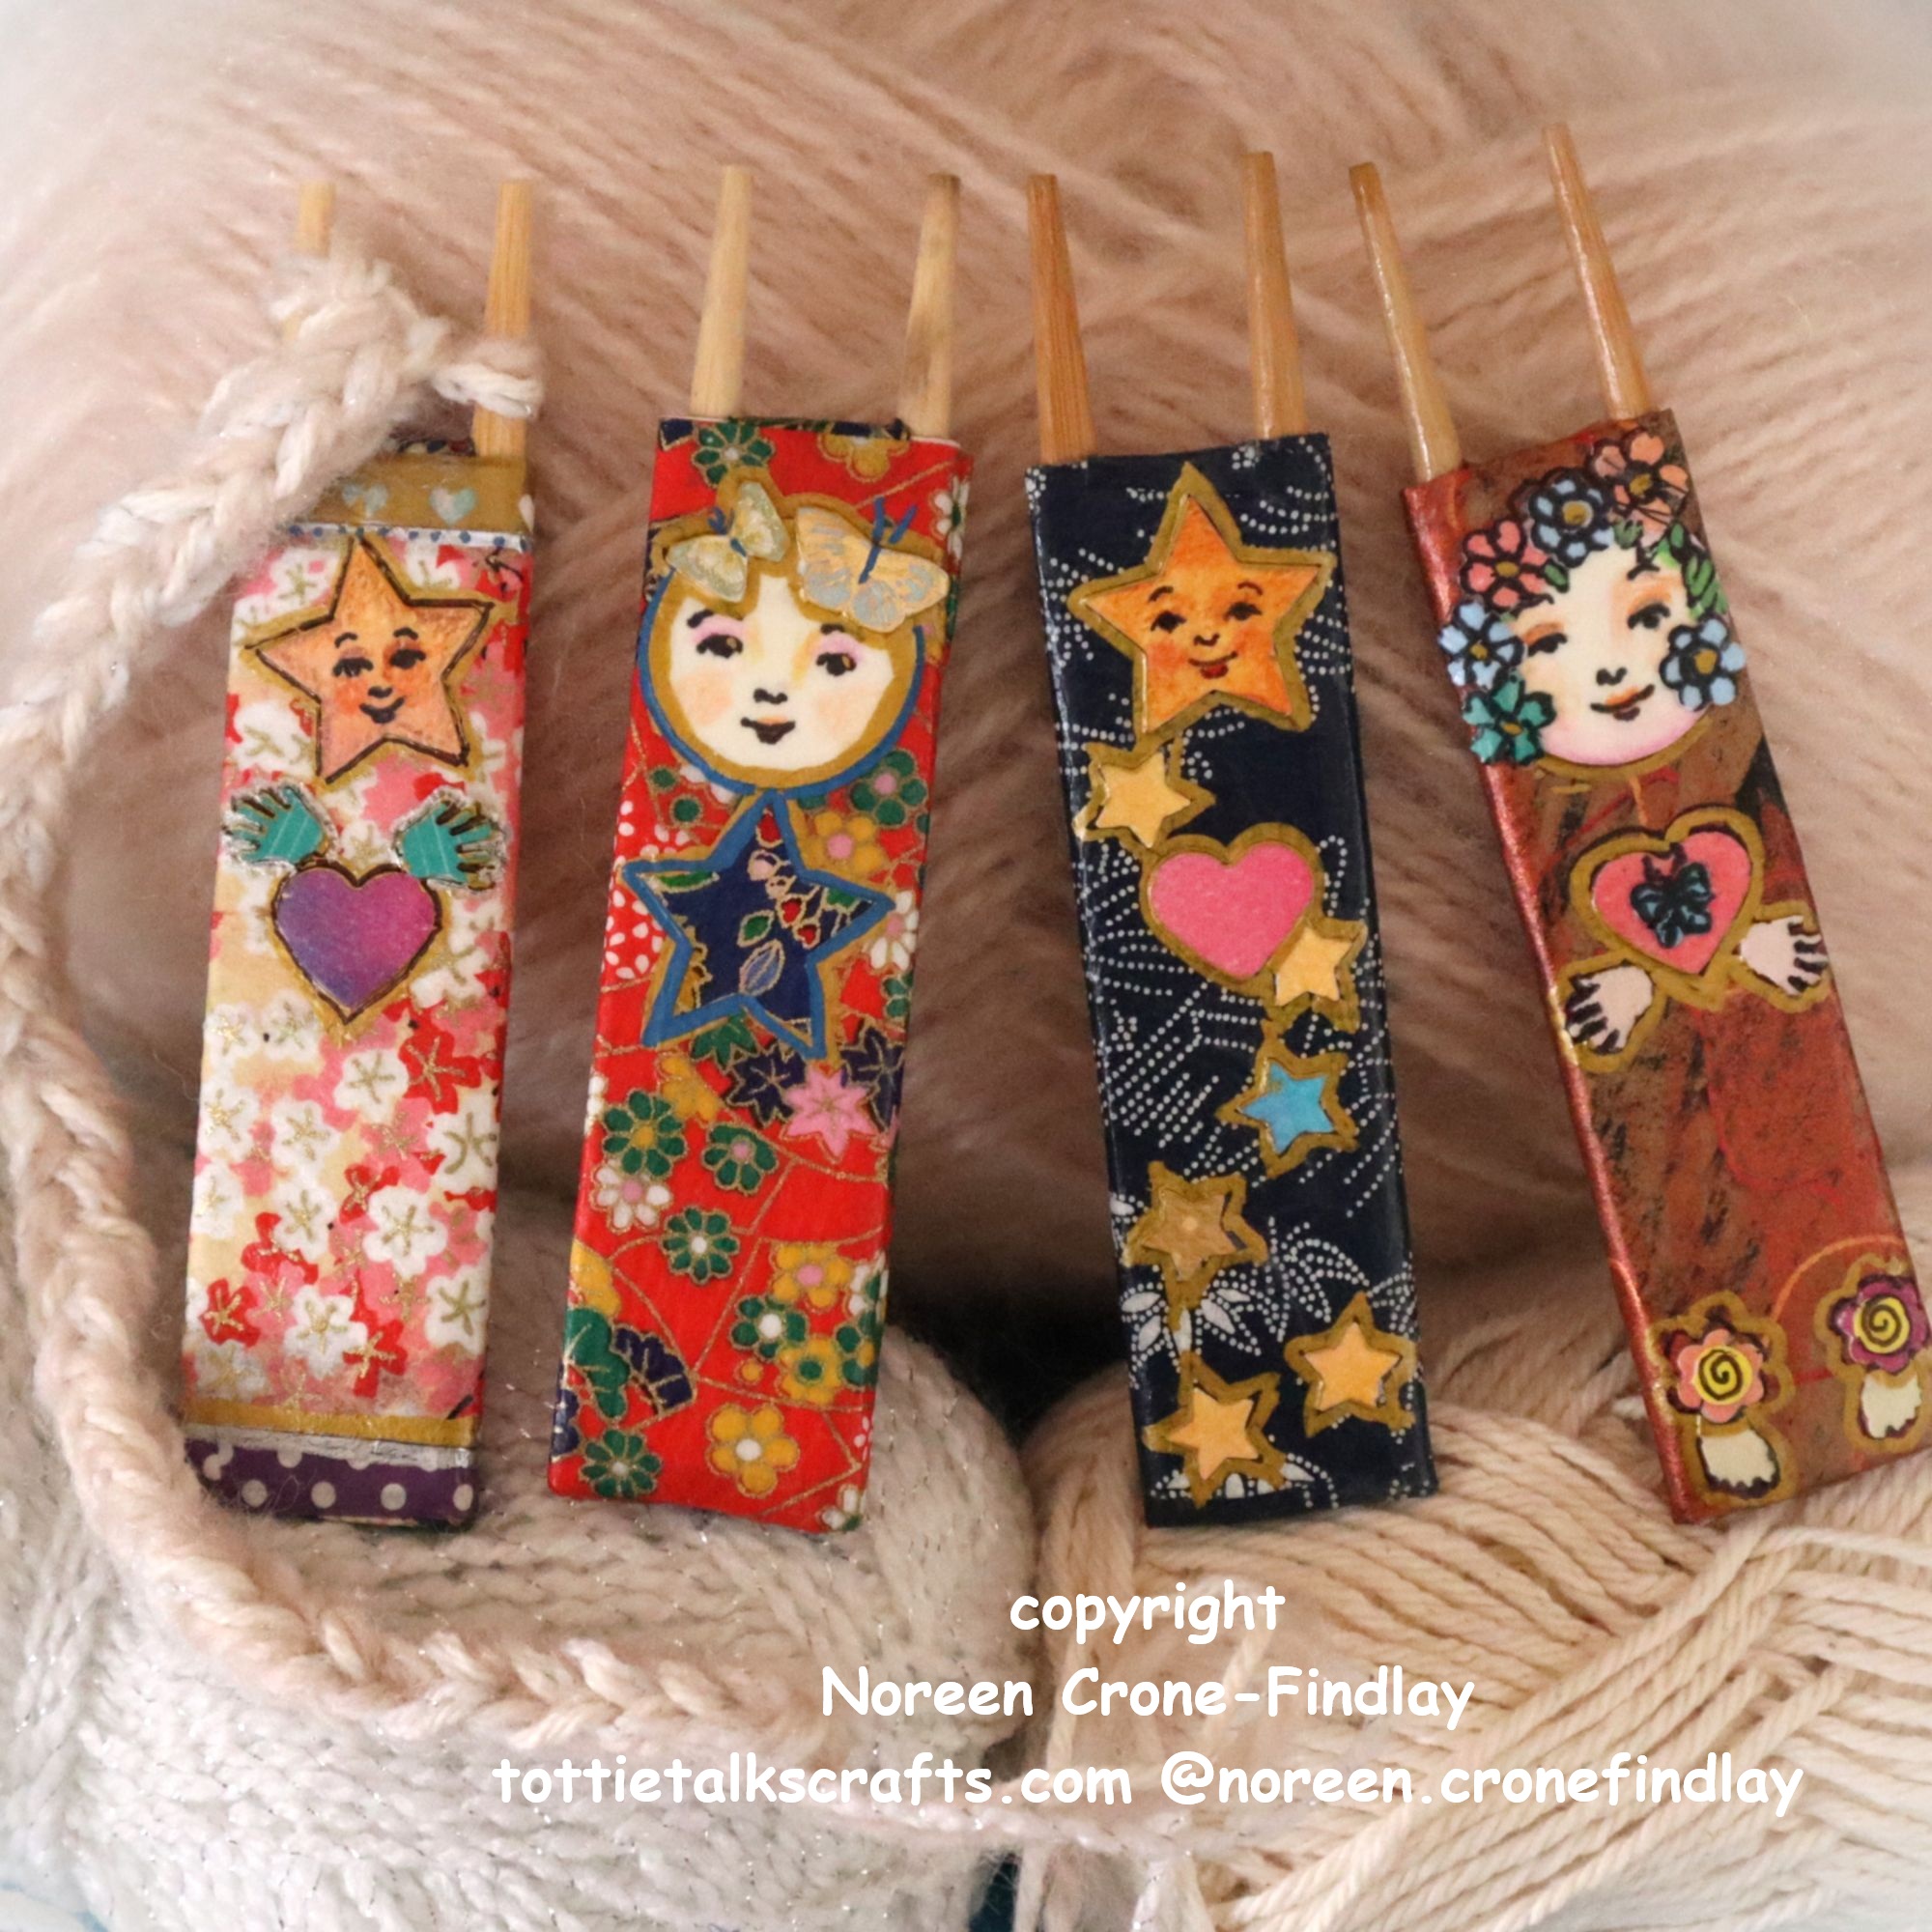
Instagram popped up a link to the delightful Swatch Looms created by Touchgrass Textiles (Sharon Brener) and I loved them!
I talked with Sharon, and we agreed that my book, Innovative Weaving on the Frame Loom would be a perfect resource for the Swatch Looms.
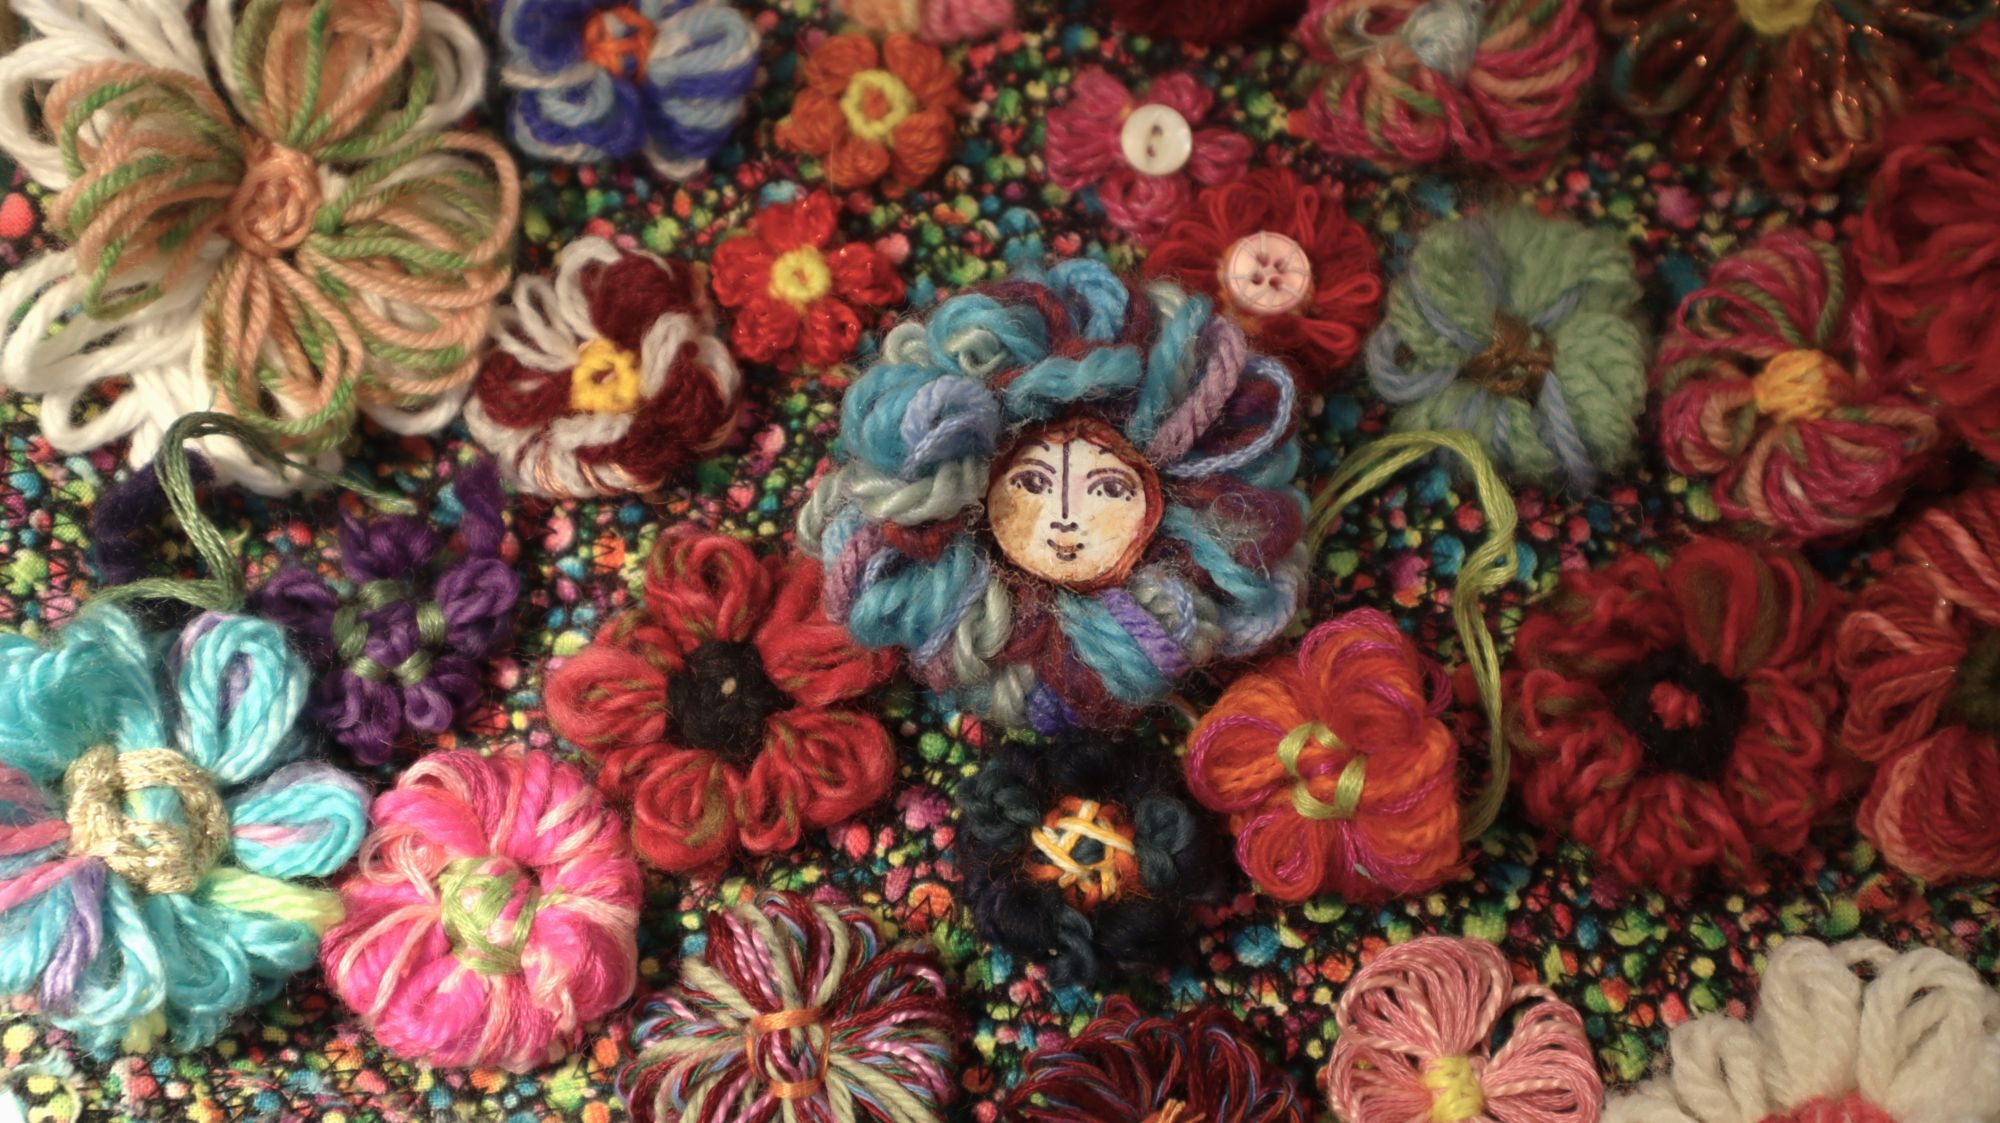
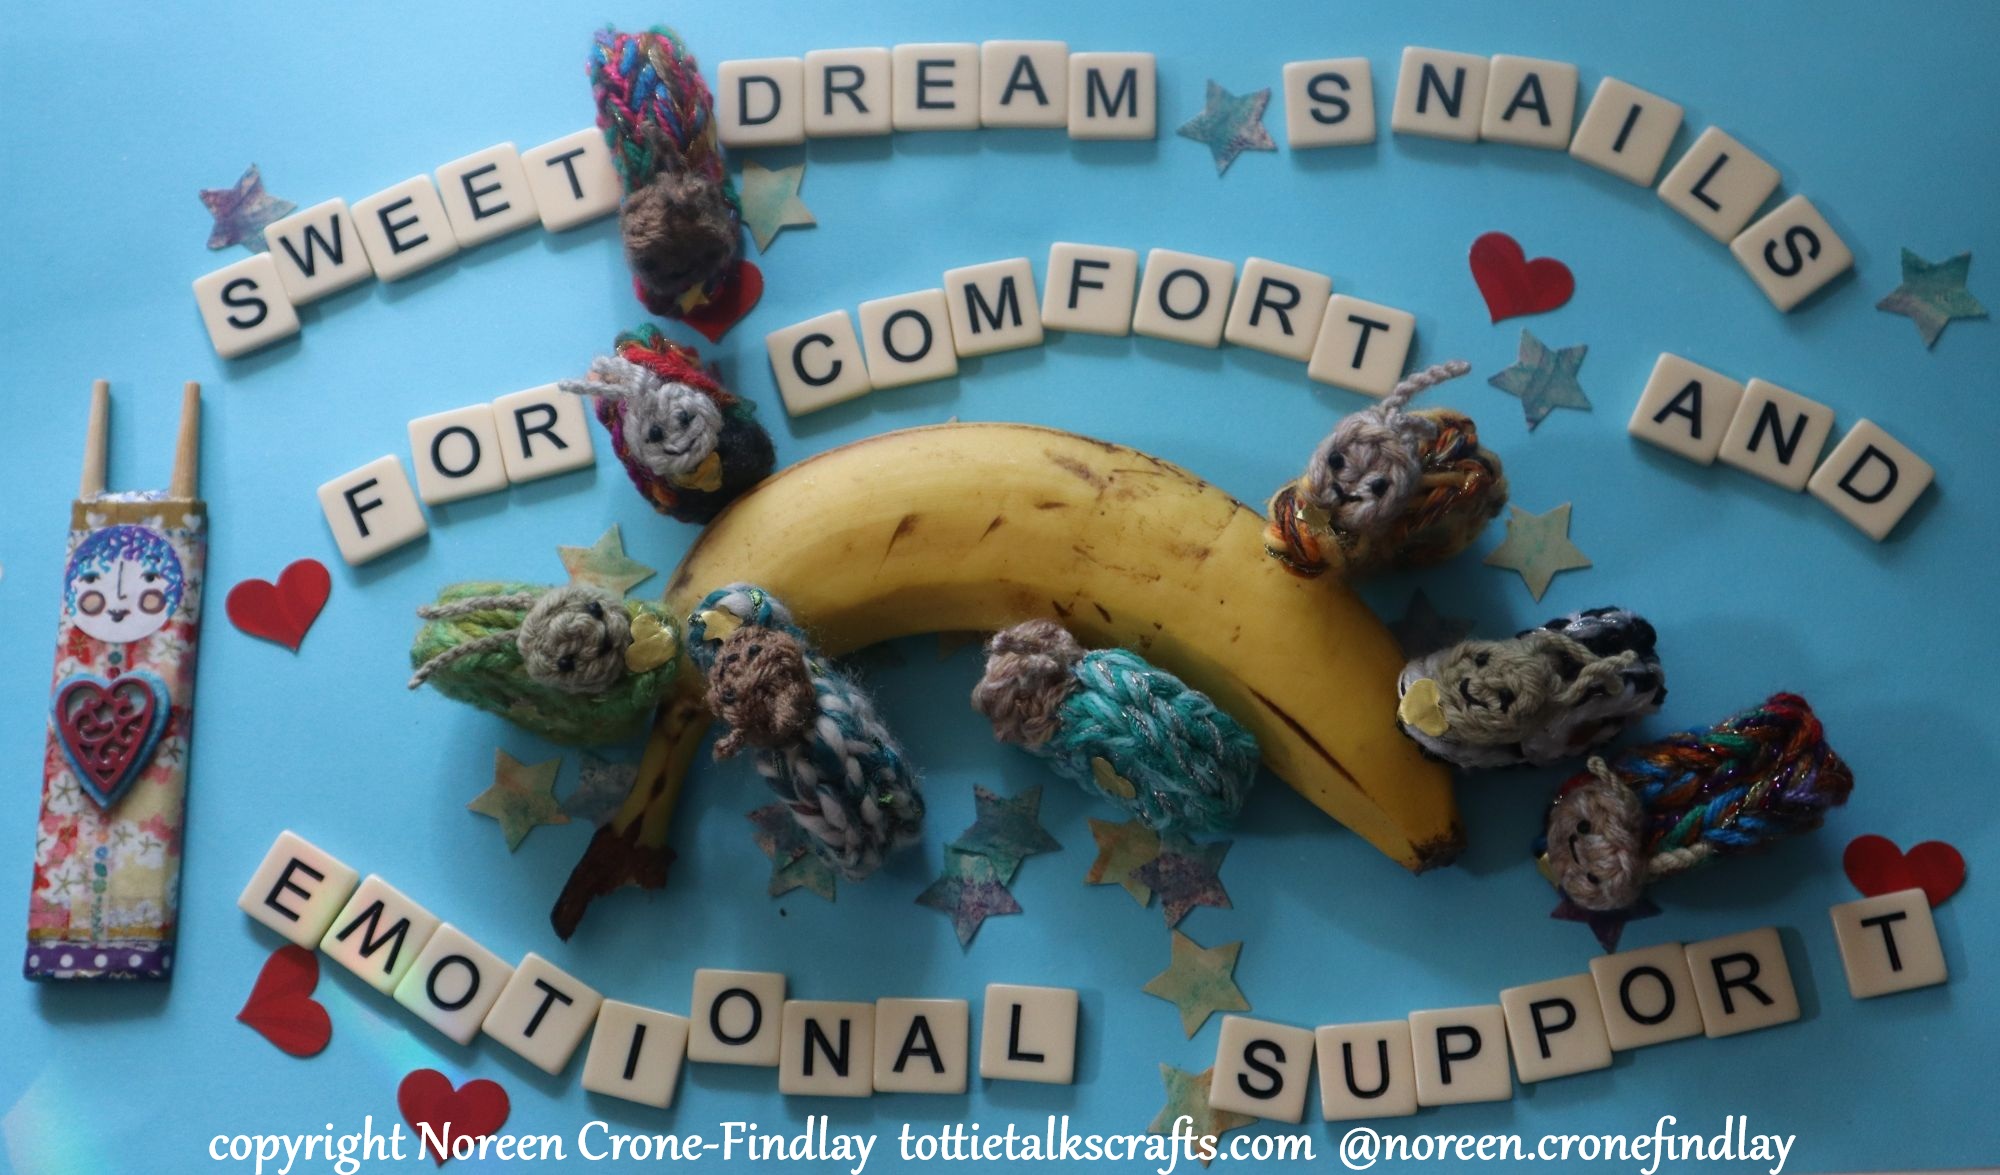
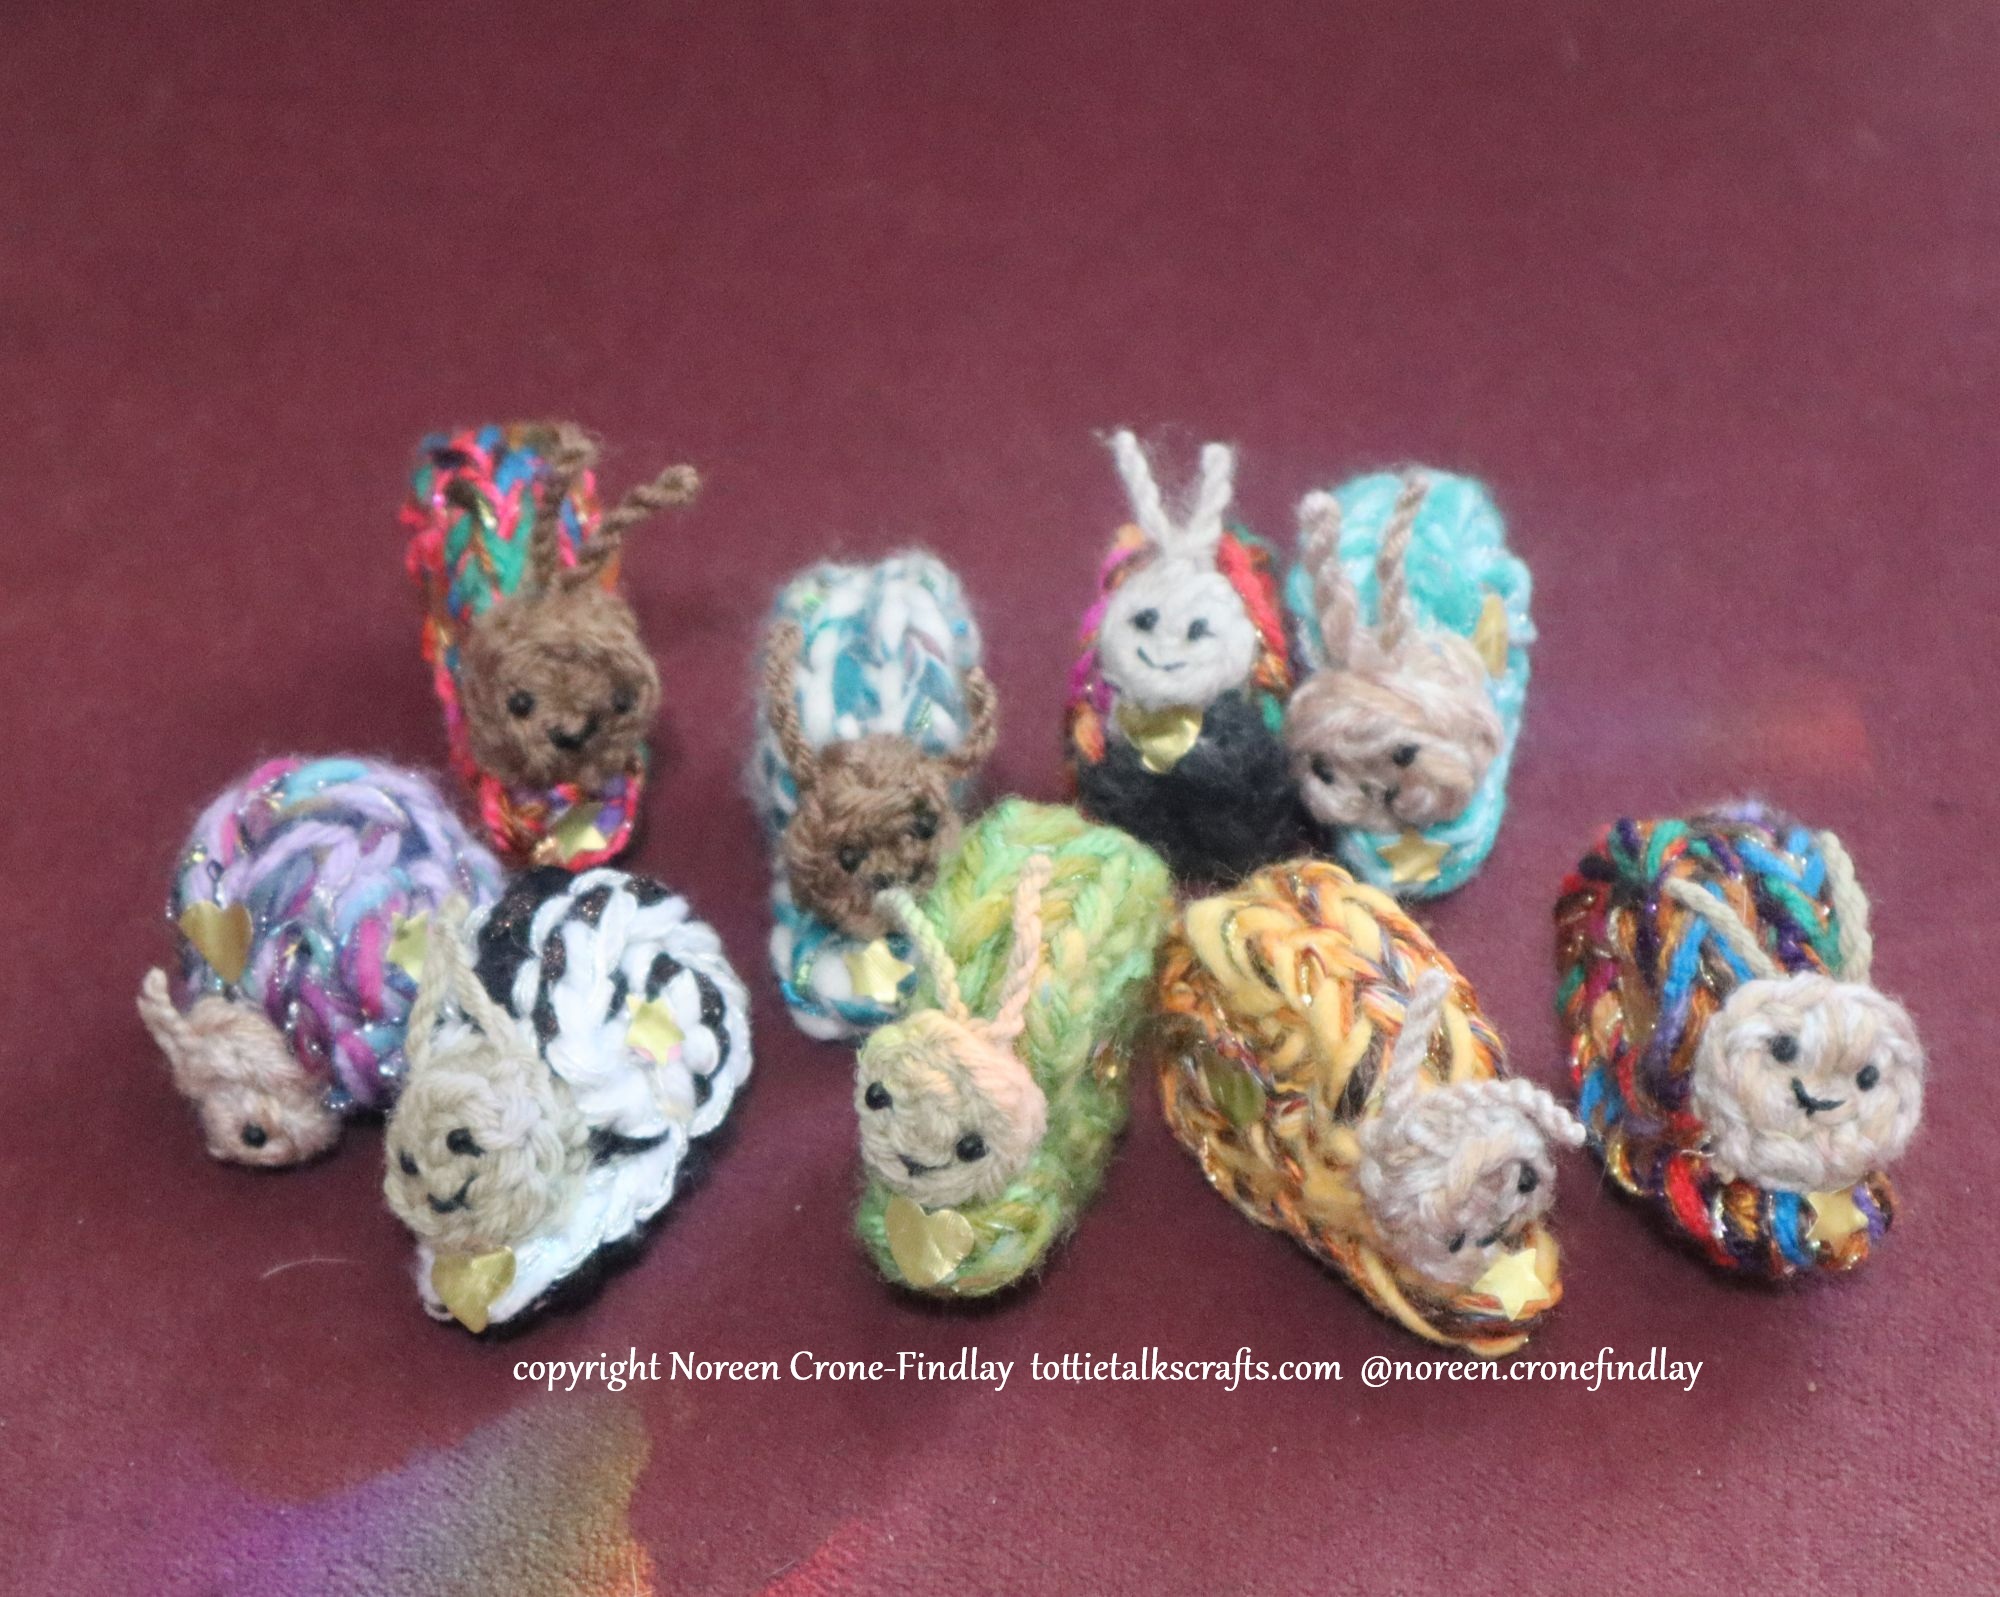
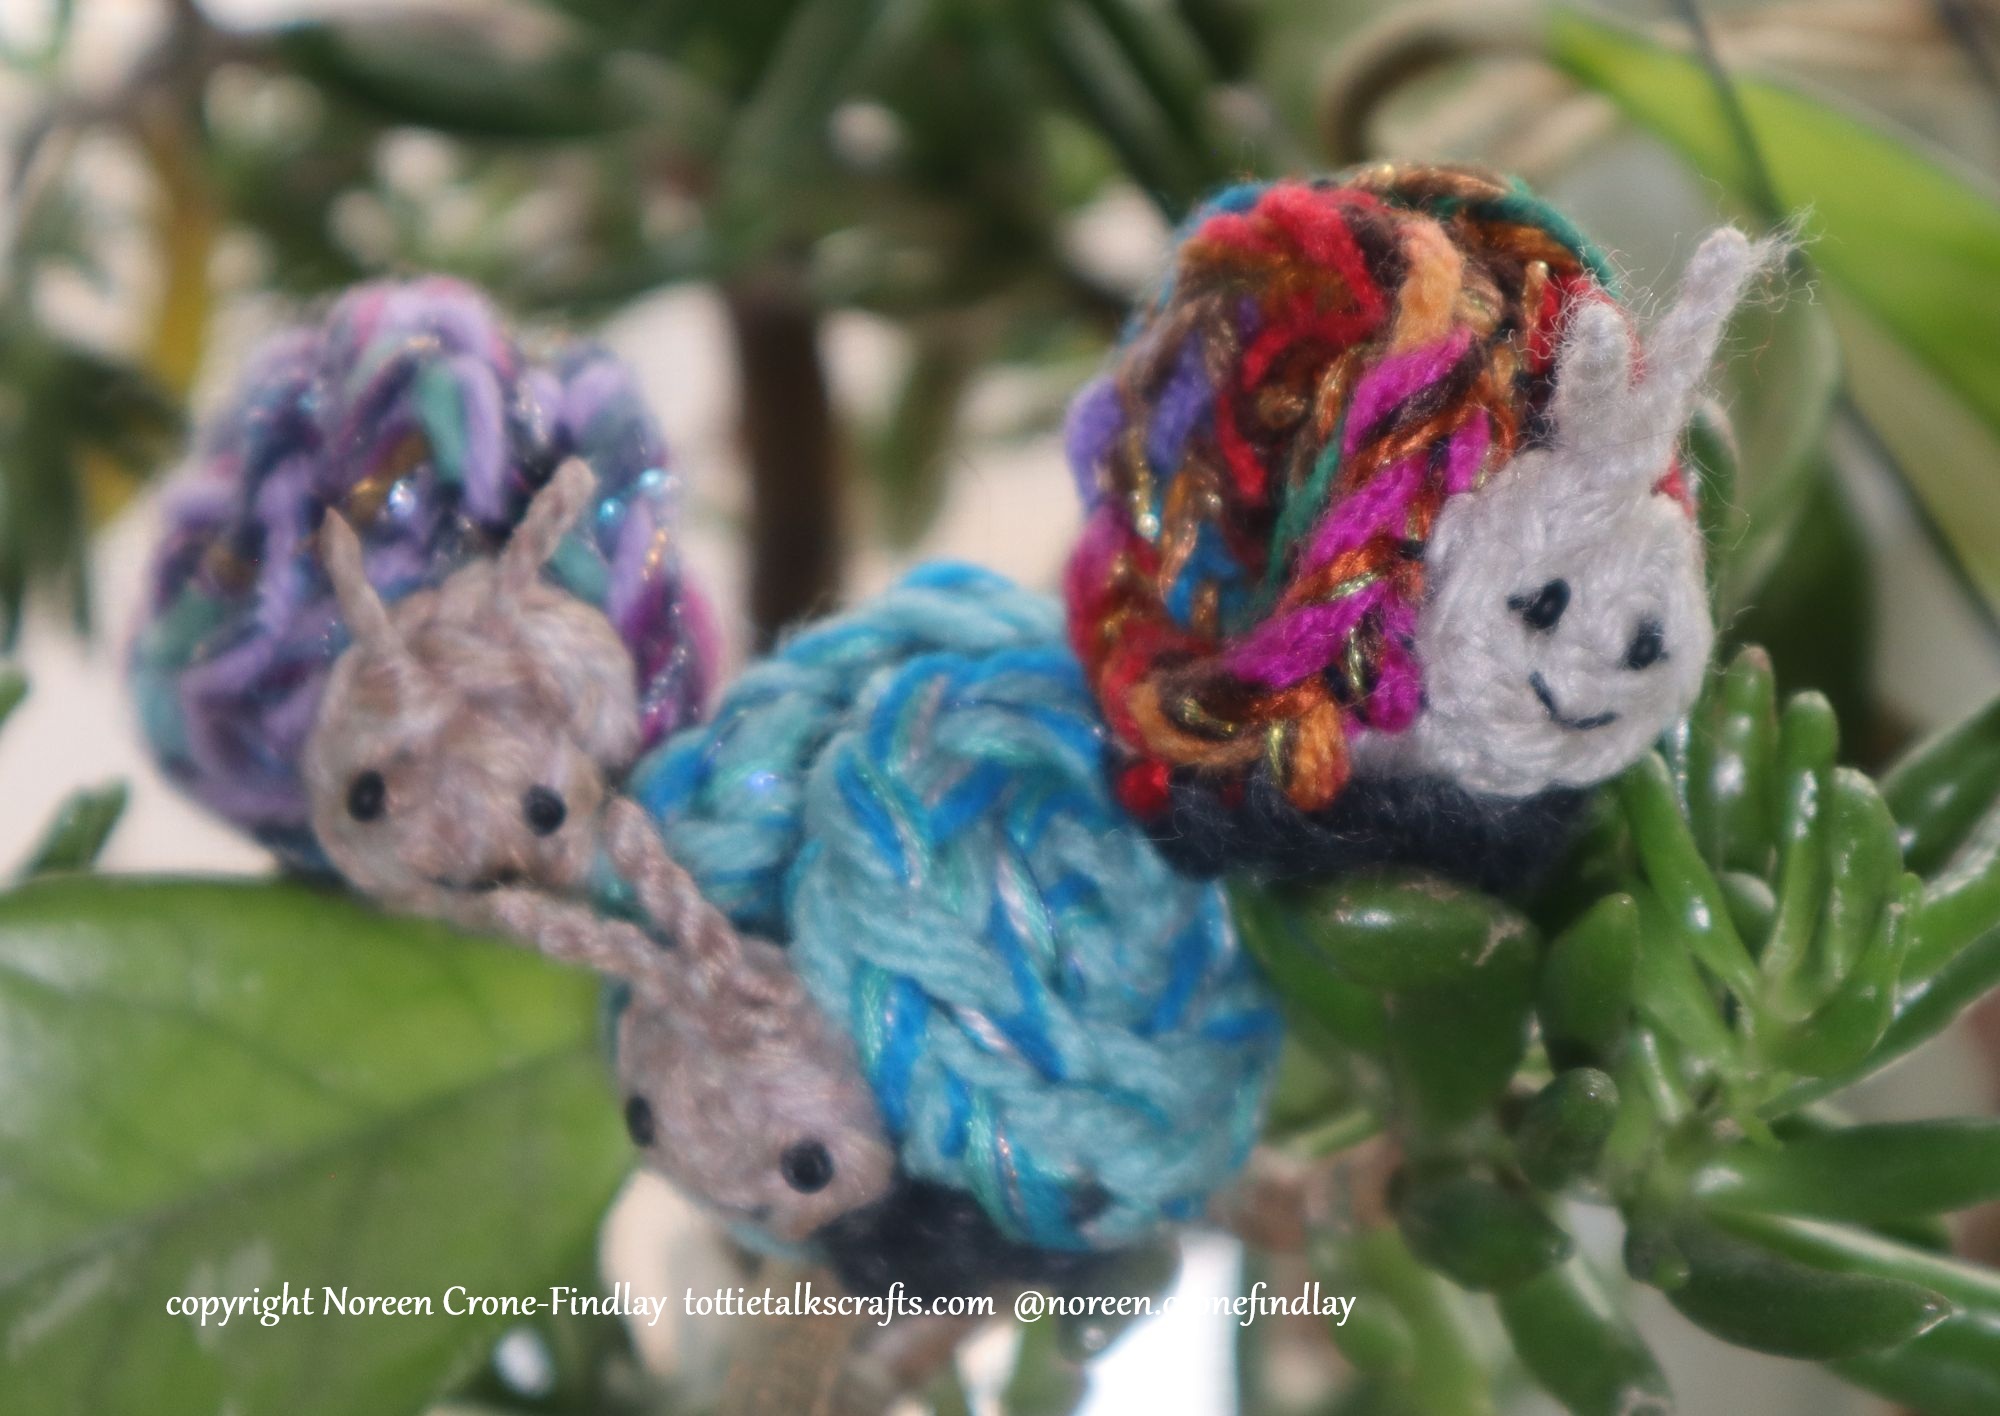
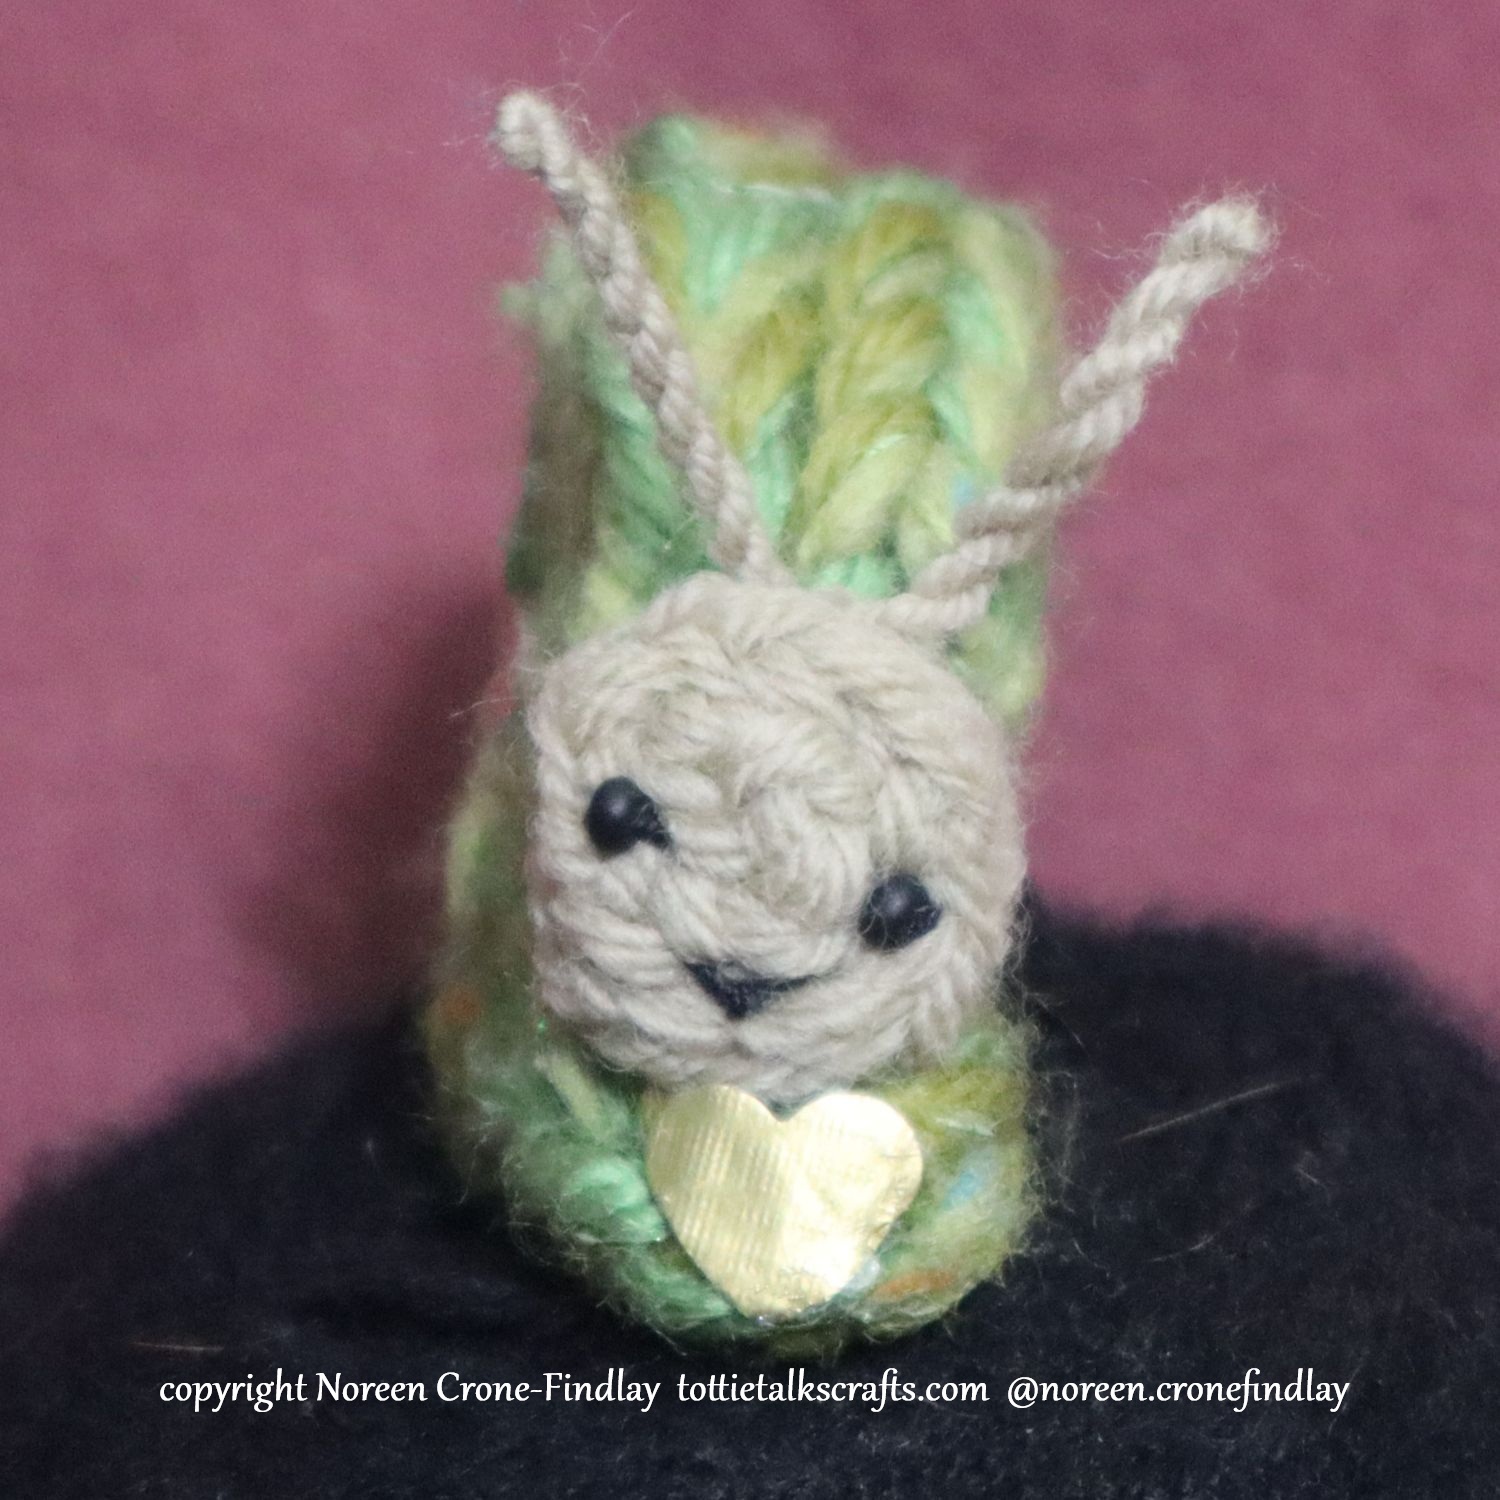
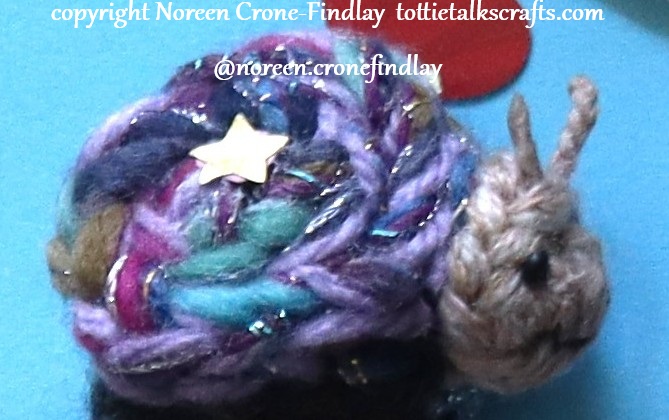
AND it struck me that the Swatch looms would be a great choice for people who wanted to weave the wonderful little treasures that I designed for the Weaving Kindness Project,
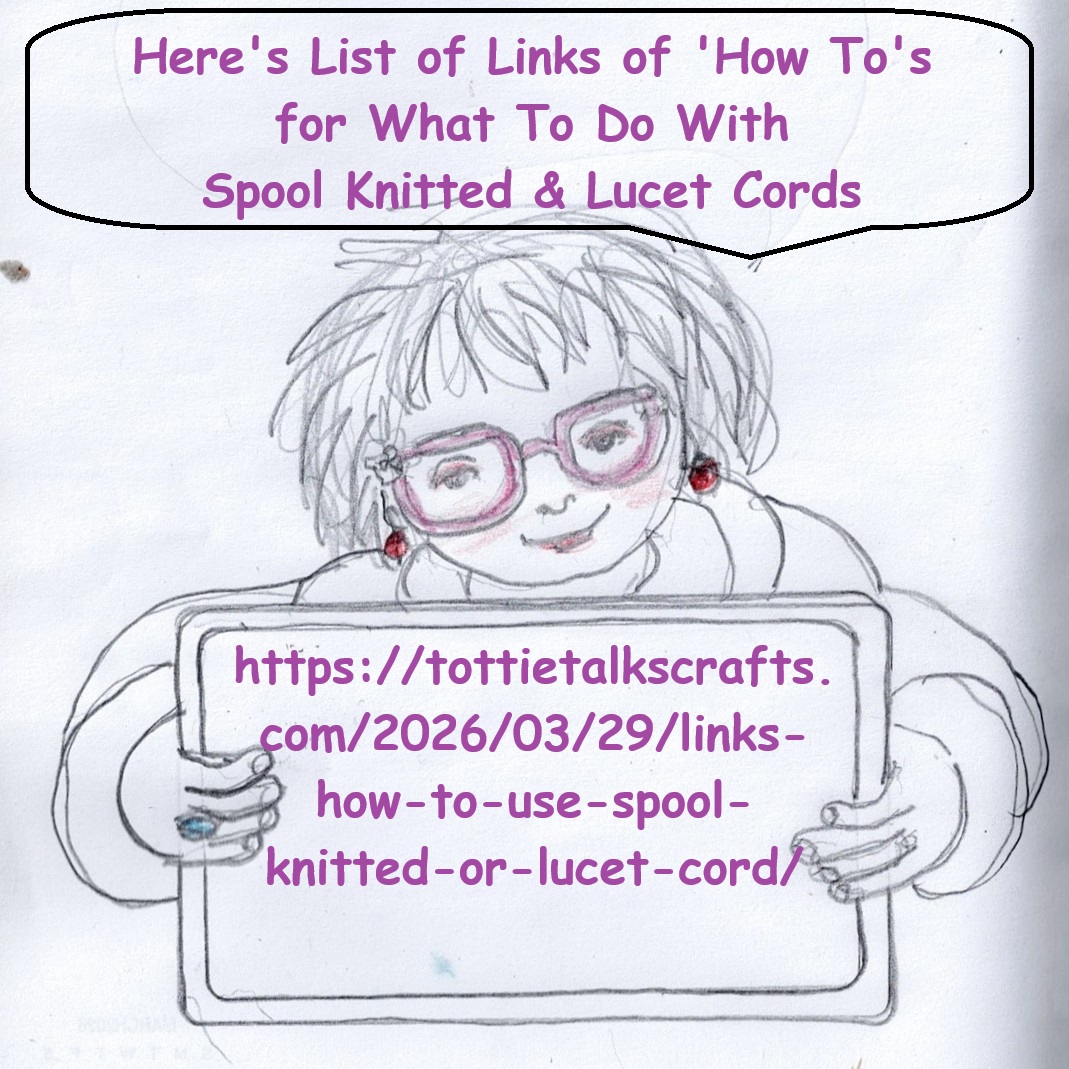
The link for that is: https://tottietalkscrafts.com/2025/02/23/my-kindness-pin-loom-project/
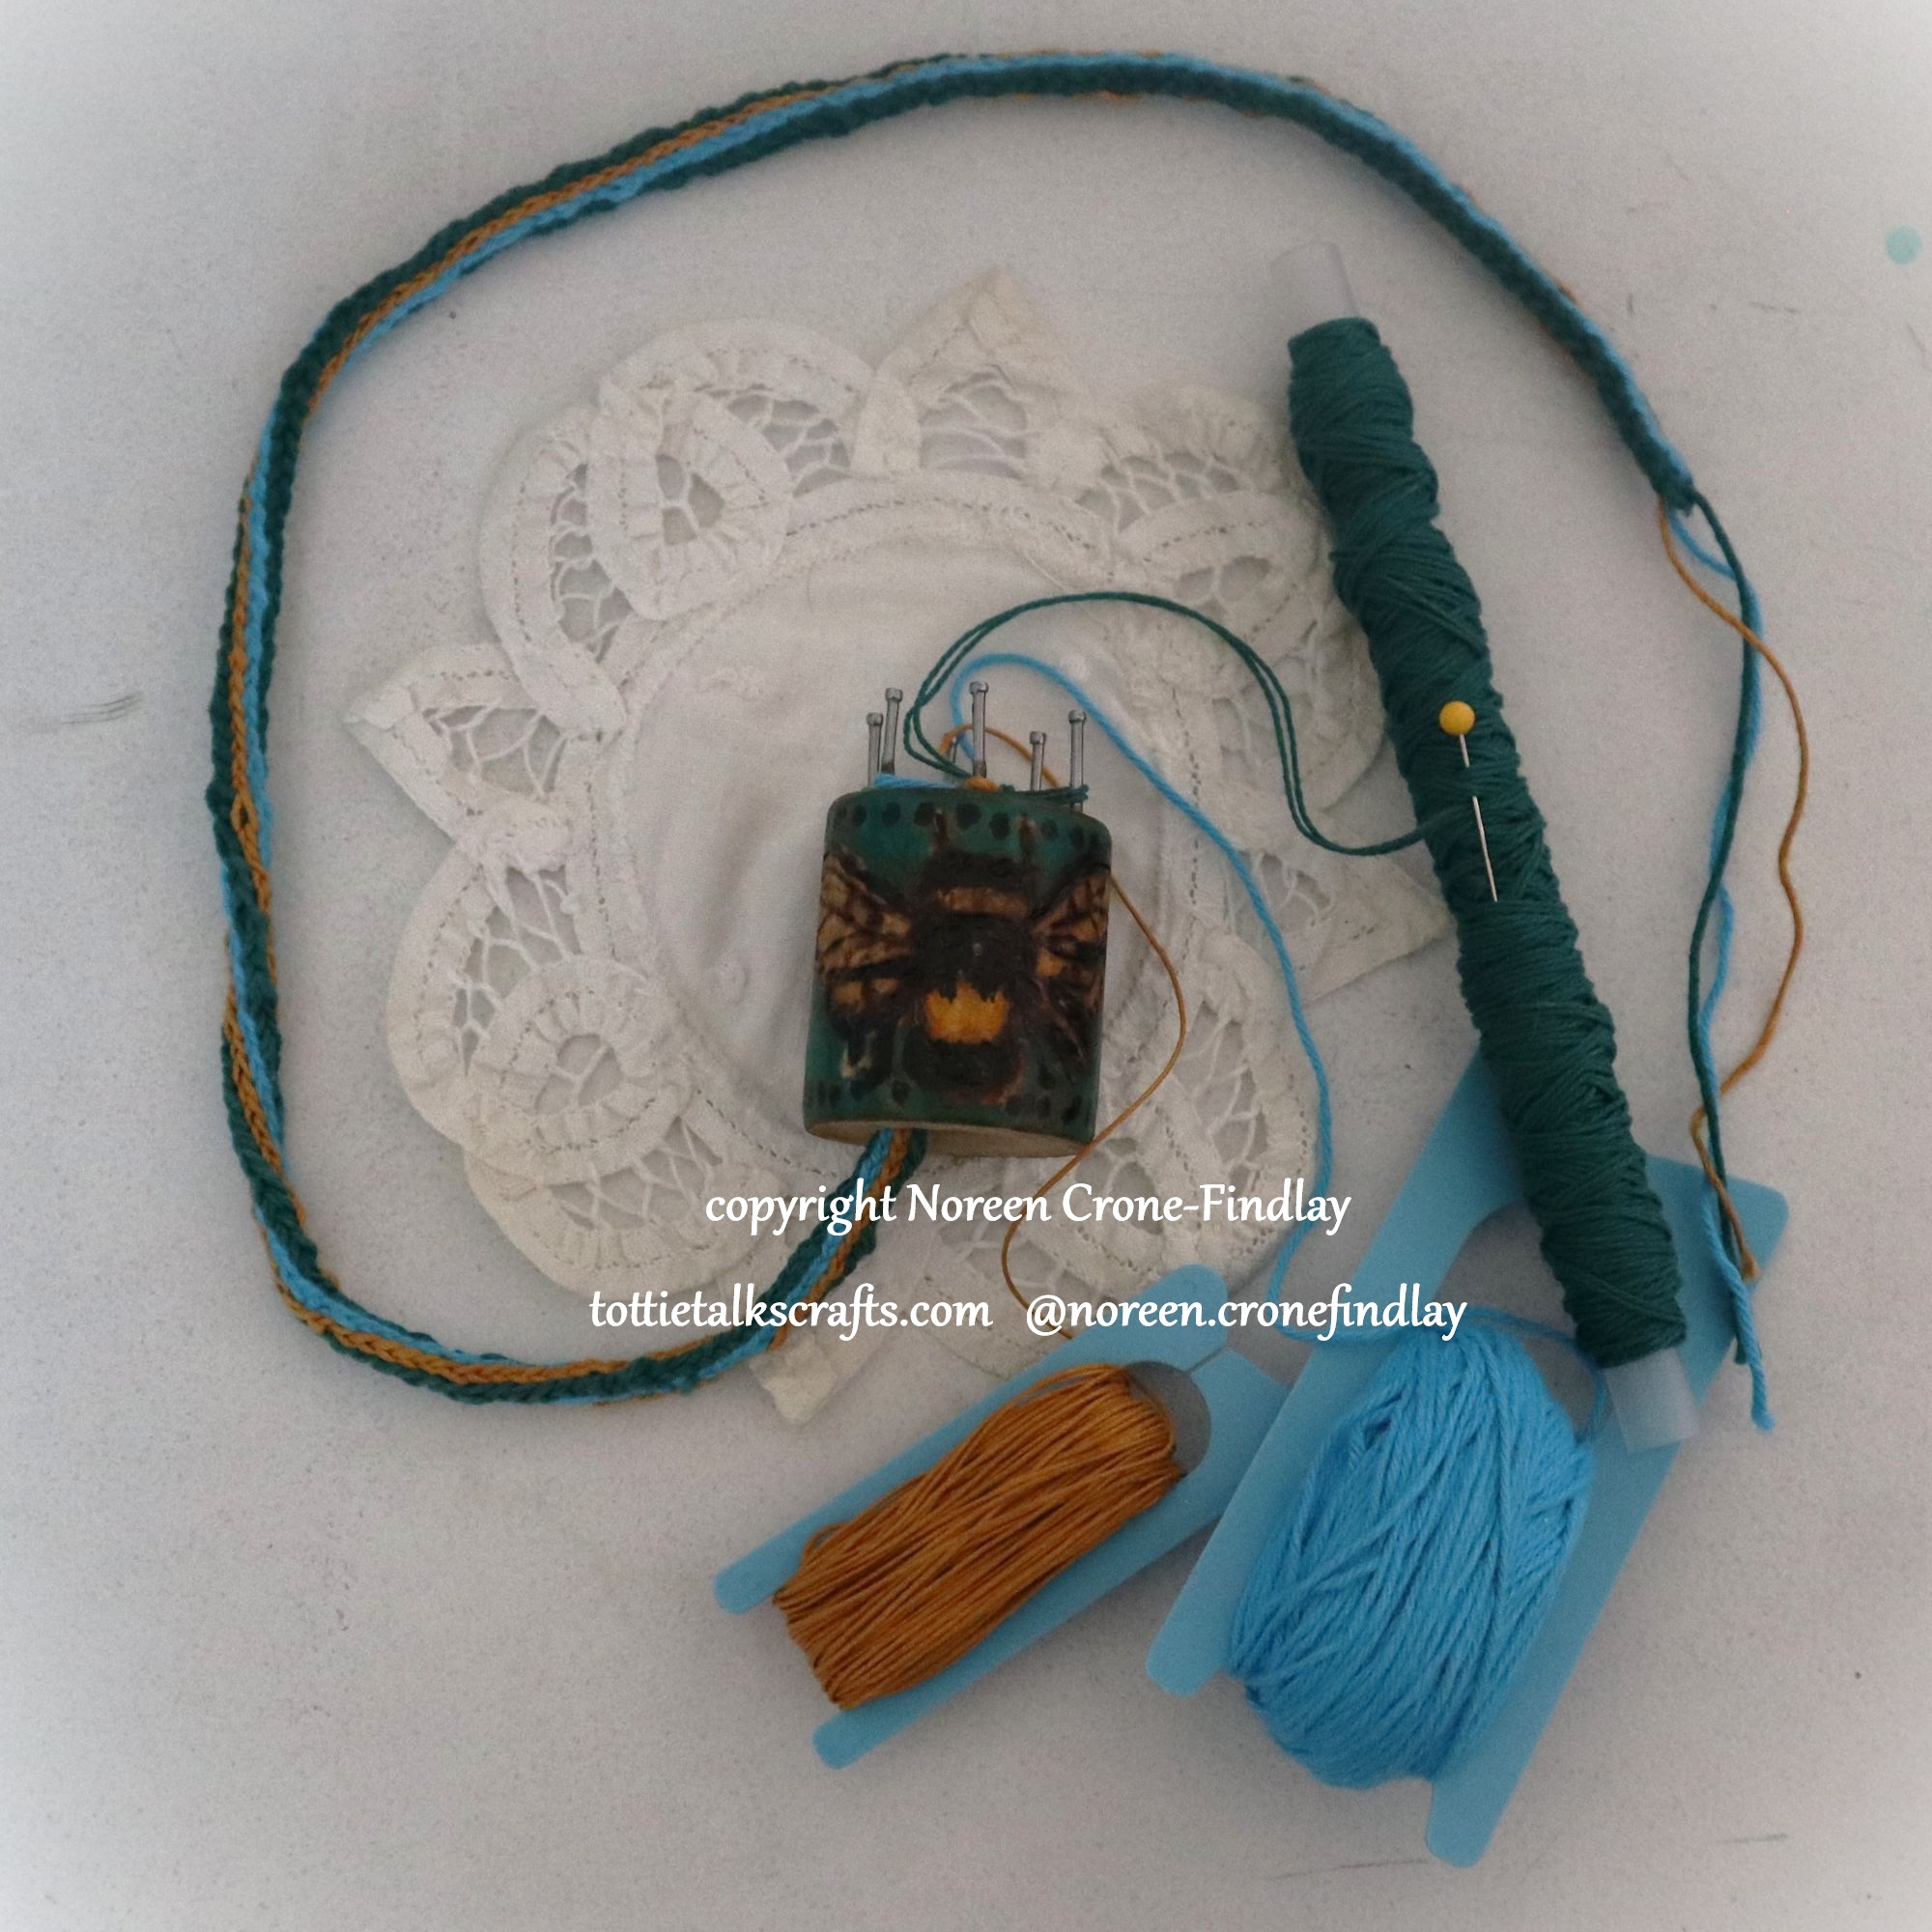
The Swatch looms are a little bit bigger than the Kindness looms, but the projects are totally doable on them.
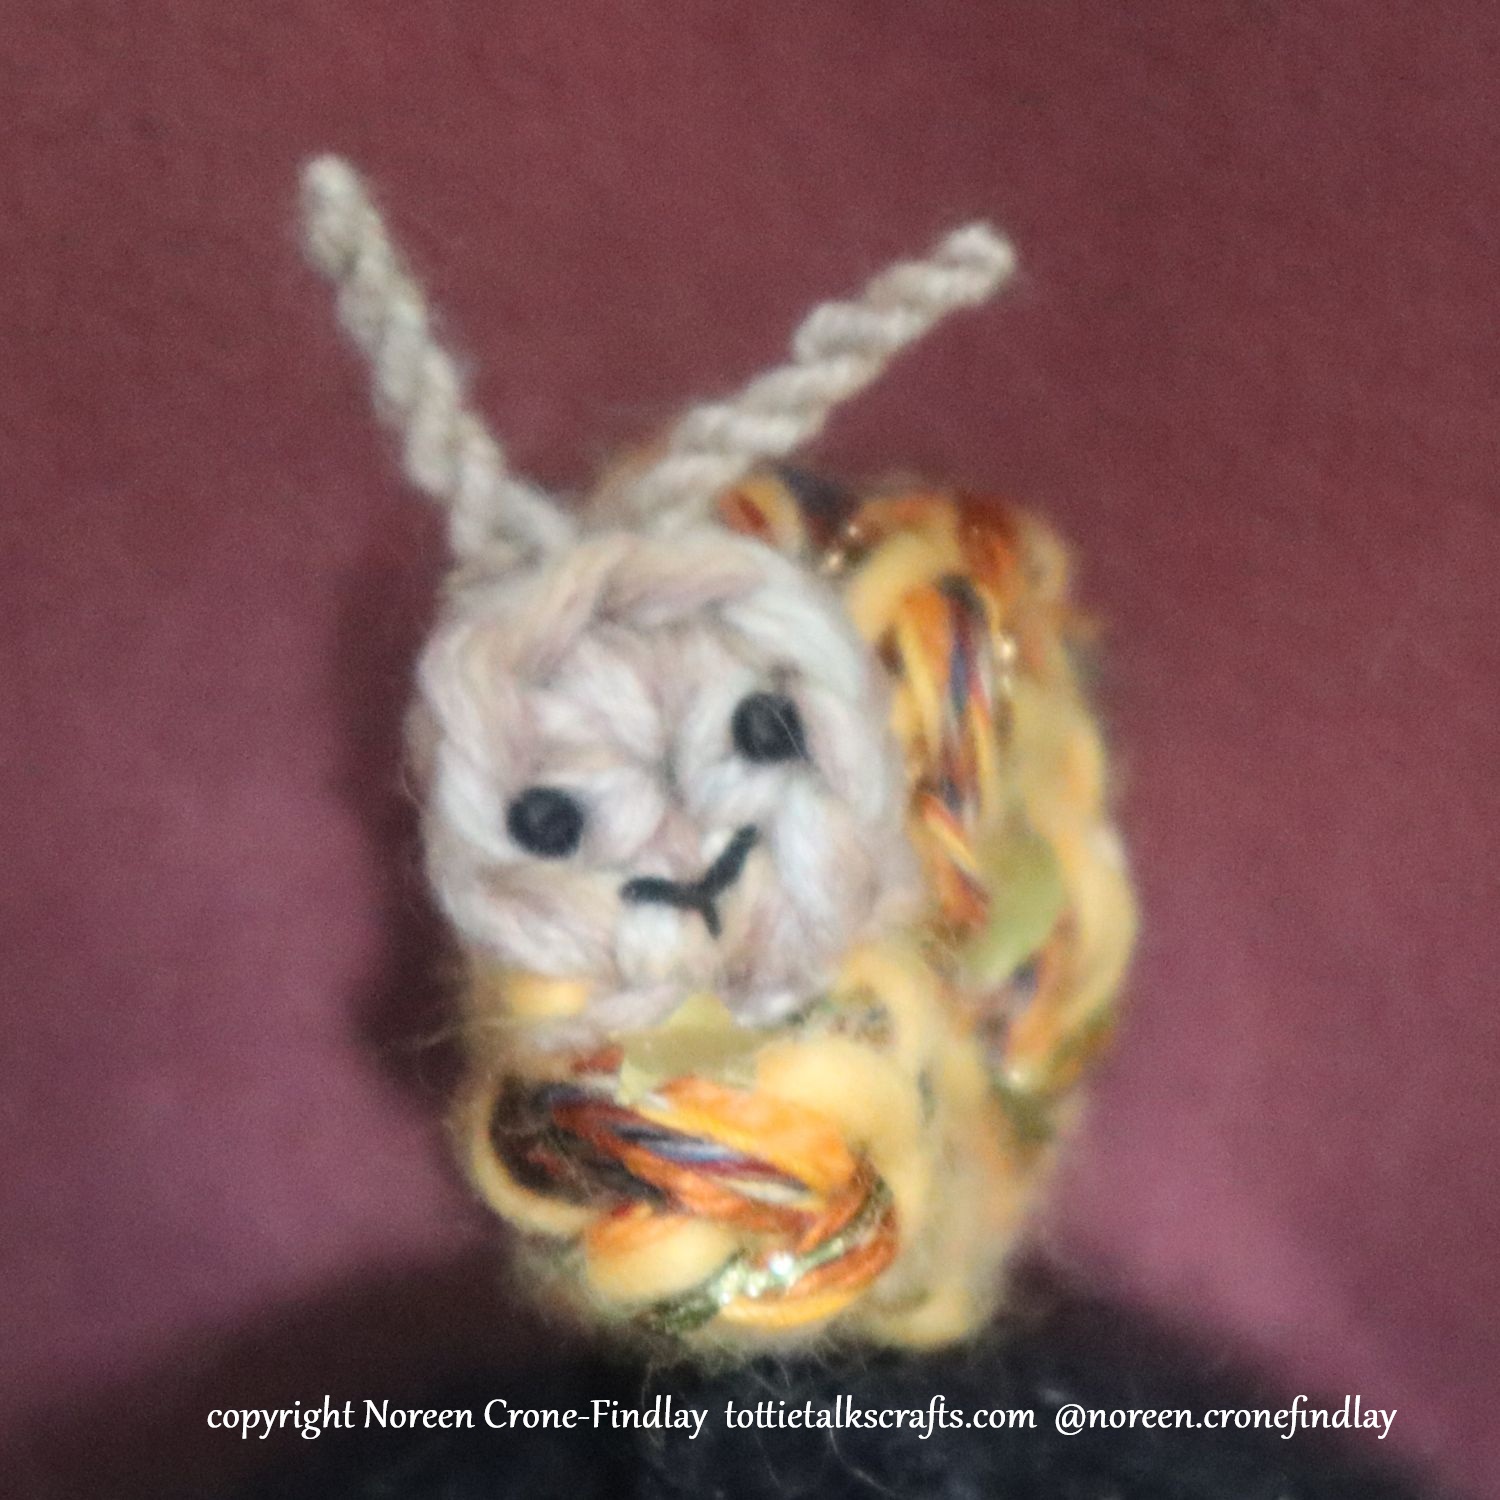
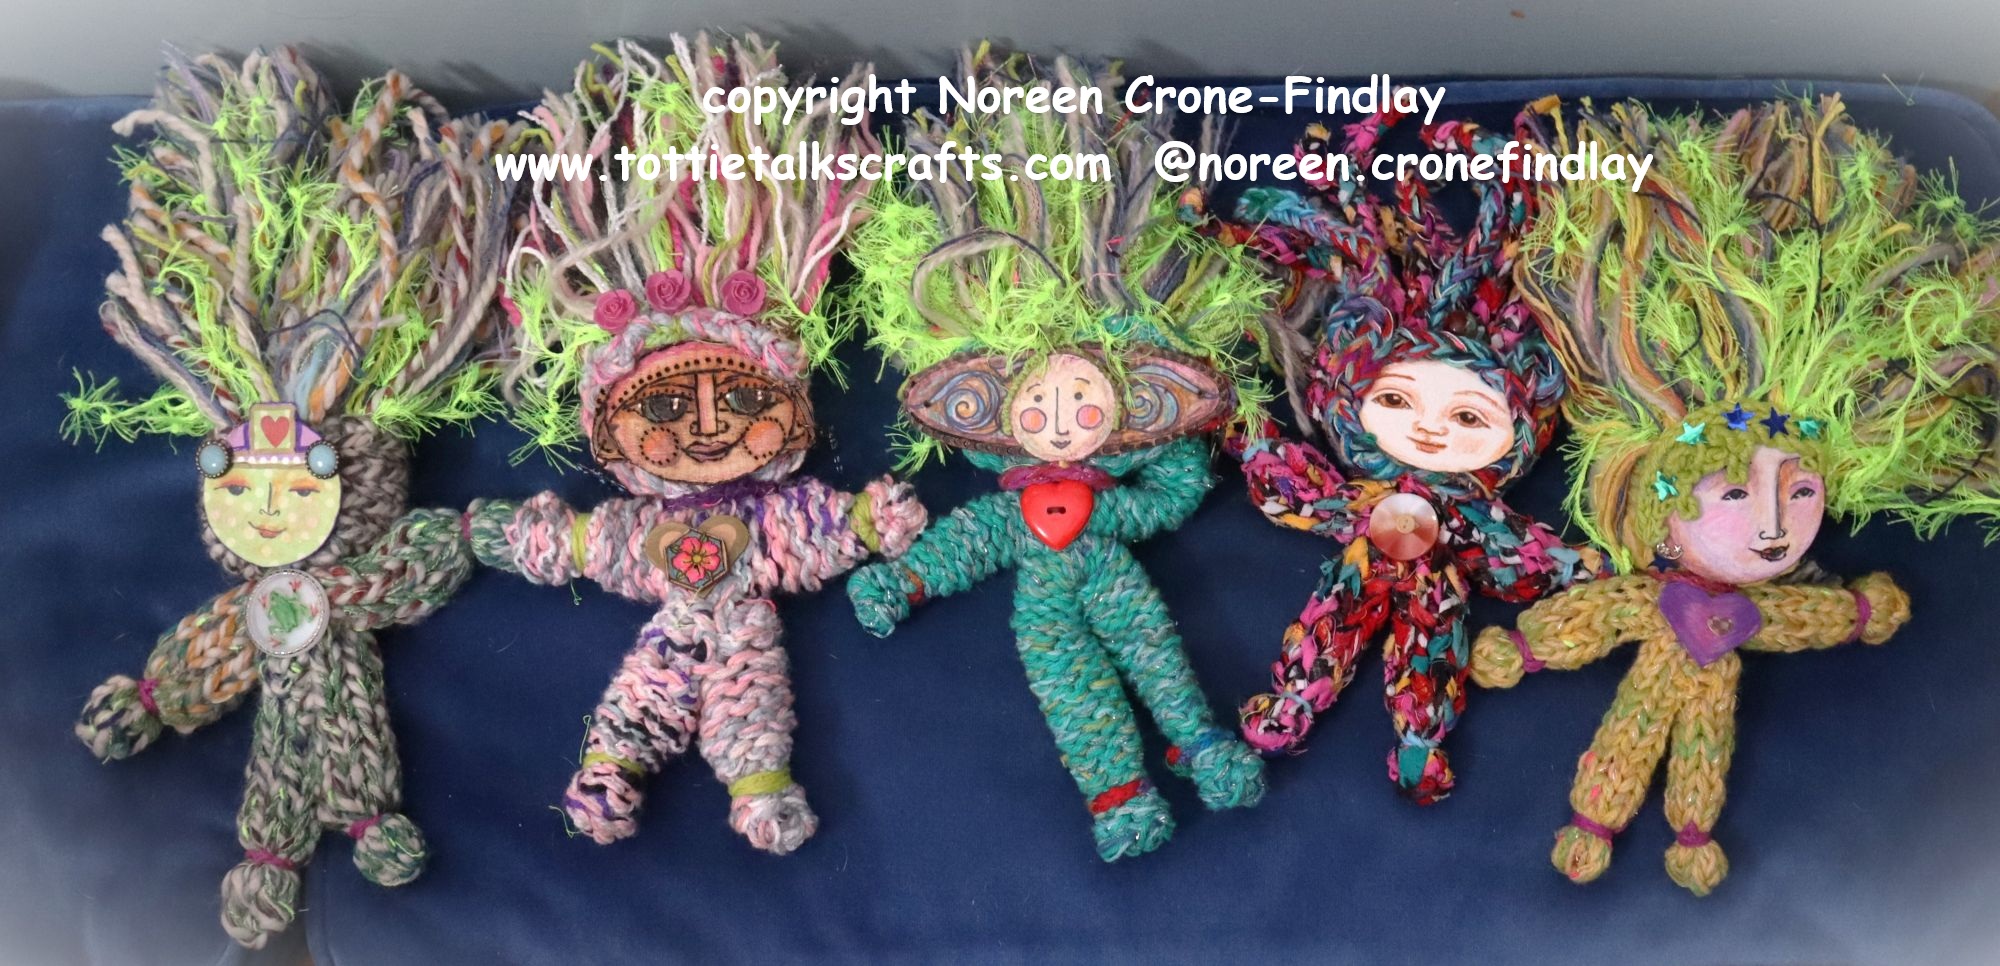
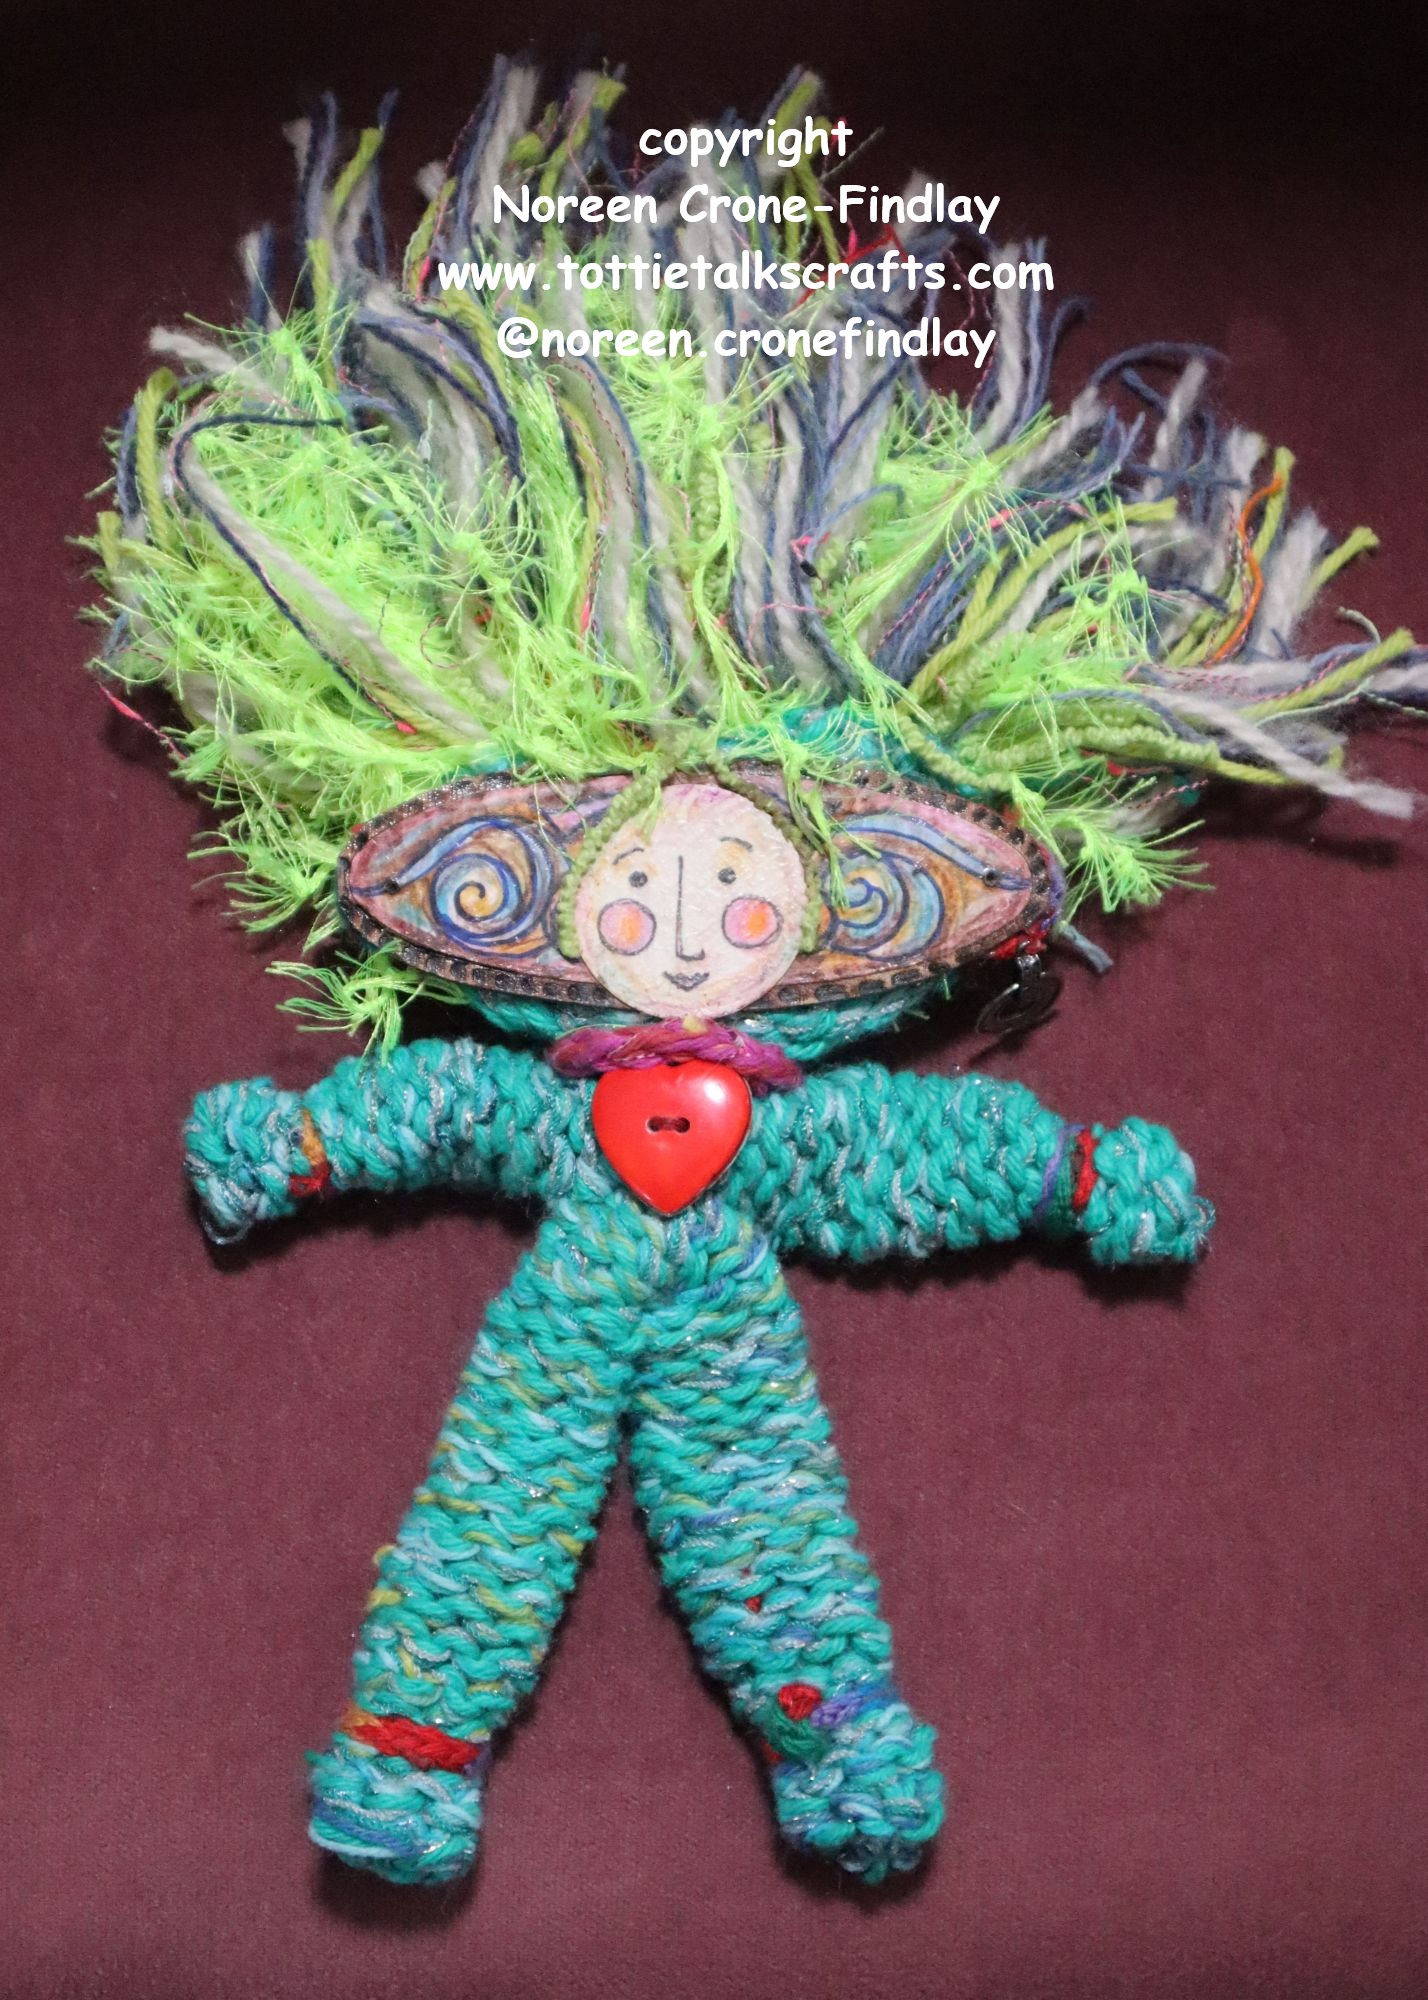
I have been having a lovely time designing Tiny Woven Comfort Bears on the Swatch looms, using techniques from Innovative Weaving on the Frame Loom (written by me and available at all online booksellers).
The techniques that I present are different from the way that Sharon works with the Swatch looms, but she said it was okay for me to show other ways of working with them.
BTW, I don’t profit or get paid for exploring the Swatch Looms- they are entirely Sharon Brener’s design and sole intellectual property and we are not affiliated.
The Tiny Comfort Bear is my design and is my copyright design, and I hope that you will enjoy making them and that they will bring you all kinds of happiness!!!!
Happy Weaving! Ah! the joy of teeny looms! Yay!