Kindness is important, isn’t it?
When we offer a tiny handmade gift that shows another person that we care about them and that they matter, it is a small act but an essential one.
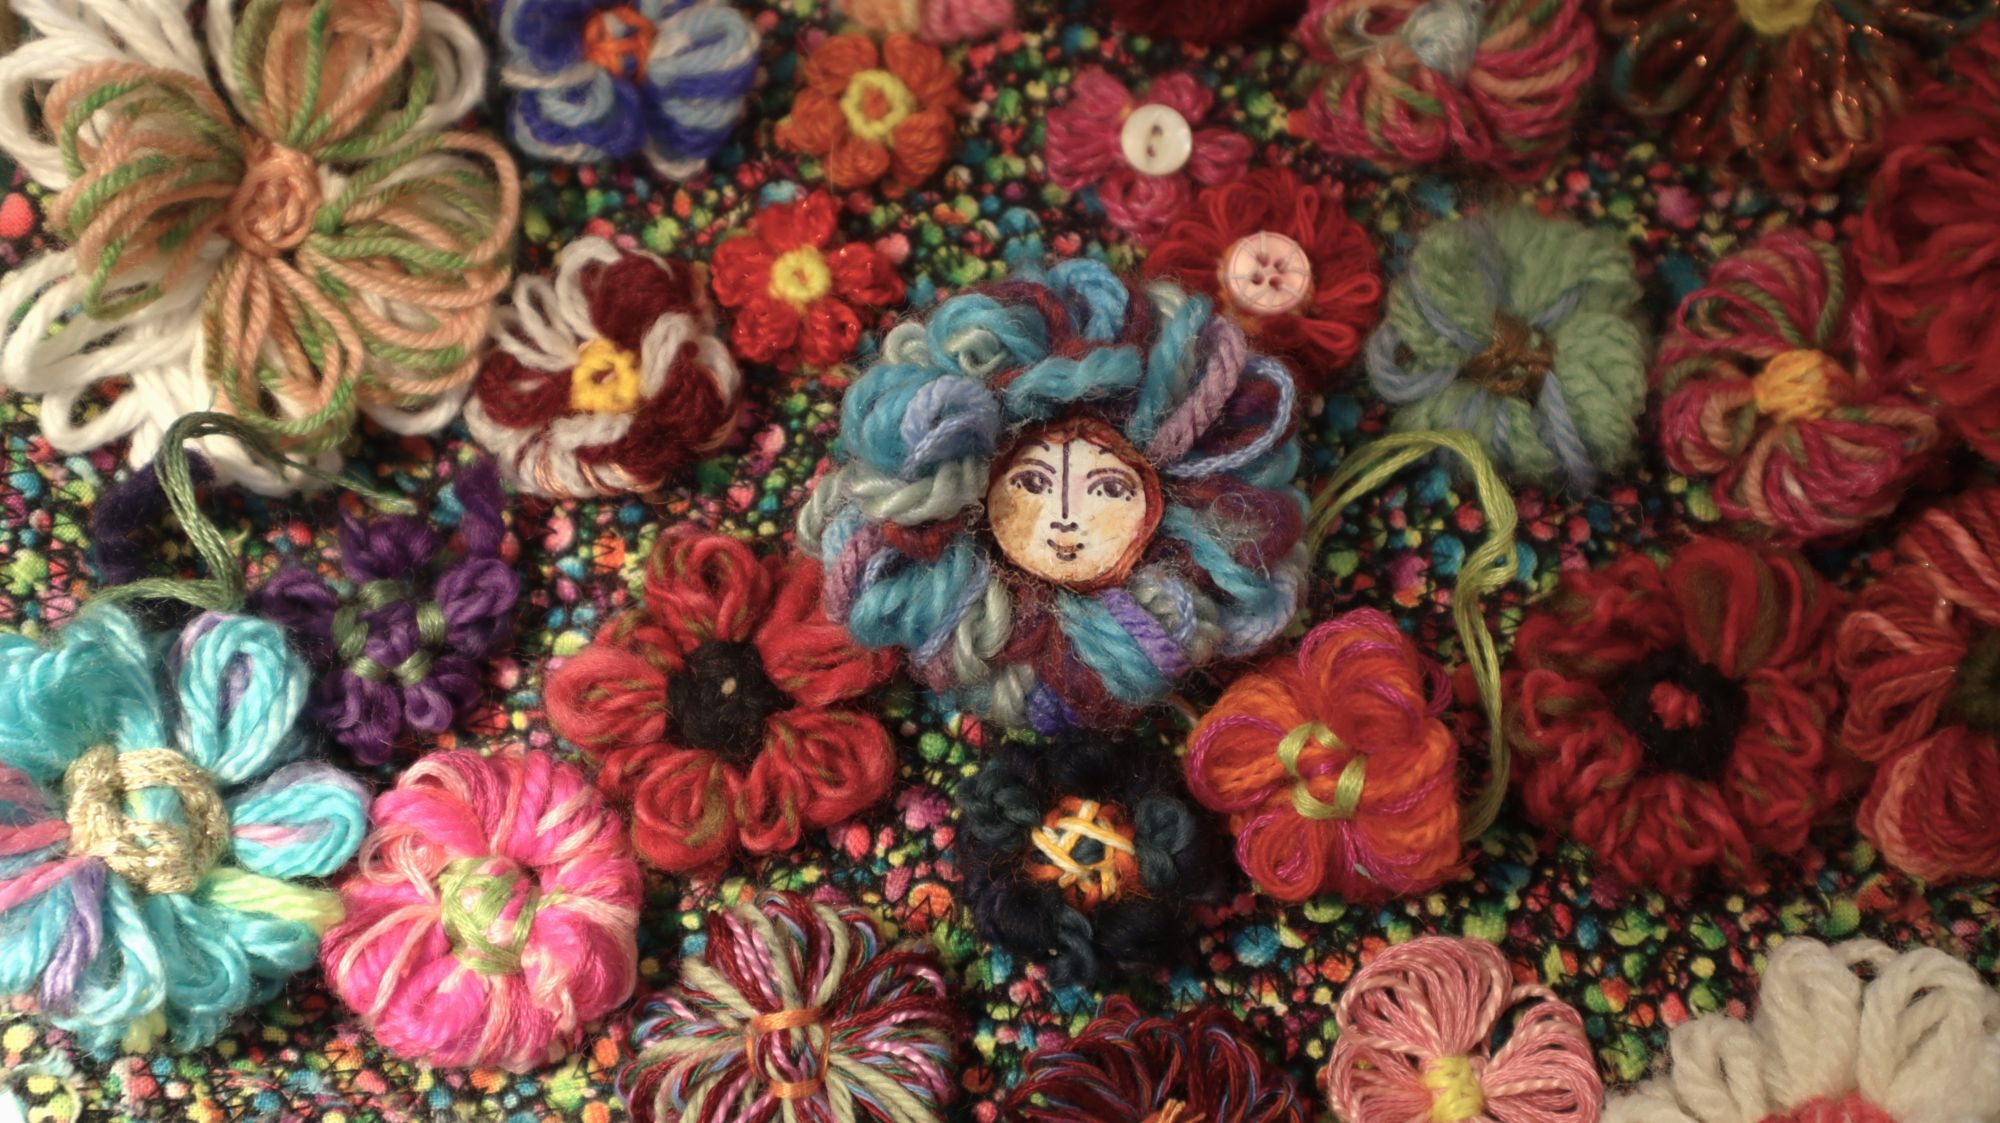
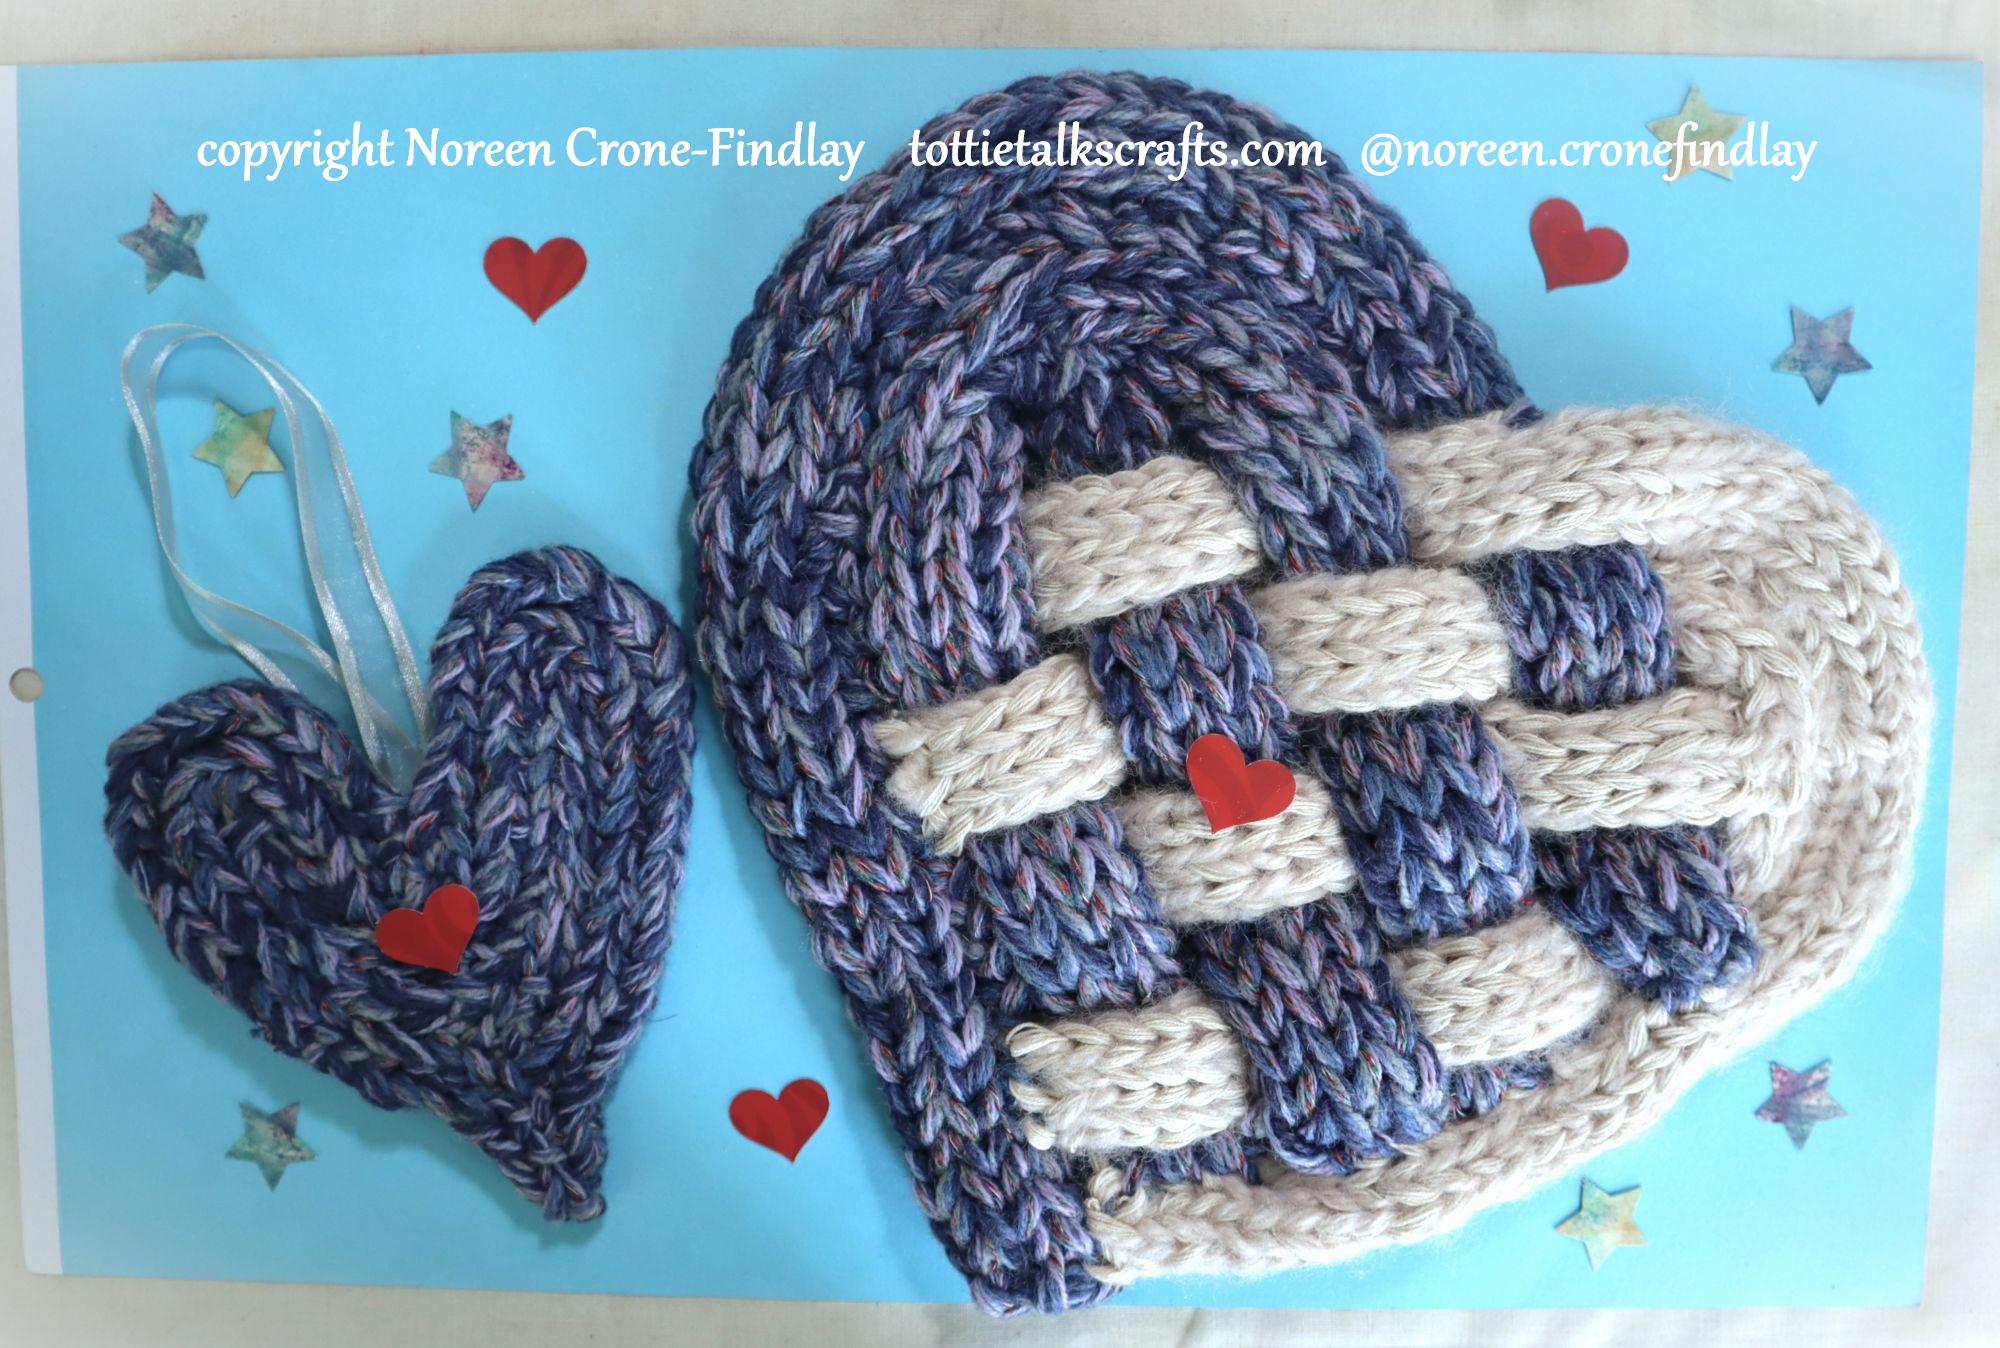
It’s so lovely to brighten another person’s day by delighting them with a tiny handmade comfort gift.

Amazingly enough, that makes your day so much better, too! What a good way to help to create connection, community and hope.
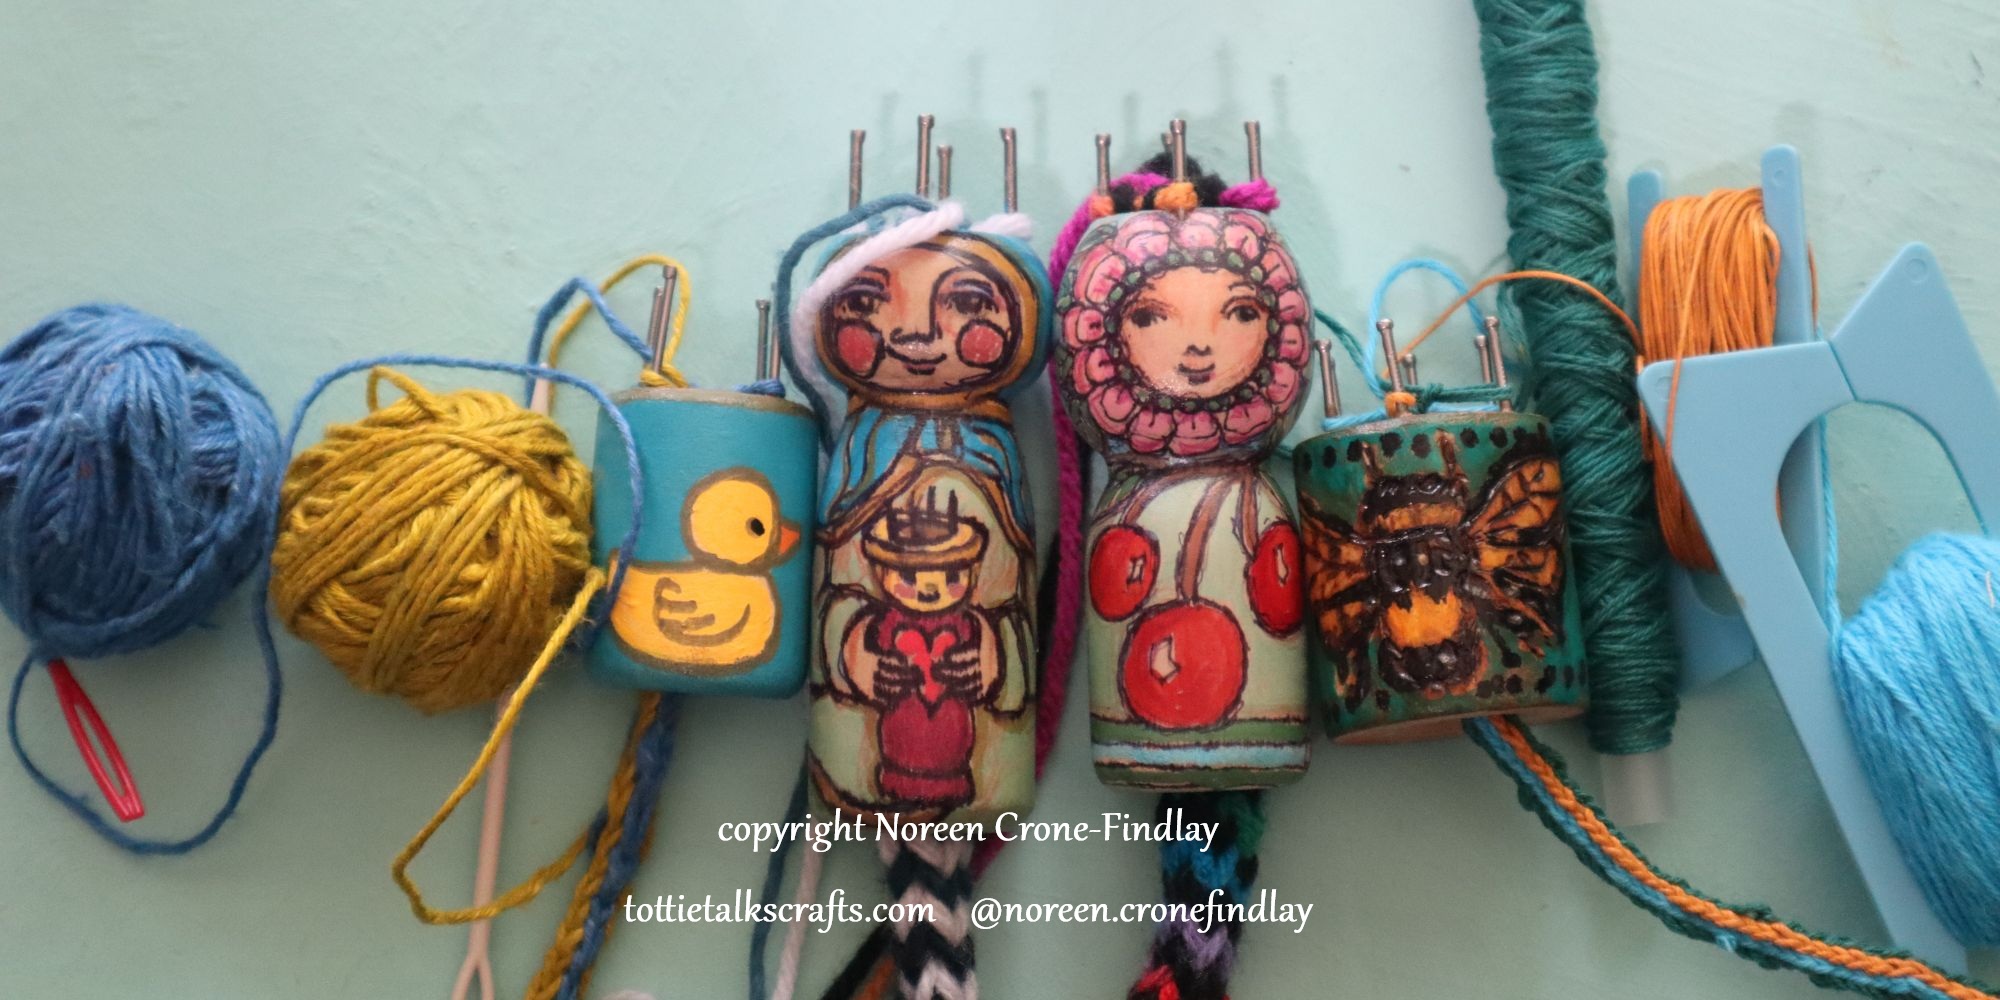
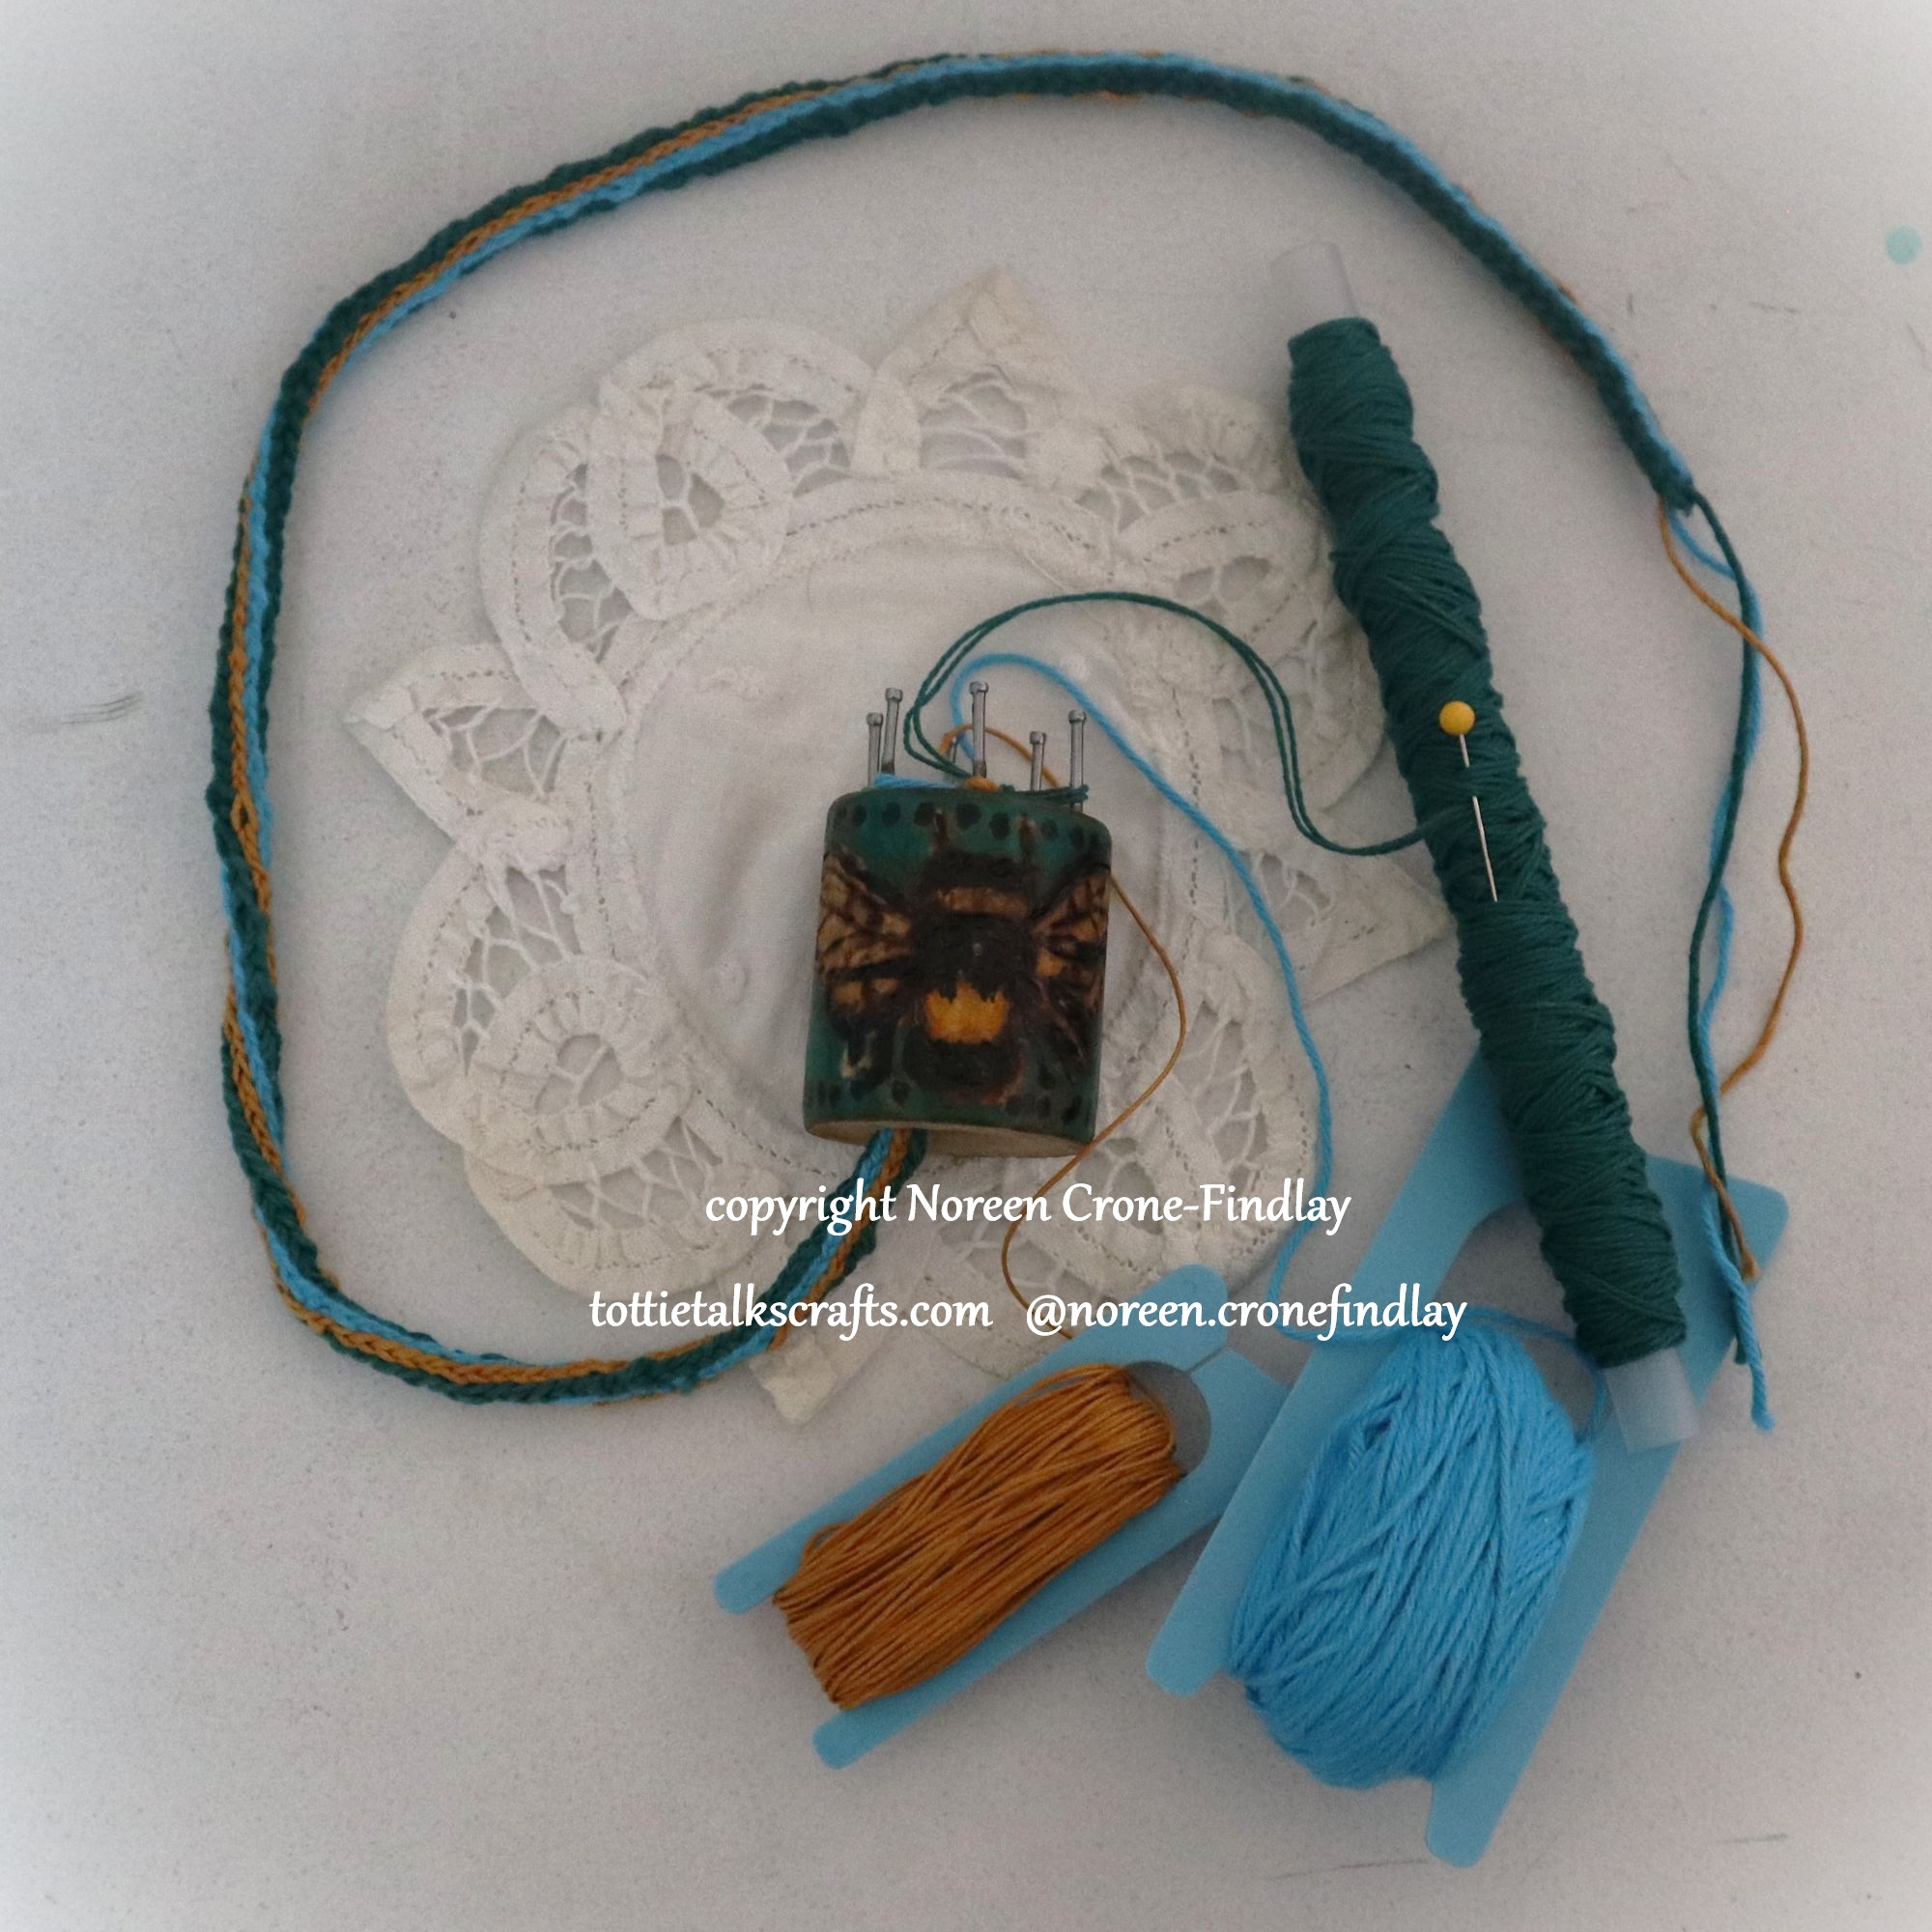
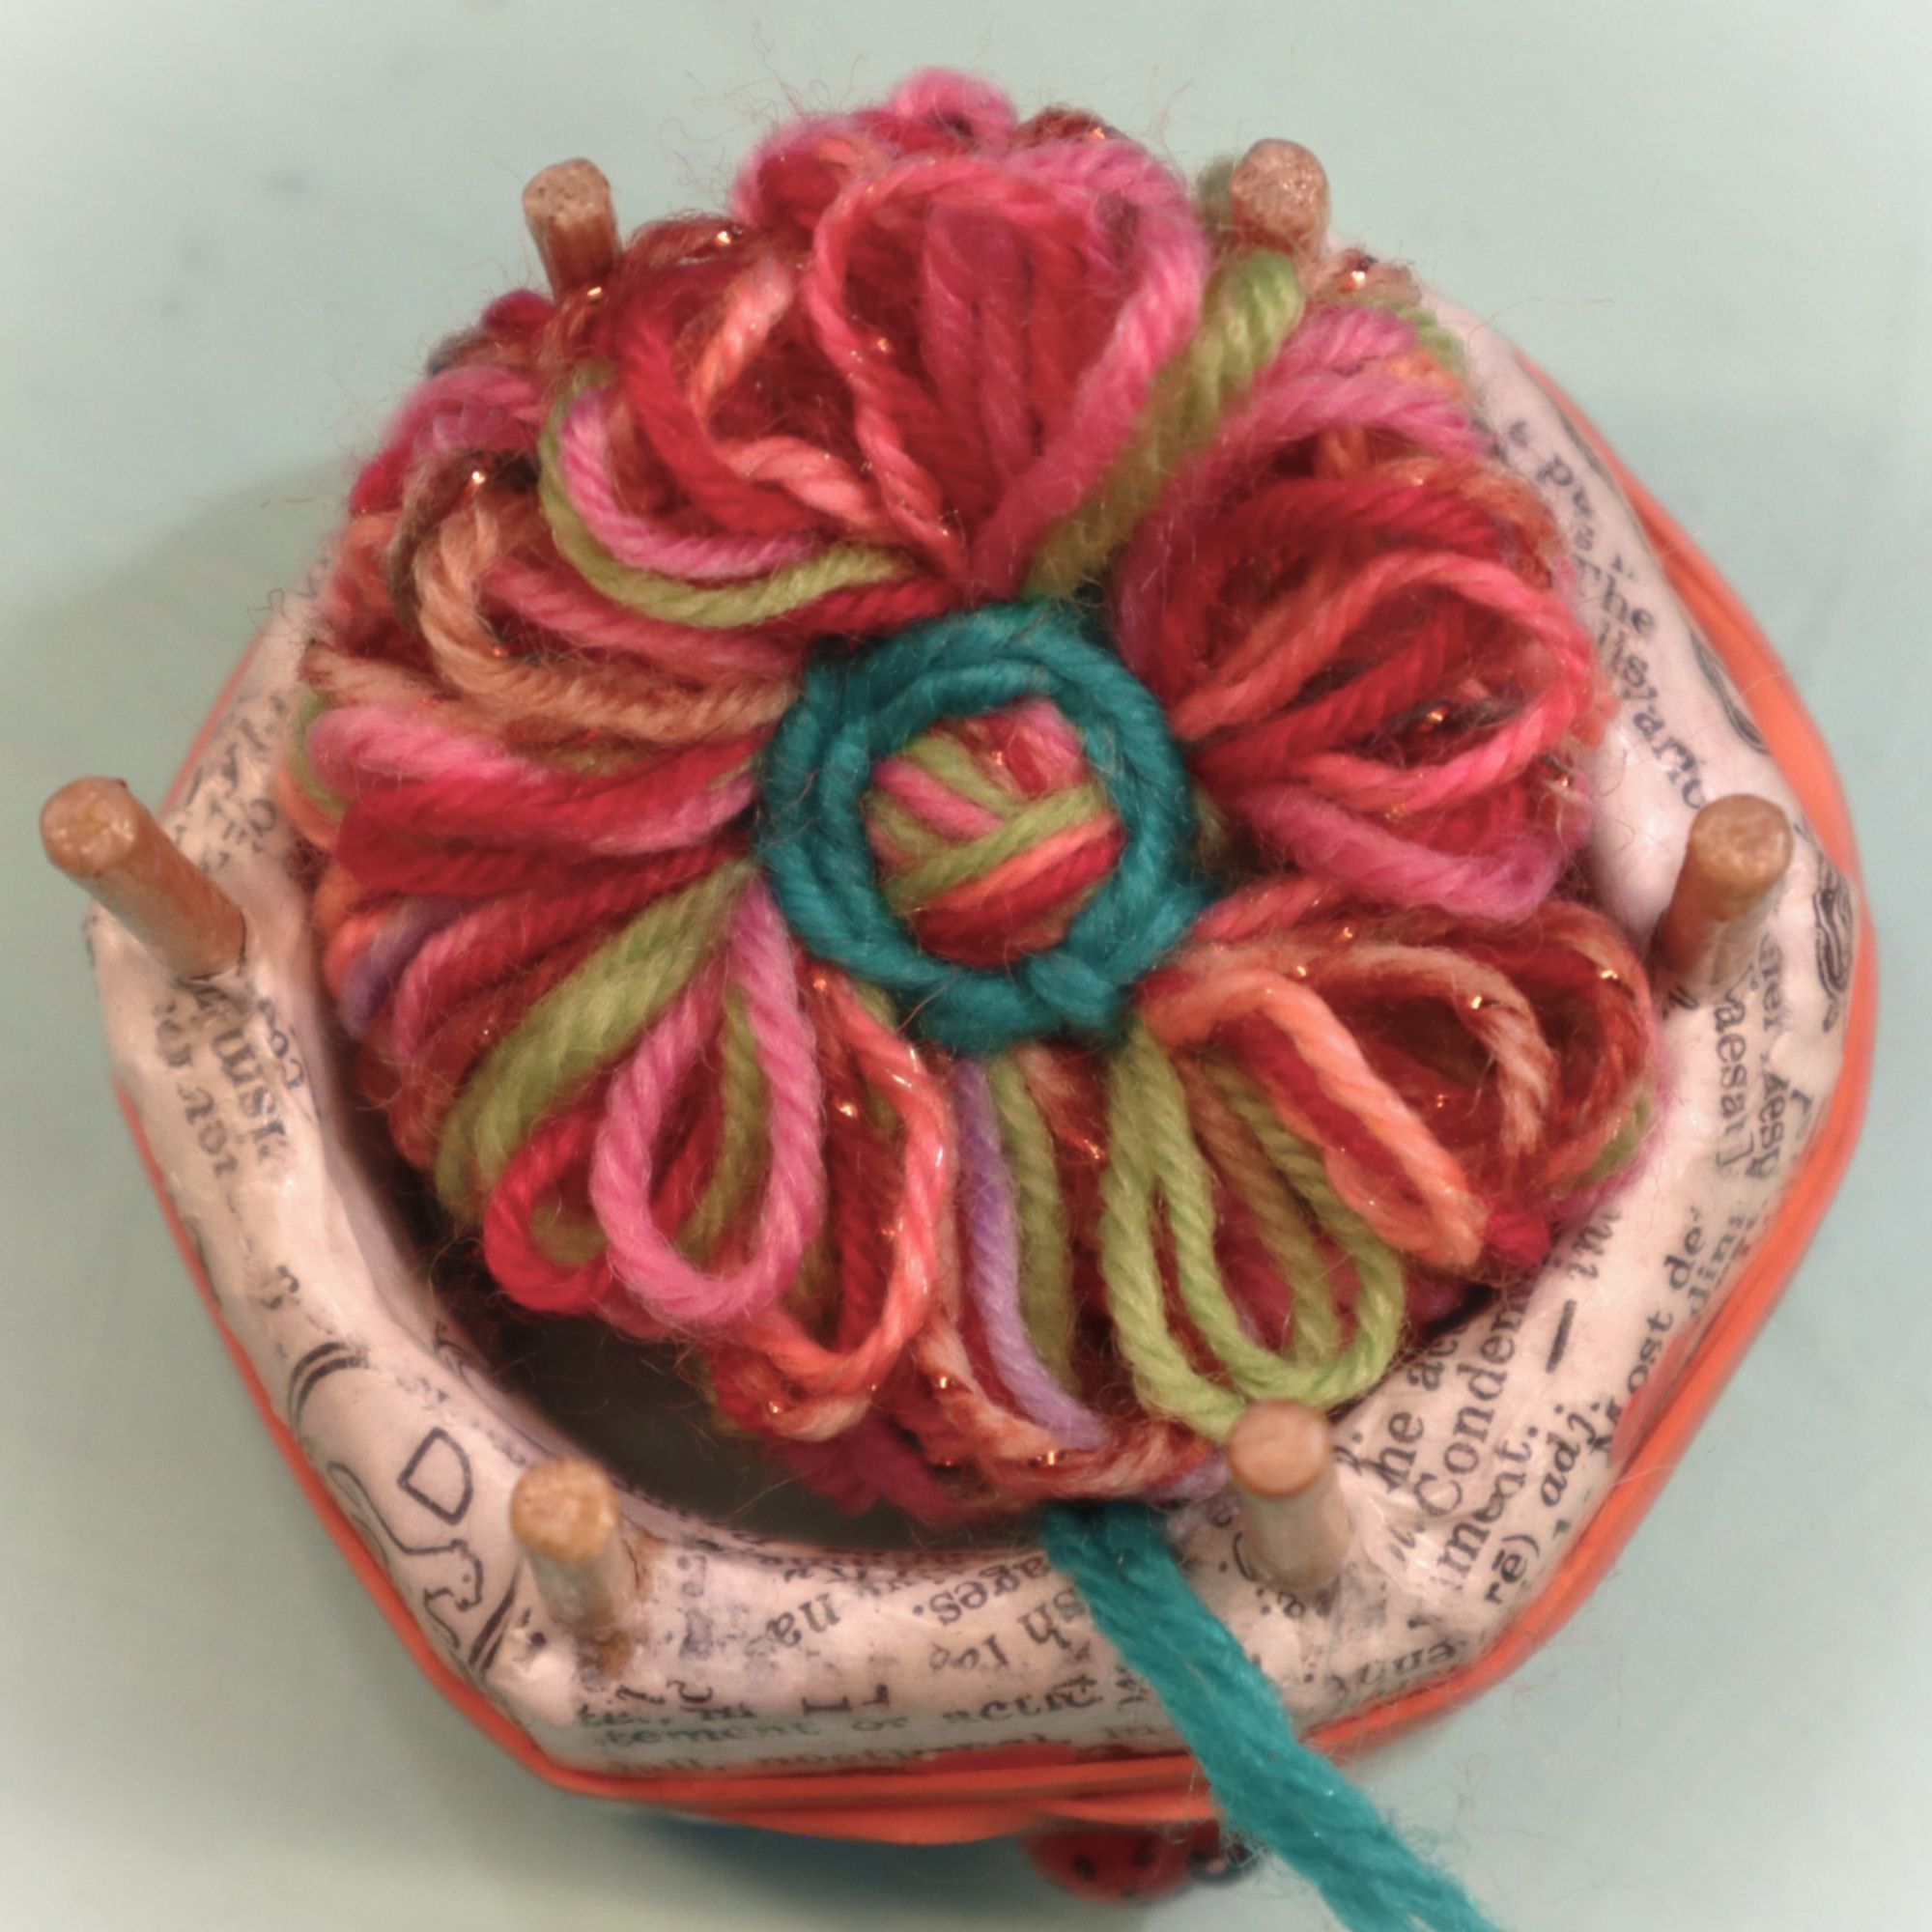
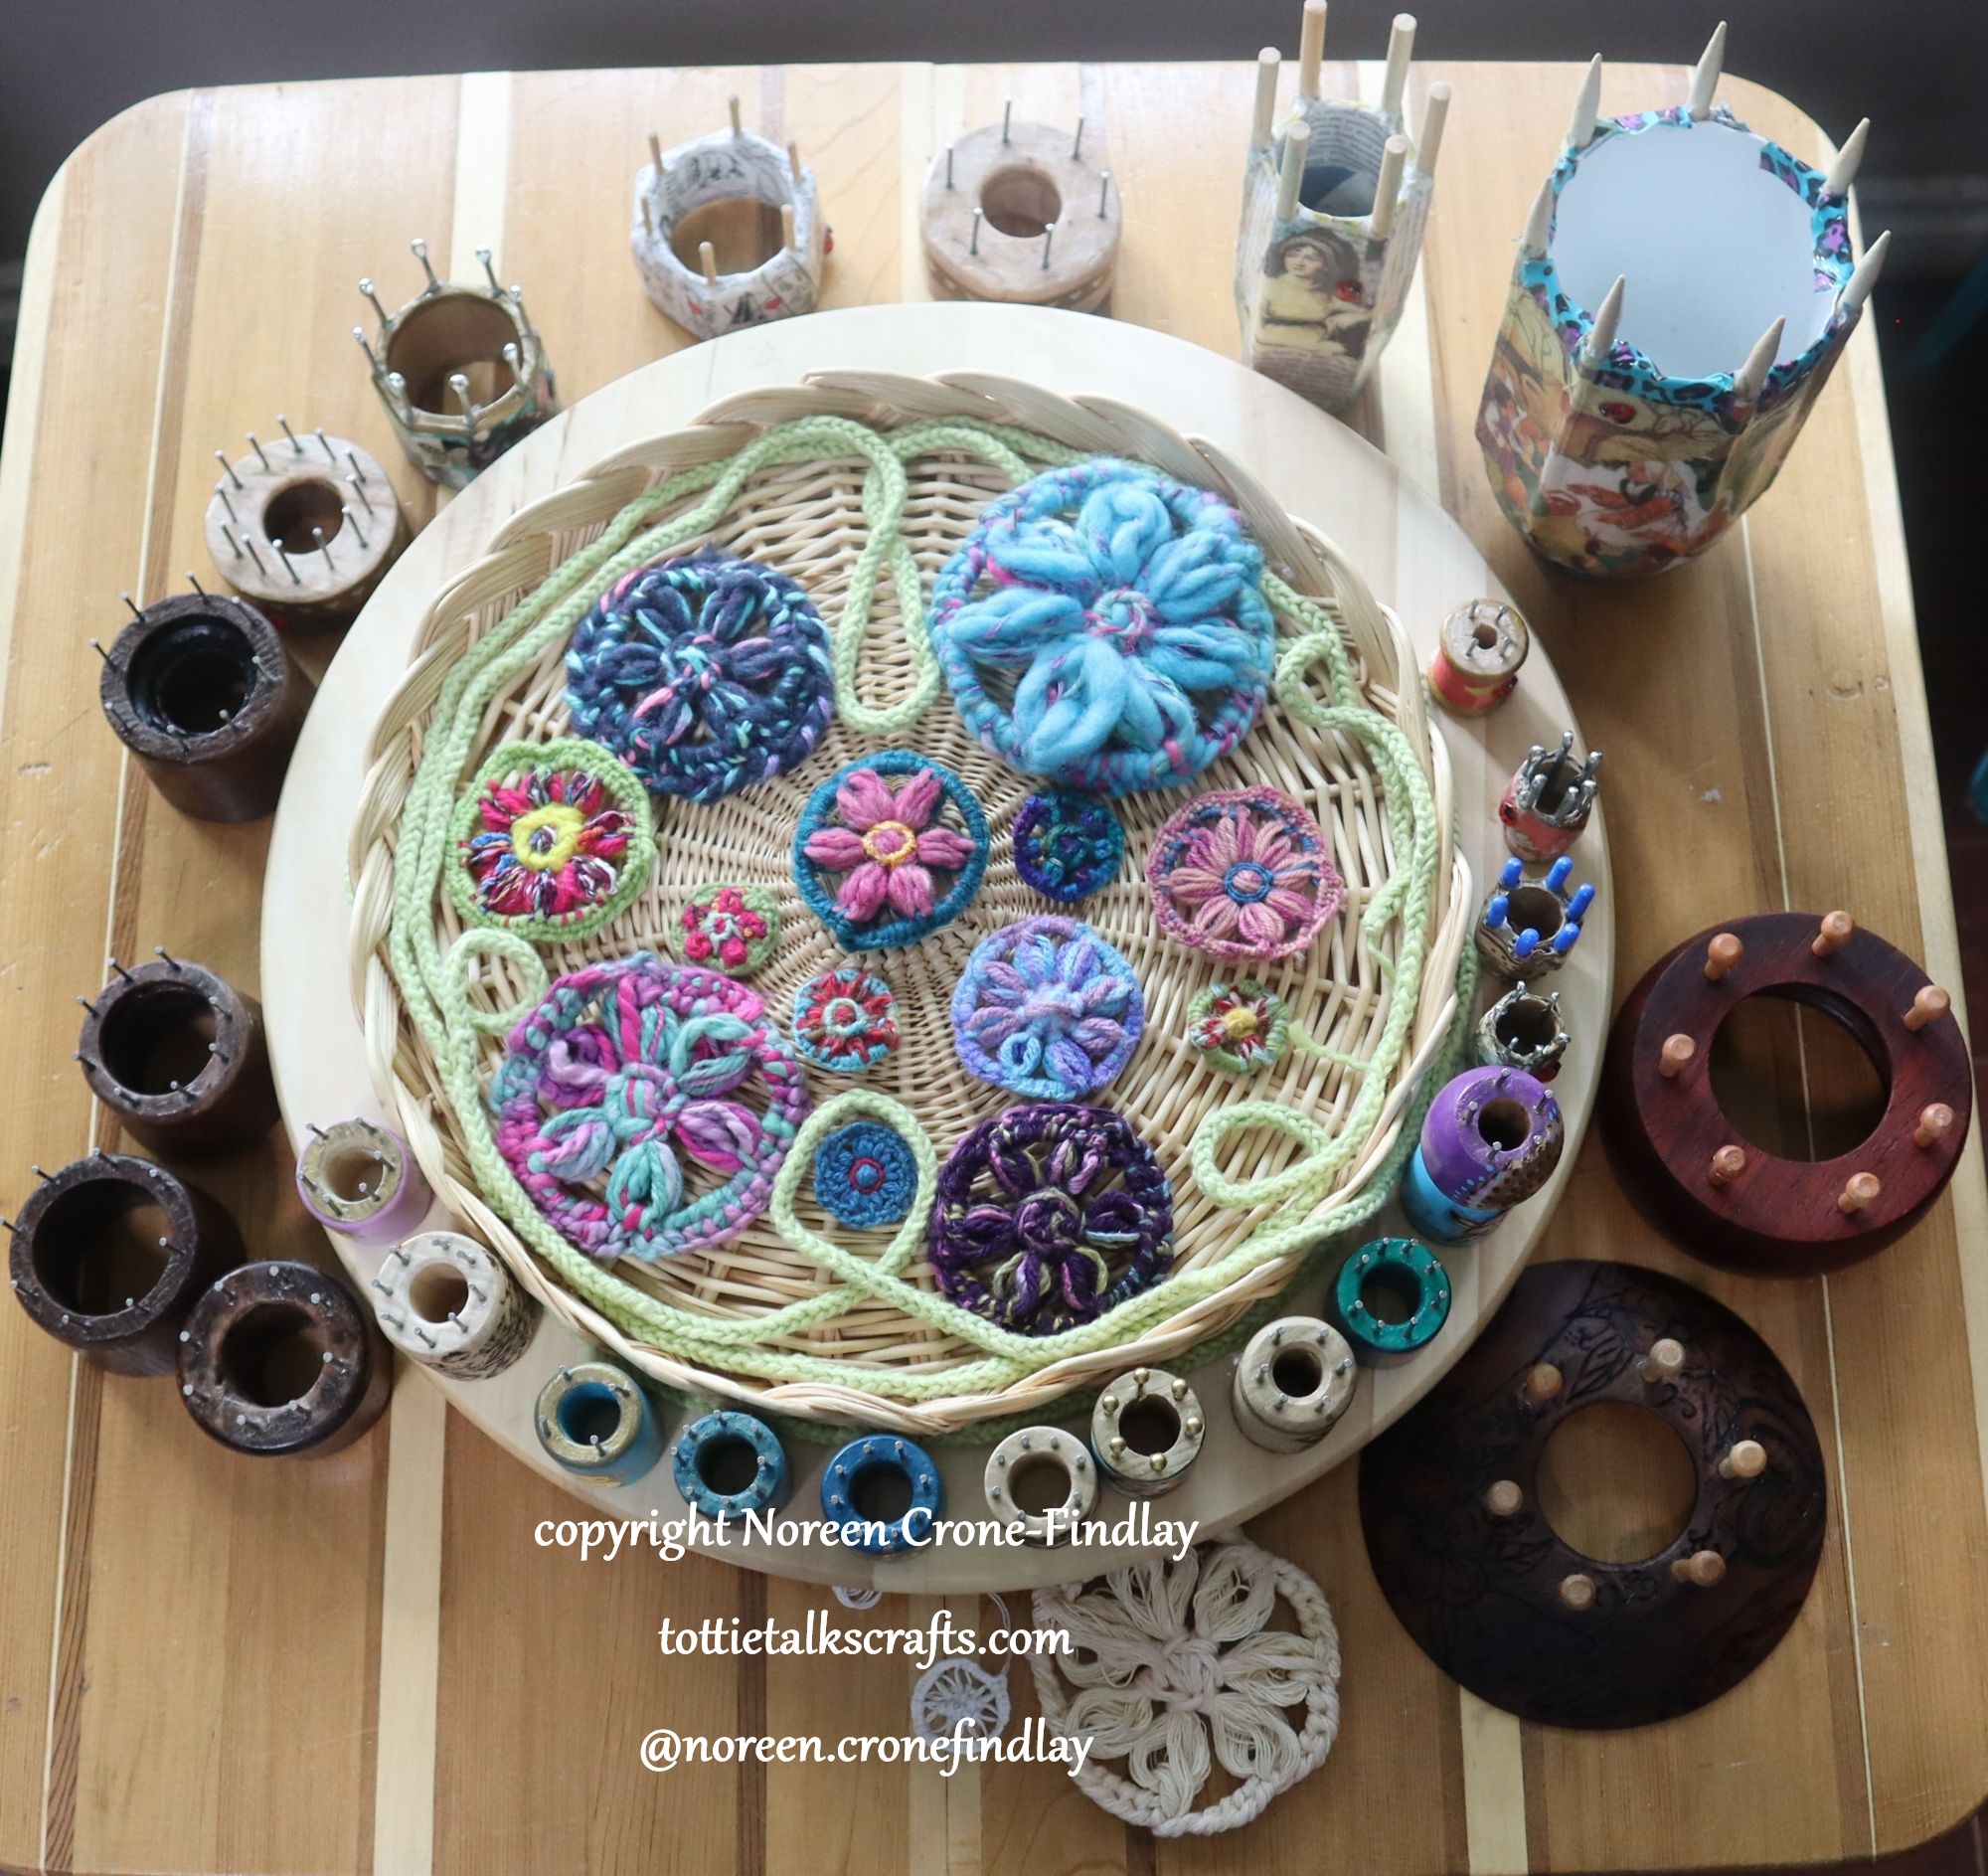
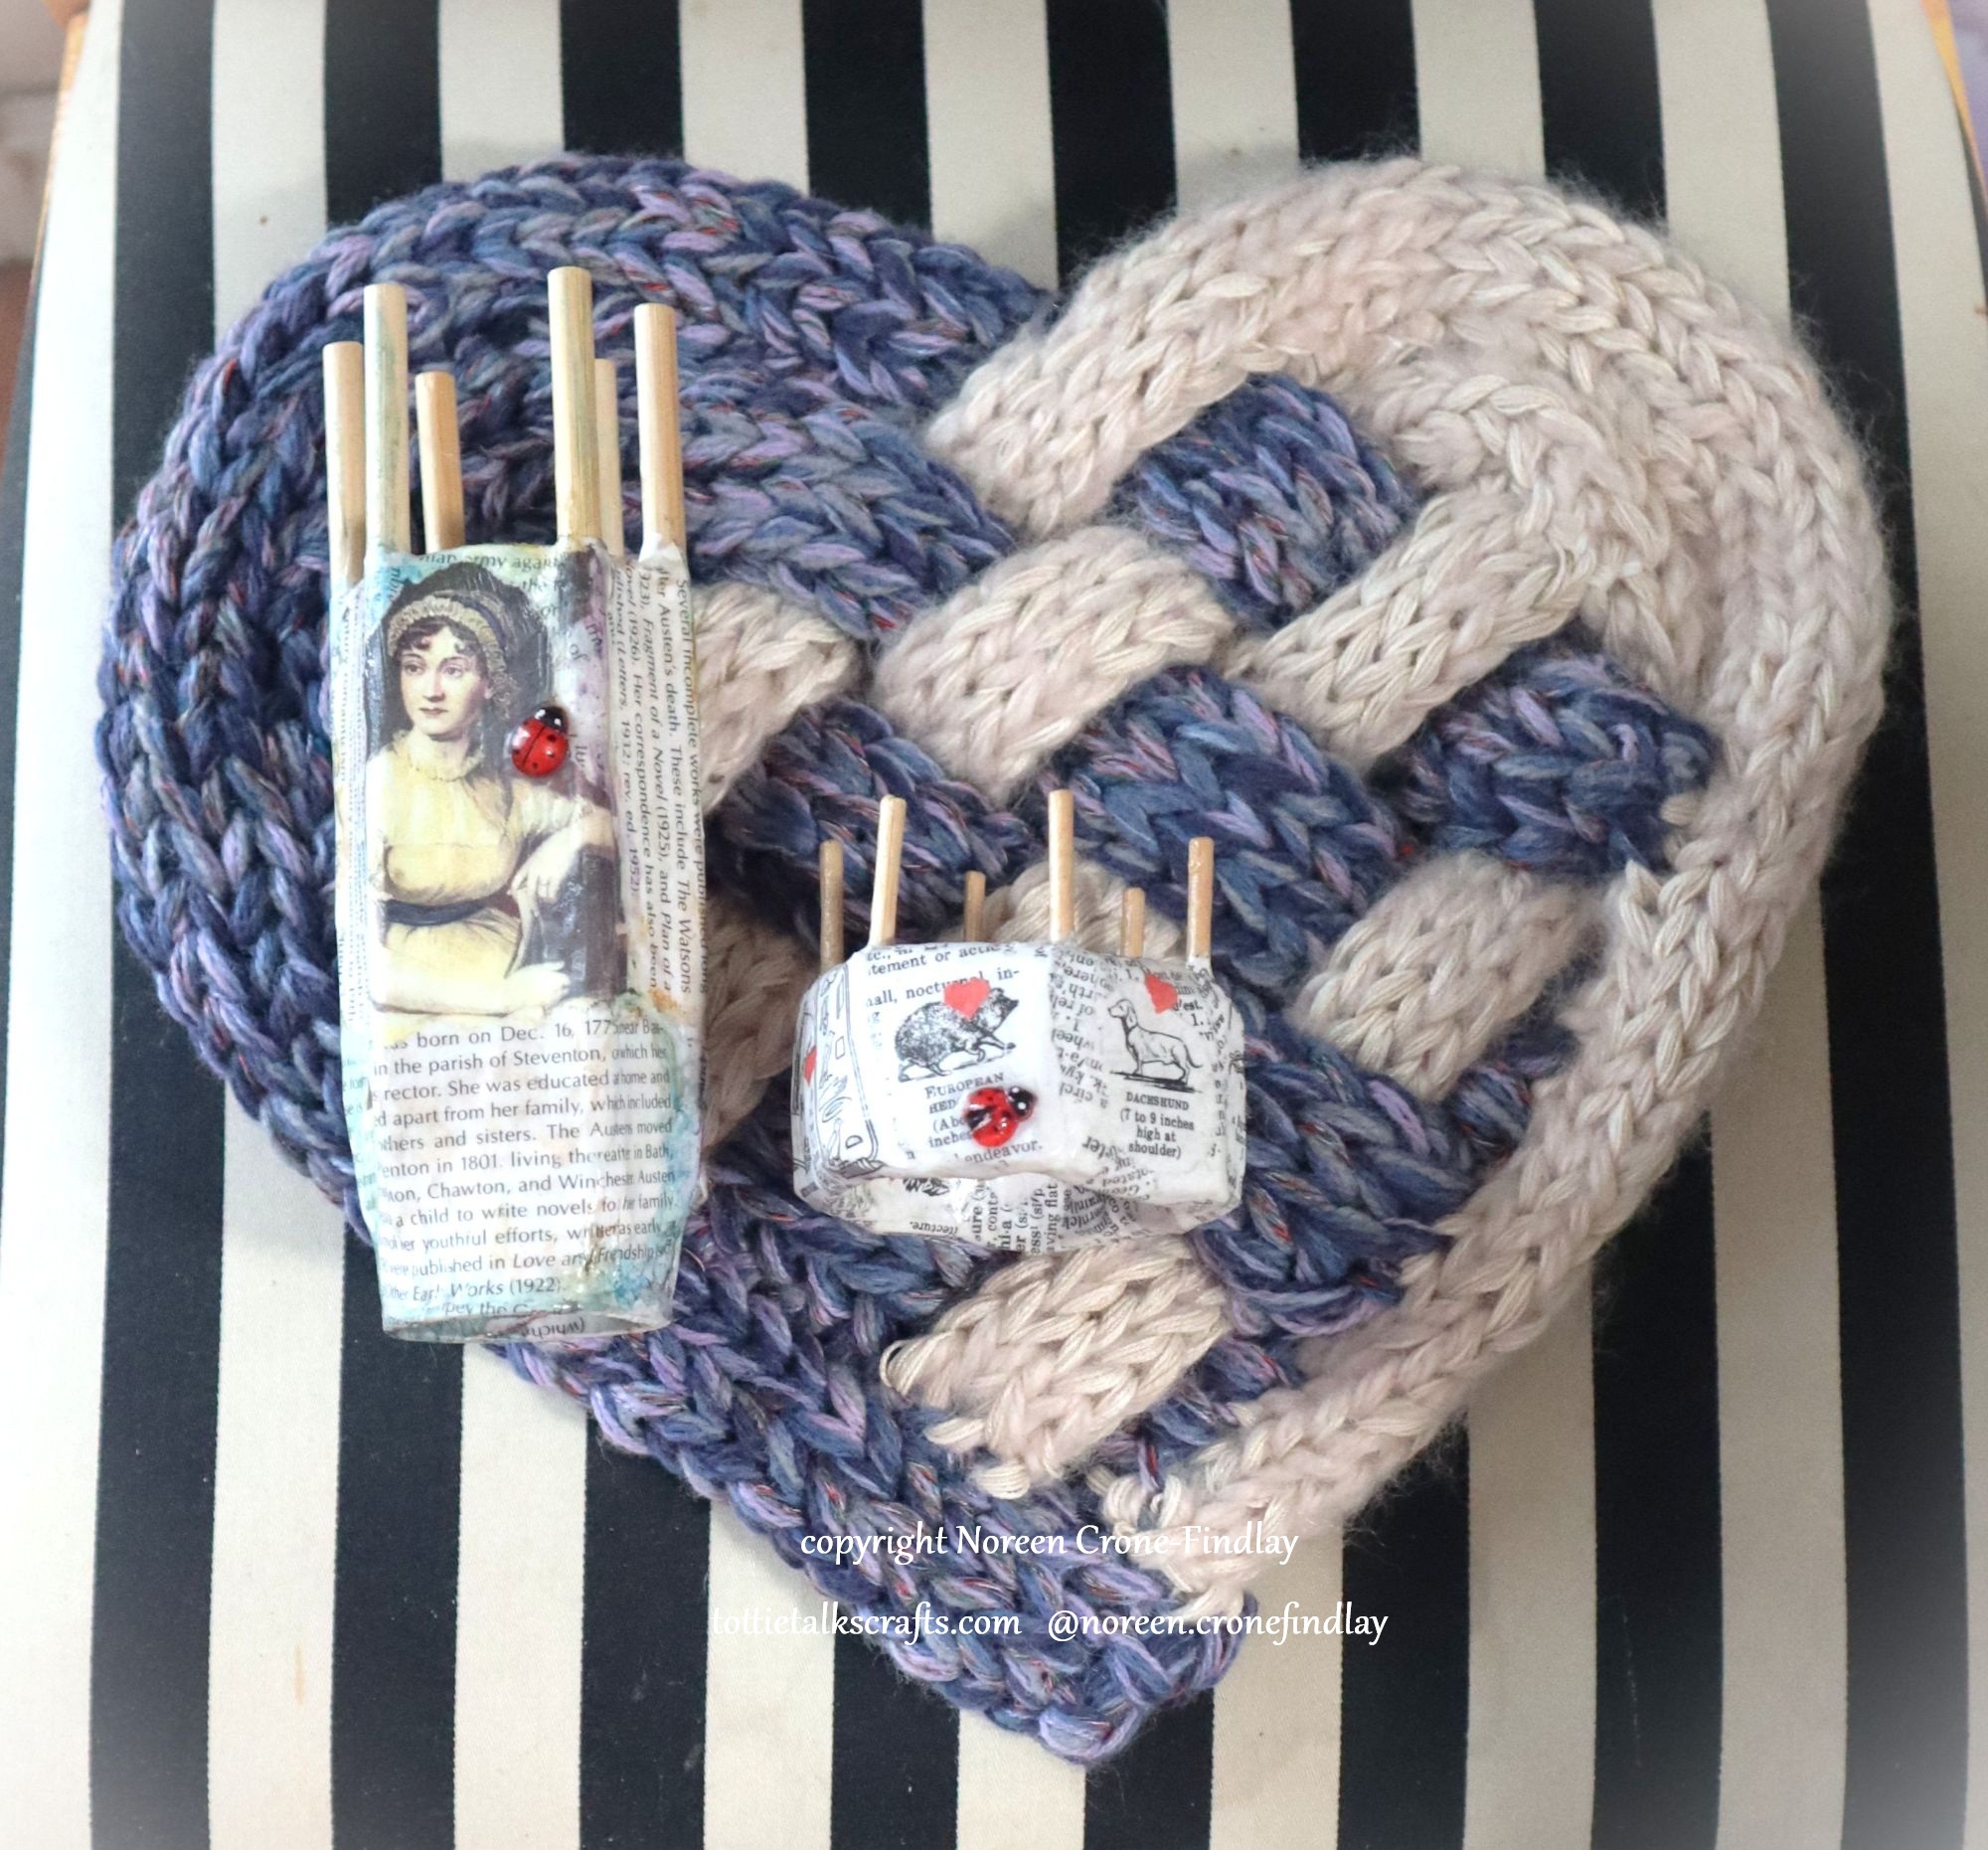
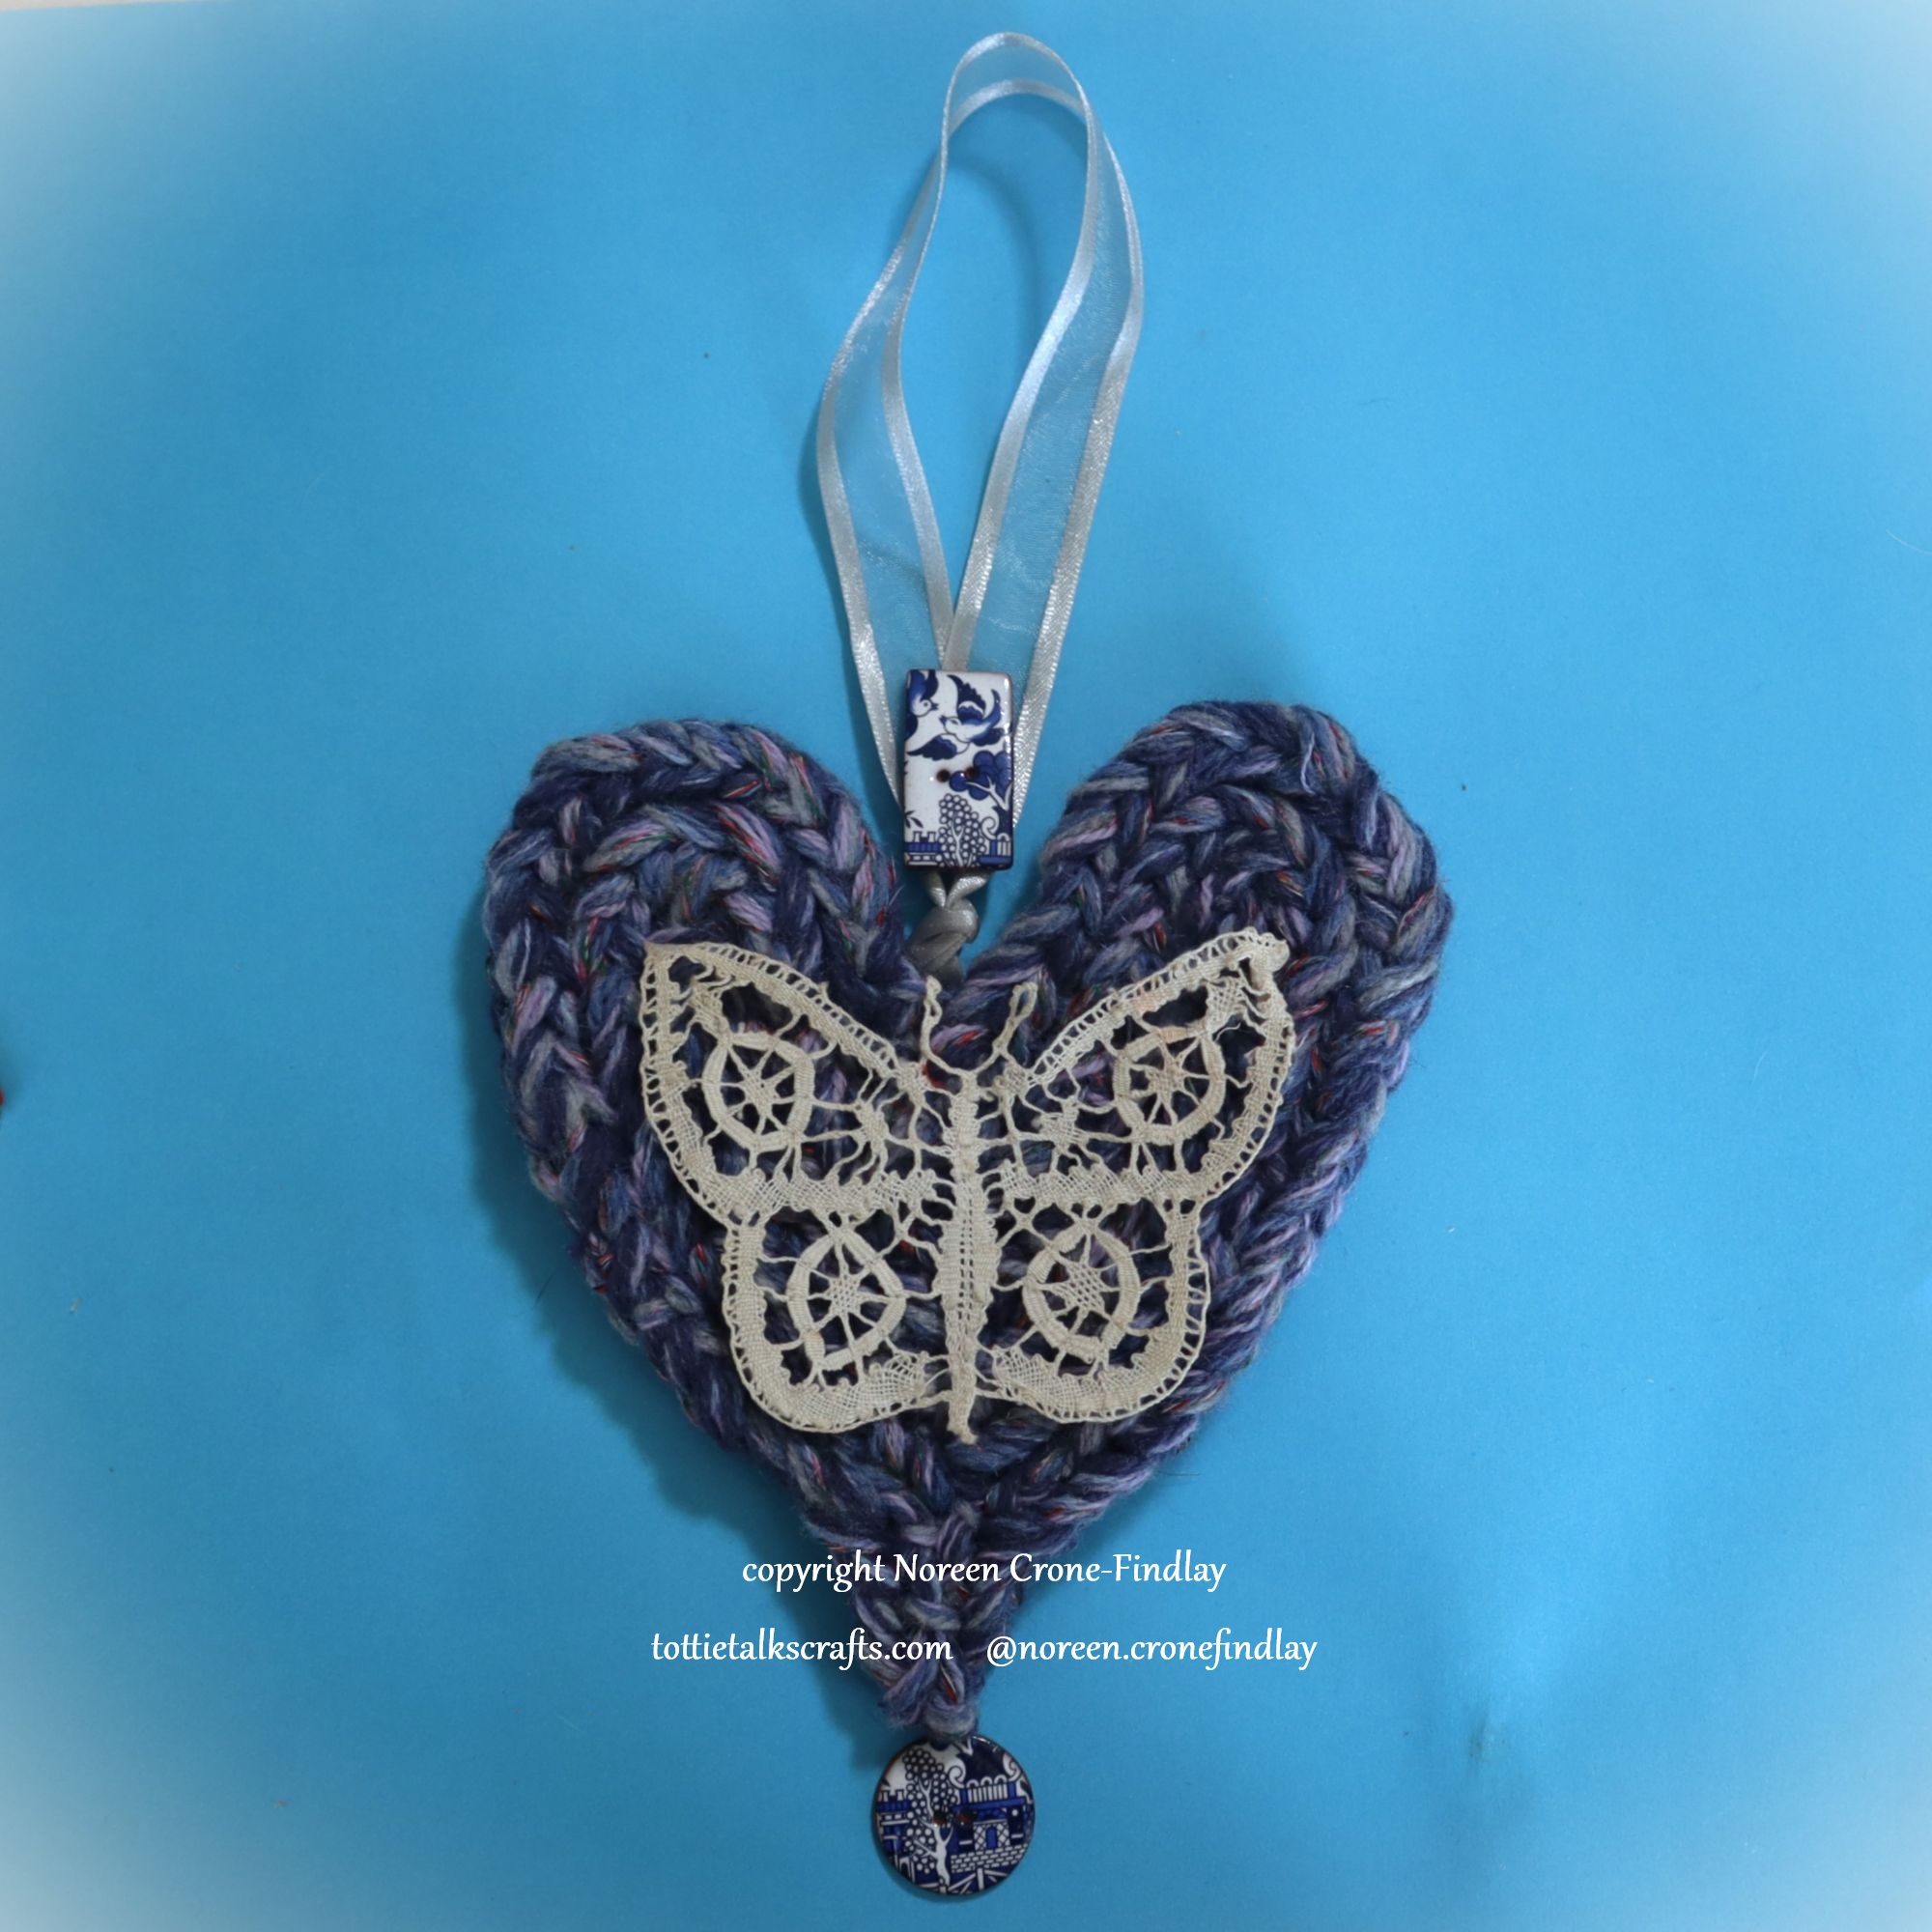
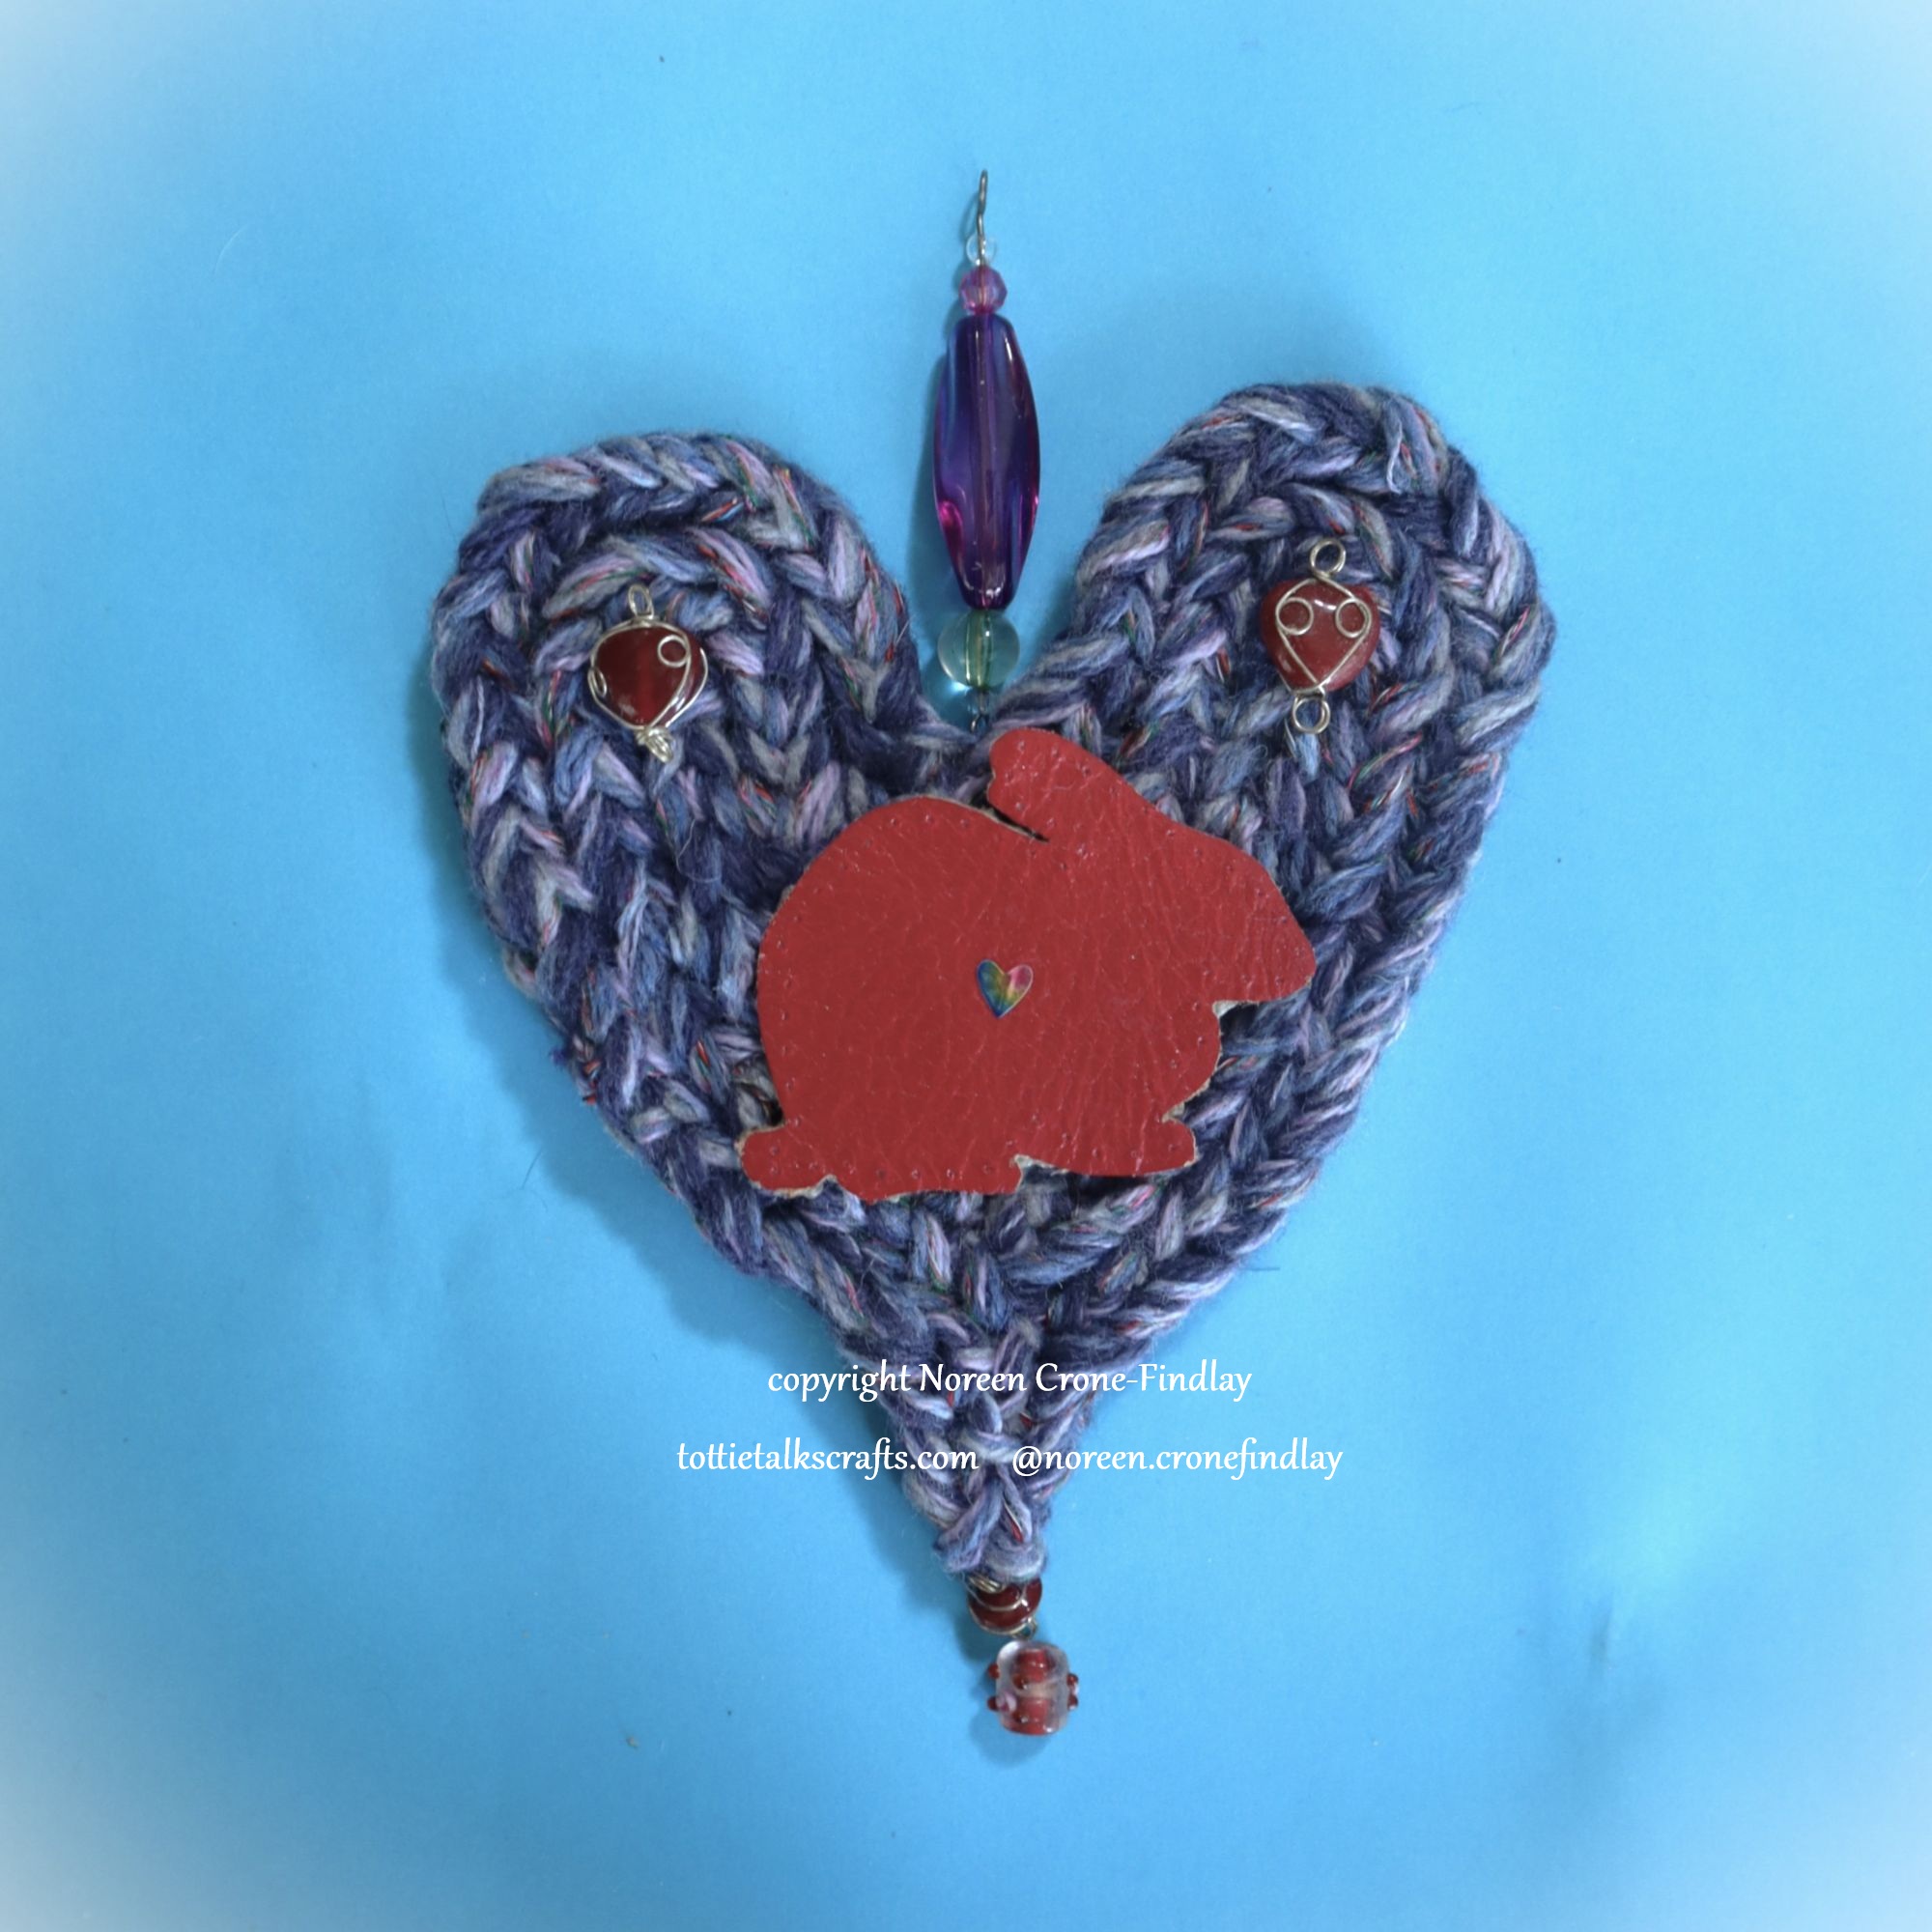
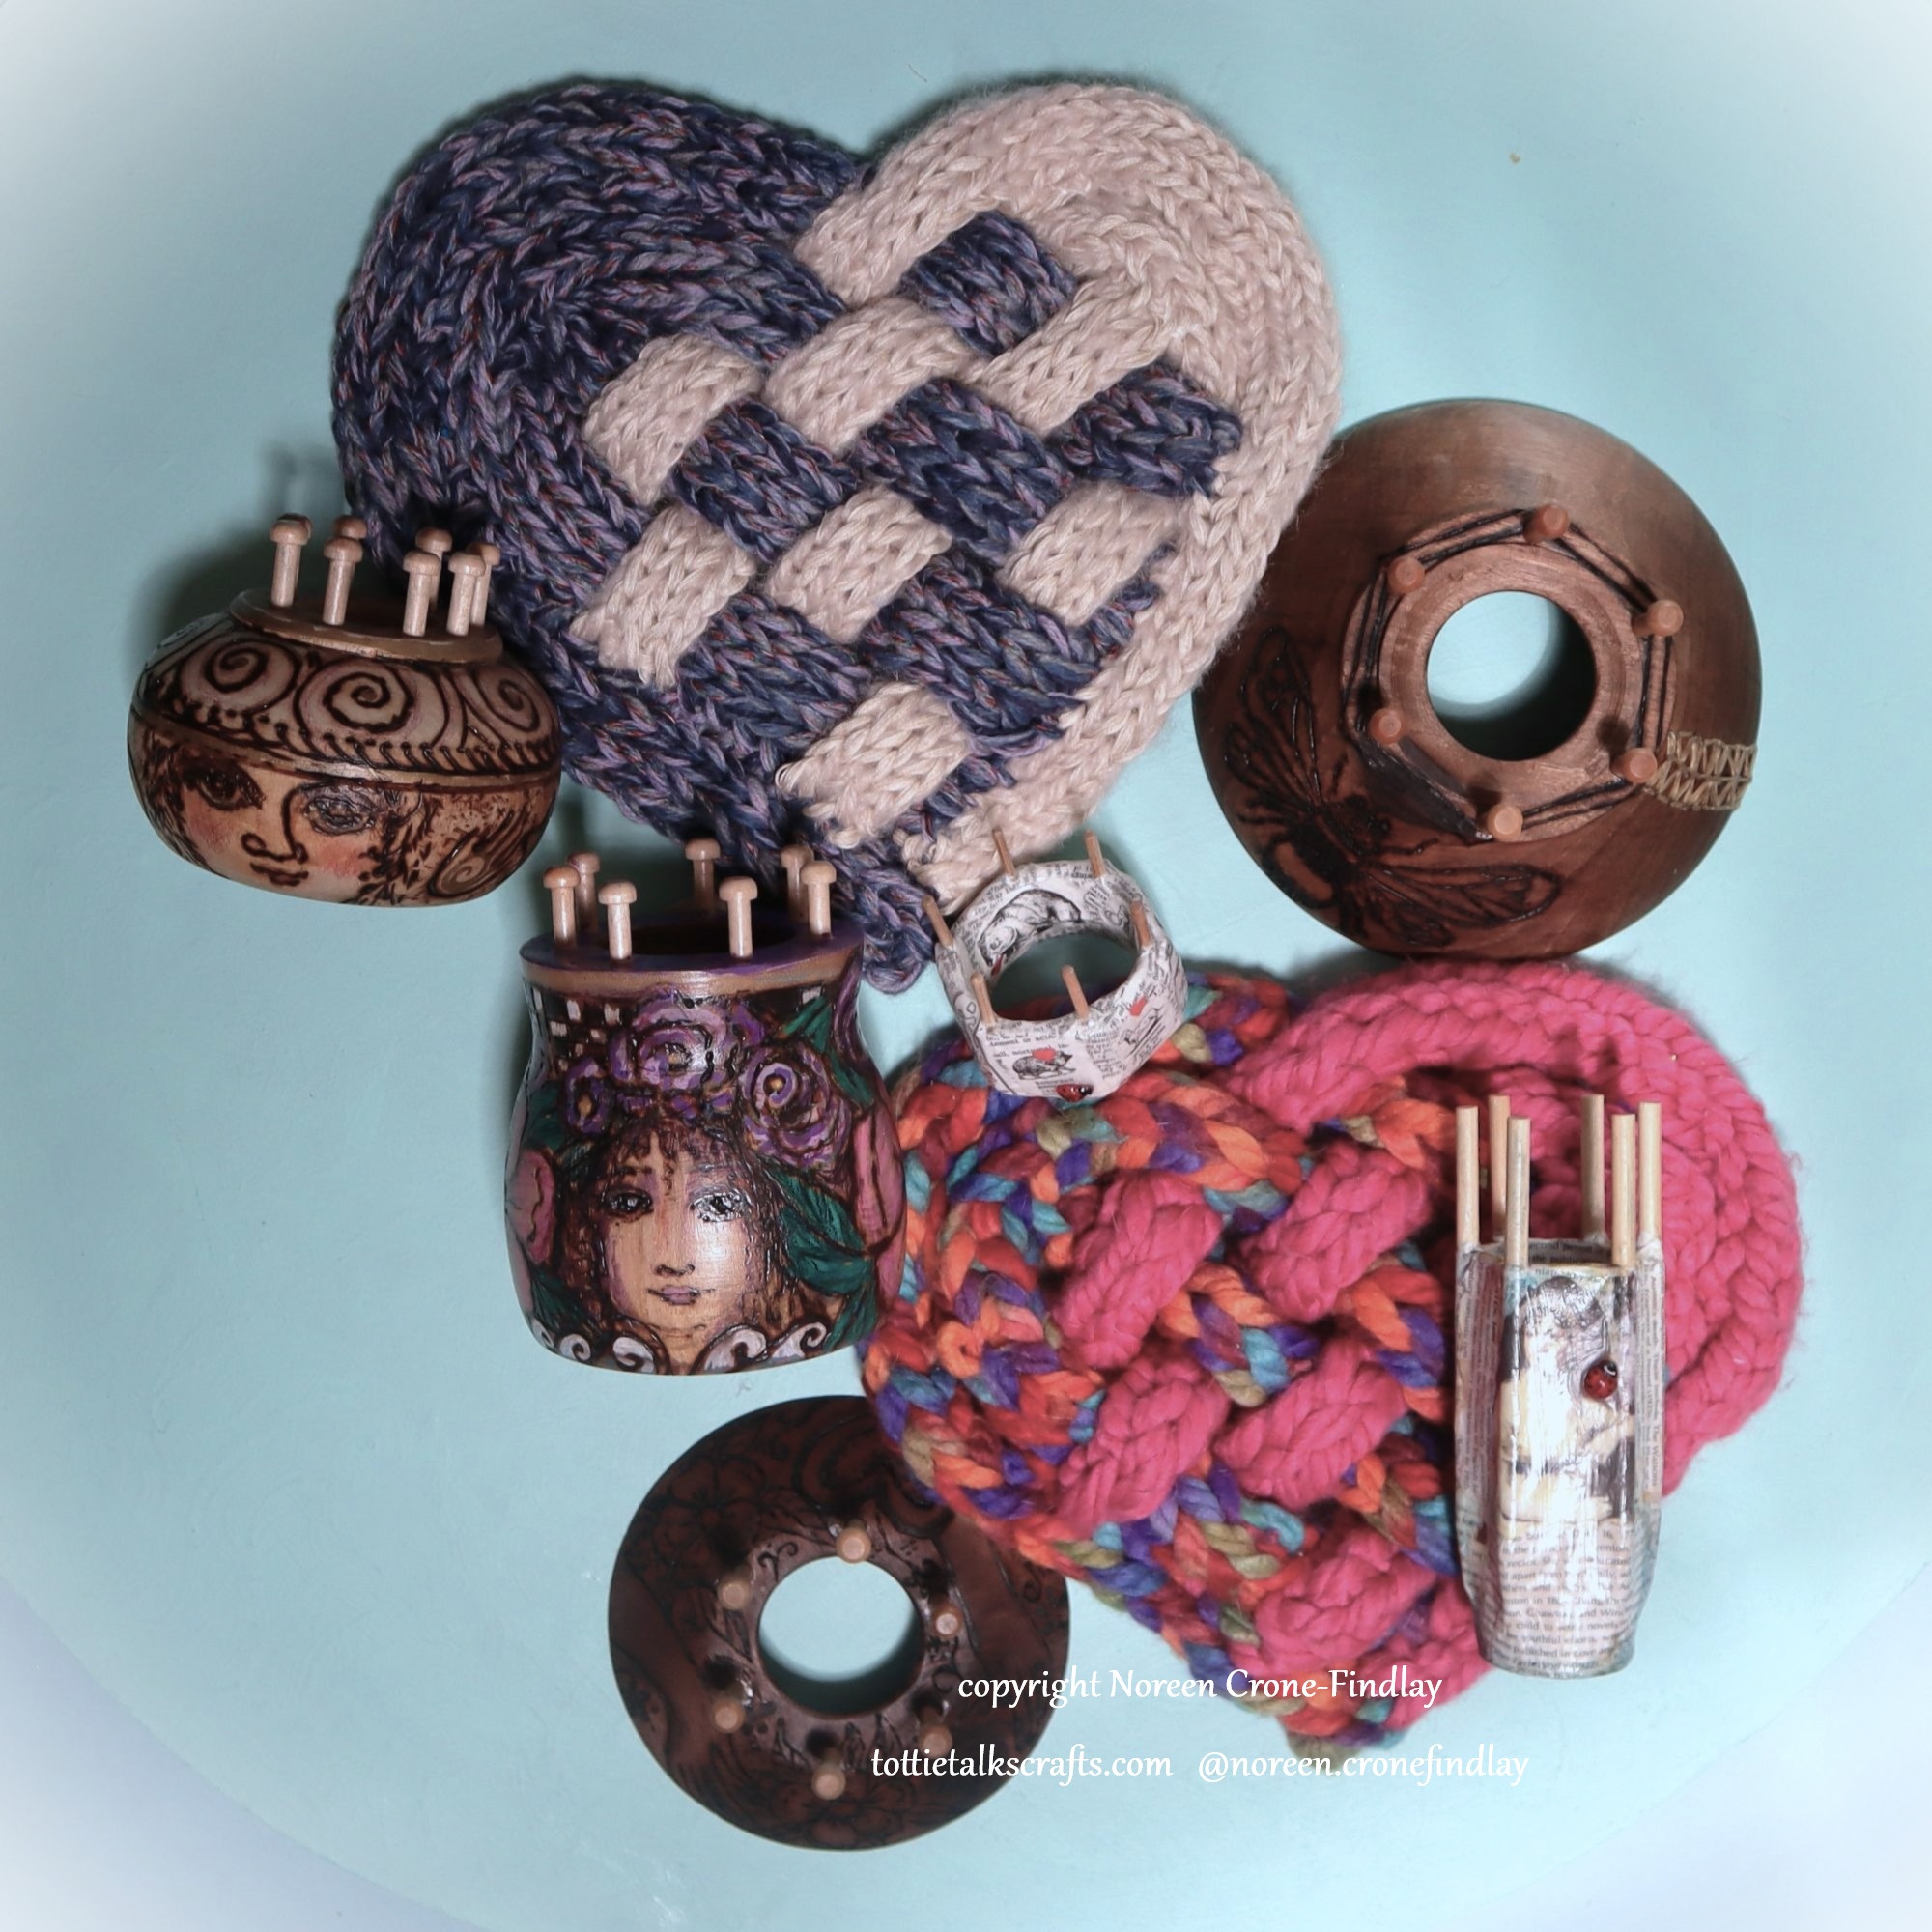
That is why I have designed a whole bunch of charming little woven ‘Kindness Gifts’ and a small simple, eco friendly pin loom, the Kindness loom, that people can make for themselves using just a few household tools and upcycled materials.

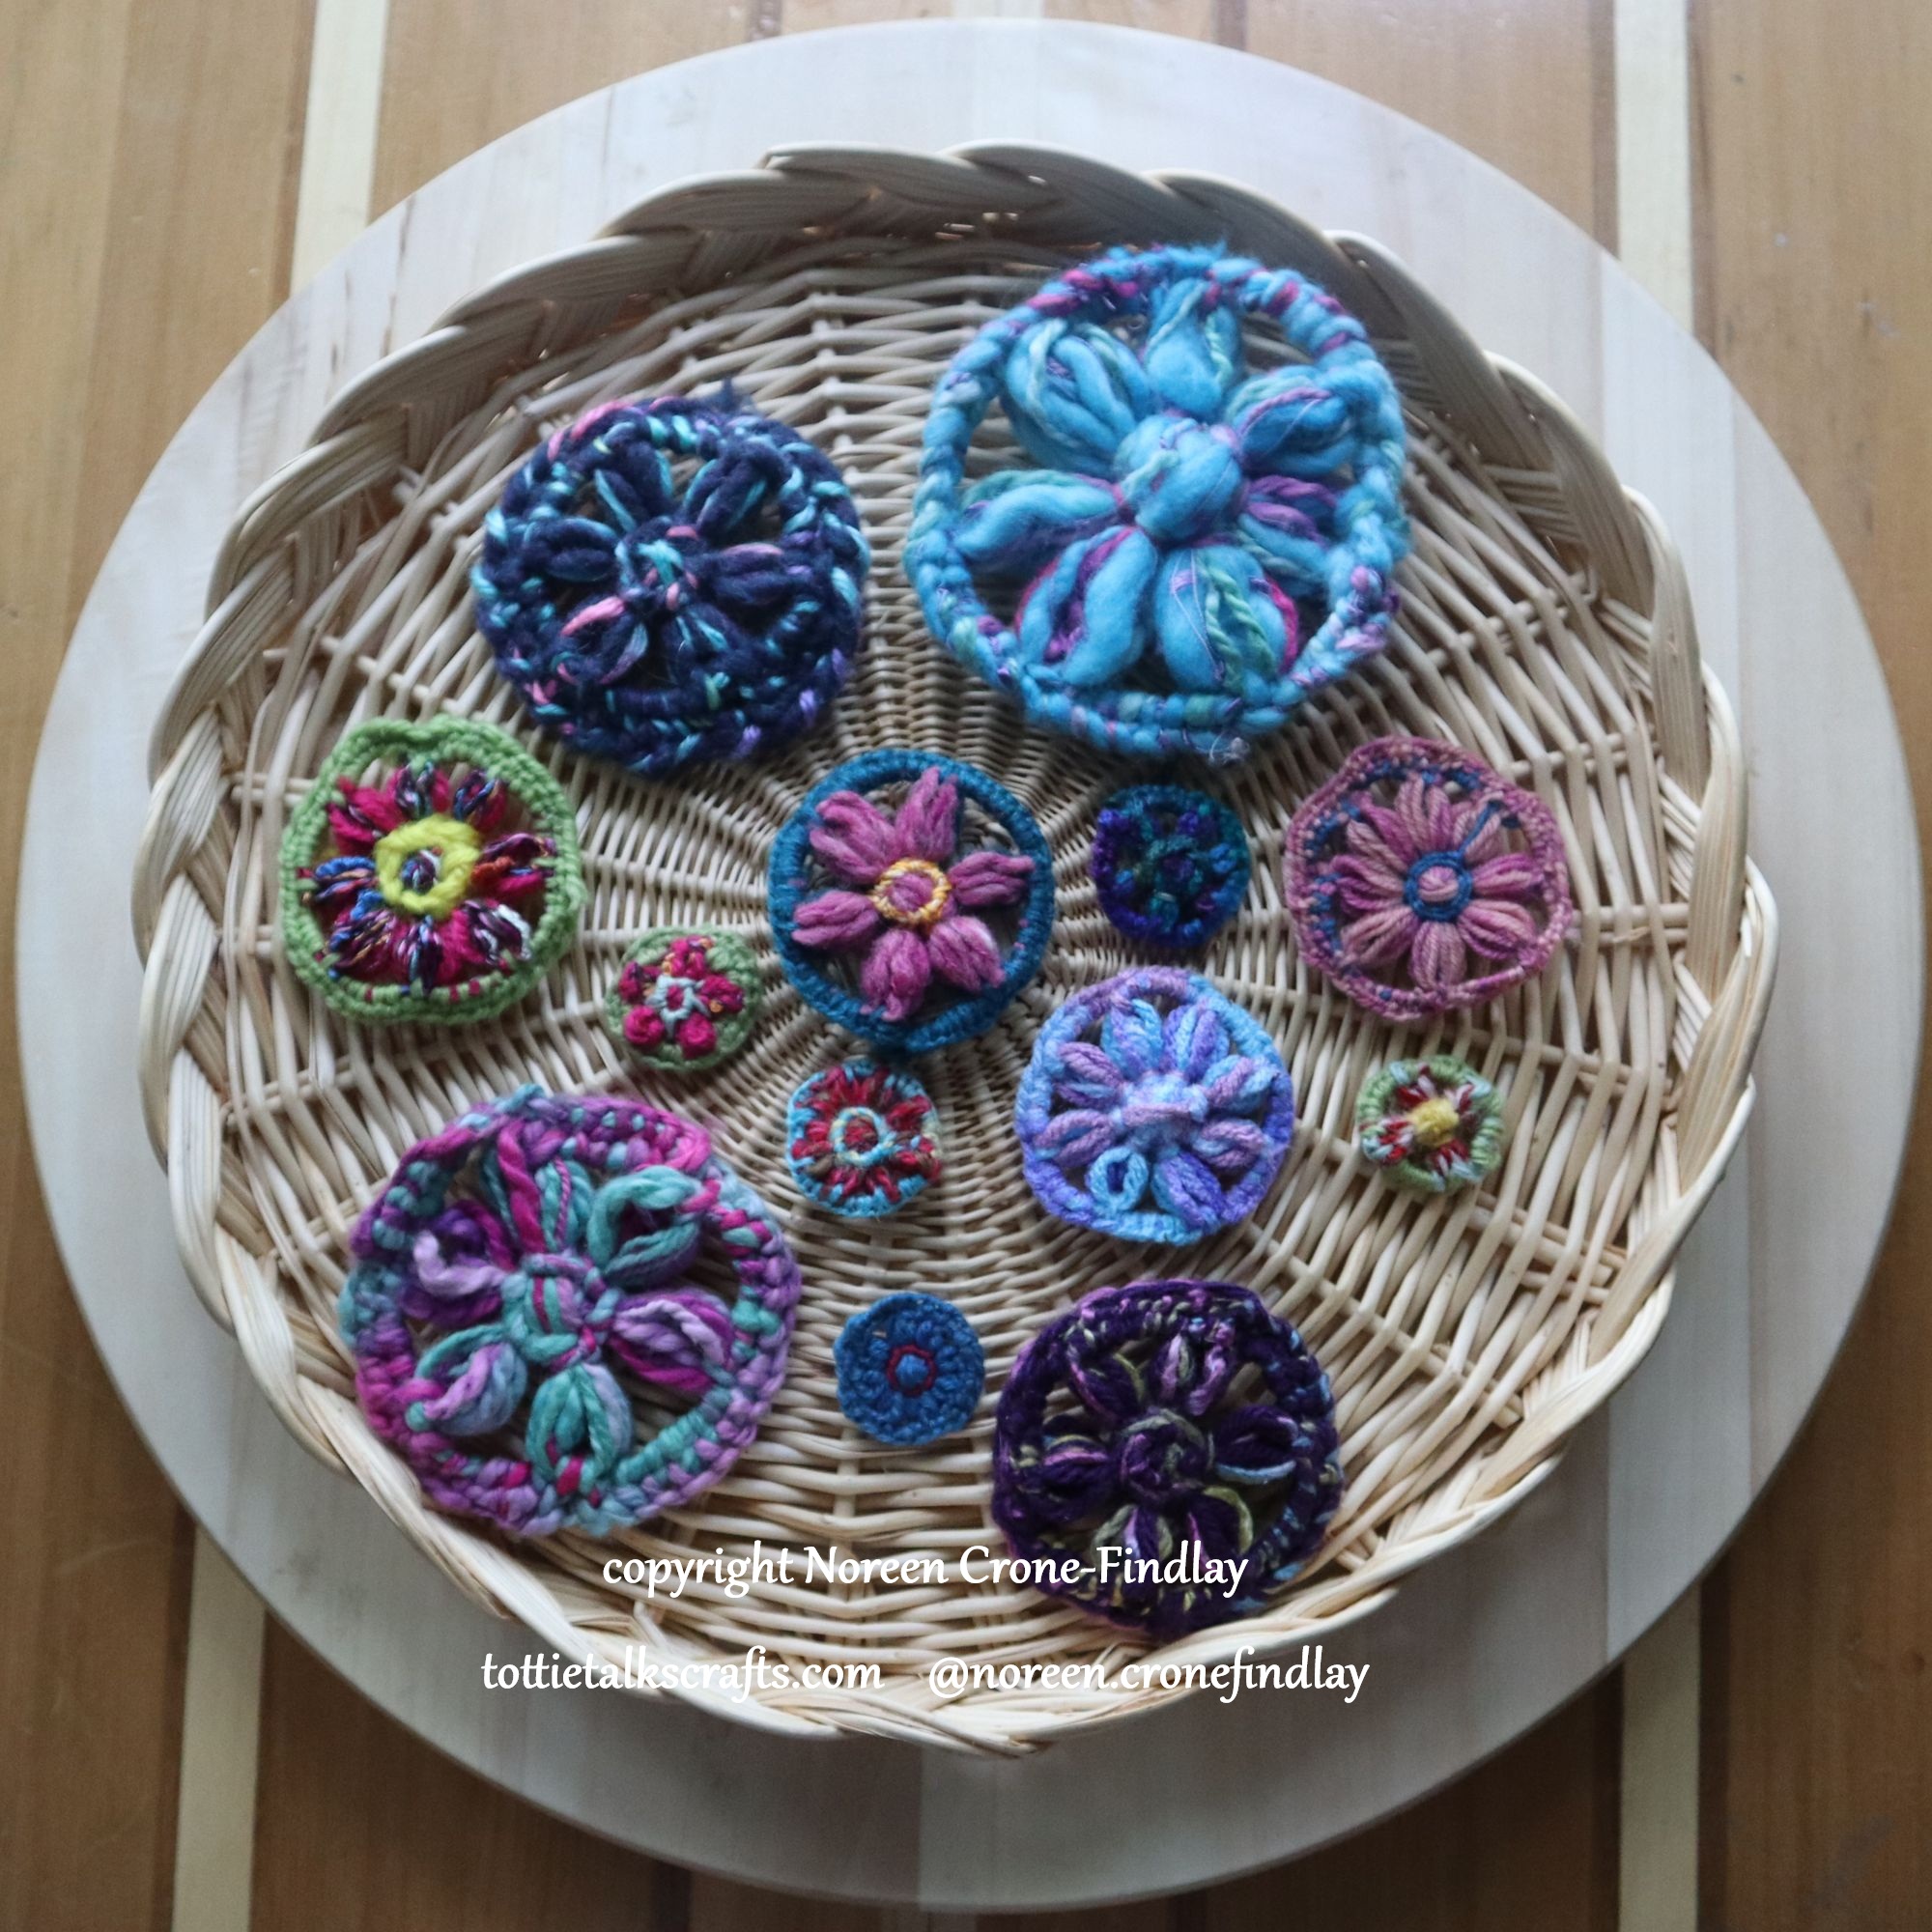
The Kindness looms are perfect for weaving all manner of petite, simple and sweet Kindness gifts that are easy to make. They are a lovely a way to say: “I wish you well”.

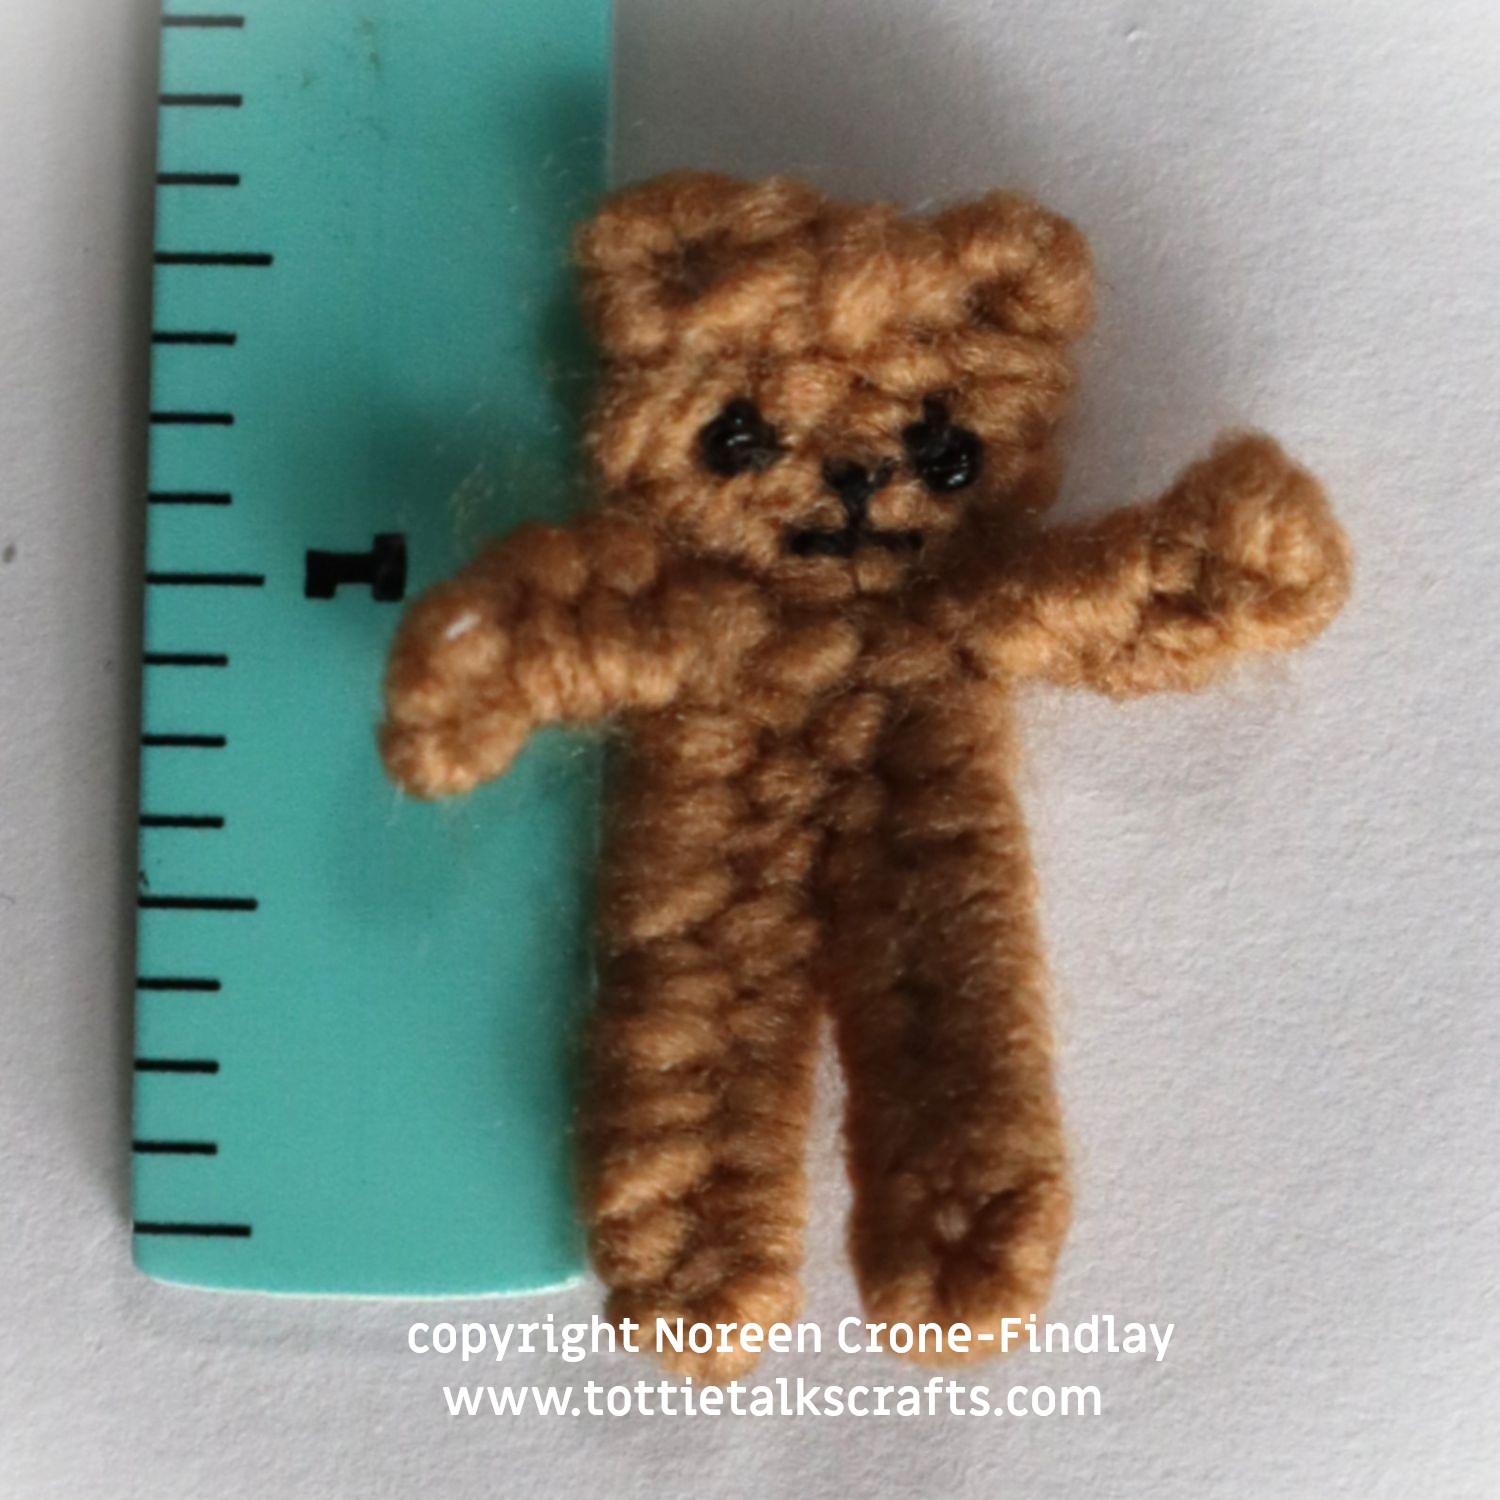
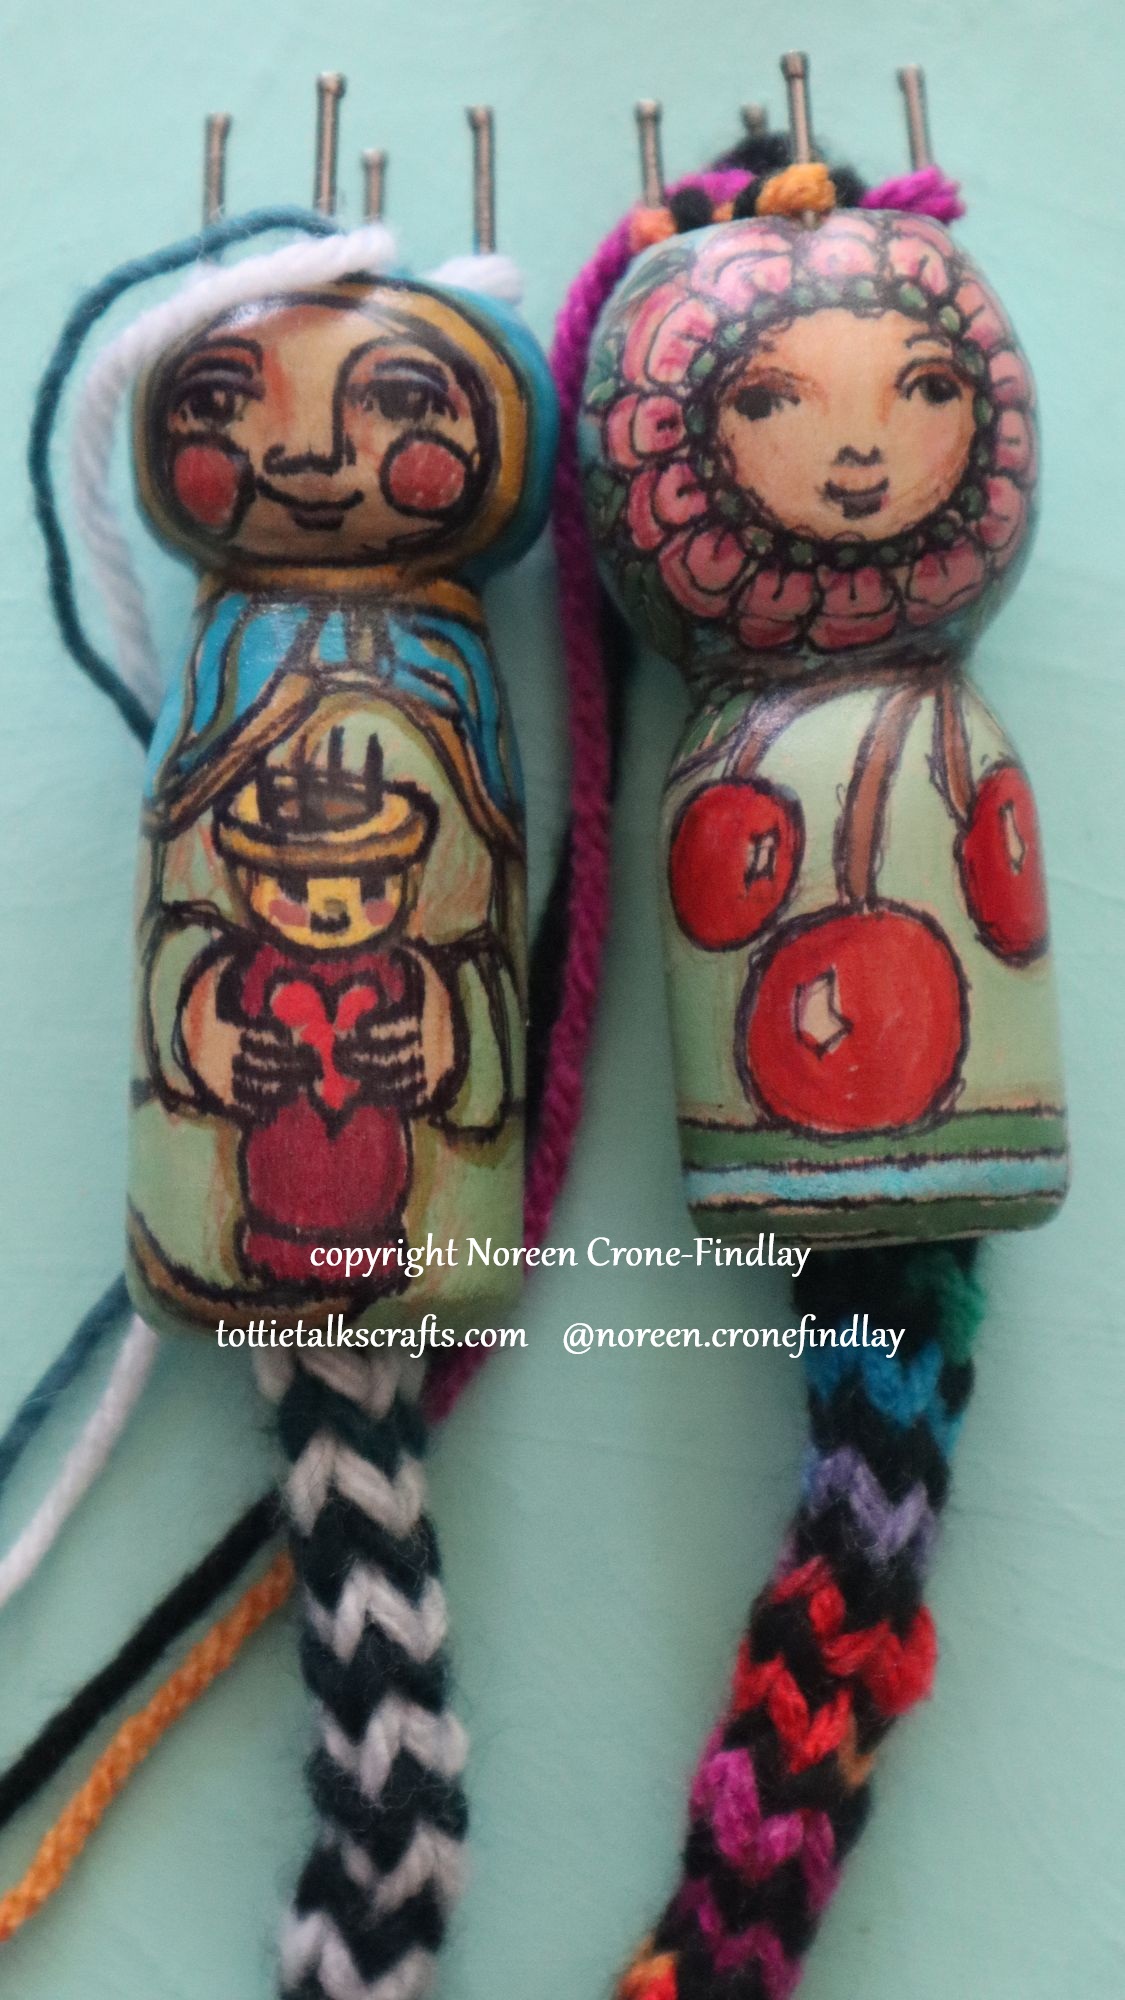
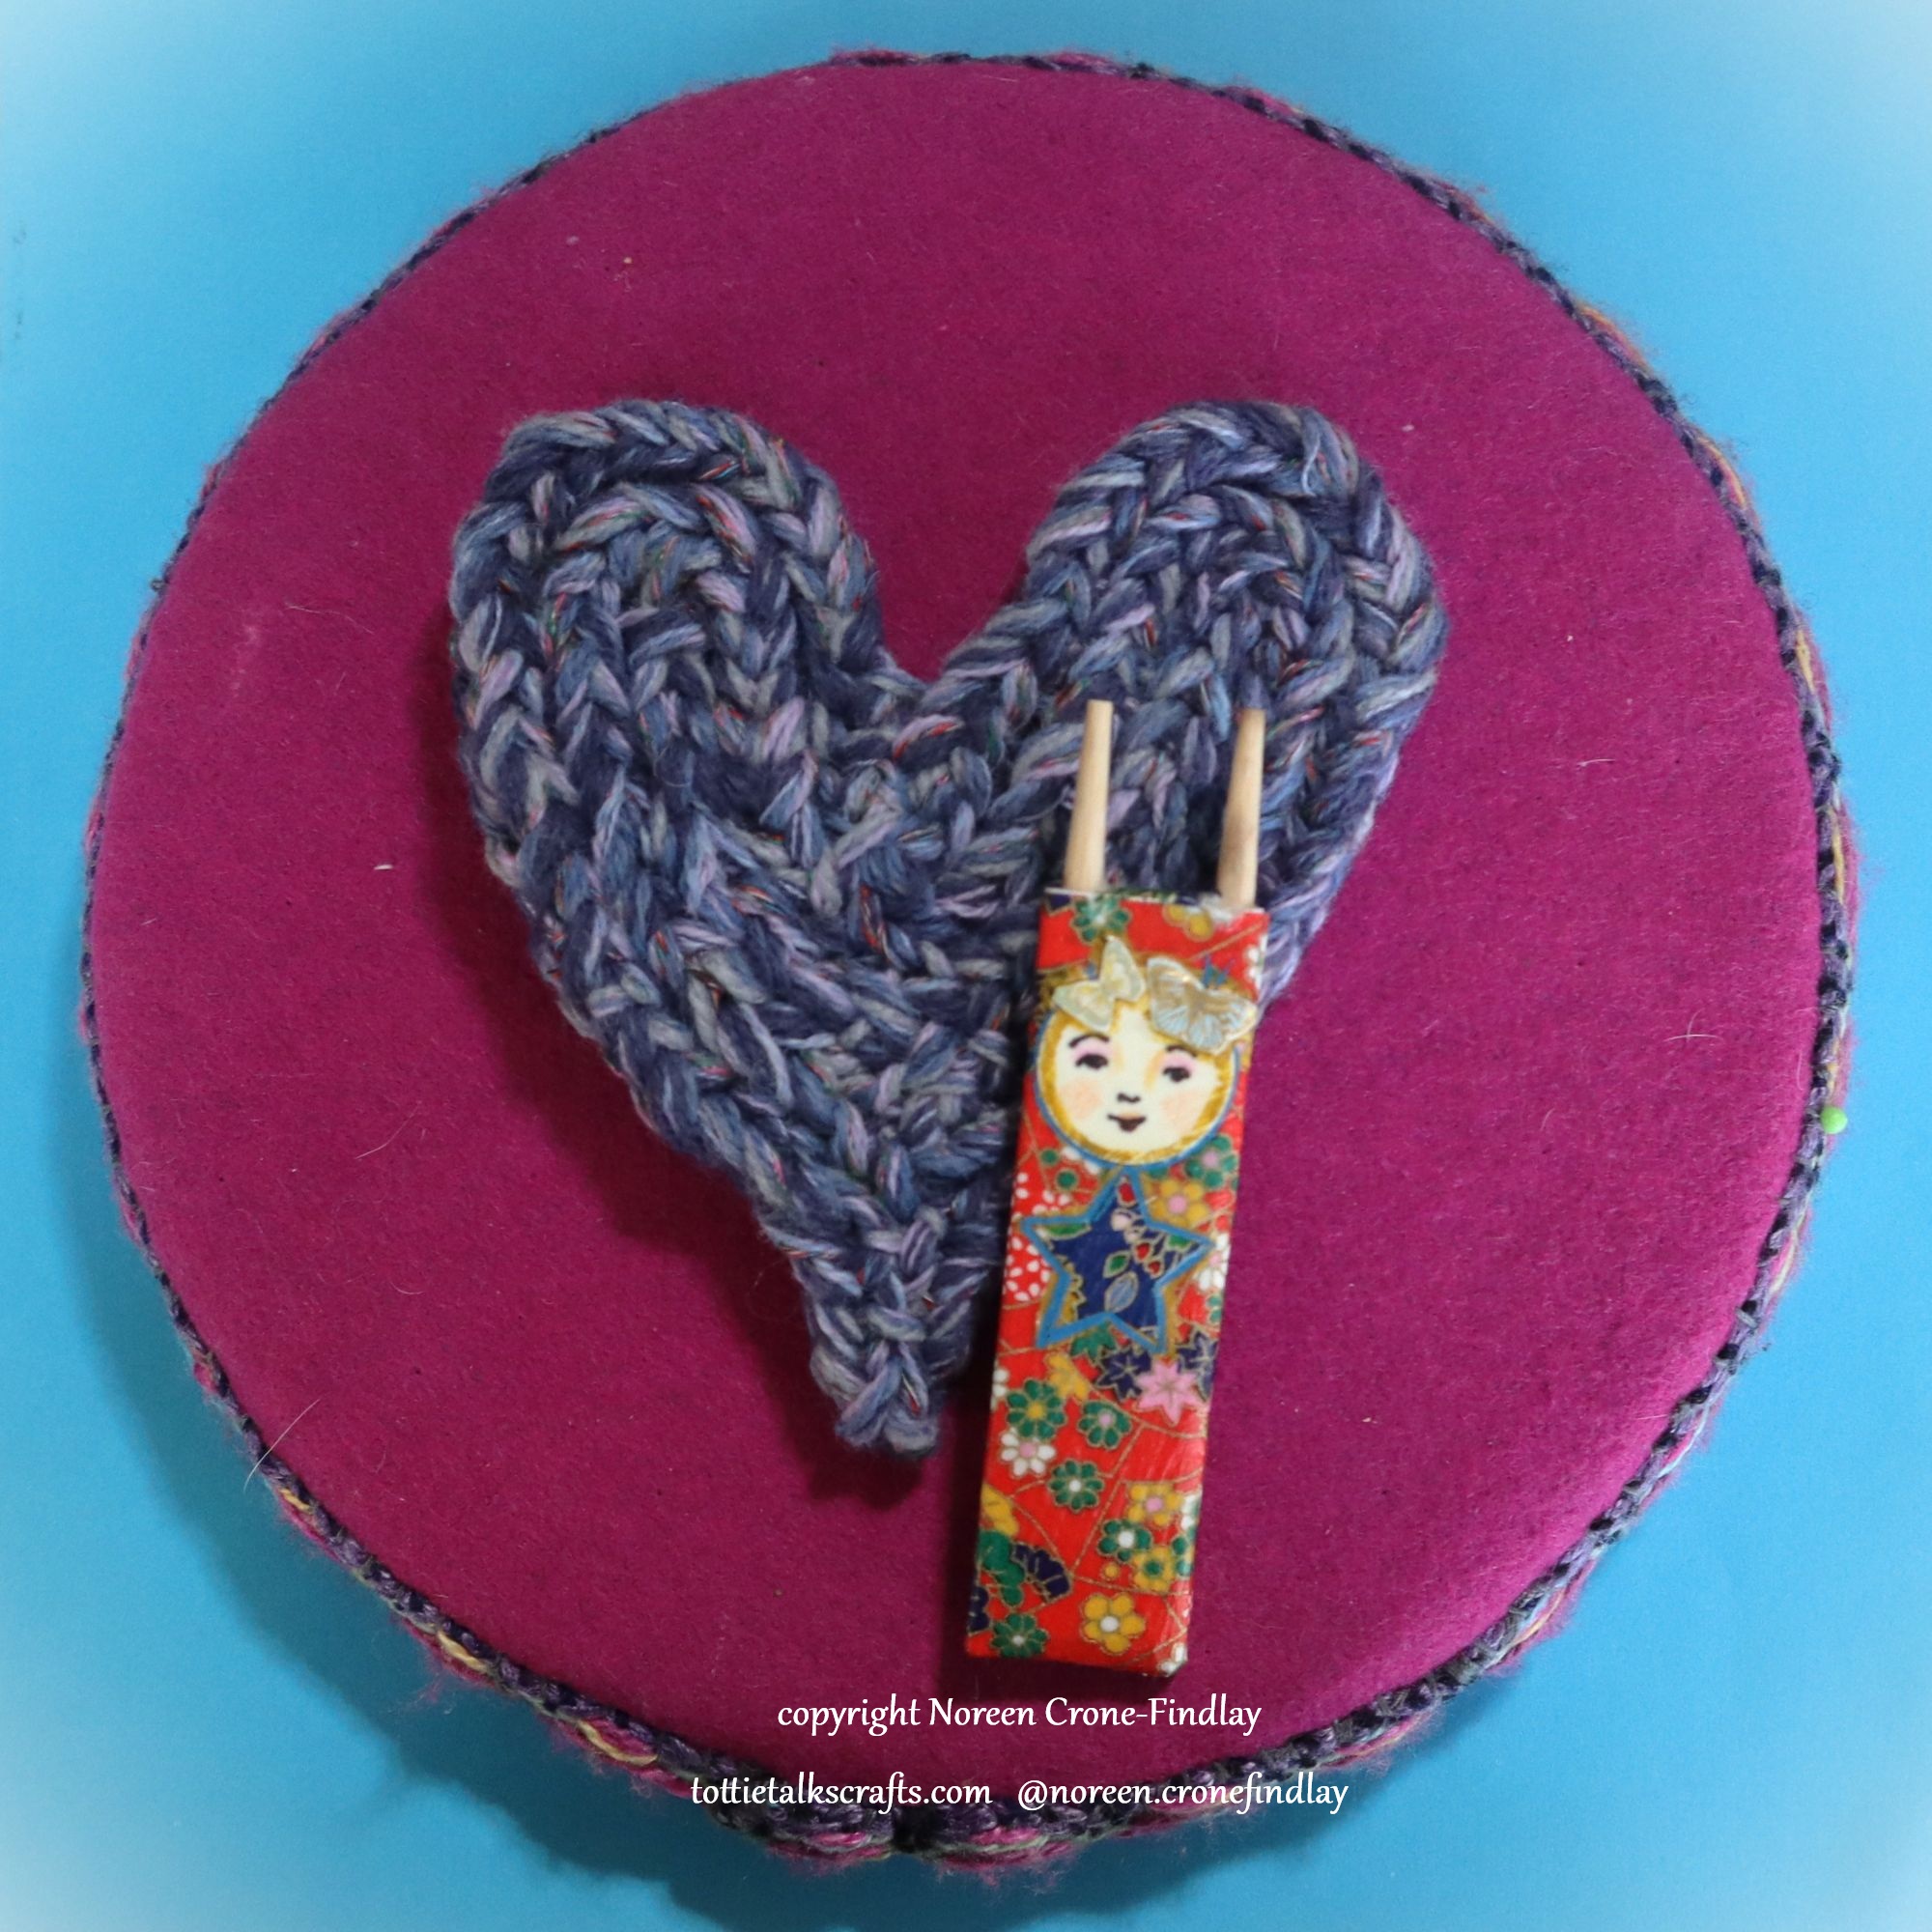
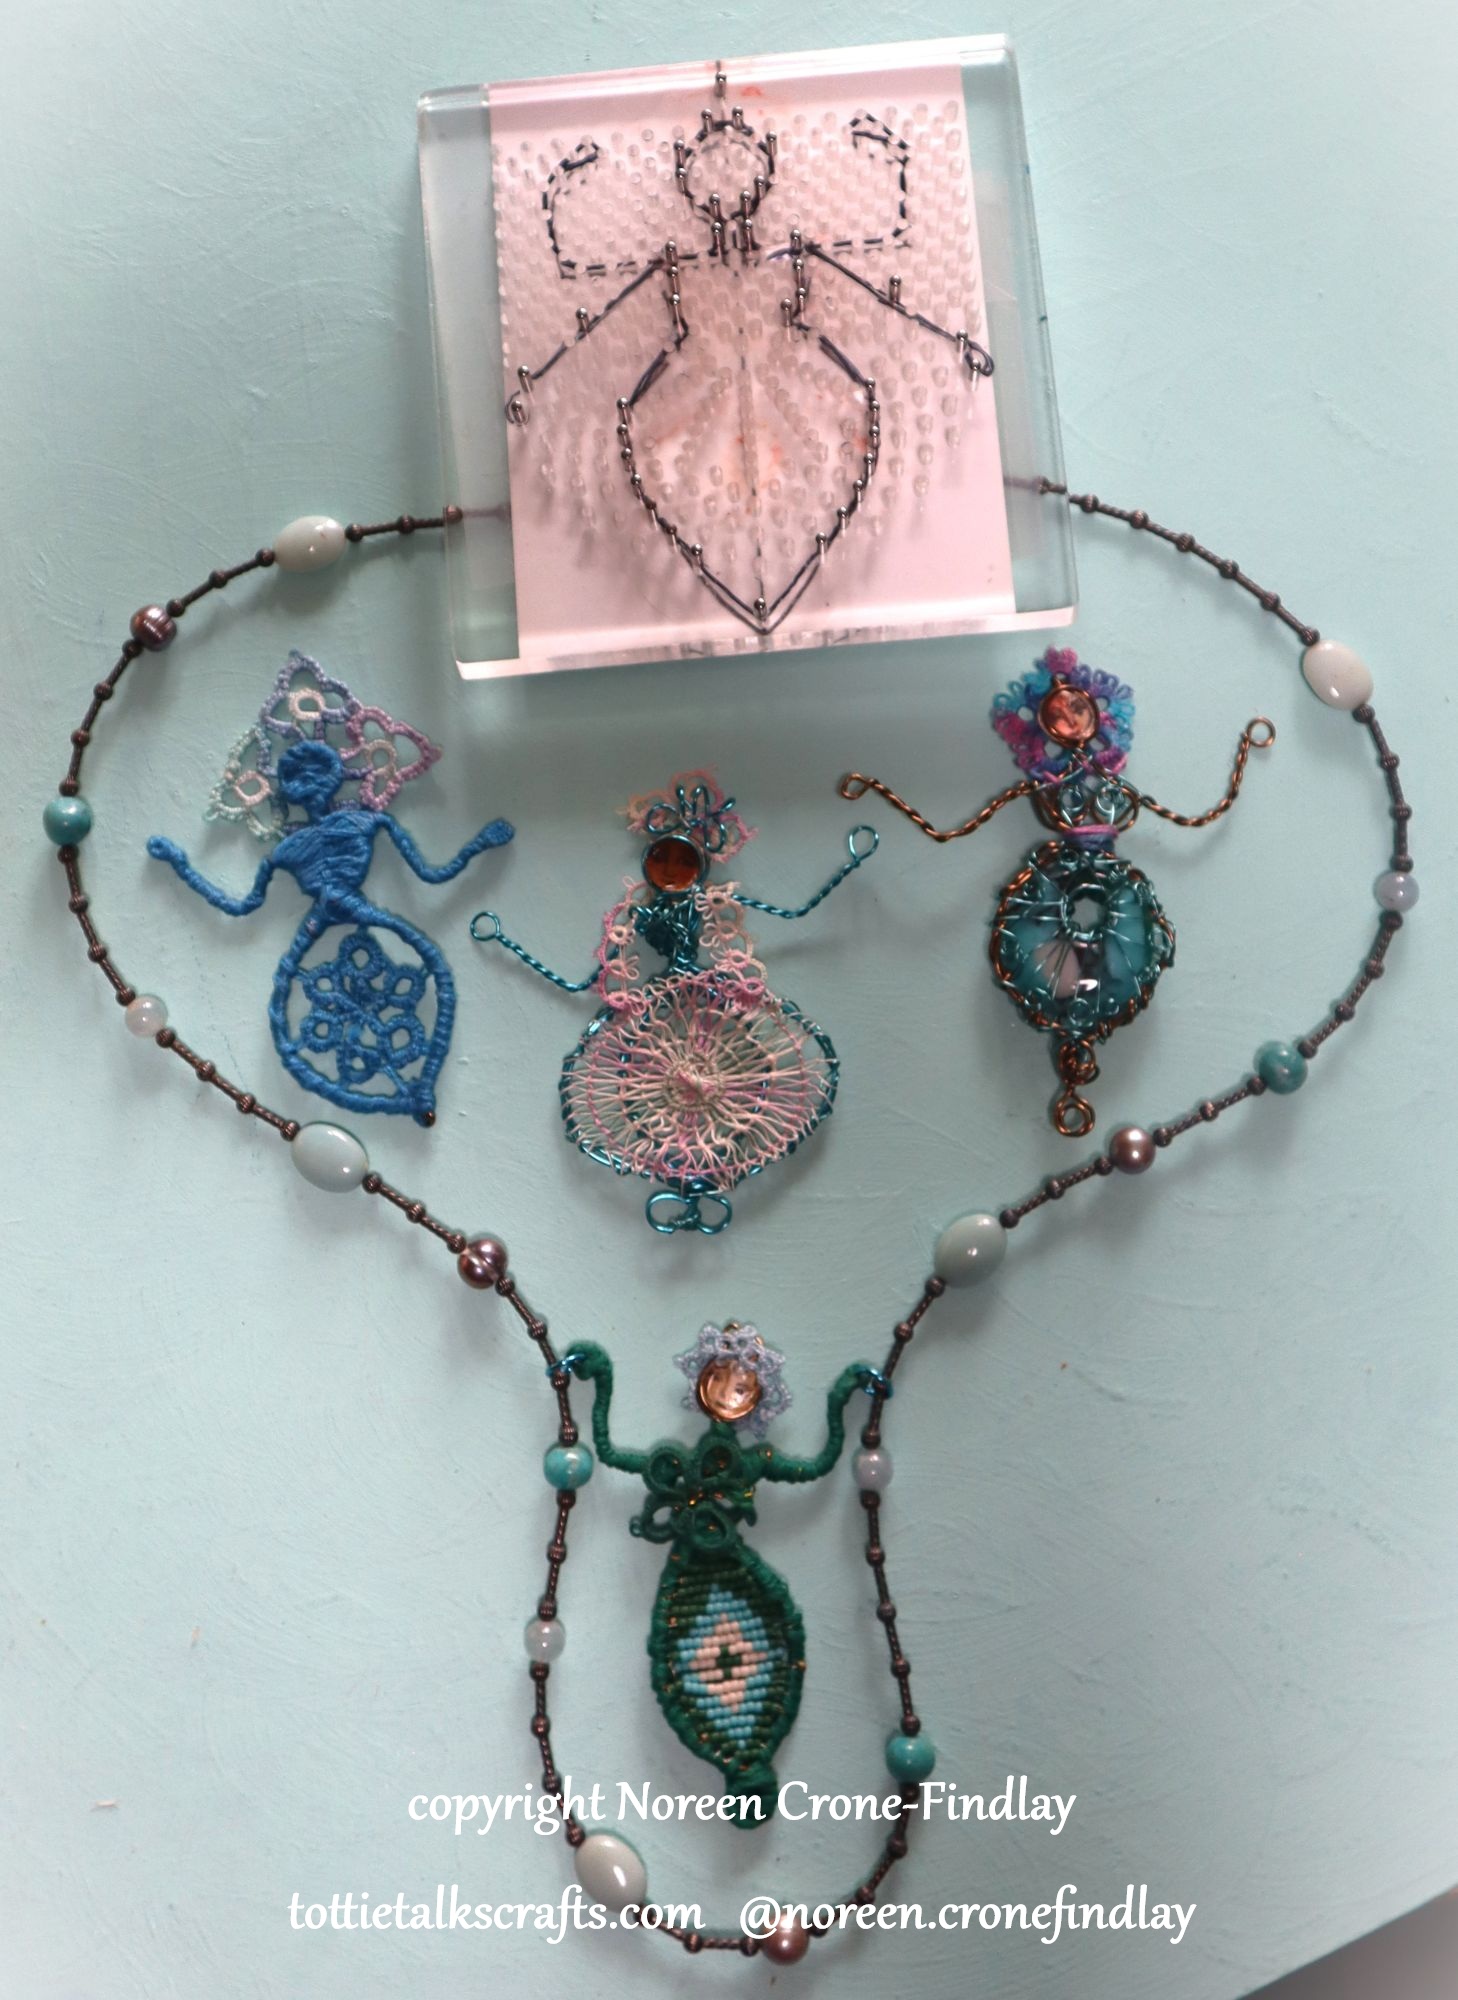
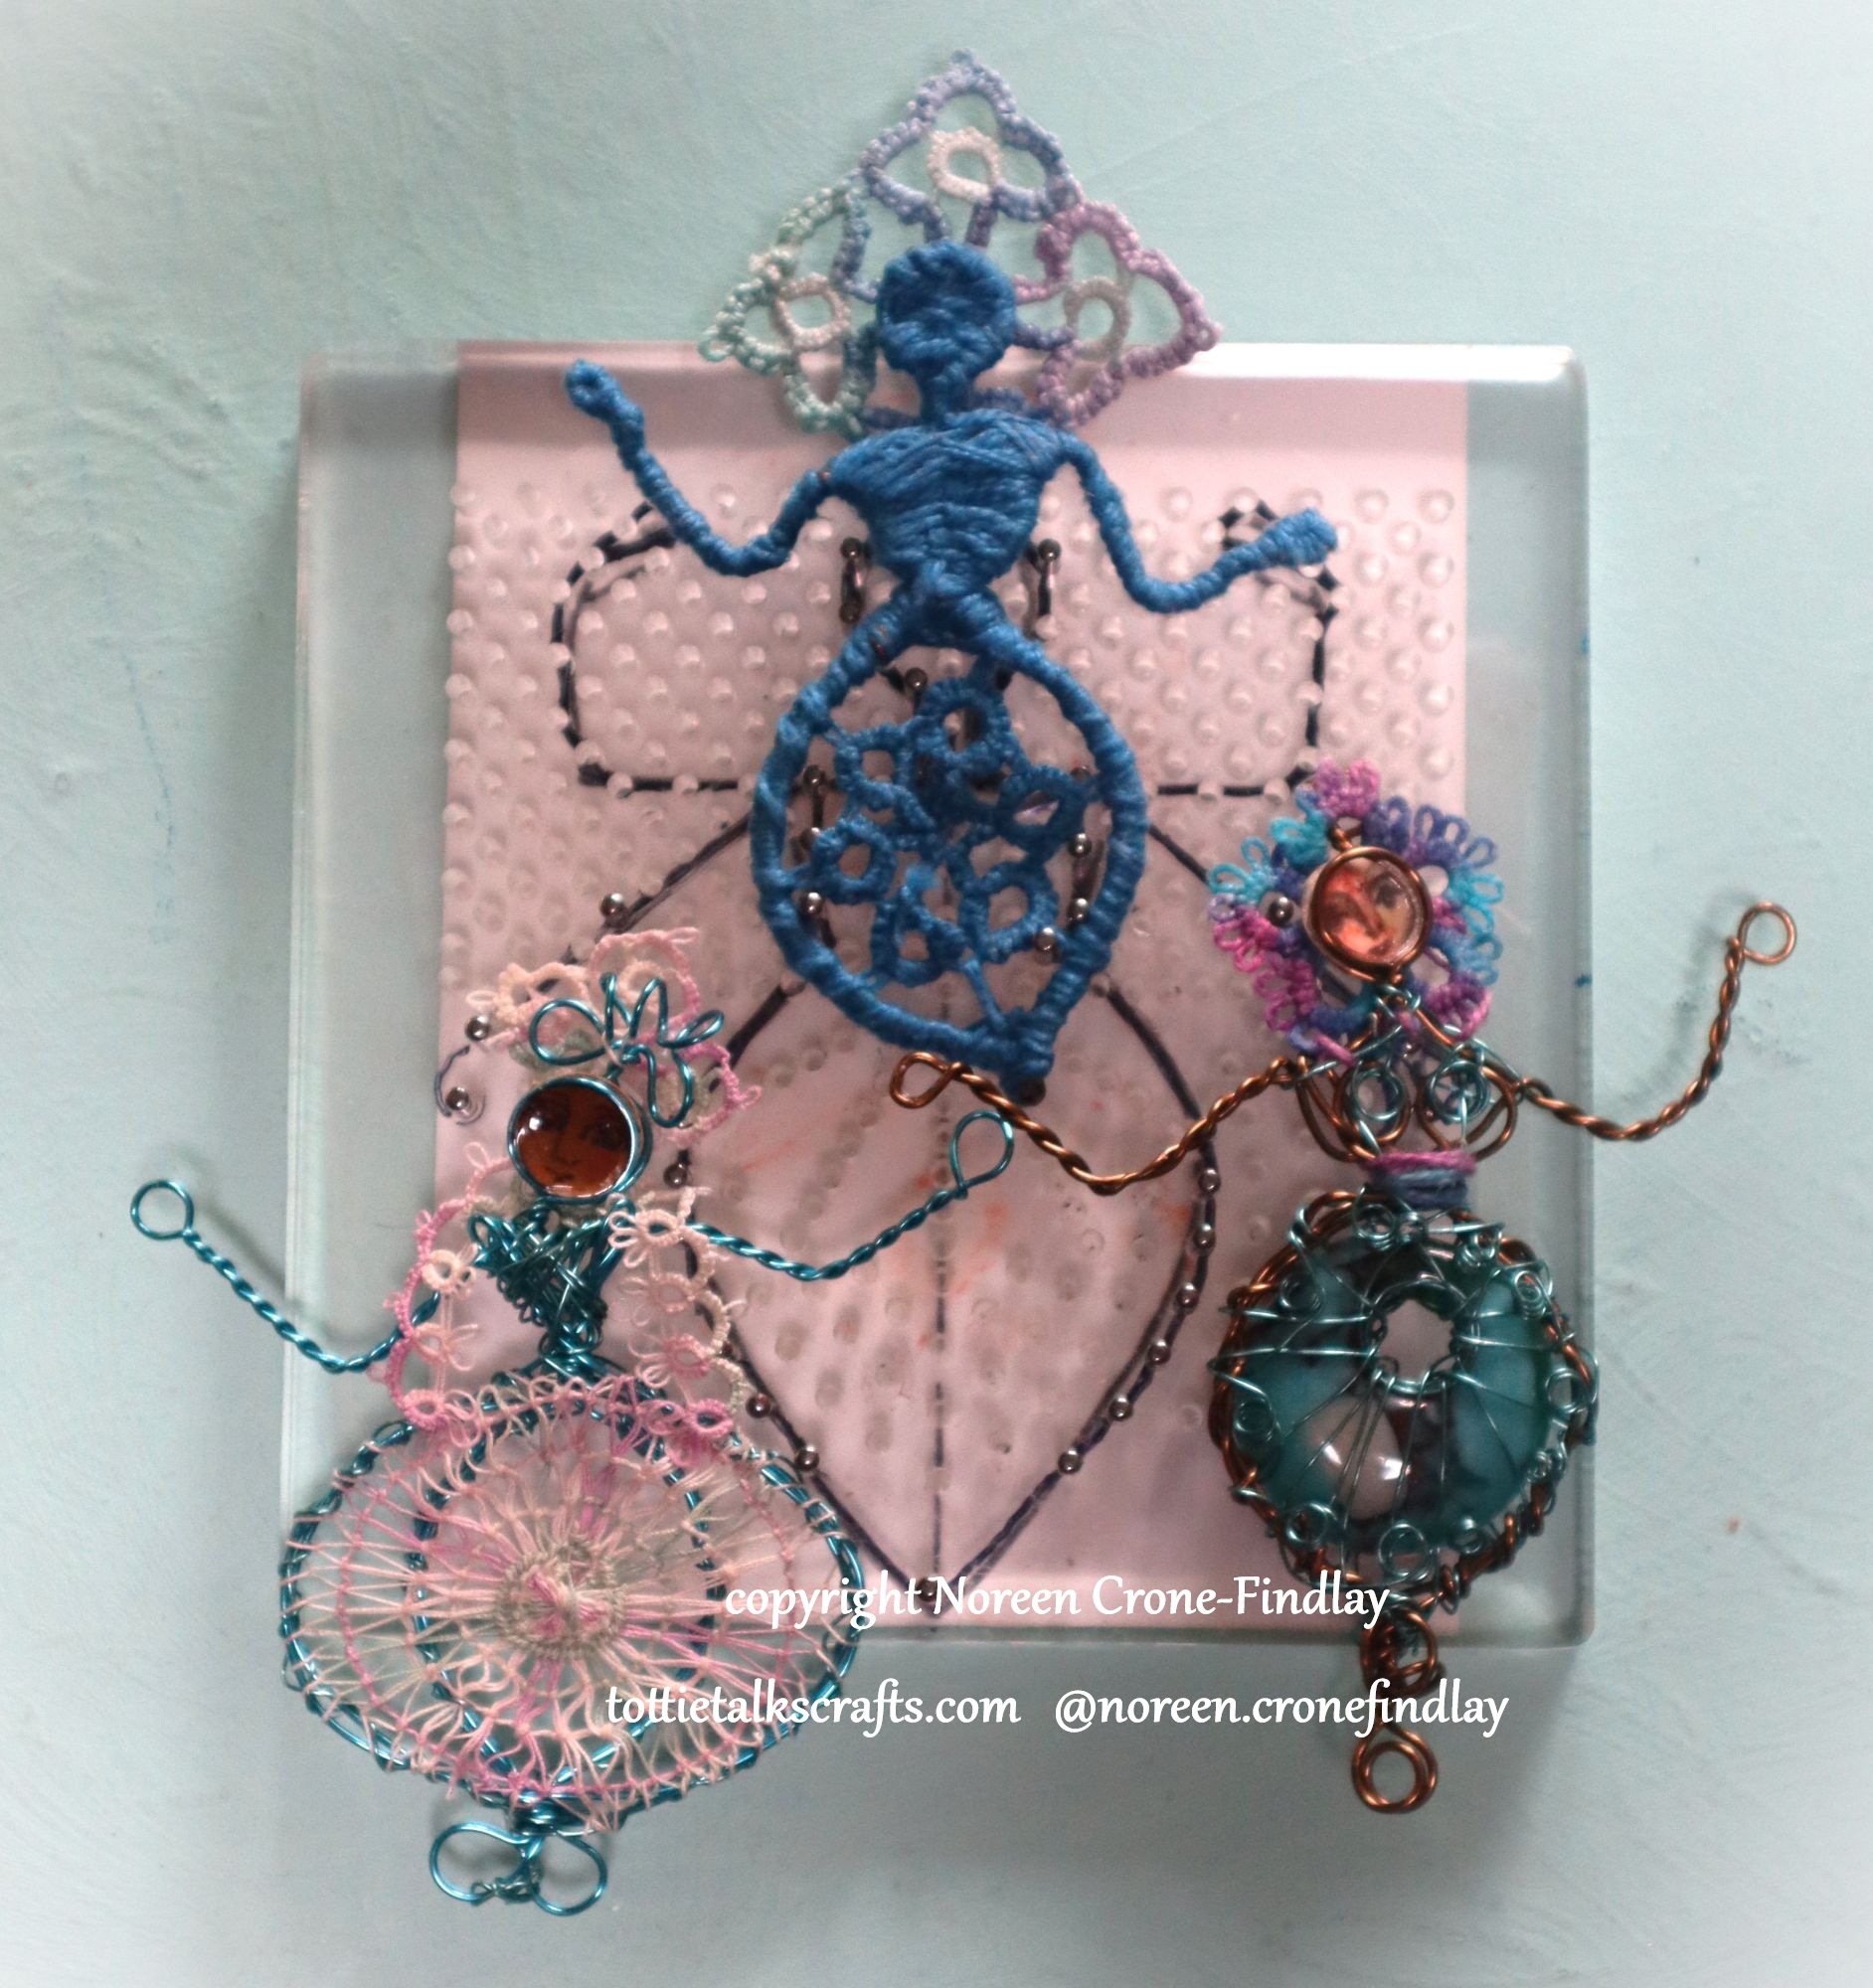
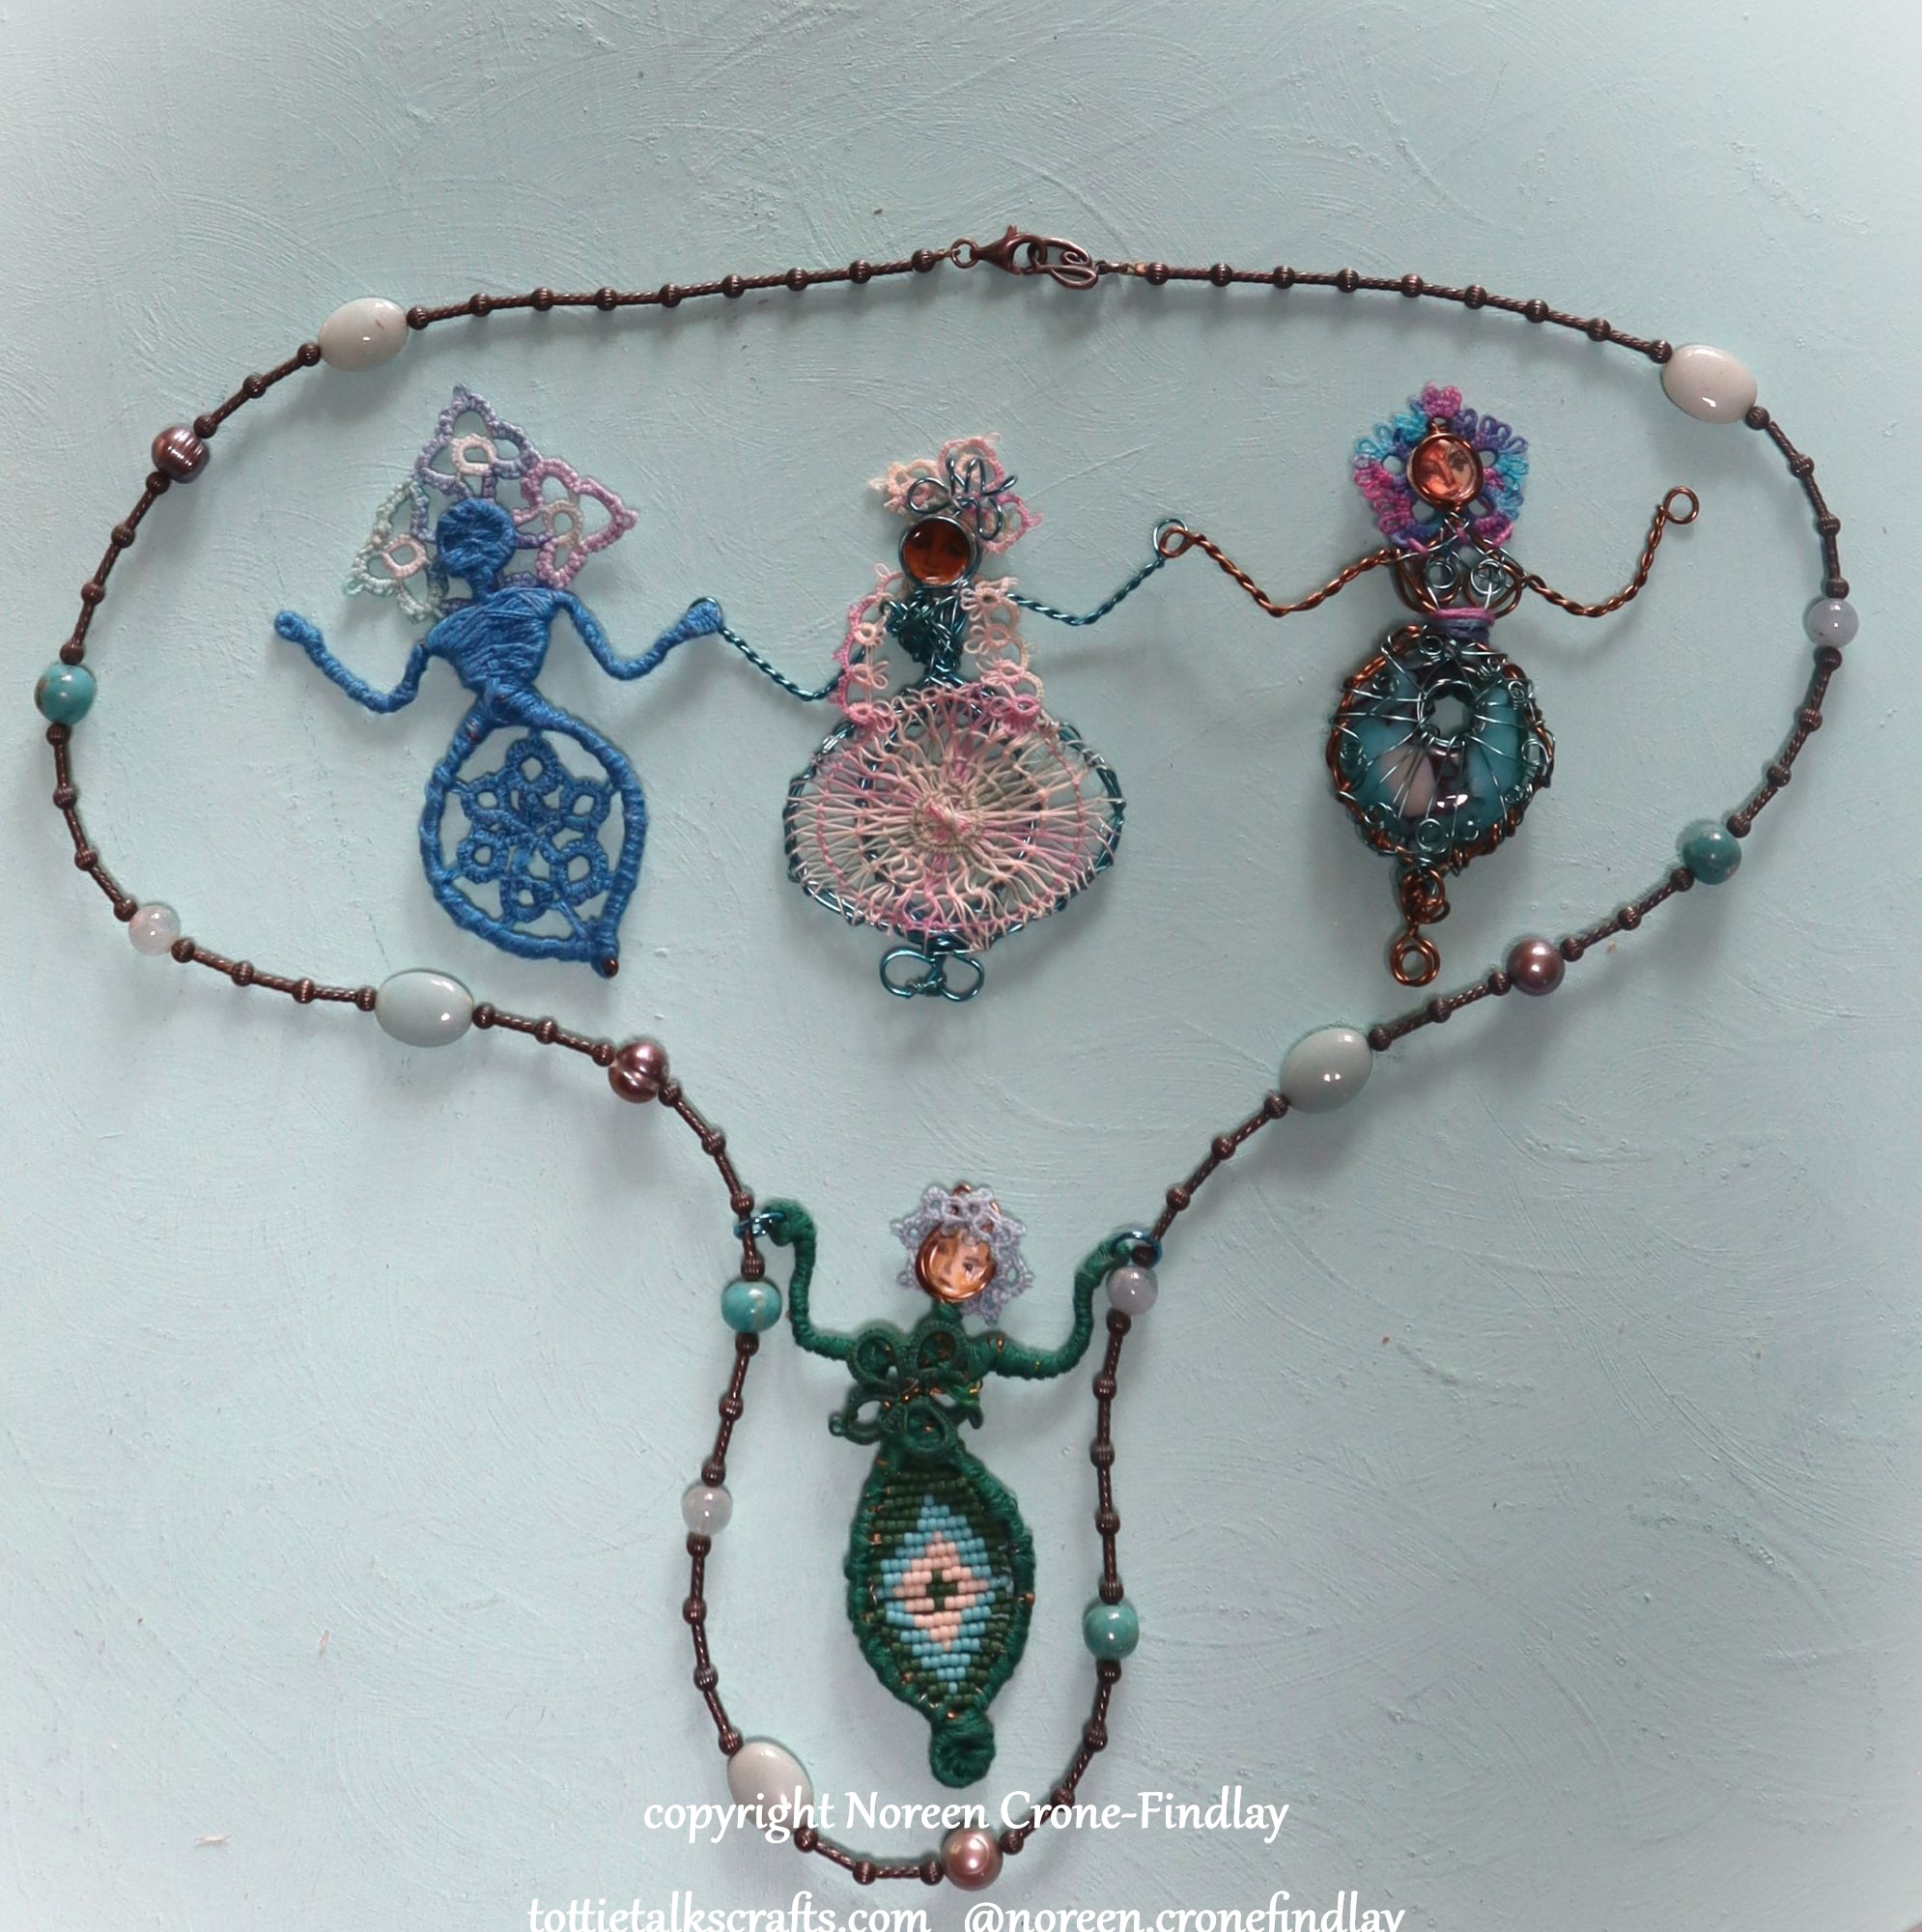
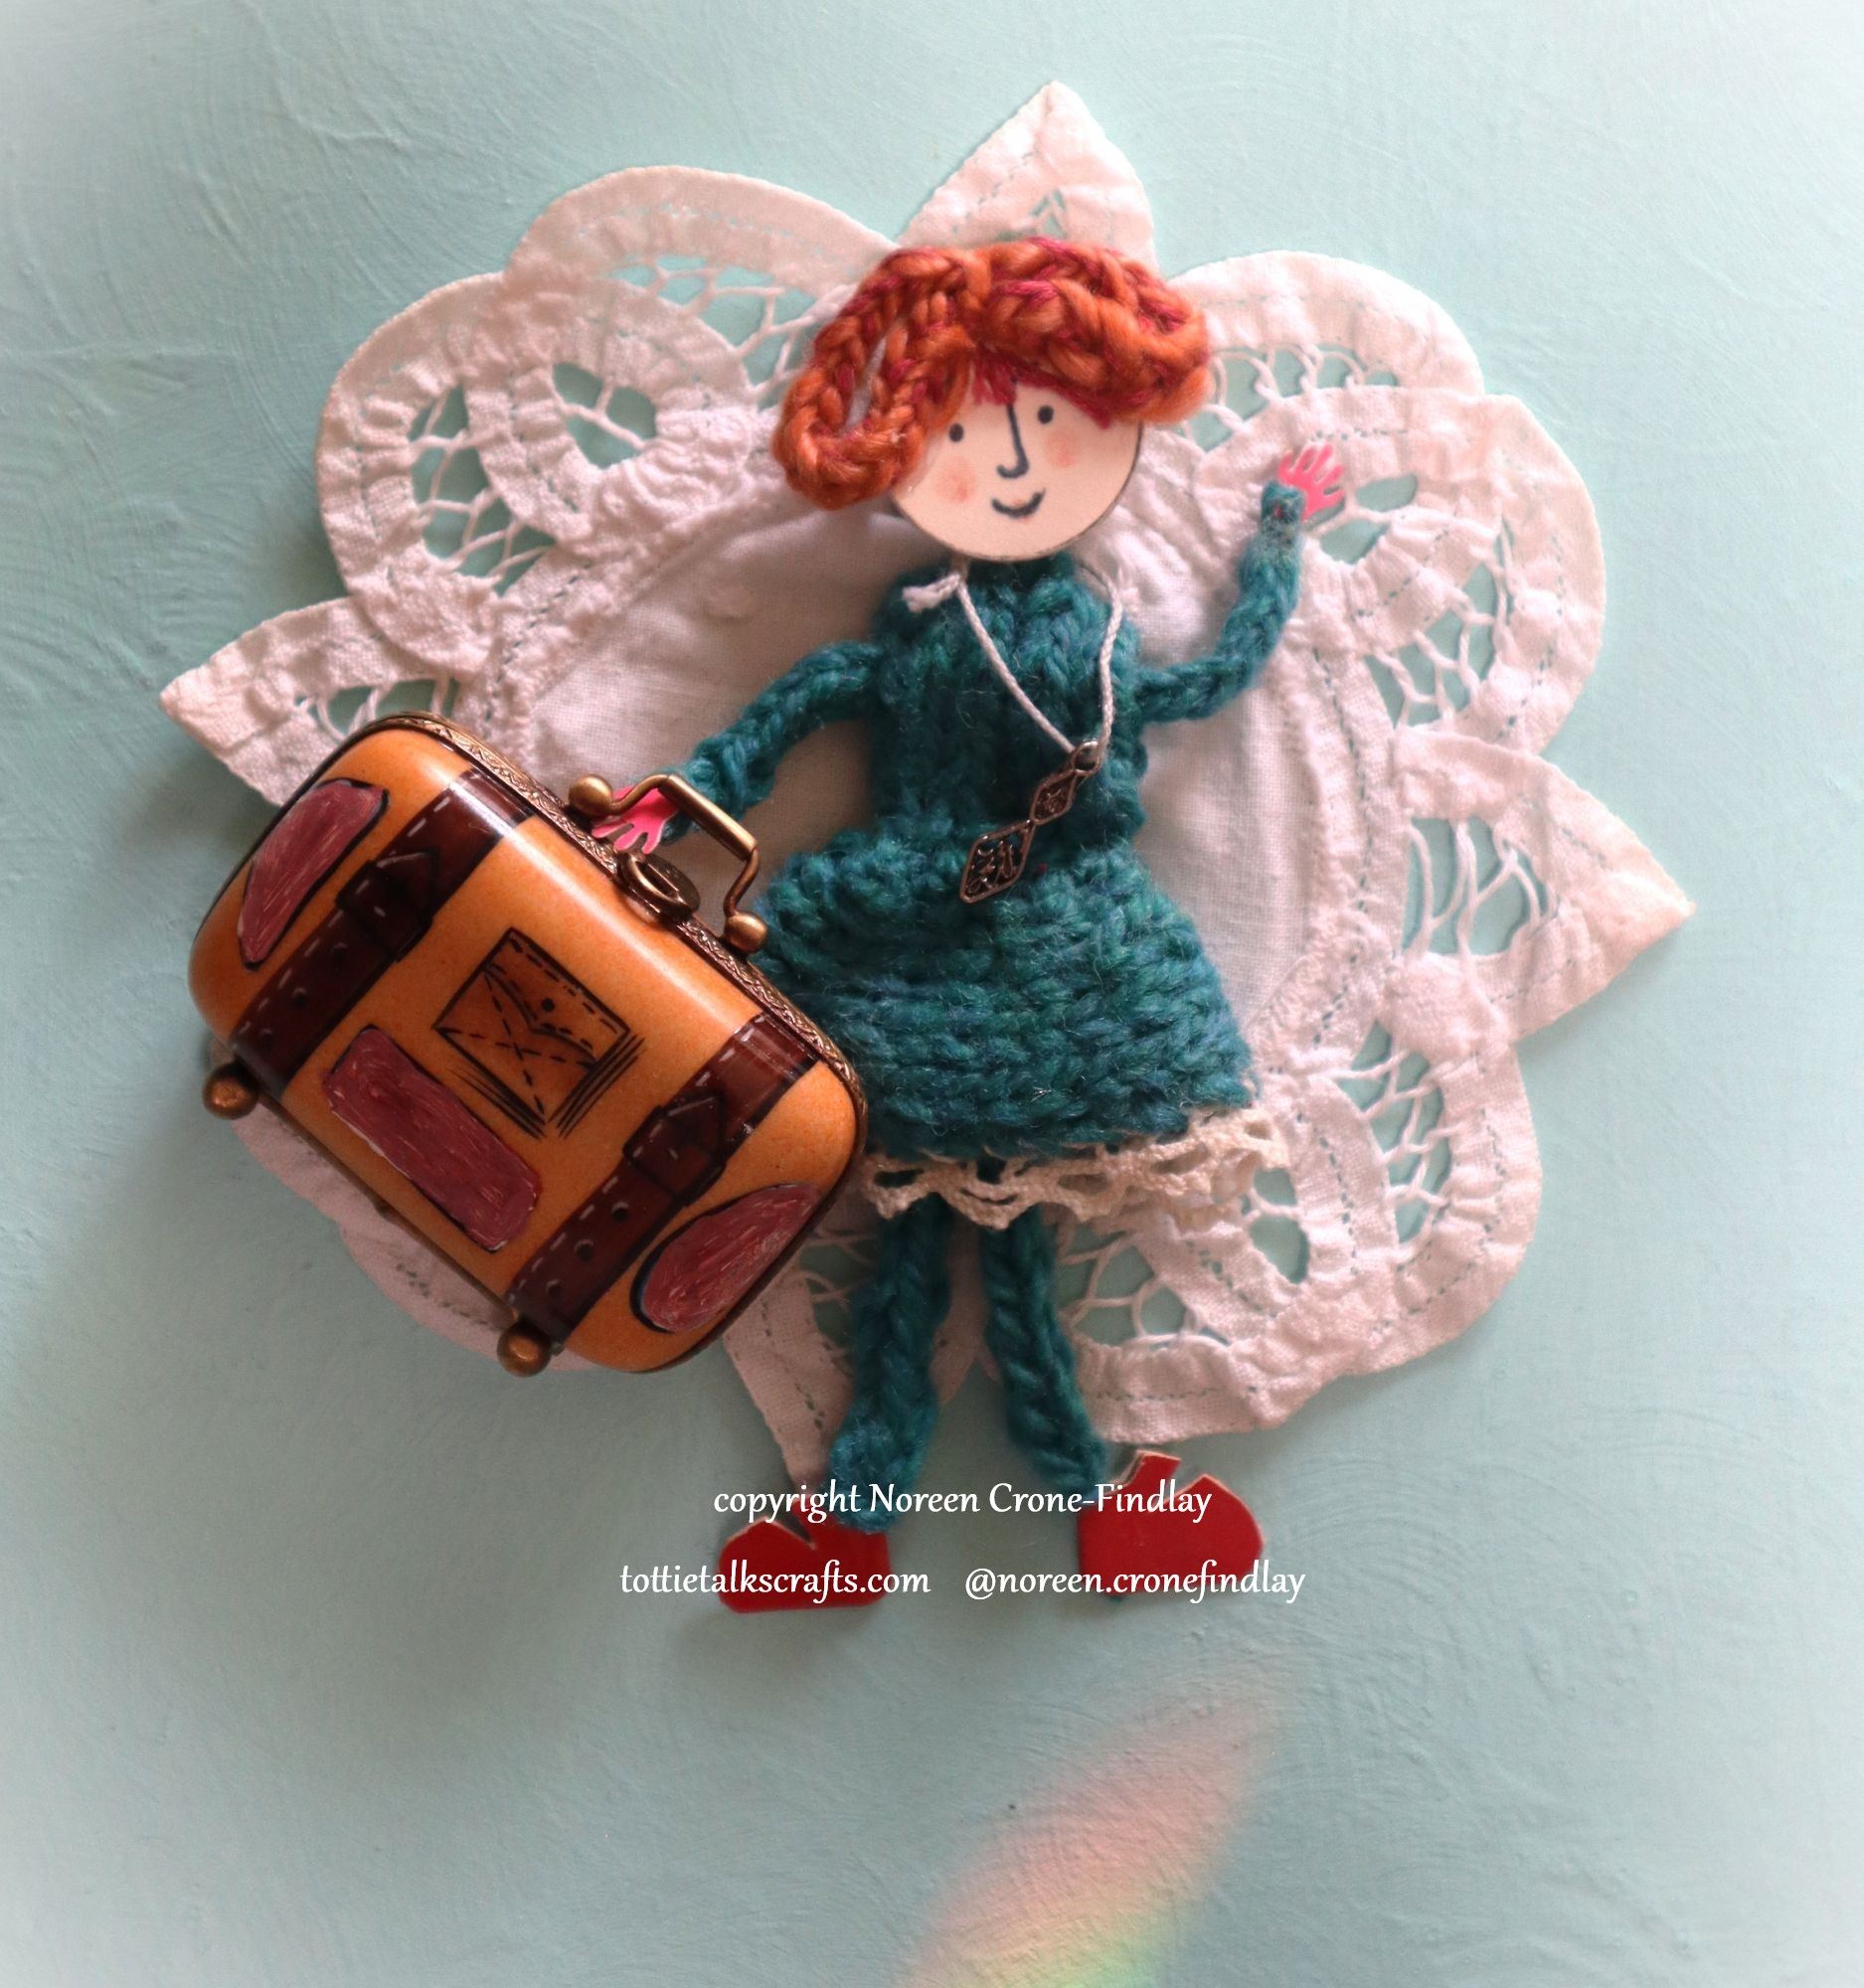
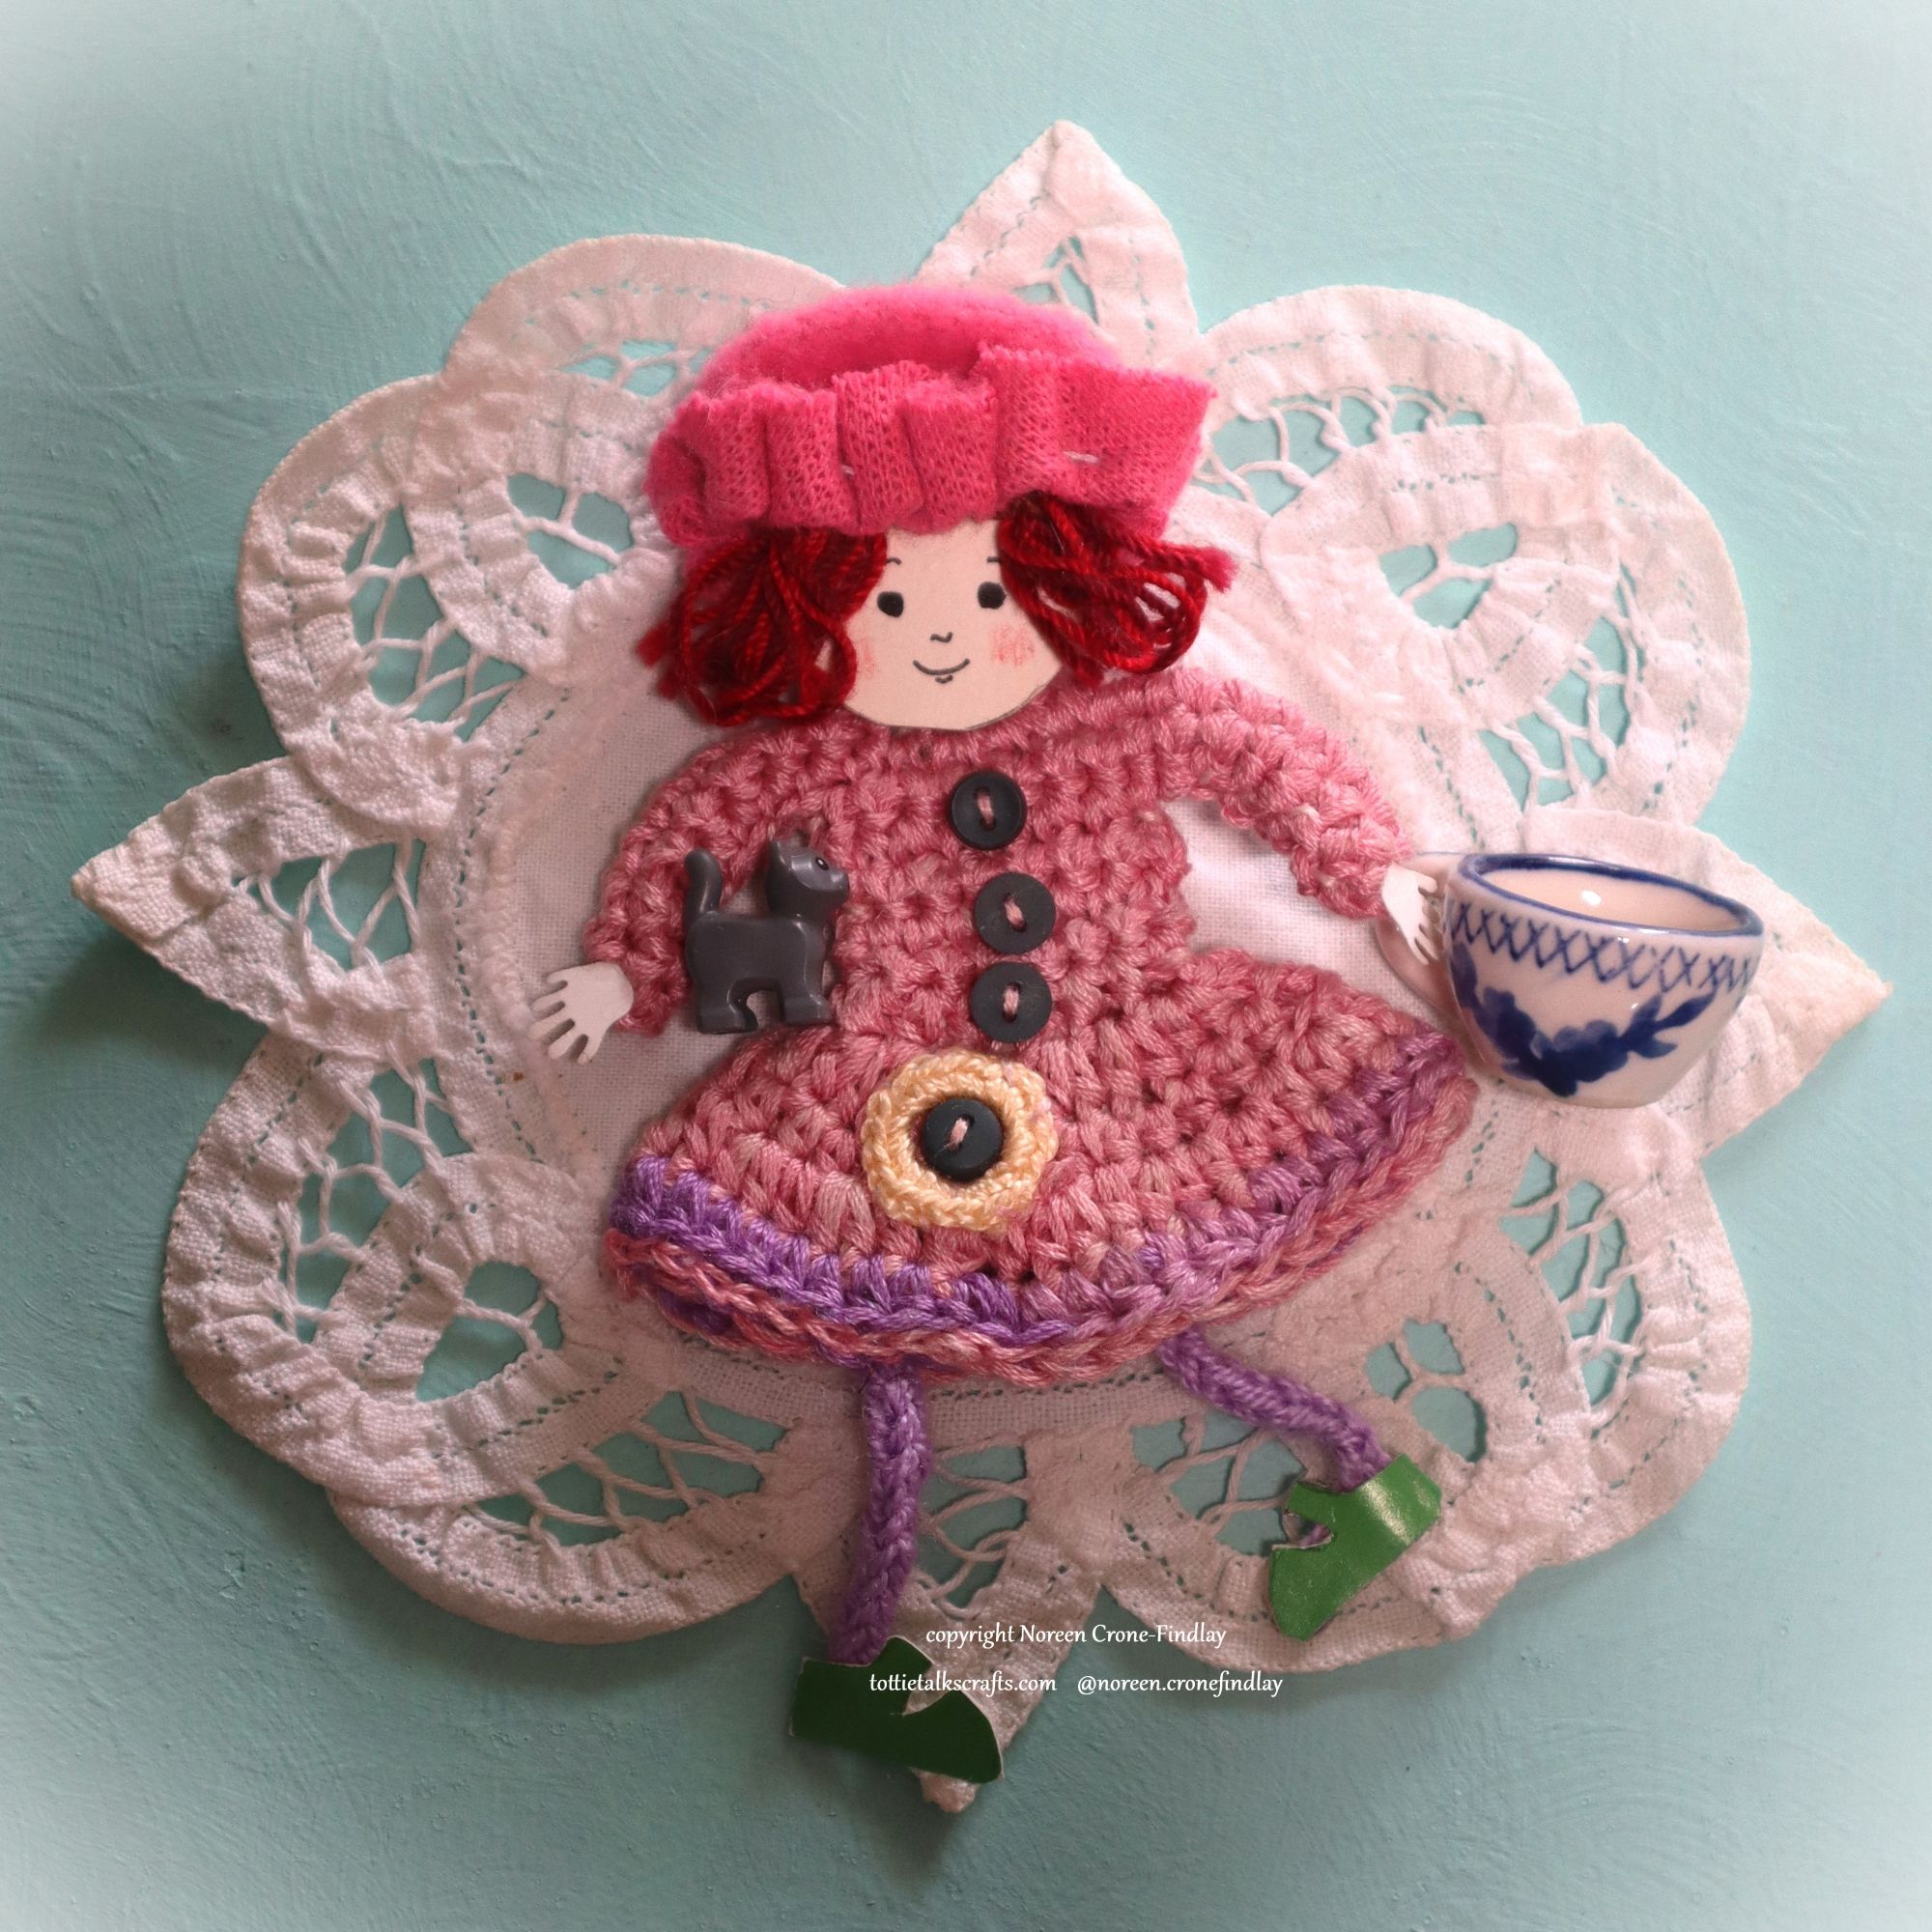
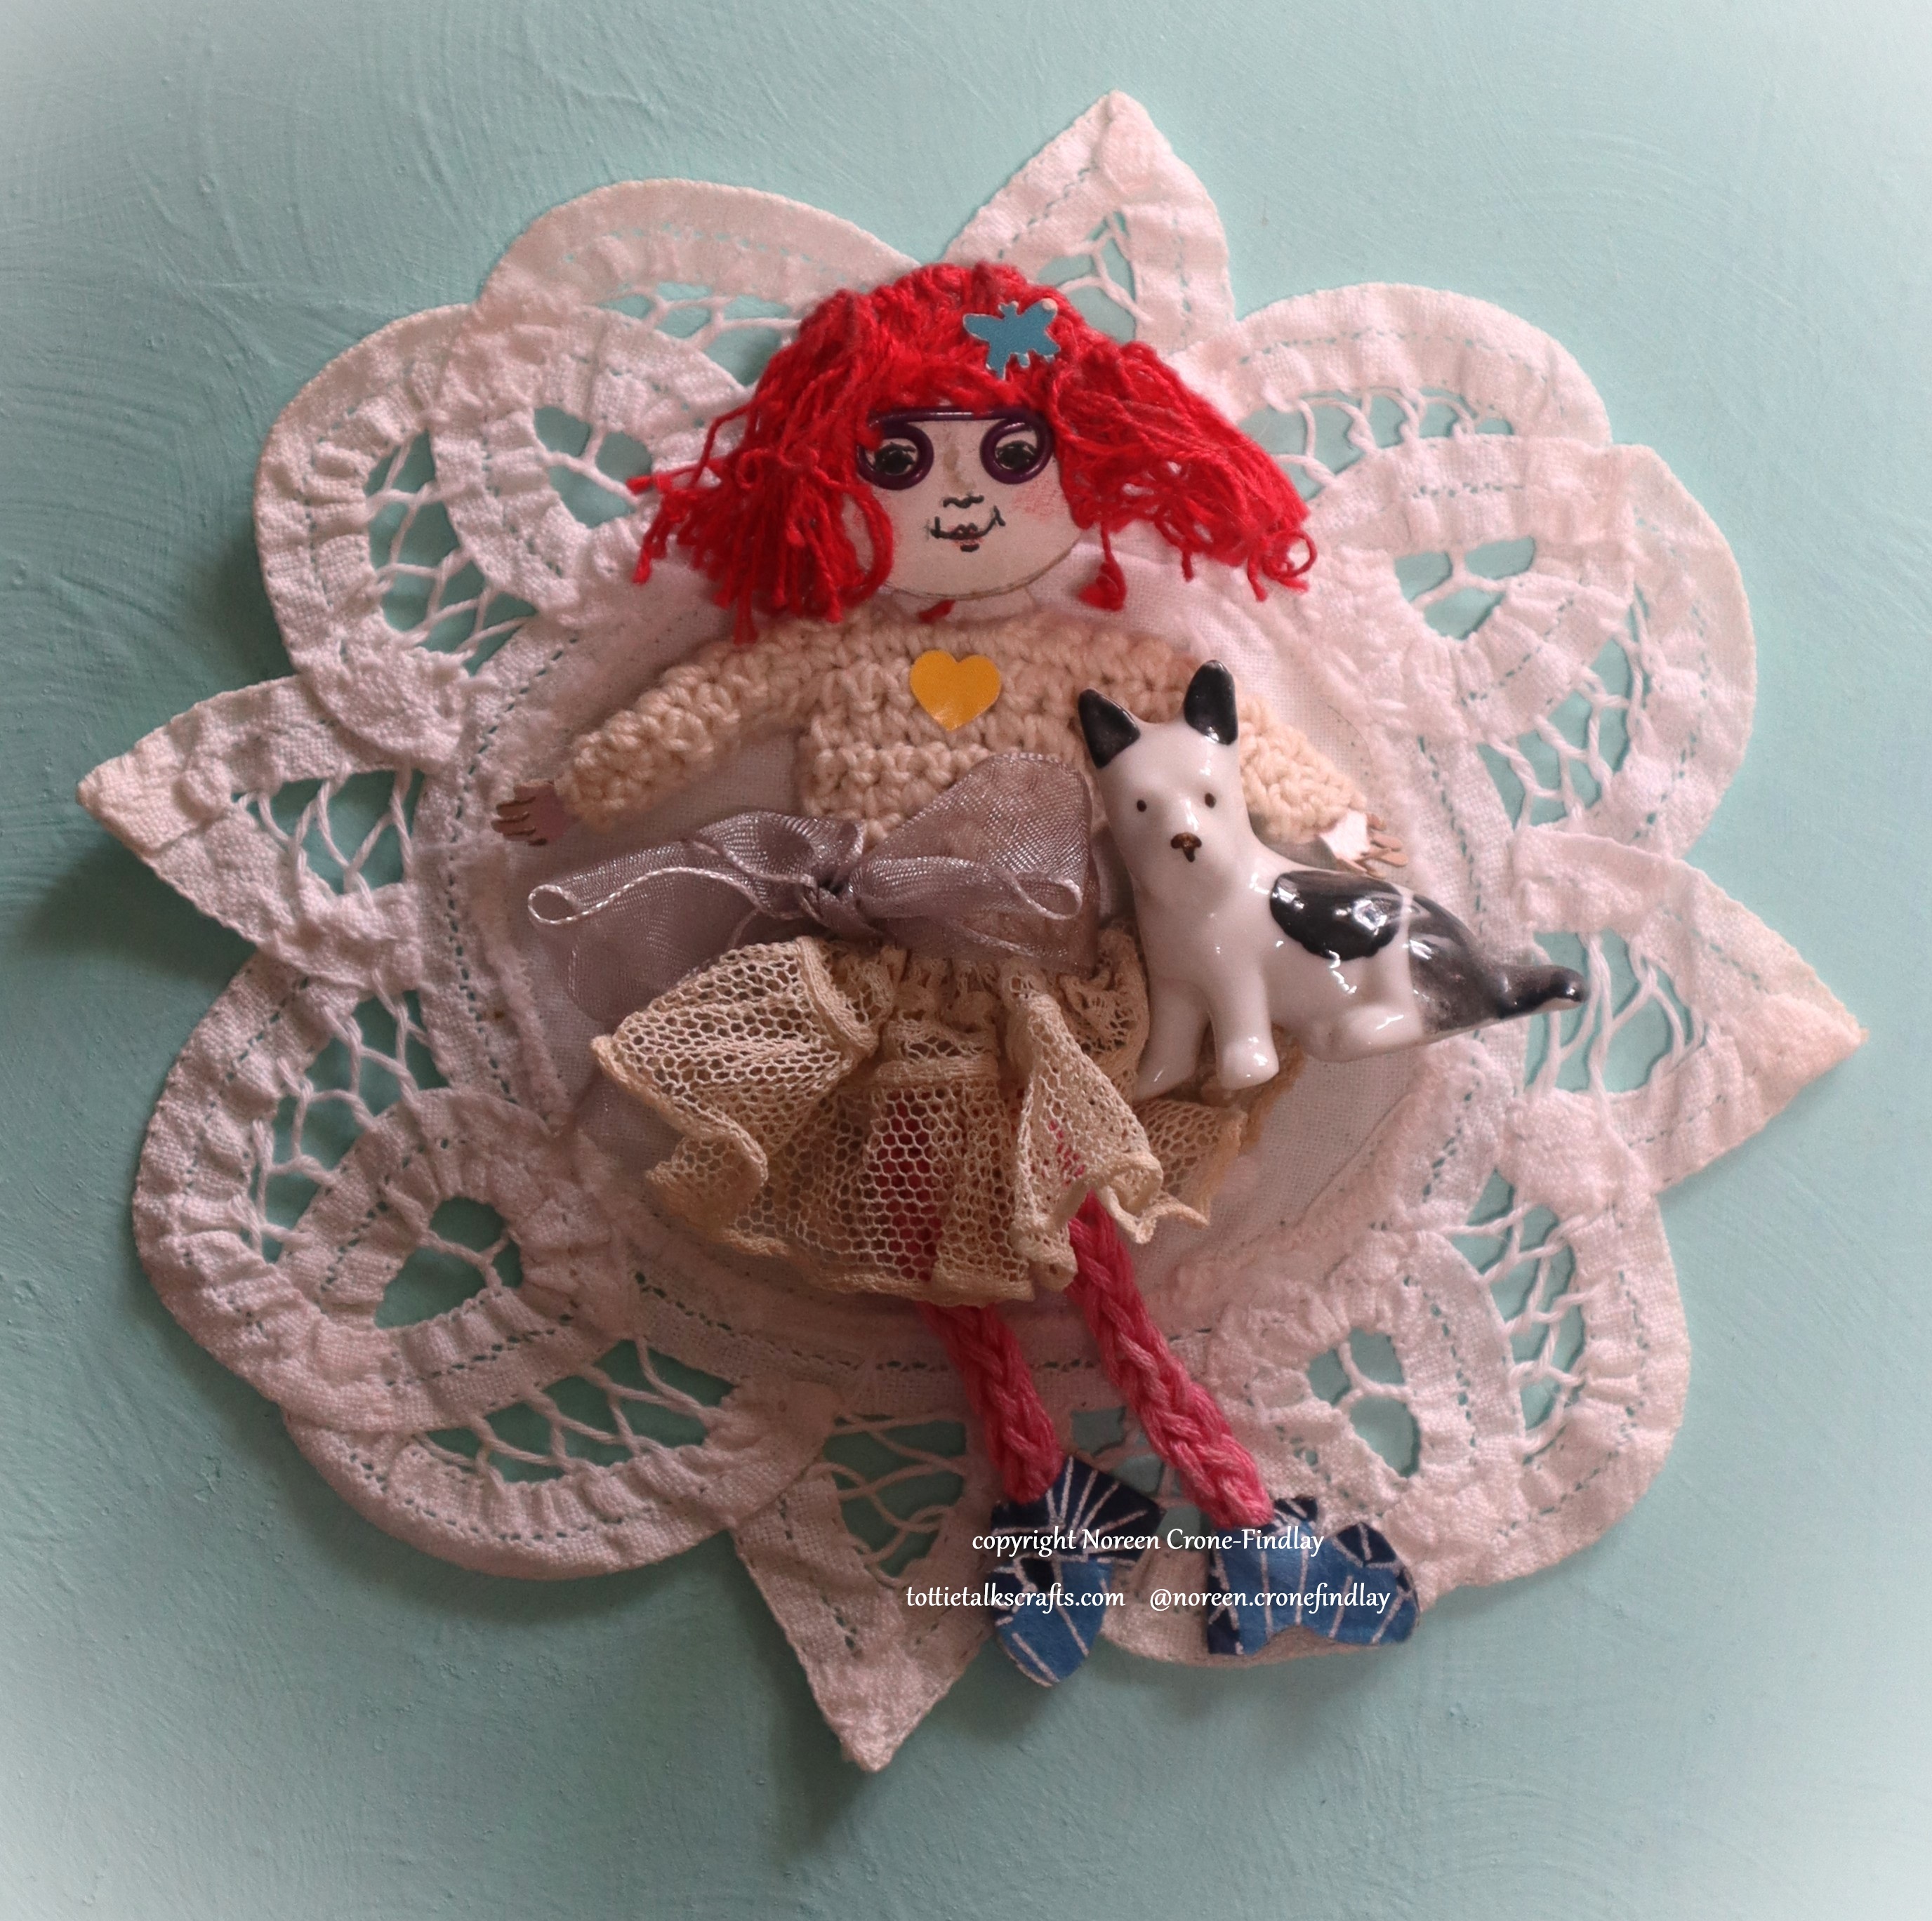
The Kindness Pin Loom is all about weaving small tokens of caring, kindness, comfort, wishes for good luck, sweet peace and blessings! From the tiniest flying pigs, Lucky Penny pouches, Comfort Bears, Vasilisa Dolls, Angels, Goddesses to ‘Portrait’ Dolls in homage to family and friends, the Kindness Pin Loom can weave them all, because I am designing them with love and best wishes!
Making things that embody joy and whimsy in small things can add up to great goodness, can’t it? Yup. ❤
As I make the pdf’s for the Kindness projects that I have designed to weave on the Kindness Loom and load them up to my etsy shop, where they will be for sale for a modest fee, I’ll post the links to an all links page LINK And, as I make youtube videos on how to weave on the Kindness Loom as well as some freebie projects, I’ll post those links on the same page, too.