Monthly Archives: December 2021

Fused Glass and Welded Steel Heart and Hands

My husband, Jim Findlay, and I really enjoy co-creating.

He has always had a penchant for welding and metal smithing, and because of the pandemic, was able to explore his love of metal working more.

He’s a musician, and has had almost all his gigs cancelled for the last 2 years.

So he re-directed his creativity into his woodworking and metalsmithing.

Seeing what he was up to inspired me…. I’ll show you more pictures of some of our co-creations later…

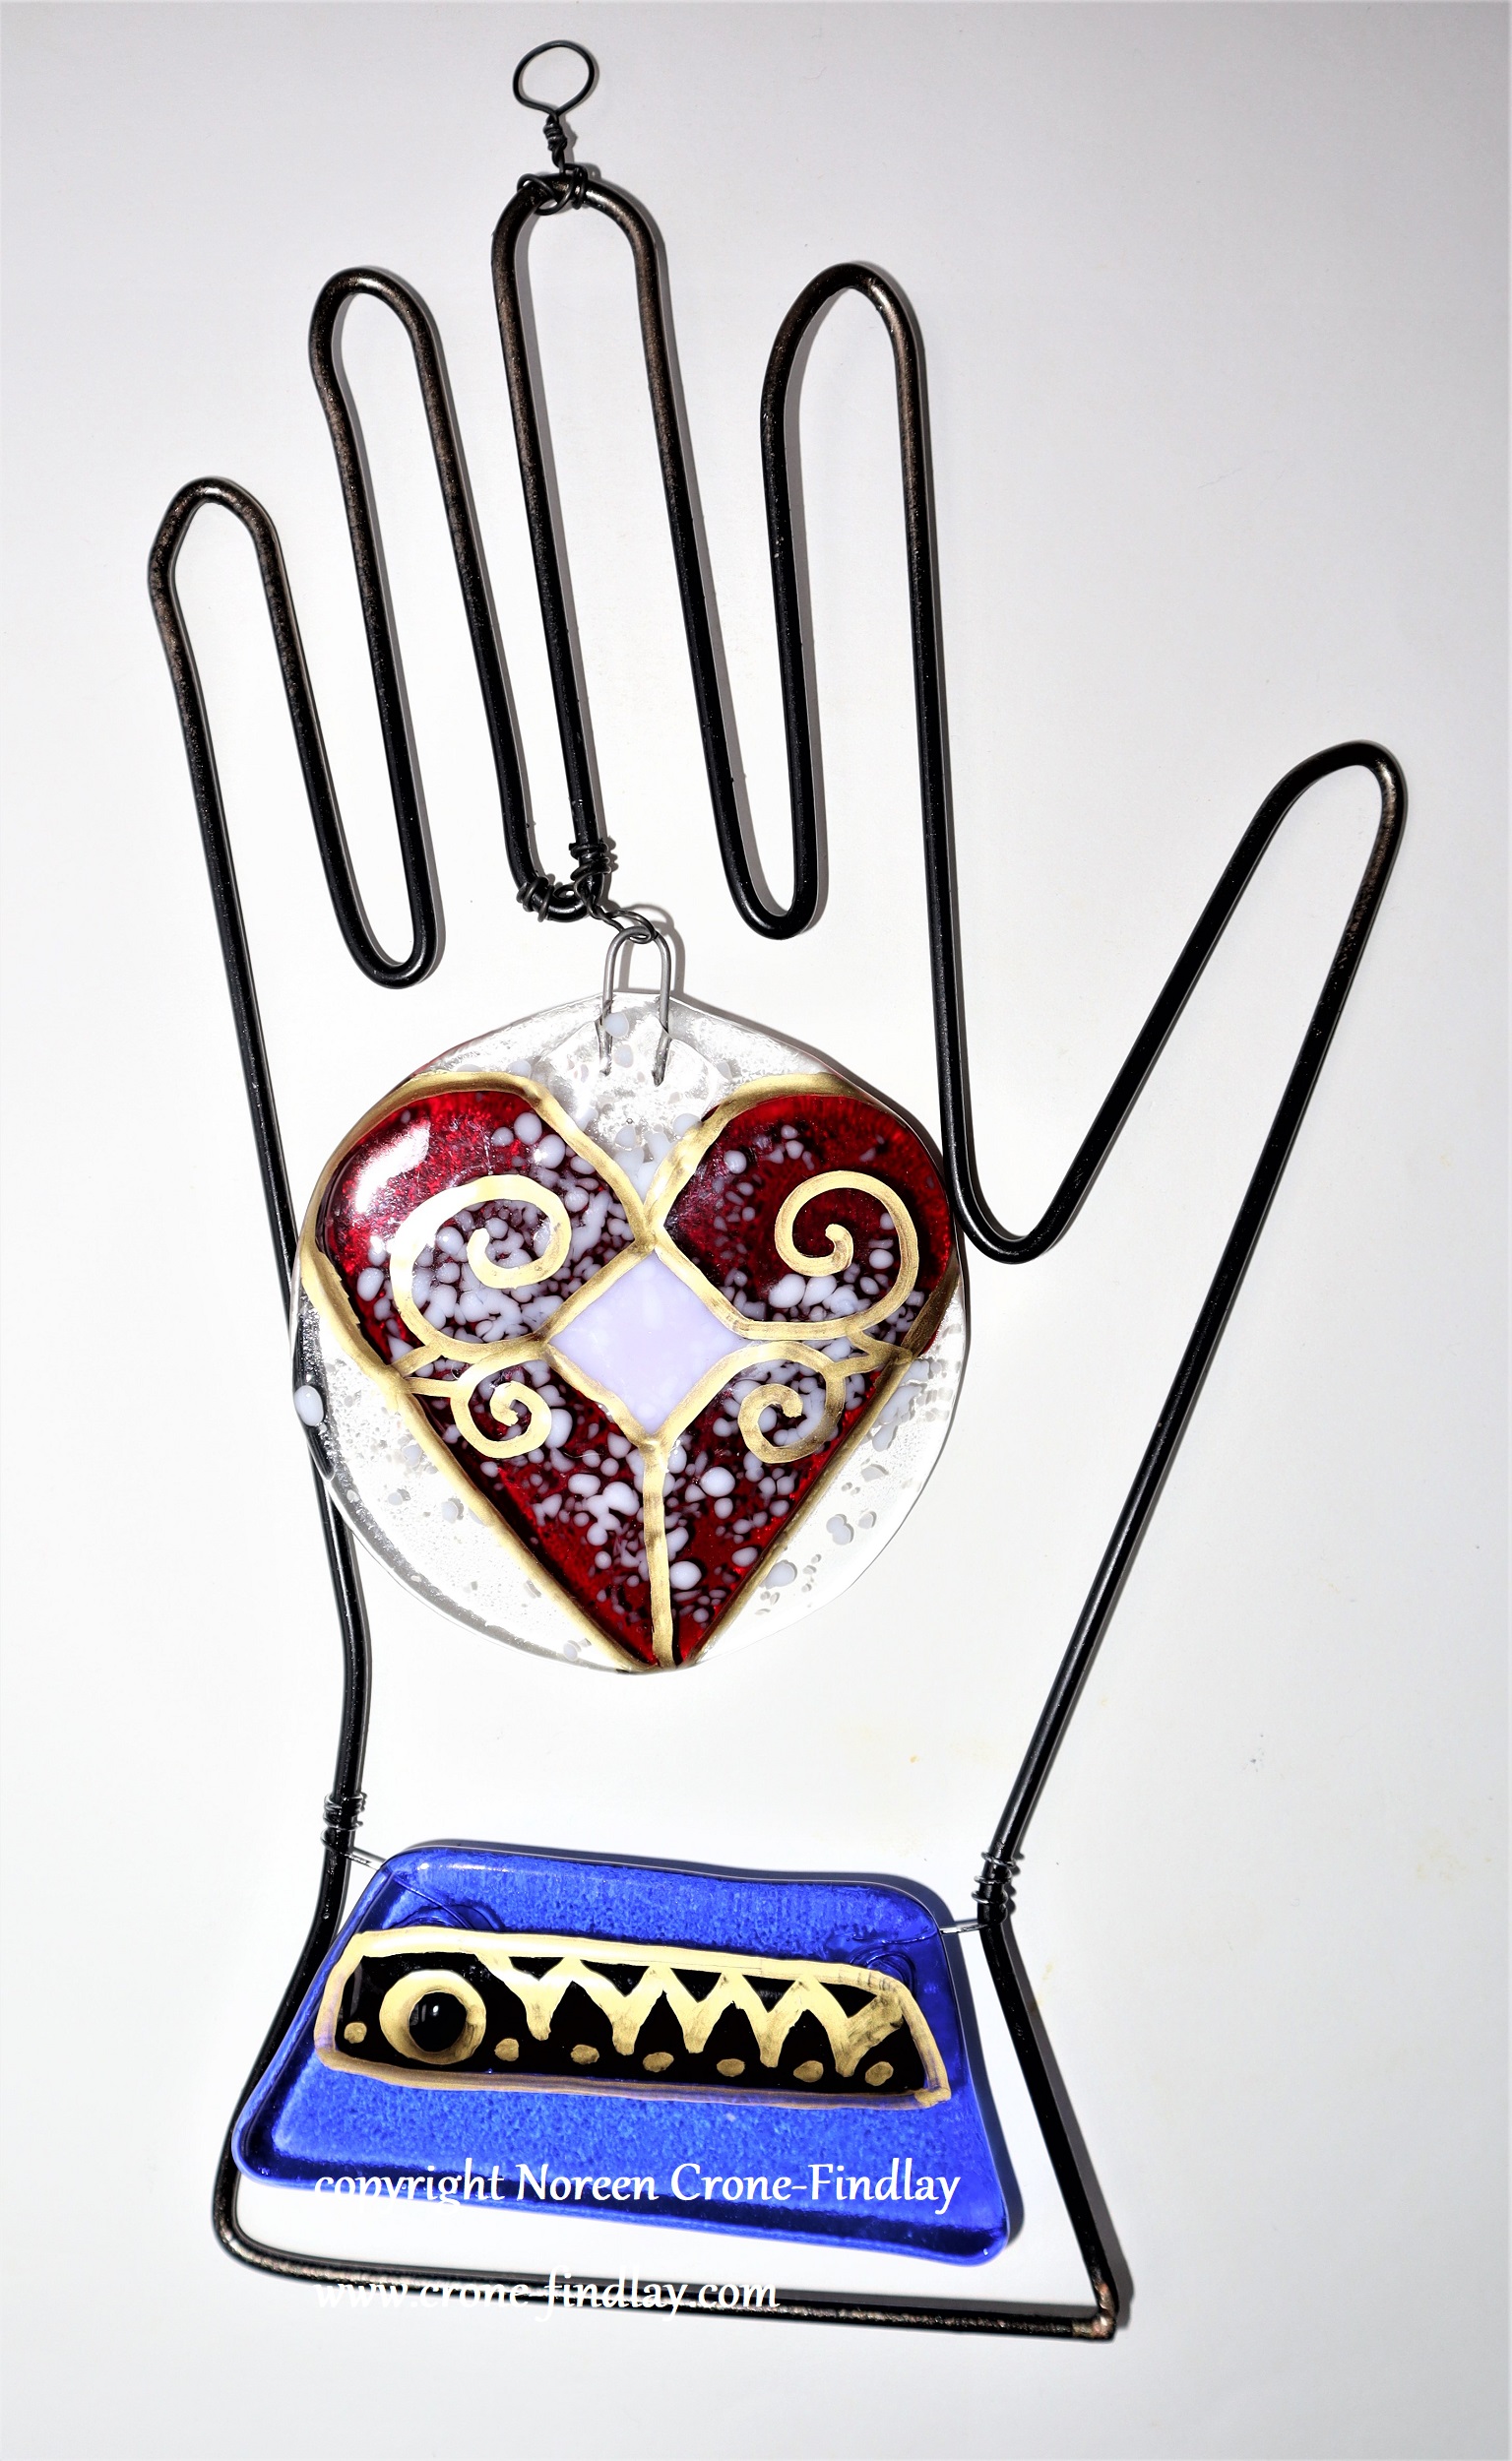
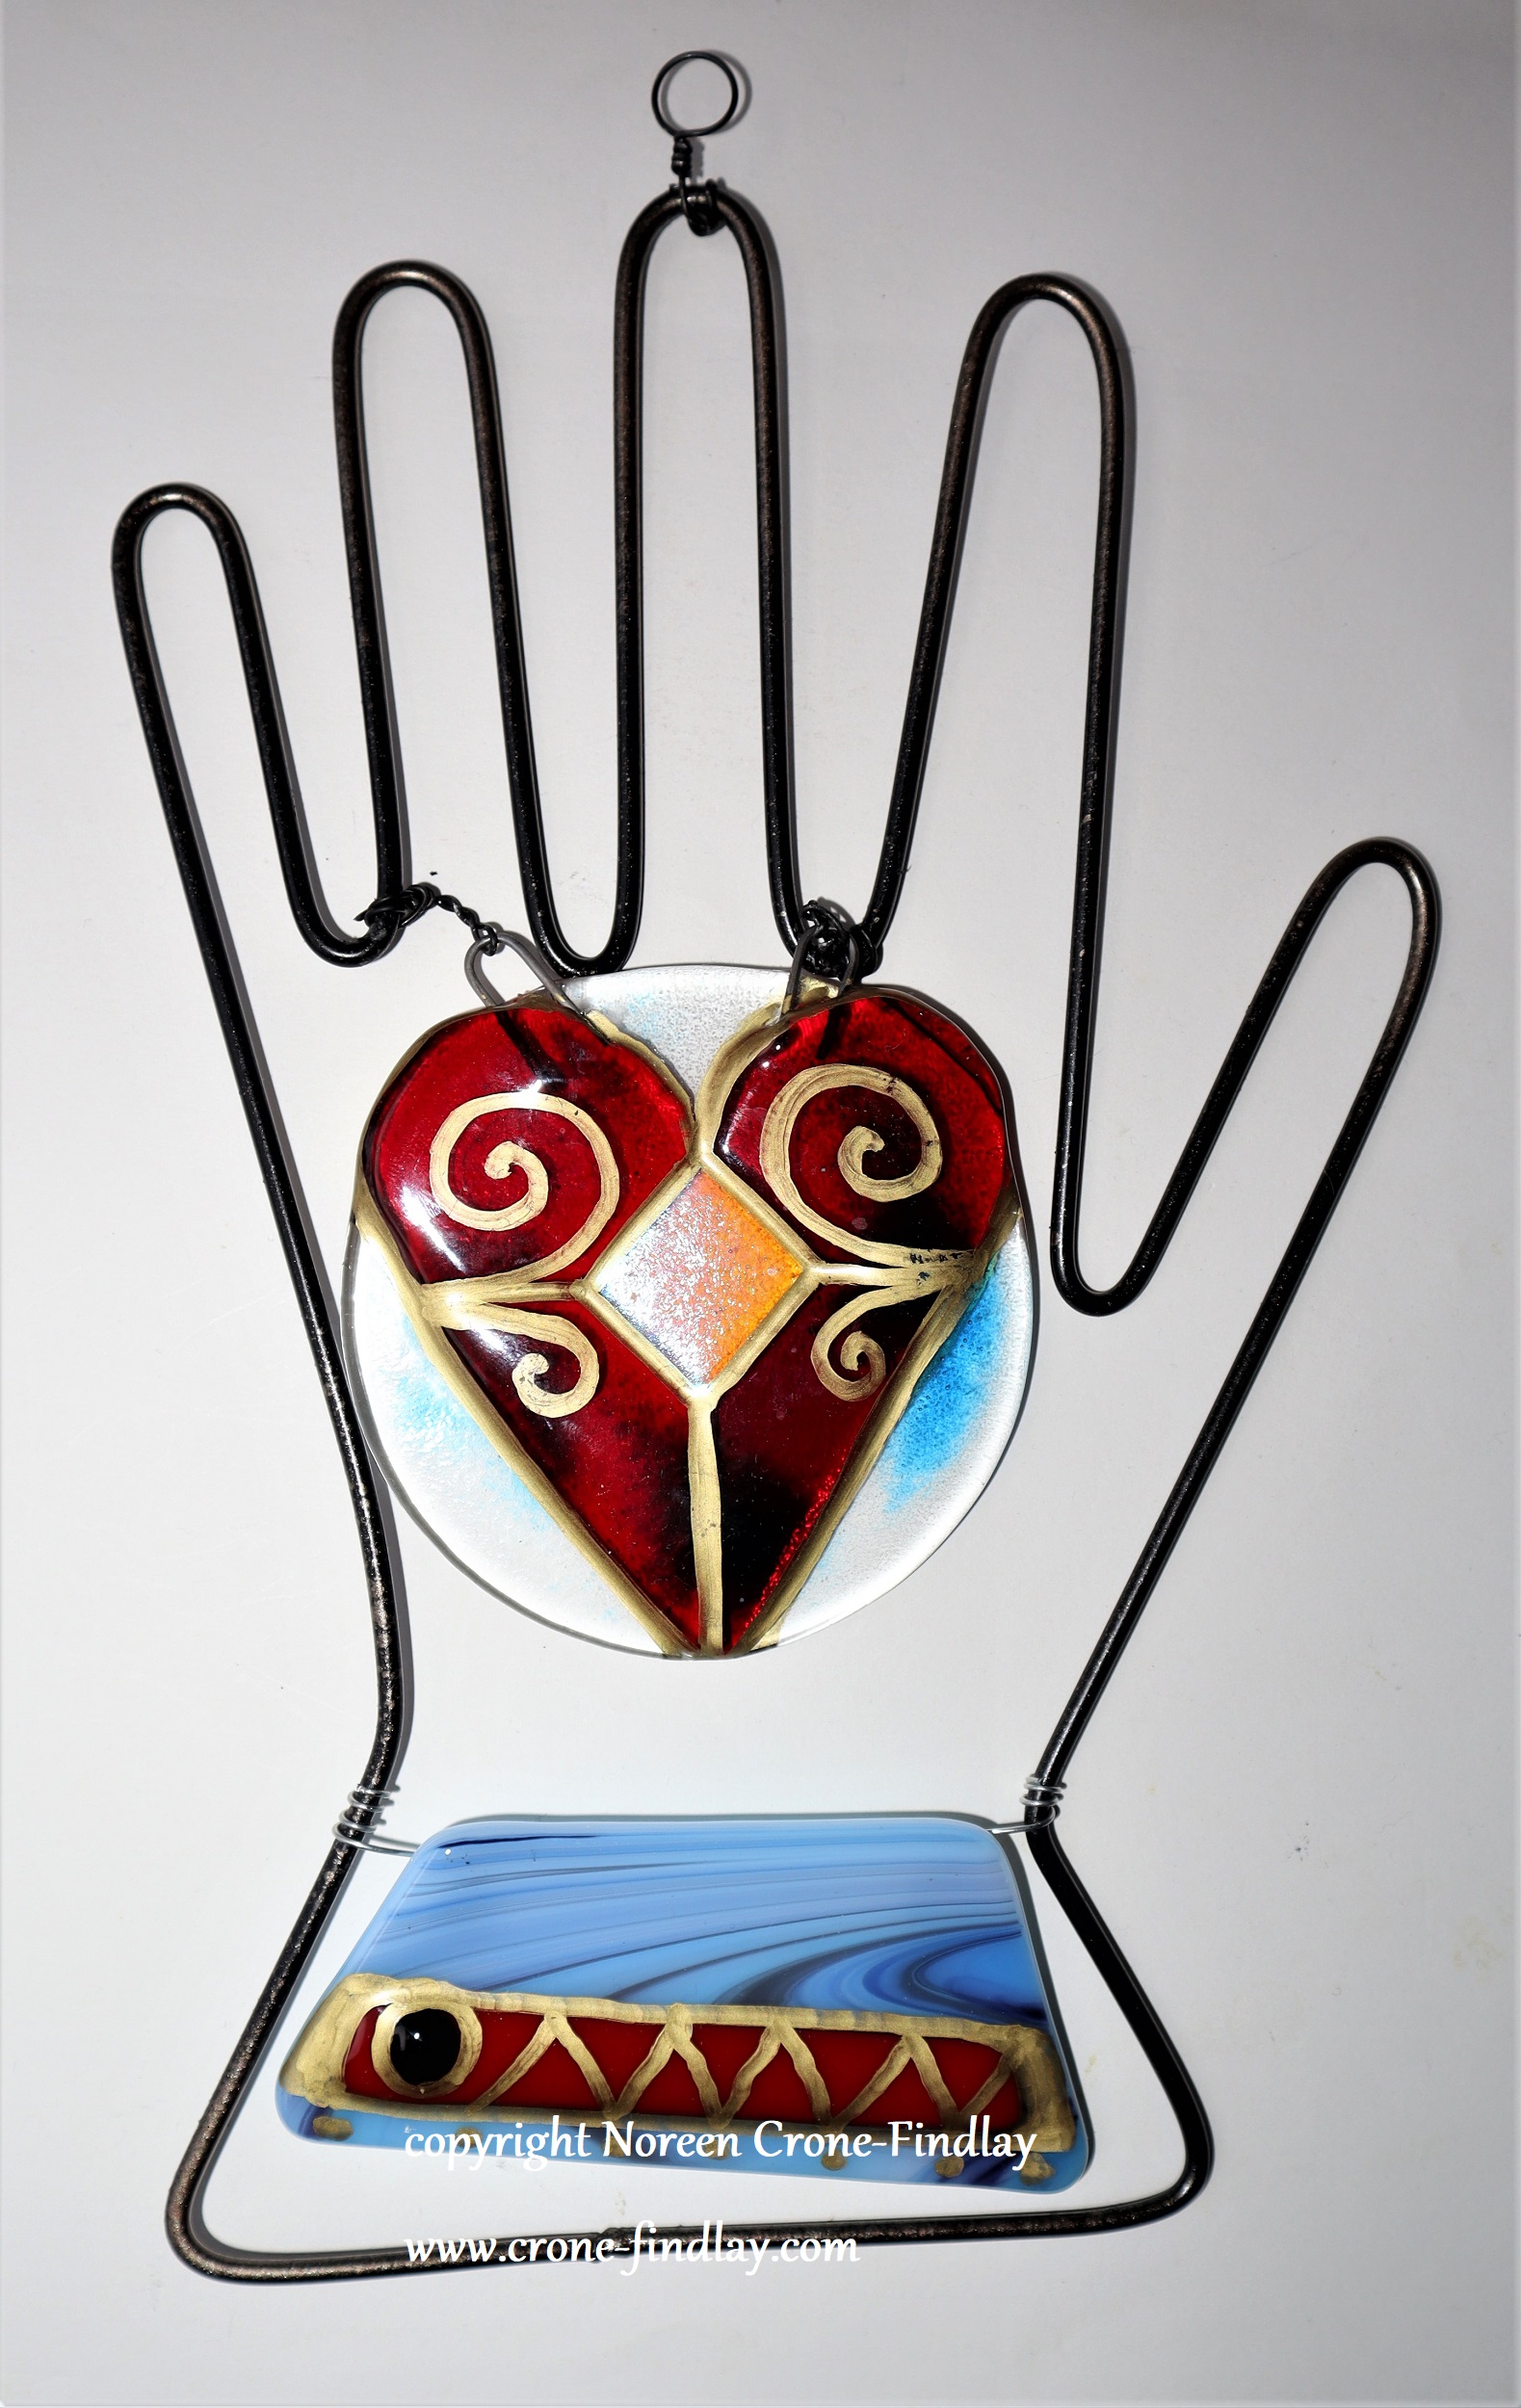
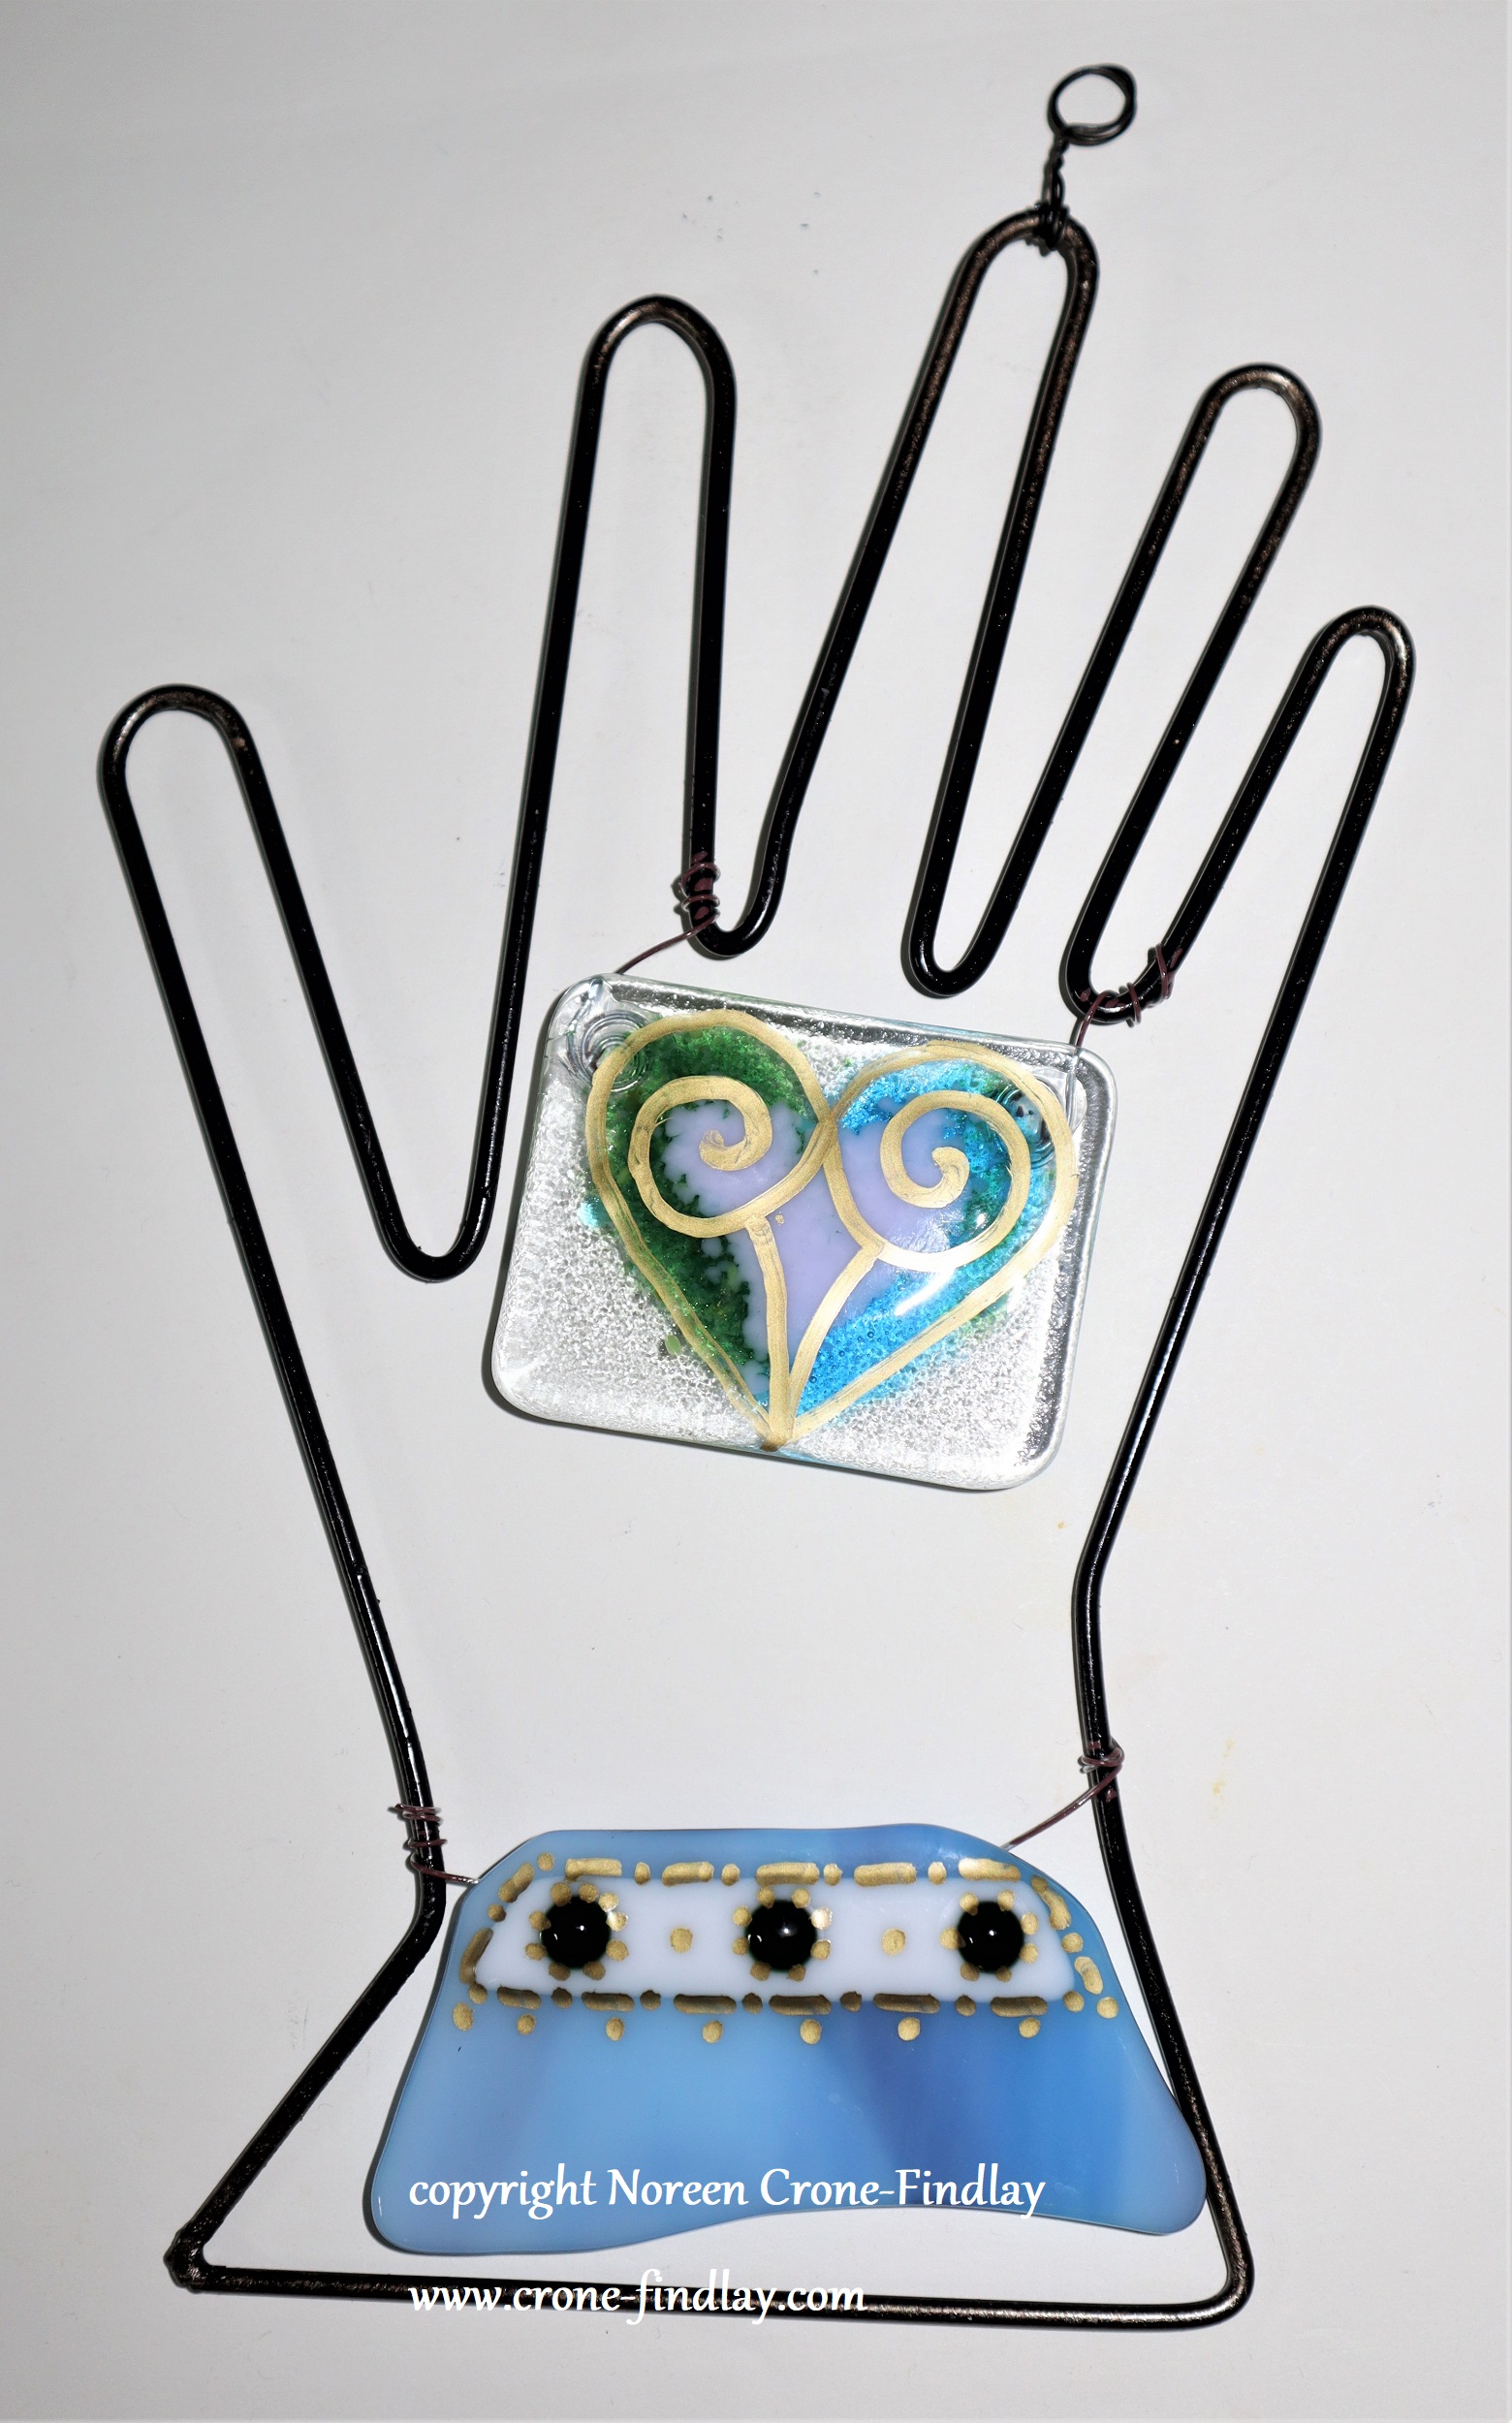
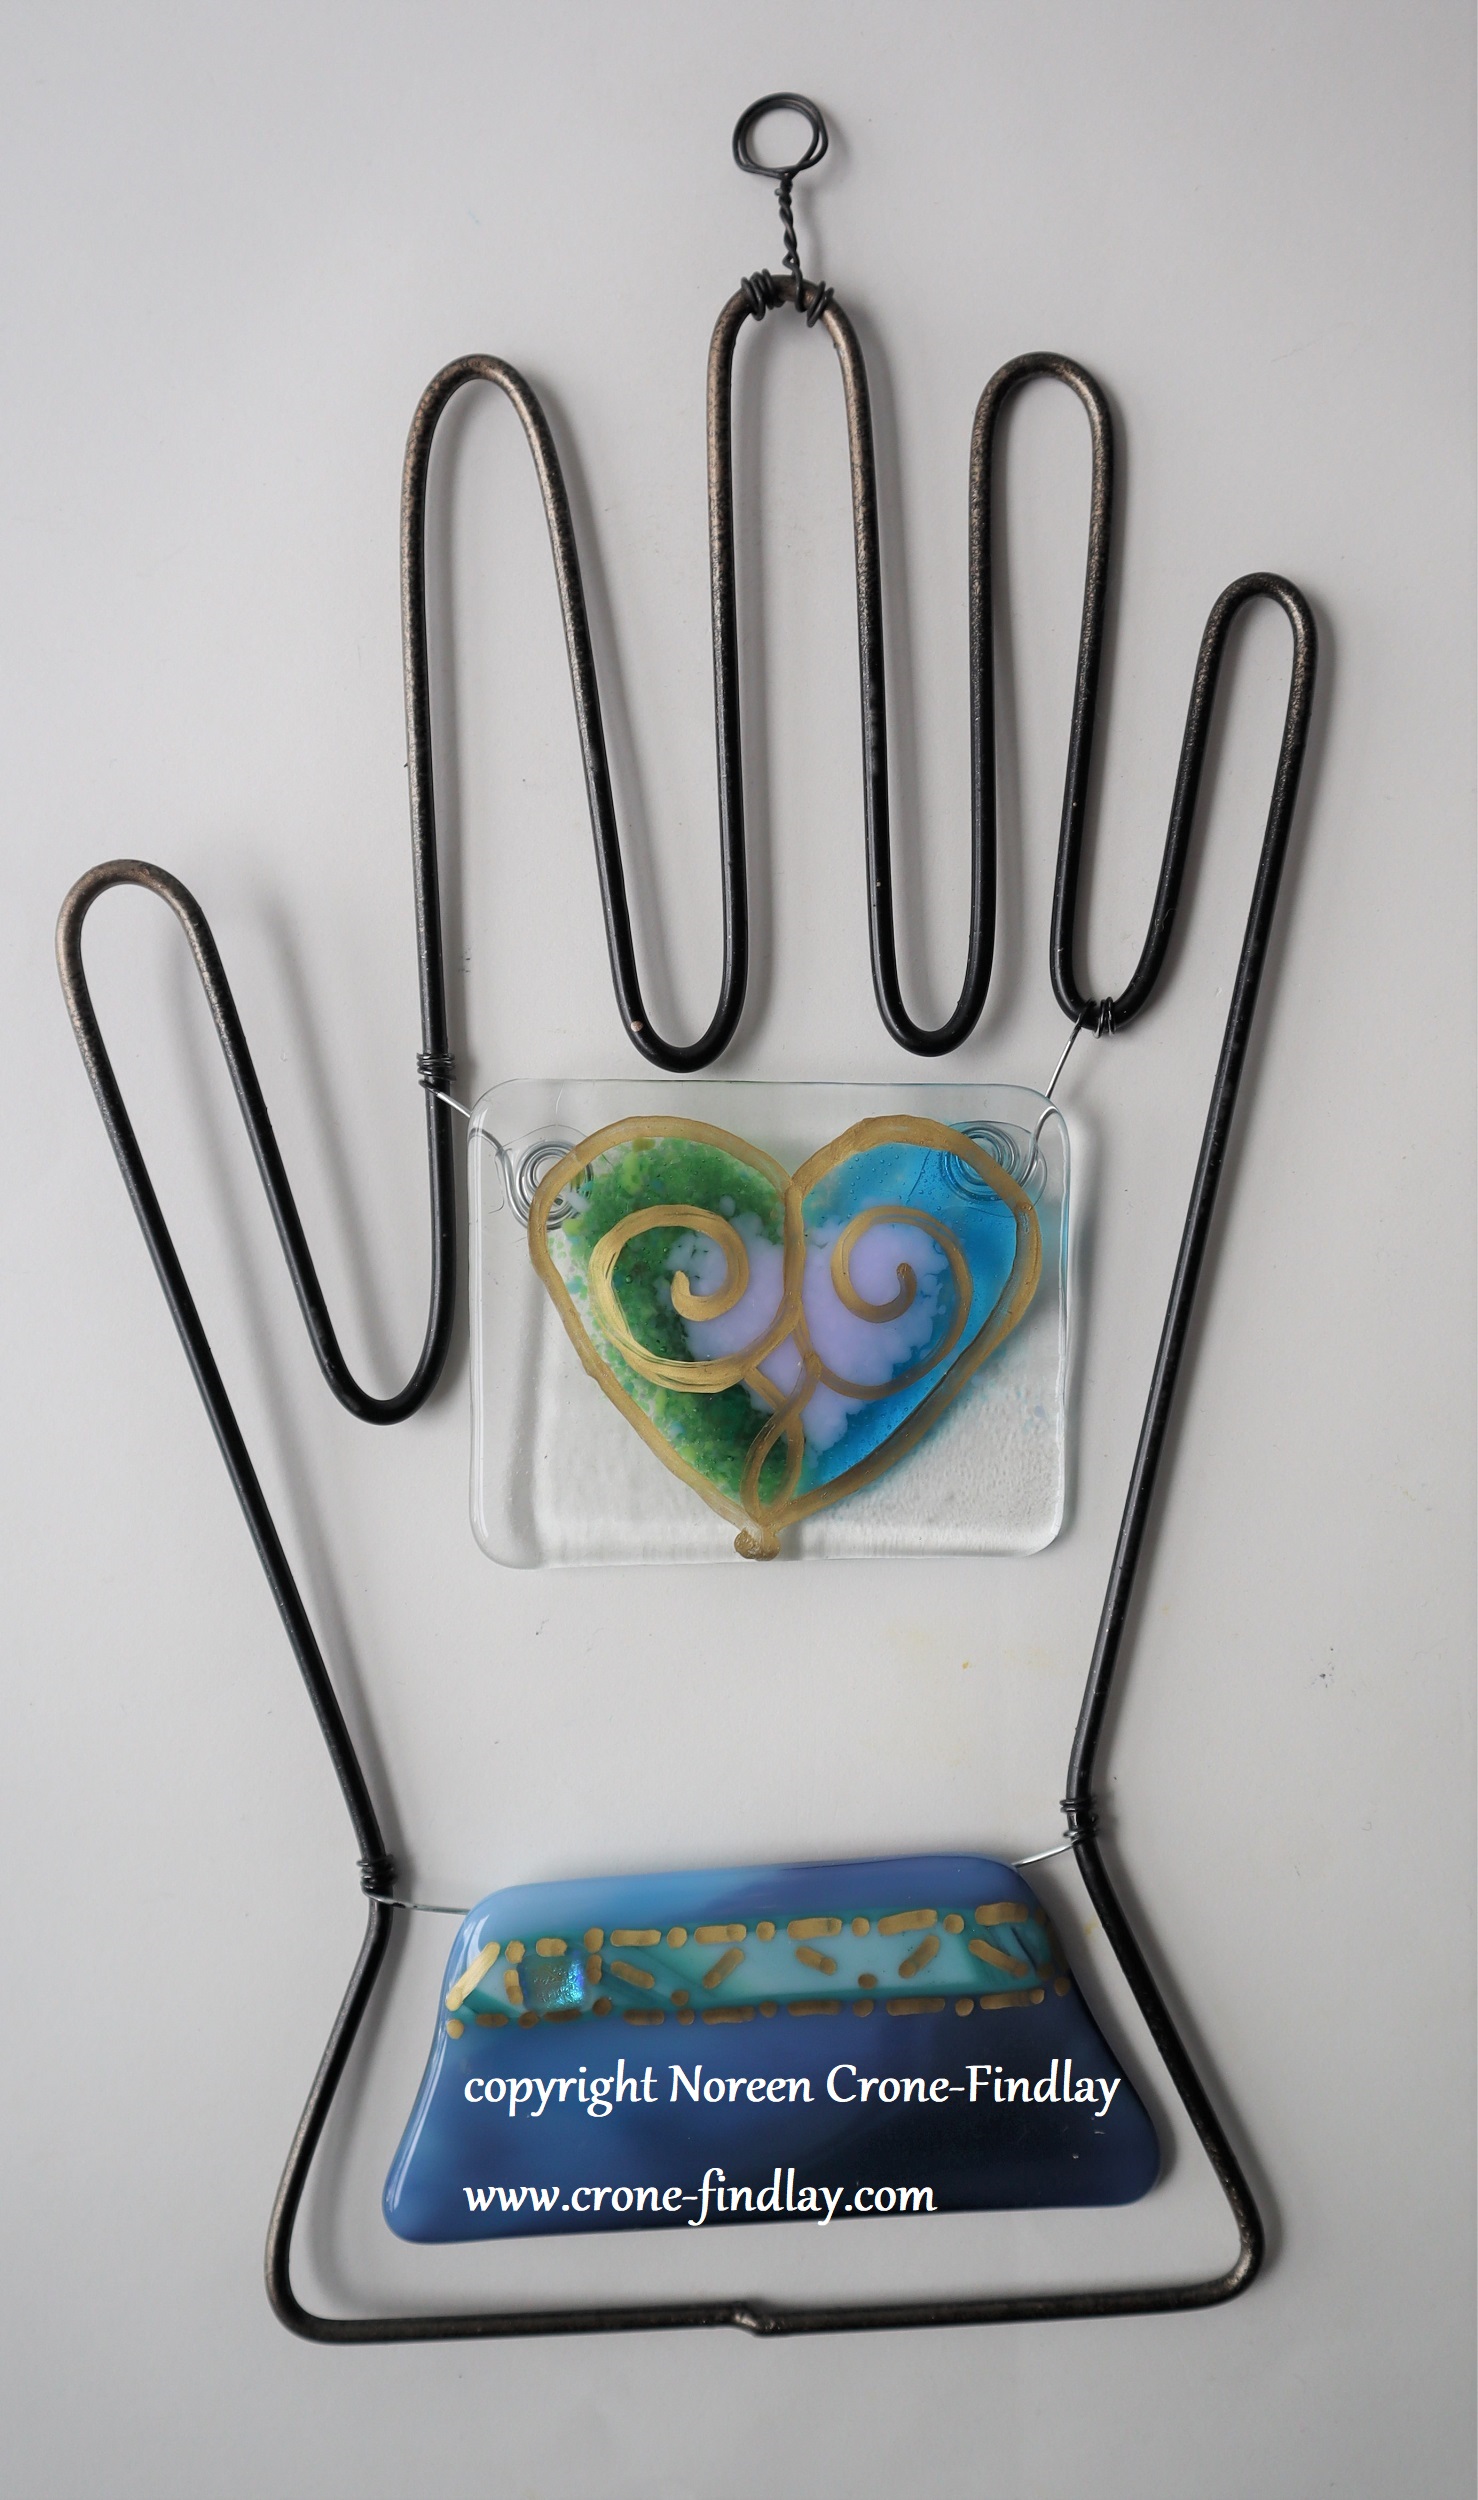
I have loved the ‘Heart and Hand’ blessing image from folk tradition and worked with it in various ways for decades.

I asked Jim if he would be into welding hands that I could add hearts and cuffs to in various ways.

He liked that idea.

And then, we started taking Fused Glass classes, and we got all excited about making the

hearts and cuffs in Fused Glass. We loved working together on the glass. It’s magical!

We decided that this was the perfect Christmas gift for several family members.

We took the class several times over the spring, summer and autumn to hone our skills.

(We make Christmas presents all year long, so it’s part of our rhythm as a couple.)

It took a lot of trial and error to get the hands just right, and so Jim built a very

nifty jig to shape the rods. (Lots of cutting and welding was involved!)

We are sooooo pleased with how the Hearts and Hands turned out.

They were totally made with love in every step!

One of our family members said that hanging it in her window

would be like waving to her neighbours, and sending love out into the world.

I was delighted when she said that, because that is exactly what the Heart and Hands are meant to be!

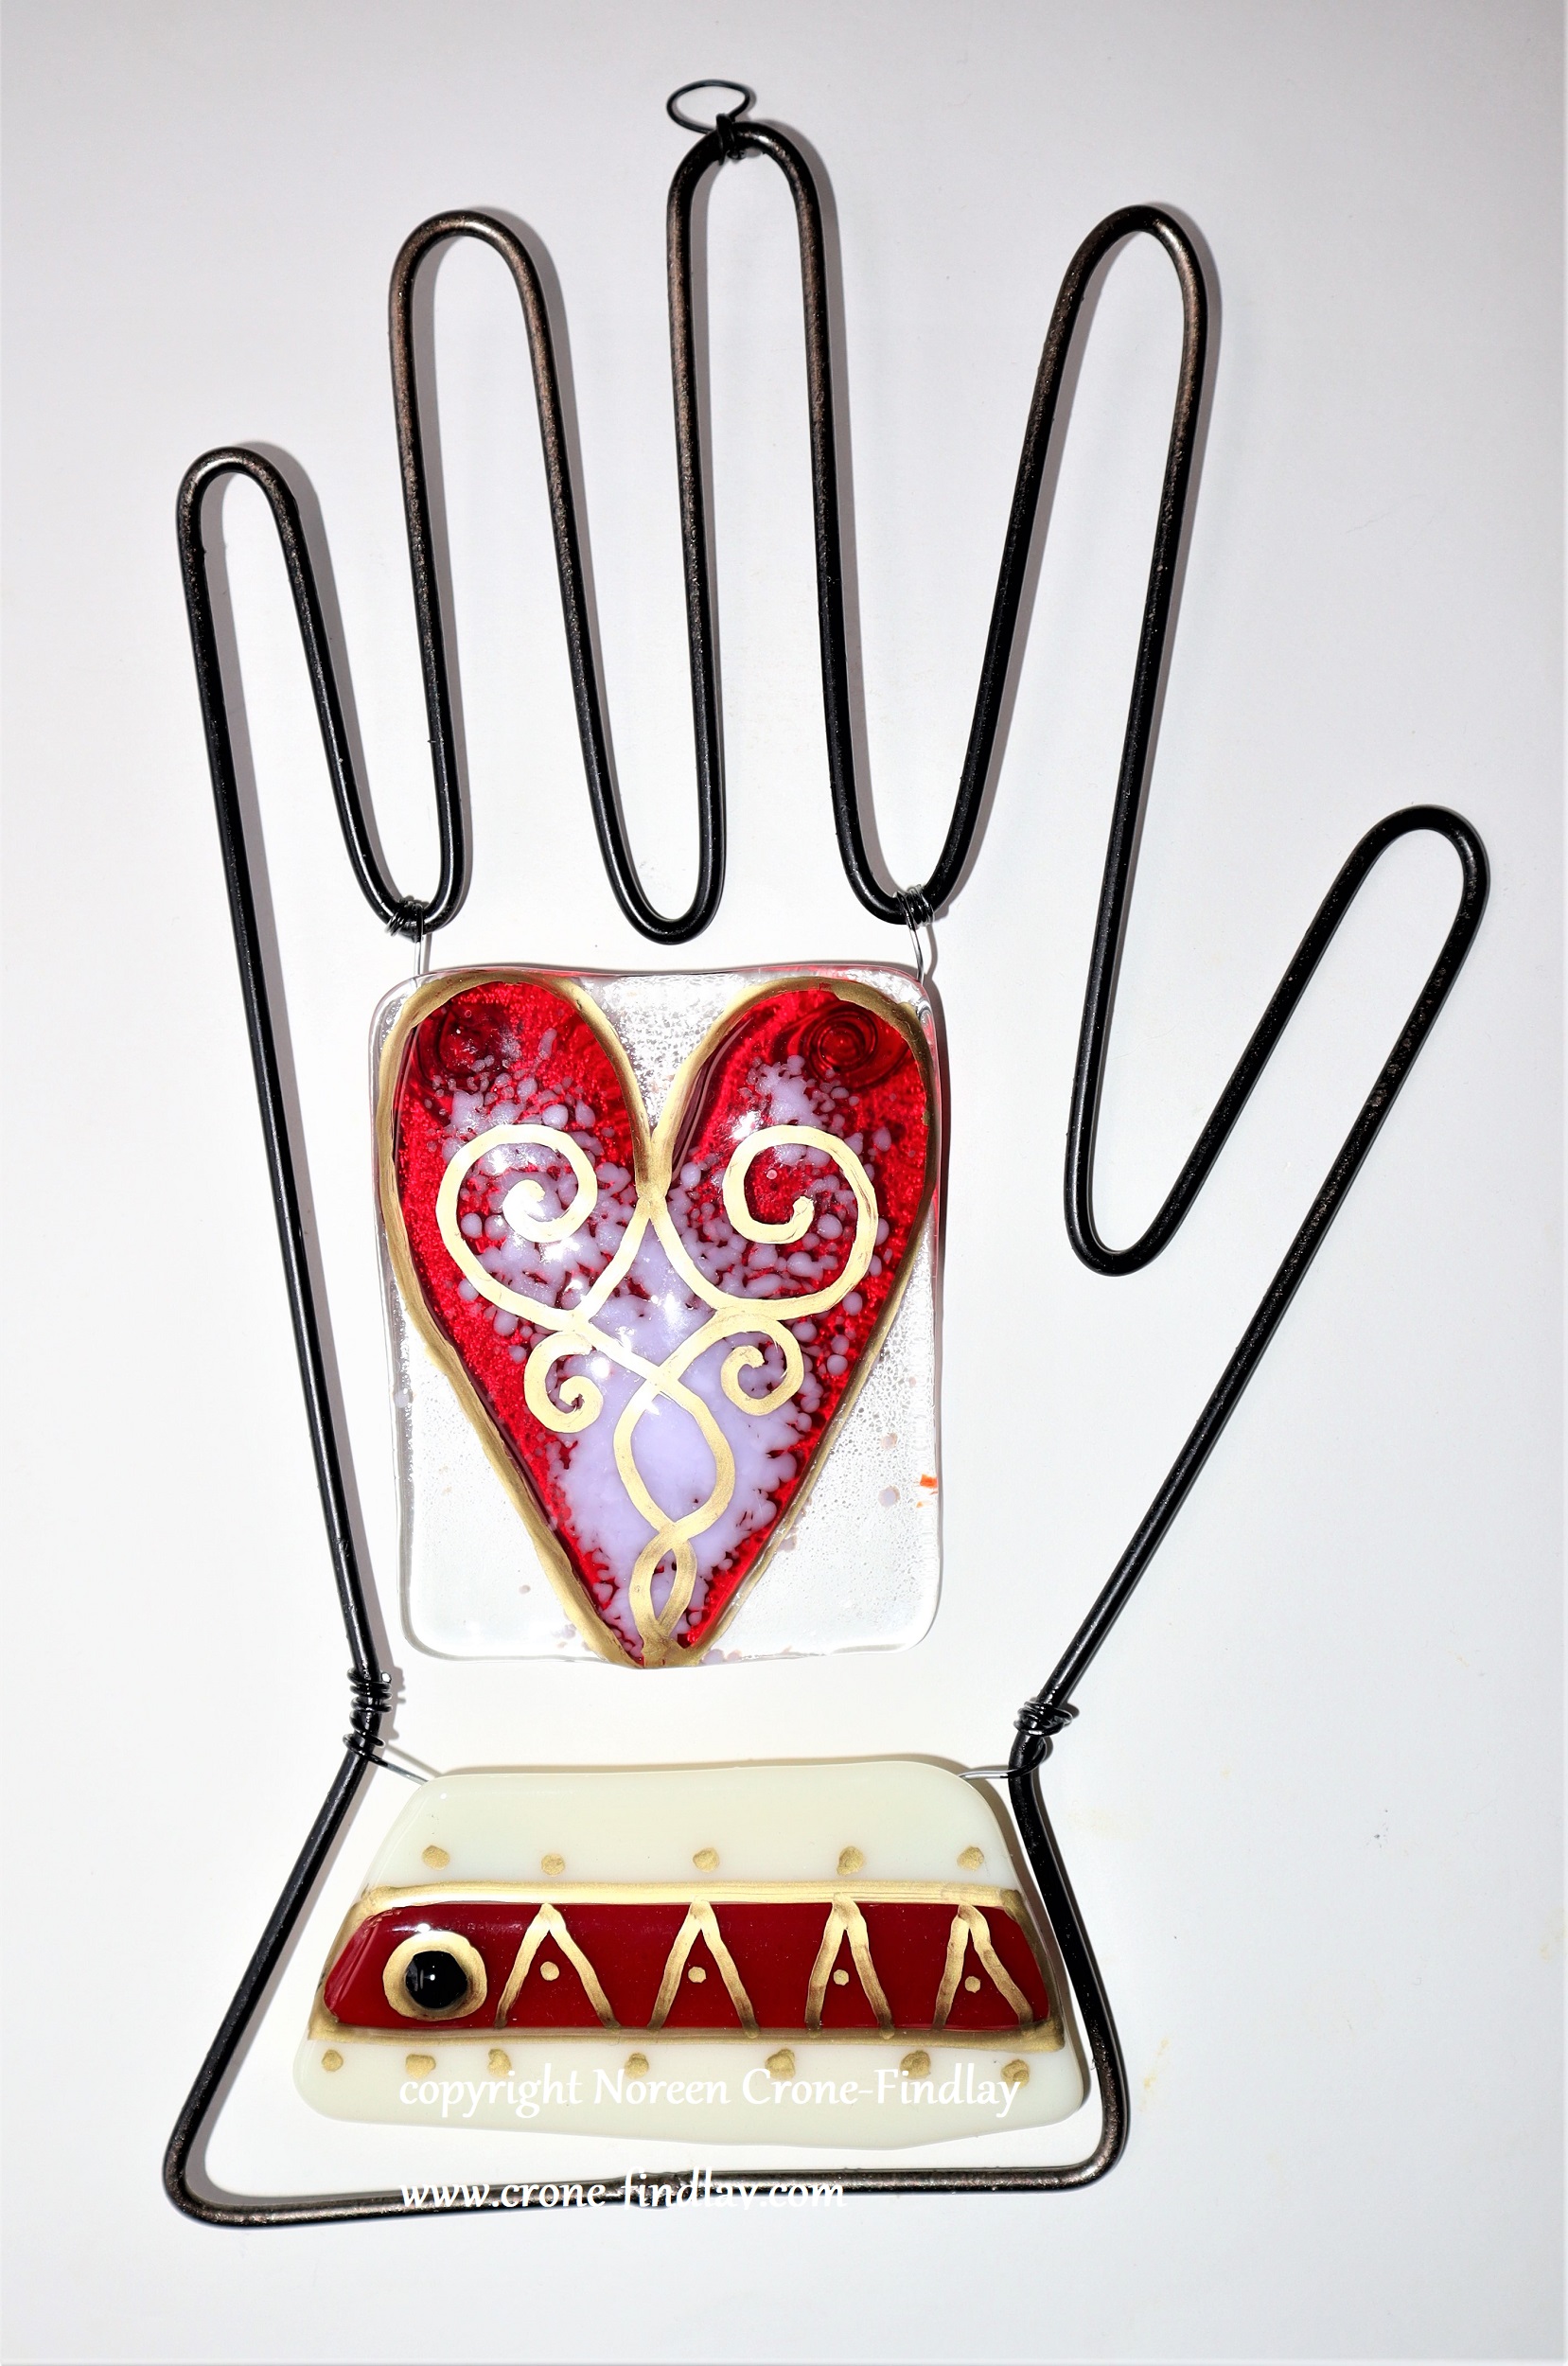
They are a symbol of welcome, but also of protection, too….

and the metaphor of saying that only good things are welcome is pretty significant these days.

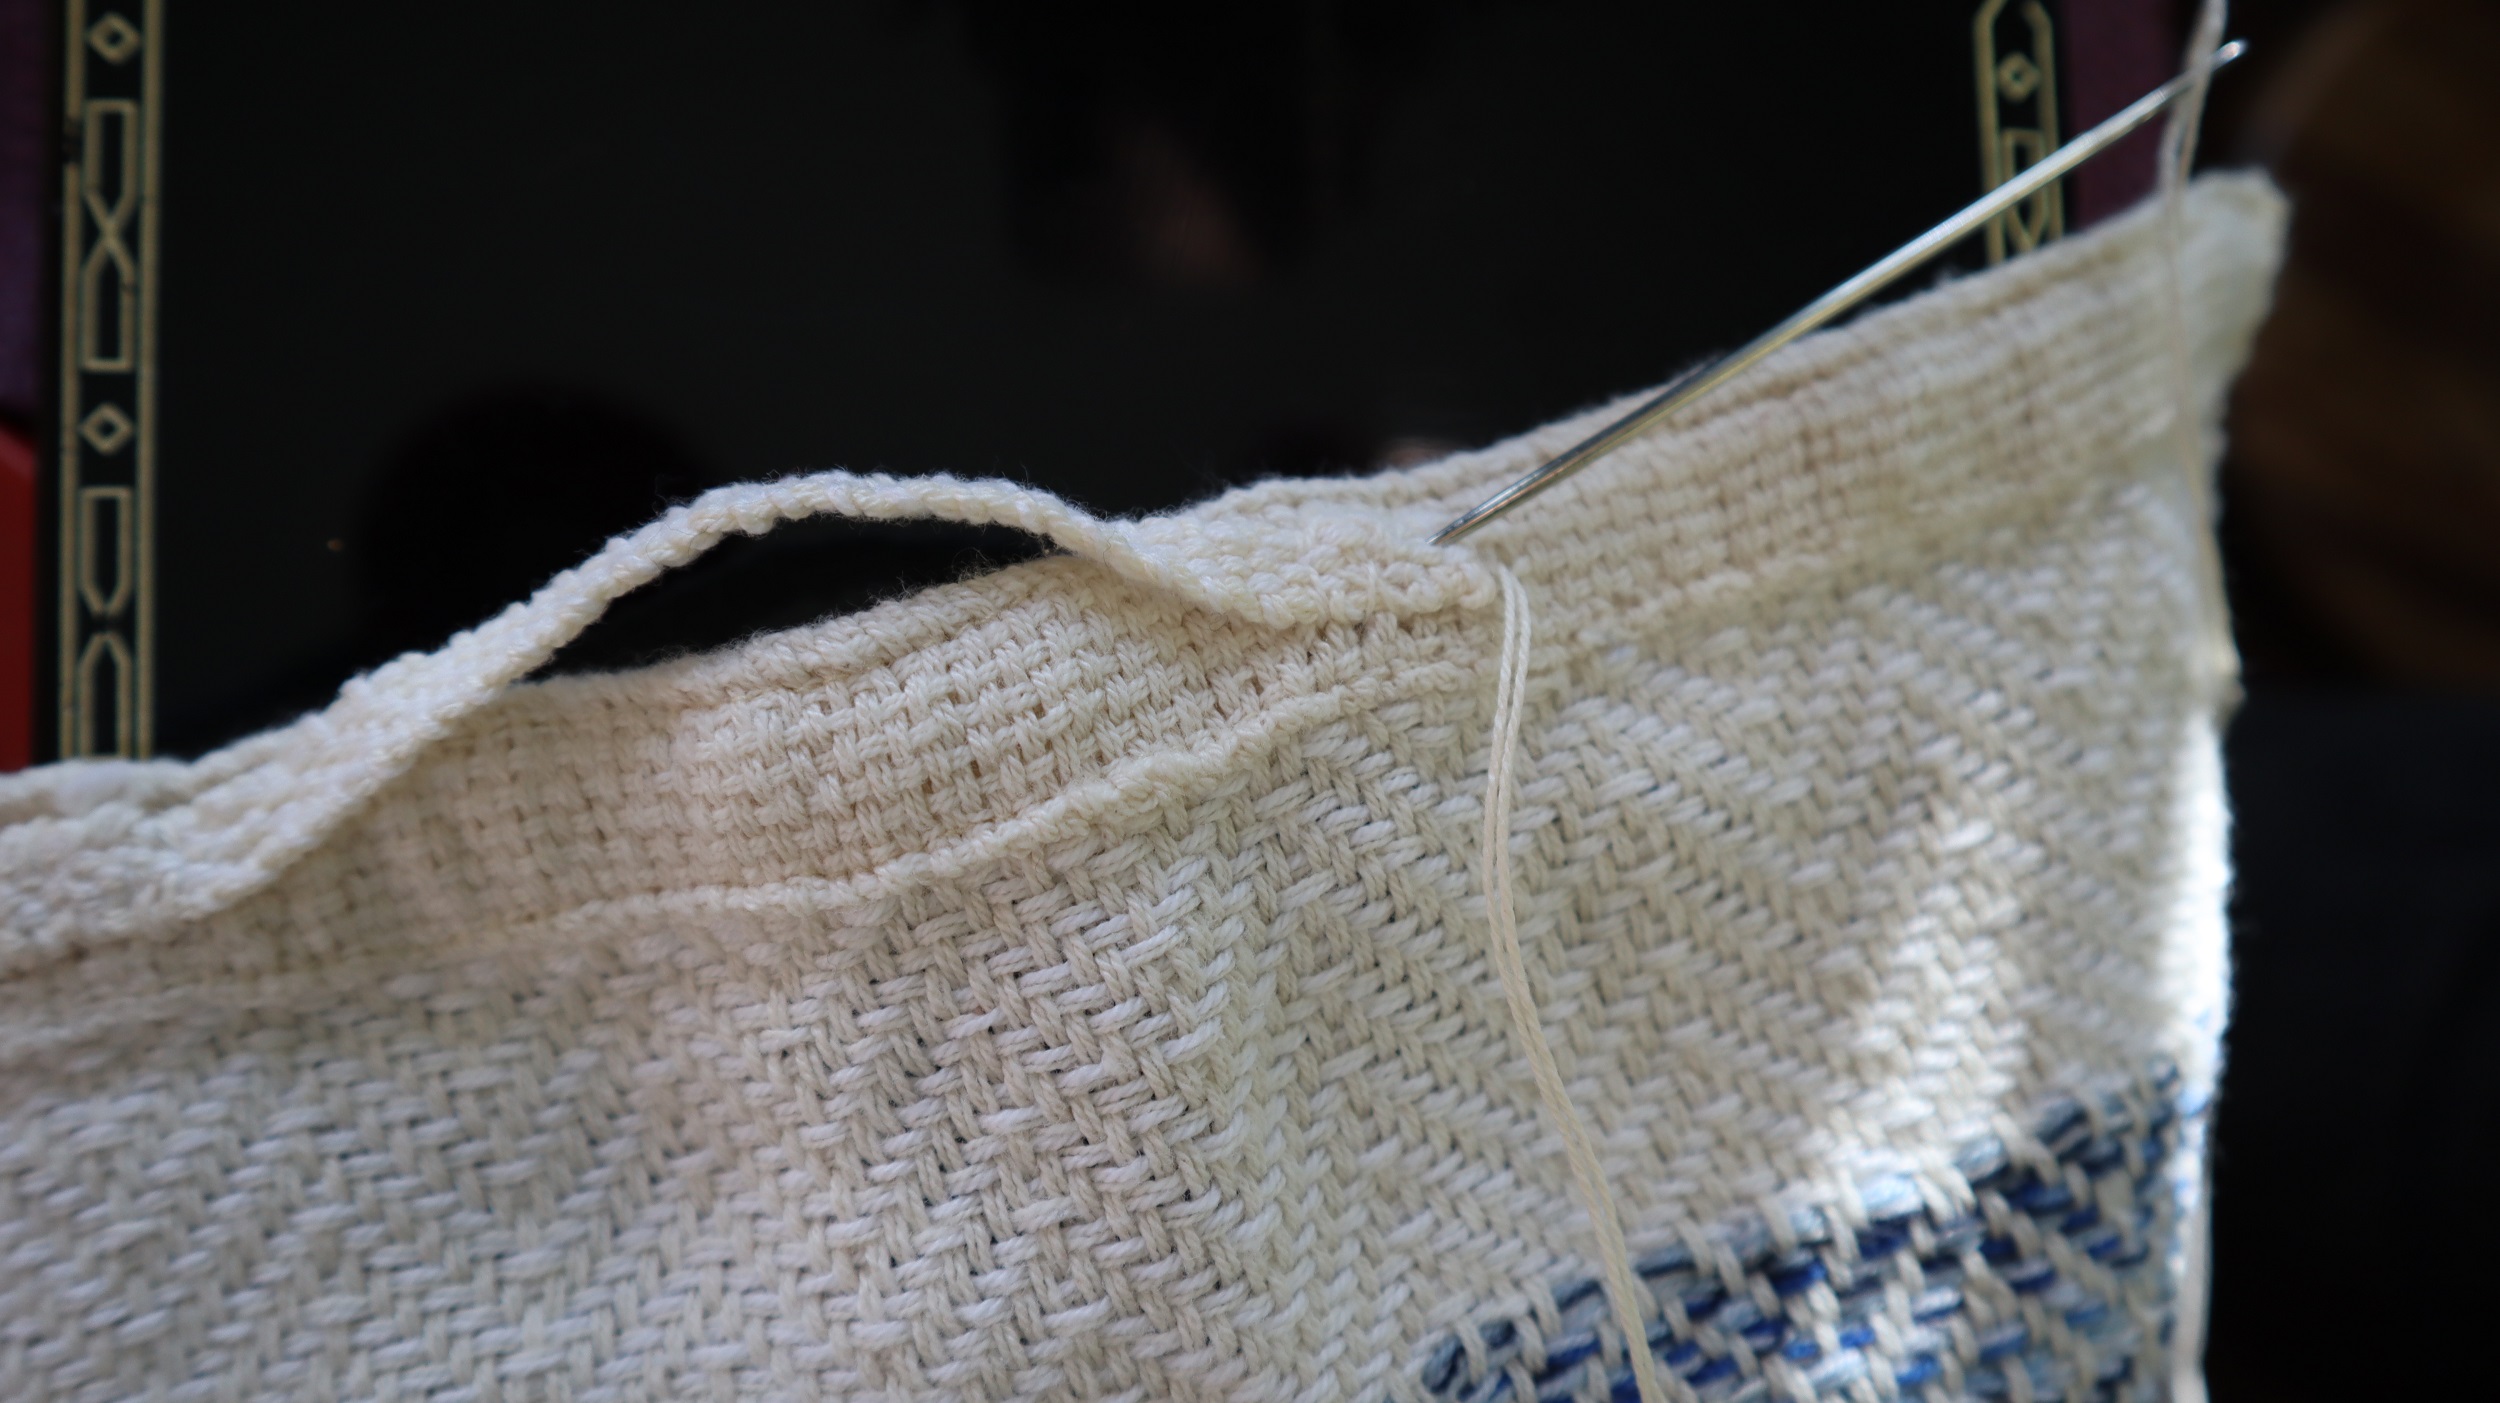
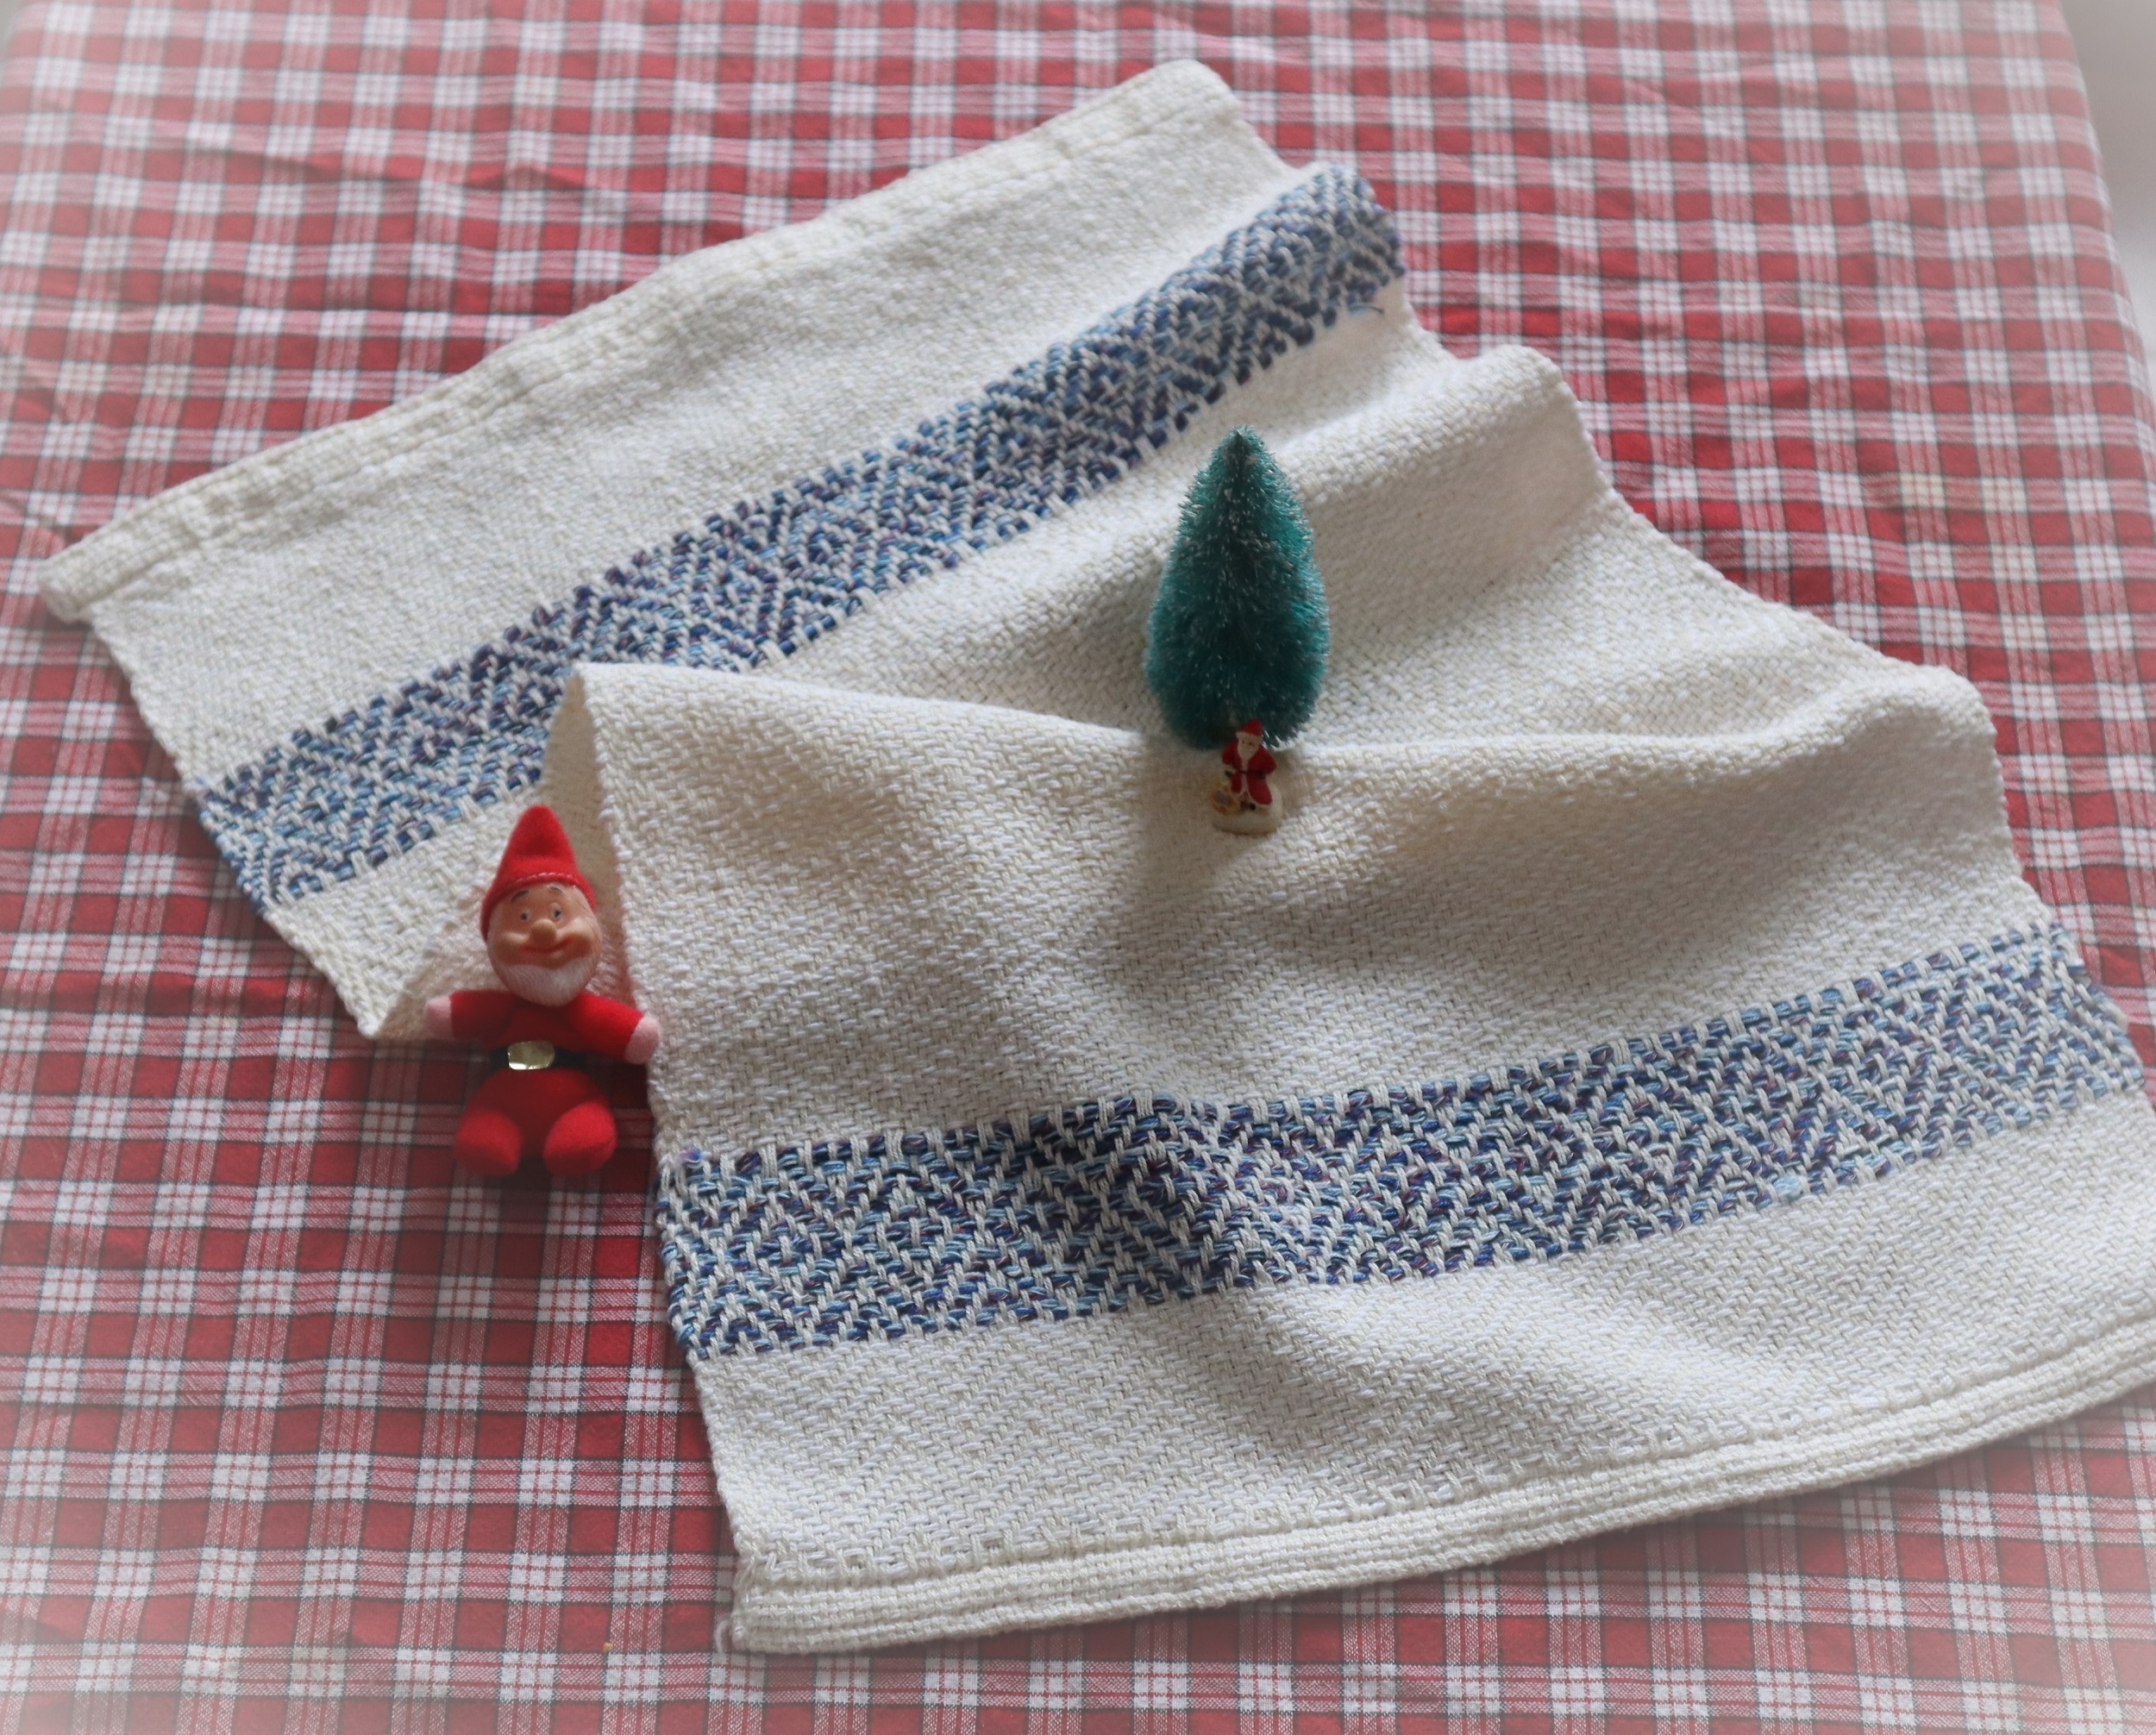
We learned a lot while making the Hearts and Hands.

We have also started exploring including wooden hearts that I sculpt from offcuts of fallen trees that have been given to us for firewood, but Jim has been milling into usable lumber rather than just chopping for the wood burning stove.

( We sent the first one of the sculpted wooden heart version off to friends without remembering to take a pic of it, but will make more and then photograph them.)

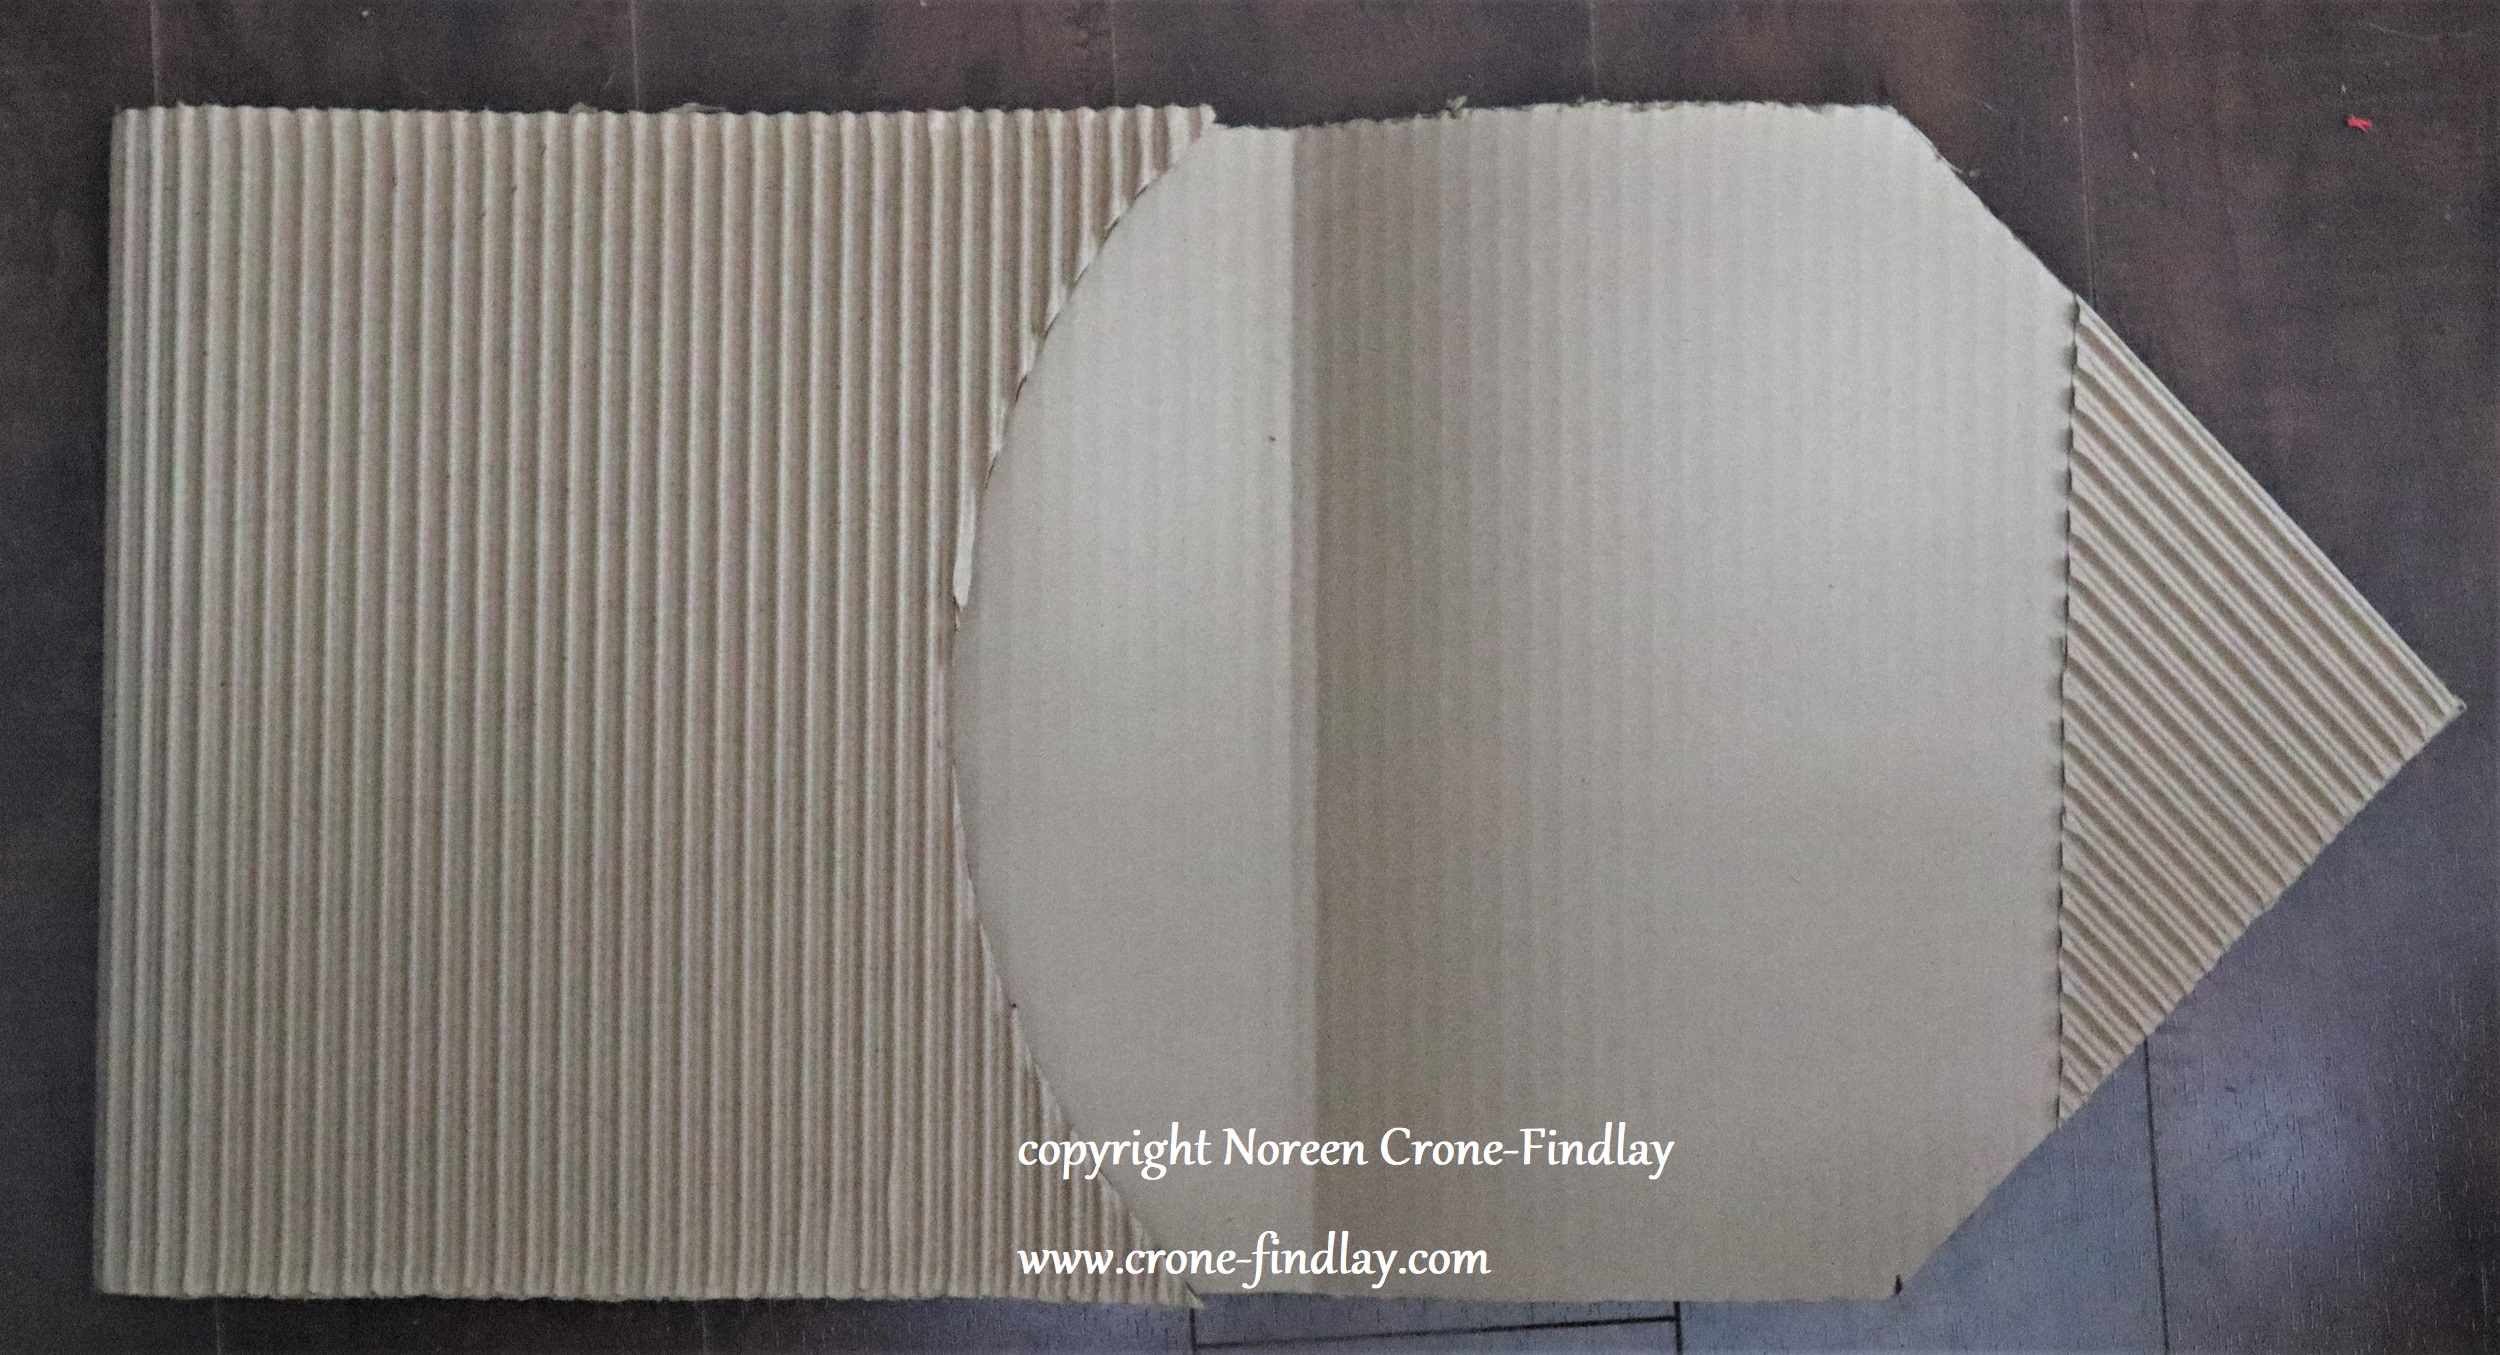
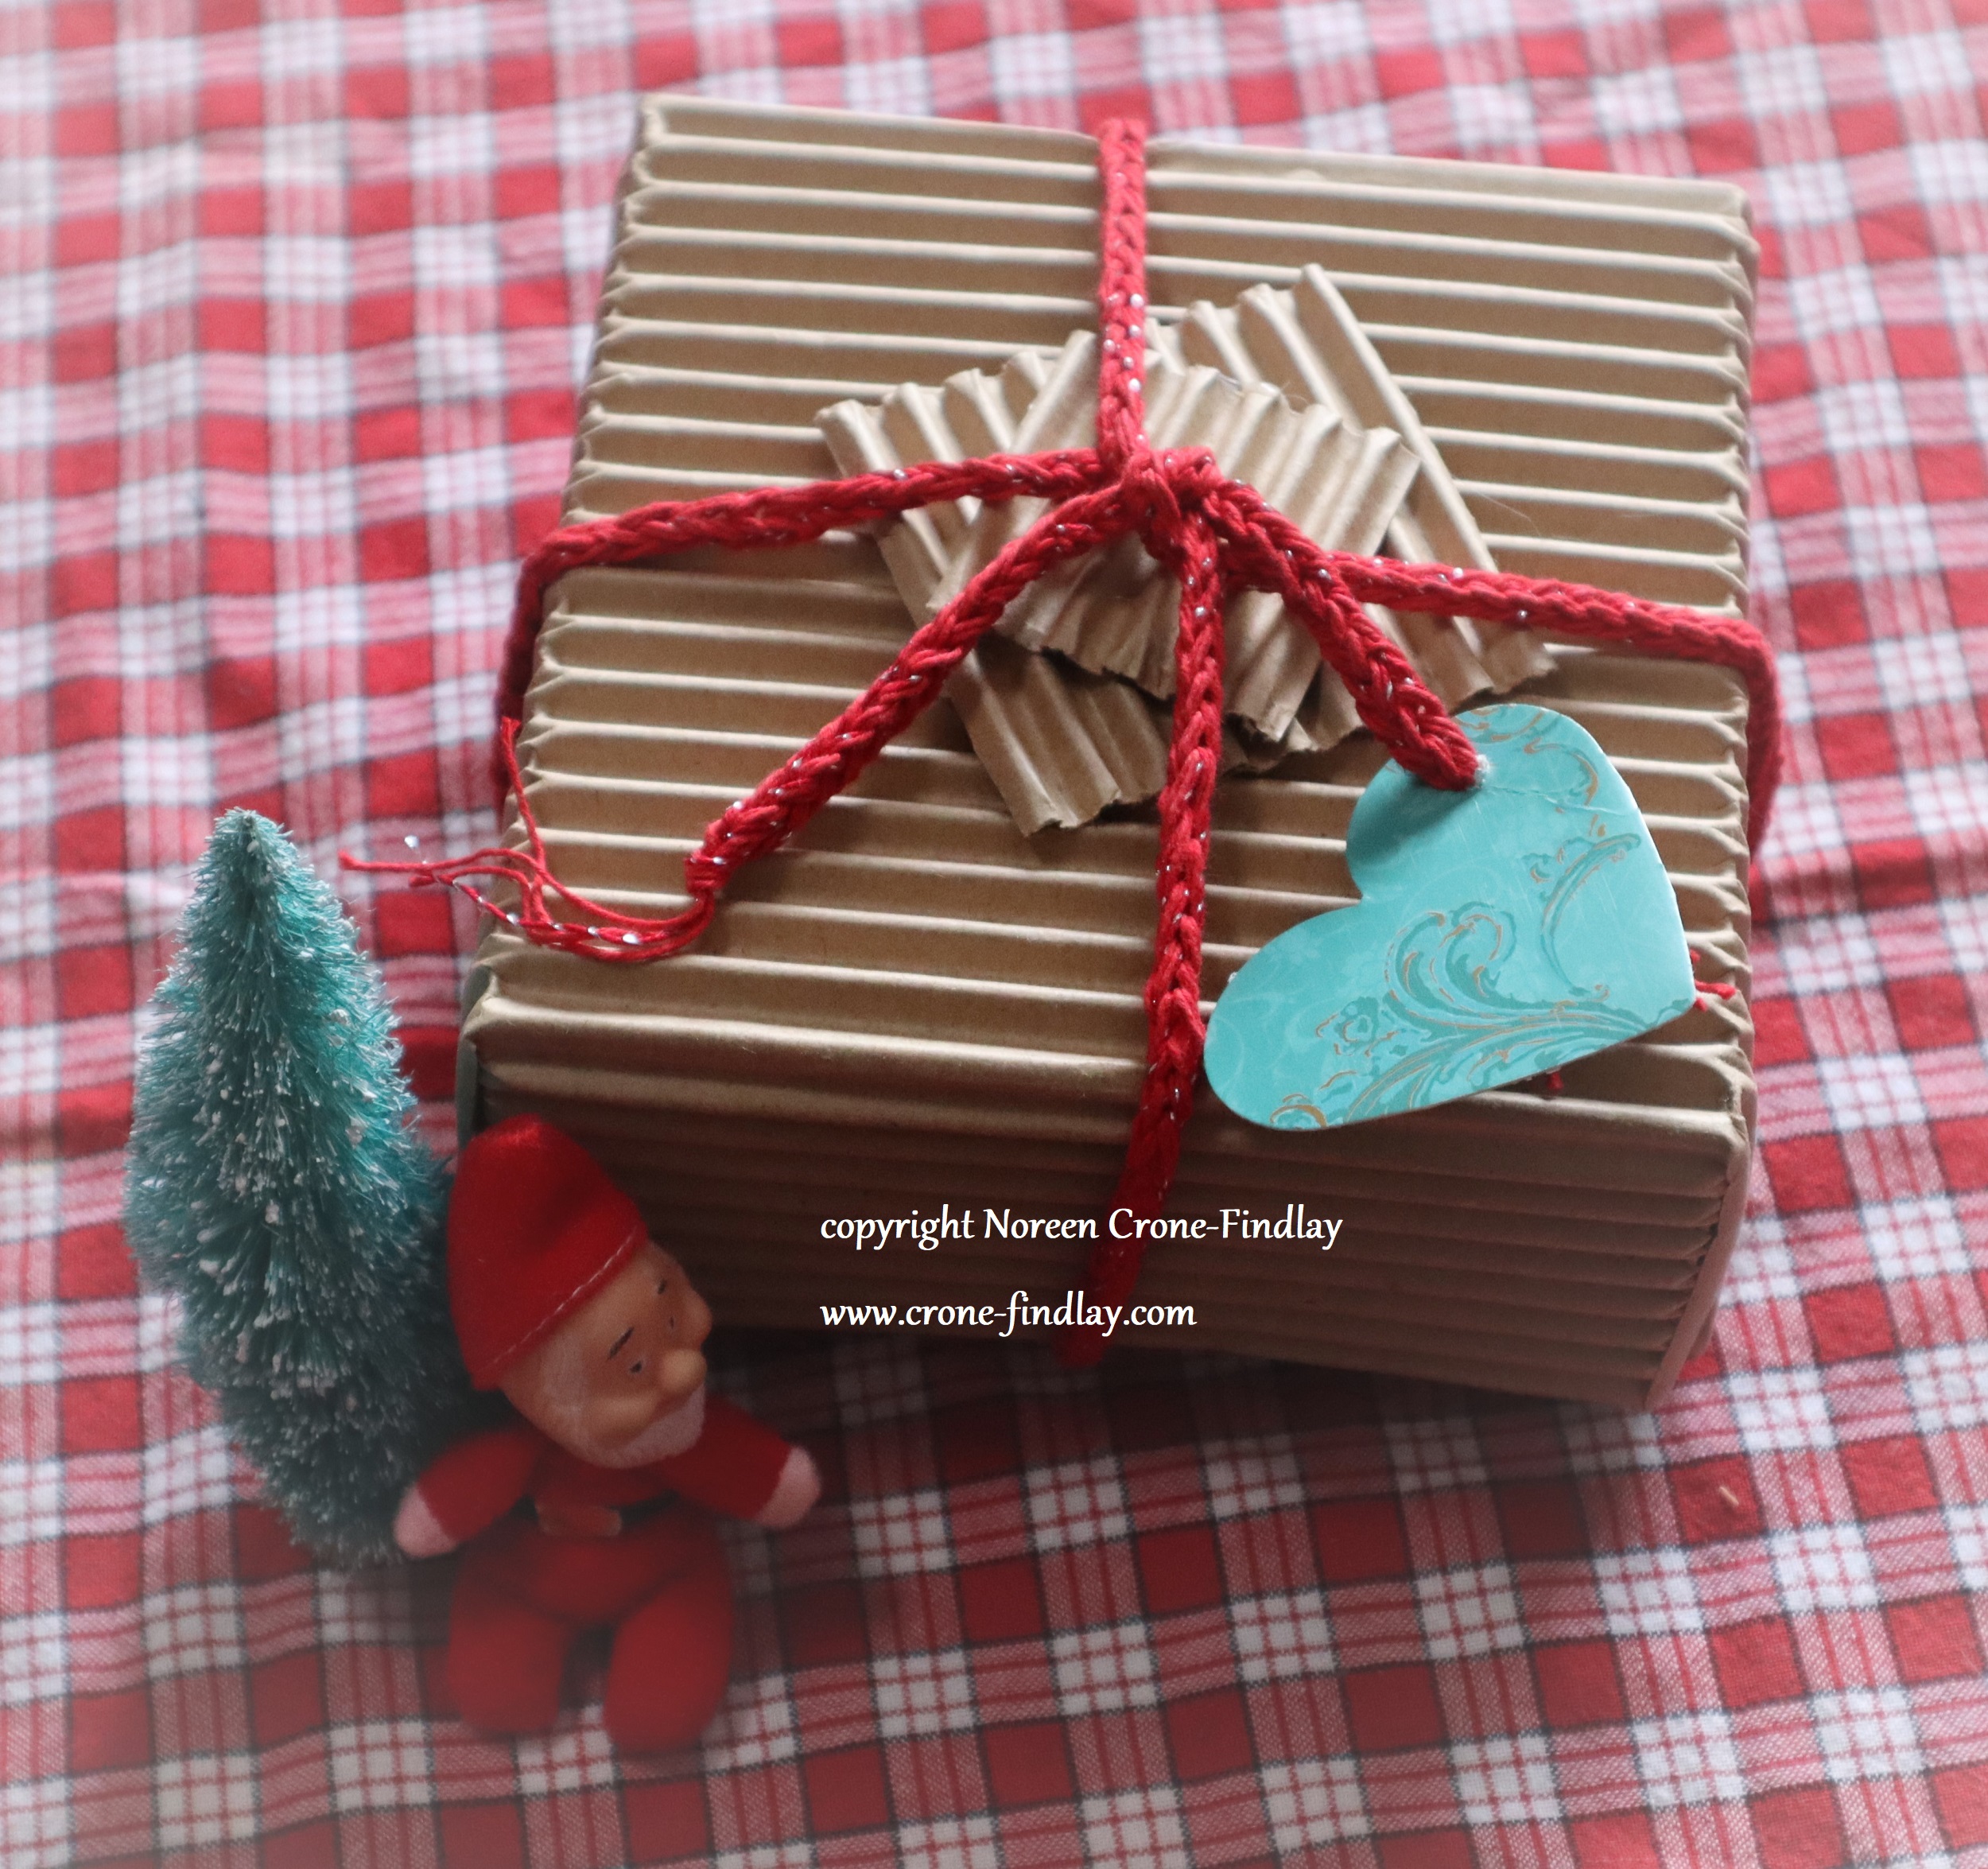
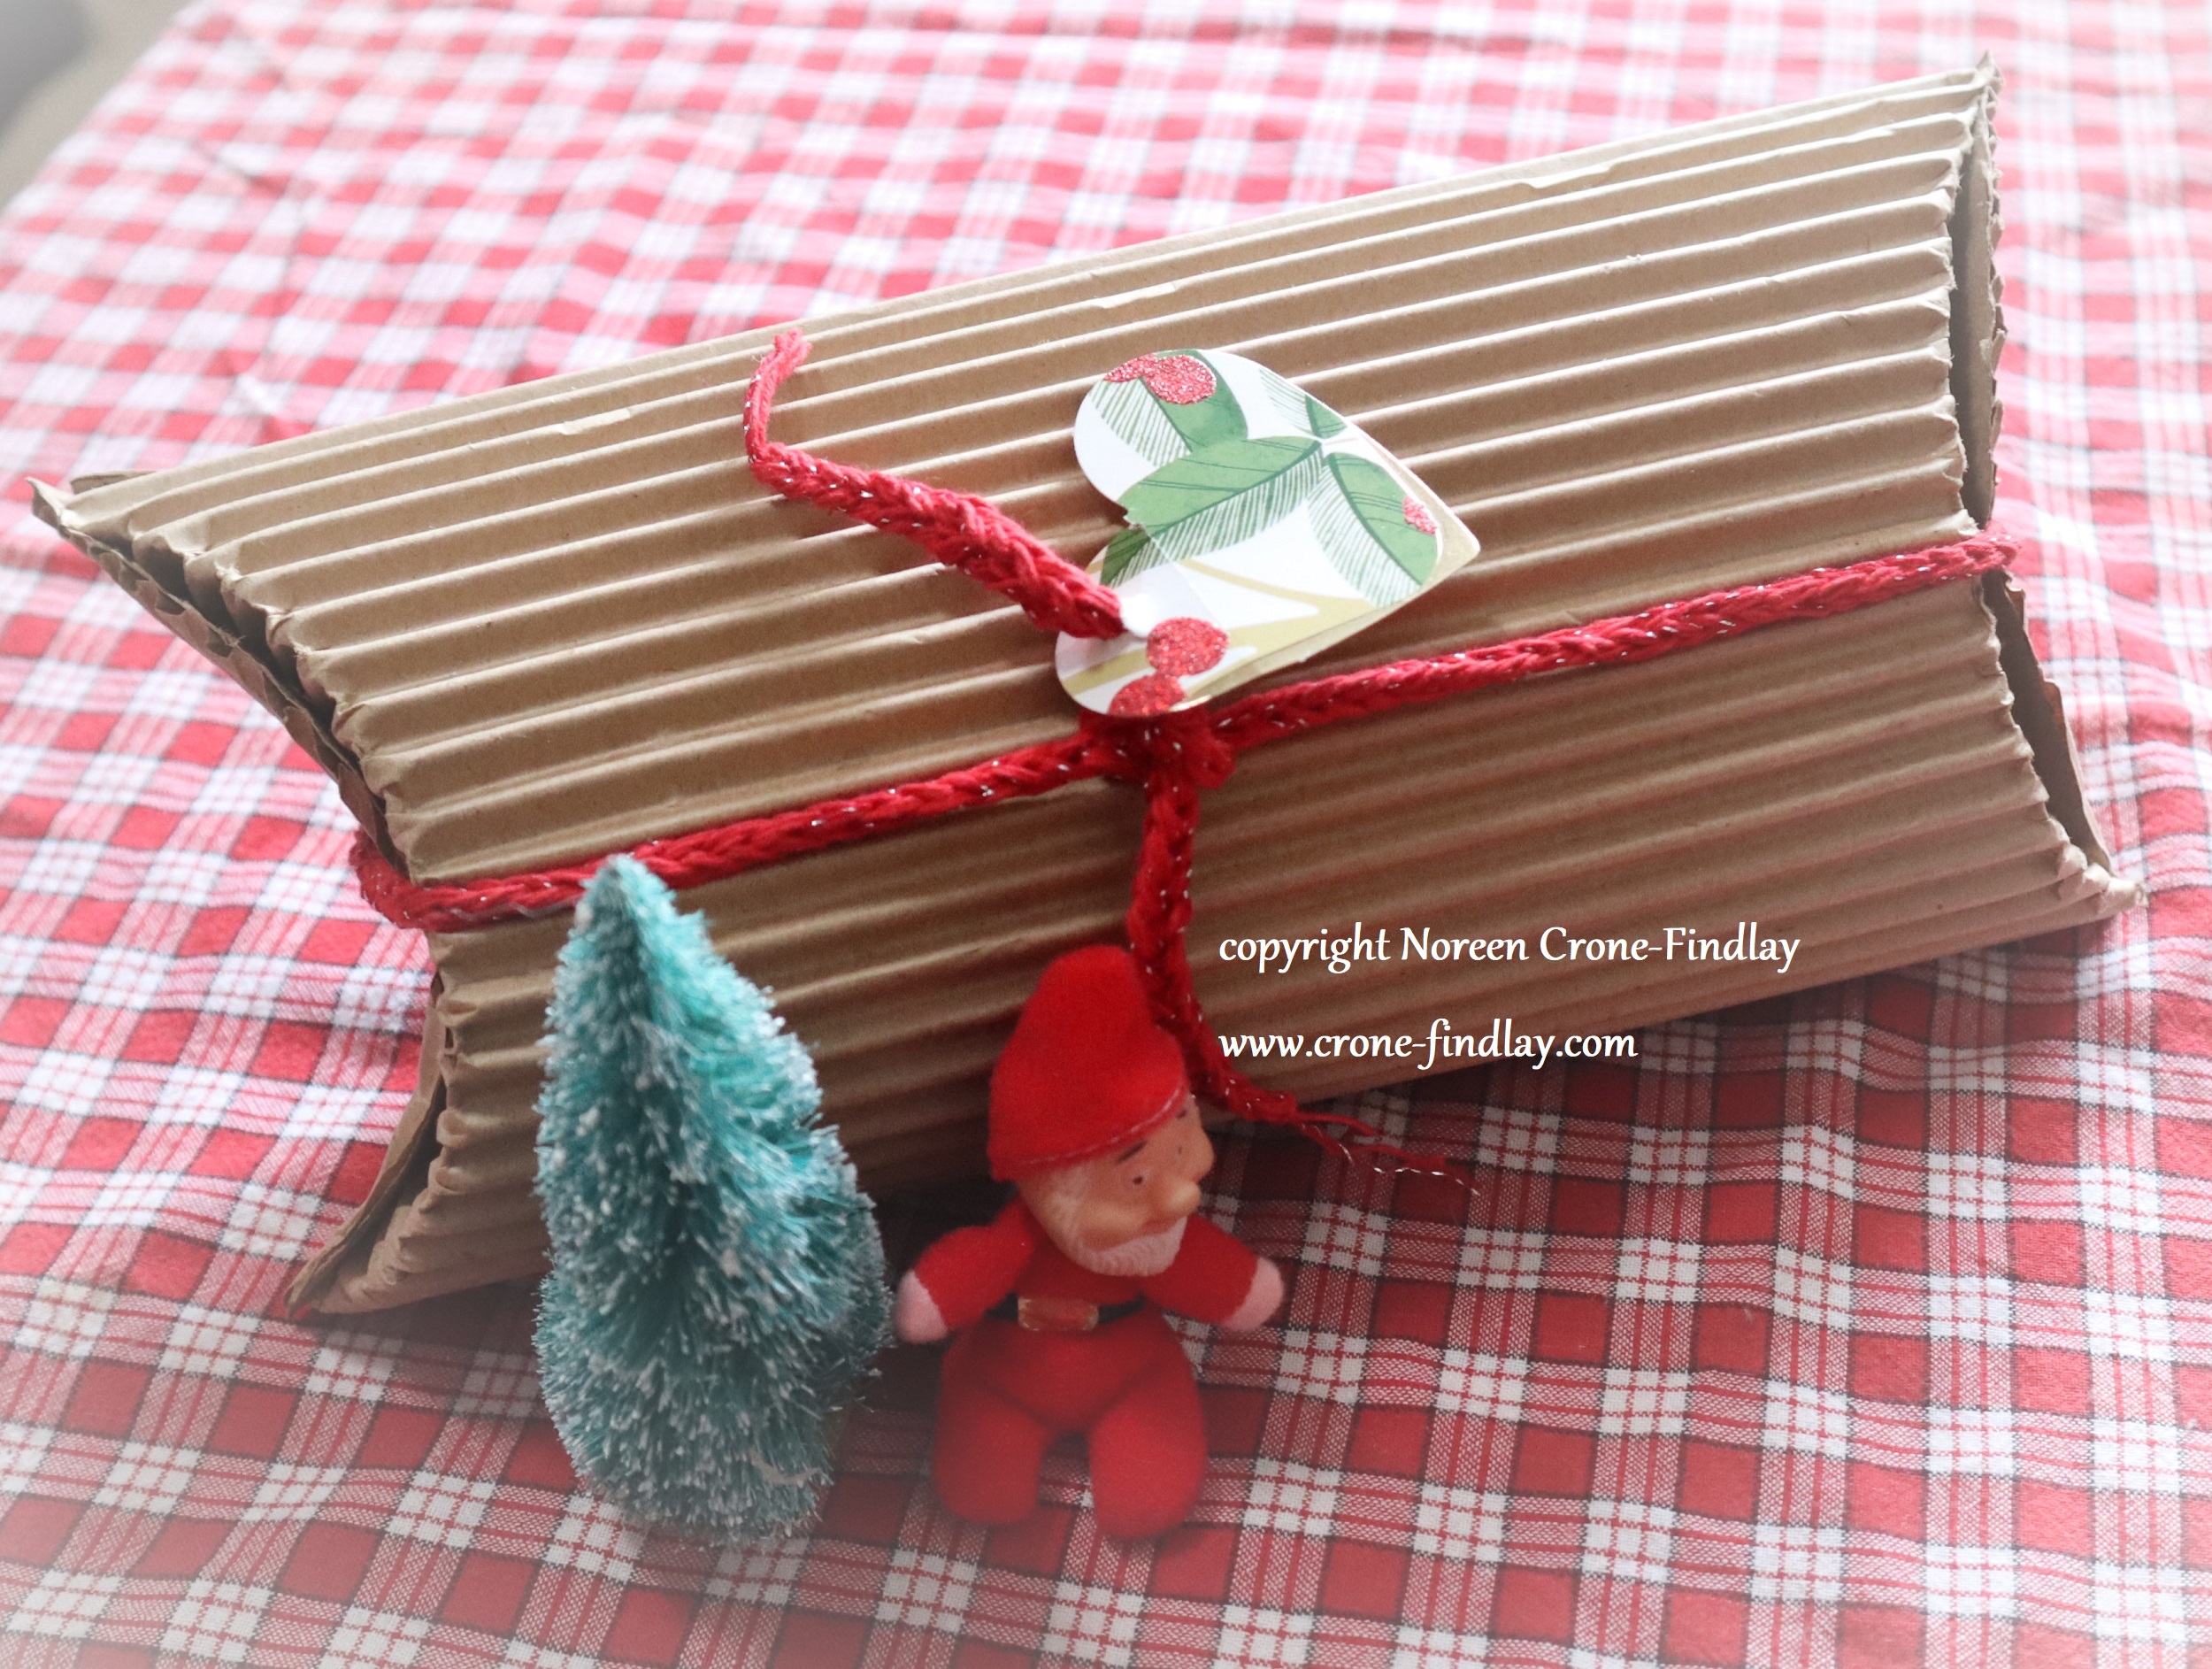
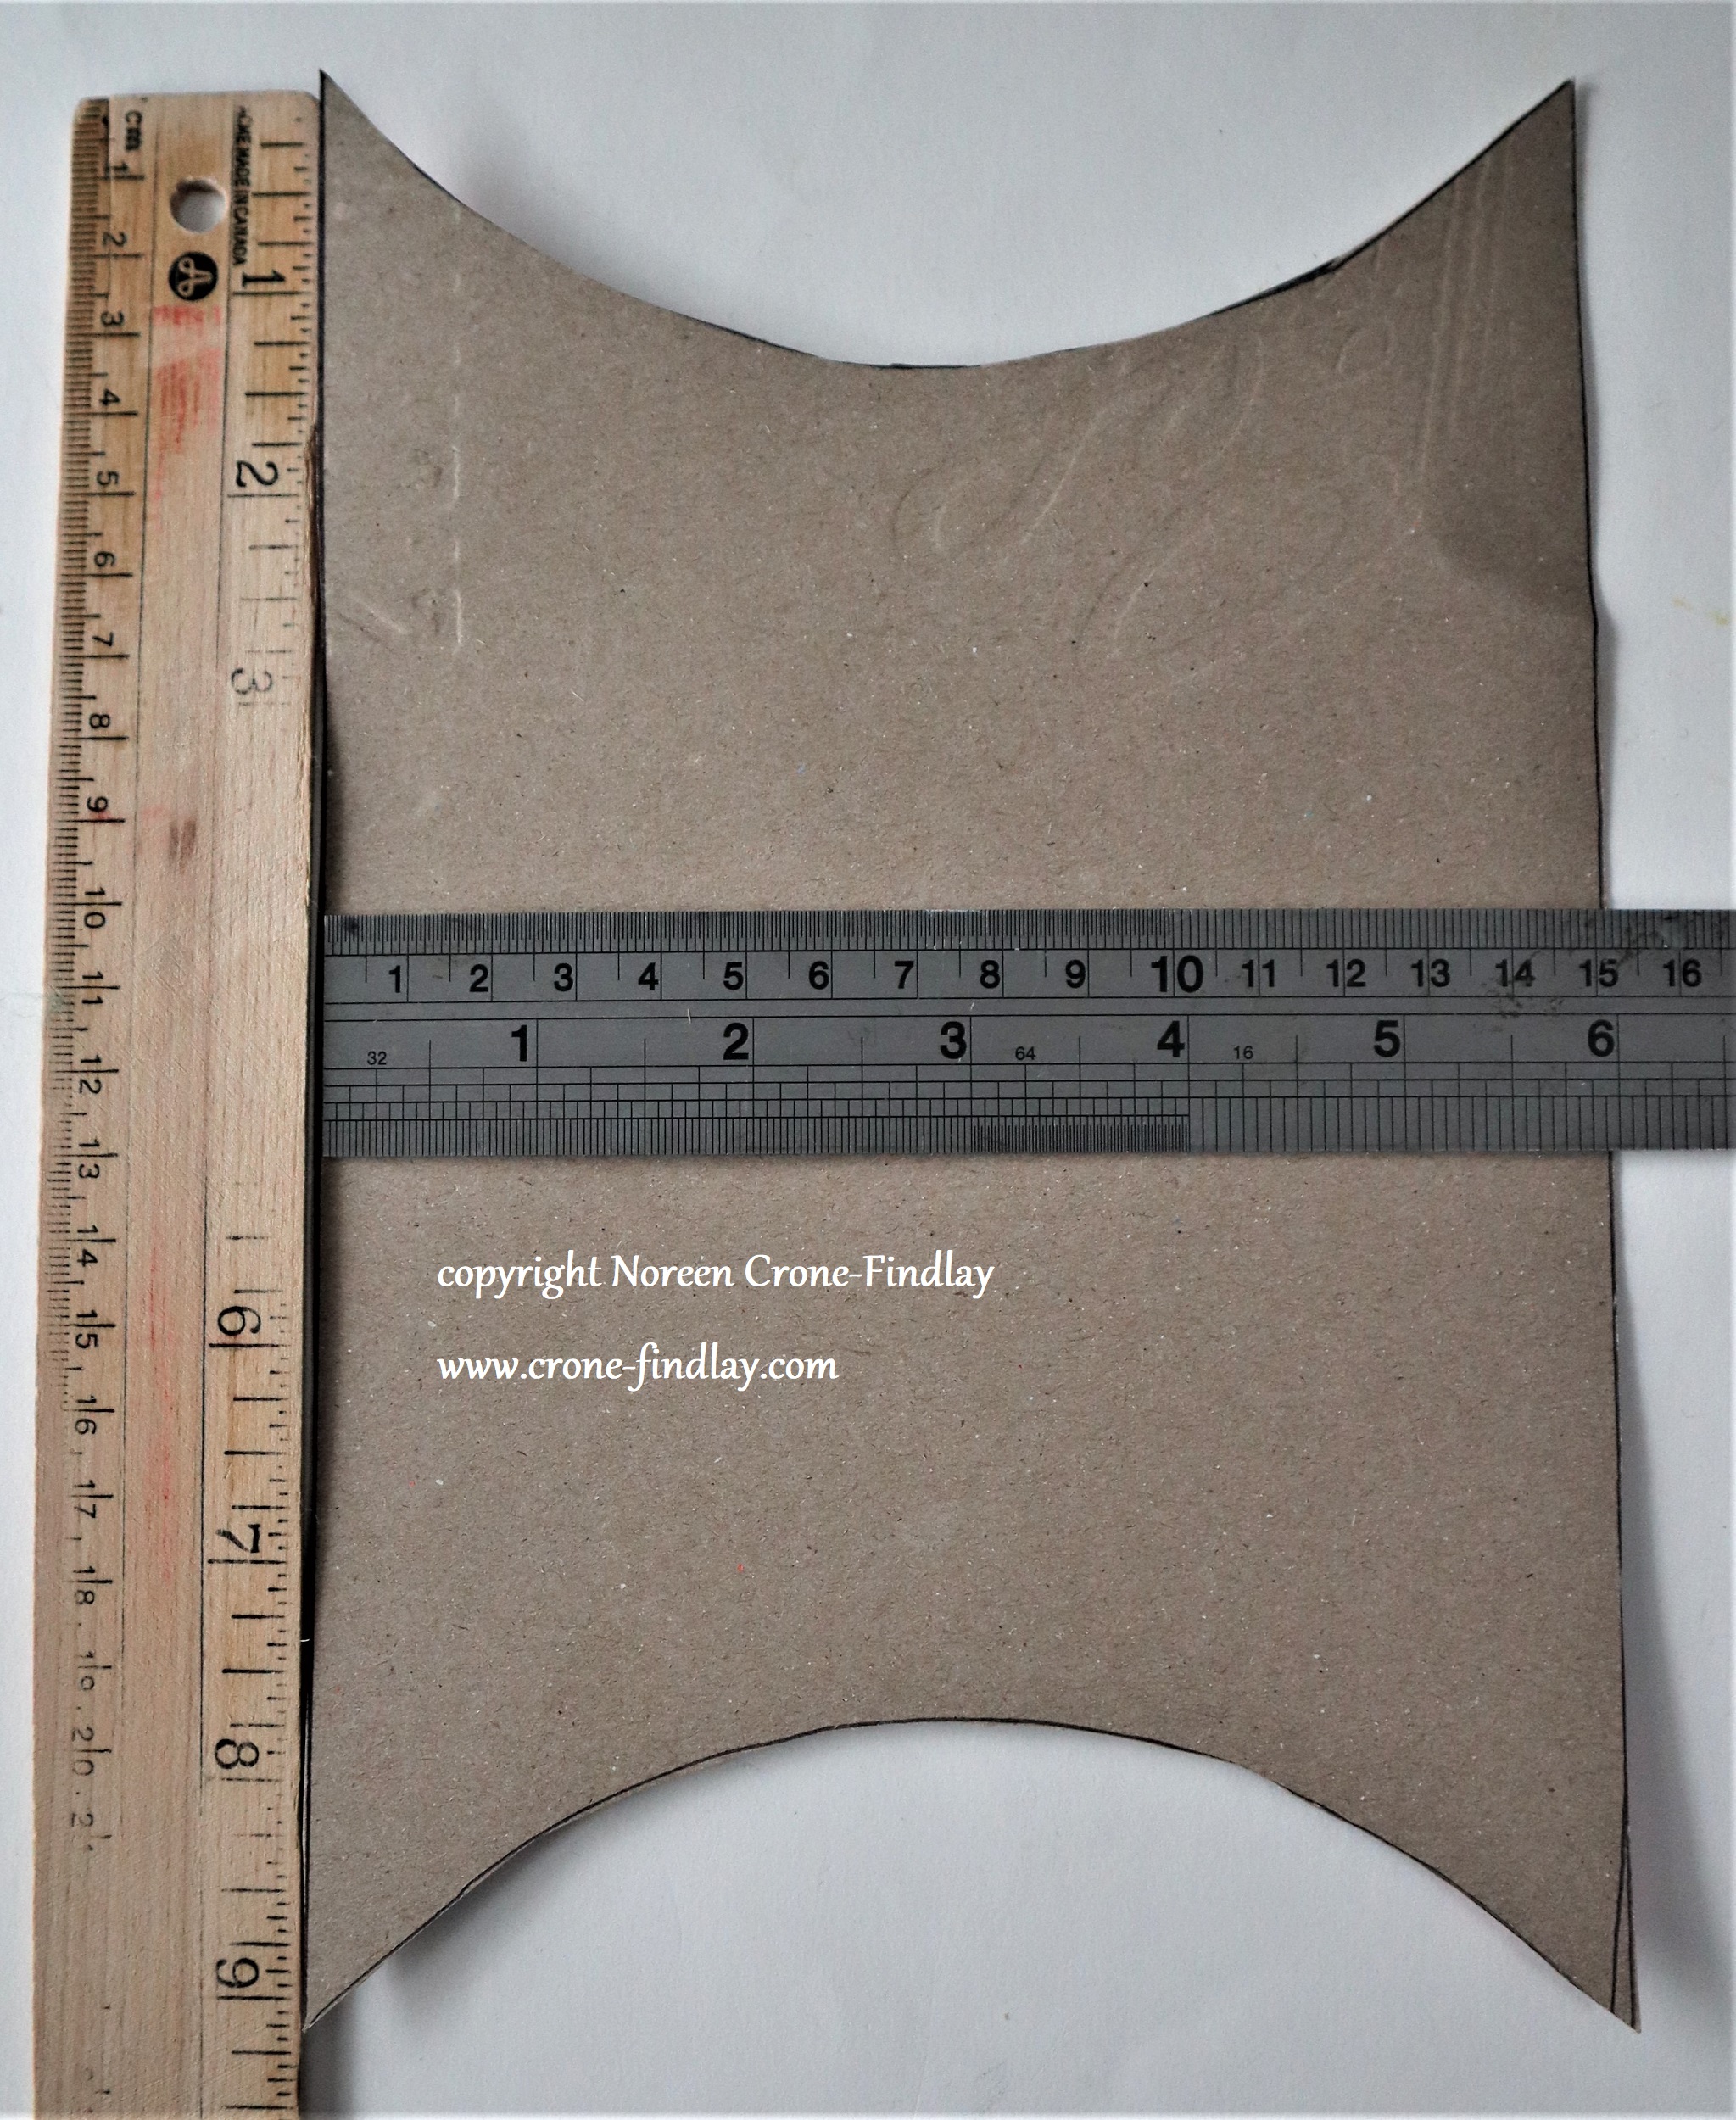
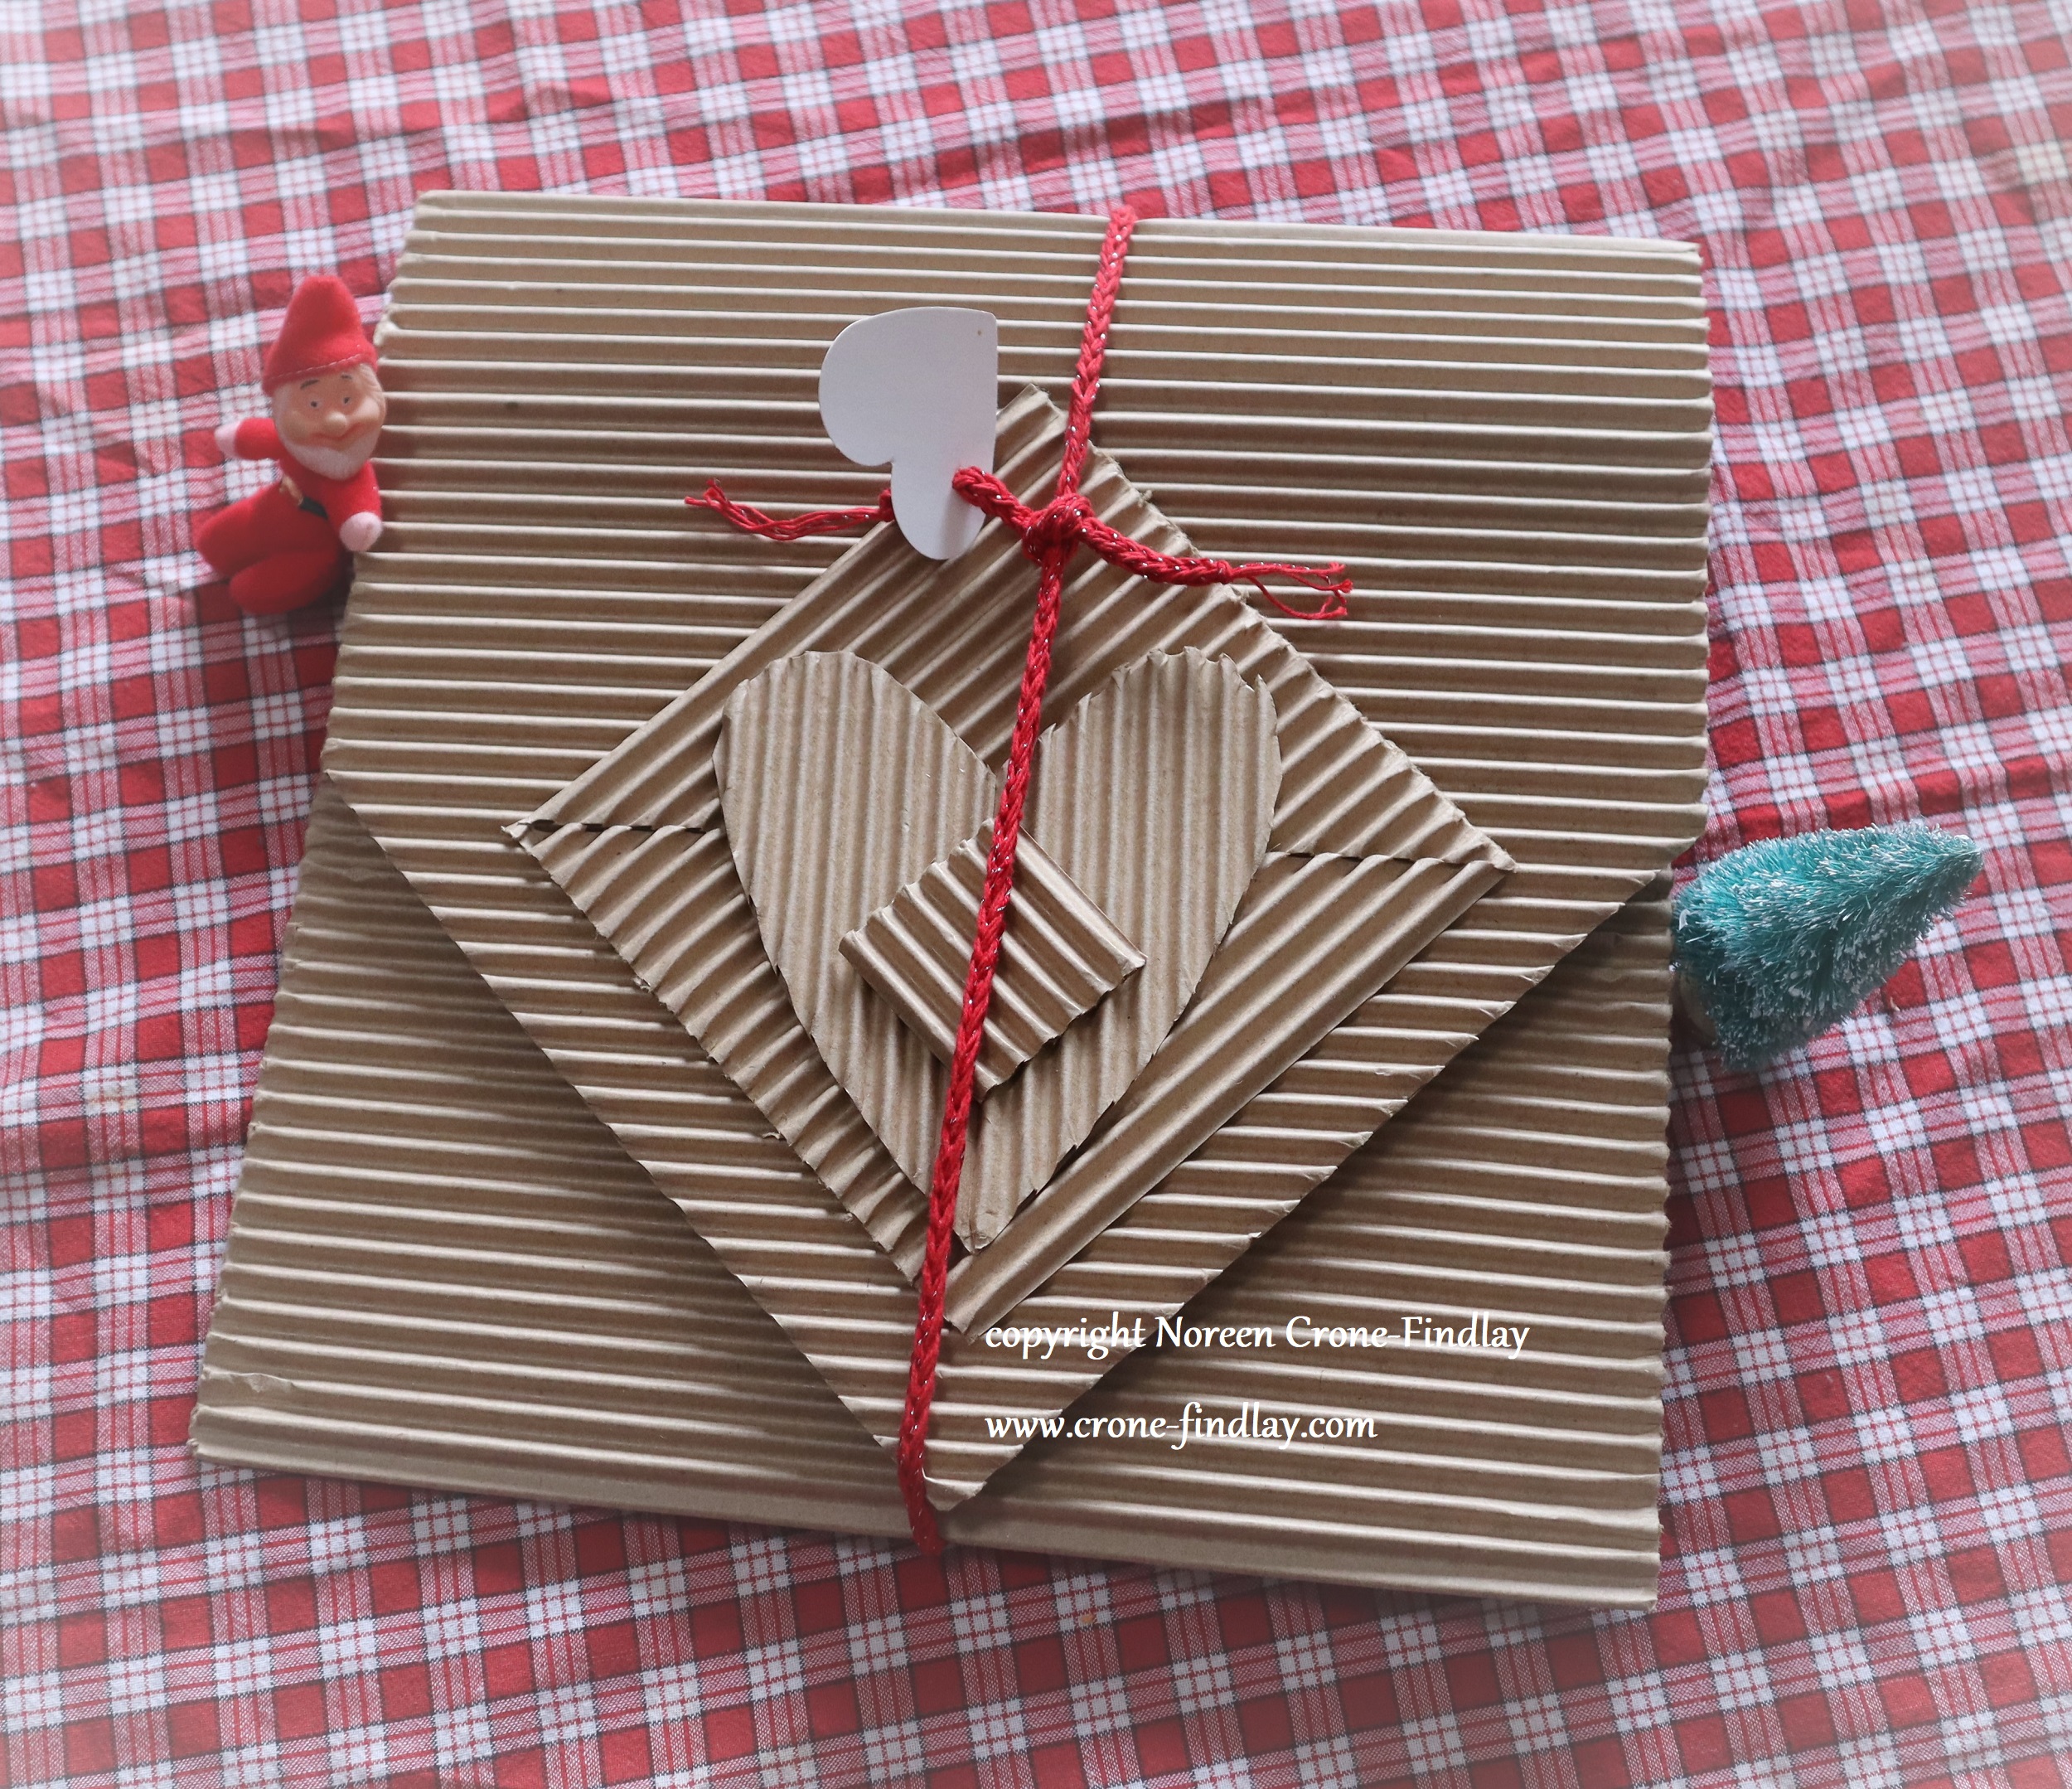
The Heart and Hands were the inspiration for making the cardboard folders

that I wrote about in my last blog post. LINK

This has been an alchemical journey!

We feel the Heart and Hands are something that we want to continue to work with,

and see how they evolve.

And, in the meantime, they will be waving from a few windows, sending love out into the world!

Advertisement

Leave a comment

Filed under fused glass, metal work, personal stuff

Upcycled Cardboard Boxes and Folders

Normally, we wrap all our presents in bags that I have made over the years. We never buy paper for gift wrapping.

But, this year, my husband and I made some gifts that needed special packaging.

So I set my mind to working on how to do this in an eco friendly way.

(I’ll show the special gifts in my next blog post)

Several years ago, Jim bought a roll of cardboard to build a case for his Oud (Turkish Lute).

It came as a roll that is 12 inches wide by ever so long, and it’s been kind of in the way ever since, but I didn’t want to get rid of it because I have a huge fondness for cardboard.

Jim wrapped the first gift in a protective swath of the cardboard, but that seemed rather ‘less than’ to me, so I mulled it over and came up with the folder idea.

I LOVE it.

It’s super simple:

I cut a 36 inch long piece of the cardboard and cut triangles off one end to make the point.

Then glued one triangle to the inside of the point to stabilize it.

I traced a tray to make the curve and then glued the edges.

Next time I will add strips of cardboard along the sides to give more dimension to the folder.

I used the off cuts to decorate the front.

The cord is made from crochet cotton that was given to me last summer (see Tea Towels) and a Lucet (LINK) and I am pleased as can be.

Another cluster of gifts needed special packaging, so I tried to fold origami boxes with the cardboard.

FAIL.

Instead, I came up with trial and erroring in making fitted boxes that were a time consuming pain in the neck to make. I tried using this technique, which works great with ‘normal’ card stock and paper: LINK

I won’t bother doing this again- not with this cardboard.

(Note- even though these were the pits to make, they were still made with love and some mild cussing).

BUT, by now, I was seriously on a roll with this whole box/package designing thing and remembered those nifty containers that are tubes that have semi-circular ends that push in to close them.

Of course, I probably could have looked up a tutorial online and found the simple way to do this, but, oh no, that’s not the way my brain works.

My brain likes ~to figure things out~…..

So I pushed cardboard around and flipped and folded it and measured and hummed and finally came up with this ‘Slightly Tube-ish’ container:

I had made several of the ‘Slightly Tube-ish’ ‘ containers when I twigged to the fact that they had a big old mistake, which I then fixed.

I made proper templates for the ‘right’ ‘Slightly Tube-ish’ containers , since I really like these and plan on using the concept again.

But, I wasn’t going to waste the ‘wrong’ ones, so I used them anyhow, with an apology to the recipients of the gifts and an explanation that I have got it right now, and they’ll get a better iteration next time.

Until then, the wrong ‘Slightly Tube-ish’ containers can be re-used and eventually be recycled or used as fire starters.

Here are the proper templates:

This one is for cutting out the ‘Slightly Tube-ish’ container
And, this one is for scoring the curves on the ends.

All in all, it was a lot of work, but I loved doing it and I hope that my family liked the nifty boxes and folders.

Even though I used cardboard that we had bought years ago for another project, these techniques will work really well on regular upcycled cardboard and cardstock, which pleases me very much!

Happy Upcycling! ❤

1 Comment

Filed under eco crafts & green projects, free pattern, gifts & easy to make gifts & presents, Lucet, tutorial & how to, upcycling

Tea Towels woven from upcycled crochet cotton

Last summer, loved relatives gave me 2 boxes of crochet cotton that they had adopted from the ReUse Centre in their town.

This is the smaller of the 2 boxes.

I immediately used some of the cotton to tat butterflies, and thought about what to use the generous and unexpected treasure that remained.

I decided to weave Tea Towels for my family – I wanted the cotton to become something useful, rather than just languishing as ‘stash’.

I had no idea, when I began, just how much I would love weaving the Tea Towels!

It was so meditative and contemplative- and watching the play of shadow and light on the various shades of cream and white cotton was deeply pleasing.

To begin the journey, I warped up several warp chains.

And wove

and wove and wove….

The blue bands look odd, because I used several strands of variegated blue thread held together…

I used one of my favorite weaving drafts, ‘Rosepath’, which gives the diamond effect when woven to the ‘correct’ treadling, but also a pleasing zig zag twill and of course, plain weave tabby.

This was perfect for me, as it allowed me to add definition to the hems, the cream colored borders, the blue bands and the body of the tea towels.

Once the tea towels were all woven, washed them and then ironed them and hemmed them.

I had hand stitched the hems between each of the towels while they were on the loom, but then stitched the hand stitched edges again by machine before cutting them apart.

I then rolled and pinned the hems and stitched them by machine.

I had hand stitched the hems on some of the prototype tea towels, but wasn’t happy with the way they looked, so opted for the machine.

Ooops… at one point, my grandson, who has been taught how to sew on the machine by his mother, chastized me for sewing over a pin. Oops!

He has the family ability to raise one eyebrow very high and fix you with a baleful gaze.

This is also a family trait. We pass along such interesting legacies, don’t we?

My father could transmit a world of ‘ahem’ with his eyebrow. Ahem.

I didn’t sew over any more pins after I was given ‘the eyebrow’!

Earlier in the process, I wove miles of tape on my narrow band loom.

But, I forgot to take a picture of the weaving process for the tape.

I cut lengths of tape from the miles of narrow band.

Then I sewed the hanging loops with it onto the tea towels by hand.

Then, off to the washing machine for the towels….

It was so exciting to see how washing the towels snugged them up and made them all soft and inviting.

And then ironed the living daylights out of the tea towels again.

Most of them have been designated as gifts.

Generous gifts of boxes of abandoned crochet cotton by our relatives turned out to be such a lovely gift for me.

I loved the process of bringing the cotton to life again and I hope that the towels will be a pleasure in some small, quiet way for years to come.

8 Comments

Filed under 4 harness weaving, eco crafts & green projects, four harness weaving, gifts & easy to make gifts & presents, Loom & looms & small loom weaving, upcycling, weaving & handwoven