I am participating in all kinds of craft fairs and maker’s markets this summer in Edmonton, Alberta, Canada.
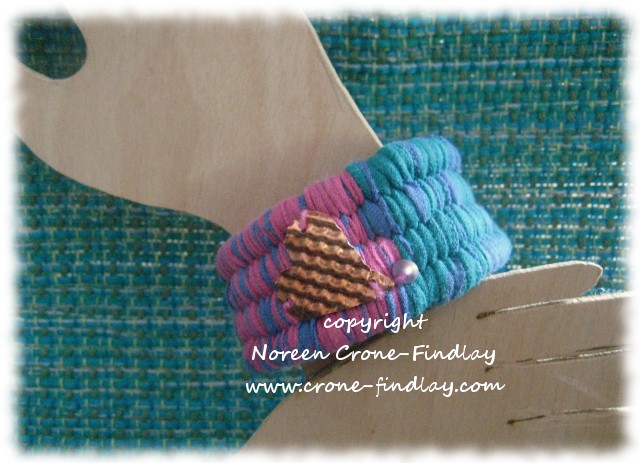
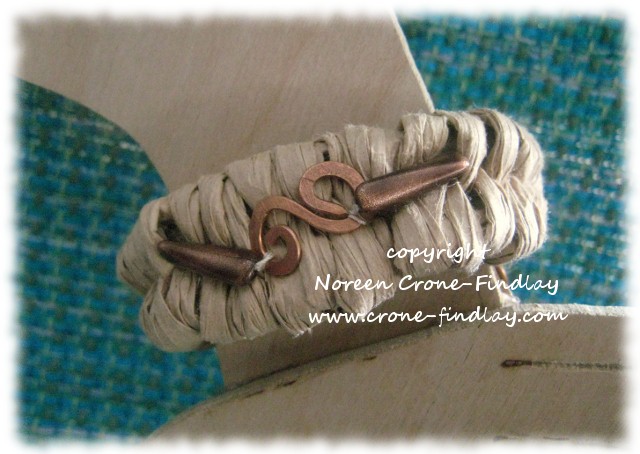
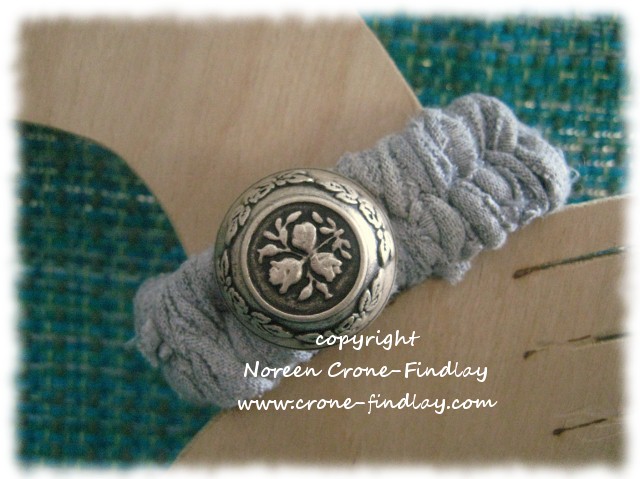
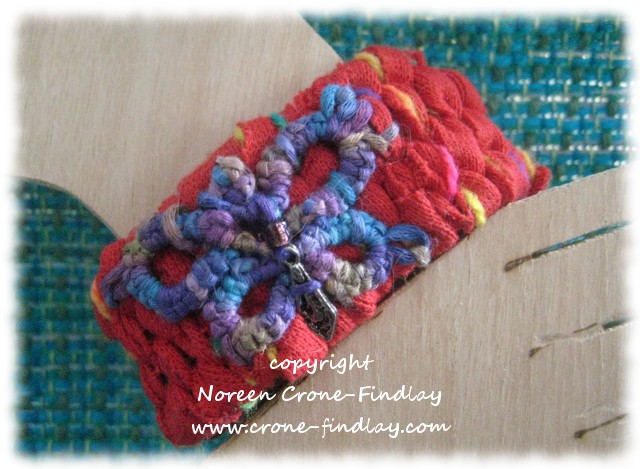
I’ve been weaving up all kinds of bracelets for the upcoming shows:
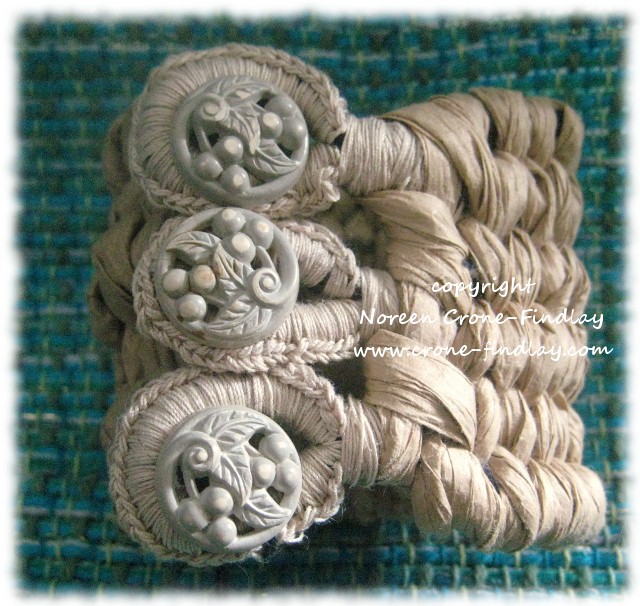
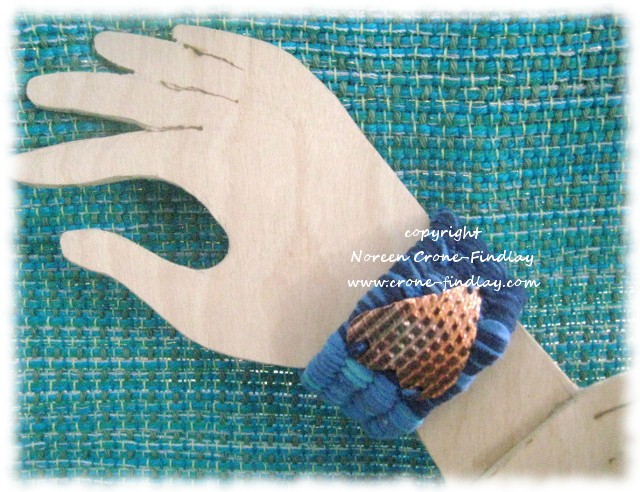
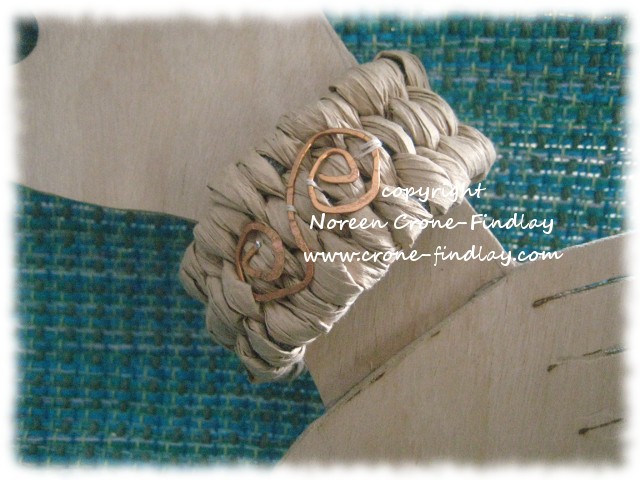
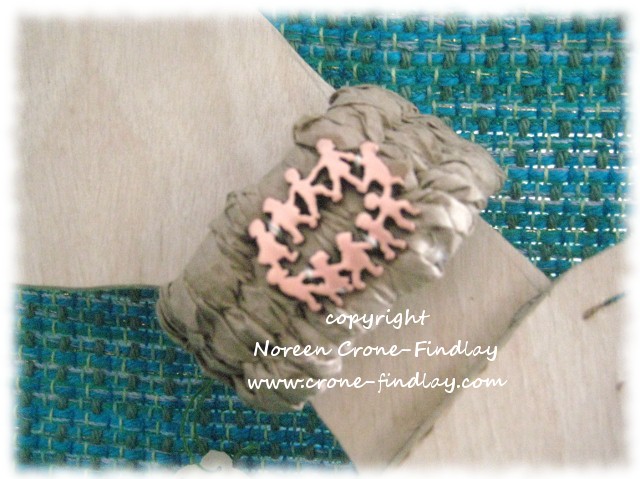
The bracelets are a combination of paper yarn, t shirt yarn, vintage buttons and charms and other embellishments, as well as copper and brass findings and embellishments that I have made.
Several years ago, we bought a metal Ikea computer desk at the thrift store.
I didn’t like having half of the top attached at an angle.
So my beloved DH, Jim and I drilled some holes, took the angled section off and re-attached it so it was nice and flat.
I had passed the desk along to my daughter and her husband, and when they gave it back to me last week, I was inspired.
First, to make the desk a comfortable height for weaving, I cut 3 inches off the legs with a pipe cutter- whew!
That was HARD work!
I mulled over how to attach the loom to the top of the desk, as it was just a hare’s breath away from fitting properly.
I took the top apart and played with the sections to see if I could come up with a workable solution- and then- woohoo!
I discovered that the chanels for a sliding mouse pad section that were supposed to be on the under side of the desk top, fitted the crosspiece of the loom perfectly! Jubilation!
I zip tied the sides of the loom to the desk and was happy as a clam…..
except…. for the pesky owees of the tendons grizzling about the side levels, and my back spazzing out on me.
Hmmmmm…..
Inspiration! add lamms and treadles!
I started by cutting a support piece at the side, and bolting it to the side of the stand.
I used 2 angle brackets as the support for the lamms (with a little block to fill in excess space).
Then, I drilled holes in the lamms for cords to the levers and to the treadles.
I tied the lamms to the levers and was verrrrrrrry pleased! Things were moving along quite nicely!
There had to be a way of supporting and securing the treadles, so I used a board from an old pallet, and drilled 2 holes for the legs. Poifeck.
I had a 6 inch length of threaded 1/4 inch steel rod, which I ran through the treadles (which I had cut out of scrap lumber).
The treadles were too wide at first, so I cut dippsy doodles into them to make them fit better.
The most frustrating part of the whole process was finding nuts that would go onto the threaded rod. Grrrrrrrrr!
I finally ended up filing the ends of the rod, as I just couldn’t get anything to thread onto the rod. Once I did that, zip! on went 2 nuts, happy as can be.
I screwed the whole treadle mechanism to the crossboard on the floor, and tied the treadles to the lamms…..
and held my breath…… what if it didn’t work? eep….. that would have been 3 hours down the tubes….
BUT! Joy! and whee and halleujah! It works like a dream!
So, if you would like to have a floor loom, but don’t have the ca$h, watch for a table loom on the various online places, and convert a desk into a stand for it.
You’ll need to have some basic carpentry skills, and I couldn’t have managed drilling the holes through the sides of the treadles without a drill press, but I bet you could do it if you had to.
Here’s the video that I made about how to convert a computer desk into a loom stand with treadles:
Here are some notes to keep in mind if you would like to adapt my project for your table loom:
Things to look for in a desk or table that you want to use for a loom stand:
1: Being able to bolt or screw the lamm support piece along the left hand side of the table/desk legs is essential.
2: Being able to shorten the legs to drop the height of the table to a comfortable ergonomic height is also essential.
3: Being able to attach the loom to the table is one more essential. (Clamps? Zip ties? A channel like the one on mine was a piece of beautiful serendipity)