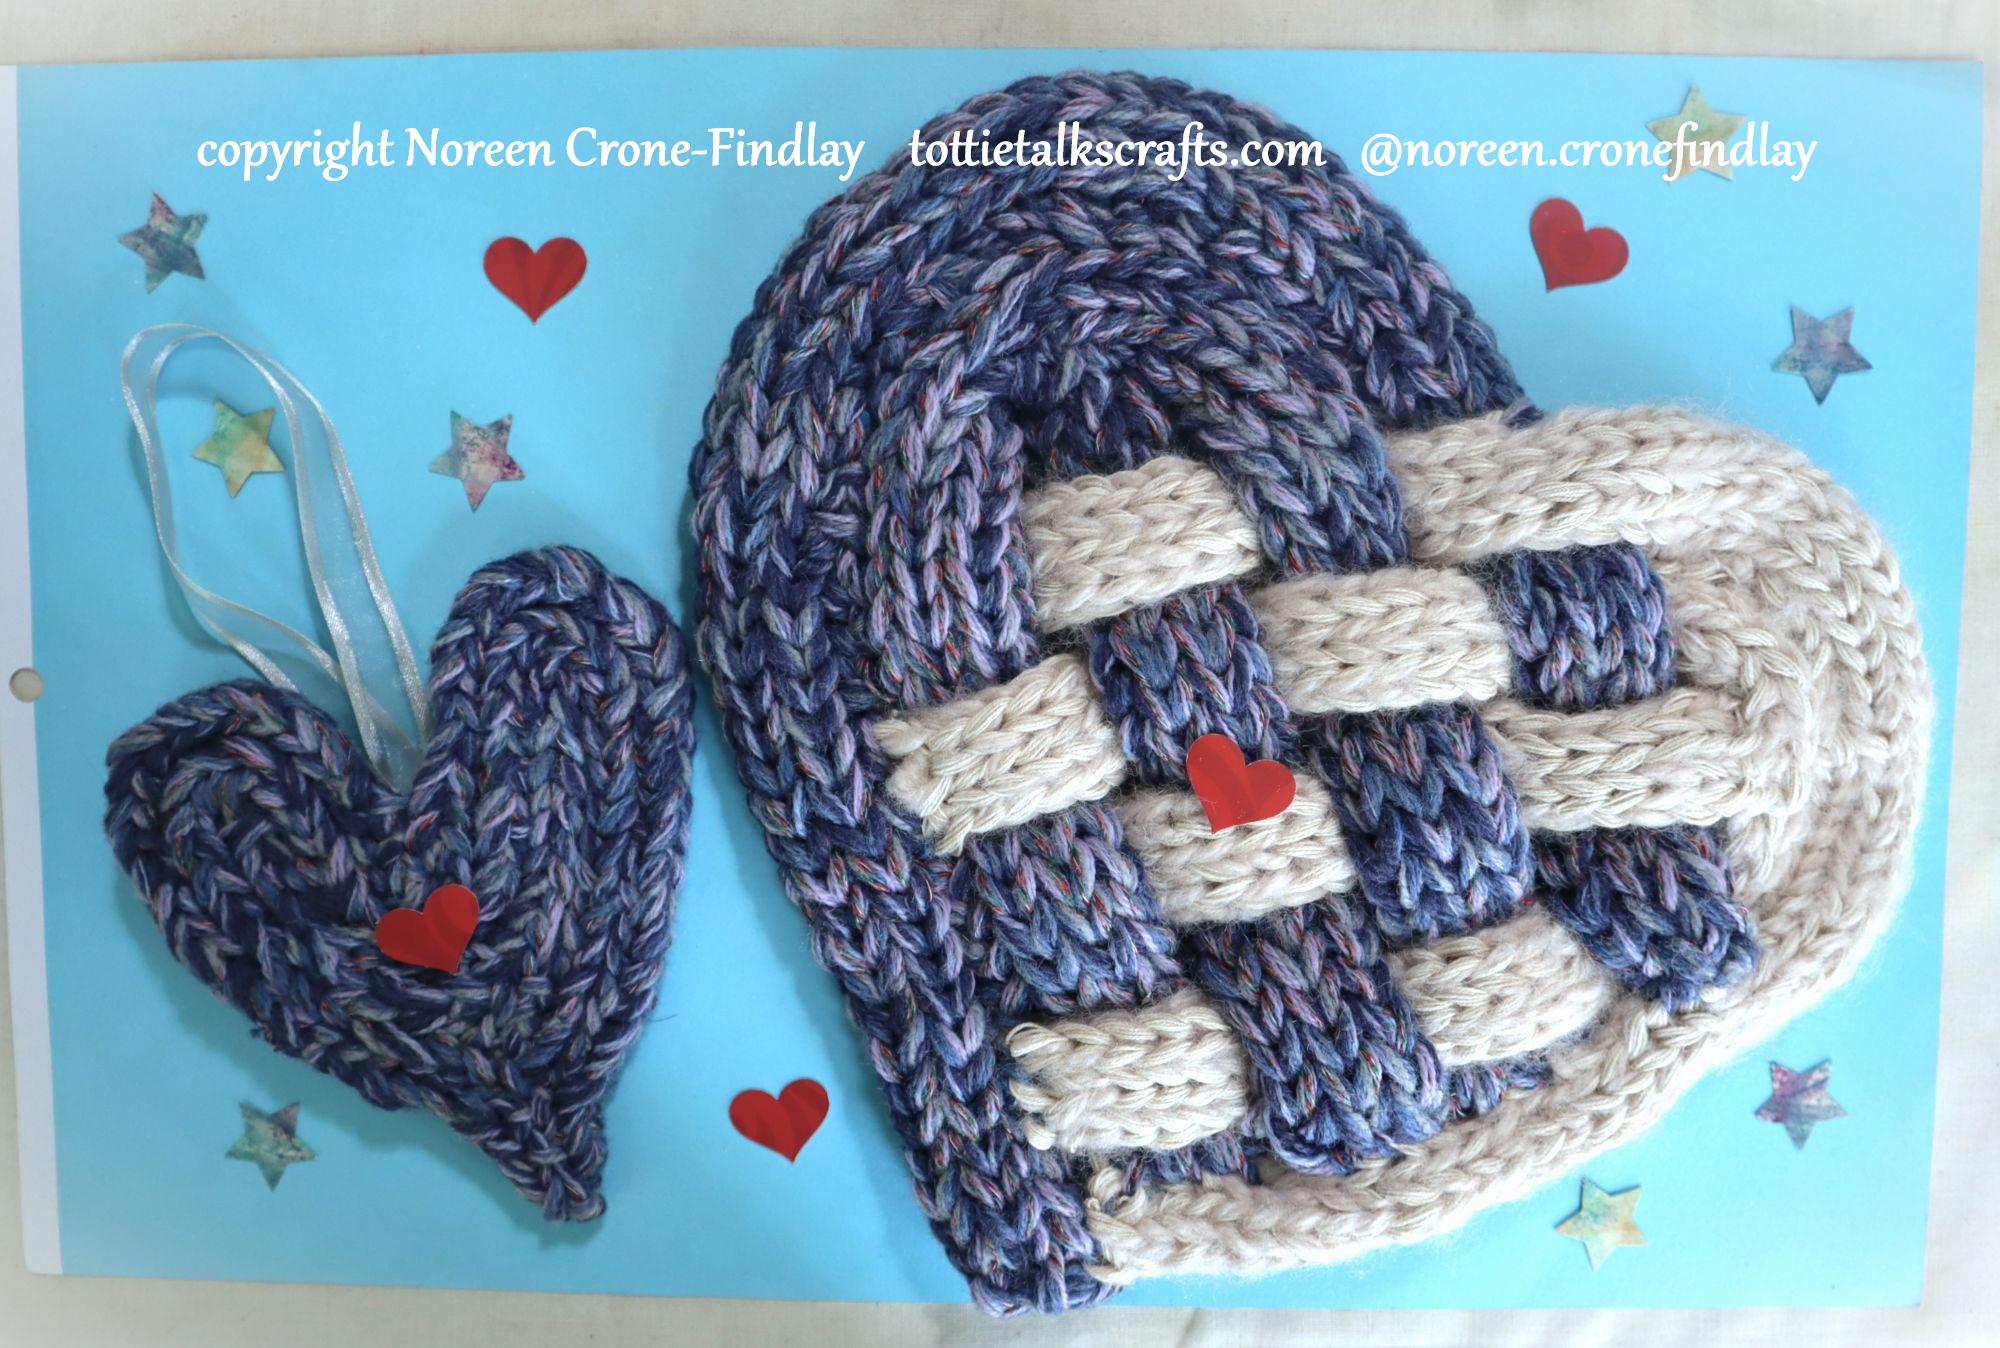
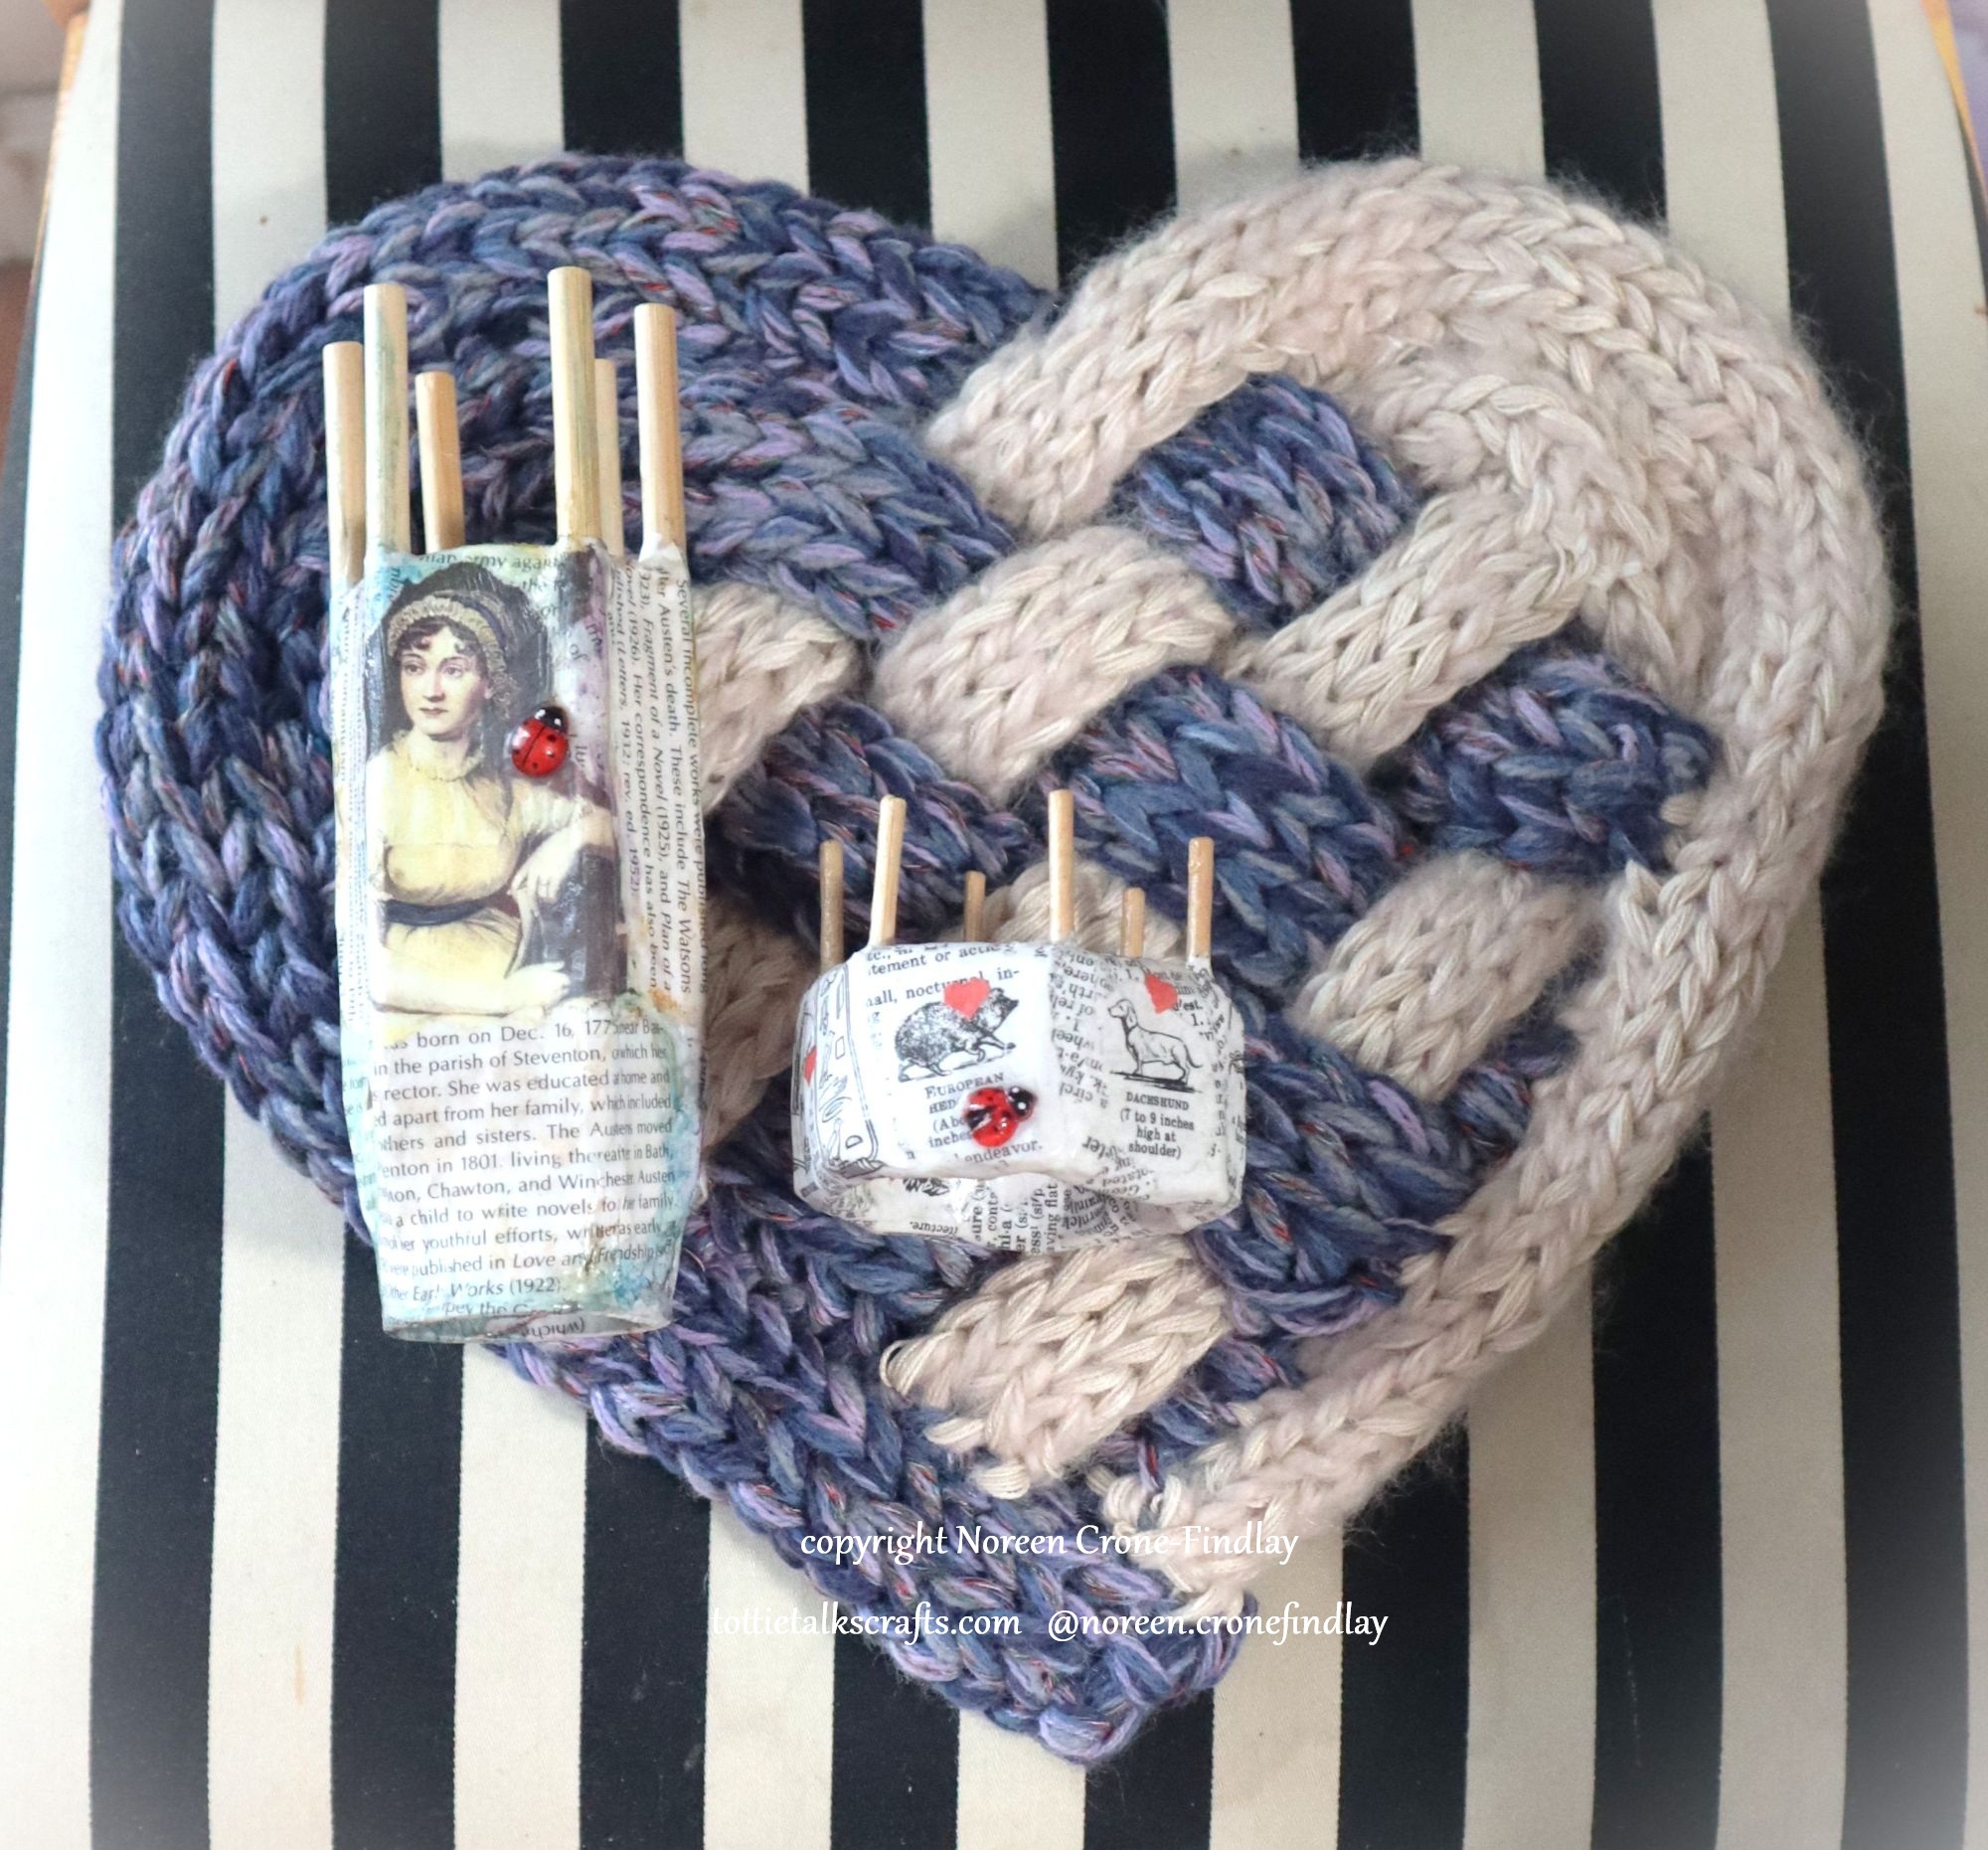
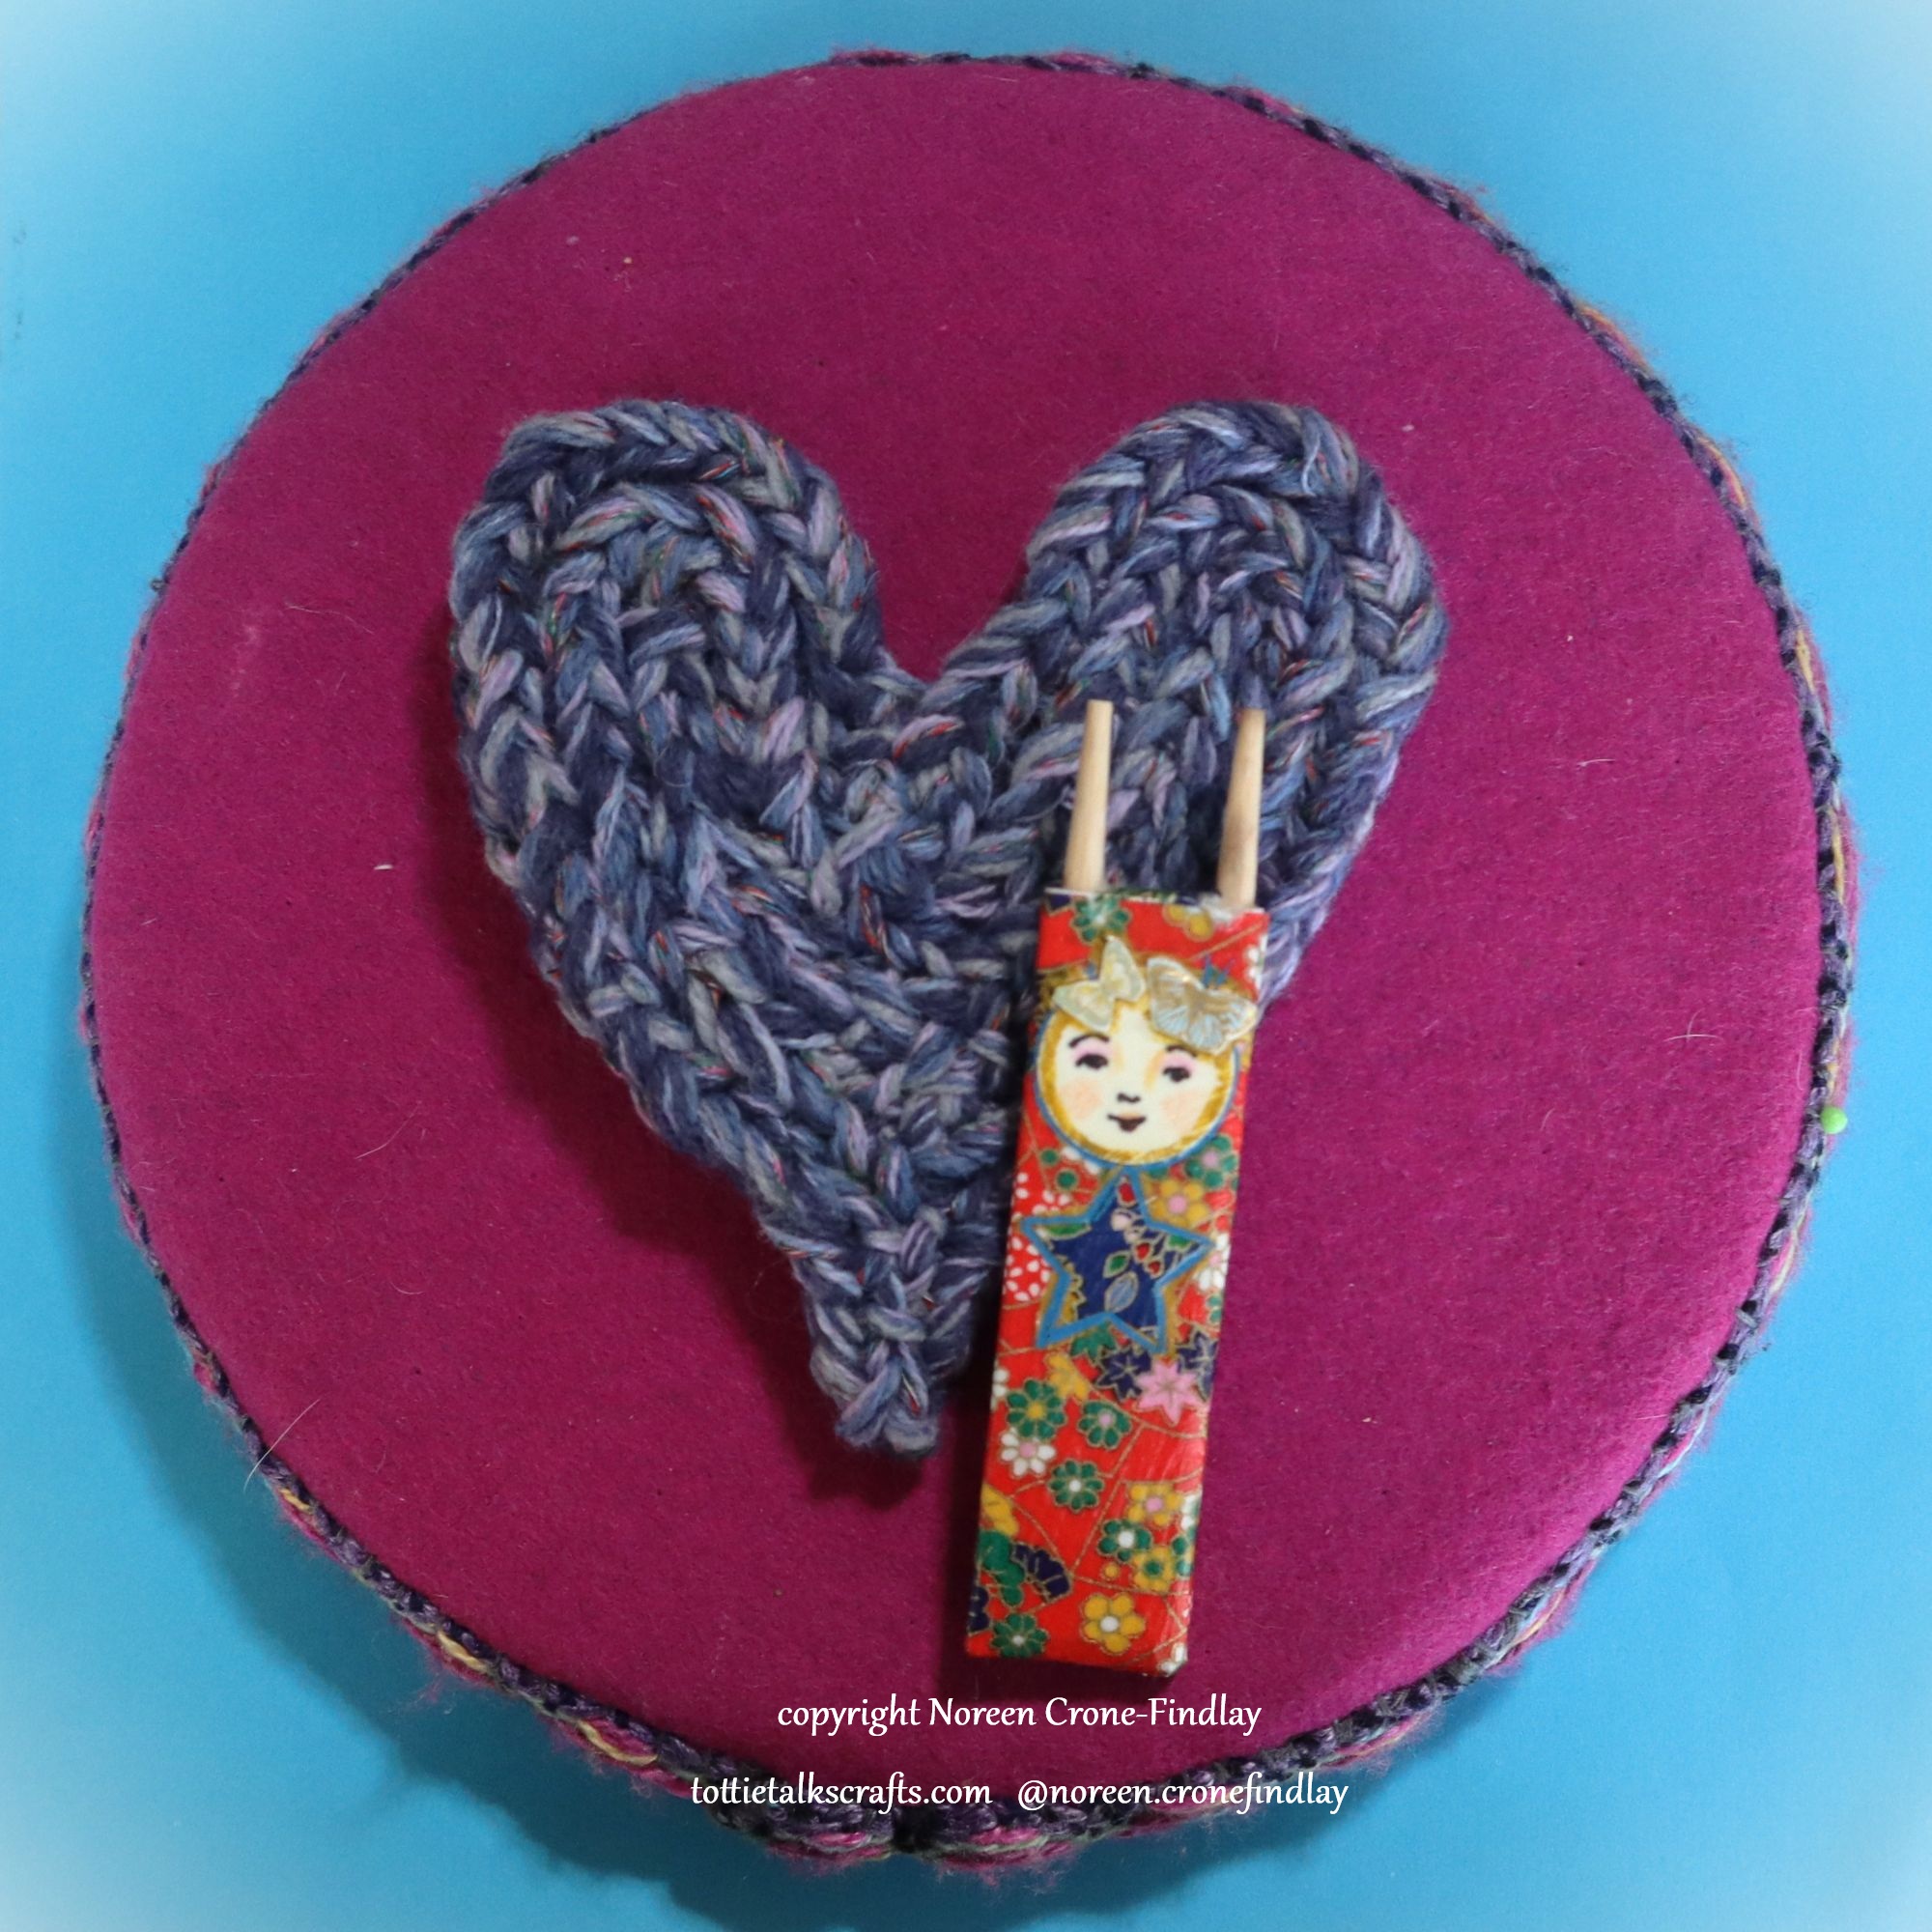
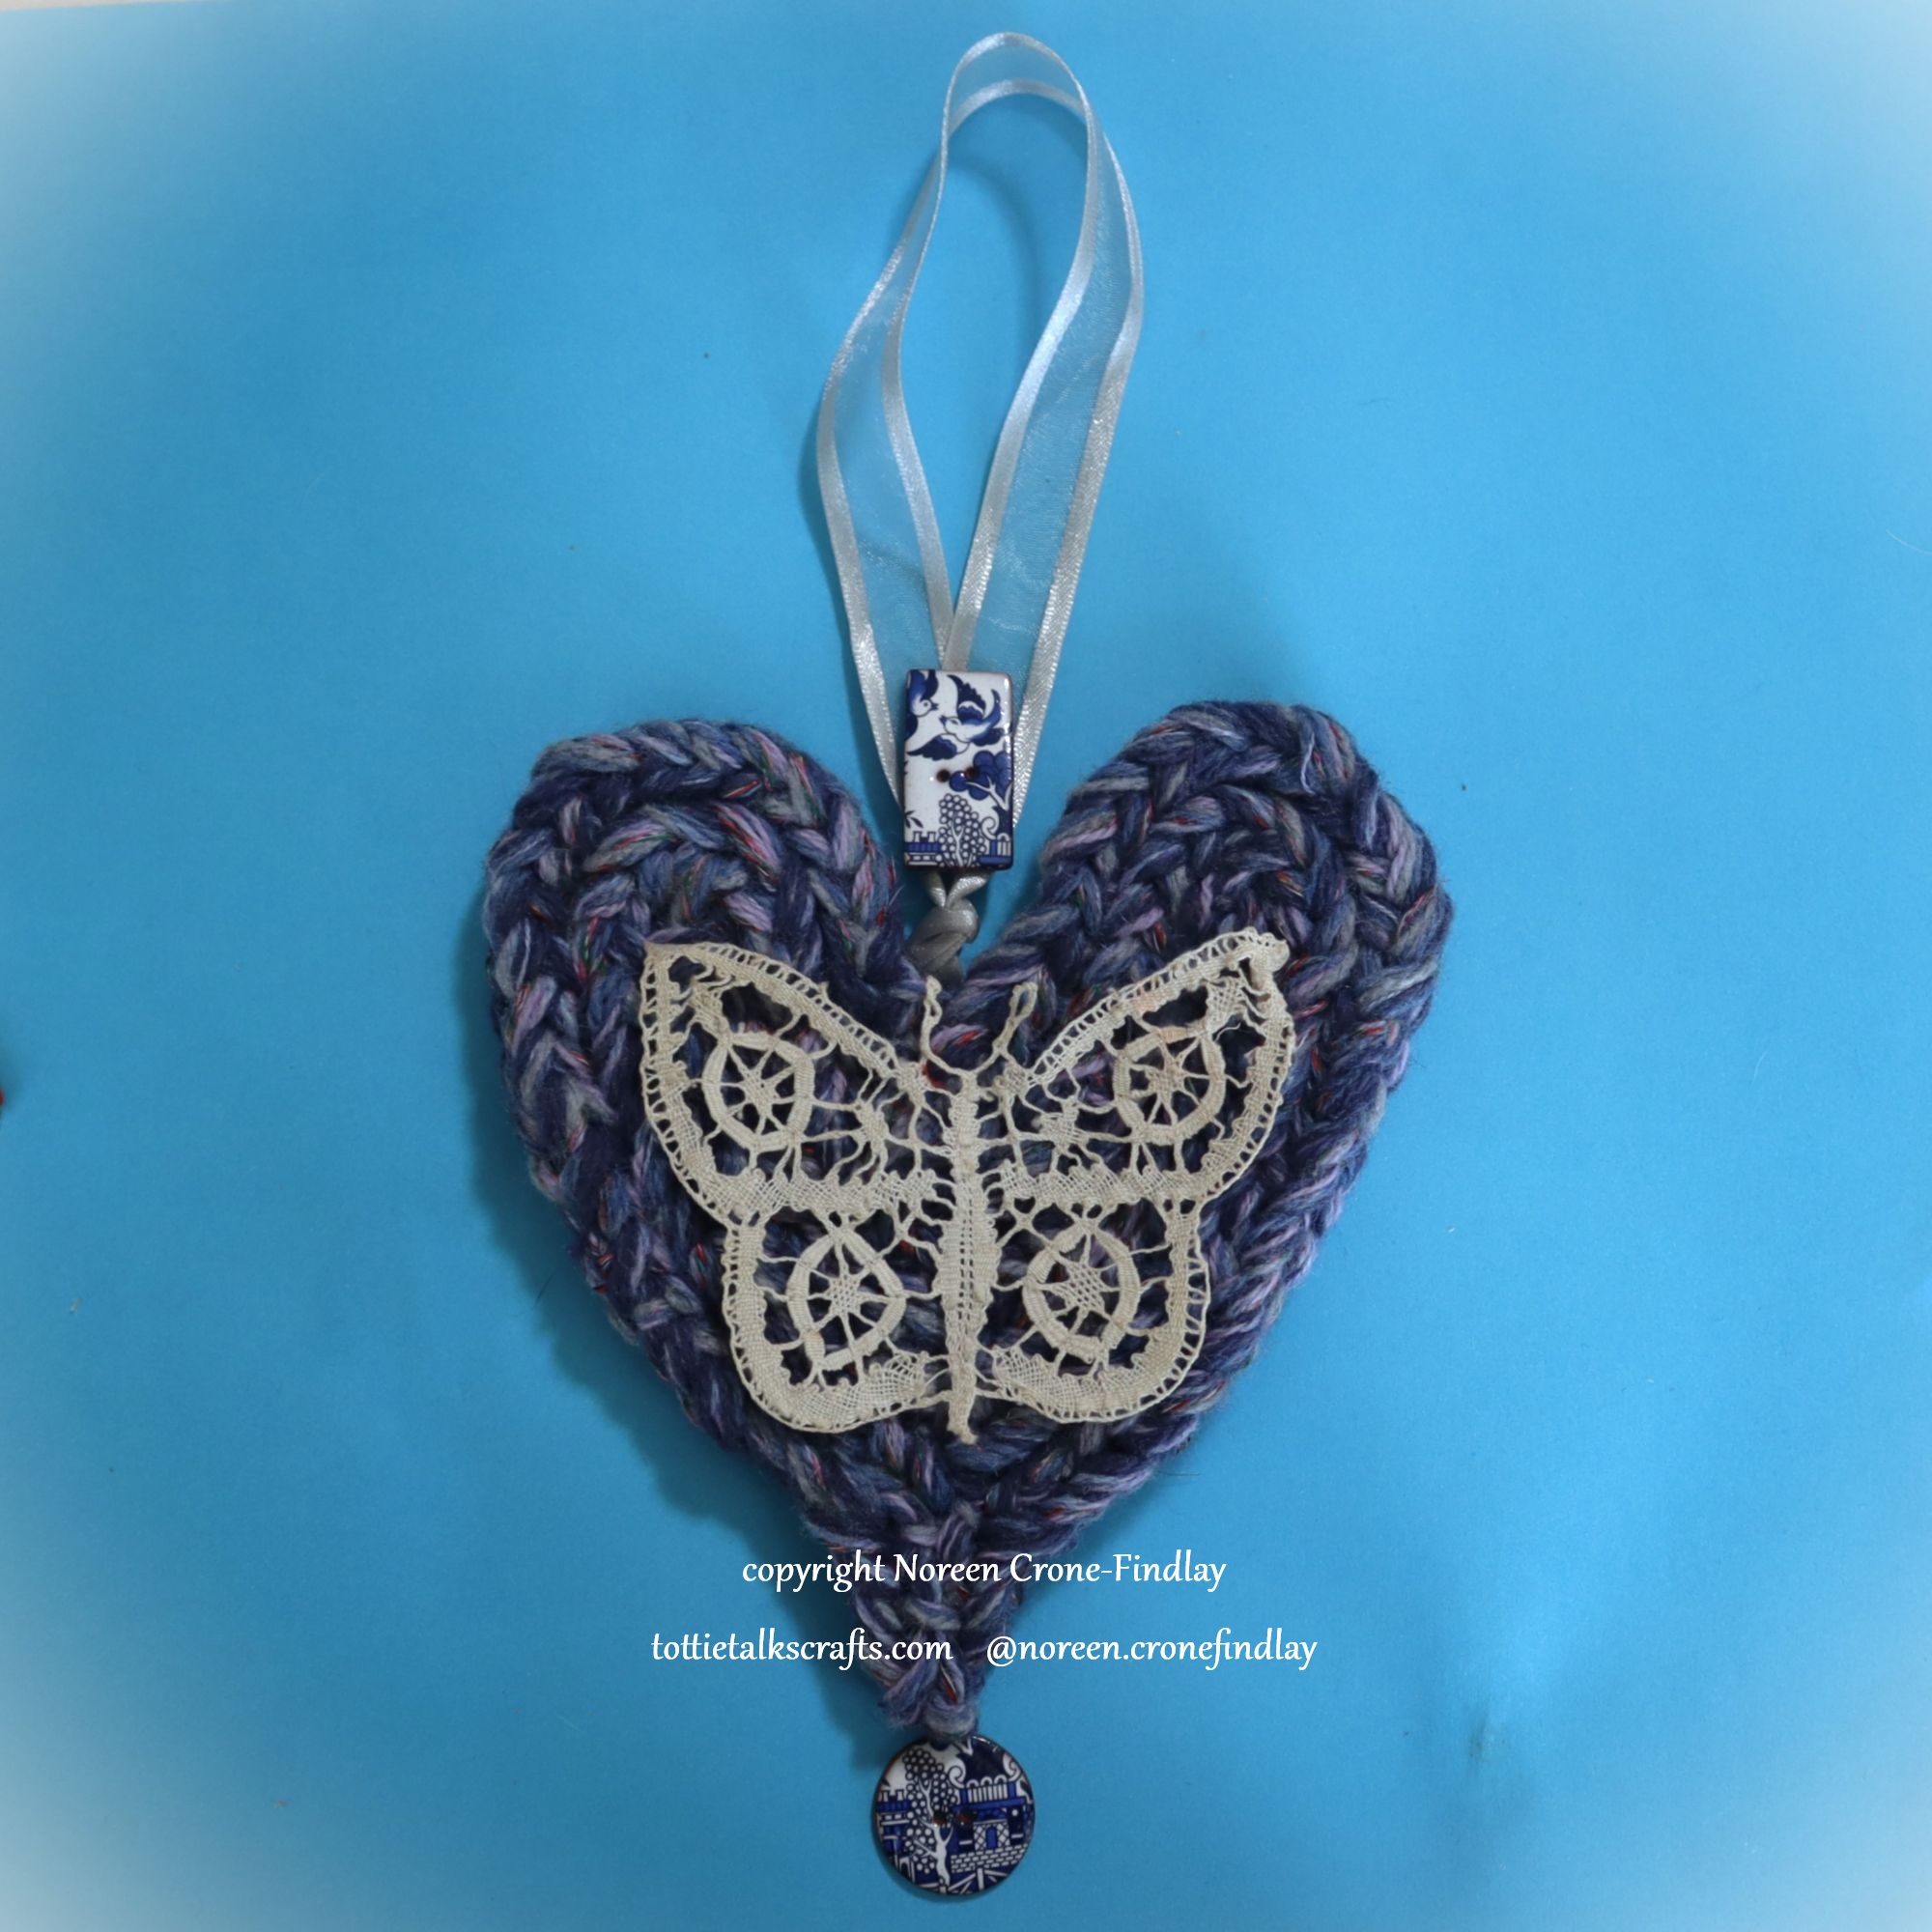
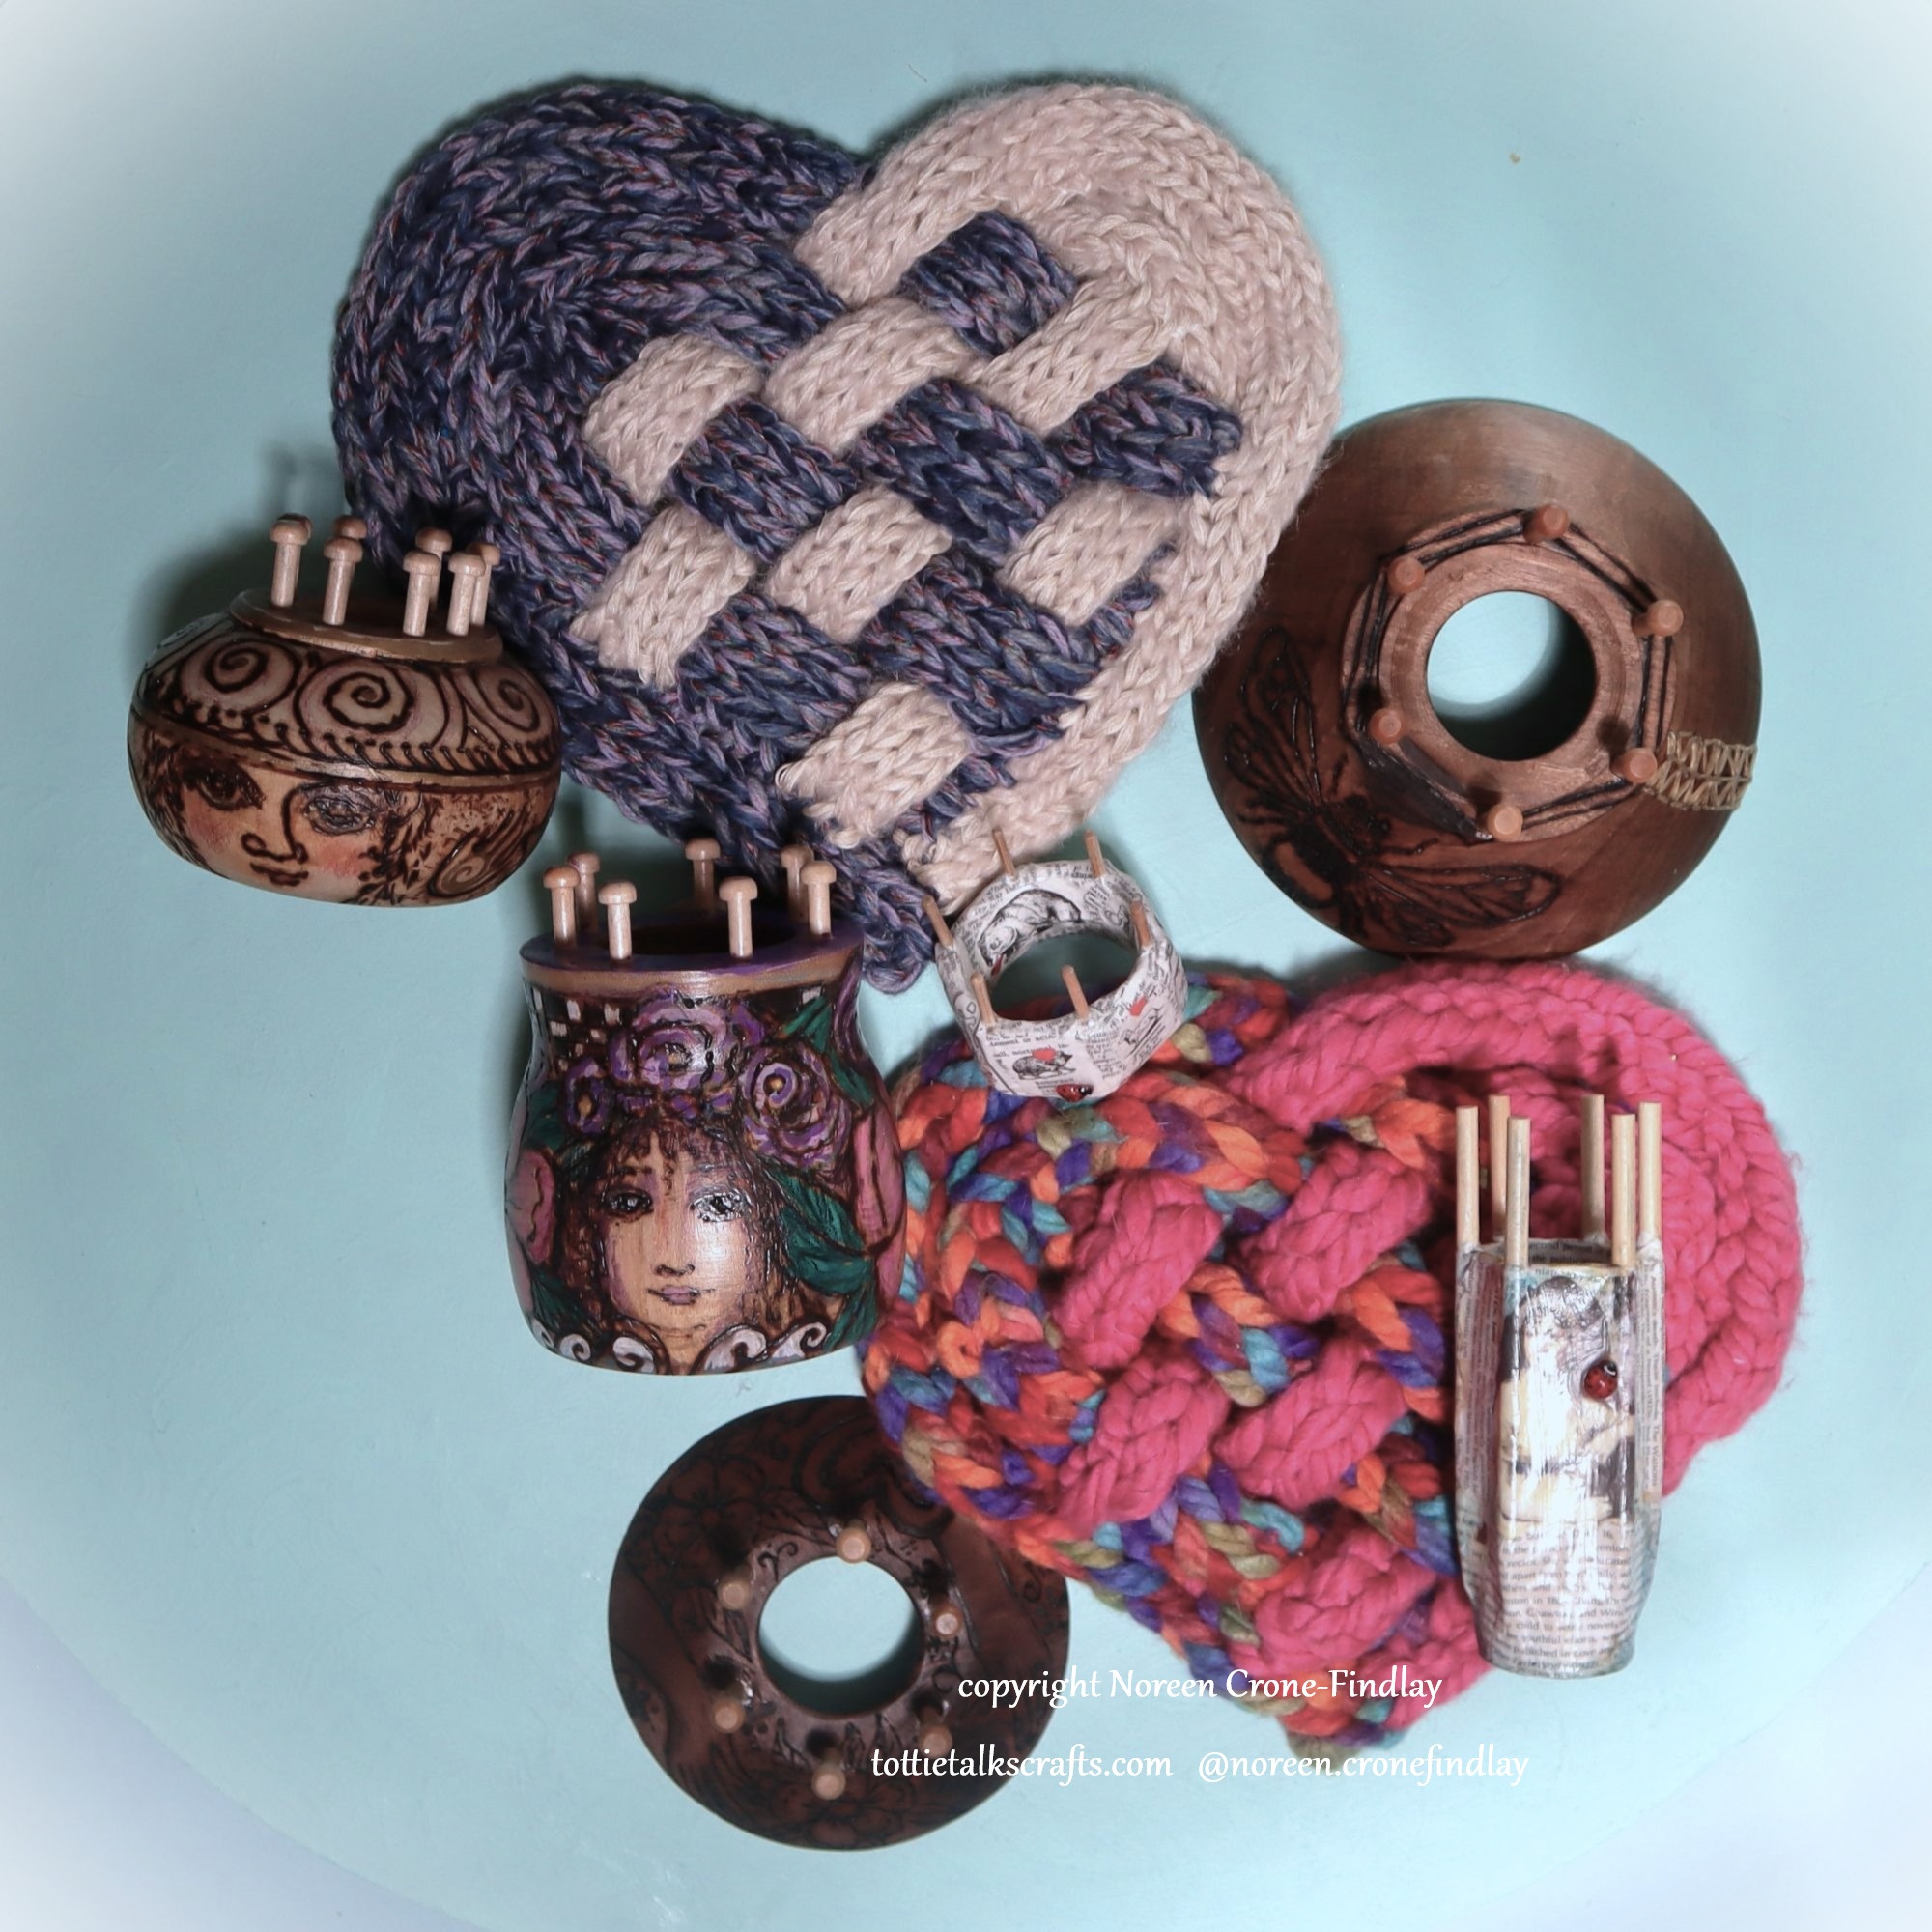
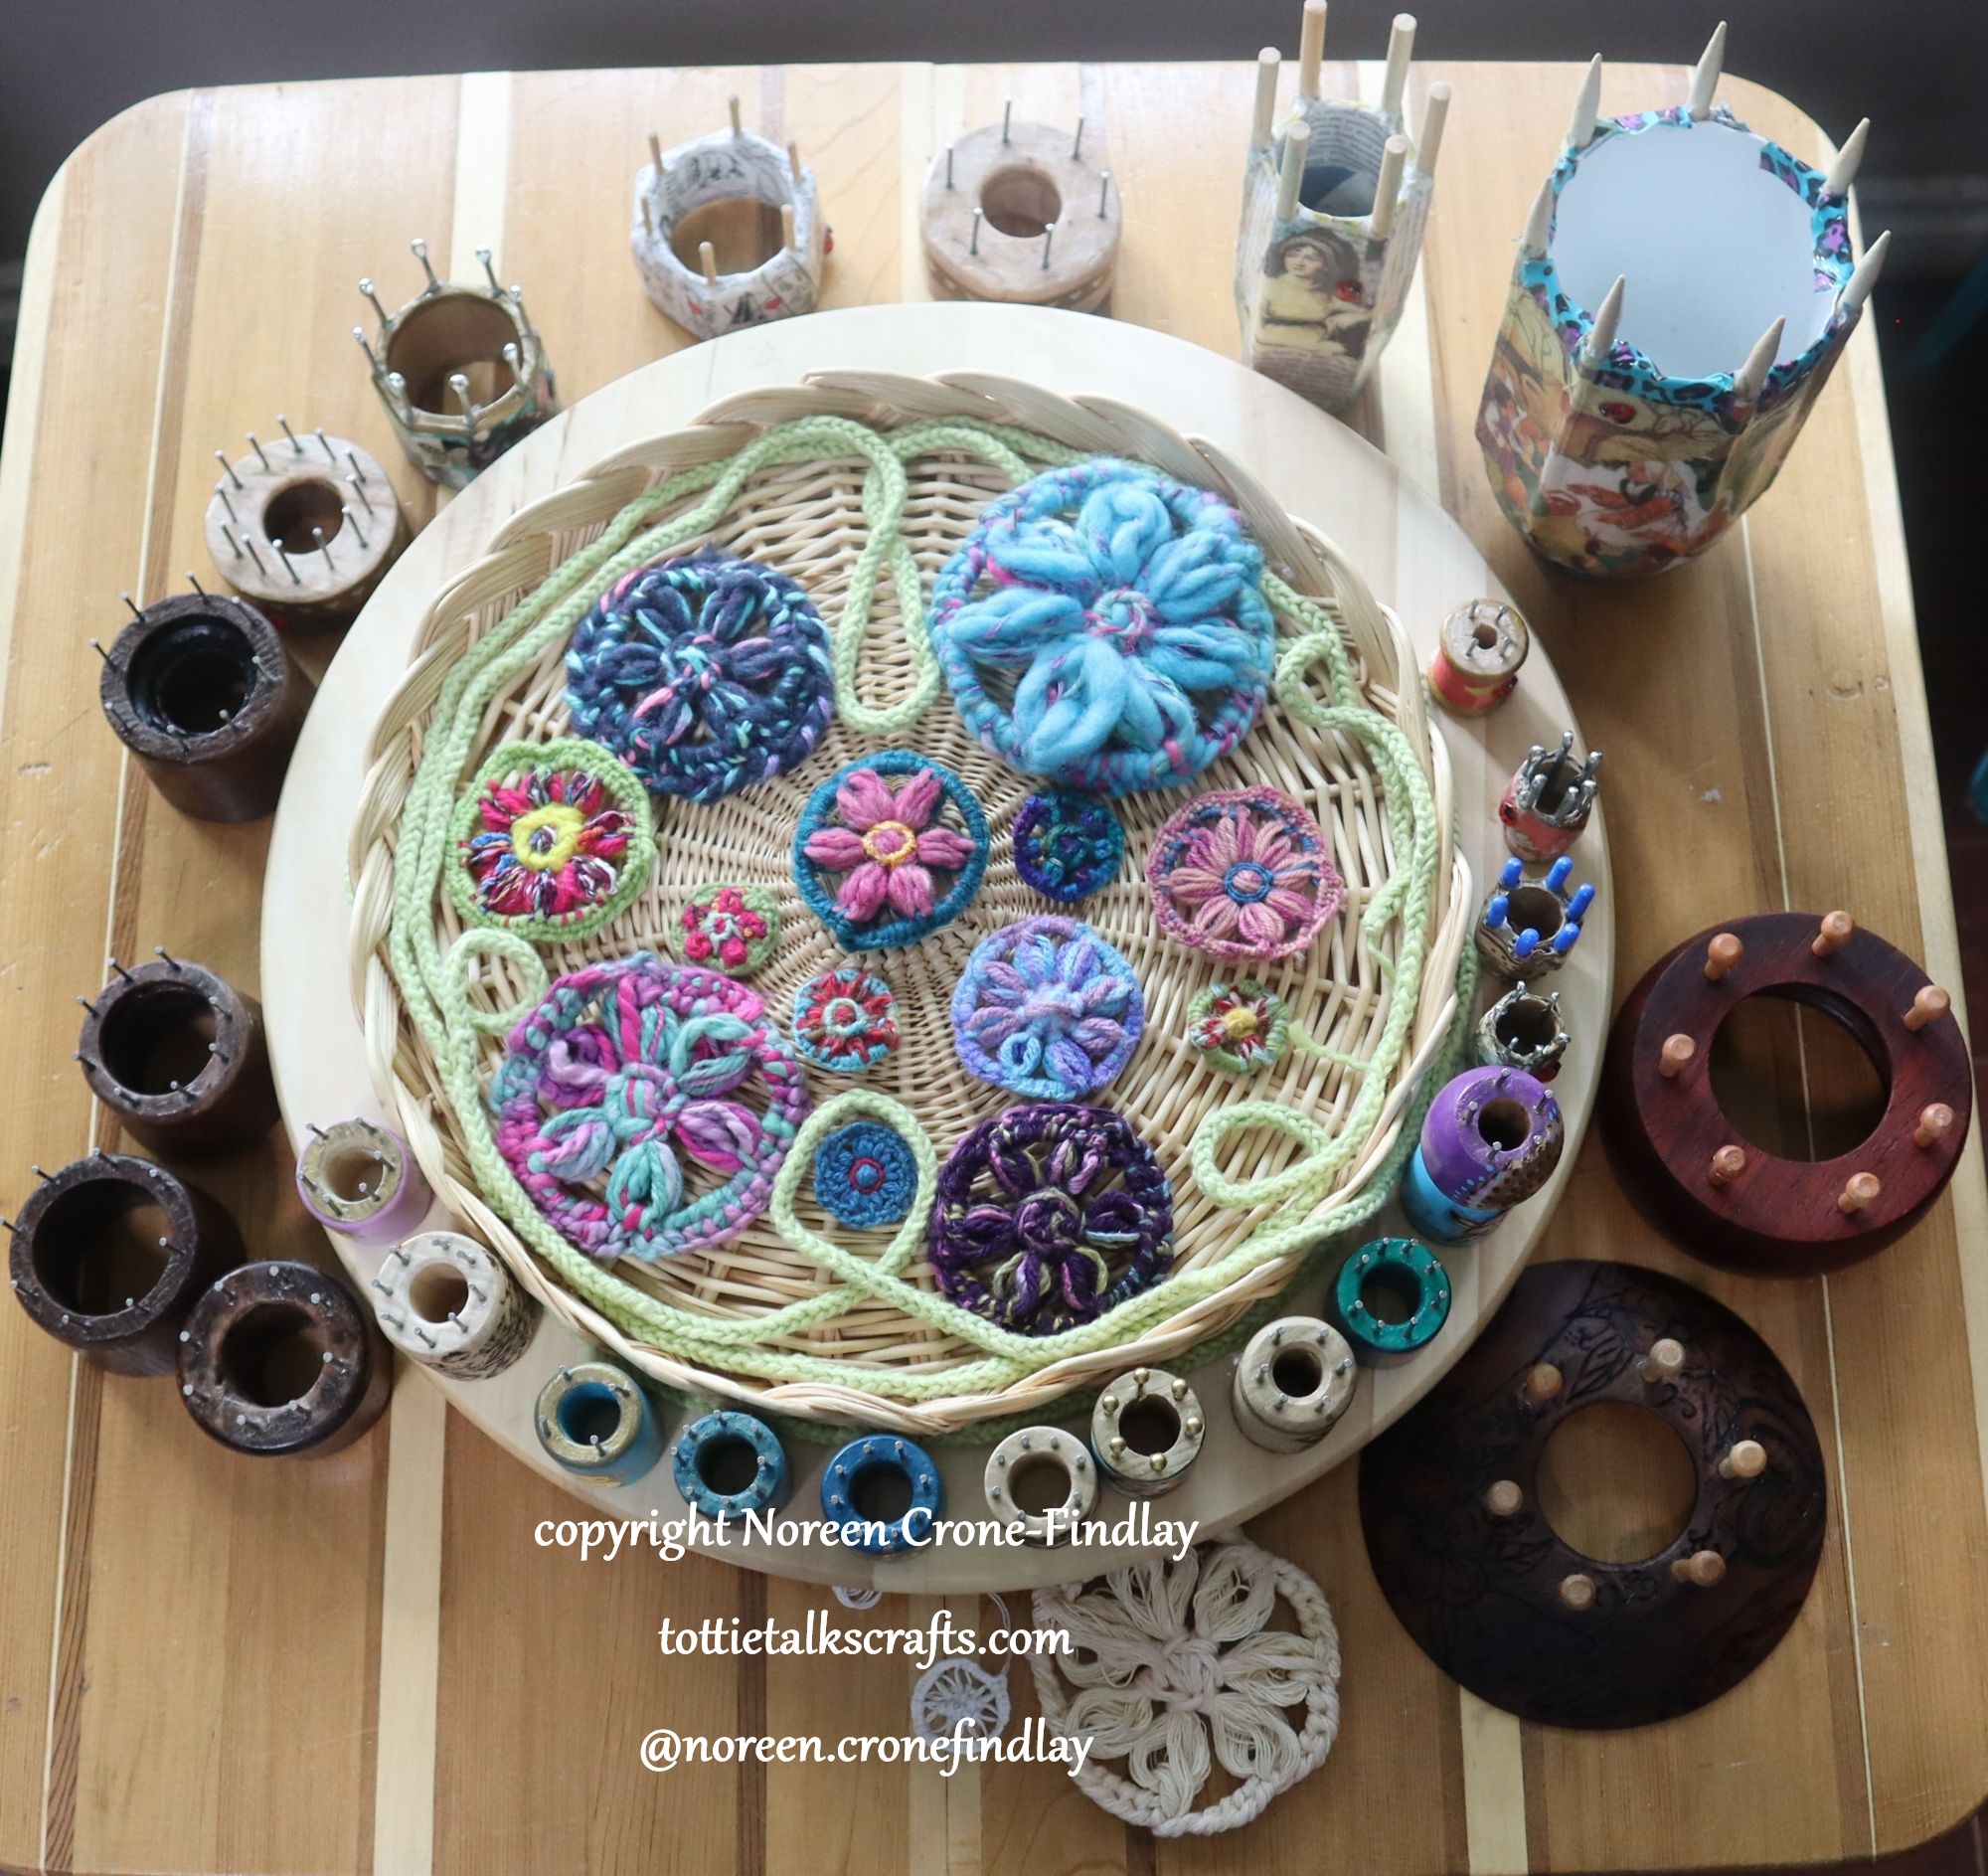
I love finding lots of ways of working with spool knitters that take them past ‘just making cord’, so I have been playing with using spool knitters as flower looms.
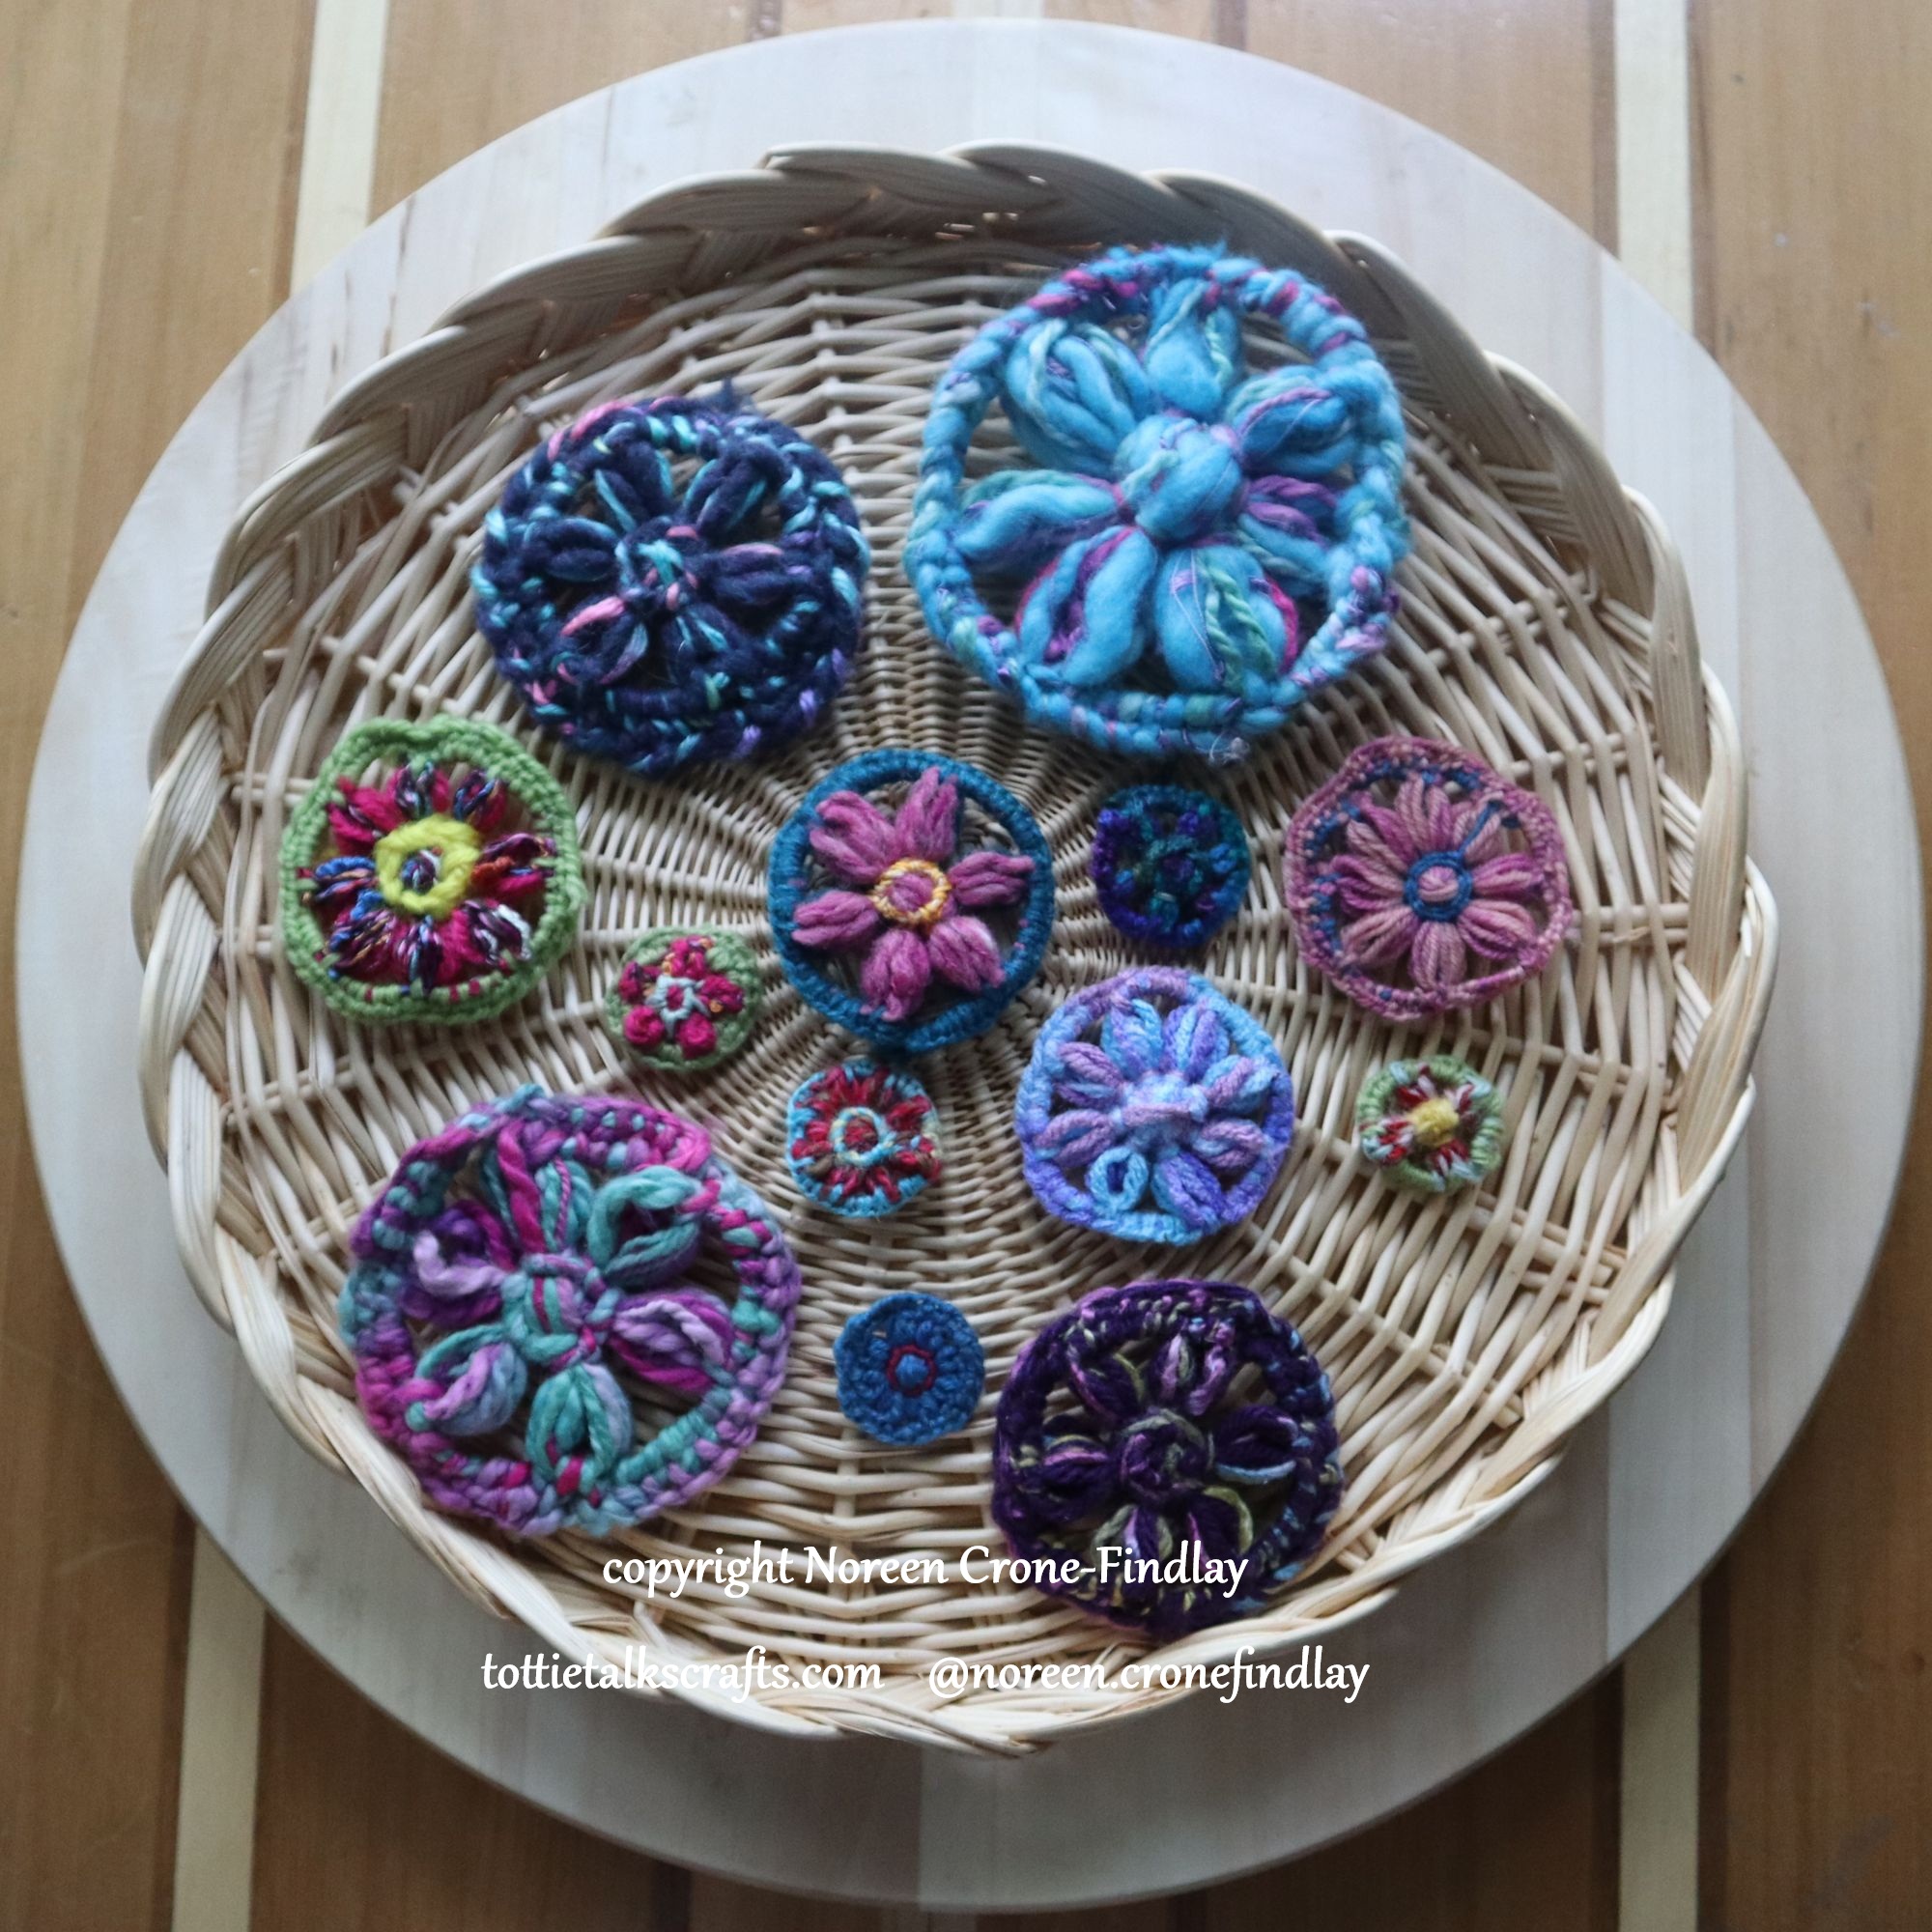
I have come up with some fun ways of making flowers with spool knitters.
I’ve made a couple of YouTube videos showing how I do this.
This first video shows how to use spool knitters to make yarn flowers that have a perimeter ‘frame’ around them.
They can be made with as many colors as you want- just one color or lots of contrasting colors.
The flowers can have pin backs or hair clips stitched to the back.
They can be used as patches to mend worn clothing or stitched on as embellishments.
Hang them up as holiday ornaments.
They can be stitched together to make mats, shawls, scarves, table runners or bags.
Here’s the link to the first Spool Knitters as Flower Looms video tutorial: