
To see all the links for the ‘How To’ posts for the “Imagine” Banner Weave along, please go to L I N K S
To order the loom, book and extras kit for the Weave Along from Mirrix, please go to K I T
HOW TO WEAVE THE TRIANGLES:
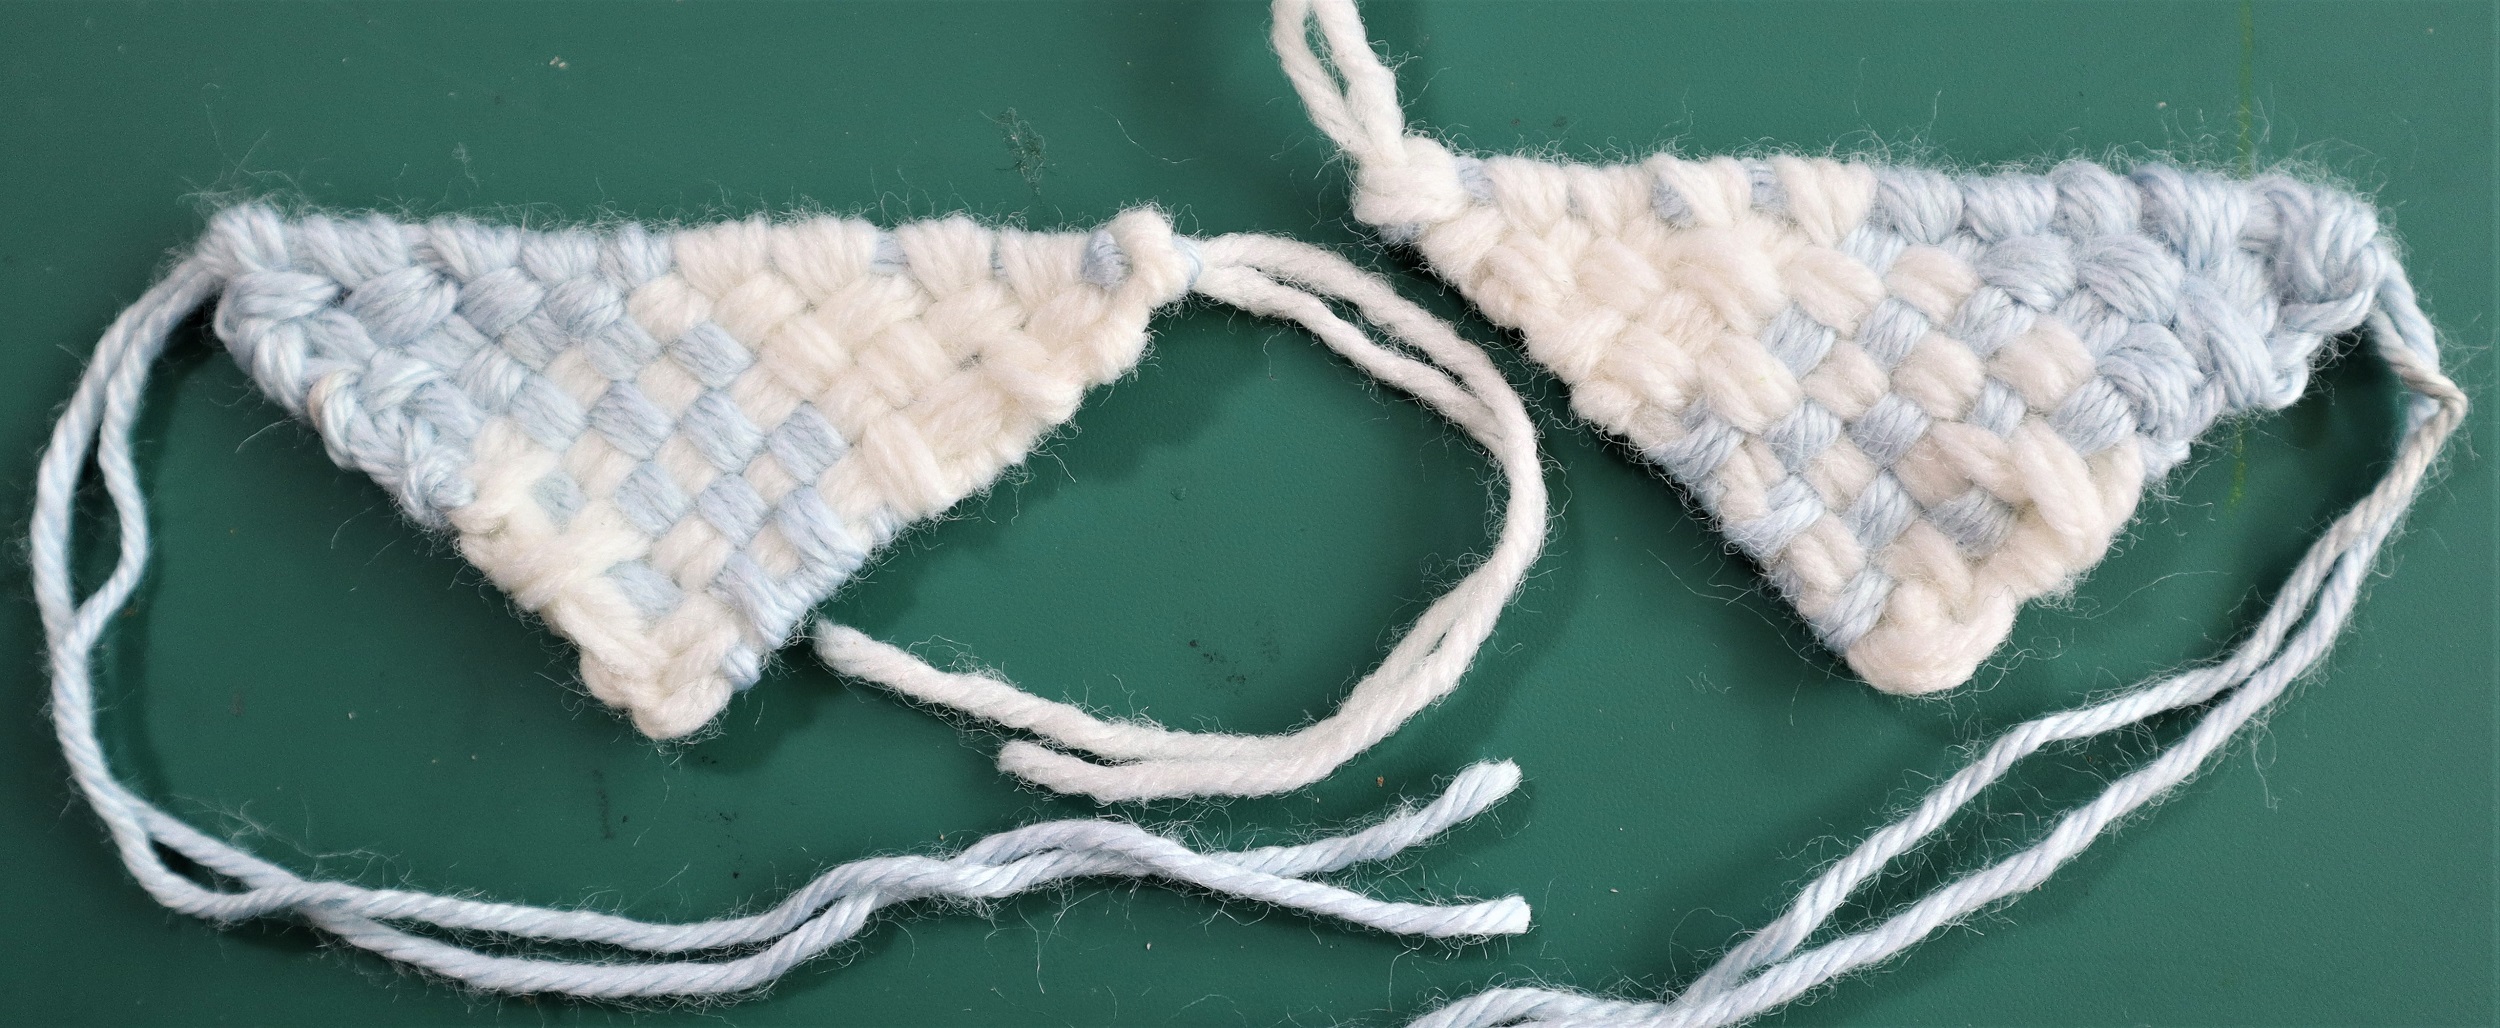
Make 2.
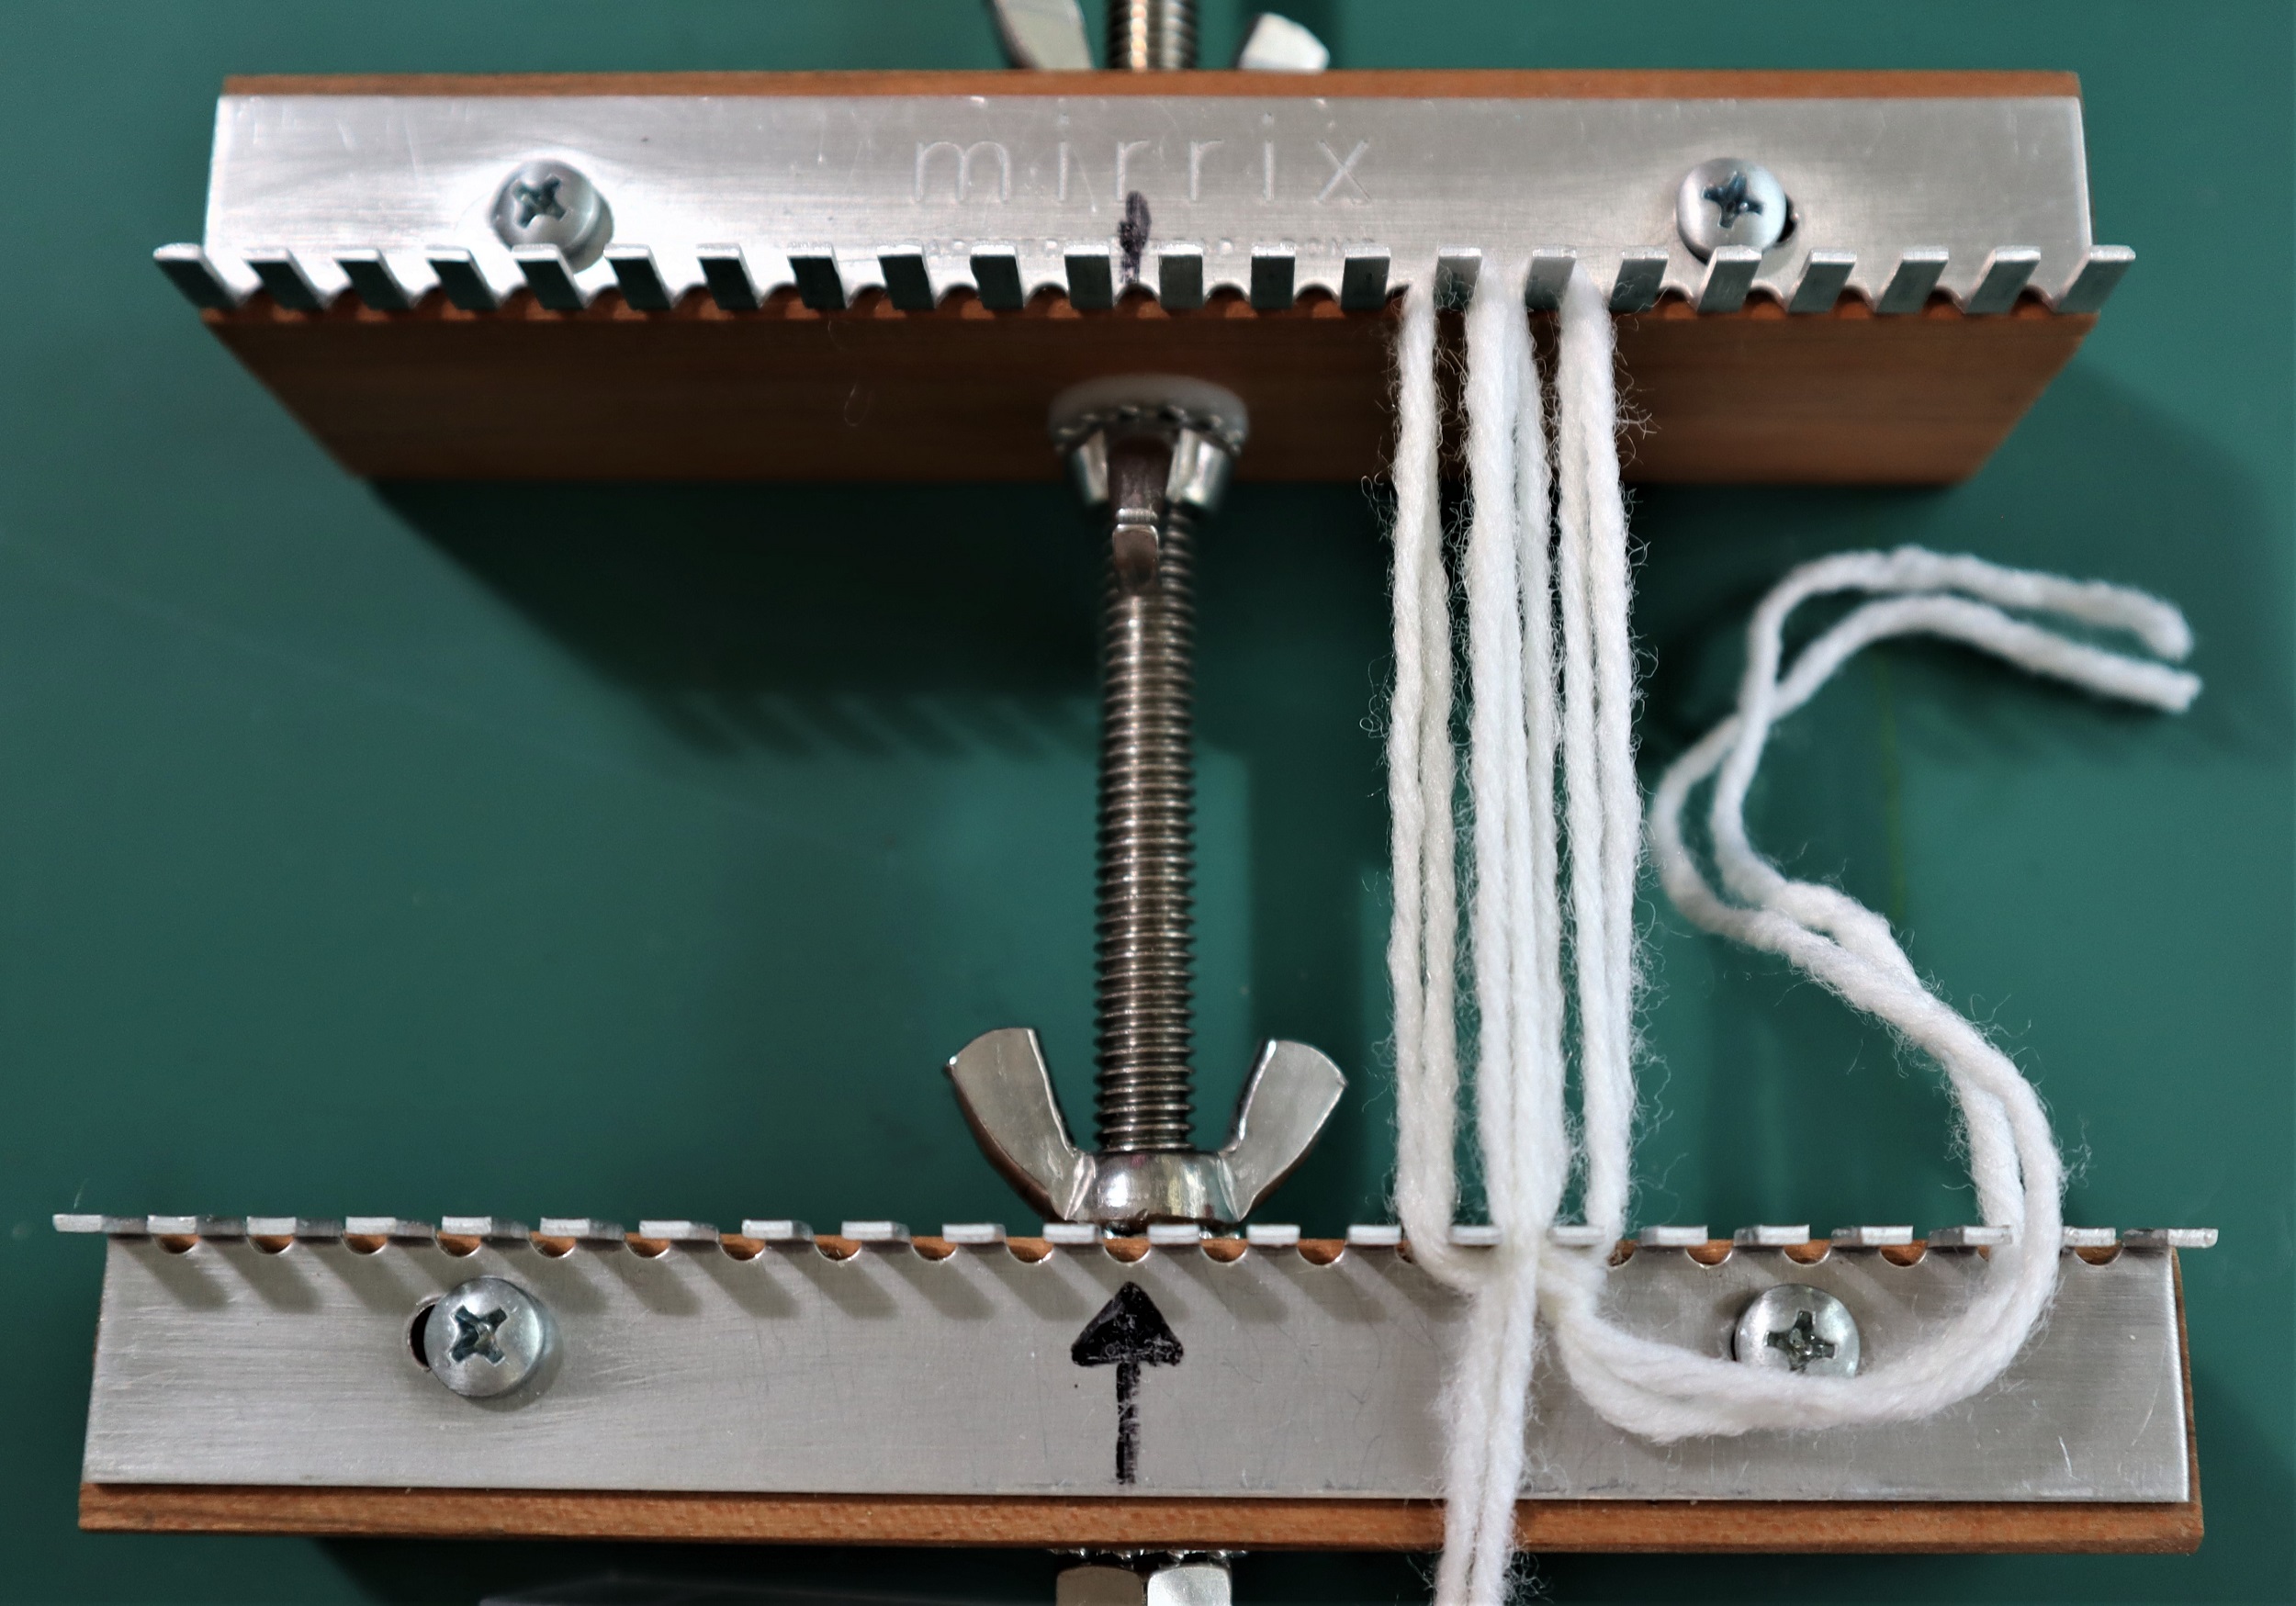
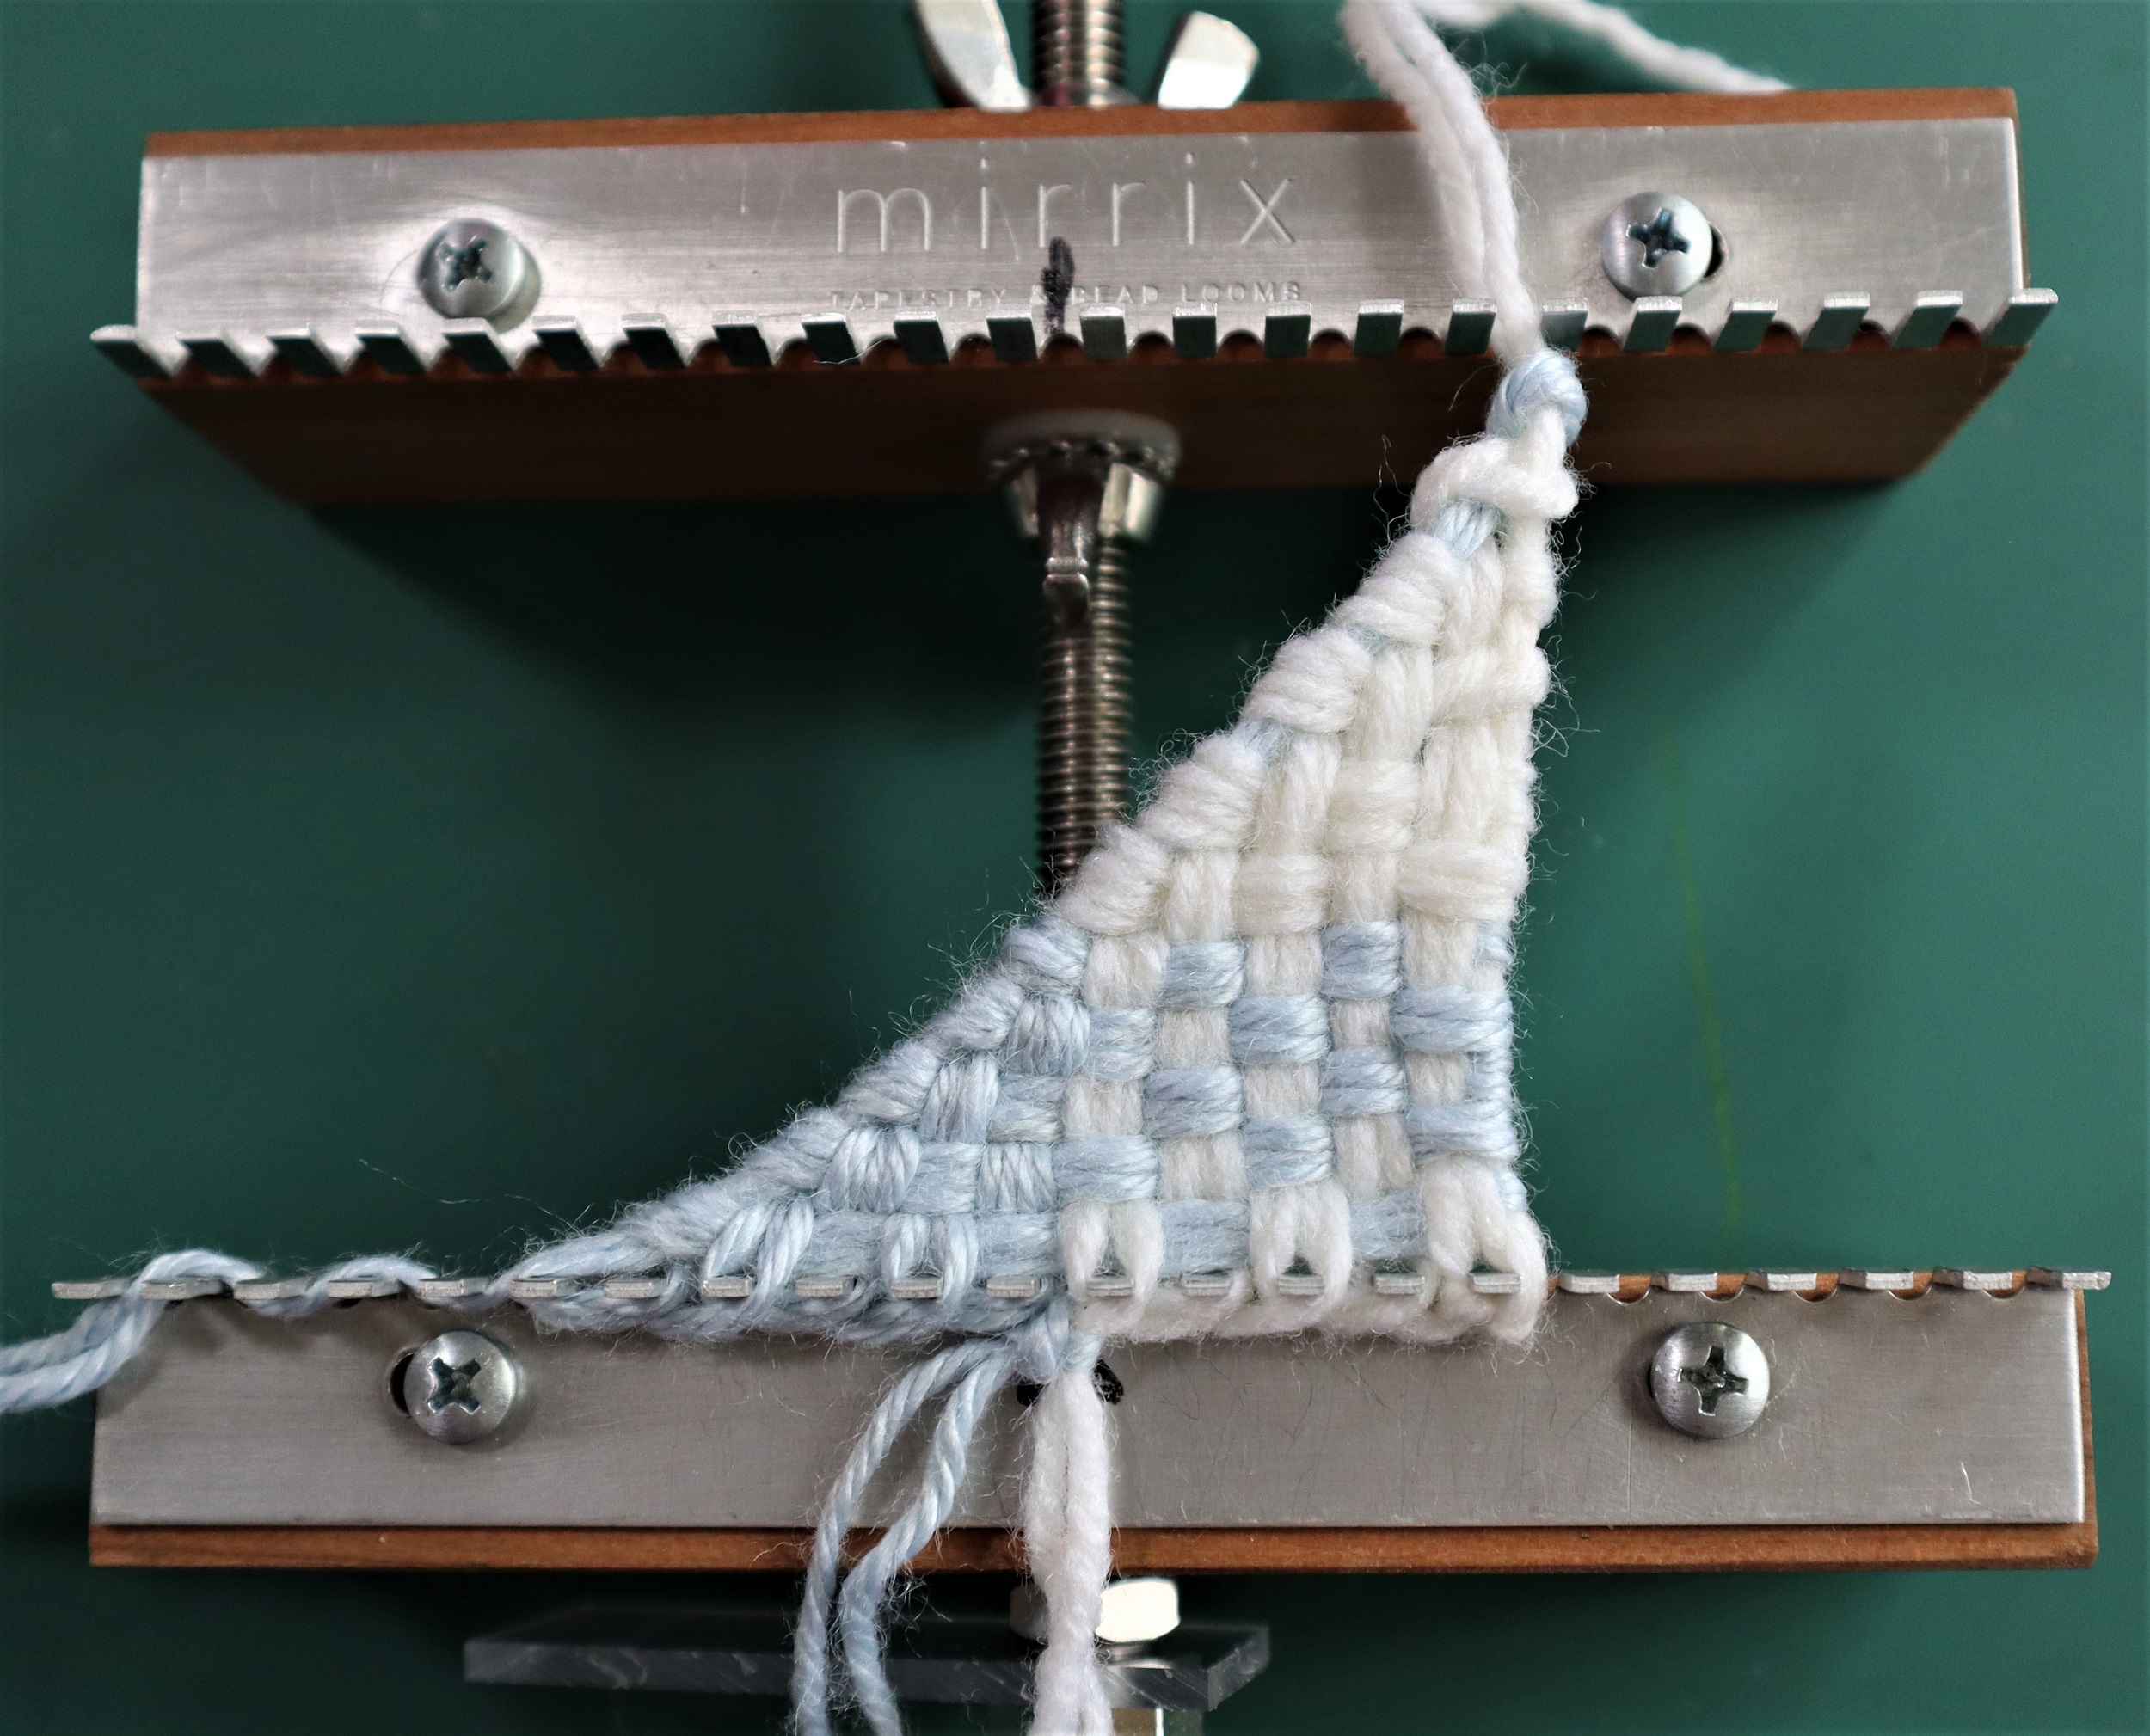
1: SET UP THE LOOM so it is 2 1/2 inches (approximately 6.25 cm) from the lower set of pegs to the upper set. Lock it into the ‘Sandy Stand’.

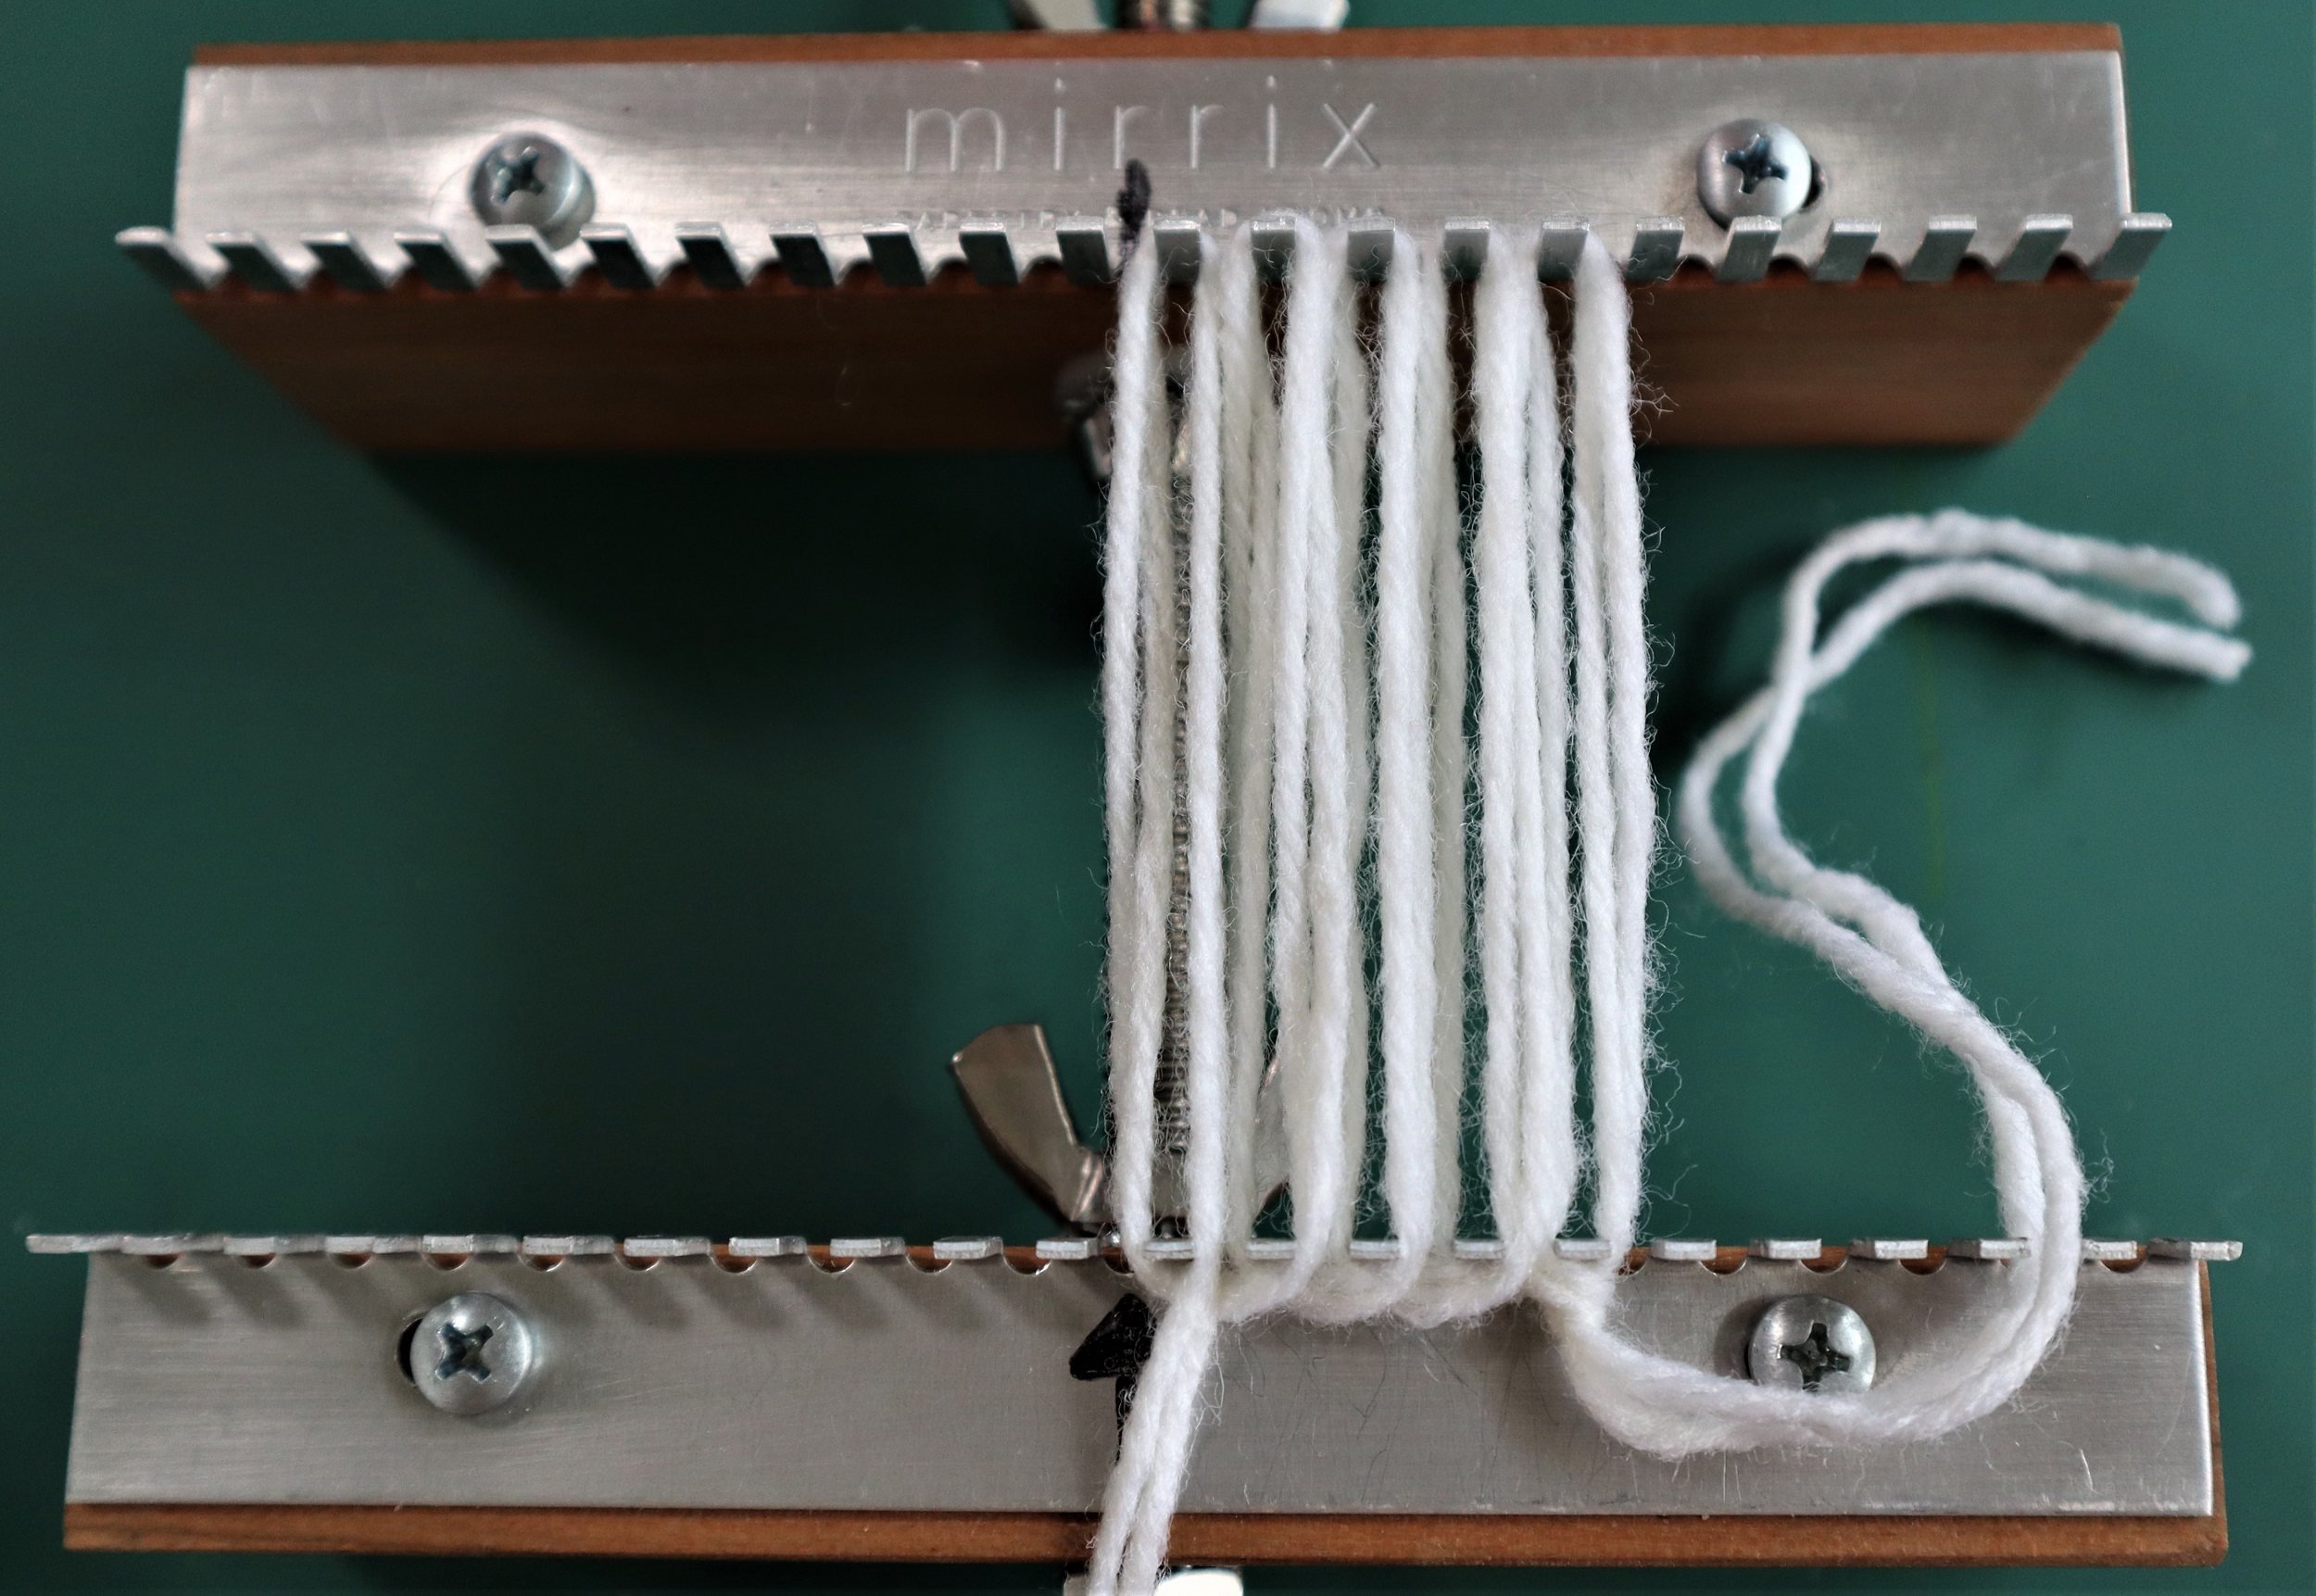
2: WARP THE LOOM: Following the instructions for warping the Triangle on page 82 of ‘Innovative Weaving on the Frame Loom’, leave 6 sets of pegs at both sides open so just the center 10 pegs are used: Begin at the right hand side.
With 2 strands of white yarn held together as if it is one strand, and 2 strands of pale blue yarn as if it is a single strand, put on 5 loops of white warp strands and then, 5 loops of blue yarn. Cut and tie a knot in the middle.
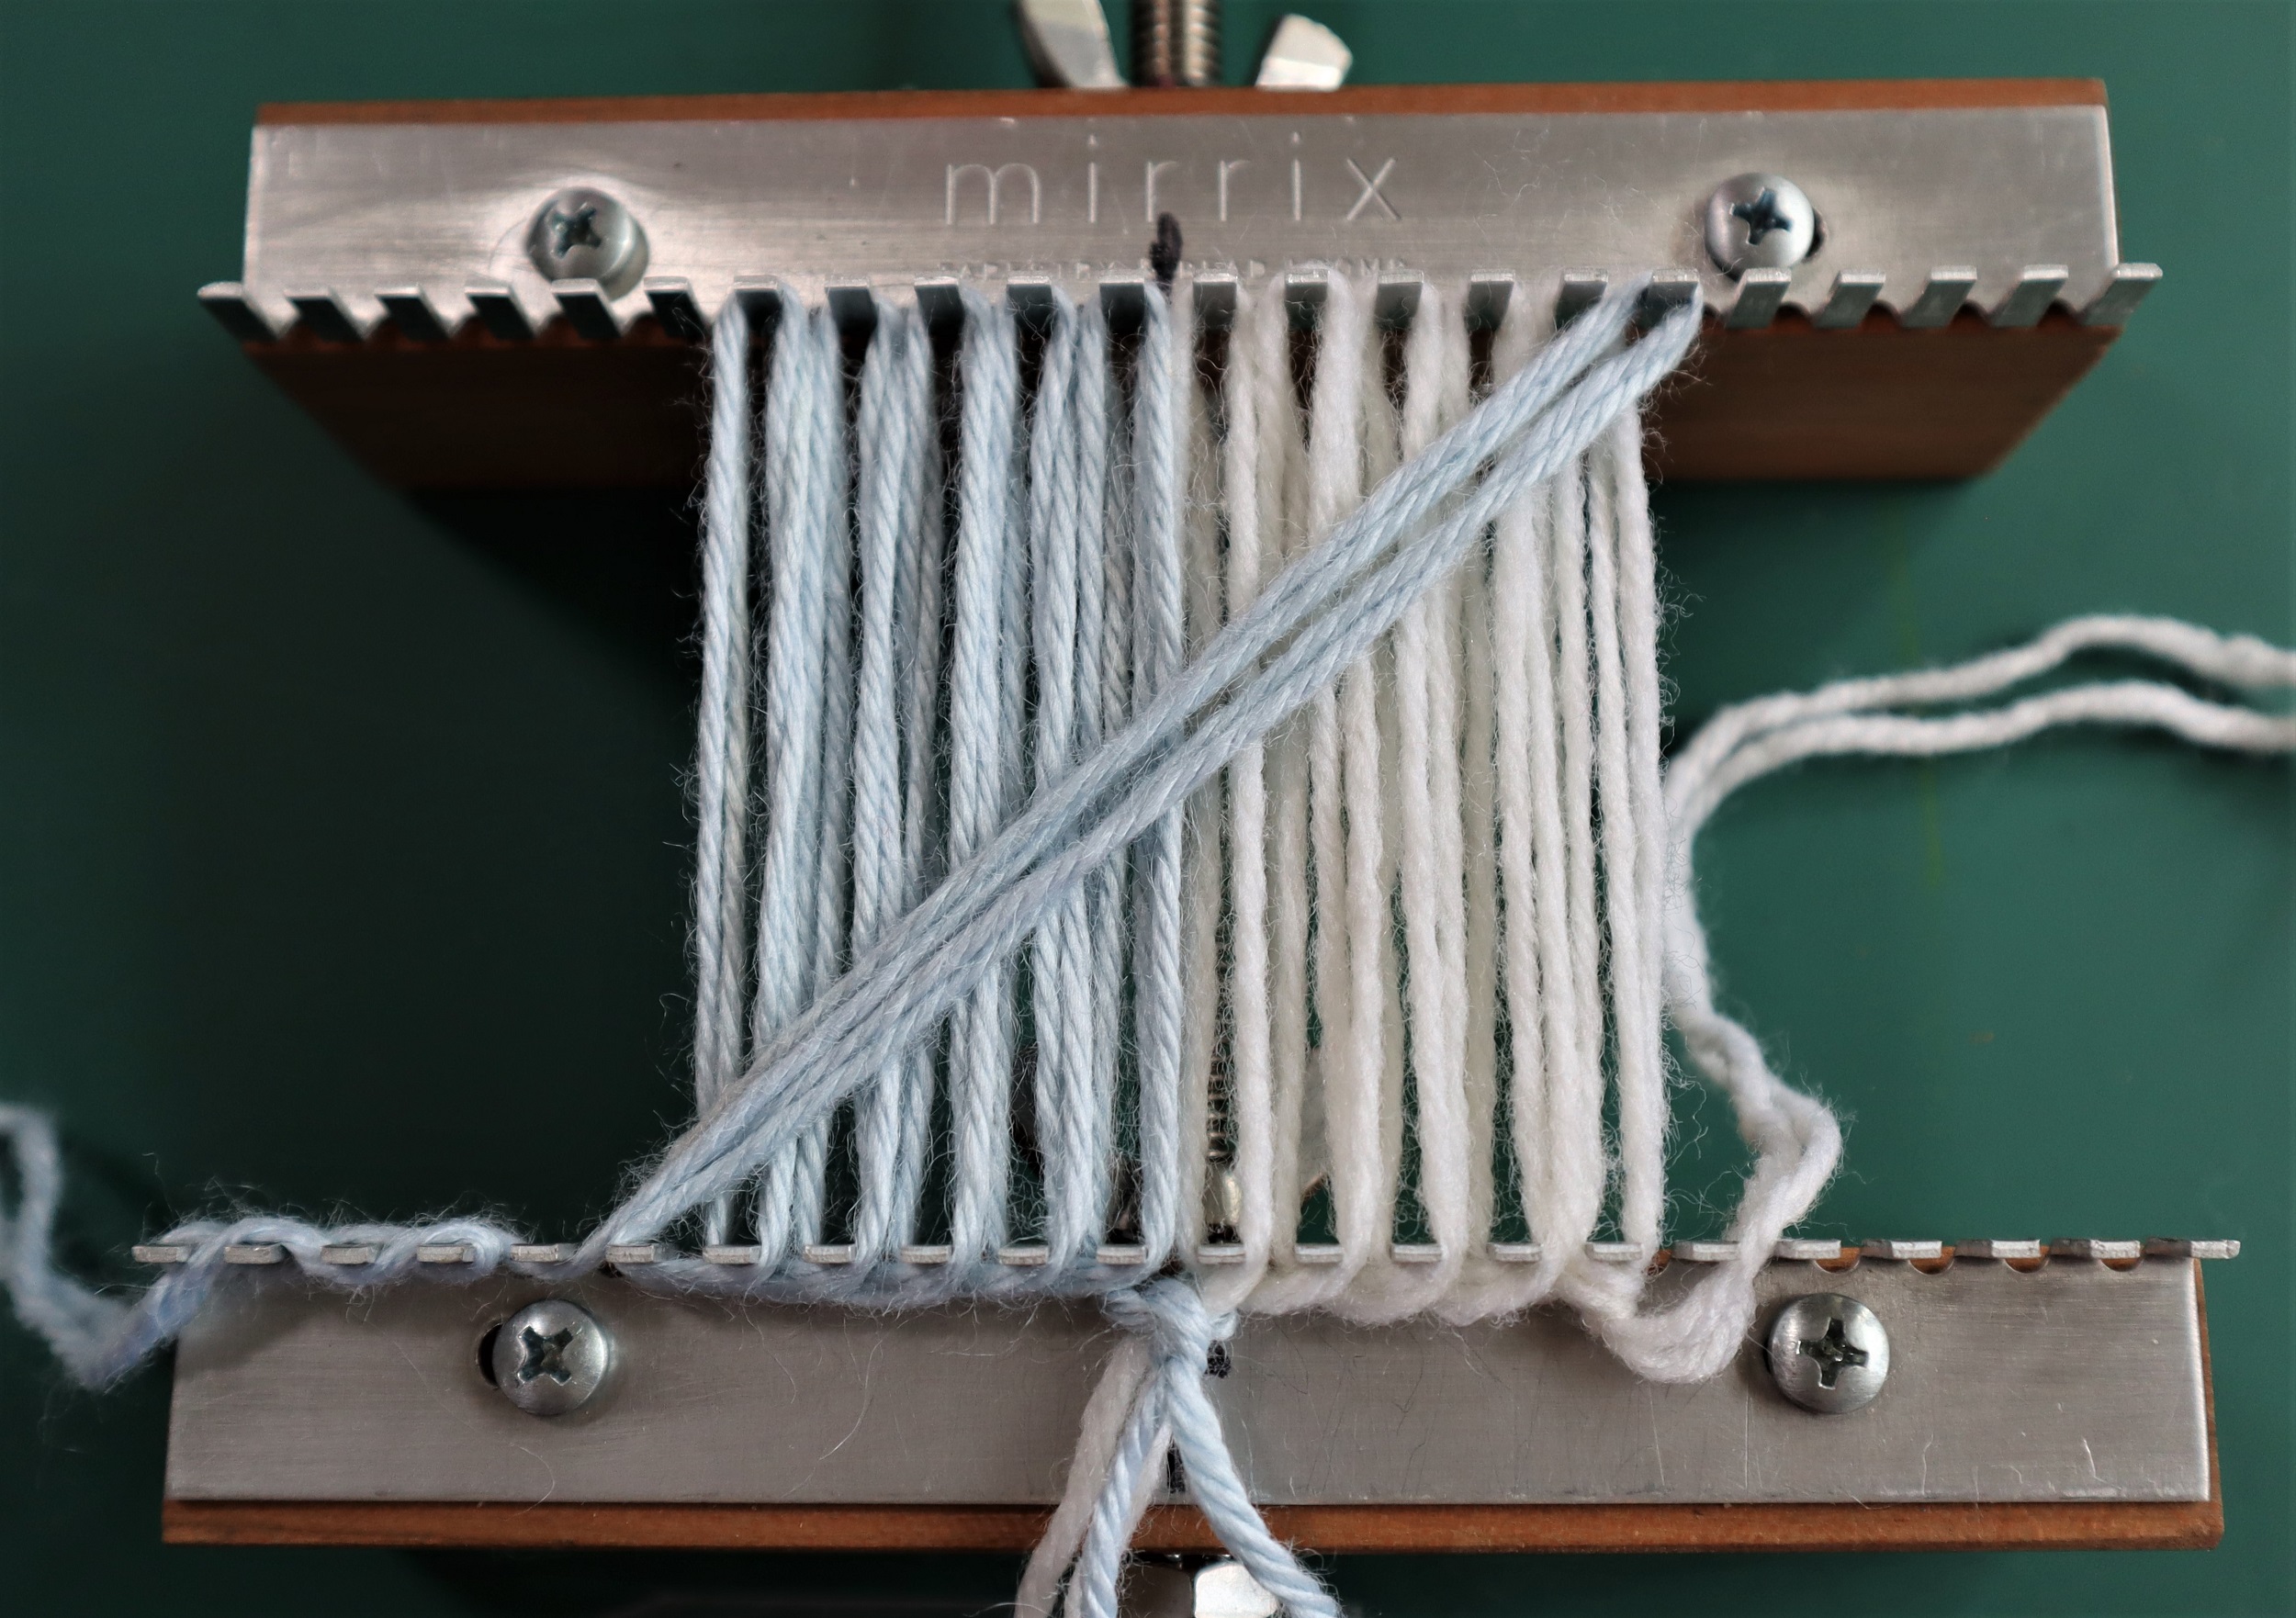
Diagonal:
Take the blue yarn around the lower left hand peg beside the warp strands up to and around the peg that is adjacent to the warp strands at the top right hand peg
Weave the end of the blue yarn around the lower left hand pegs, back and forth to secure it, then snip the end off.
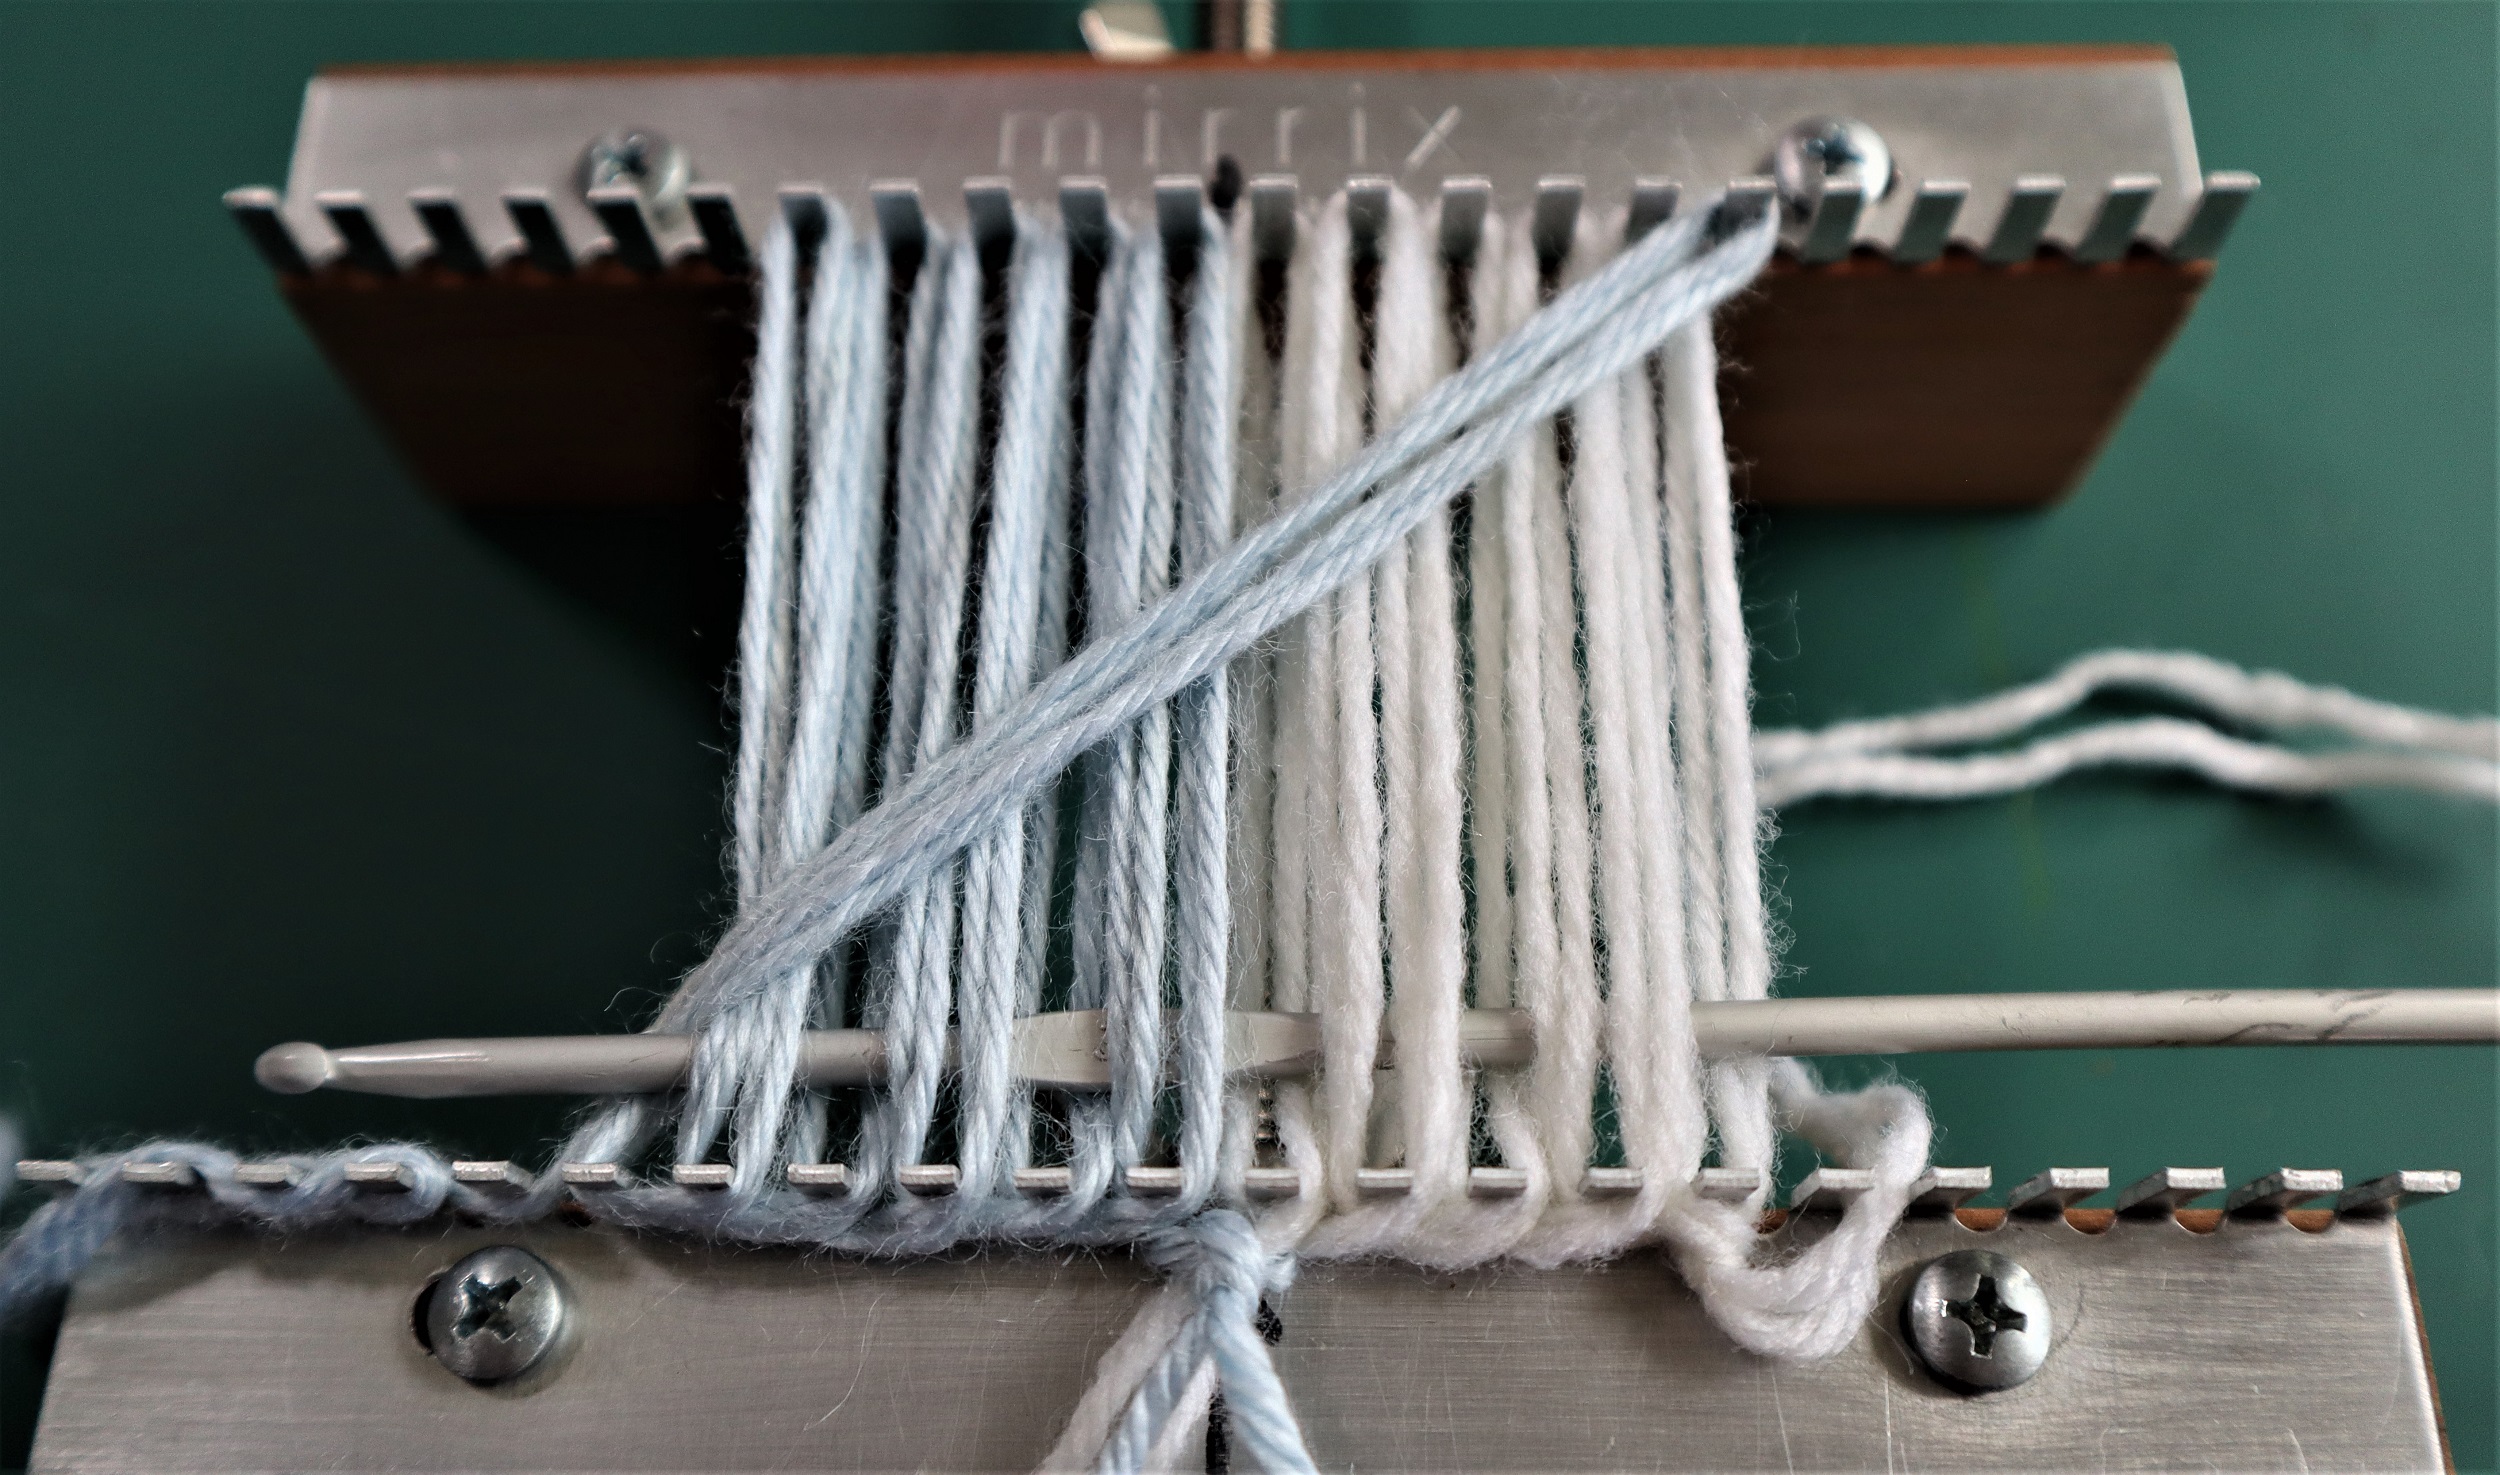
3: WEAVE:
Follow the instructions in the book to weave the triangle, using a crochet hook. Repeat for the second triangle.
4: FINISHING THE TRIANGLES:
If necessary, pull up on the diagonal yarn end to pull the triangle into shape.
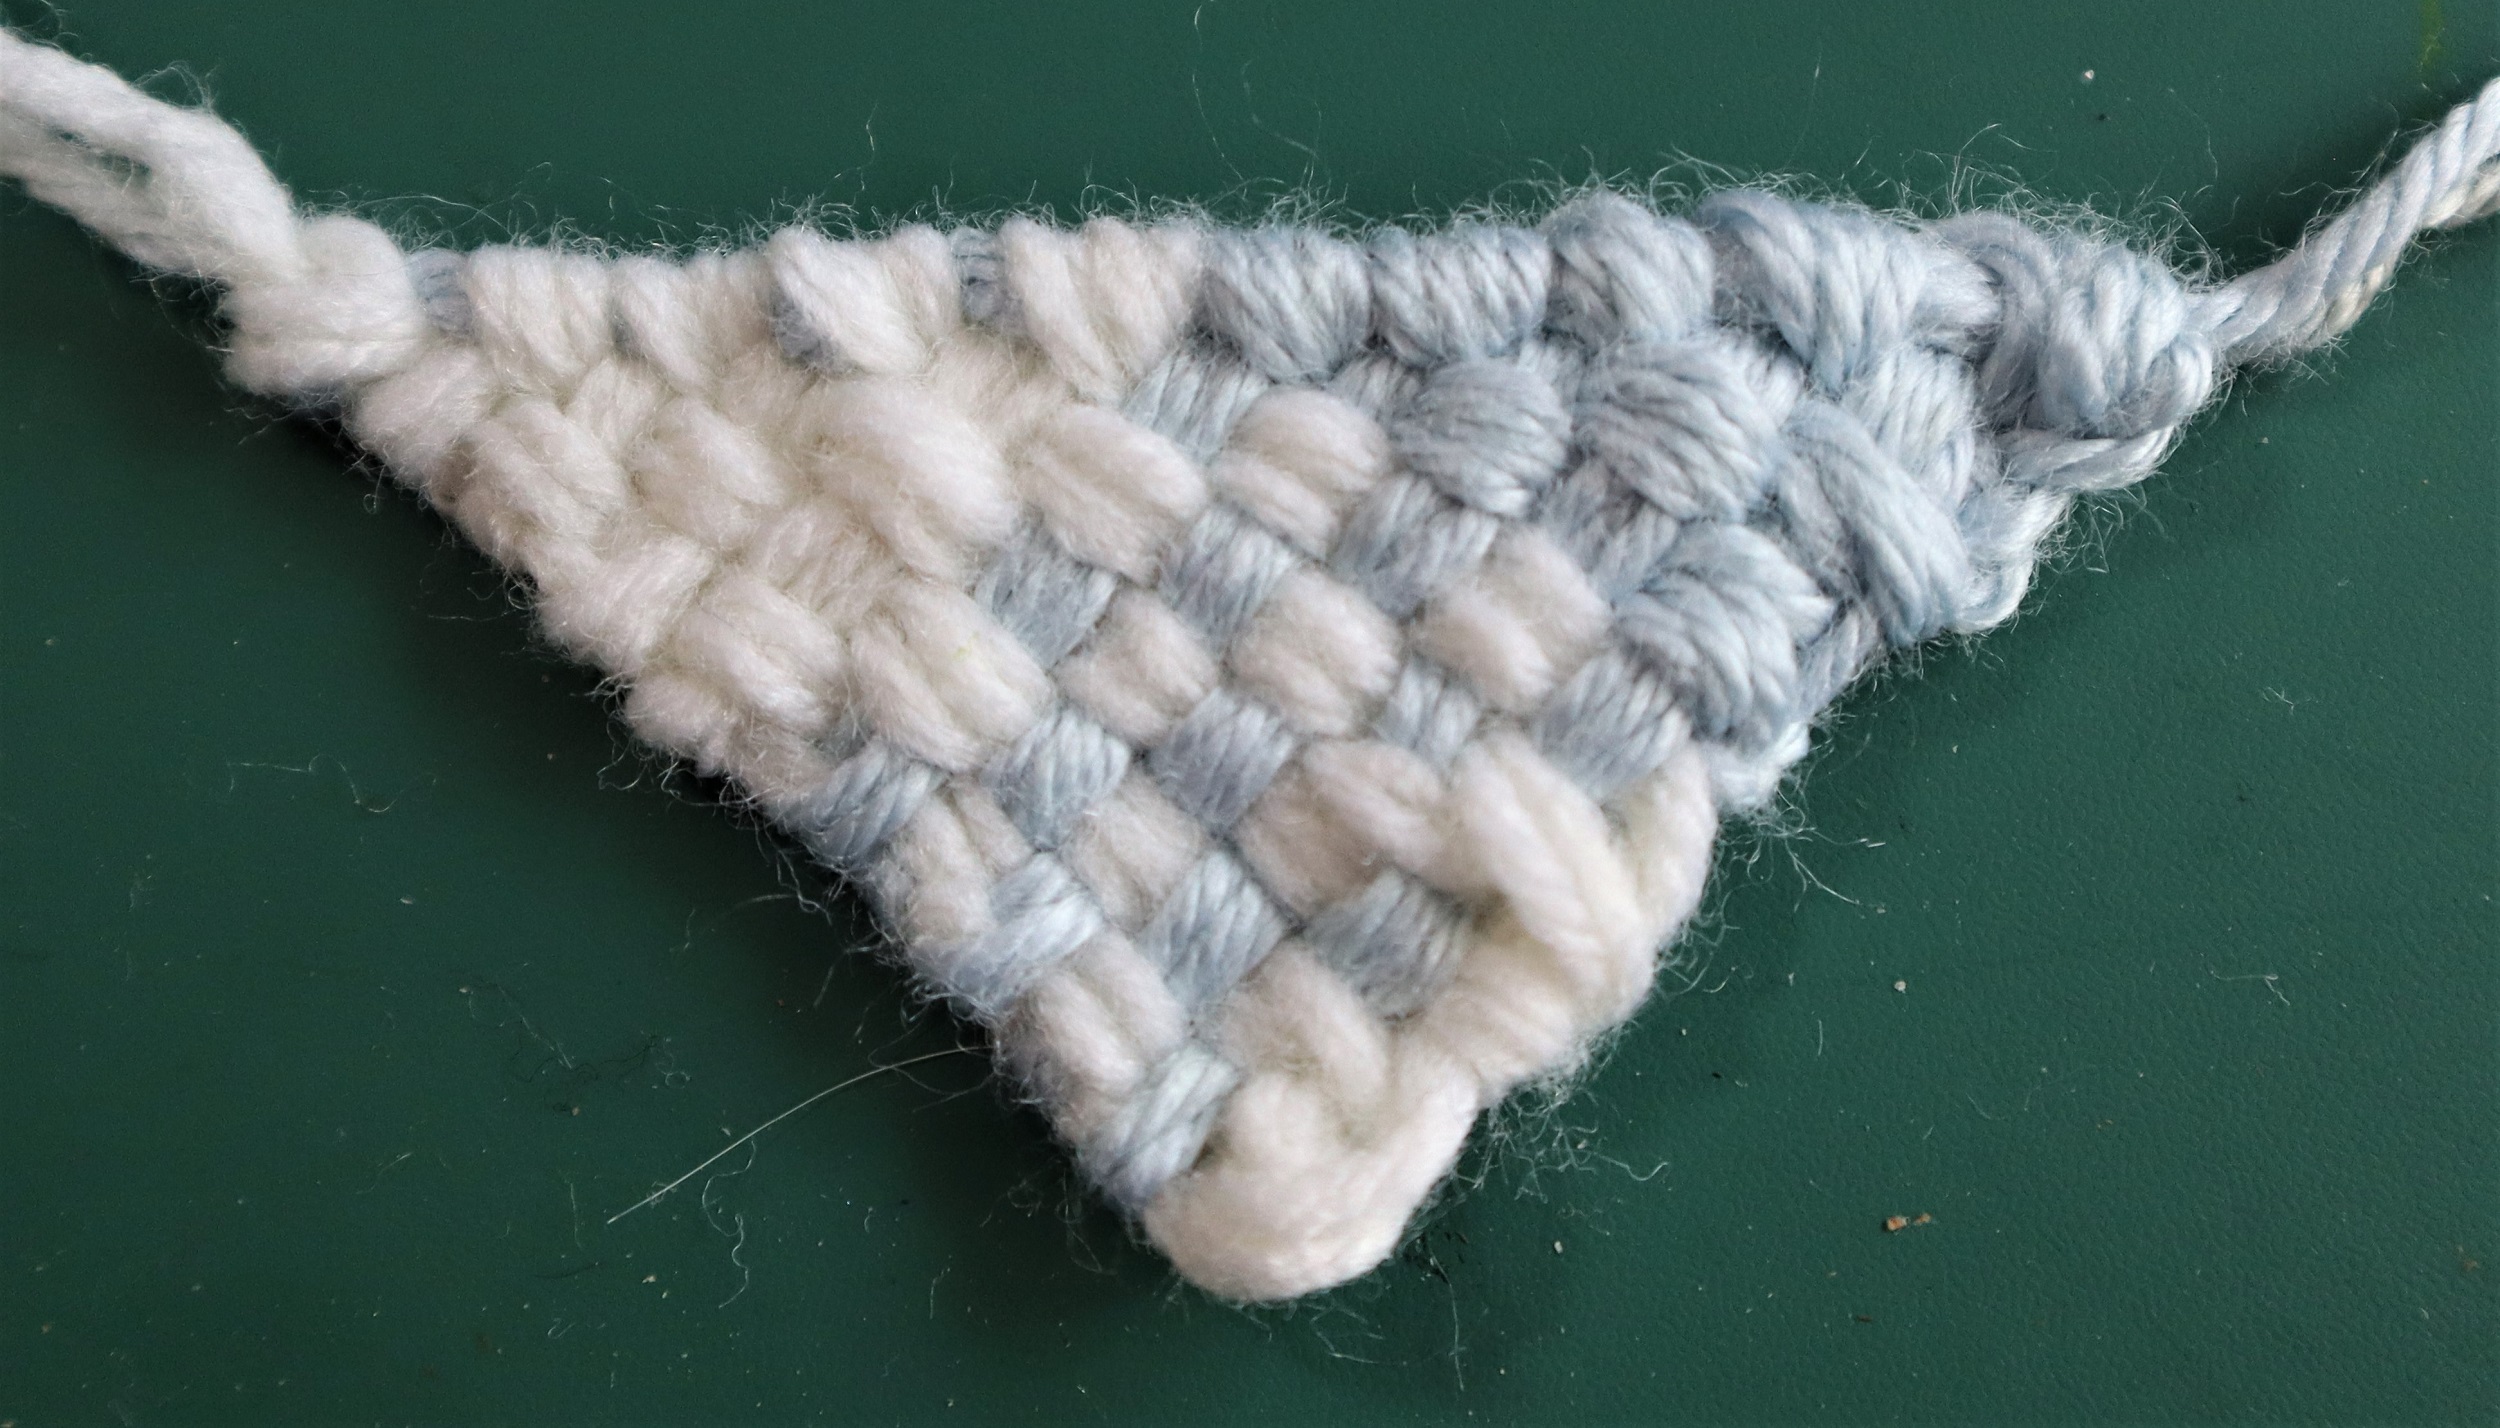
Steam the triangles on the wrong side with a steam iron, being sure to not touch the iron to the weaving.
Finger press the triangles to shape them into pleasing triangles.
Weave in the ends.
Trim any ends.


Pingback: “IMAGINE” Banner Weave Along | Tottie Talks Crafts Blog