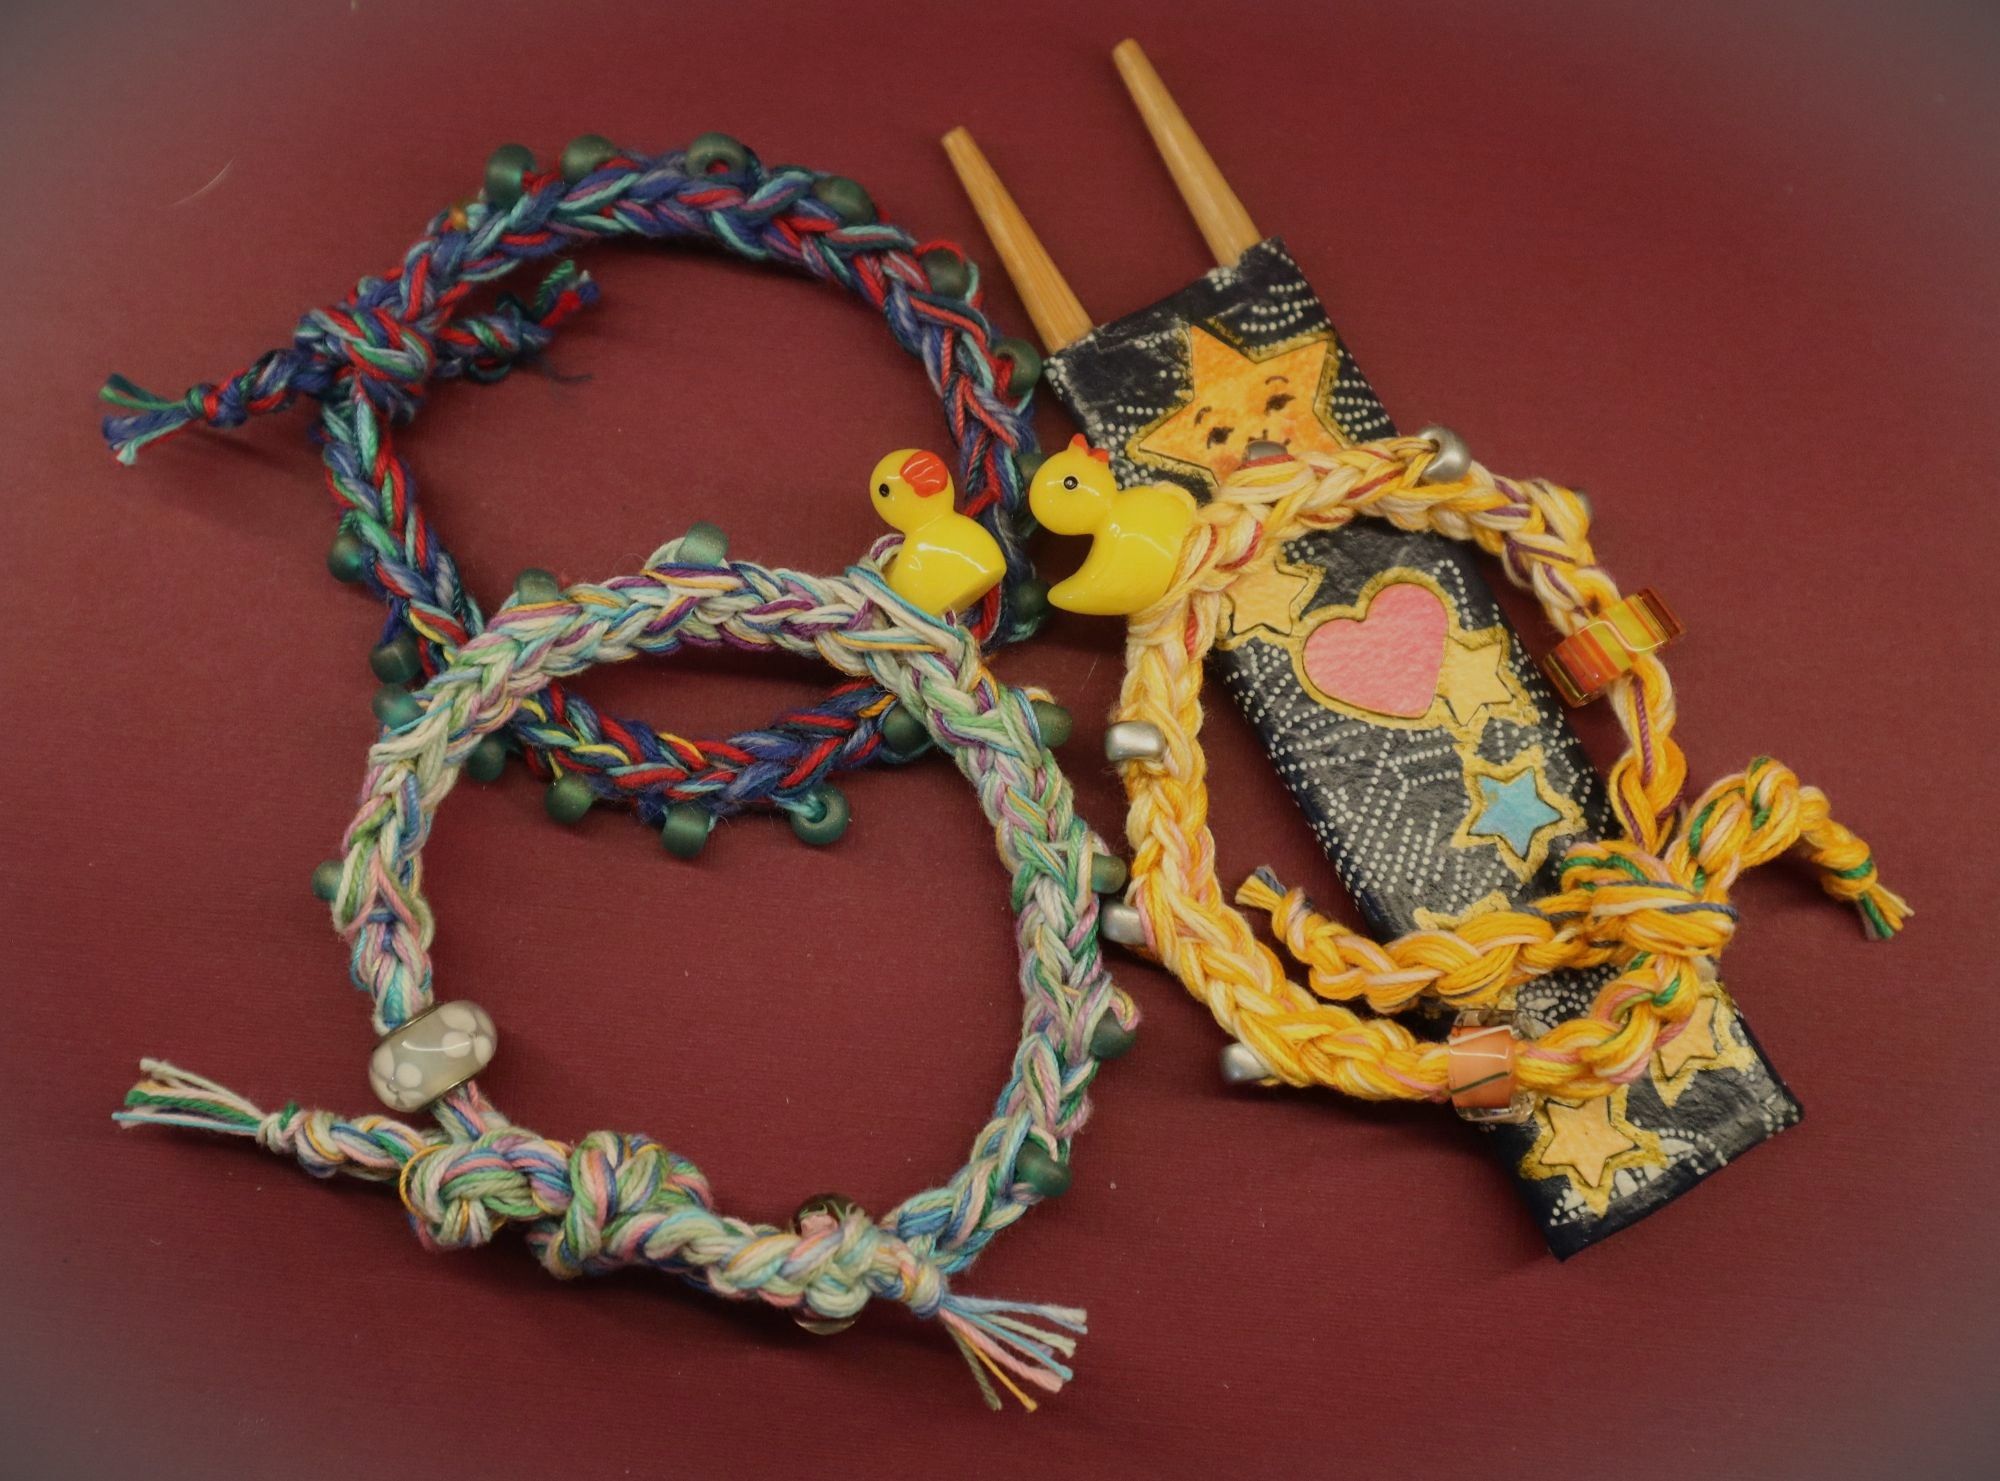
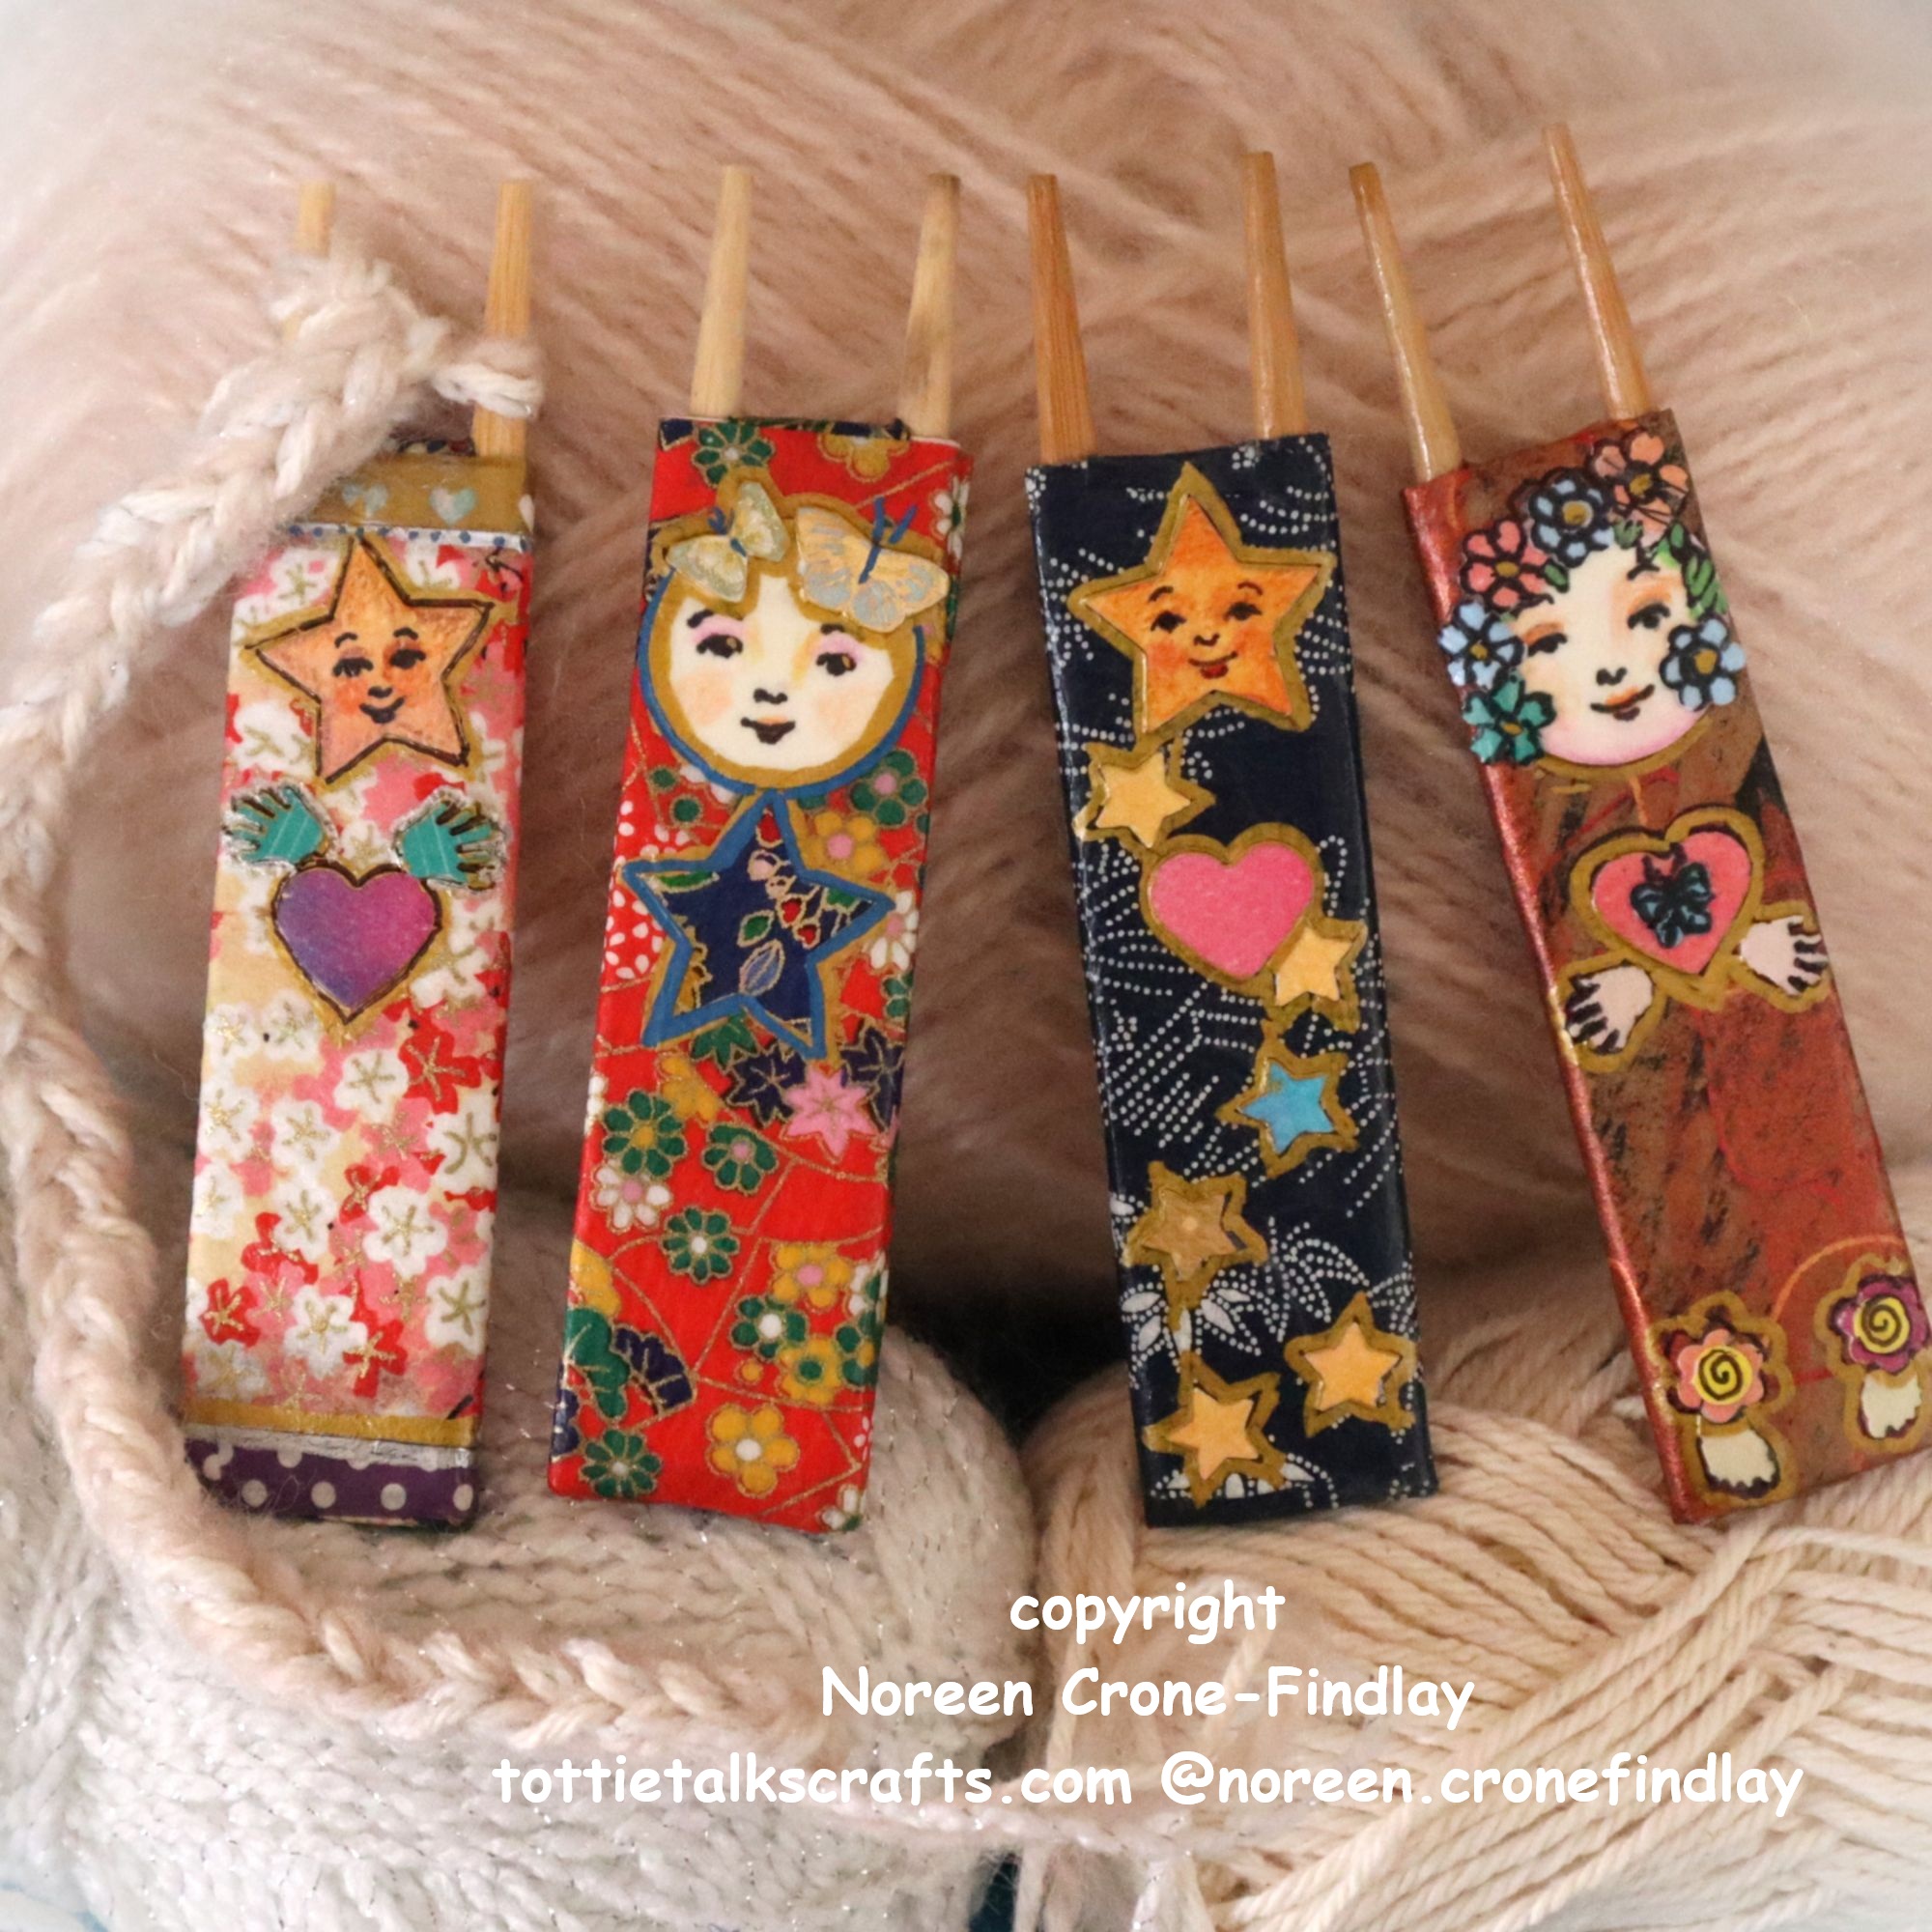
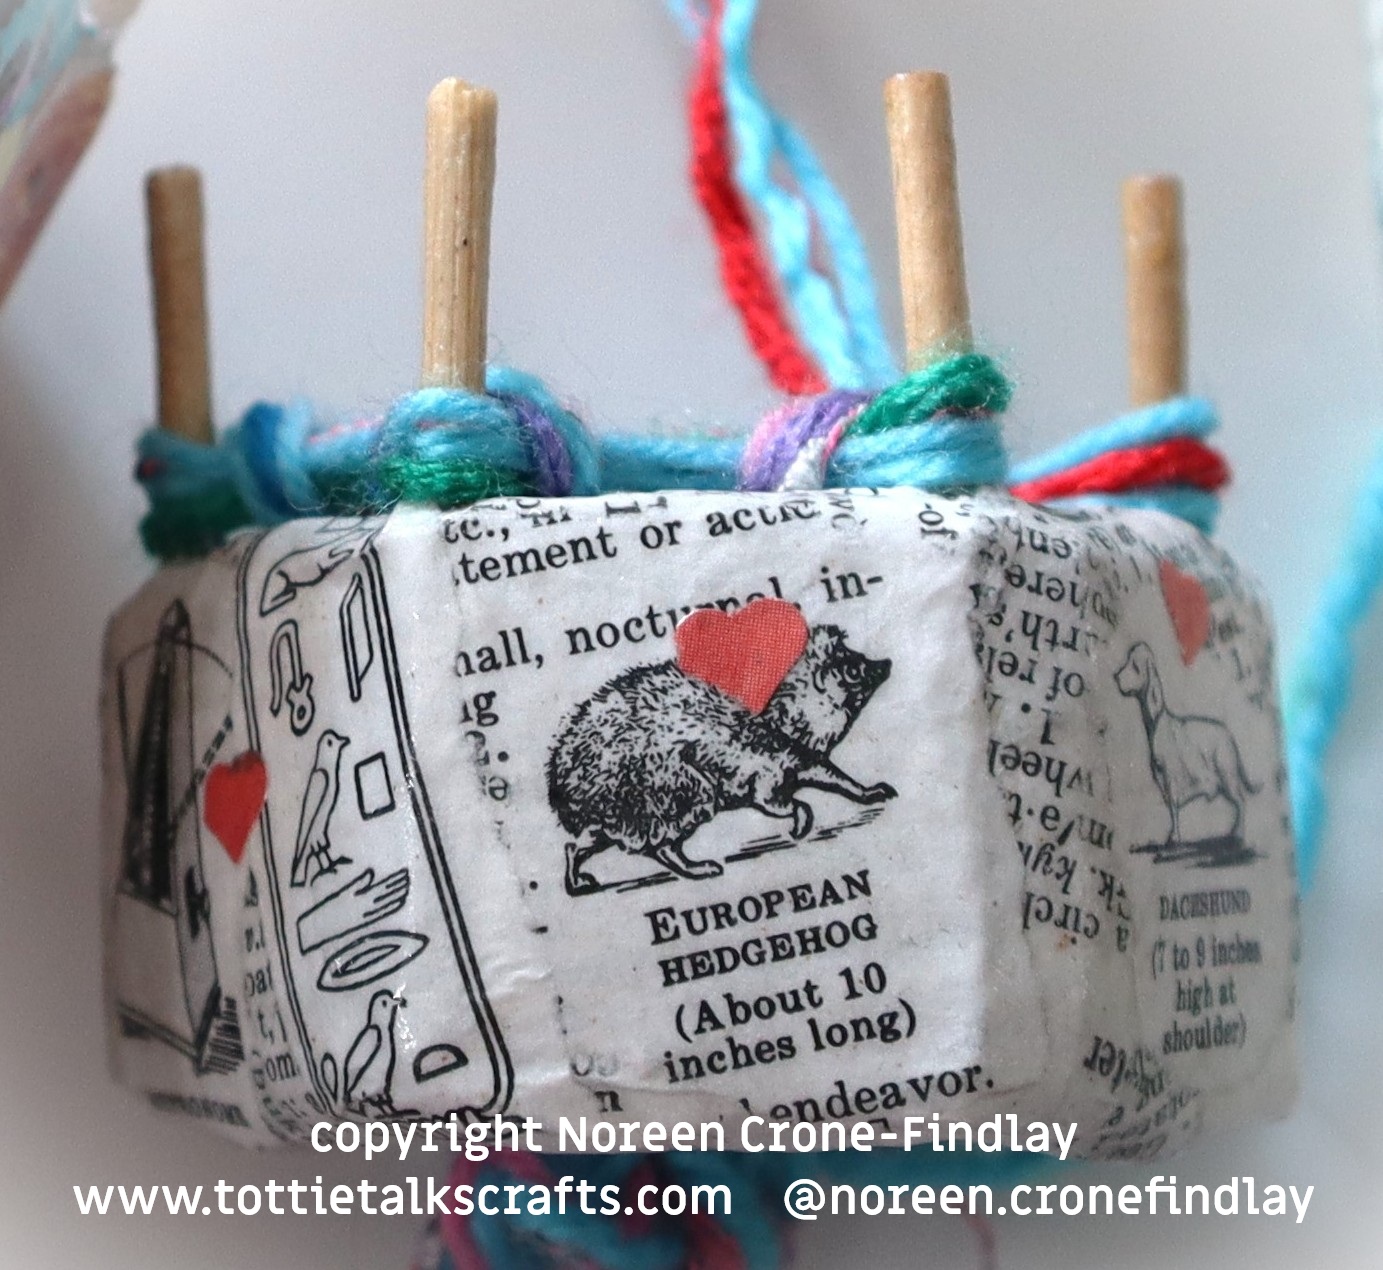
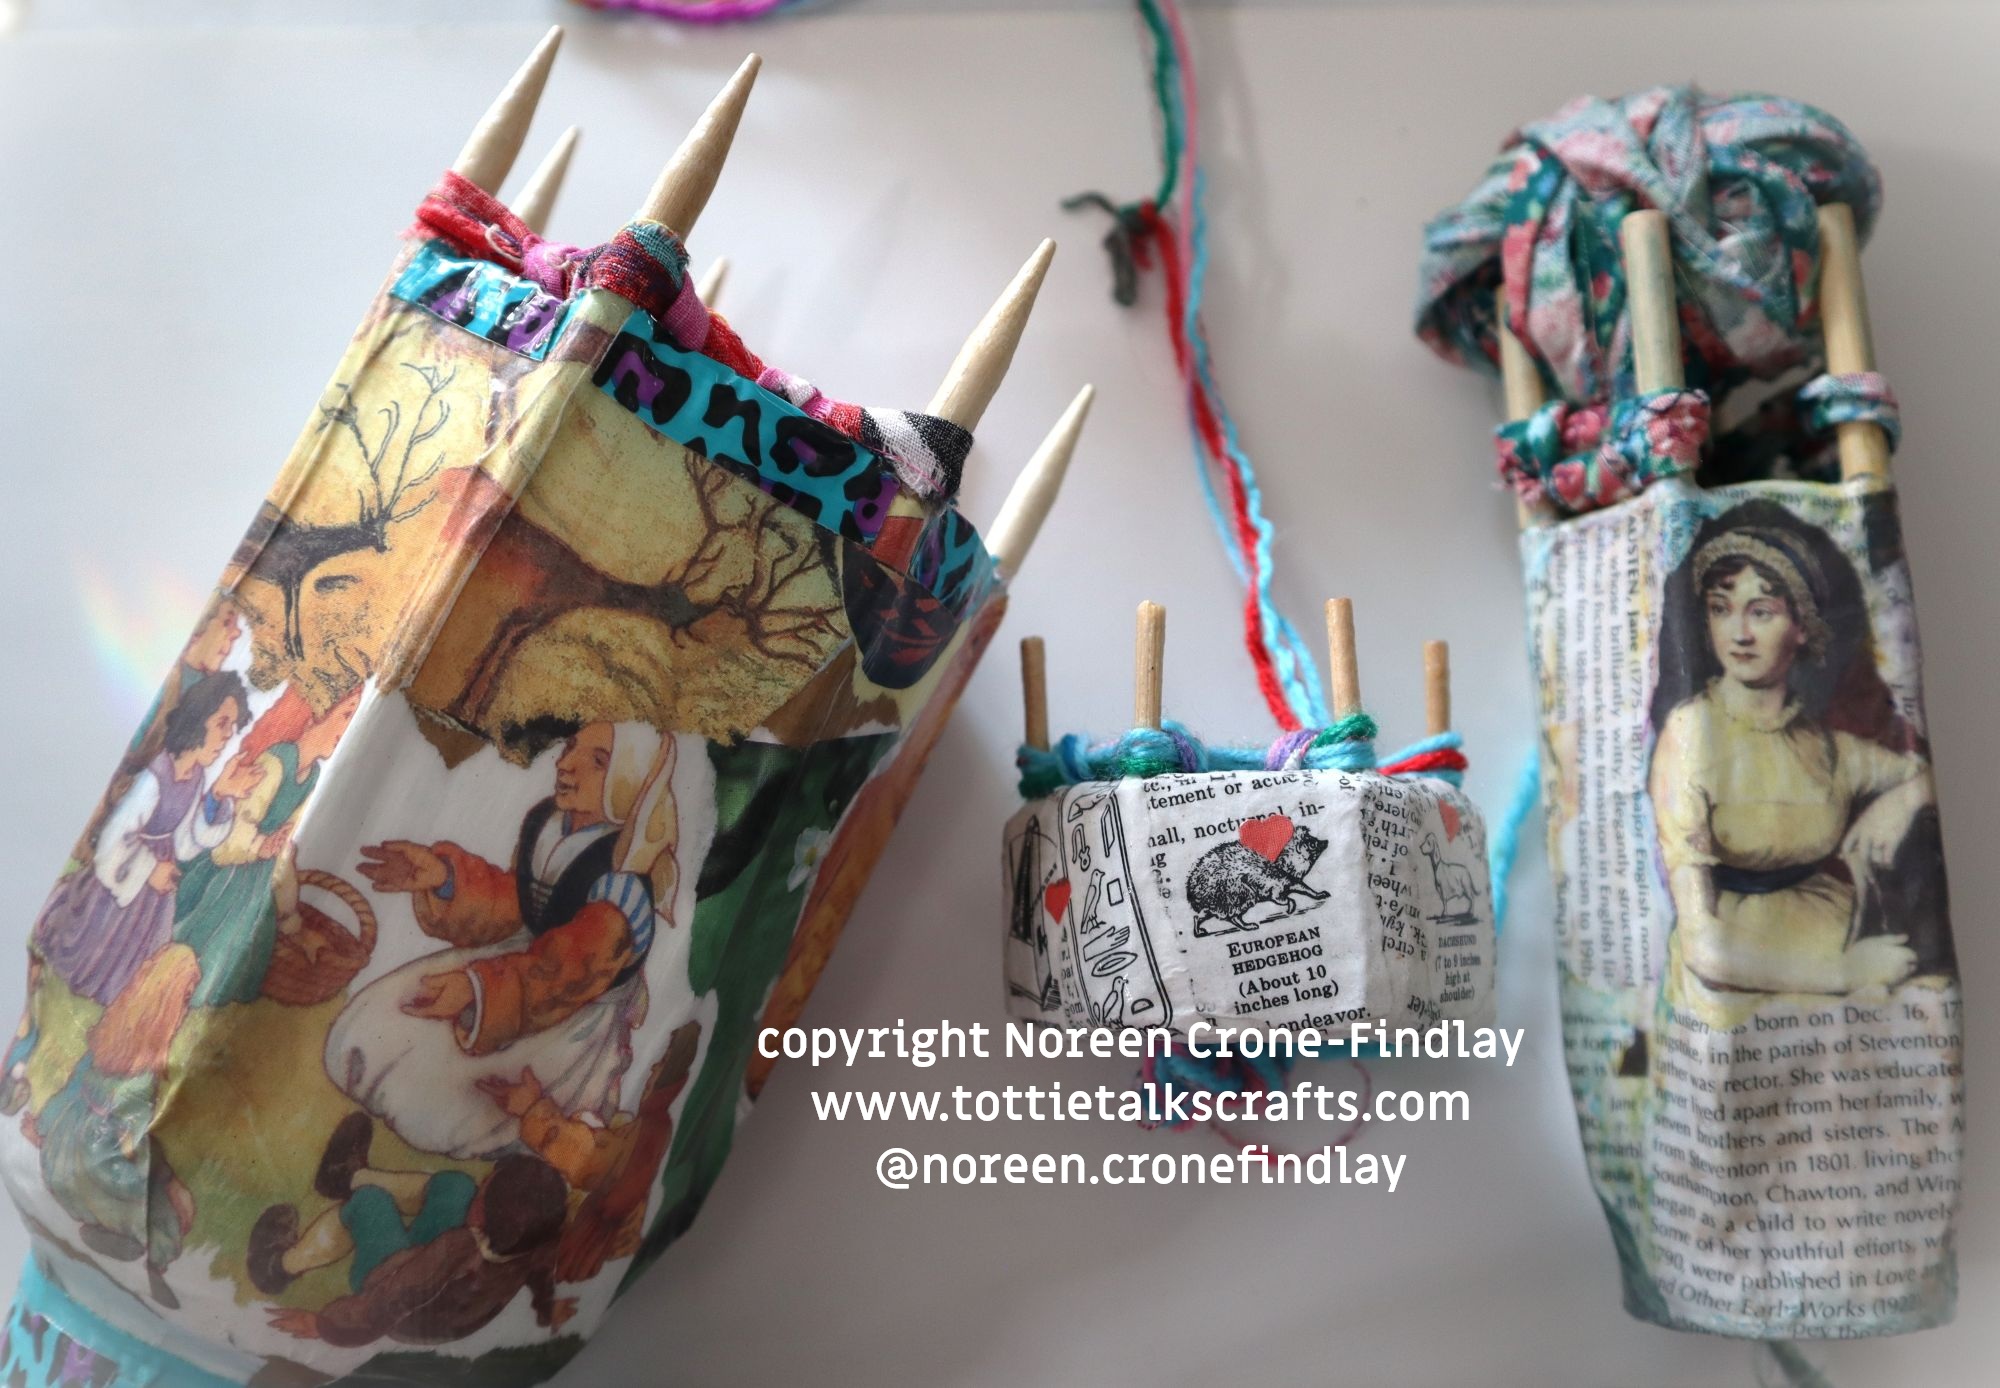
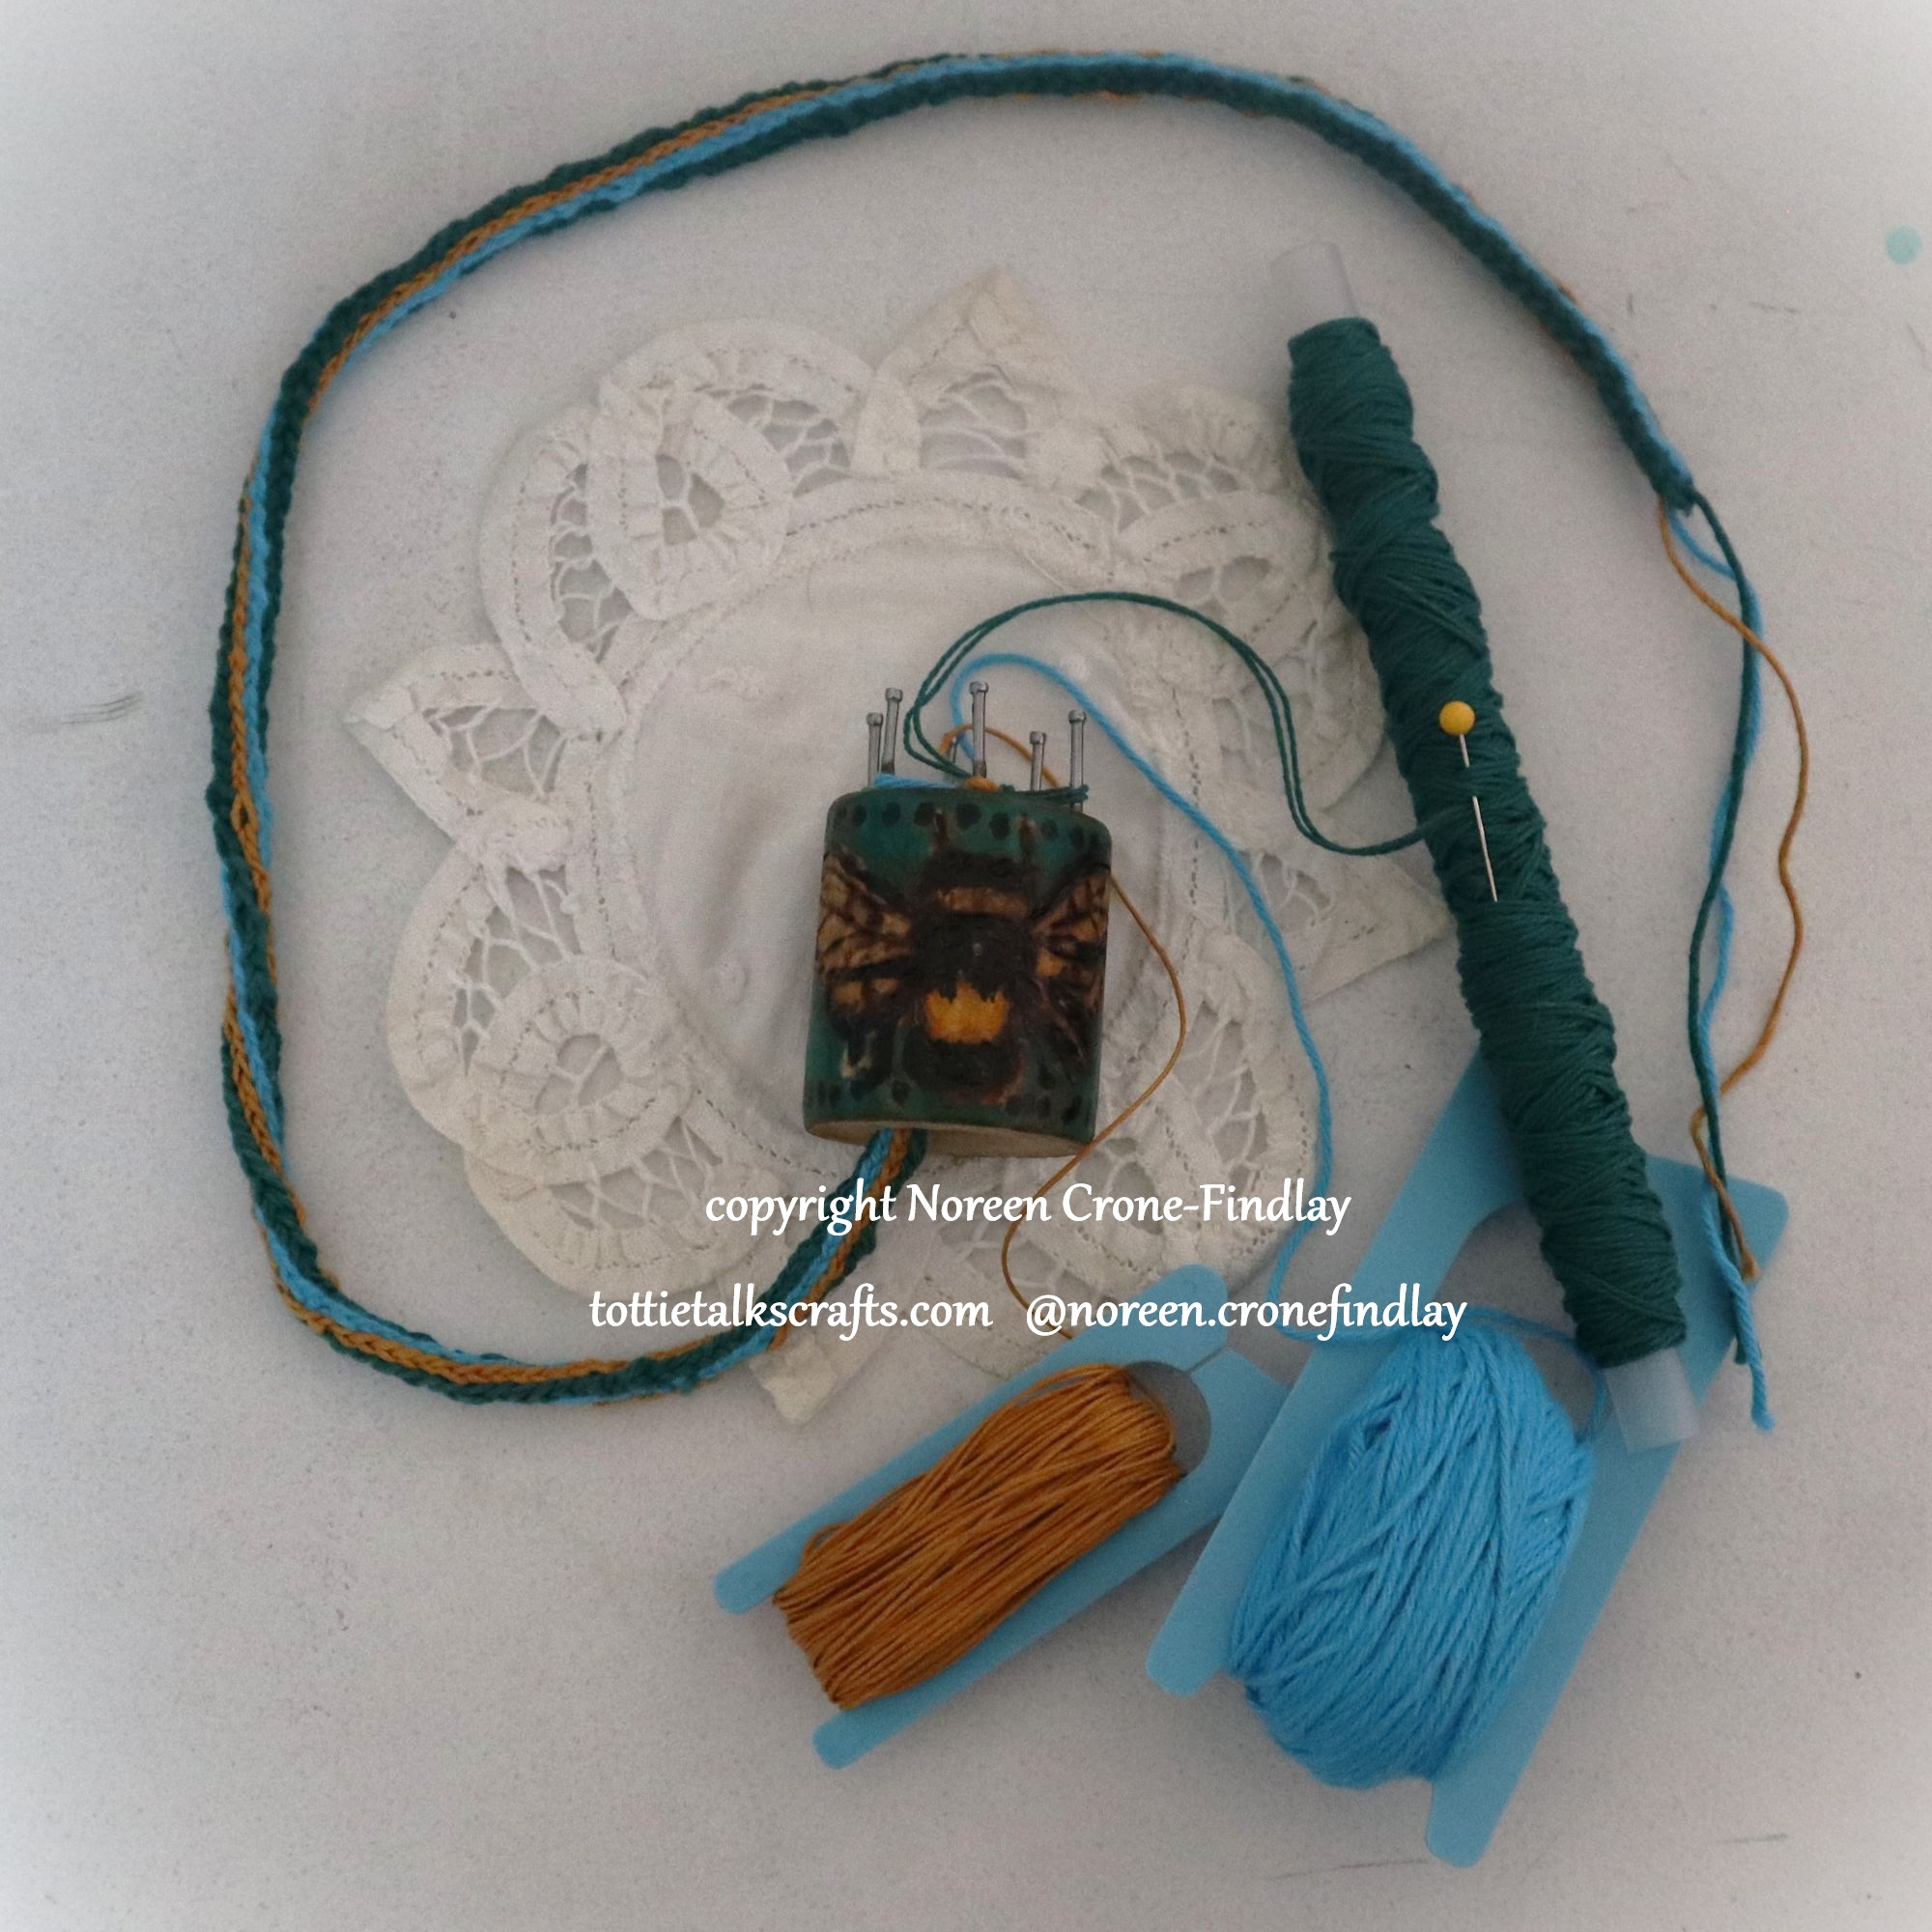
This video tutorial shows how to work with 4 peg or 6 peg Spool Knitters to make striped cords.
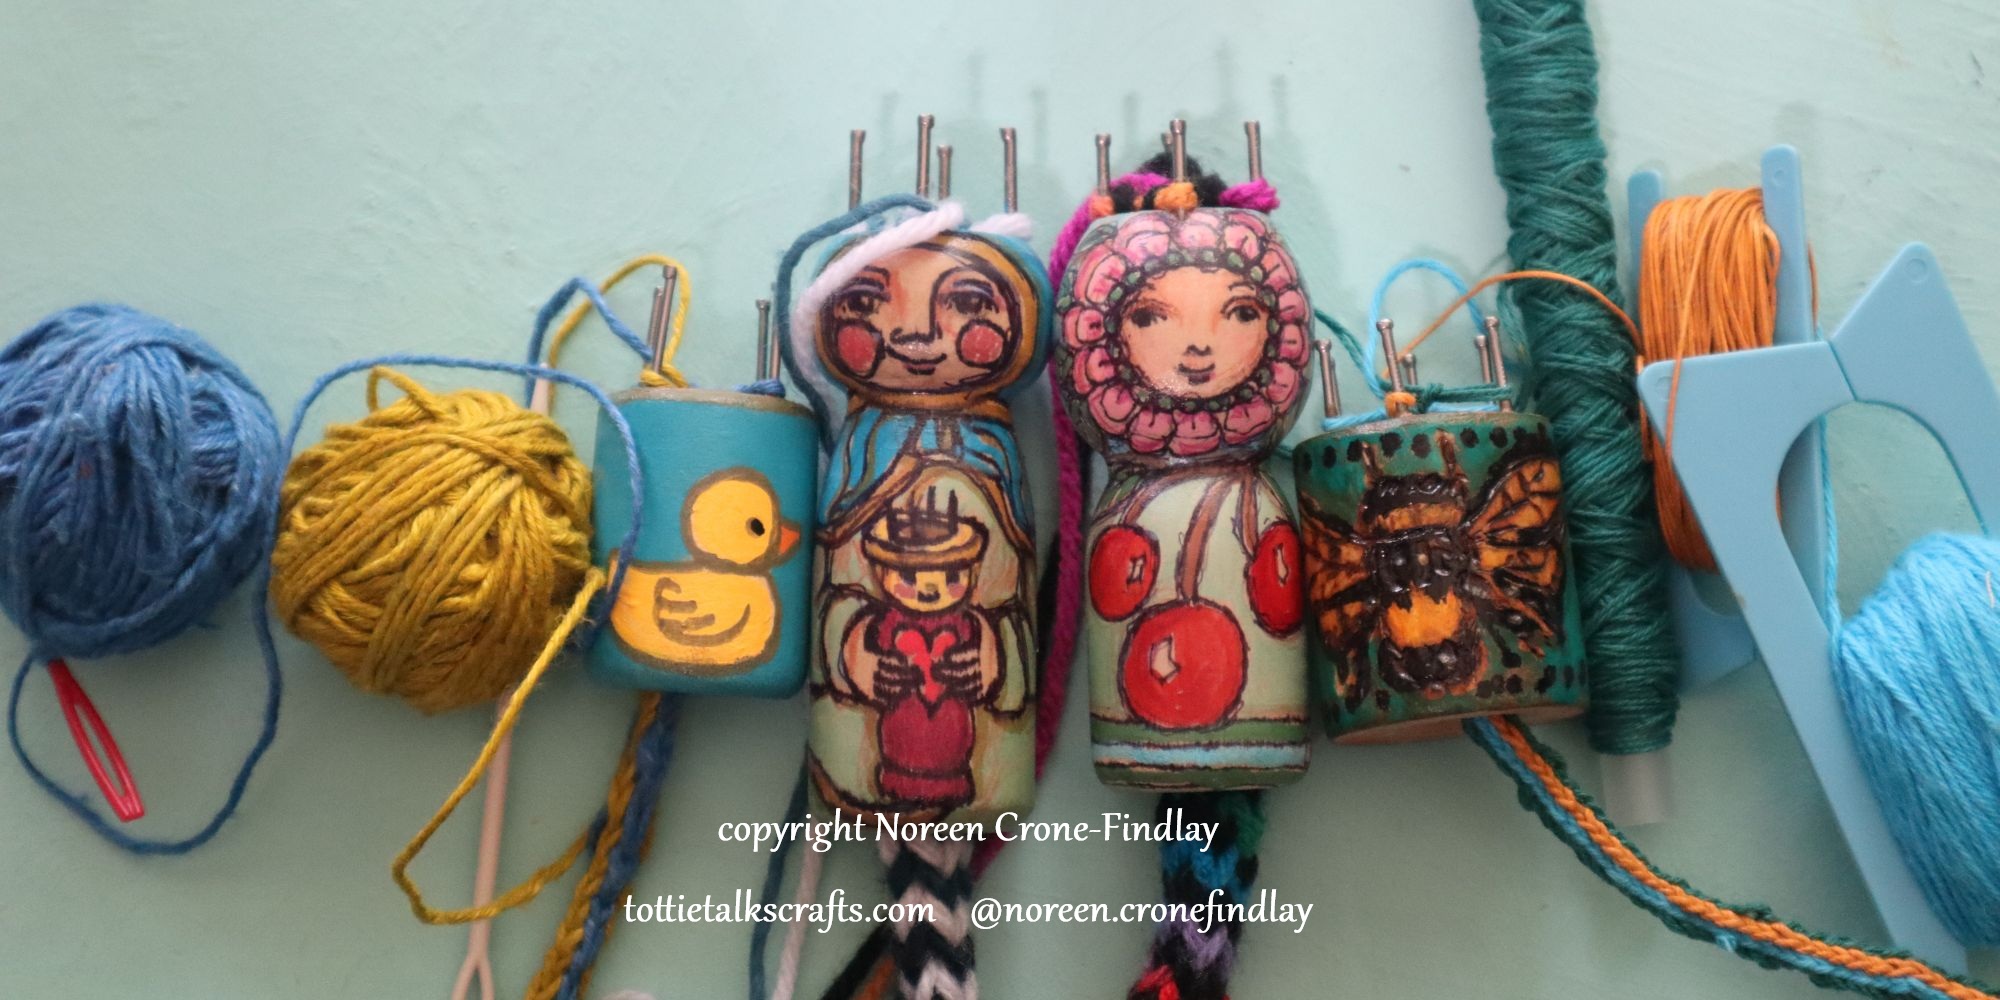
Horizontal stripes can be made with any number of nails or pegs on the spool knitter and 2 different colors of yarn.
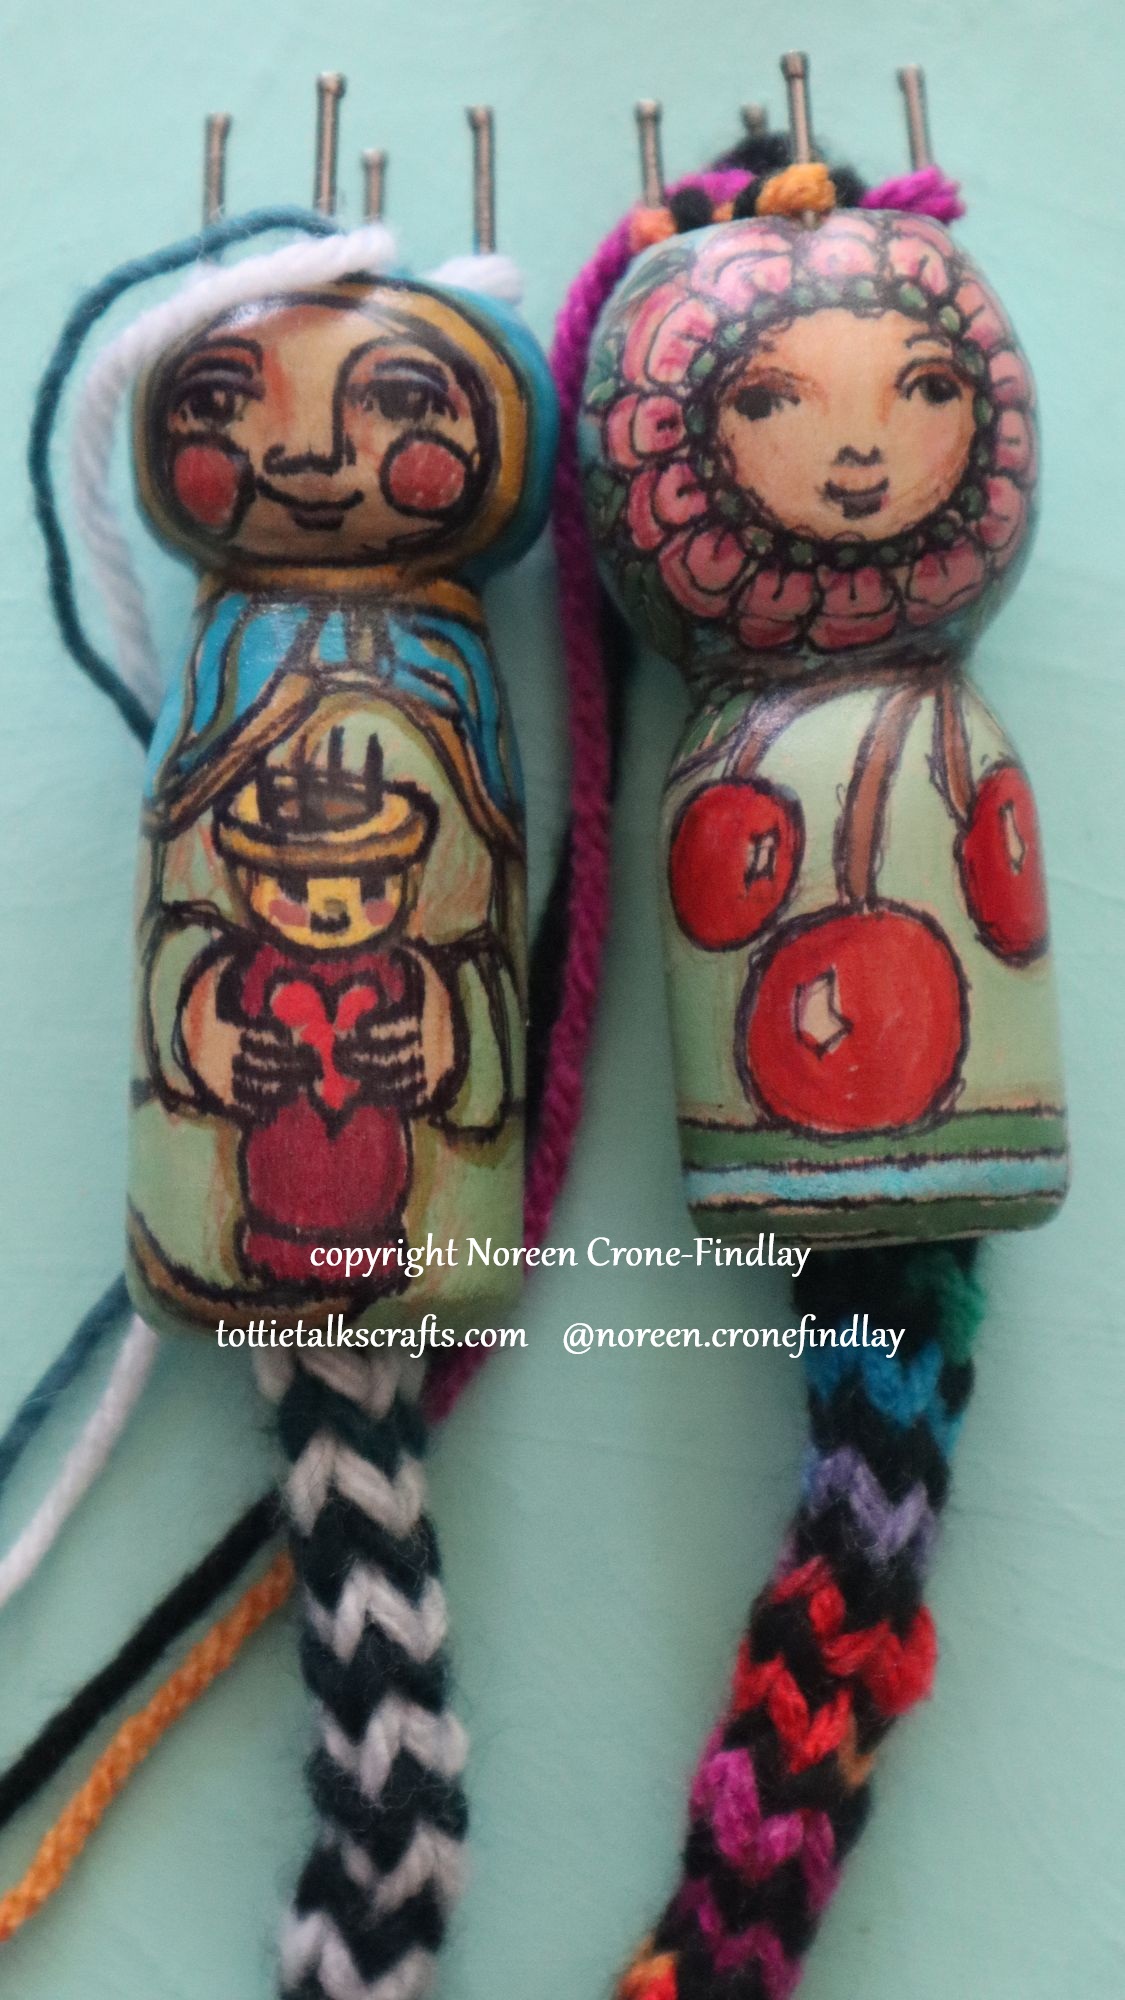
Vertical stripes can be made with 2 colors of yarn on 4 peg spool knitters and 3 colors of yarn on 6 peg spool knitters.
I have other video tutorials on my YouTube channel that show you how to make different size spool knitters so you can make all kinds of striped spool knitted cords.
For more information and links type ‘spool knitter’ or ‘spool knitting’ in the categories box and a ton of great links will open up. Happy Spool Knitting!