Tag Archives: upcycling

Upcycled Cardboard Boxes and Folders

Normally, we wrap all our presents in bags that I have made over the years. We never buy paper for gift wrapping.

But, this year, my husband and I made some gifts that needed special packaging.

So I set my mind to working on how to do this in an eco friendly way.

(I’ll show the special gifts in my next blog post)

Several years ago, Jim bought a roll of cardboard to build a case for his Oud (Turkish Lute).

It came as a roll that is 12 inches wide by ever so long, and it’s been kind of in the way ever since, but I didn’t want to get rid of it because I have a huge fondness for cardboard.

Jim wrapped the first gift in a protective swath of the cardboard, but that seemed rather ‘less than’ to me, so I mulled it over and came up with the folder idea.

I LOVE it.

It’s super simple:

I cut a 36 inch long piece of the cardboard and cut triangles off one end to make the point.

Then glued one triangle to the inside of the point to stabilize it.

I traced a tray to make the curve and then glued the edges.

Next time I will add strips of cardboard along the sides to give more dimension to the folder.

I used the off cuts to decorate the front.

The cord is made from crochet cotton that was given to me last summer (see Tea Towels) and a Lucet (LINK) and I am pleased as can be.

Another cluster of gifts needed special packaging, so I tried to fold origami boxes with the cardboard.

FAIL.

Instead, I came up with trial and erroring in making fitted boxes that were a time consuming pain in the neck to make. I tried using this technique, which works great with ‘normal’ card stock and paper: LINK

I won’t bother doing this again- not with this cardboard.

(Note- even though these were the pits to make, they were still made with love and some mild cussing).

BUT, by now, I was seriously on a roll with this whole box/package designing thing and remembered those nifty containers that are tubes that have semi-circular ends that push in to close them.

Of course, I probably could have looked up a tutorial online and found the simple way to do this, but, oh no, that’s not the way my brain works.

My brain likes ~to figure things out~…..

So I pushed cardboard around and flipped and folded it and measured and hummed and finally came up with this ‘Slightly Tube-ish’ container:

I had made several of the ‘Slightly Tube-ish’ ‘ containers when I twigged to the fact that they had a big old mistake, which I then fixed.

I made proper templates for the ‘right’ ‘Slightly Tube-ish’ containers , since I really like these and plan on using the concept again.

But, I wasn’t going to waste the ‘wrong’ ones, so I used them anyhow, with an apology to the recipients of the gifts and an explanation that I have got it right now, and they’ll get a better iteration next time.

Until then, the wrong ‘Slightly Tube-ish’ containers can be re-used and eventually be recycled or used as fire starters.

Here are the proper templates:

This one is for cutting out the ‘Slightly Tube-ish’ container
And, this one is for scoring the curves on the ends.

All in all, it was a lot of work, but I loved doing it and I hope that my family liked the nifty boxes and folders.

Even though I used cardboard that we had bought years ago for another project, these techniques will work really well on regular upcycled cardboard and cardstock, which pleases me very much!

Happy Upcycling! ❤

1 Comment

Filed under eco crafts & green projects, free pattern, gifts & easy to make gifts & presents, Lucet, tutorial & how to, upcycling

Charlotte Mermaid

Last month, I posted about Bedelia Mermaid, whom I carved from a very hard old piece of wood that was upcycled from a very old and fallen apart bed. LINK

Her sister, poor thing, languished in the freezer for several weeks, because I needed to force some moisture into the rock hard wood.

Bedelia thought that I was being rather harsh with her poor sister!

I named her ‘Frozen Charlotte’, which is actually a kind of doll that doesn’t have moveable arms and legs, but in this case, it was because she spent so much time in sub-zero temperatures.

Freezing the moistened wood made a world of difference!

When I tried carving Charlotte’s arm, I was delighted- carving the wood was now possible without my knife going instantly dull.

So, I moved on to carving the rest of her:

Bedelia kept her sister company:

And, when Charlotte was finally done, they sat and enjoyed finally being together after poor Charlotte’s dreadful time in the freezer.

Bedelia told Charlotte about some more sweet mermaids that have joined the flutter of memaids in the studio and wanted to introduce her to them.

Charlotte is rather shy, perhaps because of the time in the freezer – it takes her time to warm up to new people.

But when she met the sweet Bunnymaids, she wasn’t shy at all, and she whispered to Bedelia that she likes them very much.

Baby Bunnymaid held Charlotte’s hand, and they all sang a small song and decided that they were happy to be in such fine company.

Unfortunately, Charlotte is still feeling very cold, so I think that I will have to do something about that!

SCRAP HAPPY- Once a month, a group of bloggers who are into upcycling all post on the 15th of the month, sharing what they have created with upcycled bits of this and that in the past month. Charlotte’s introduction is my contribution to Scrap Happy for this month.

Here are the other Scrap Happy bloggers- I always love seeing what they have been up to!

Kate Gun, EvaSue, Lynn, Lynda,
Birthe, Turid, Susan, Cathy,  Tracy, Jill,
Claire, JanMoira, SandraChrisAlys,
KerryClaireJeanJon, HayleyDawn,
Gwen, Bekki, Sue L, Sunny, Kjerstin,
Vera, NanetteAnn, NancyDawn 2, Noreen,
Bear, Carol, Preeti and Edith

22 Comments

Filed under carving wood, doll & dolls & dollmaking & doll making, eco crafts & green projects, mermaid, wooden dolls, woodwork

Bedelia the Mermaid and where she came from

Once upon a time, there was a very, very old wooden bed frame.

It was so old that parts of it broke, and so it was taken apart and about to be thrown in the trash, when someone thought… wait… we know someone who makes things come to life again….

They gave the broken old bed frame to my son, who offered a piece of it to me:

It was very heavy old wood, which soon revealed itself to be exceedingly HARD… and I mean H.A.R.D wood!

I cut out 2 little mermaids from the former bed frame, wiggling around to try to deal with long notches, deep channels and bored out holes that large screws had once lived in.

I sanded the varnish off one set of mermaid blanks, and then remembered to take a picture of the ‘under construction’ stage… some of those scraps of wood are not useable for carving because they have hardware embedded.

Oh my word!  Carving the old hardwood was incredibly challenging, and there were a couple of nights when I was carving until the wee small hours.

I was so happy to finish carving Bedelia, but the incredible hardness and knife dulling properties of the wood made it oh so NOT fun to carve.

So, I am conducting an experiment:

Bedelia’s sister had a long lovely soak, which I hope will make the wood more carving friendly.

And now, oh, poor little mermaid!

She’s in the freezer, waiting for me to have enough time to carve her!

My fingers are crossed that I haven’t destroyed the wood with the soaking and the freezing,

and that I will be able to release the latent mermaid from her cryogenic state soon and more easily than Bedelia!

The next stage of bringing Bedelia to life was to burn and paint her Mermaid scales:

And then assemble her, making all her joints function:

Bedelia wanted to have some Mermaidly fun, so she went for a swim:

Which was a lot of fun, but very tiring, so she came back and relaxed in the studio.

Tottie Tomato went and made Bedelia a lovely cup of tea.

But she was still cold from the wild waves, so I went rummaging through the box of threads that I inherited from my Mother.

And crocheted a lace shawl for Bedelia.

She’s very happy and is looking forward to meeting all the other dolls in the studio.

She is  hopeful that I will get to carving her poor icy sister, very soon!

I hope so, too… but the studio has been a busy place lately, the icy mermaid will have to fit in with the other magic that is being stirred up!

I am so pleased to now be part of a lovely blogging group: Scrap Happy,  that was begun 6 years ago by Kate Chiconi and her friend, Gun, in Sweden.

The Scrap Happy bloggers all post once a month on the 15th about the wonderful things that they are creating from scraps of this and that, and none of it new….

please check out their blog posts, too.   😀

Kate Gun, EvaSue, Lynn, Lynda,
Birthe, Turid, Susan, Cathy,  Tracy, Jill,
Claire, JanMoira, SandraChrisAlys,
KerryClaireJeanJon, HayleyDawn,
Gwen, Bekki, Sue L, Sunny, Kjerstin,
Vera, NanetteAnn, NancyDawn 2, Noreen,
Bear and Carol

21 Comments

Filed under carving wood, doll & dolls & dollmaking & doll making, eco crafts & green projects, lace making, mermaid, Tottie Tomato Loves, Uncategorized, upcycling, wooden dolls, woodwork

Elise was a Piano Once Upon a Time

This is a true story.

This is the story of how a tiny doll and her special hedgehog friend came to live in my studio….

Long, long ago, there was a seed, well several seeds, really.

They grew up and became majestic trees.

They sang the song of the wind and the sun and the moon and the rain and the stars for probably hundreds of years.

And, then they were cut down.

They became a piano.

And the piano sang  songs of love, and sadness and grief and joy.

Eventually, the piano wore out.  Completely.

The piano tuner shook his head sadly and declared it to be done.

But he had a friend who made things with wood, so he offered some of the wood from the piano to his friend.

His friend happily accepted the wood from the sad and gone piano, and because he is a generous and kind person,

he offered some pieces of the wood to his Mum.

That’s me.

I was sure I could feel a very, very tiny doll singing little tiny songs inside the wooden scrap….

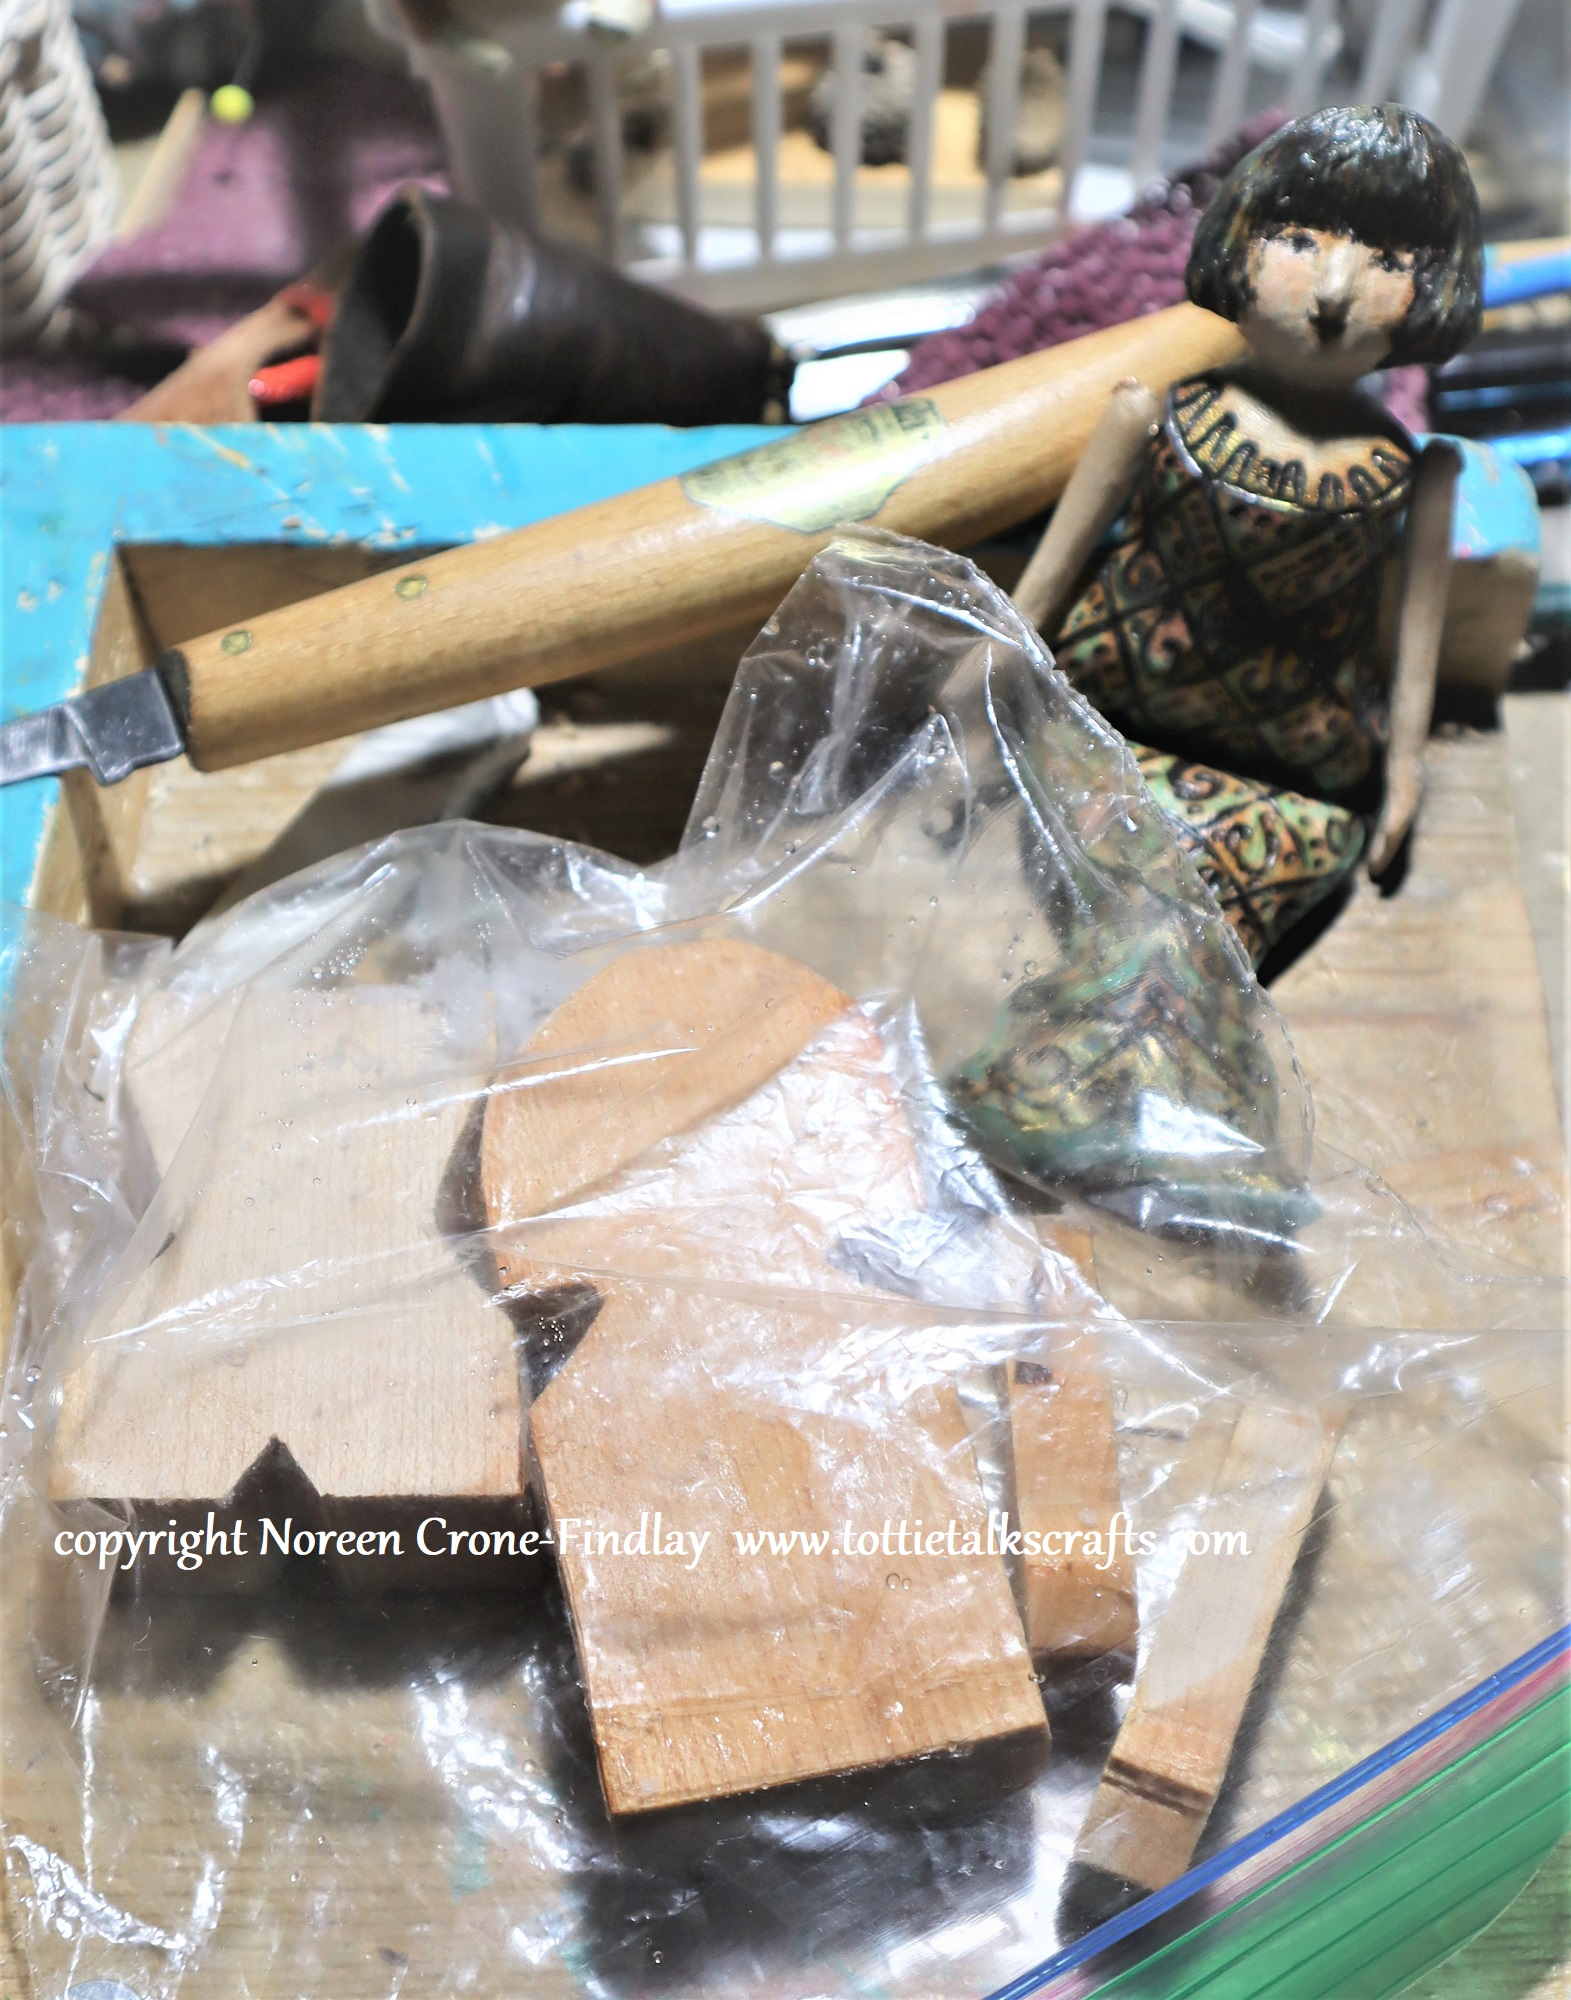
I cut a little bit of the piano wood and loved how it felt in my hands….

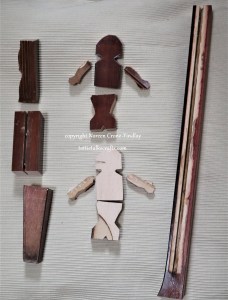
I cut out rough shapes that would be just the right size to carve my favorite size of doll- 2 and a half inches tall.
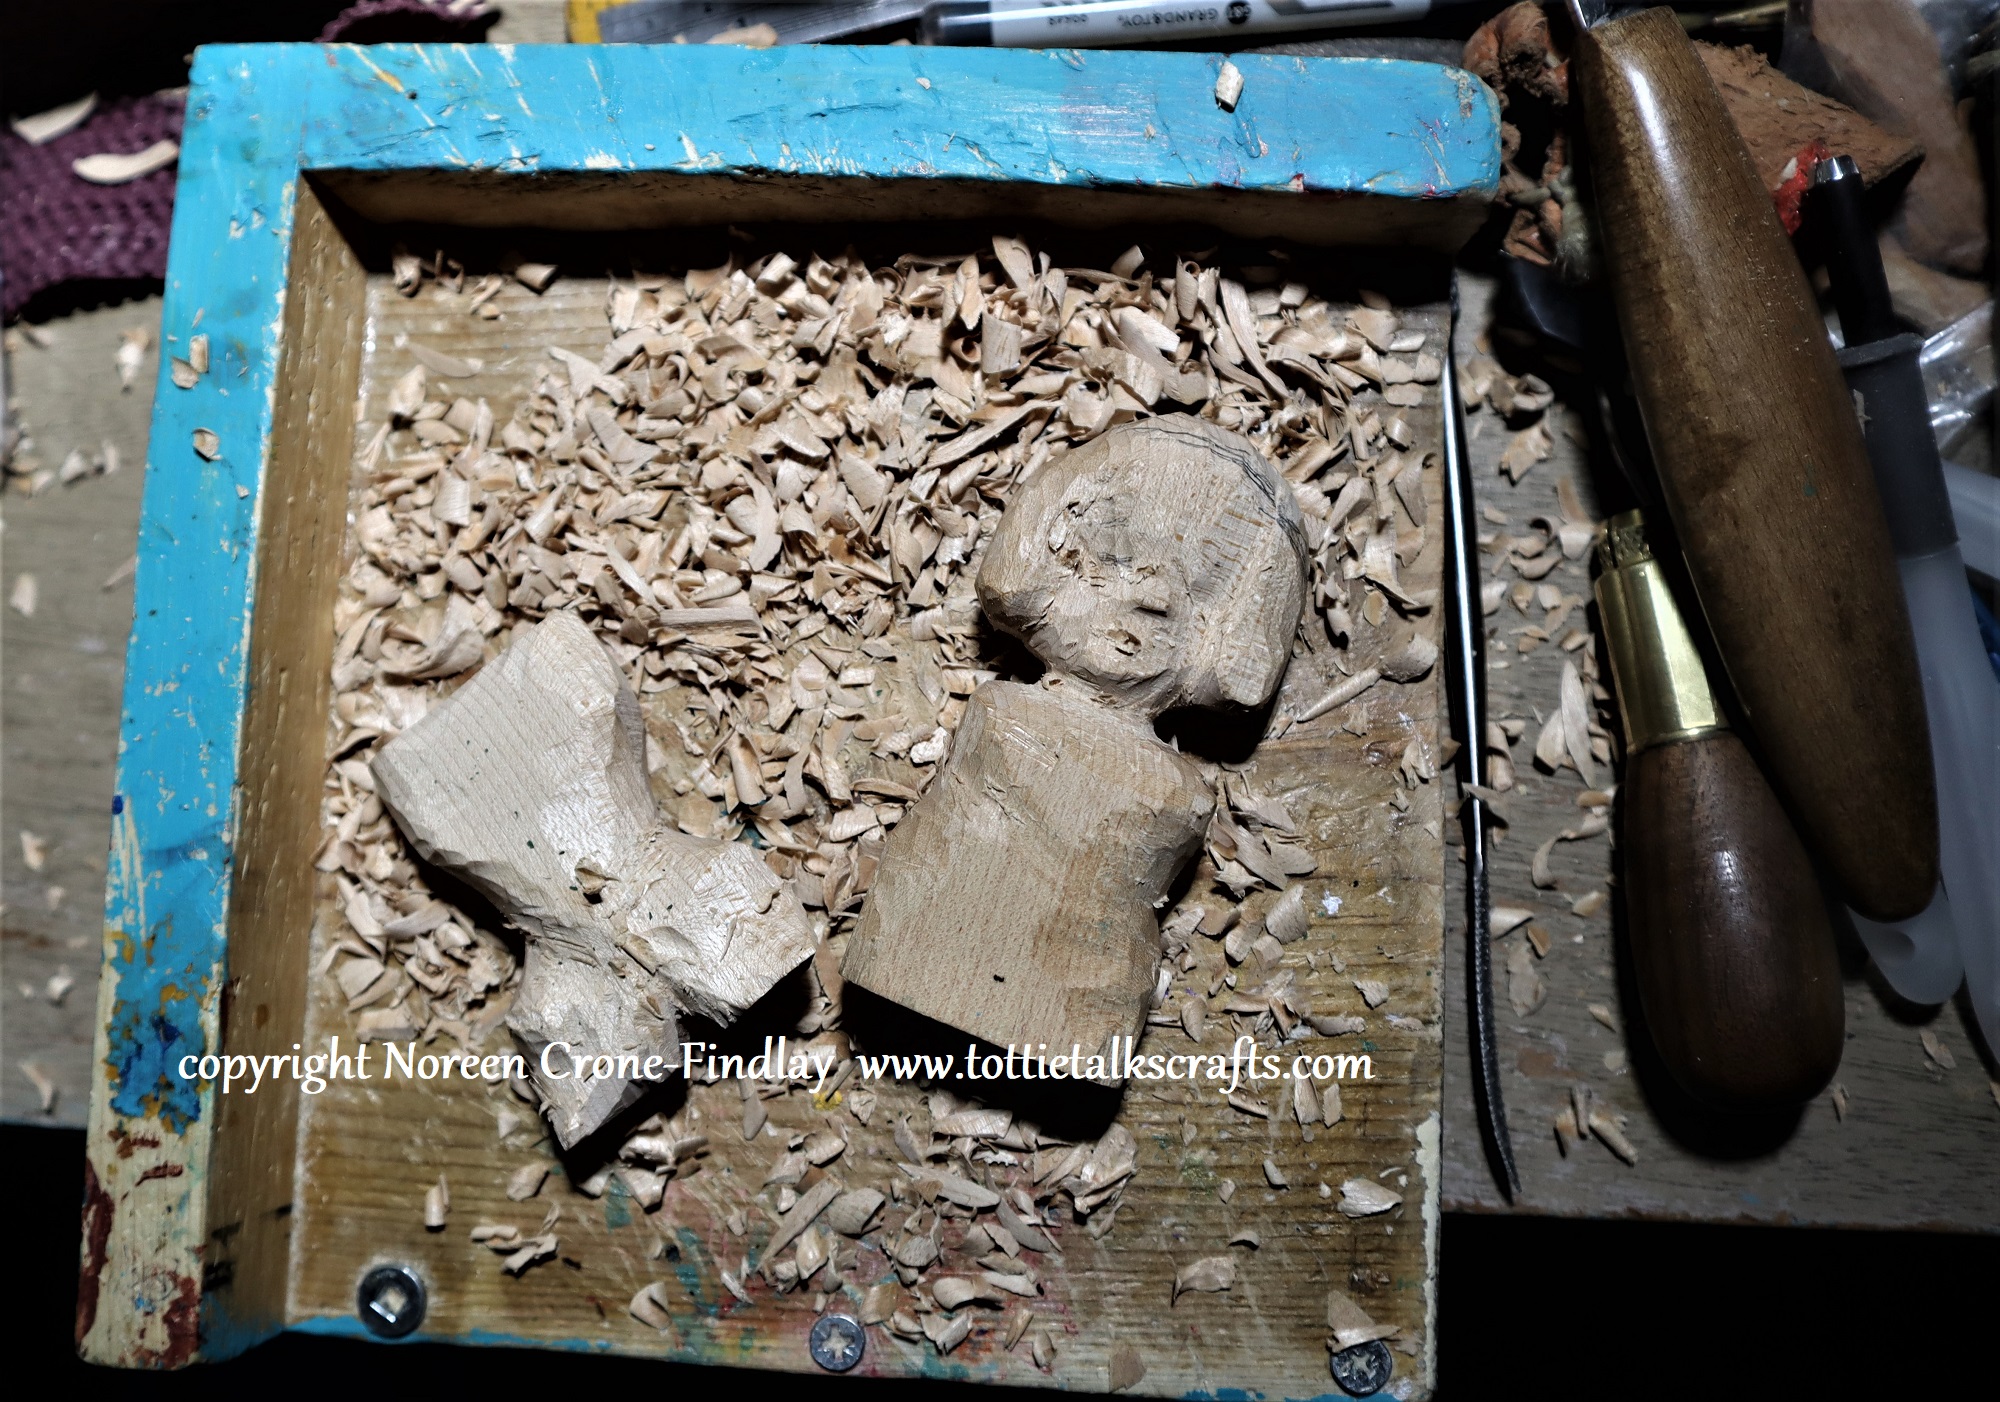
I carved:

and carved:

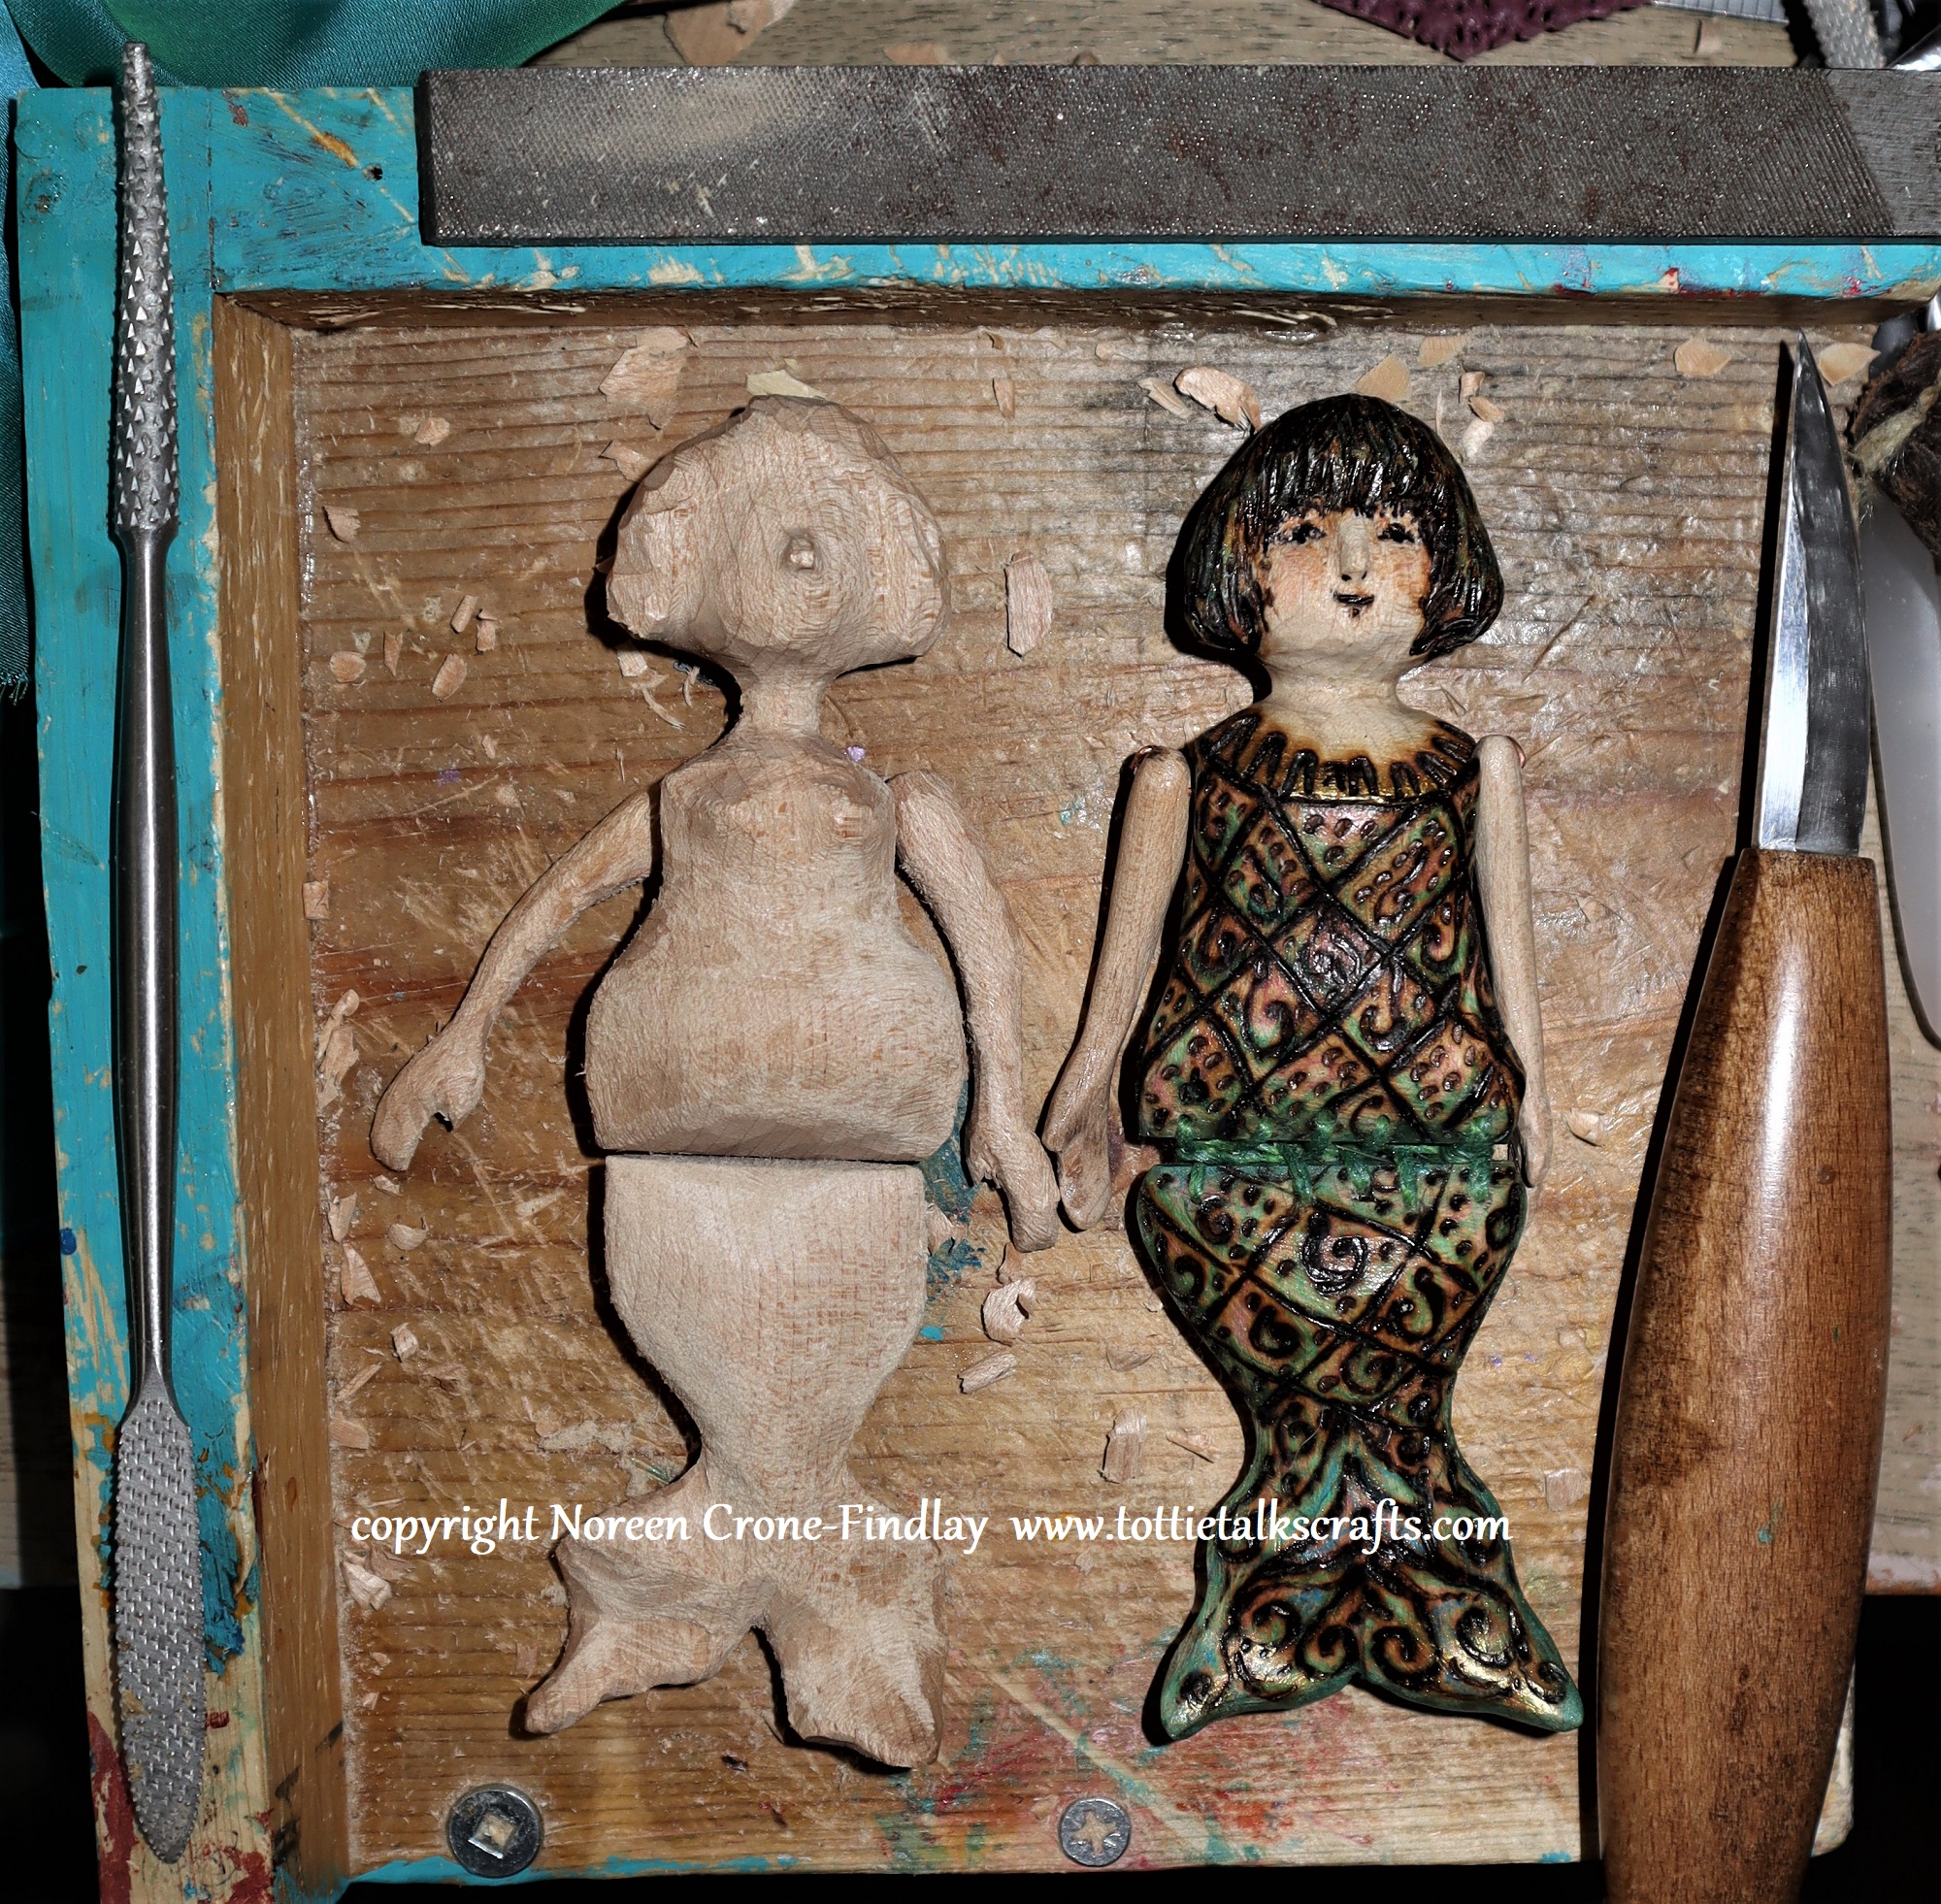
and carved and carved and carved some more.

While I was carving, I asked her what her name is,

and she declared: “Elise, of course!”

She said that even though she preferred playing Mozart when she was a piano,

that she had always loved it when her family played ‘Fur Elise’.

(An interesting thing happened when I told my daughter about tiny Elise-

she knew, even before I said Elise’s name that that was the name of this tiny, but

determined little wooden person!)

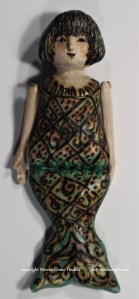
Elise let me know that she wanted old fashioned boots

and cream colored stockings and camisole

and that lovely amber color from the shellac for her hair.

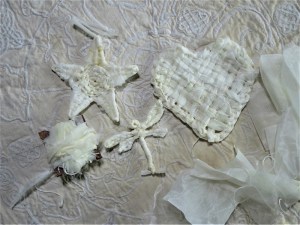
She also told me that she wanted me to tat her dress,

and while I was at it, to make the tatting shuttle that I would use

to tat her dress.

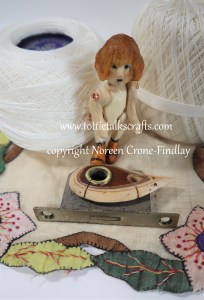
And, to make the tatting shuttle a hedgehog, and

to use the bit of wood that was around the lock that used to keep the piano closed.

Elise  helped me to figure out how to get the lock out of the wood….

She insisted that the lovely round brass keyhole had to become part of her tatting shuttle.

Elise chose some old tatting cotton that I had been given

(from the estate of the friend of a friend who didn’t know what to do with it)

Elise and I started freeform tatting her dress.

Sometimes, it didn’t go well.  sigh.

Tatting is the pits to try and unpick, so scissors were the best option:

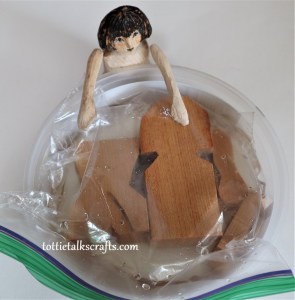
Elise got a little annoyed at times with all the trying on and taking off of the dress,

but I reminded her that she was the one who demanded it be tatted-

crochet would have been infinitely faster!

She fell on her face and refused to co-operate for awhile, but eventually,

calmed down and we got on with the tatting:

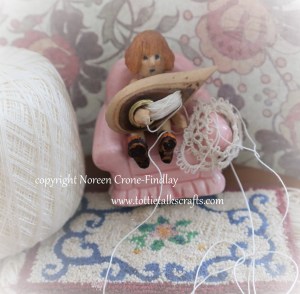
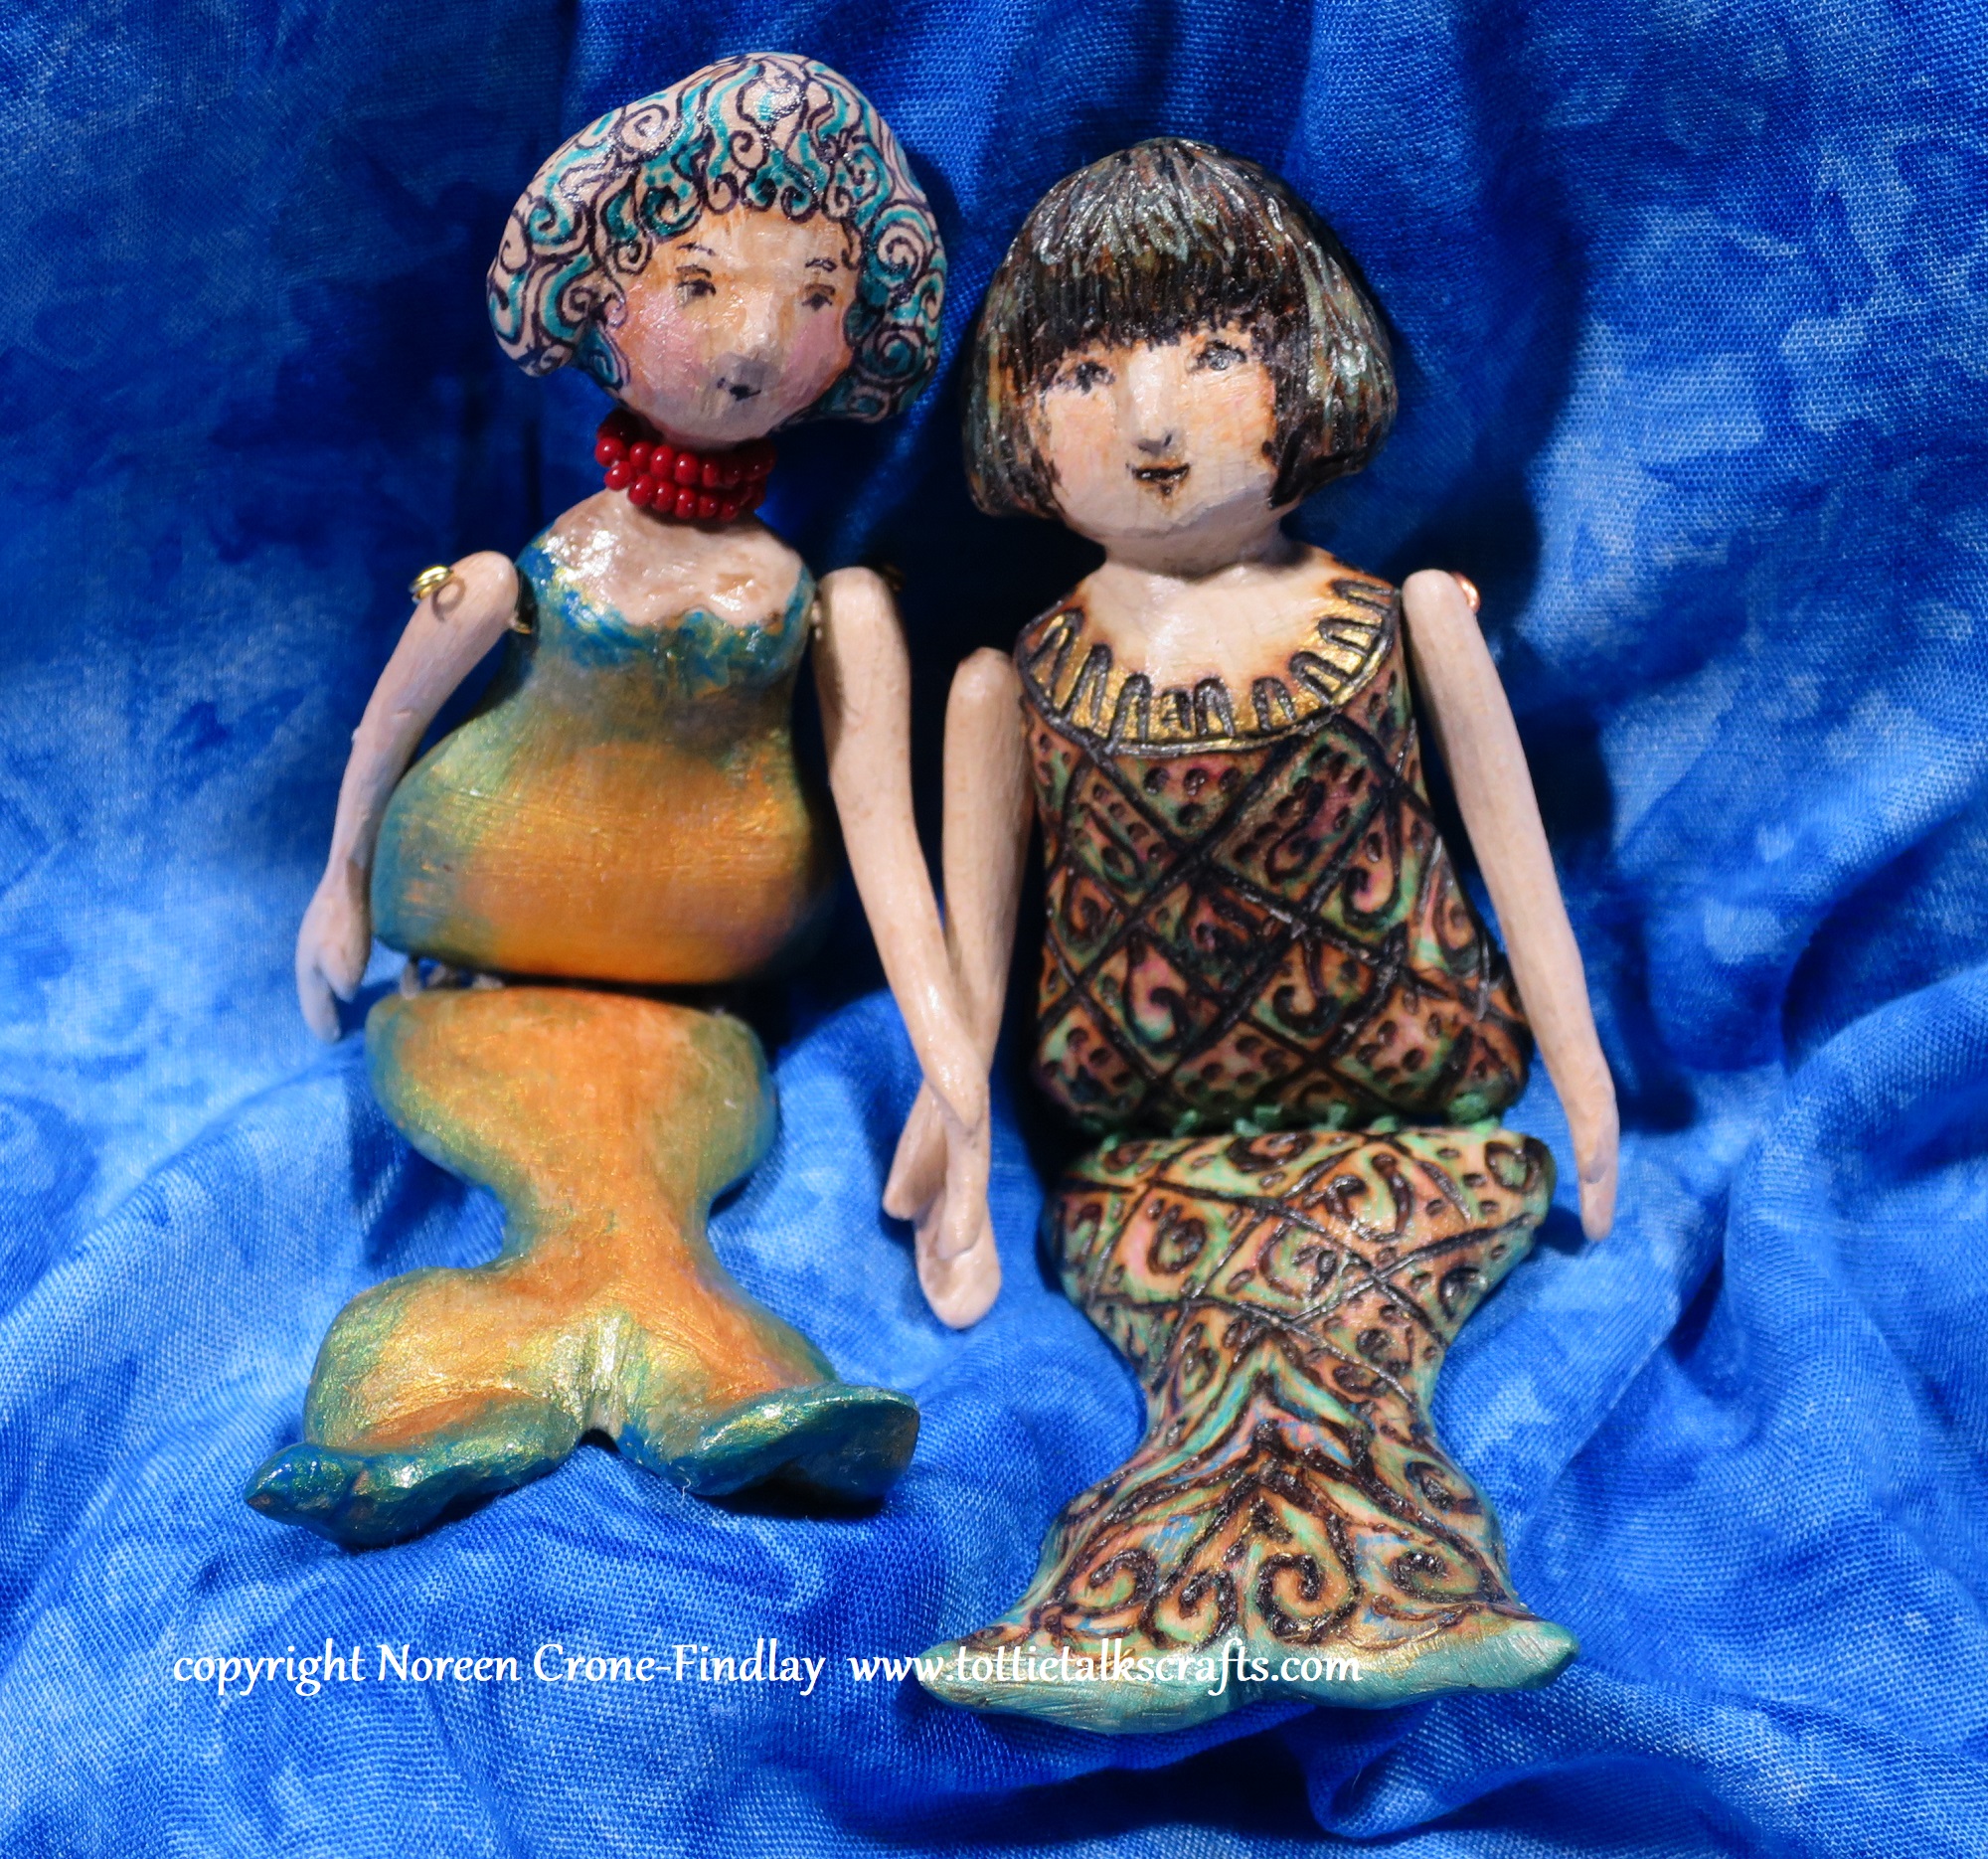
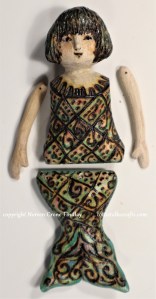
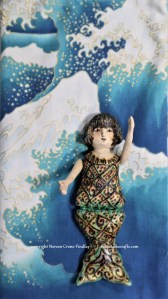
Eventually, Elise’s dress was done.

It’s a bit cattywombus but Elise has forgiven me for that.

She understands that freeforming when making a tatted dress can mean that things are slightly ‘unique’.

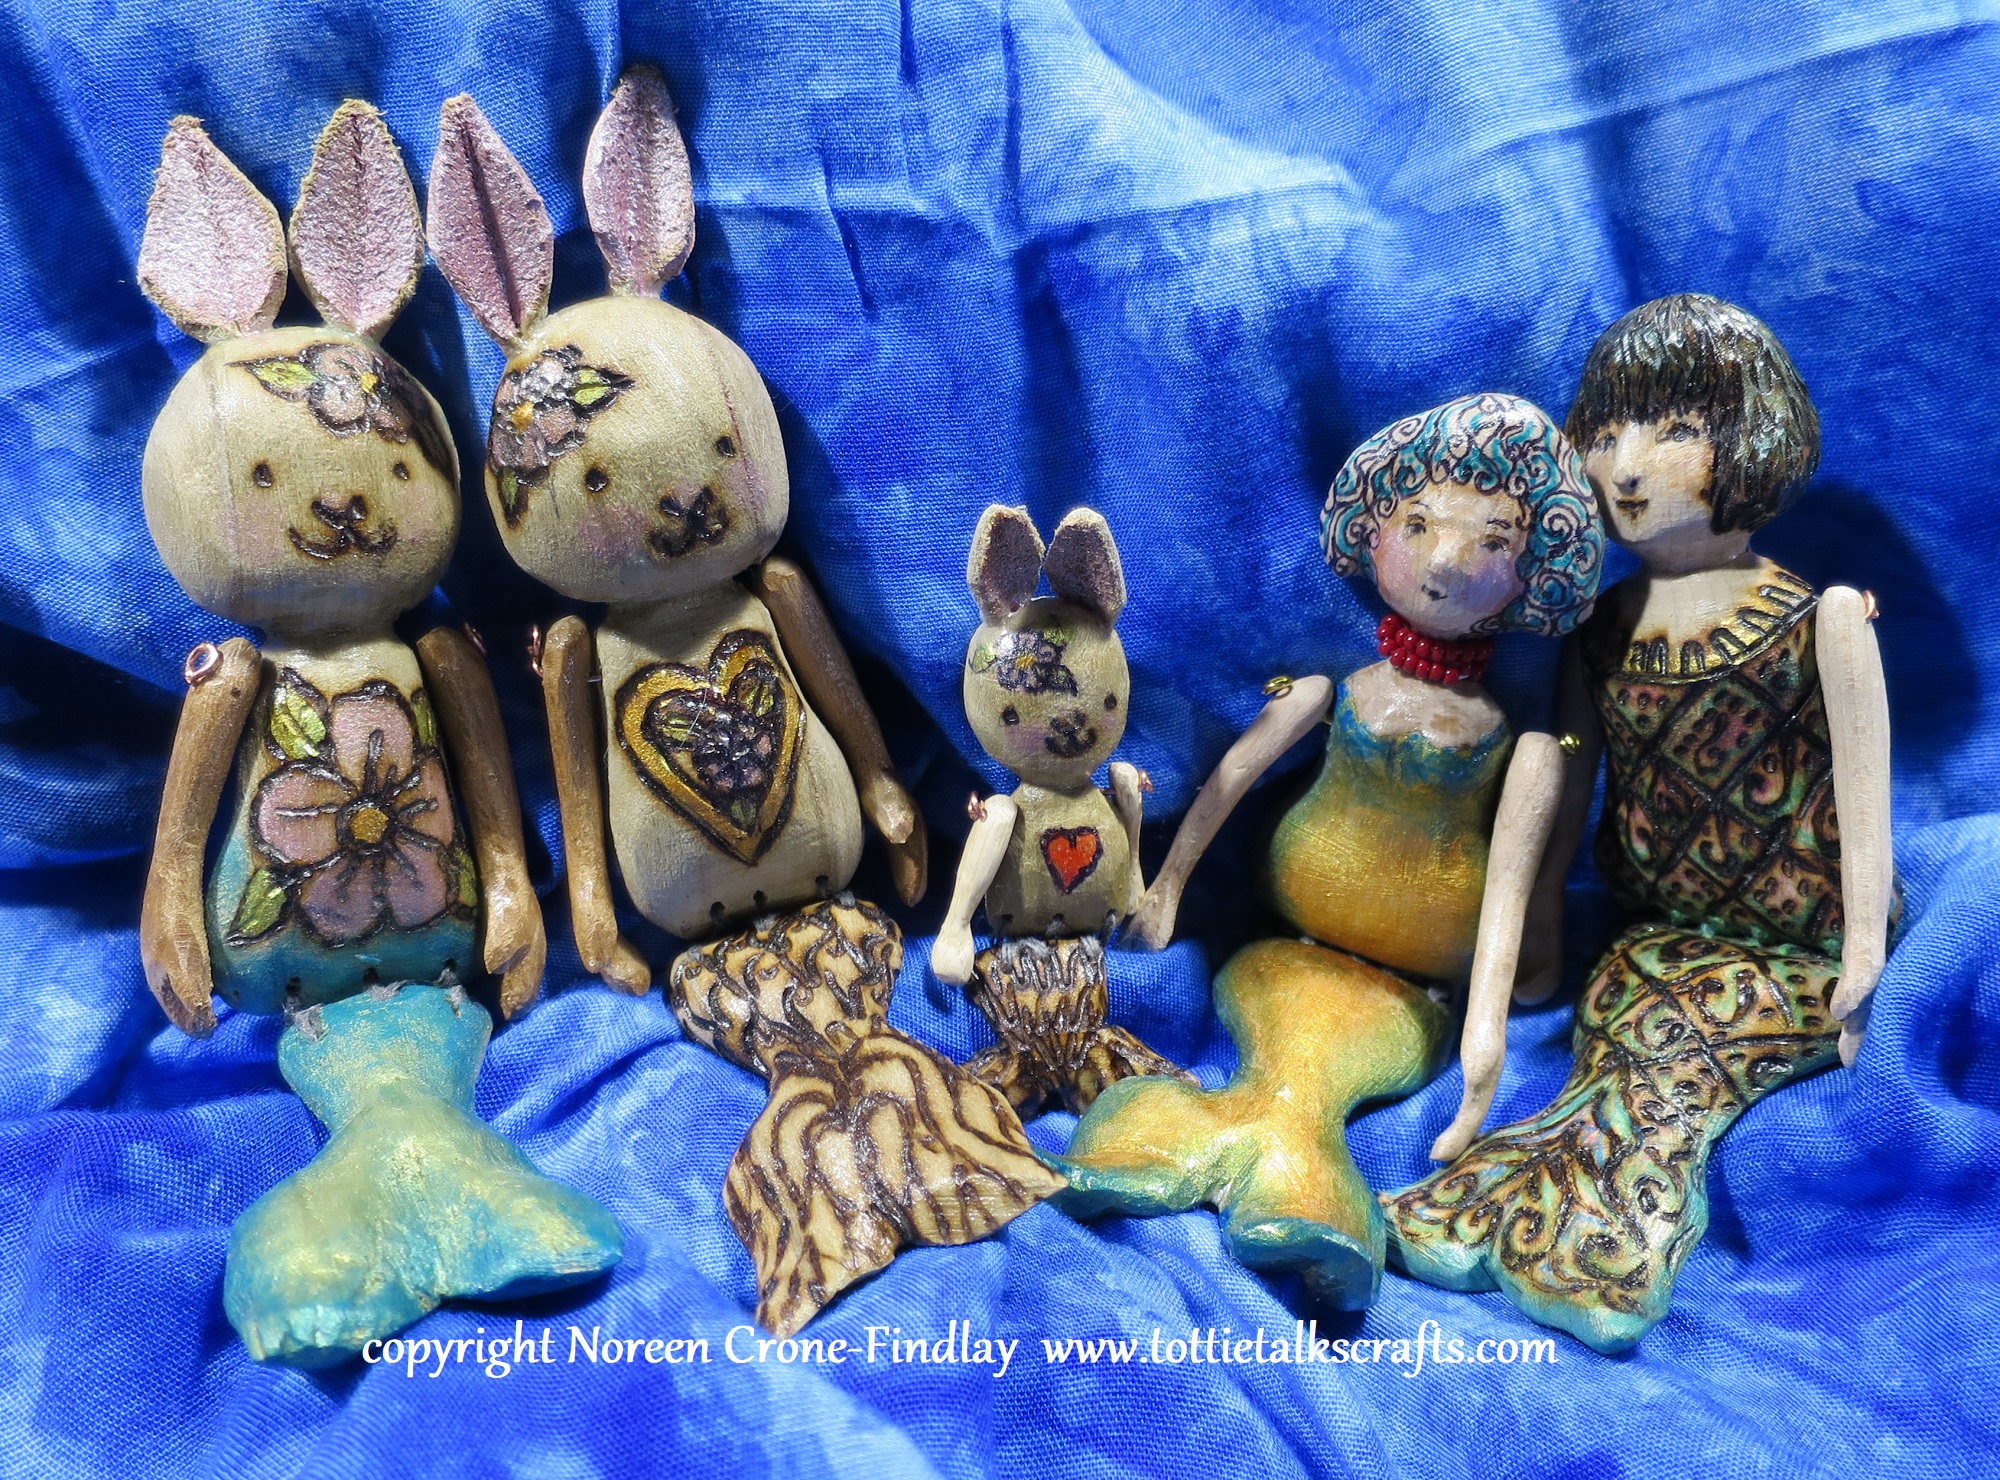
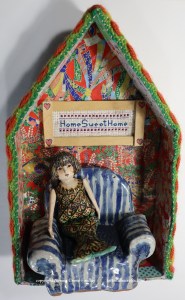
Elise is looking forward to having adventures with the other wooden dolls in the studio.

She has placed a few requests for things that she would like to have, thank you very much.

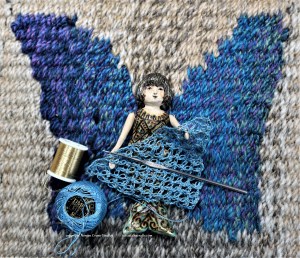
Elise may look young, but you must remember, that she’s a doll with a long, long story!

(and has more to tell, but that is for another day and until then, she and her hedgehog friend will enjoy life in the studio).


I have joined a group of wonderful bloggers from all over the world – The Scrap Happy Bloggers- who work with upcycled materials and post once a month.

Here are the links to all their blogs: Do check them out 🙂

Kate Gun, EvaSue, Lynn, Lynda,
Birthe, Turid, Susan, Cathy,  Tracy, Jill,
Claire, JanMoira, SandraChrisAlys,
KerryClaireJeanJon, HayleyDawn,
Gwen, Bekki, Sue L, Sunny, Kjerstin,
Vera, NanetteAnn, Dawn 2 and Noreen

17 Comments

Filed under carving wood, doll & dolls & dollmaking & doll making, eco crafts & green projects, lace making, tatting, upcycling, wooden dolls, woodwork

How to Make a Tutu for Dolls Using Upcycled Cloth Tea Bags

For links to video on how to upcycle cloth tea bags into Teabag Yarn, and how to weave triangles with it,  please go to: LINK

I love finding fun and unique ways to upcycle things, and so I have had so much fun turning cloth tea bags into yarn and weaving with it, to make tutus for the Merrie Sunshine and Mermaid Minnie Moonbeam dolls.

For the main page about Merrie Sunshine and Minnie Moonbeam dolls, please go to: LINK

Here is the video that shows how to make the Upcycled Tea Bag Tutu:

Leave a comment

Filed under doll & dolls & dollmaking & doll making, eco crafts & green projects, free pattern, Loom & looms & small loom weaving, mermaid, pin loom, potholder loom, tutorial & how to, upcycling, video tutorial, weaving & handwoven, wooden dolls

How to Weave Using Upcycled Teabag Yarn 2 Nails at a Time on Pin Looms

If you want to weave with bulky yarn on a pin loom, it can be challenging.

I’ve made a video, using Upcycled Teabag yarn (here’s the link on how to make upcycled Teabag Yarn: LINK) as the bulky yarn for this example.

When you weave using 2 nails at a time on a pin loom, you can open up all kinds of possibilities for working with art yarns, fabric strip yarn and other bulky yarns.

It’s quick and easy and adds so much creative potential to pin loom weaving.  Yay!

Here’s the how-to video:

Leave a comment

Filed under Loom & looms & small loom weaving, pin loom, tutorial & how to, upcycling, video tutorial, weaving & handwoven

How to Upcycle Cloth Tea Bags into Teabag Yarn

Ahhh, tea!  One of life’s great pleasures!

Some teas come in cloth tea bags that can’t be composted, so instead of throwing them in the garbage,

here’s a great way to upcycle the bags into yarn that you can weave with (or knit or crochet).

I’ve made a video about how to cut the cloth tea bags into fabric yarn-

What can you do with upcycled tea bag yarn?

Weave with it as if it’s regular yarn… for instance, here are a Star , a Dragonfly and Heart woven on pin looms that I designed for Dewberry Ridge Looms

Or: Make upcycled brooches- here’s a video showing how:

More videos  about weaving with teabag yarn –

How to Weave Using Upcycled Teabag Yarn 2 Nails at a Time on Pin Looms:

AND:


AND:

3 Comments

Filed under Dewberry Ridge looms, eco crafts & green projects, gifts & easy to make gifts & presents, Heart Loom, jewelry, Loom & looms & small loom weaving, tutorial & how to, upcycling

Woven Window Hearts

One of the lovely things that people are doing during the pandemic is to hang hearts in the window to cheer up passers by.

This video shows some of the window hearts that I have woven on the 6 inch heart loom that I designed and Dewberry Ridge Looms makes.

The woven window hearts are a great way to use upcycled t-shirt yarn, fabric strips made from torn up worn out household linens or outgrown clothing or bulky yarn or roving or 6 inch potholder loom loops.

I embellished some of the hearts with little dolls that I made from my Rosie Recycle eBook: LINK

The looms are available from LINK

Wishing you all the best- stay well, stay at home if you can, and weave some love into your community!

Leave a comment

Filed under Dewberry Ridge looms, eco crafts & green projects, gifts & easy to make gifts & presents, Heart Loom, Loom & looms & small loom weaving, tutorial & how to, video tutorial

Upcycling old crochet cotton with potholder looms

For many years, I have adopted all the stray balls of crochet cotton that I have found at the thrift shop.

I have happily been using them in many different ways, but now they are coming together to be upcycled into lovely kitchen cloths to use instead of paper towels.

They are a pleasure to weave on potholder looms and are lovely and soft.

While we are all holding the fort at home, let’s create some beauty, and enjoy the sweet pleasure of weaving on simple looms!

Here’s the video I made about this very satisfying form of upcycling.

4 Comments

Filed under eco crafts & green projects, gifts & easy to make gifts & presents, Loom & looms & small loom weaving, potholder loom, tutorial & how to, video tutorial

How to make buttons from twigs and branches

I love making one of a kind wooden buttons from twigs and branches that I find on the ground.

It’s a great eco-friendly project that is upcycling at its best.

They are a great way of embellishing hand woven, knitted, or crocheted fabric, or to make a sewn garment or accessory even more special.

You don’t have to have a woodworking shop full of power tools to make lovely wooden buttons- a few simple  hand tools are all that are necessary.

Here is the video that I made, showing how to make 3 different kinds of buttons from the same twig.

I hope that you will have a wonderful time making your own unique buttons:


4 Comments

Filed under eco crafts & green projects, tutorial & how to, video tutorial, woodwork