Day 72 of #100daysofspoolknittersandlittlelooms- I have always loved making dolls.
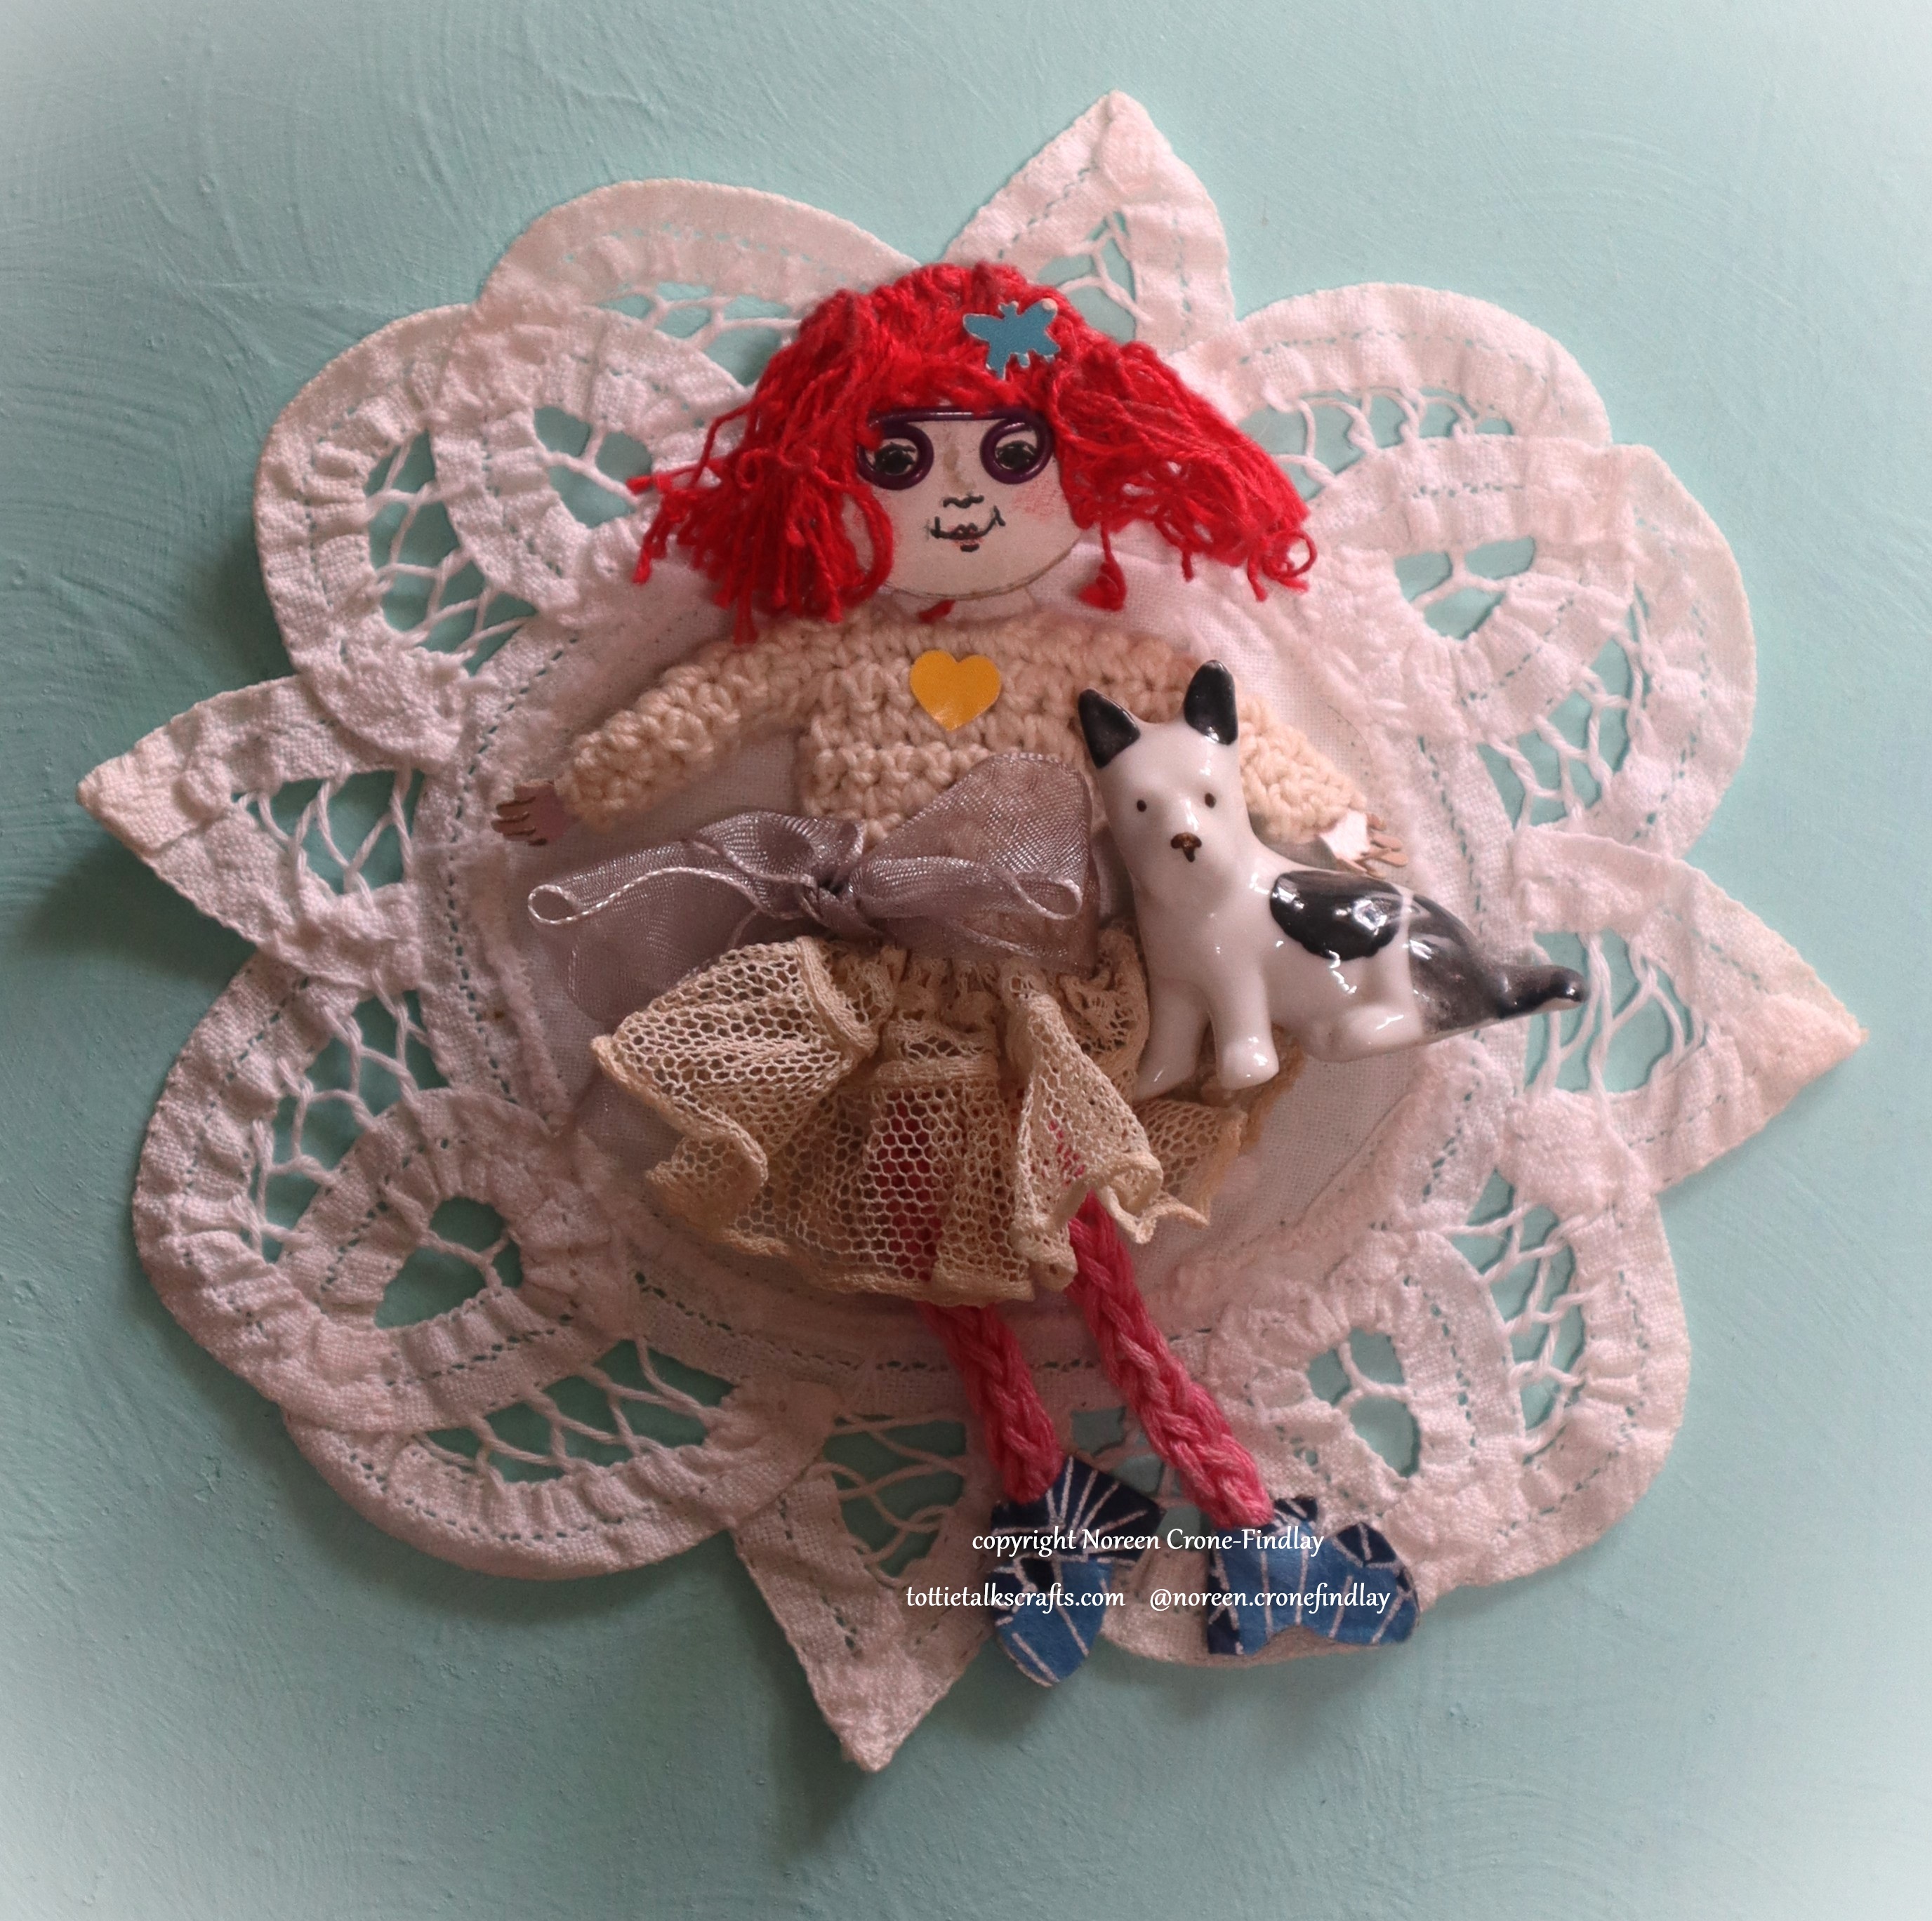
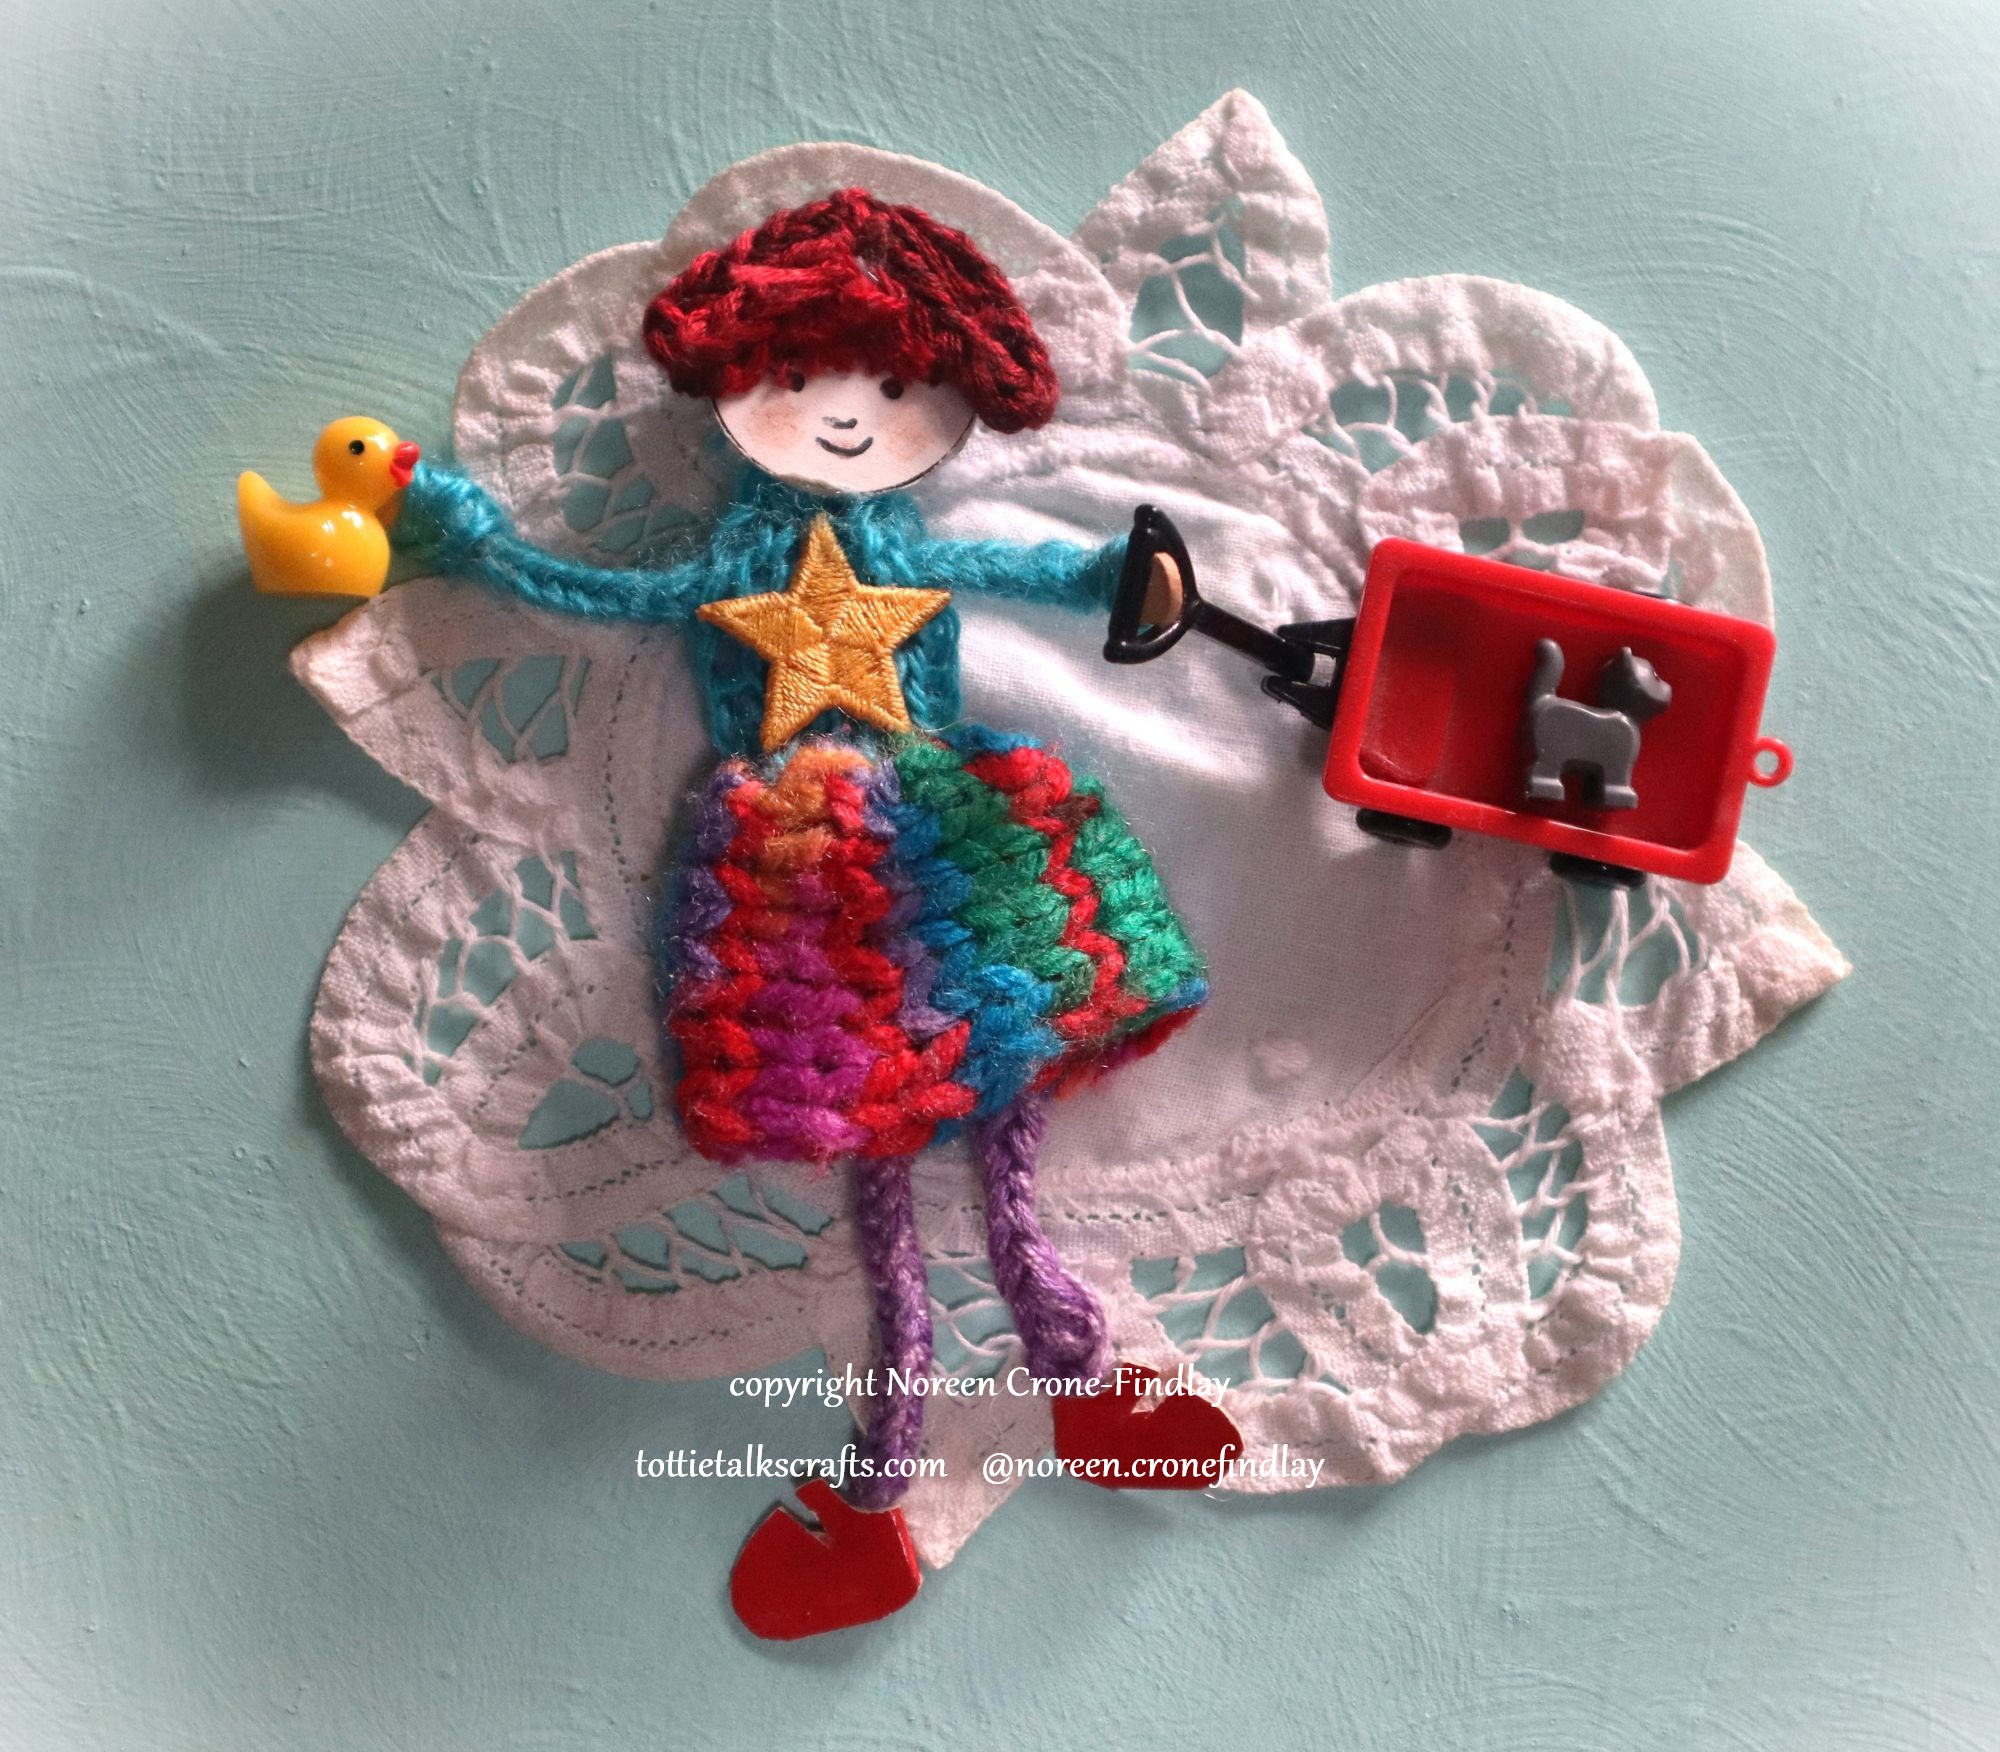
I am a dyed in the wool upcycler, so using upcycled things in my doll making is really important to me.
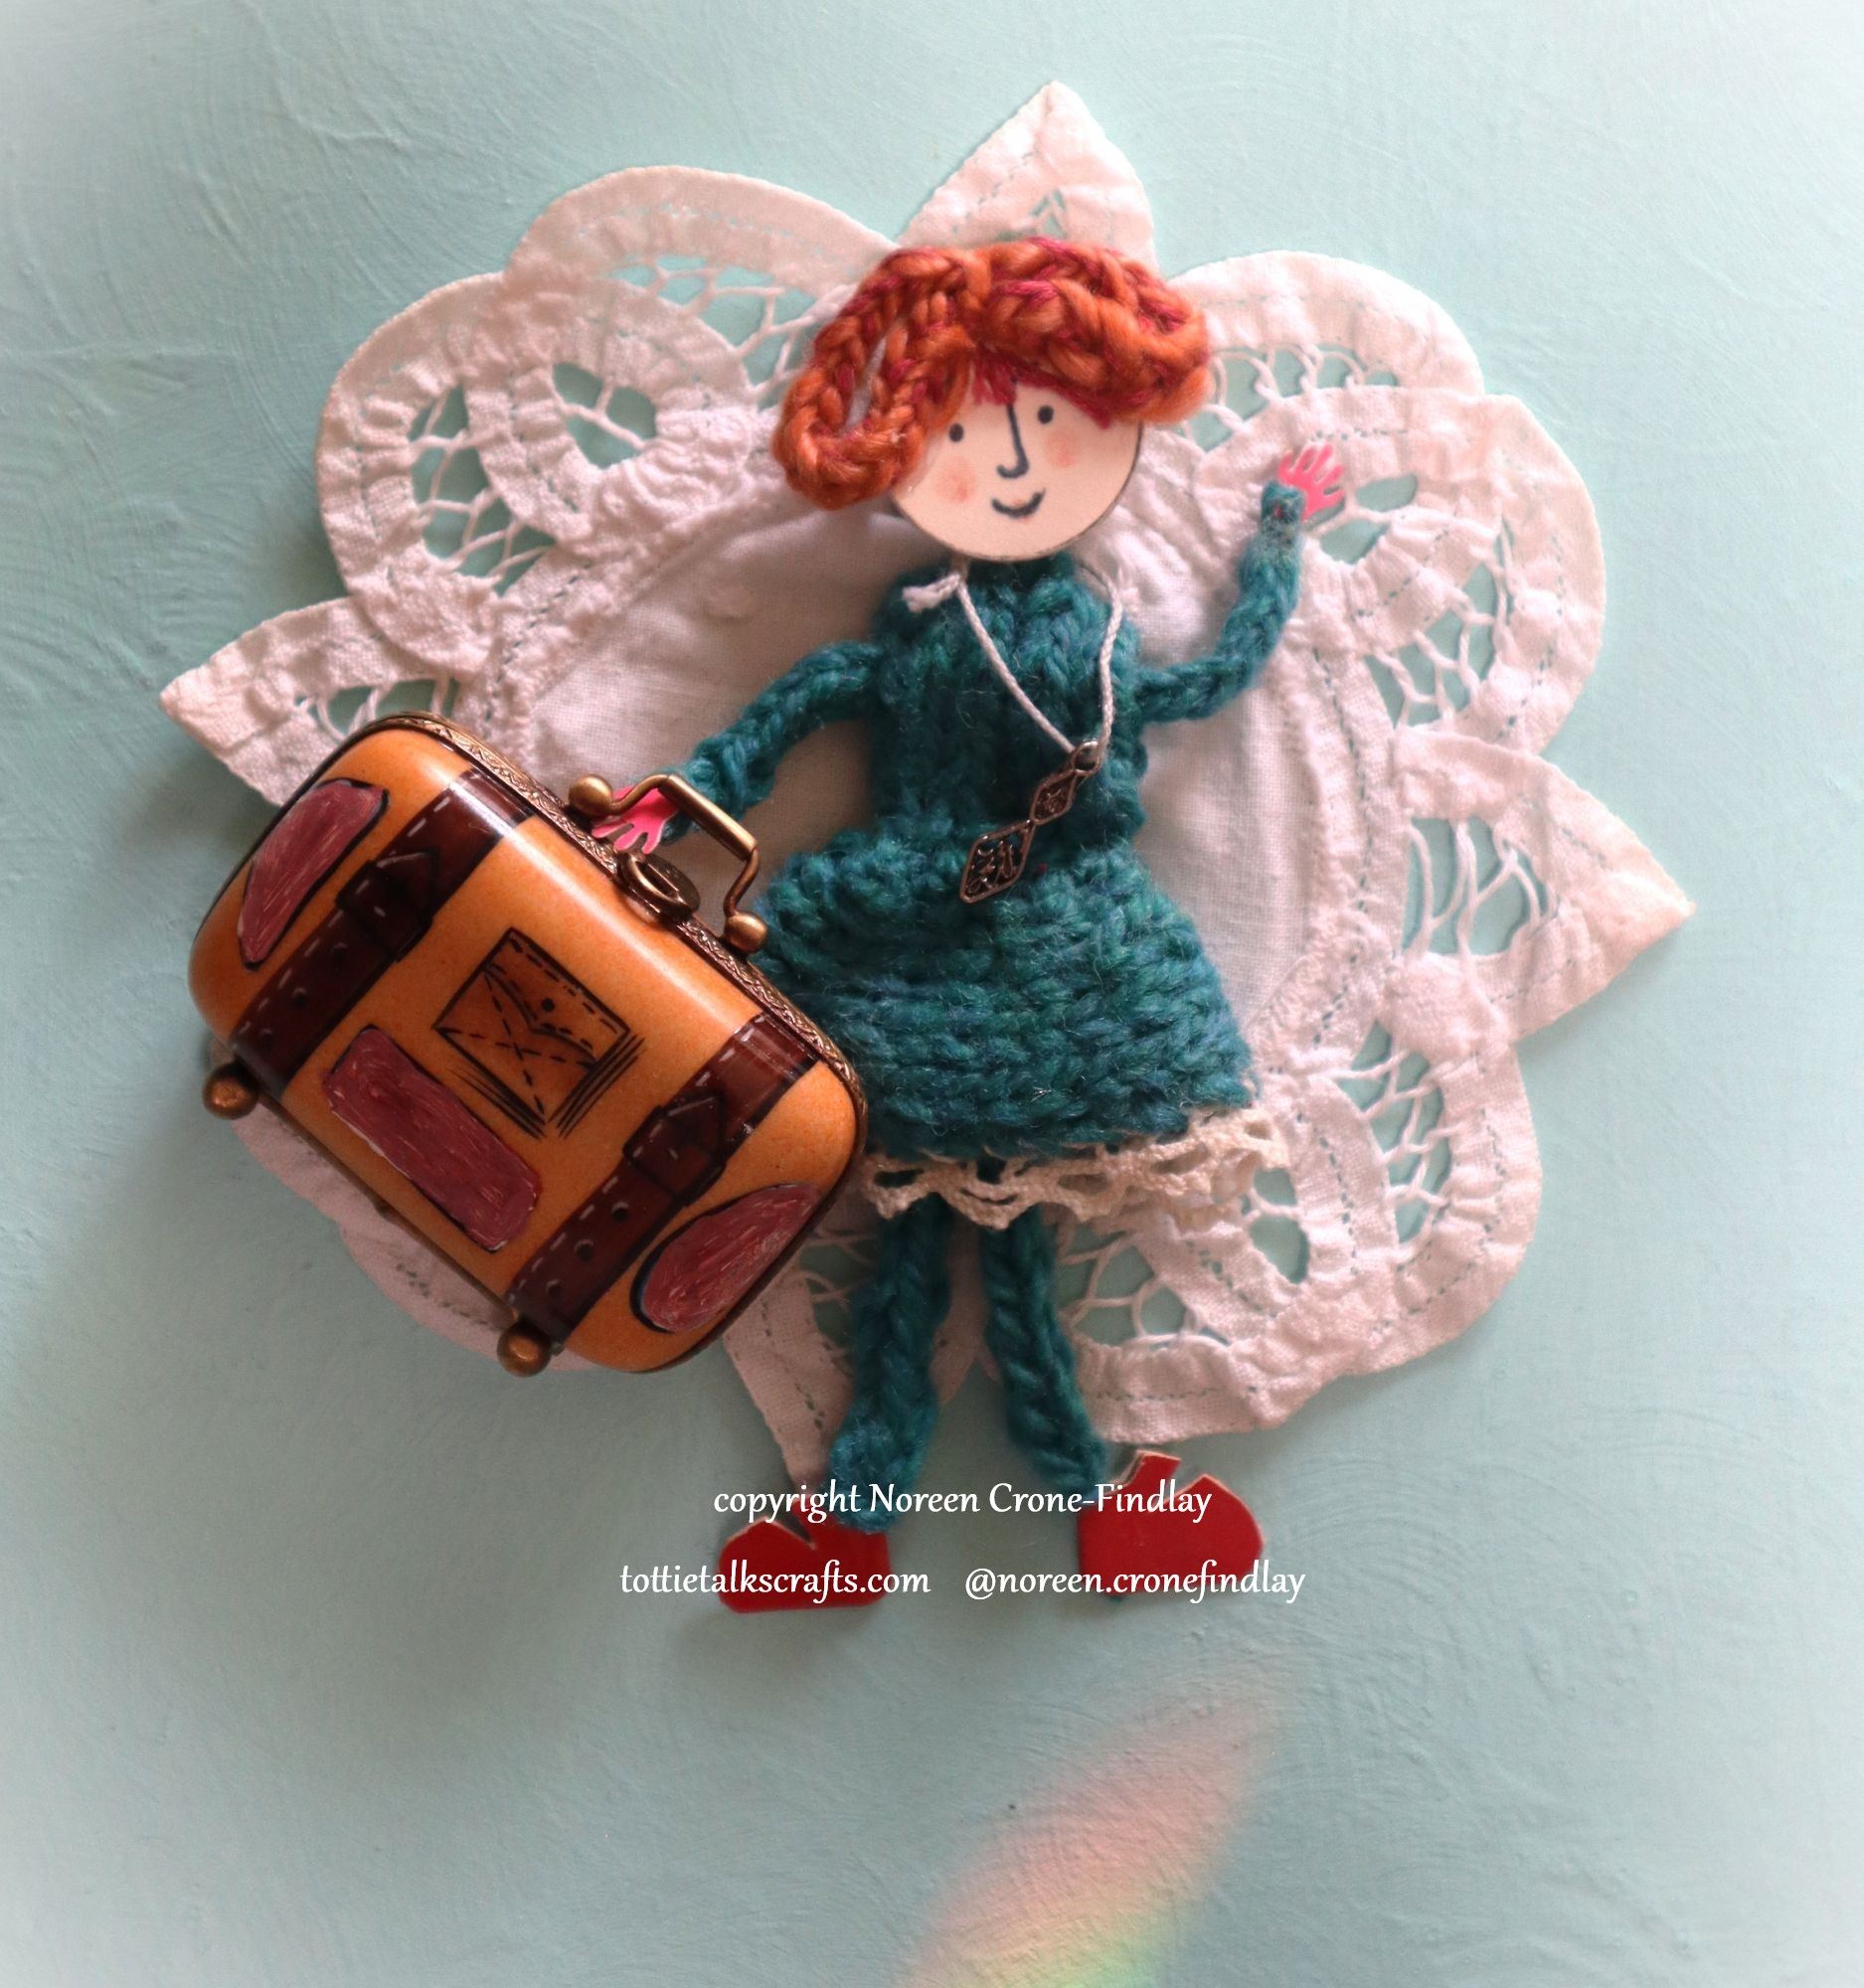
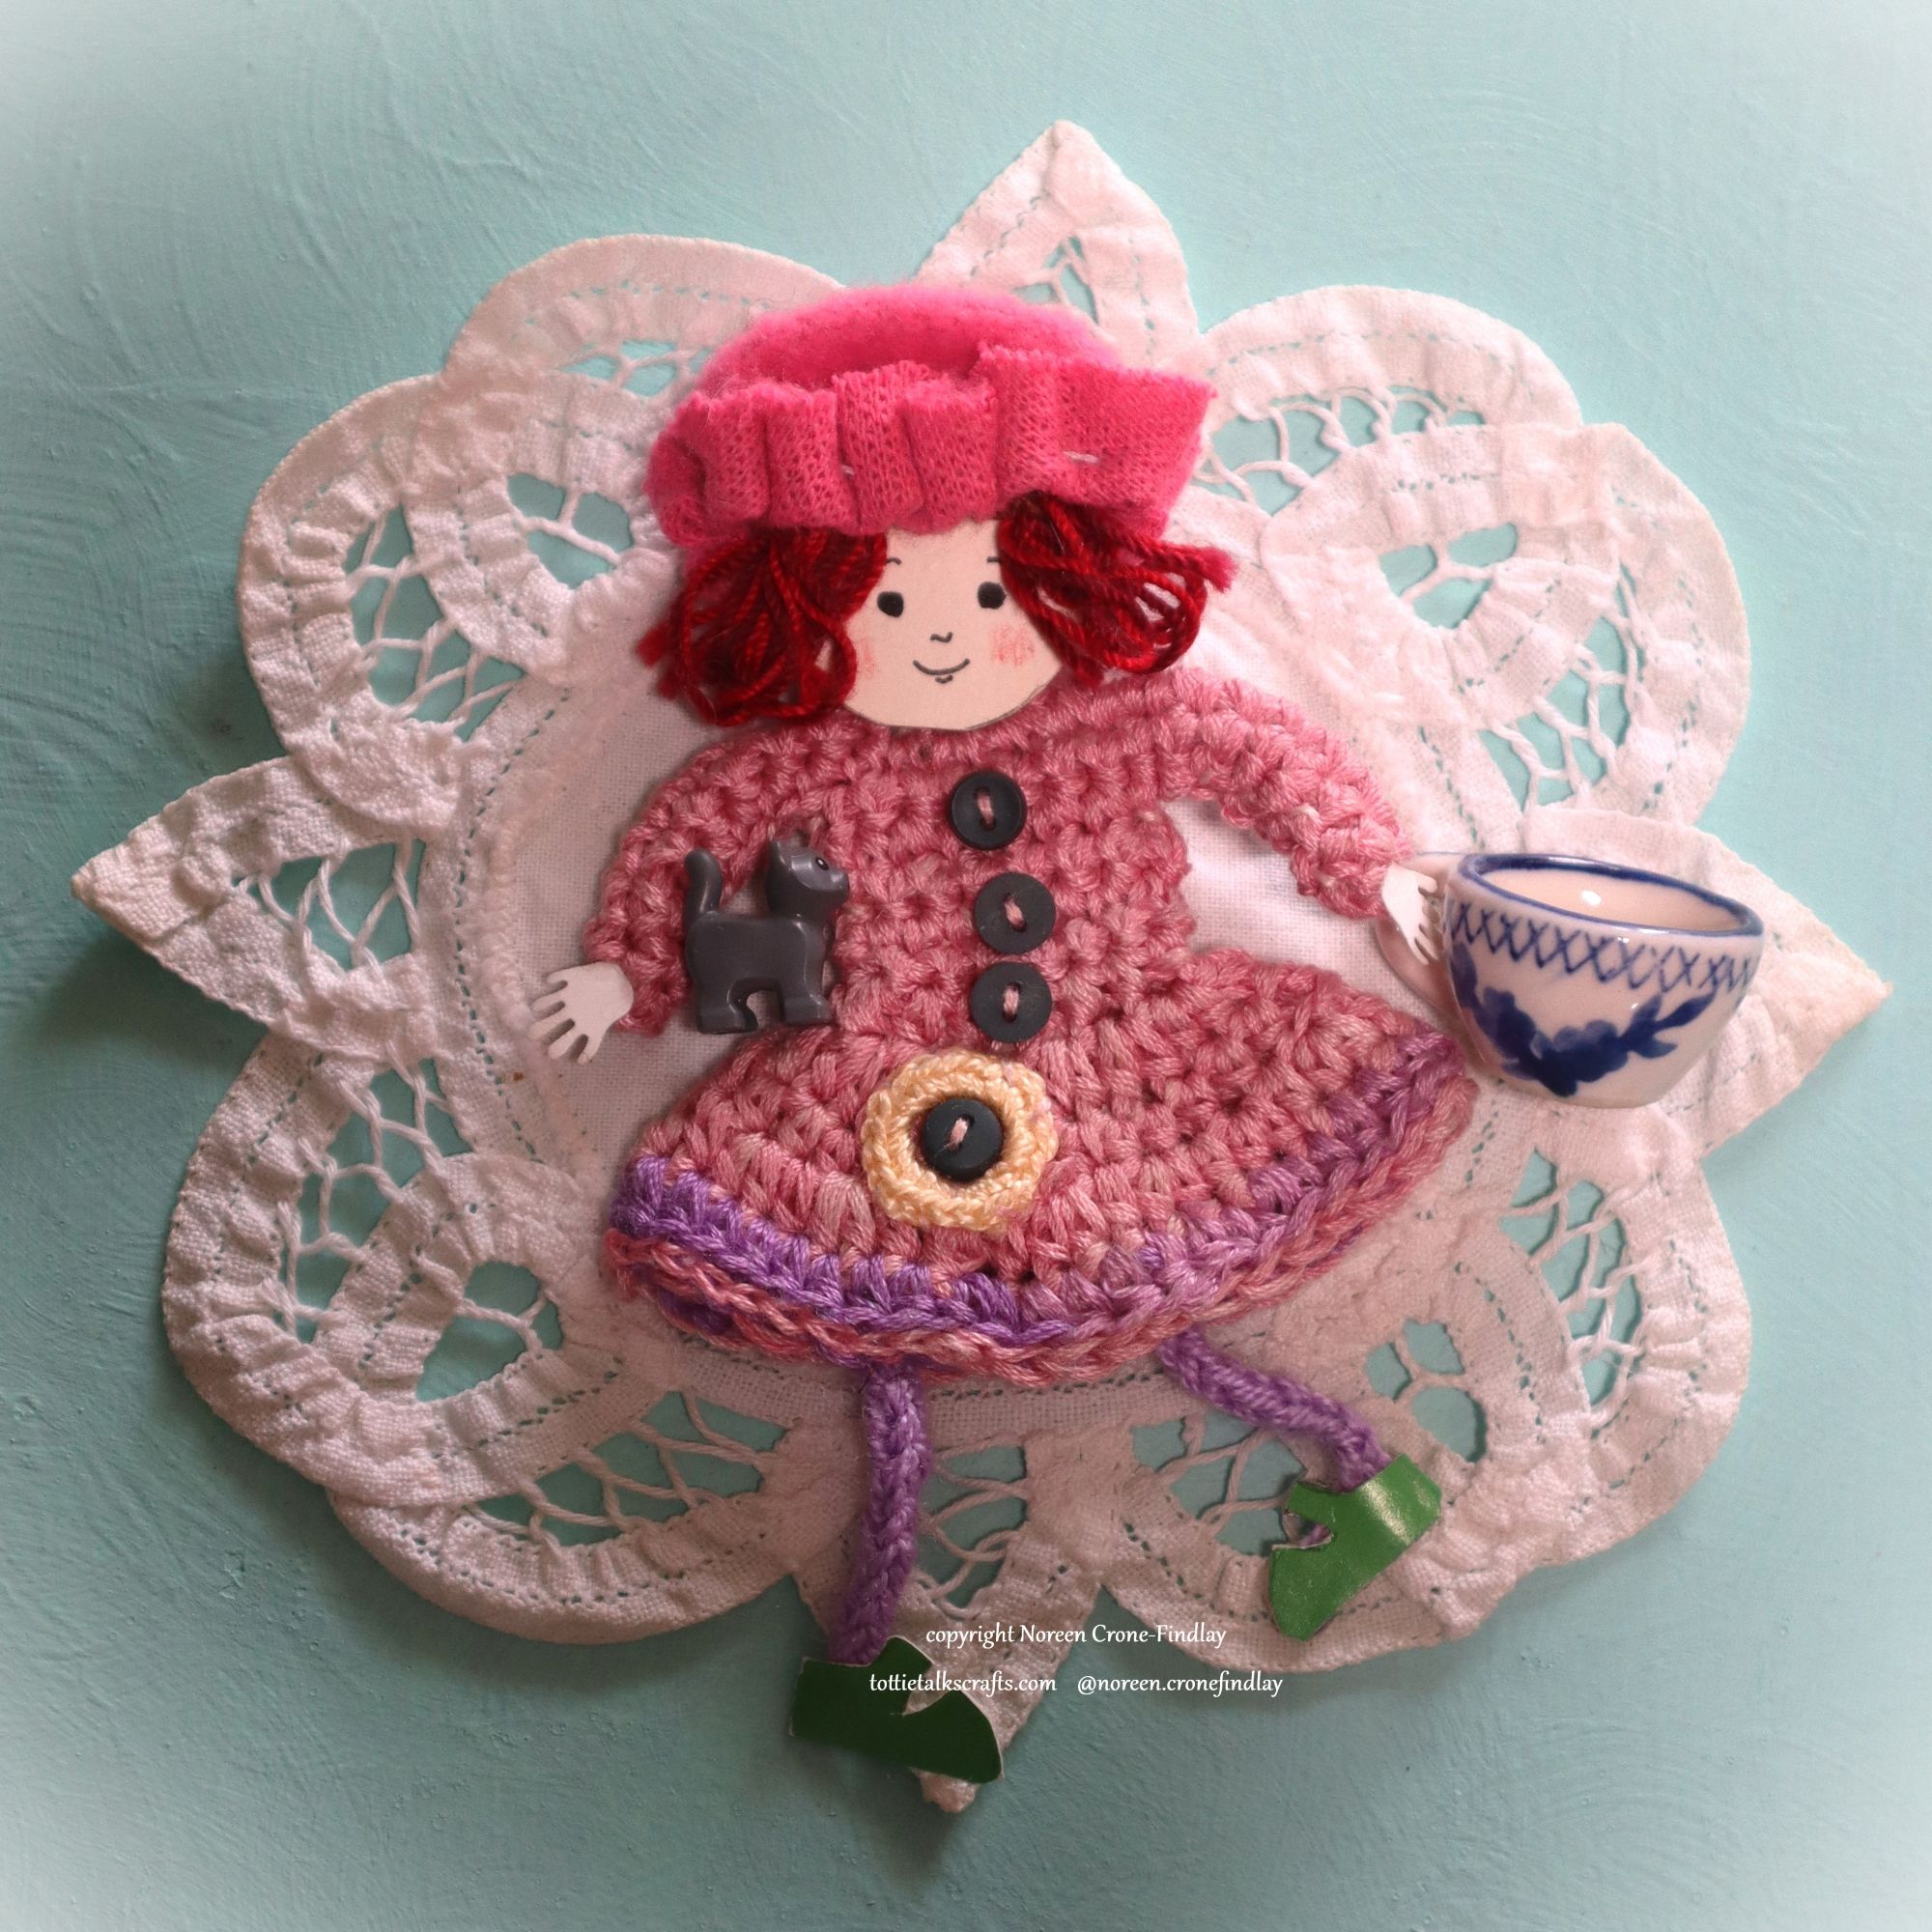
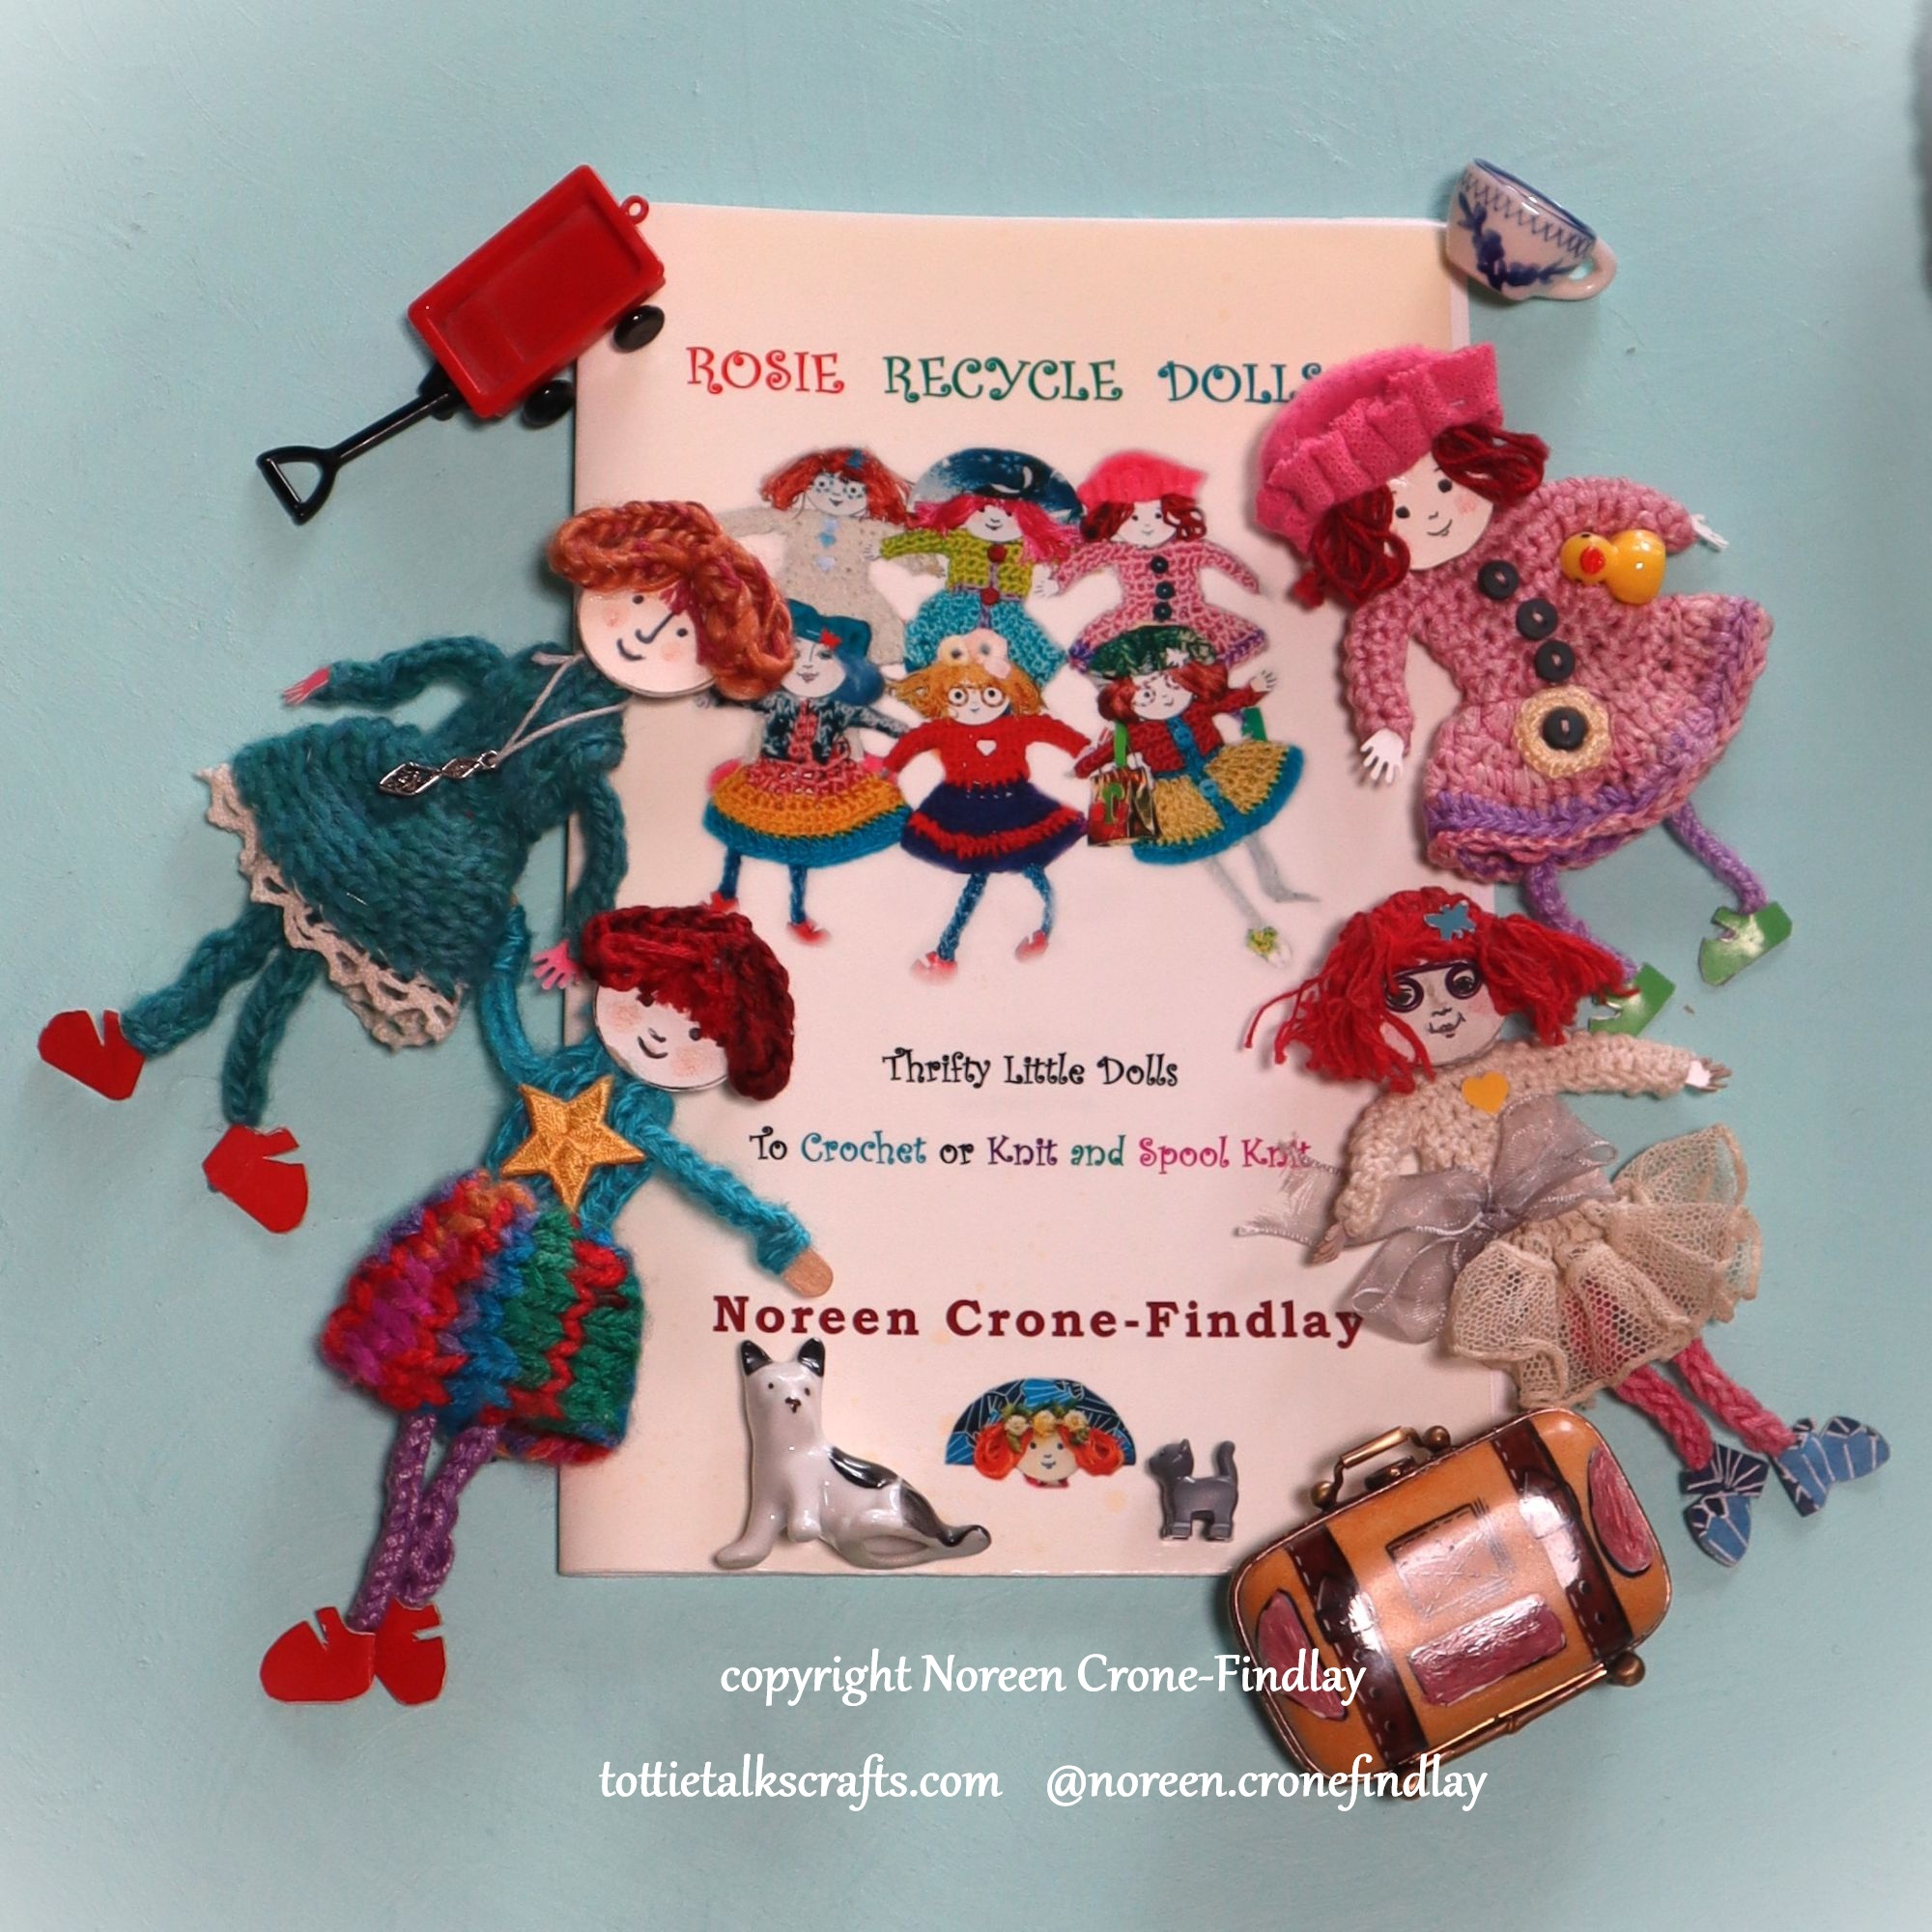
My ‘Rosie Recycle’ dolls are ‘pin dolls’ that have pins on the backs of their heads so they can be hung on a curtain, worn on a lapel or hat, or pinned to bag or backpack.
Their bodies are jointed from the neck so they ‘dance’.
I love them 🙂 They are so much fun to make!
When I wrote the instructions, I didn’t include lucet cords, but the Rosie Recycle dolls can definitely be made with lucet cords as well as spool knitters.
Sometimes, when our bodies are challenged, the best place to dance is in our dreams.
This mixed media Woven Woman tapestry, “The Dance” is part of the Oracle of Stillness: Weaving Coherence in the Chaos series.
I twisted wire to make the armature for “The Dance” and freeform wove the beads to shape her into that moment of stillness that sparks the moment between the movements.
It is the Pause, Breathe, Begin Again that nurtures and heals.
I have been working so hard in my studio for the last year, finishing this large body of work (some elements of the show have taken 10 years to complete!)- I call it ‘The Oracle of Stillness- Weaving Coherence in the Chaos’.
It’s a collection of 50 mixed media Woven Women based on dreams, meditation, sacred geometry, connection to the Feminine Divine and synchronicities in response to navigating intense health issues, grief, parodoxical uprisings of joy- all in the midst of extraordinary chaos in the world around us.
The techniques that I have focused on to create the Oracle of Stillness Woven Women are: small loom weaving, tatting and other lace making techniques, crochet, beading, wire work, painting and more. I designed armatures for the pieces and my husband welded them for me for almost all the pieces.
The exhibition opens on October 17th and my Beloved husband, mentor, guide and dearest life friend and partner Jim Findlay will be playing gorgeous music with his wonderful Trio for the Opening.
Last week, we went to a baby shower for friends who are soon to be parents.
I was so delighted to see how many handmade gifts were given to this soon to be among us little sweet person!
Quilting, sewing knitting and crochet were all beautifully shared by the extended family. Delightful!
What did we give to the new baby?
Well, since his parents love space and planets, and have decorated the nursery with all many of space and planet images, it seemed like a good idea to me to give Lil Baby a Star Mobile…. yup… from my book: Crochet Stars. With love, of course! ❤
I have worked with my dreams all my adult life. I use the images, stories, and themes that happen in my dreams to shape my art and artisanship.
After my beloved son in law died suddenly from a heart catastrophe brought on by Covid, I had incredibly powerful dreams in which I was able to talk with him and listen to his new stories about his journey after this death.
He told me that I absolutely HAD to write a book about finding my way to hope and grace in living with the all encompassing grief unleashed by his passing…..
I was also having many dreams about Star Babies….. I have been dreaming about Star Babies for more than 30 years… I dreamt, over and over, about how the Star Babies were the most amazing experience of joyous, innocent, contagious and delicious laughter. Dreaming about them and their new adventures was incredibly healing. They lead me to keep finding references to how the stars offer us laughter and connection and hope, which I felt was synchronicity working it’s finest magic.
I was finding so much comfort and solace in my crochet, and talked with my wonderful editor at Stackpole, Candi Derr. We agreed that we can heal our broken hearts with lovingly creating small, but significant things that wrap up our love. And as we talked and I designed, and crocheted, crocheted, crocheted, it became clear that stars were meant to be the metaphor, and pardon the pun, but the STARS of this book.
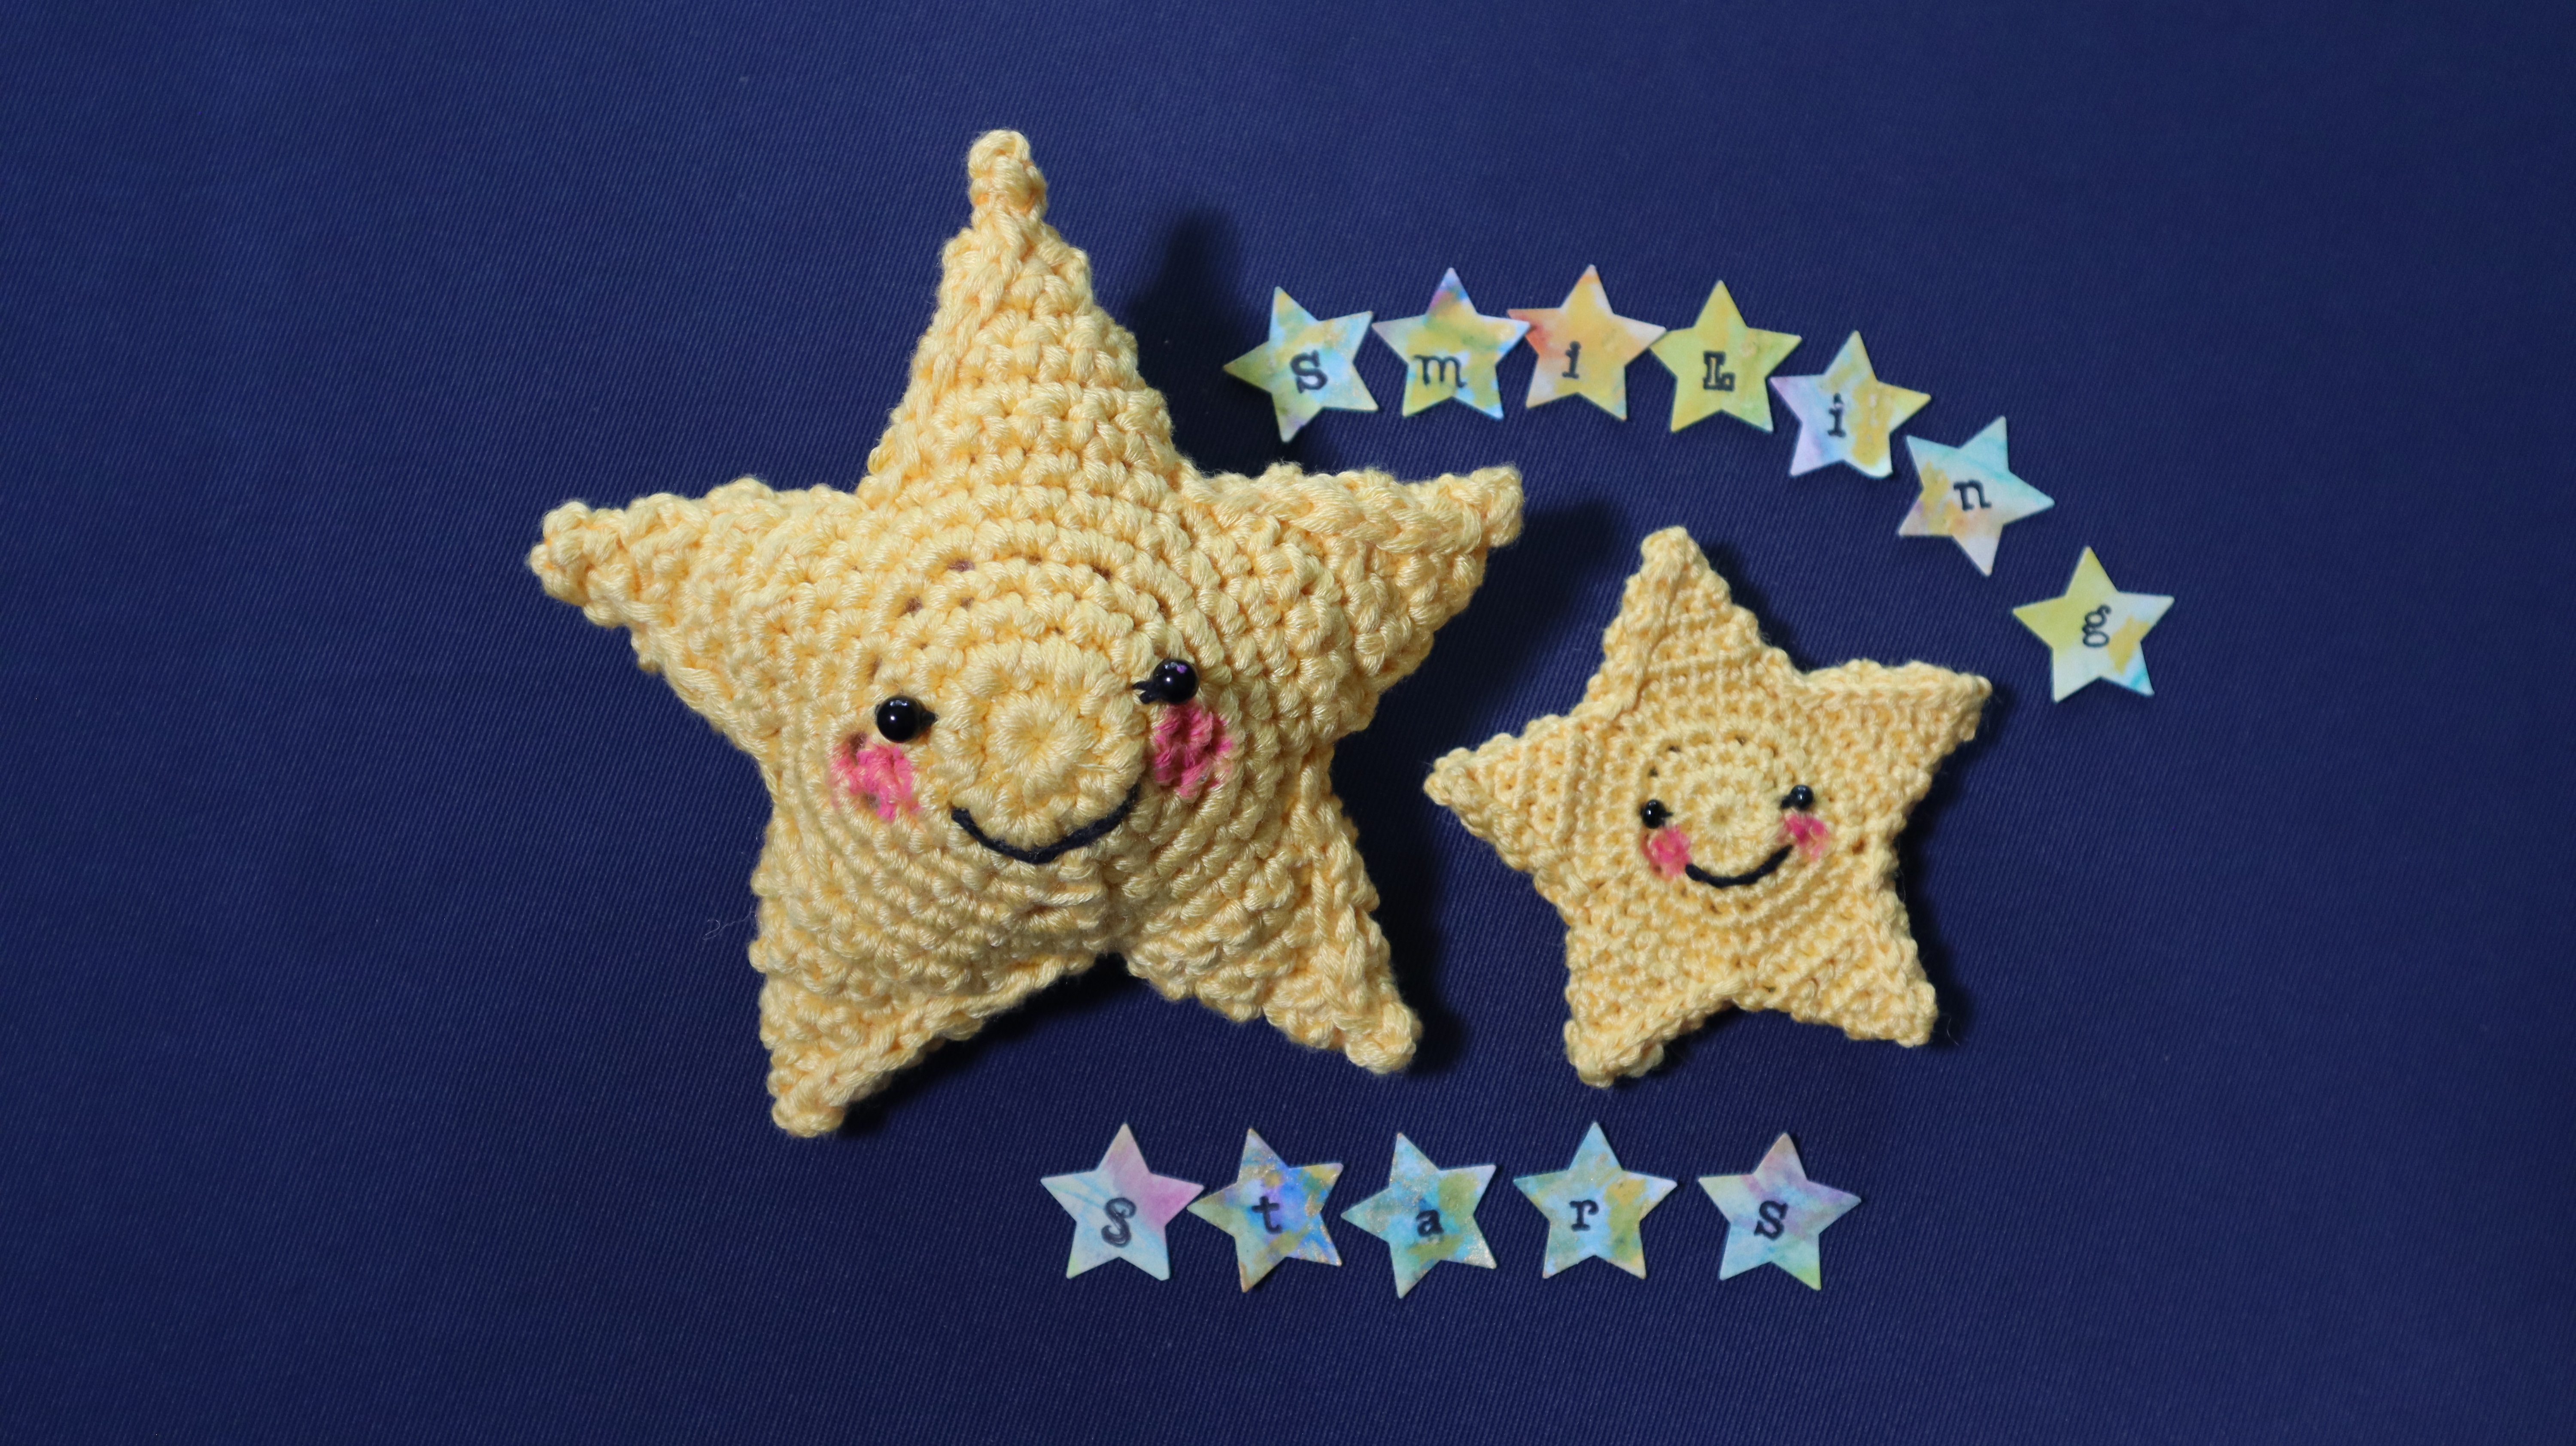
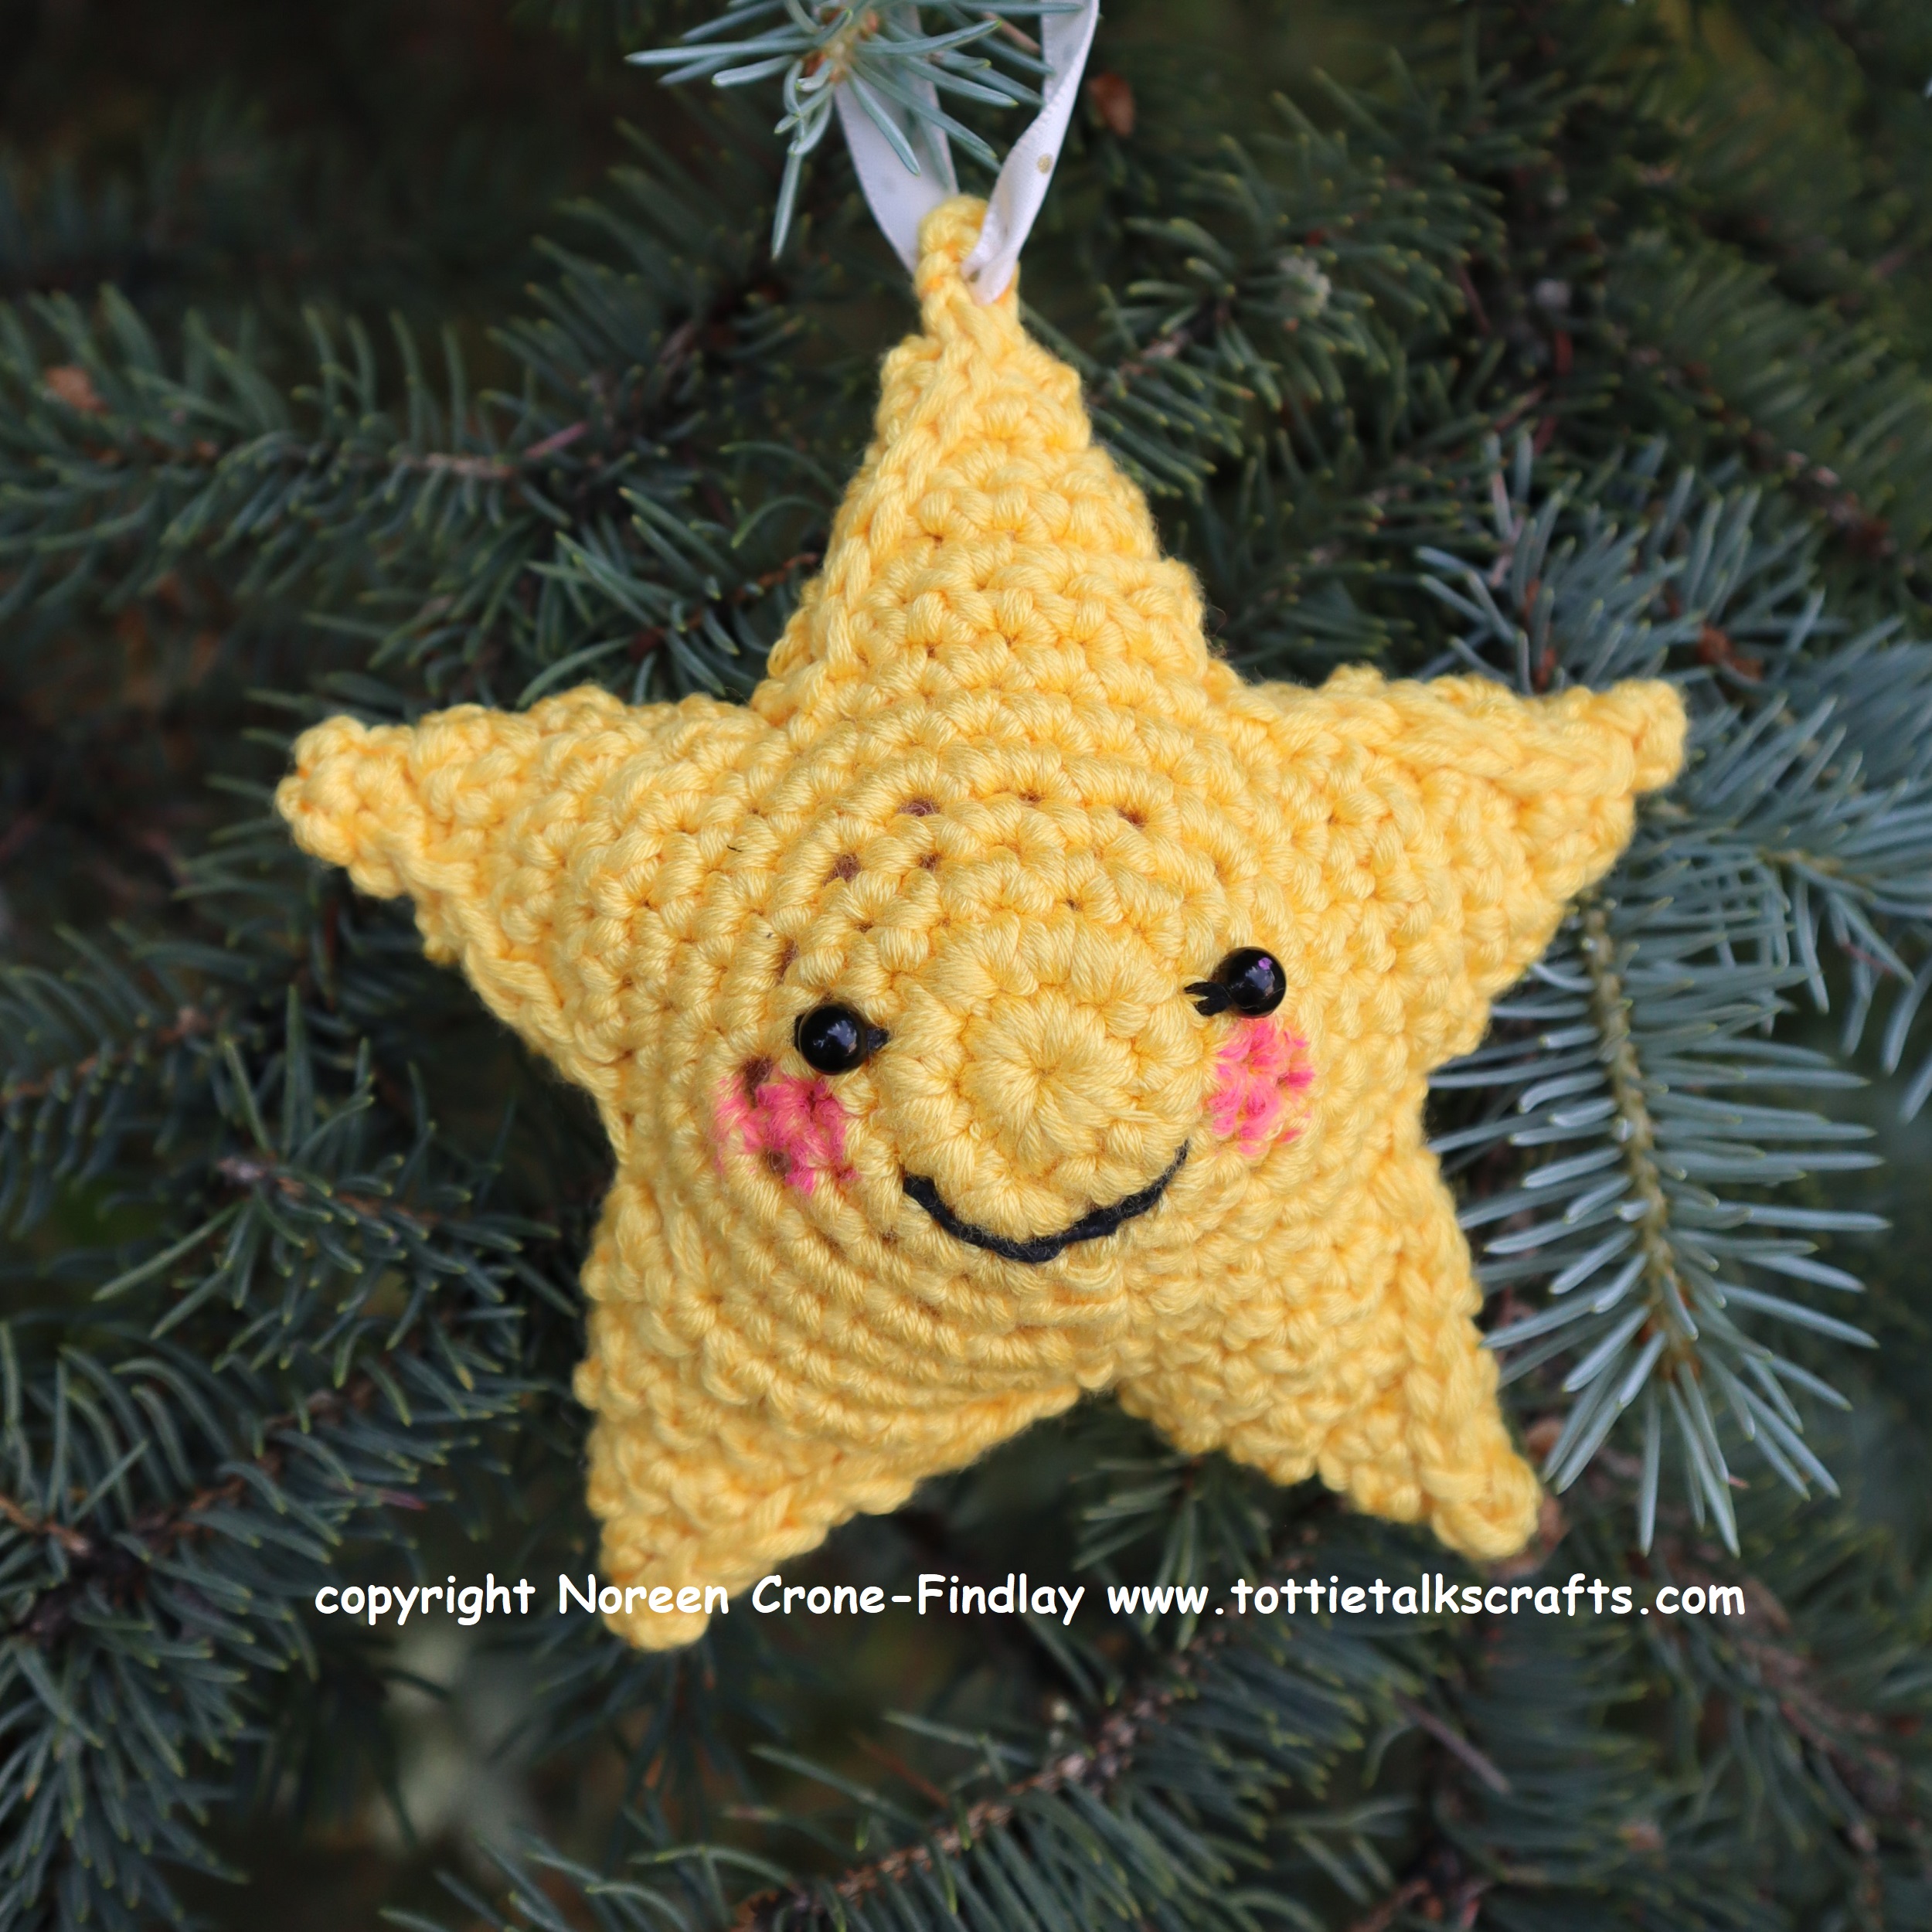
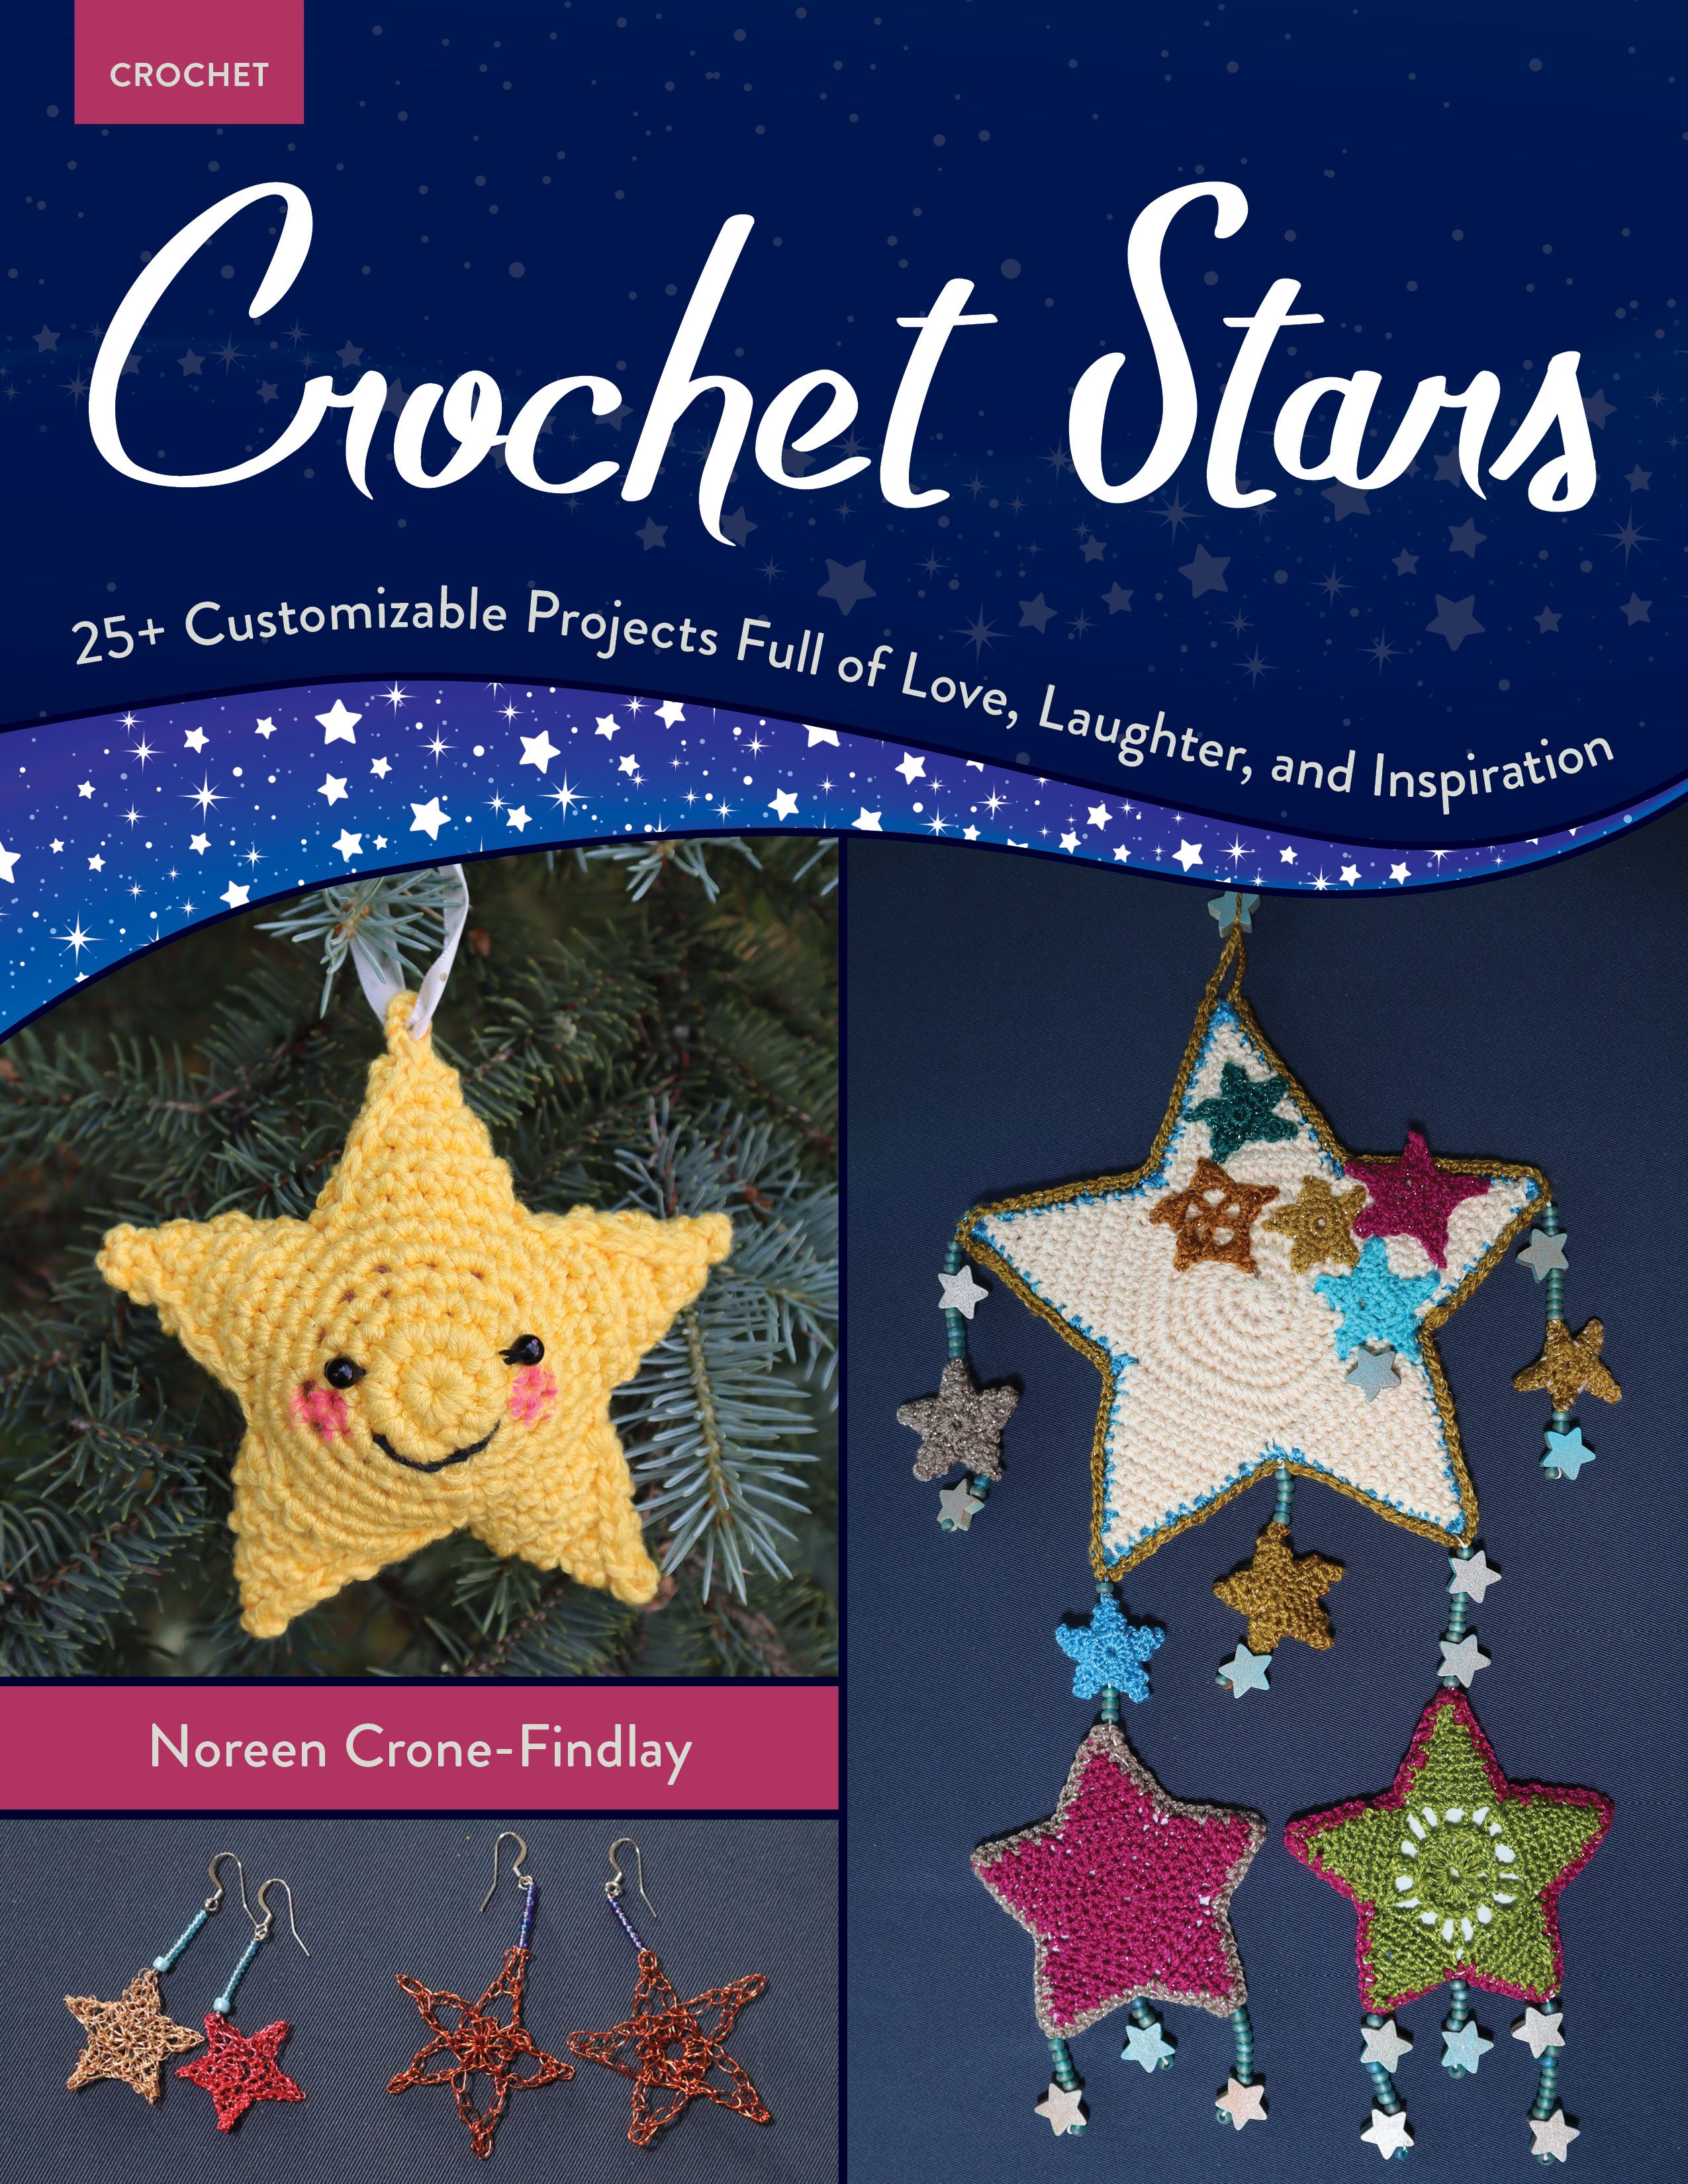
Of course, I had to begin with the Laughing Stars that evolved from the Star Babies, and that seeded this book, Crochet Stars-
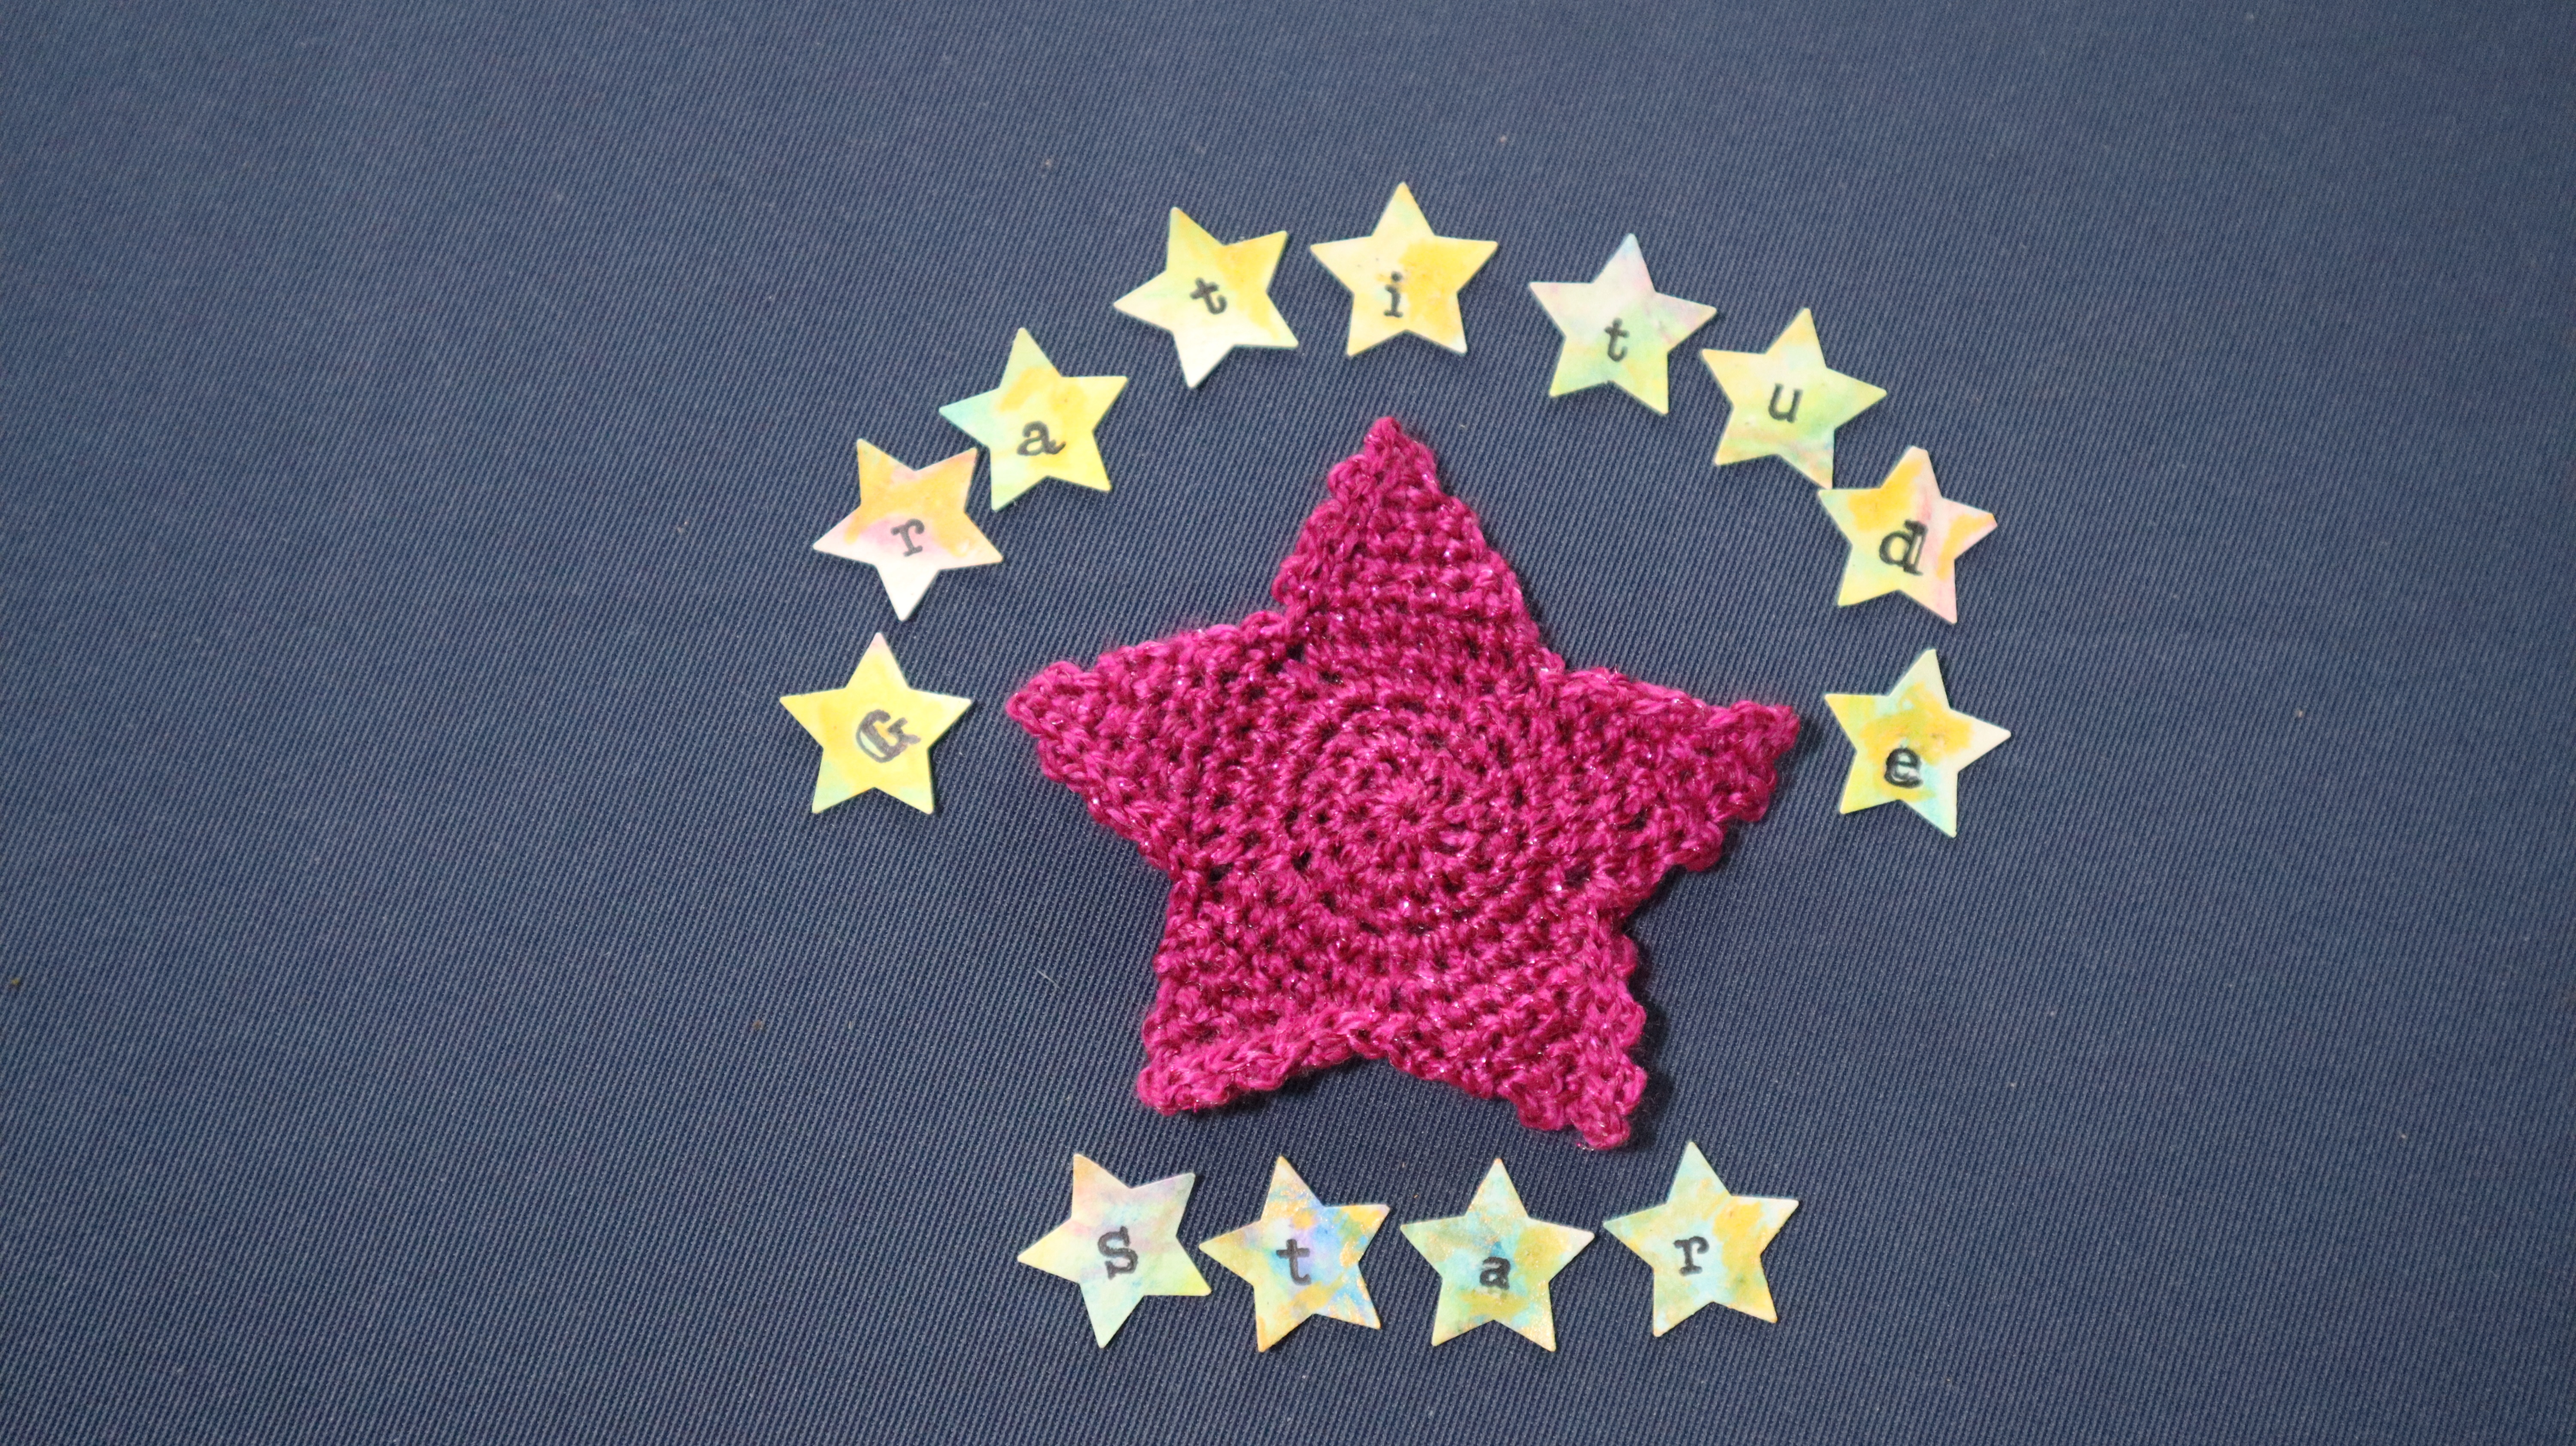
And then, I found all kinds of ways of creating more and more stars….
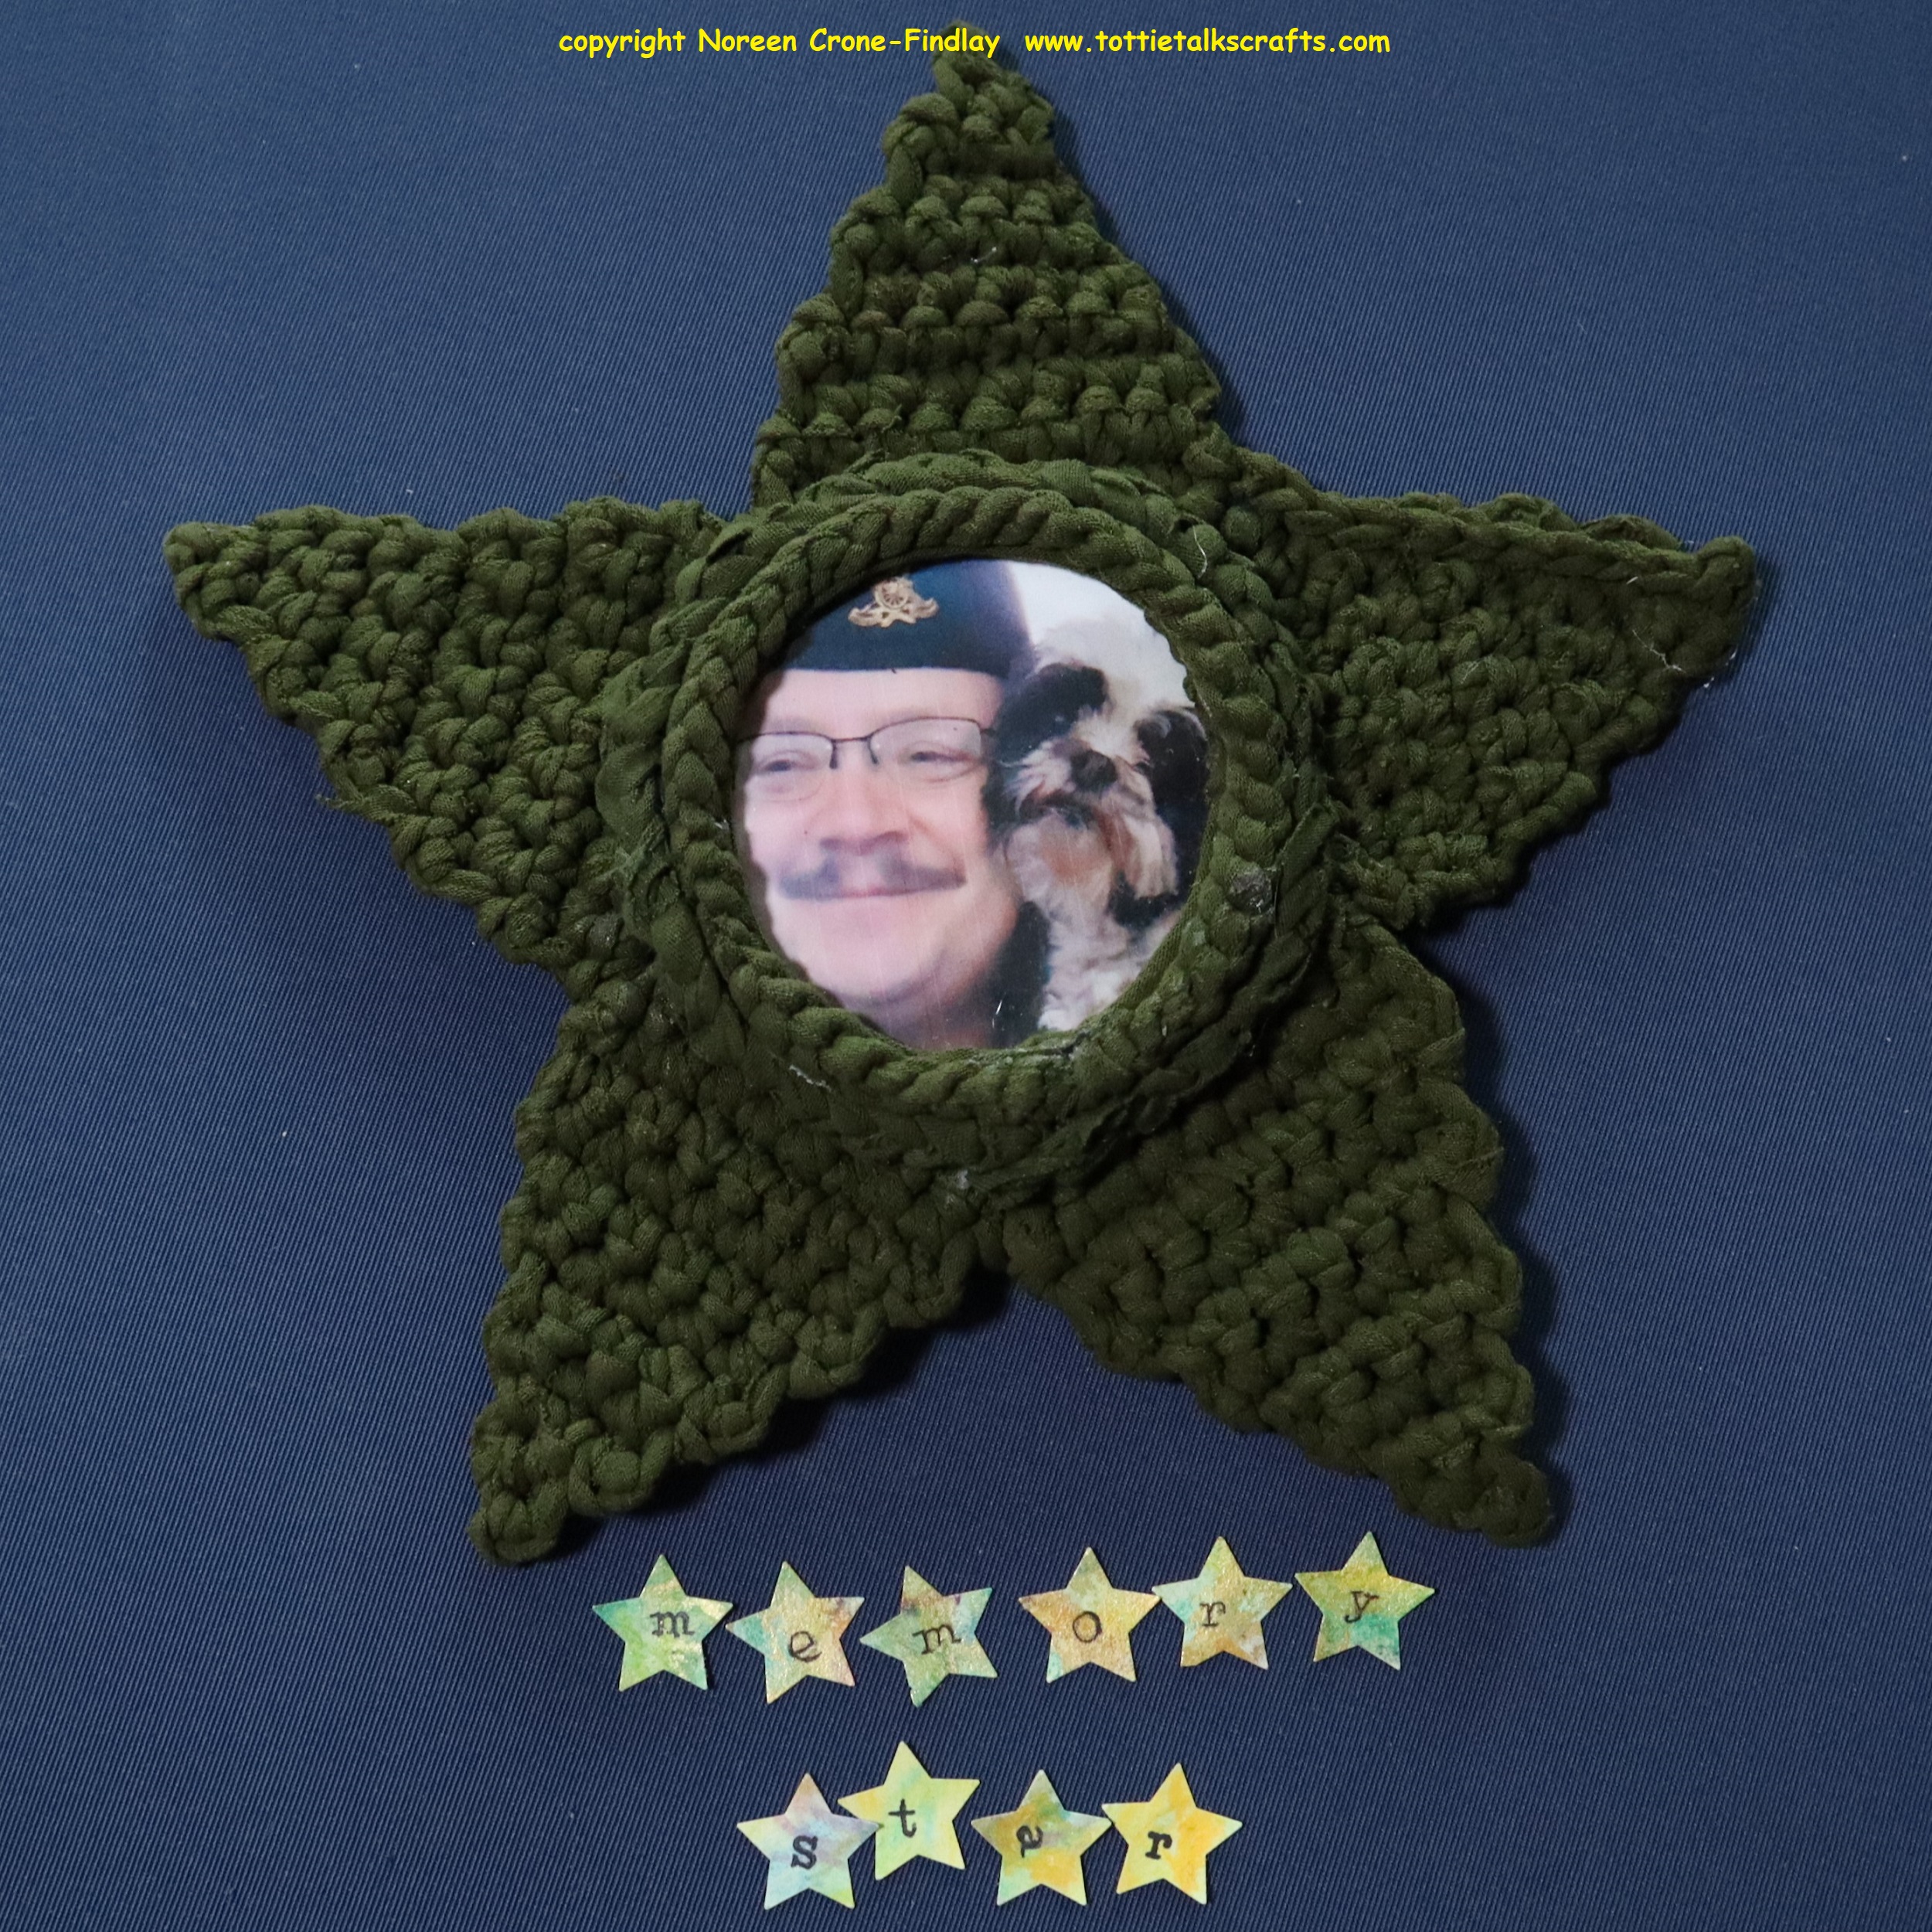
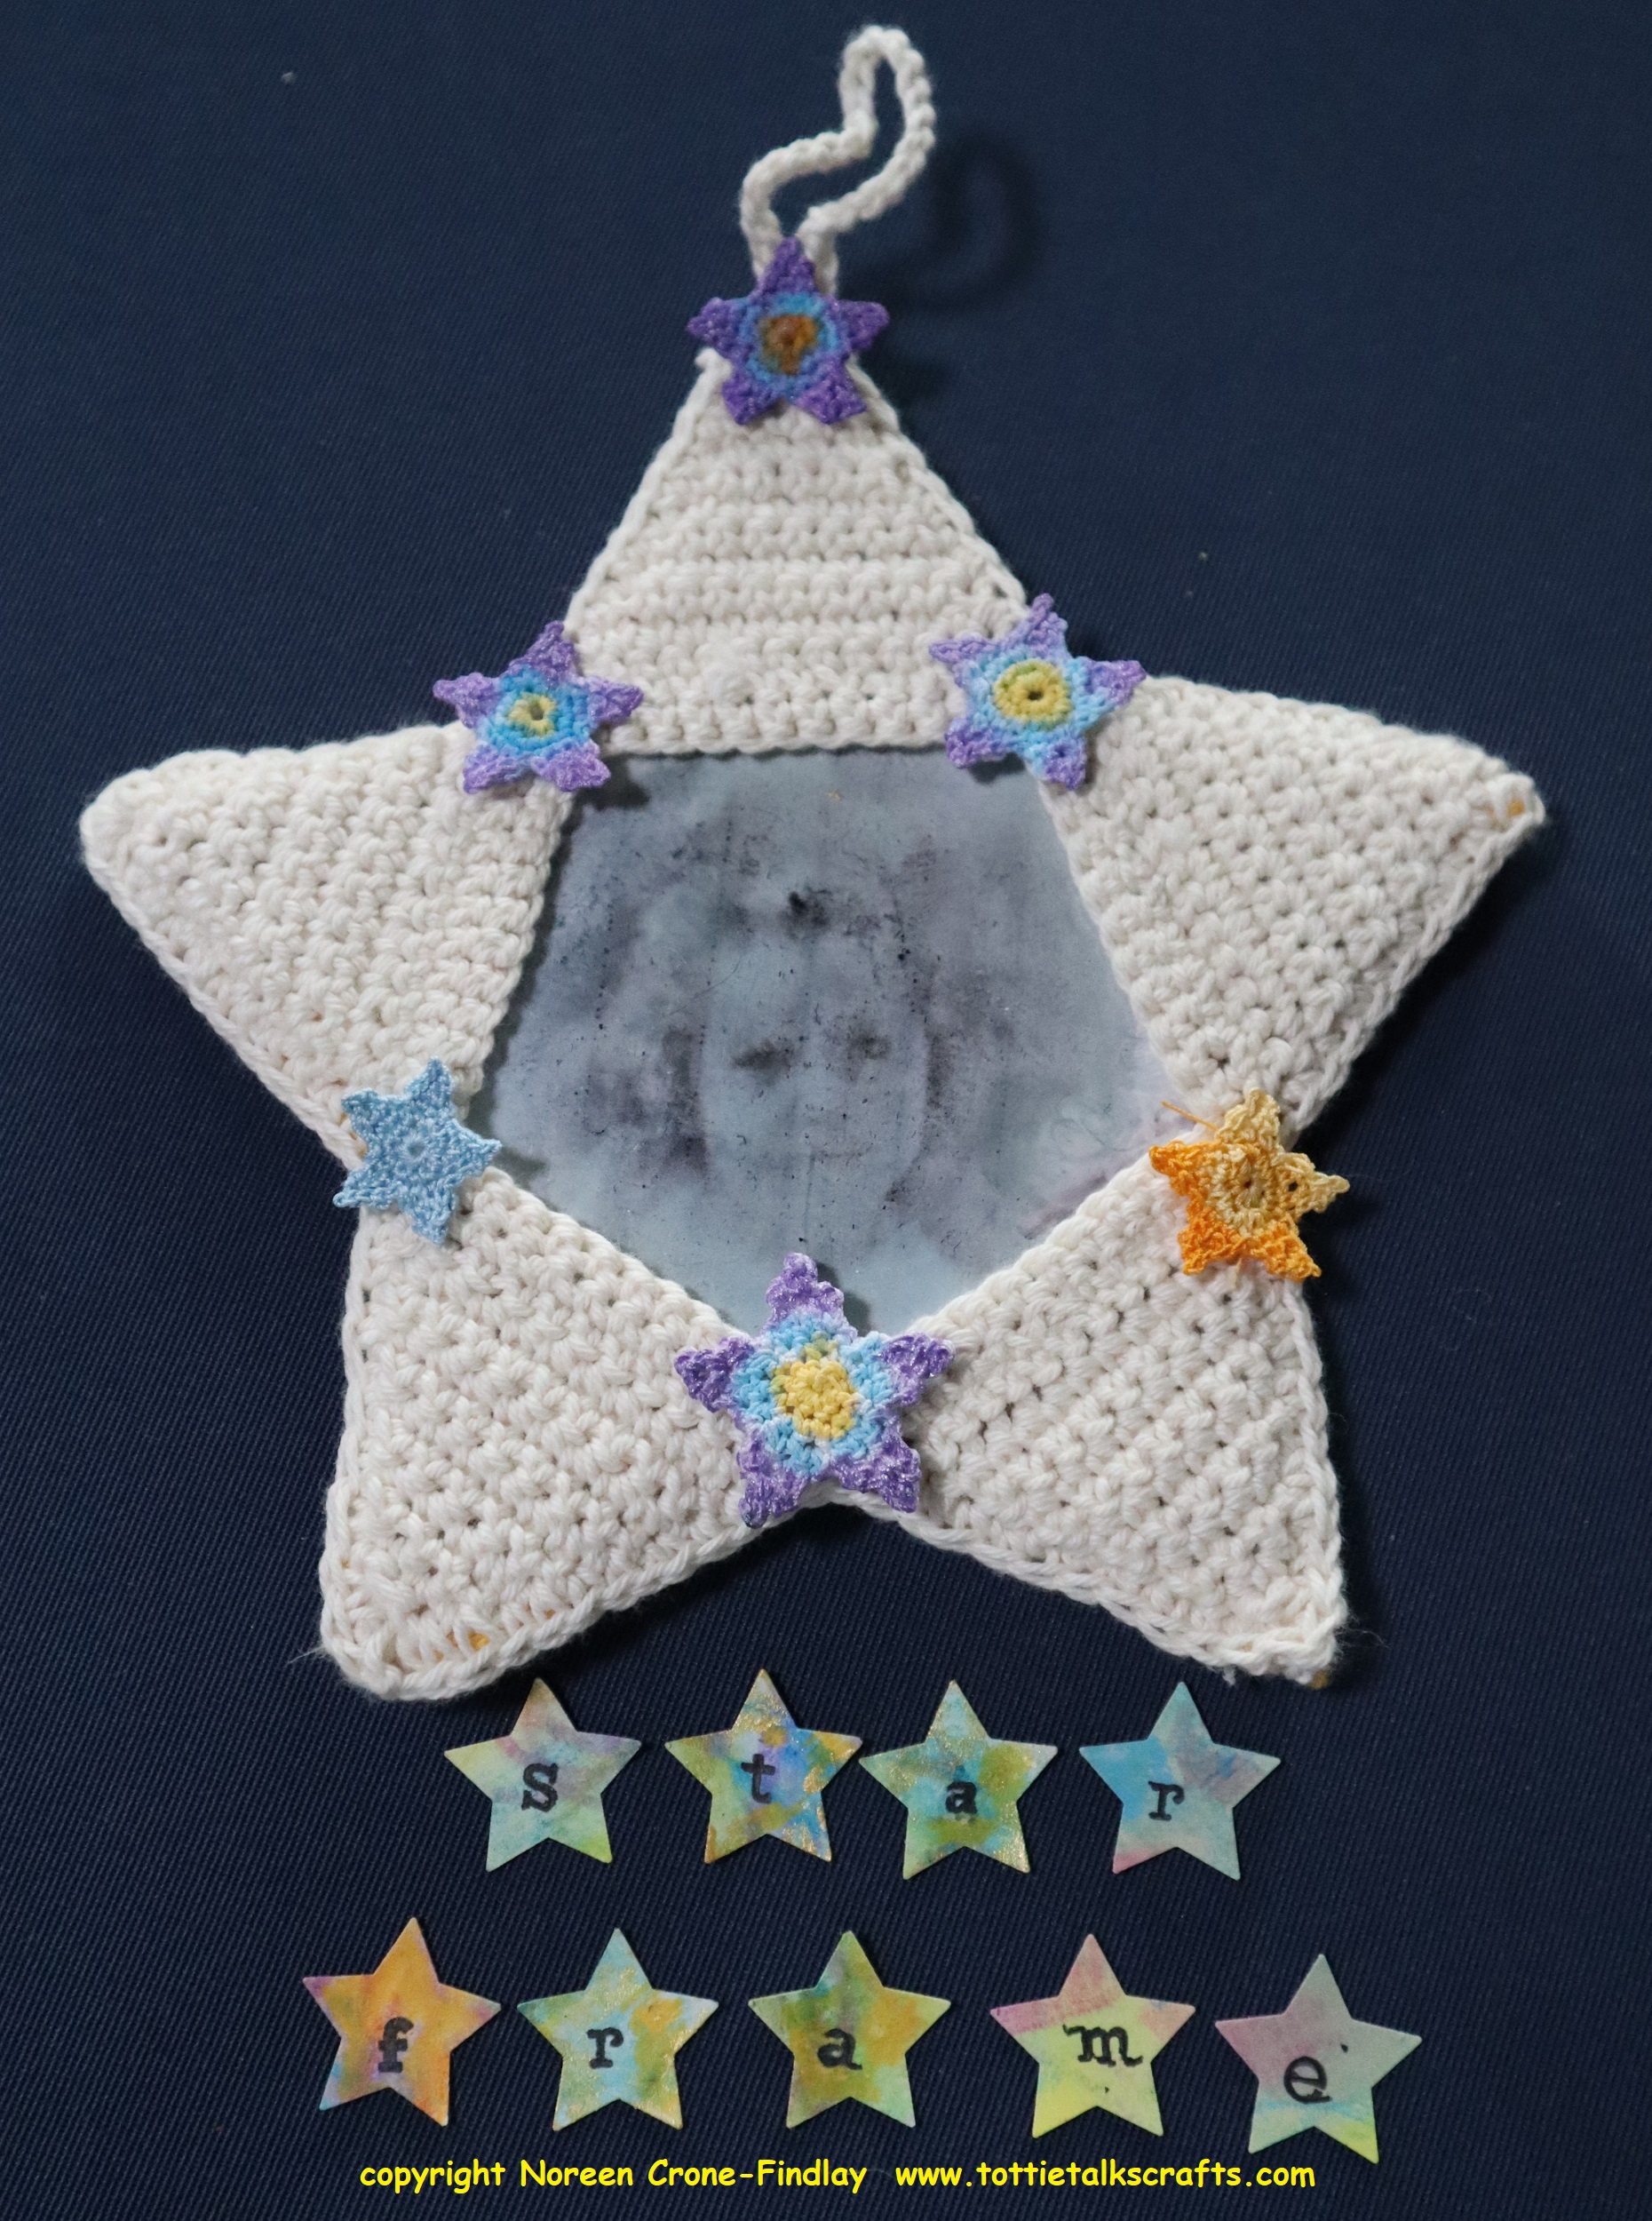
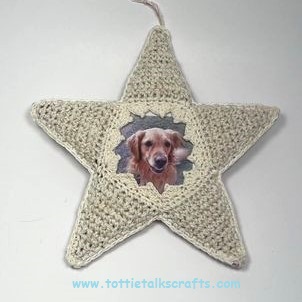
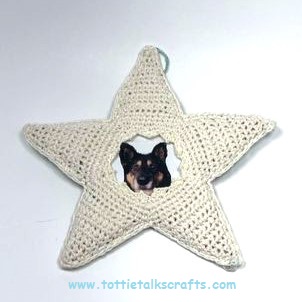
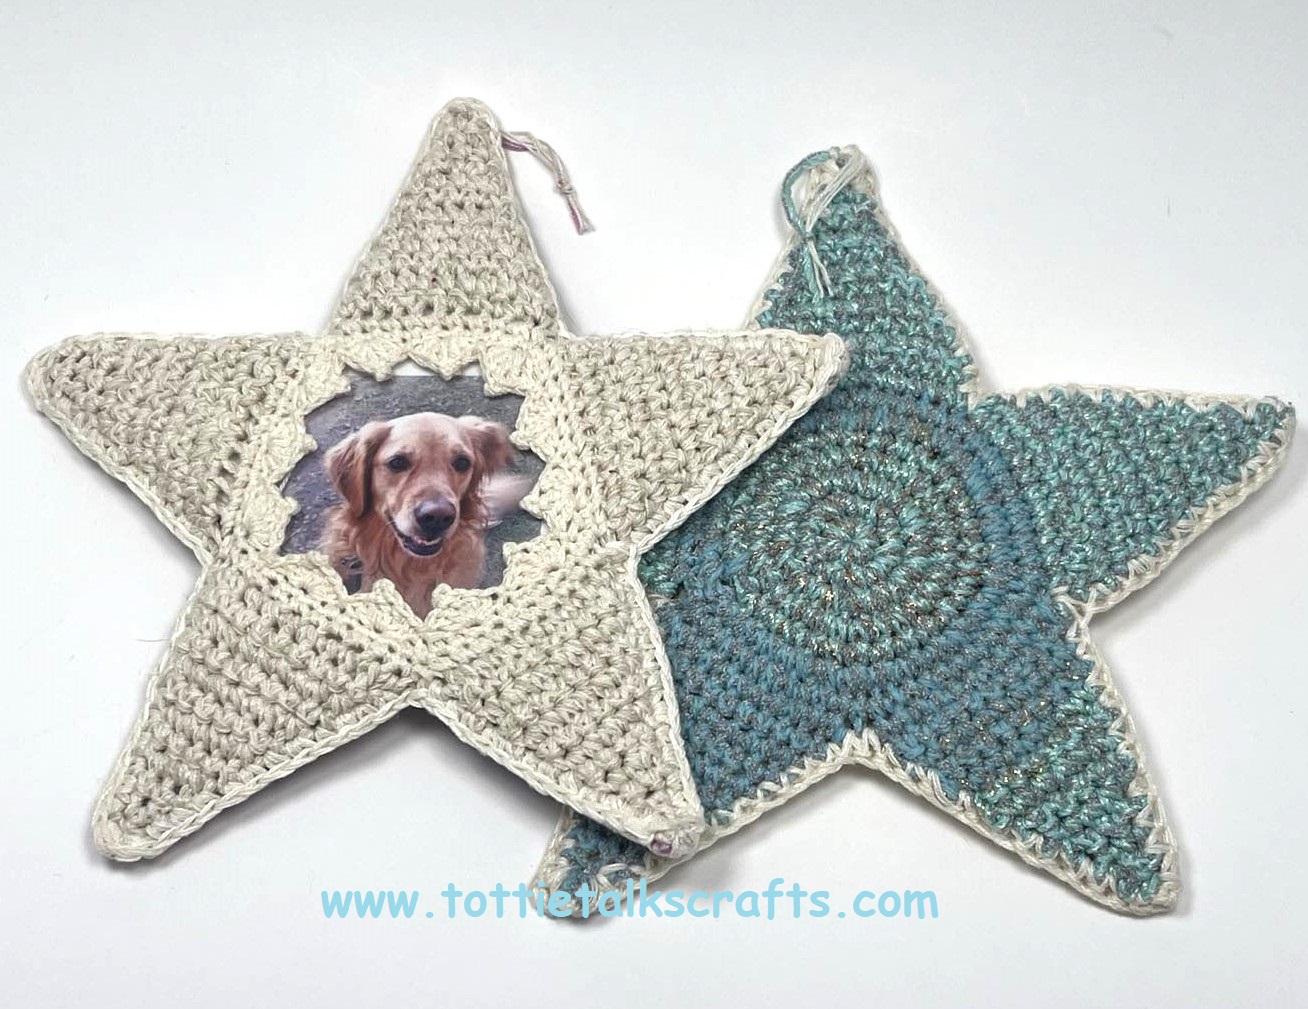
Some of which act as frames to embrace the memories of those we love, but who now dance among the stars-
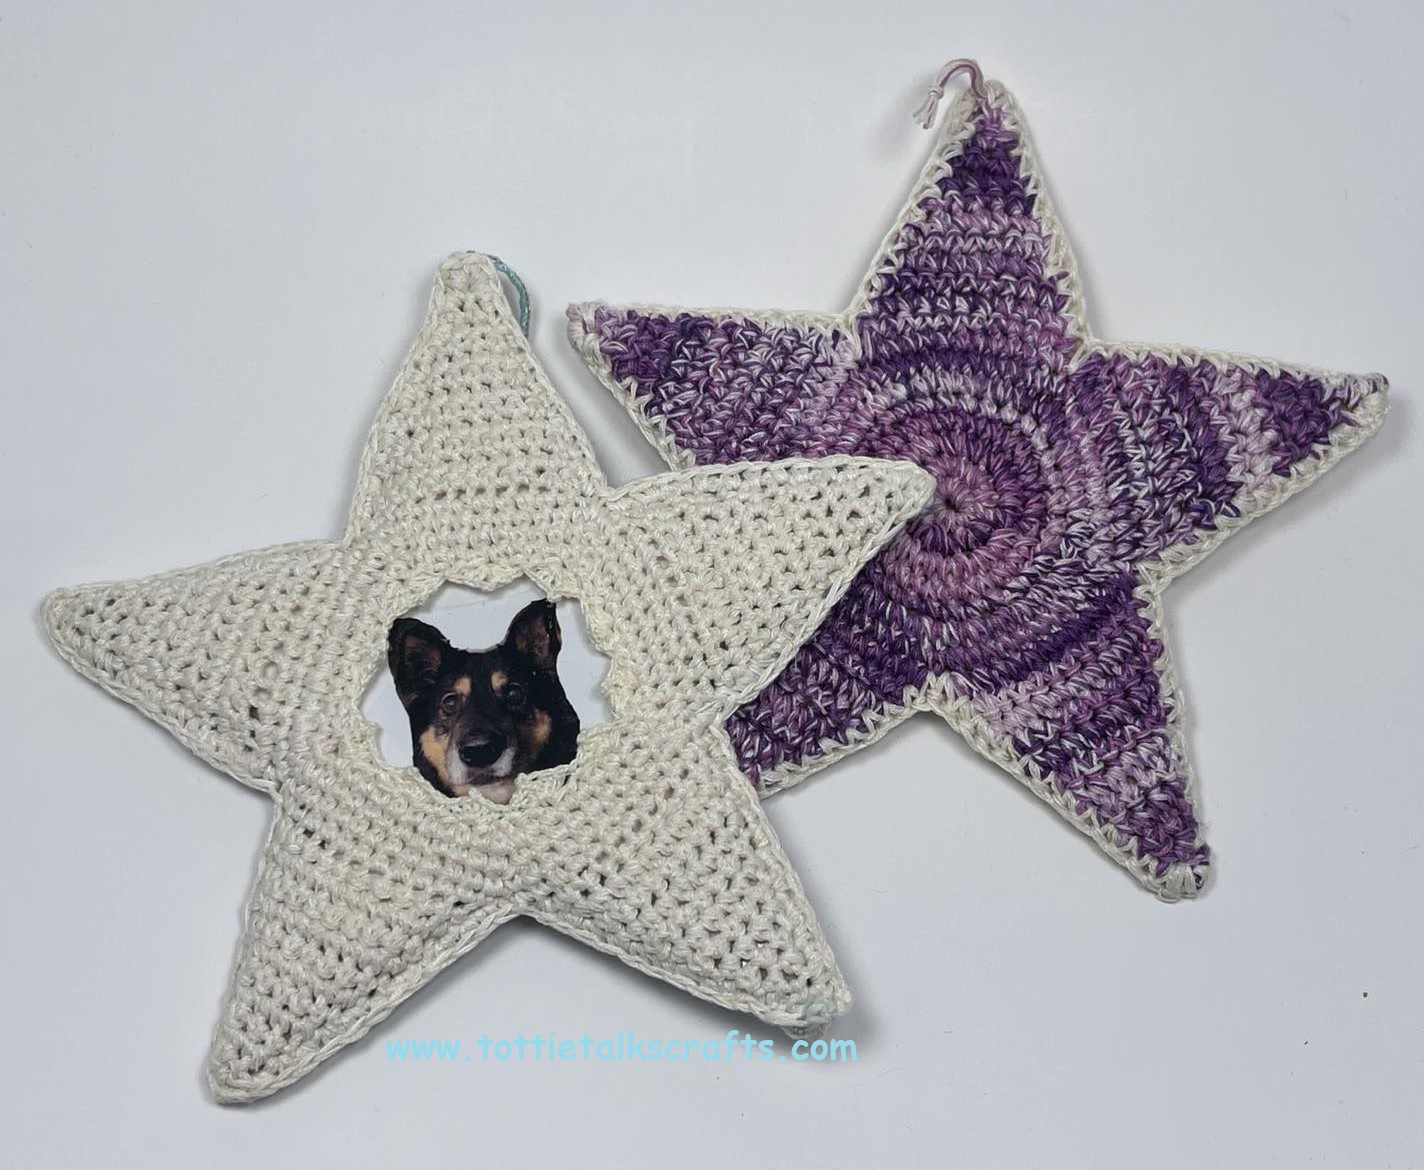
And some of whom crossed the Rainbow Bridge, but still live on in our hearts….
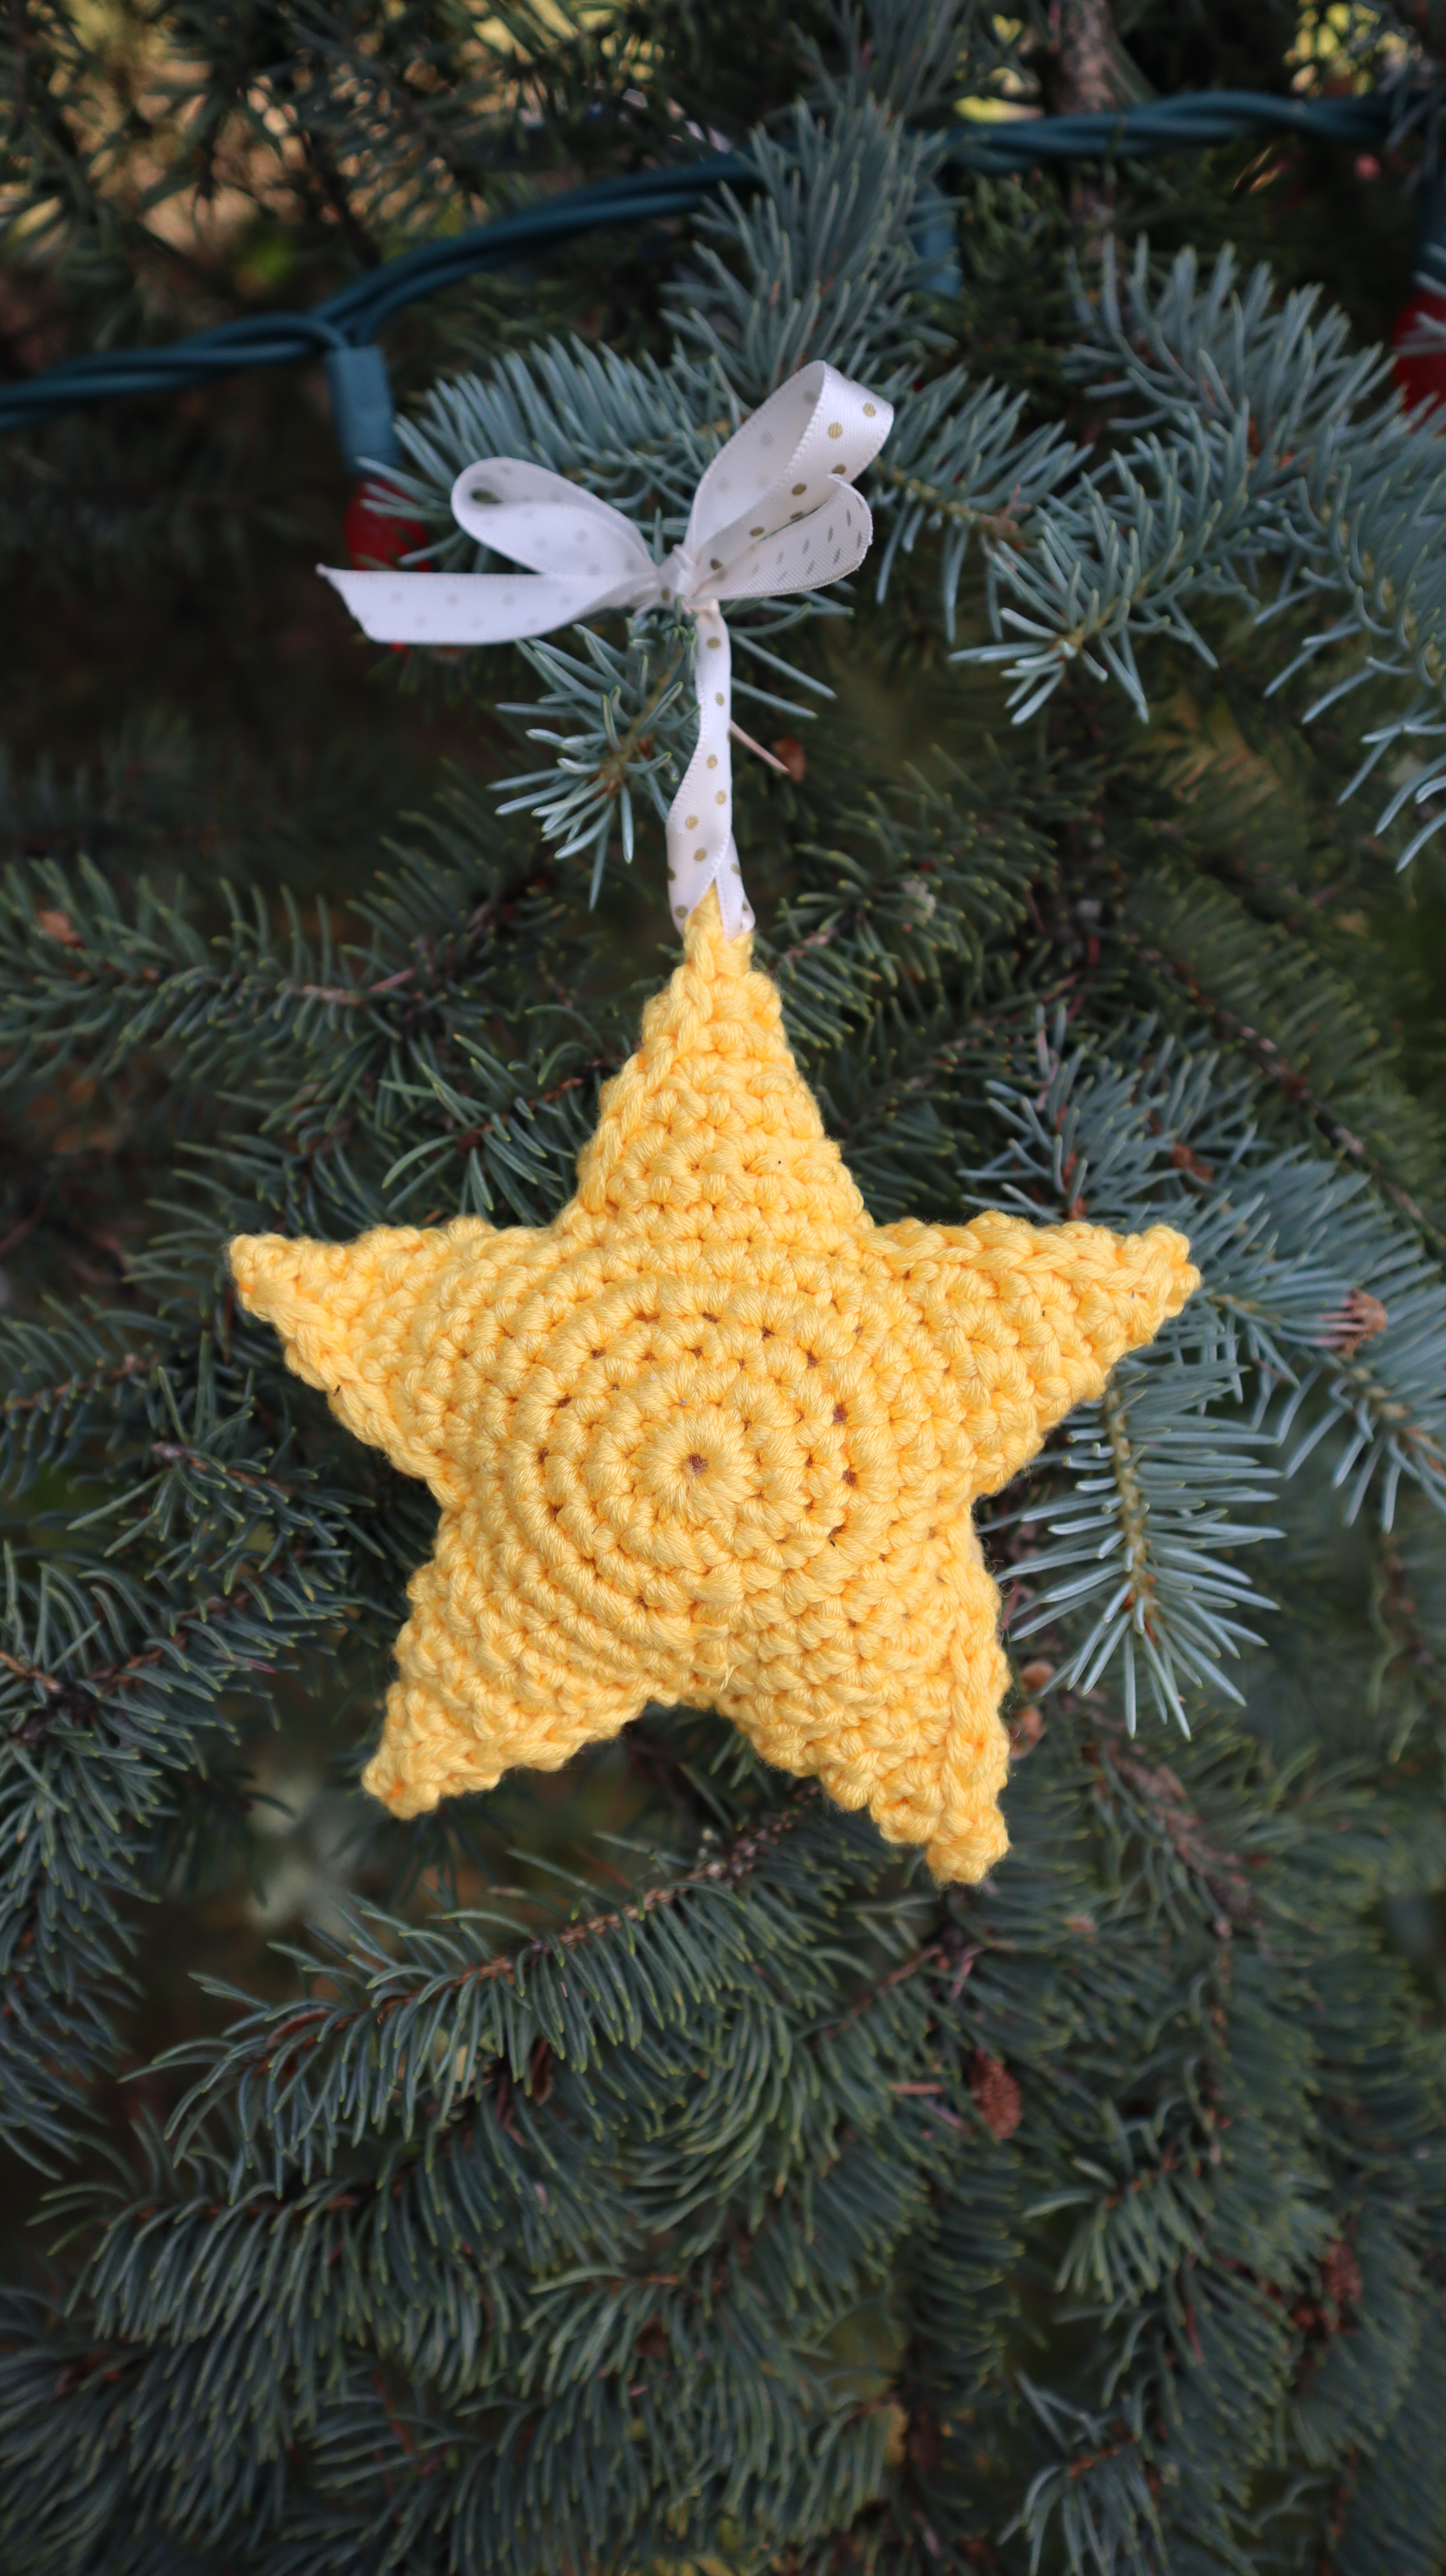
I added a little lace to the pupster’s pics, and played with colors on the back of the stars:
It’s lovely to think of them all playing and laughing in amongst and with the stars, and the Star Babies, too!
Crochet Stars is now available from all the online book sellers! Yay! Happy Crochet! ❤
It’s such a joyful moment when a box appears on the porch and it’s my new book!
I was thrilled last week to see Crochet Stars up on the online book sellers, but, to have the book in my hands is pure joy!
Crochet Stars is so dear to my heart- it is a small book – a new format with my wonderful publisher, Stackpole, which feels just so right on so many levels.
Writing this book was a journey of healing on the path of grief. It is full of so much love and is all about finding healing and laughter and hope through the joy of making small but sweet and precious things with our hearts fully infusing our hands as they create gifts of connection and love!
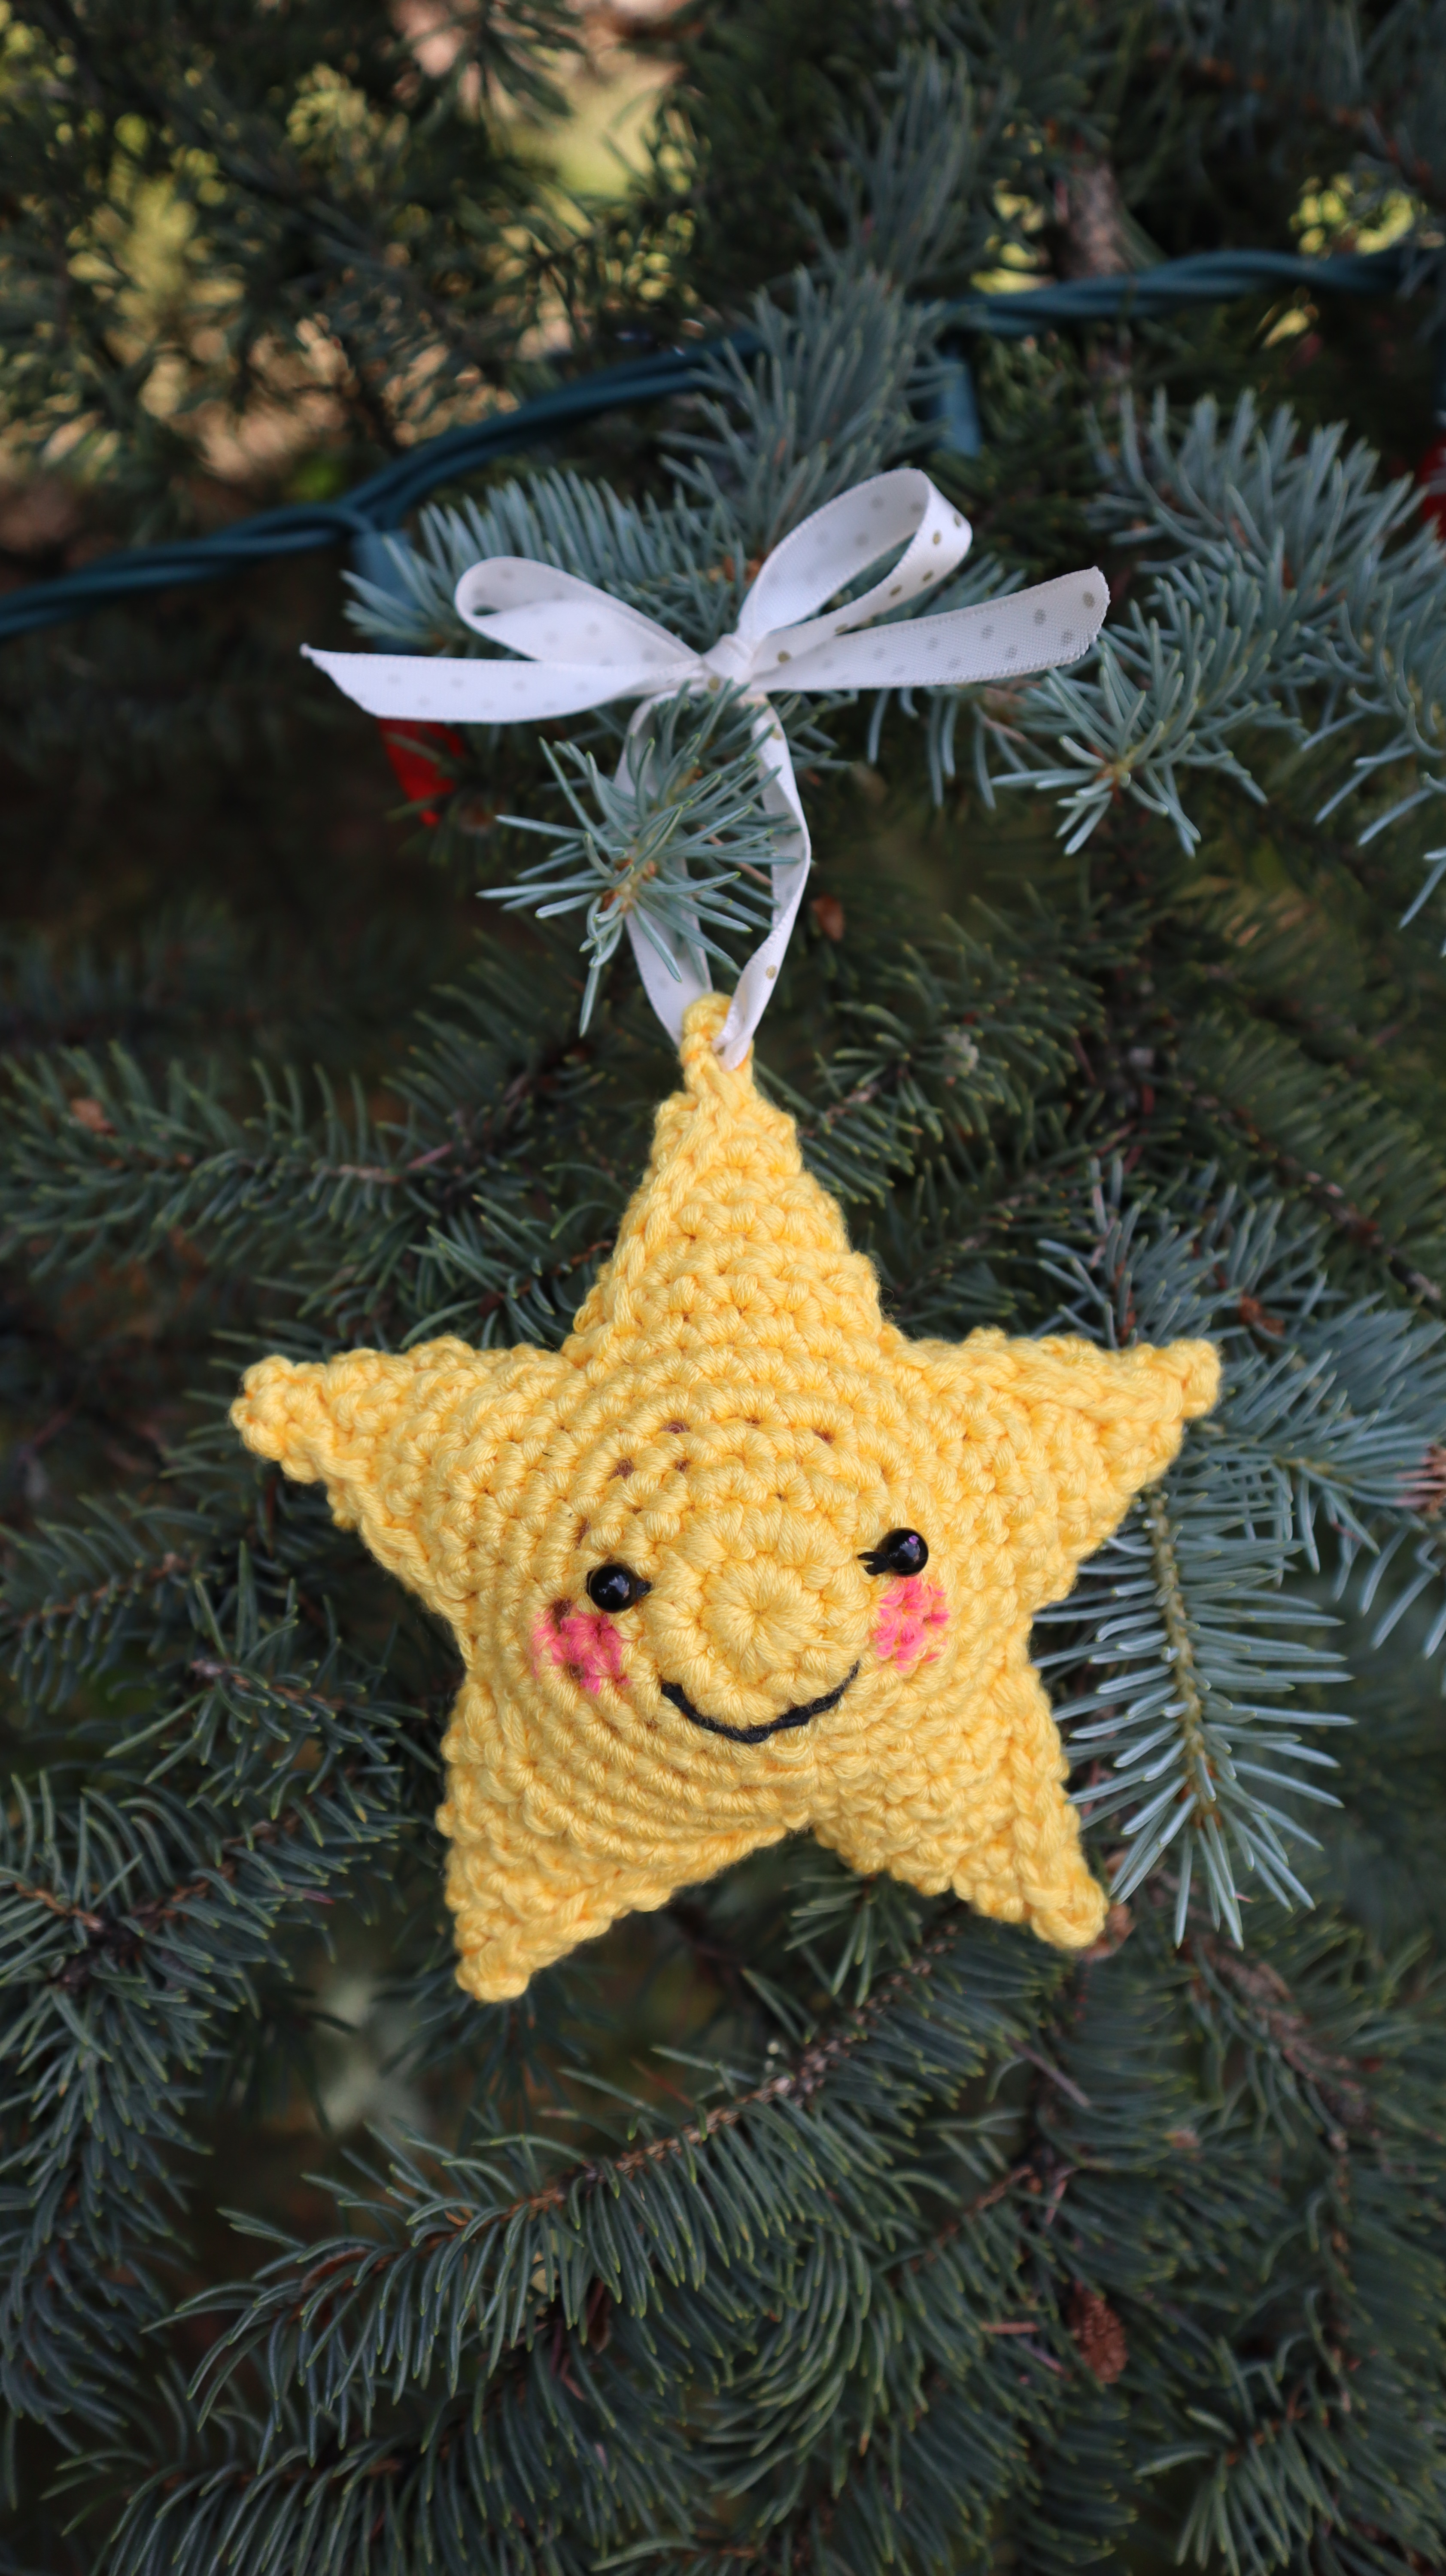
This little Laughing Star is based on a series of delightful dreams that I had over many many years, and it is, in a lot of ways, for me, the ‘Star’ of the book…. but then, I LOVE all the stars that I designed for the book!
Stars are such a powerful metaphor for the light of love, laughter and healing that flows through our lives.
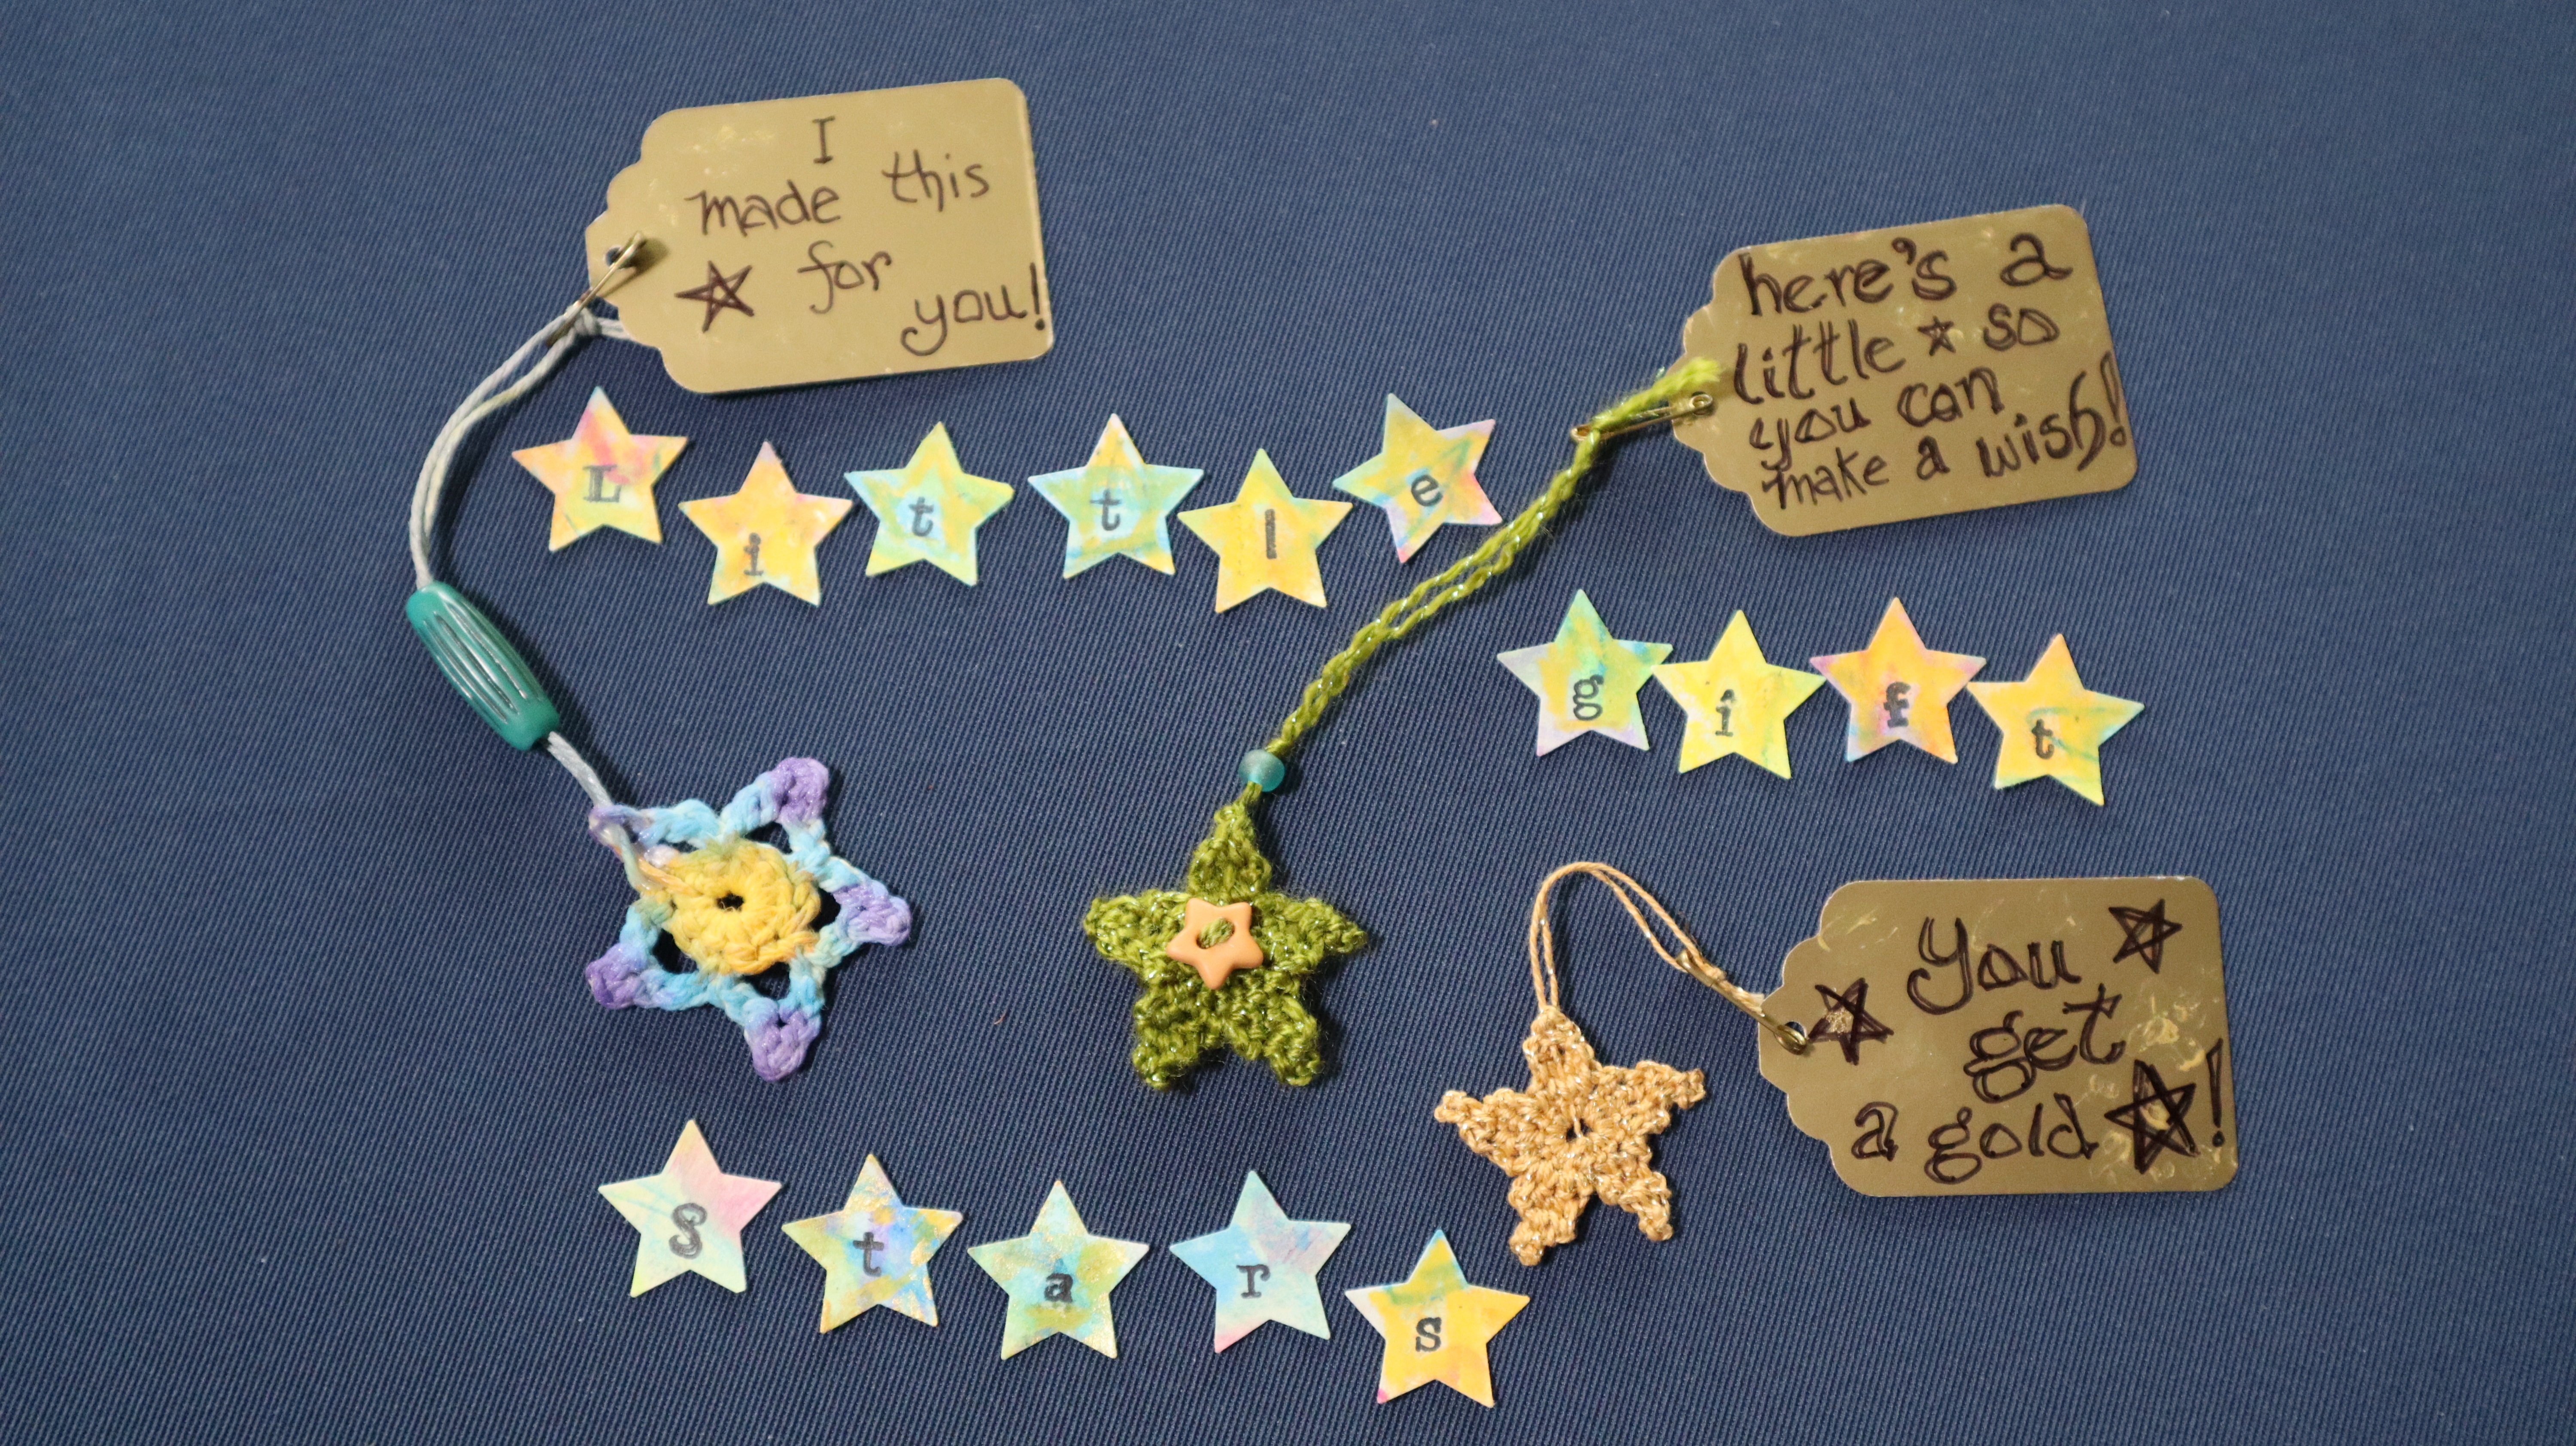
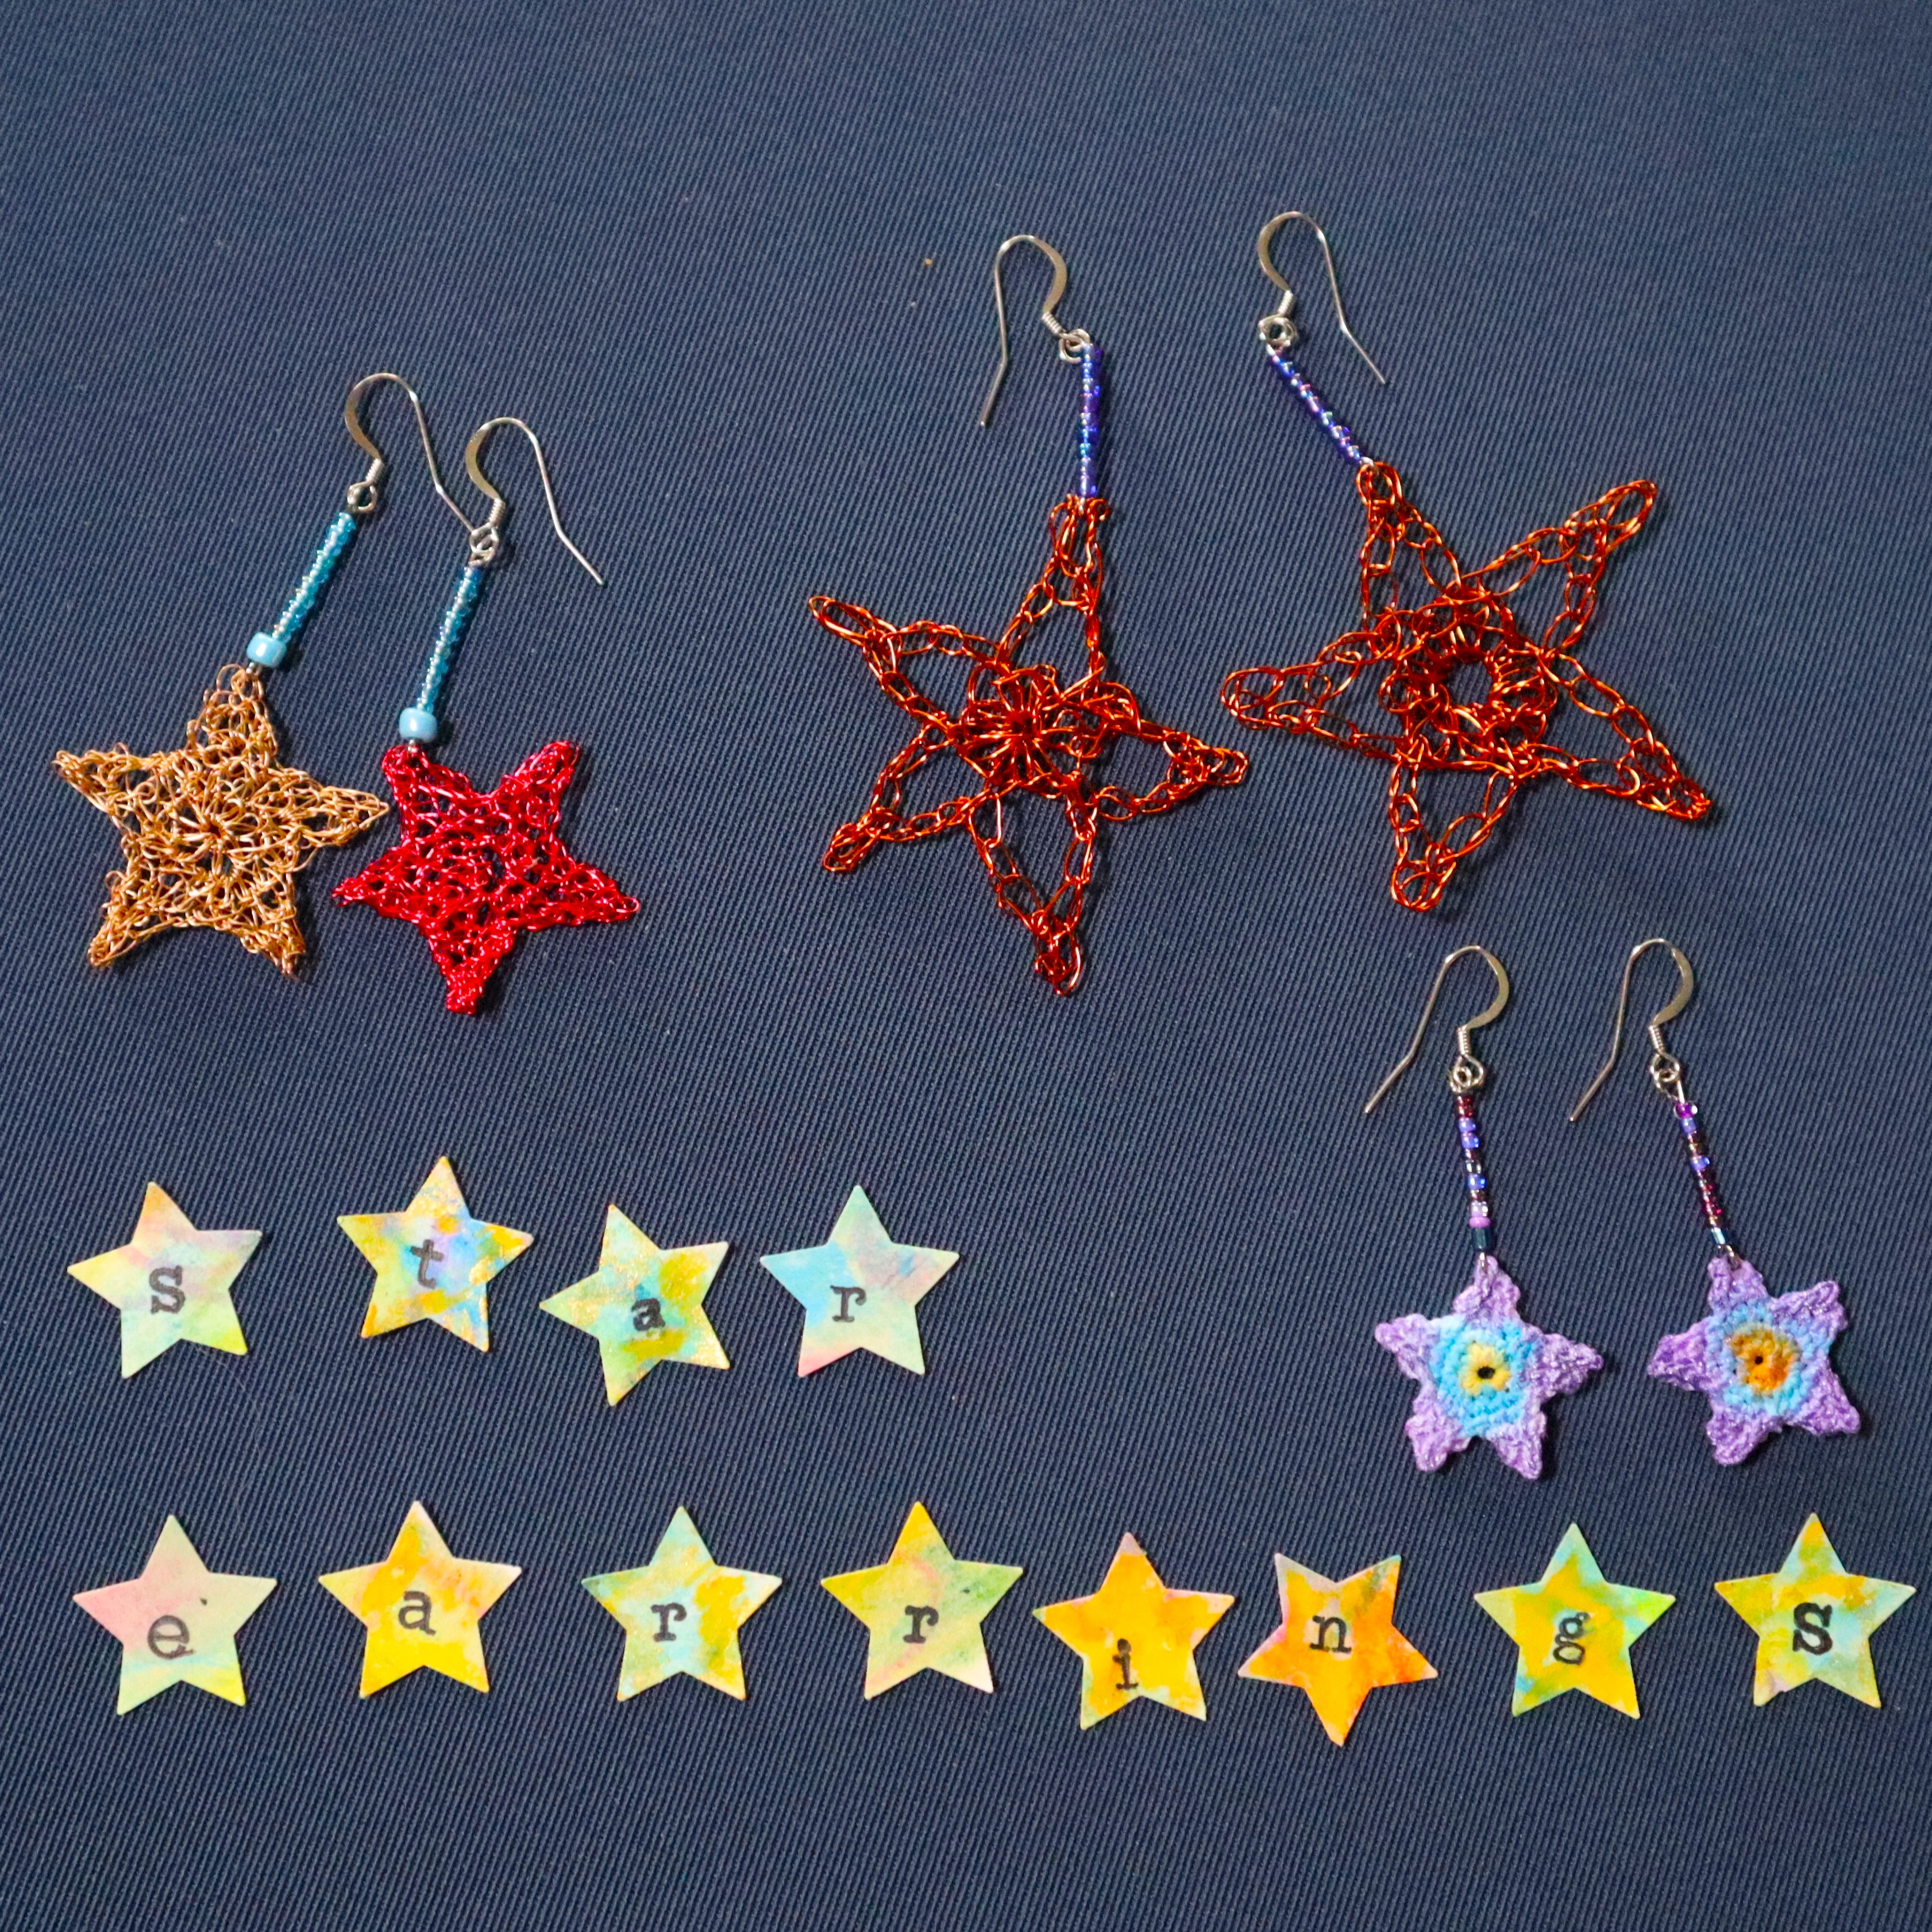
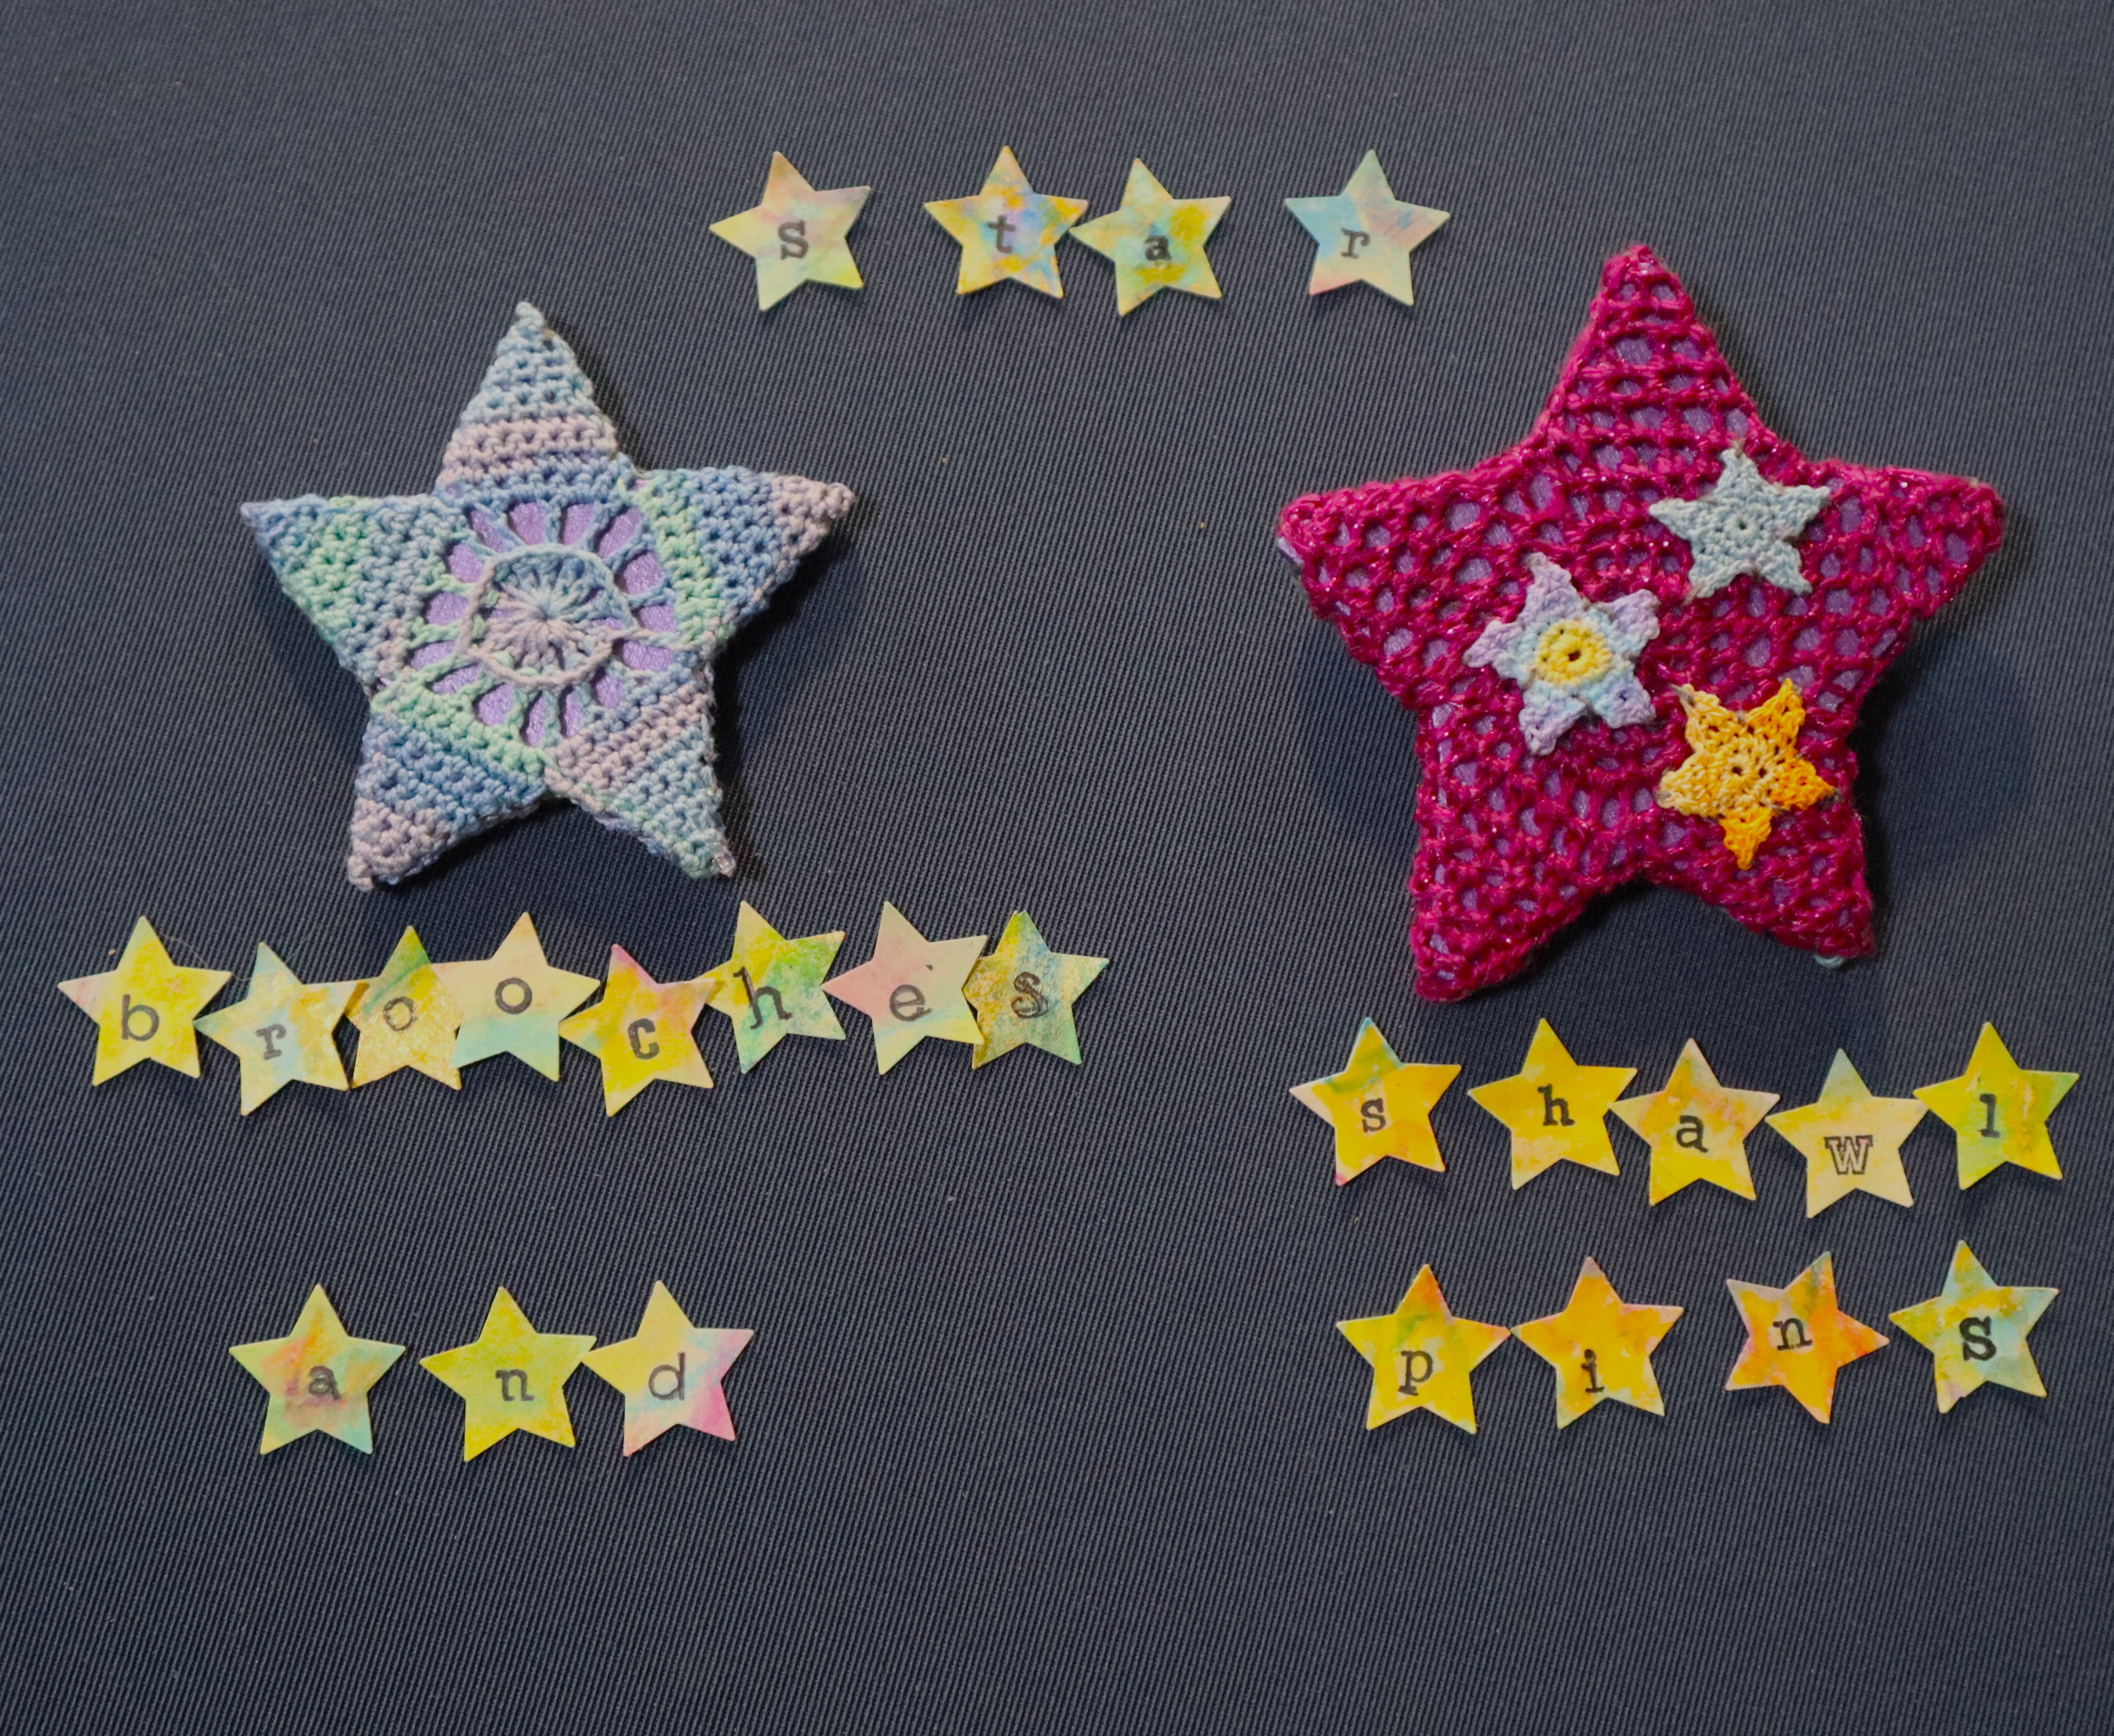
I deliberately designed several very small stars so that people can give them freely and happily as gifts to say to people: Thank you for being here, and I appreciate you and oh my goodness! You matter! ❤
Joni Mitchell had it so right when she sang that we are stardust and we are golden.
I hope that this book, Crochet Stars, will bring golden stardust to life in so many ways! ❤
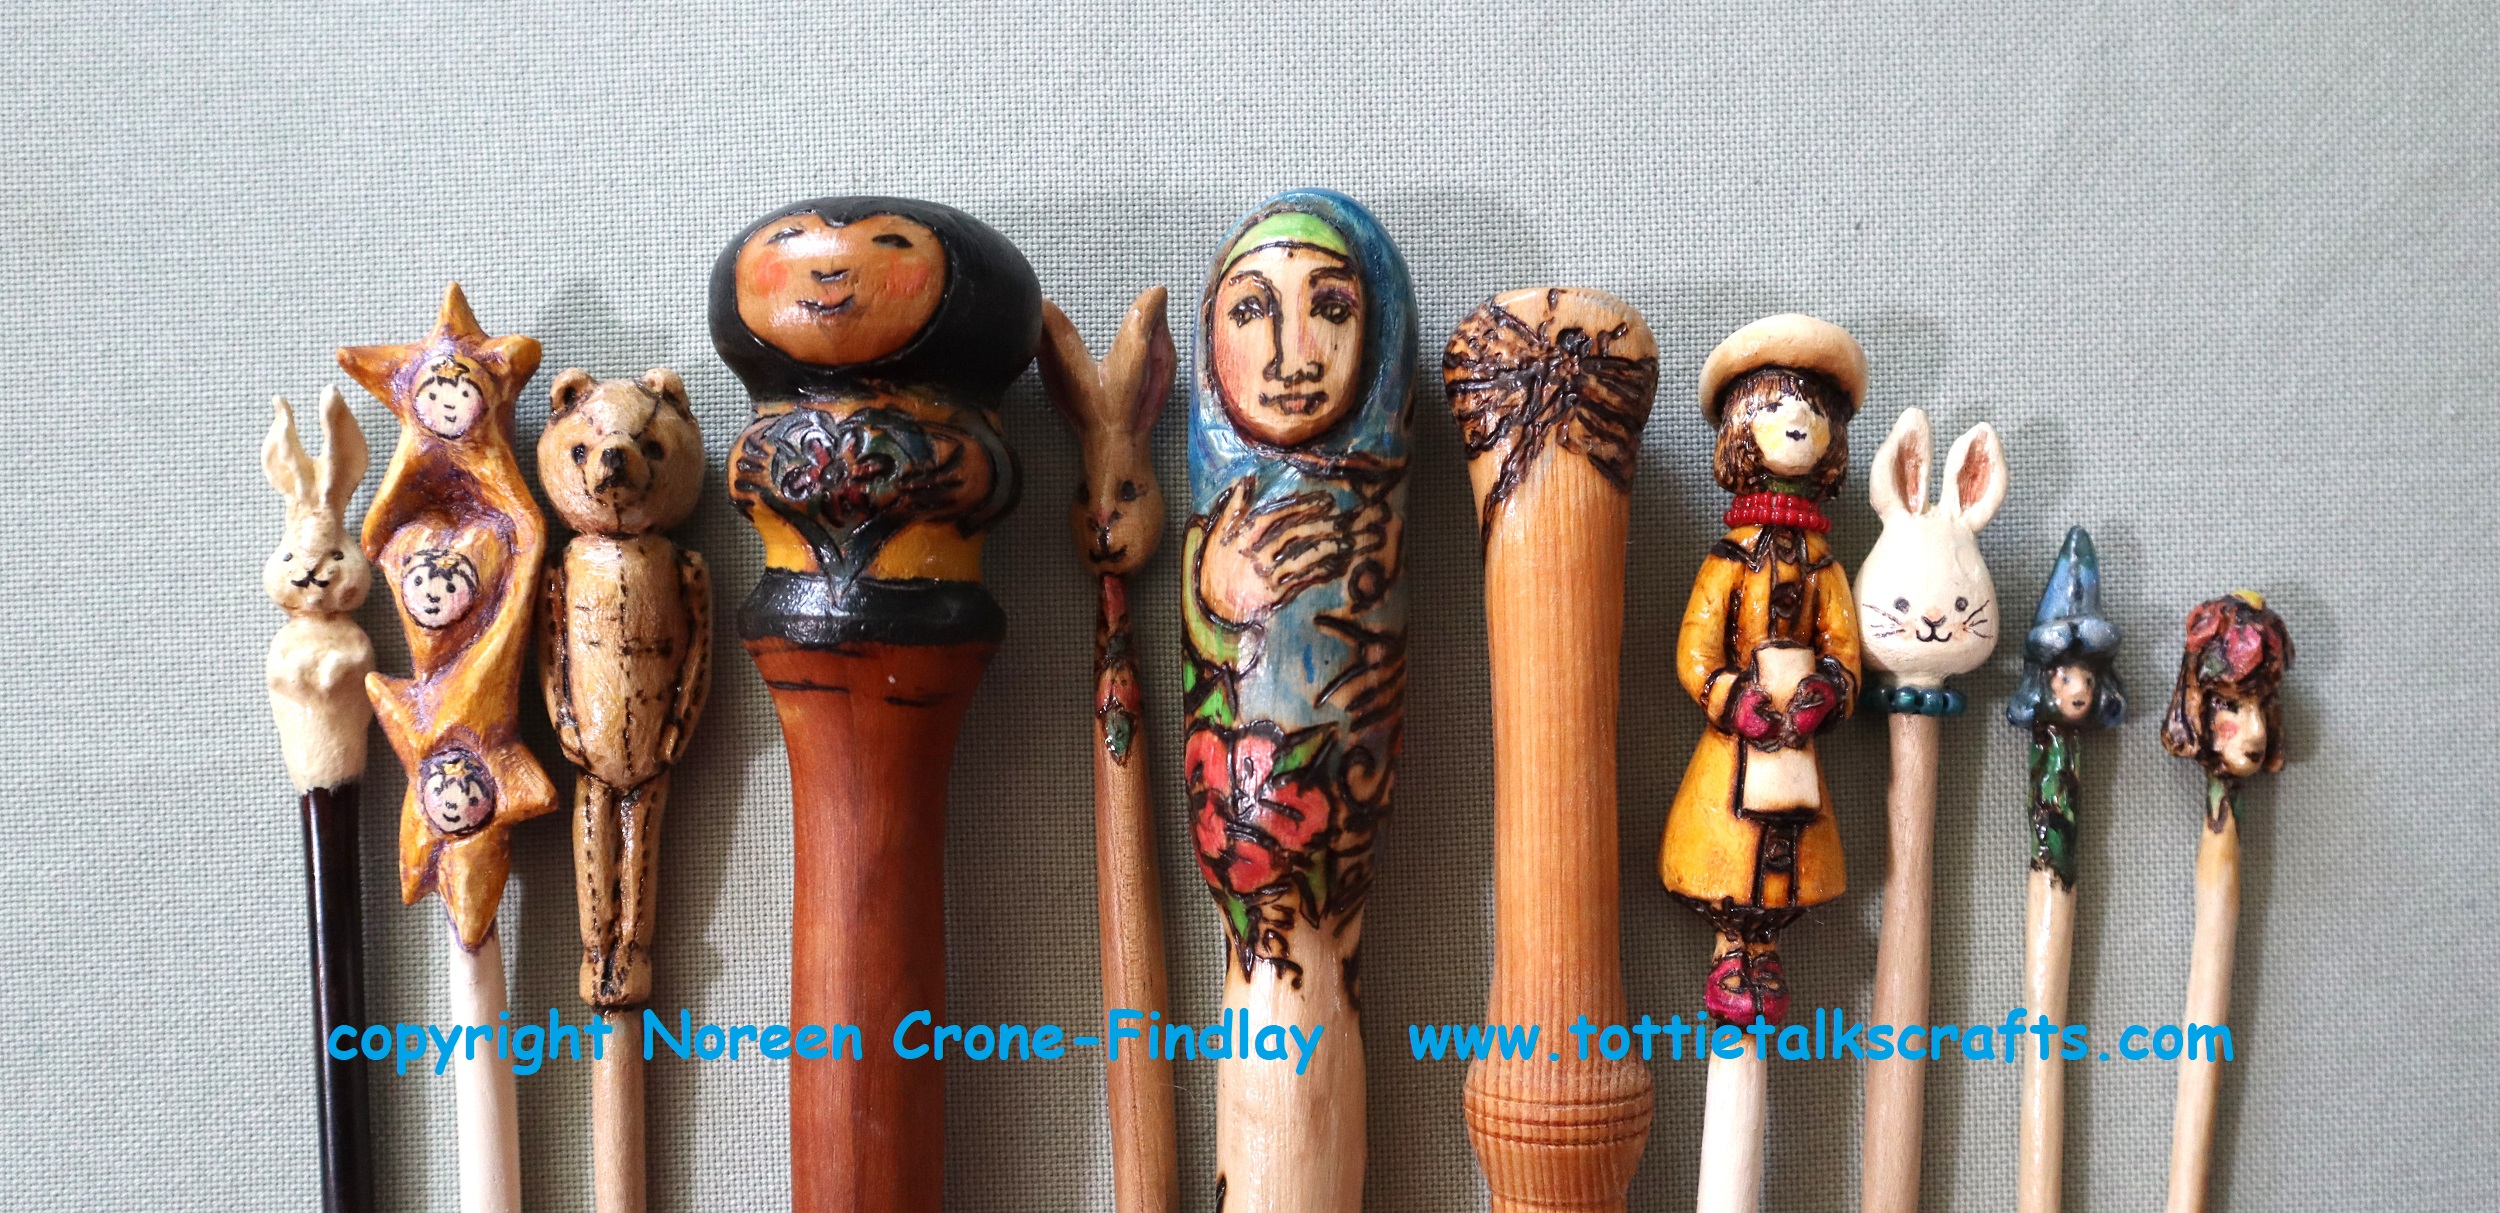
I’m no longer carving wood, which of course means that I am not carving crochet hooks anymore.
I’m doing a big downsize, so am offering the last of my One of a Kind crochet hooks for sale.
I’ve made a video so you can see them in my hands. The video is posted below the list of the hooks. If you would like to buy any of the hooks, please send me a message or post a note in the comments, which I will pick up and respond to.
NOTE: Because the crochet hooks are hand carved from wood, you need to be gentle with them. Wood has grain, which can cause breakage if you are rough with the hook.
The hooks are varnished to preserve the finish.
All of the hooks have sold except for:
Star Babies approximately 8 inches (20 cm) tall. Approximately hook size 6 mm (size J) Price: $85 +shipping
Sweet Girl with book or box in her hands approximately 8 3/4 inches (22 cm) tall. Approximately hook size 8 mm (size L) Price: $125 +shipping