Knitting, crocheting and weaving Comfort/Compassion/Kindness/Pocket/Prayer Bears is really important to me.
I have crocheted, knitted and woven thousands of them over the last 20 or so years, and have given them all away.
I designed my first Comfort Bear in response to 9/11 in the hopes of soothing frightened, grieving hearts.
The first version was a crocheted Comfort bear, and was the front page of the Craft Yarn Council of America website for a couple of years. The link is still there: LINK
And, here’s the link to the Crocheted Comfort Bear that I tweaked slightly for my blog: LINK
A few years ago, I designed a knitted Comfort/Blessing Bear that has a ‘hugging’ single loop for the arms so it can hug you back: LINK
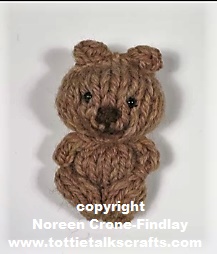
I’ve also designed a very simple little knitted Pocket Bear with Stitched Arms: Here’s the Link to the video:
https://tottietalkscrafts.com/2018/12/25/easy-to-knit-comfort-or-pocket-teddy-bears/
In memory of my beloved son in law, Clancy, who died of a Covid caused heart catastrophe, I designed this bear: LINK
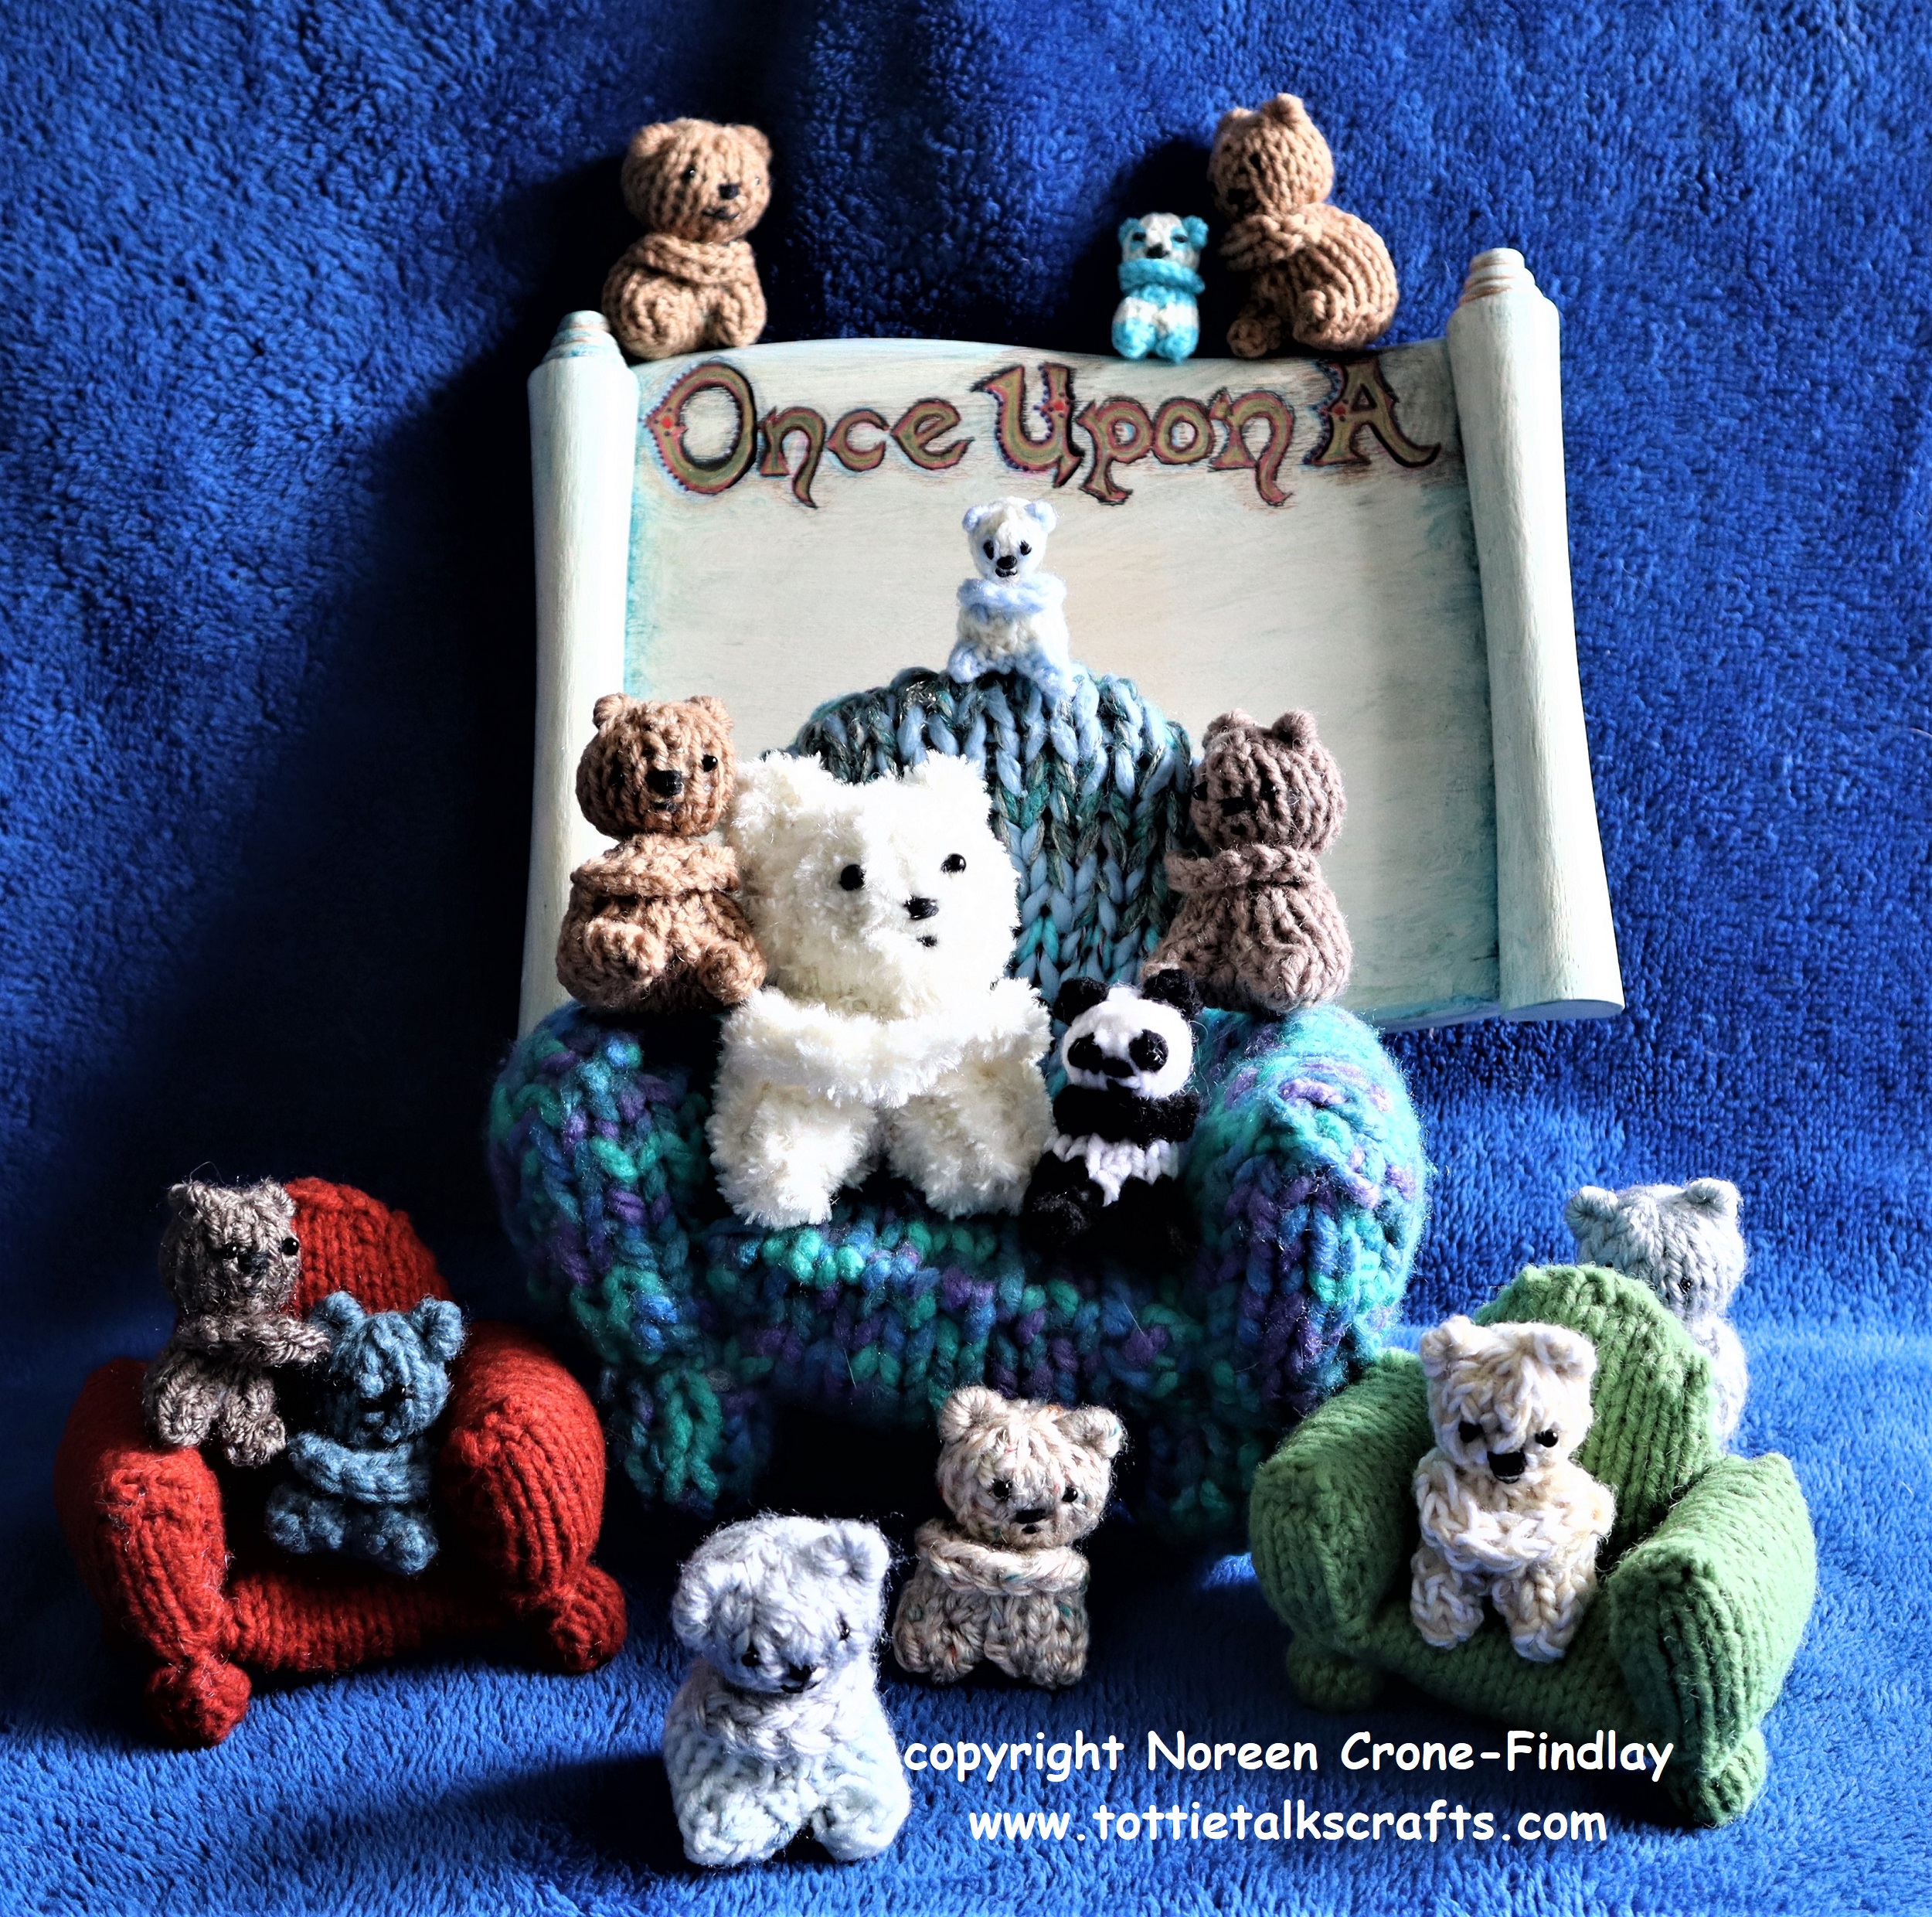
The most recent Crocheted member of the Comfort/Kindness/Compassion/Blessing/Prayer bear family is a crocheted Panda:
Note that you don’t have to make it as a Panda…. crochet it in blue yarn to make a Blue Bear of Happiness, or in more traditional brown yarn…..

Another kind of Blessing Bear or Compassion bear is to make them for people who are grieving the death of someone they loved.
Use garments that the person used to wear and either cut the garment into fabric strips and knit, crochet or weave a Memory Bear, or unravel one of the person’s sweaters and knit, crochet or weave a Blessing/Memory Bear with that.
Here are some links for Memory Bears: LINK and LINK
I did mention that I have woven Comfort/Blessing bears didn’t I?
One of my favorite projects in my new Potholder Loom Weaving book is a Blessing Bear woven on the potholder loom:
Here it is, peeking out of a little pocket on one of the baskets that is in the book:

Here’s a link to order it online, but you can also order it from your local bookstore worldwide: LINK