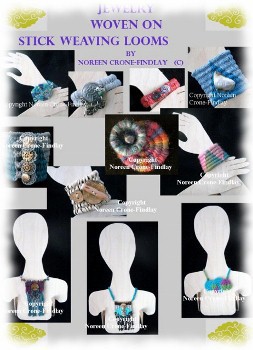
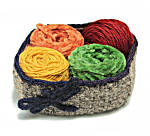
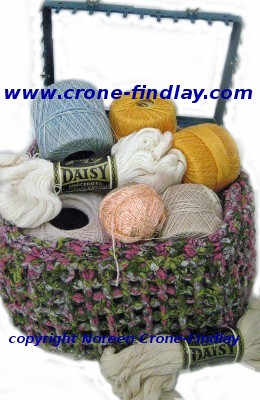
I have just released a new pattern that has step by step photos showing how to weave these gorgeous baskets, using the easiest little loom ever made, the weaving stick loom:
copyright Noreen Crone-Findlay
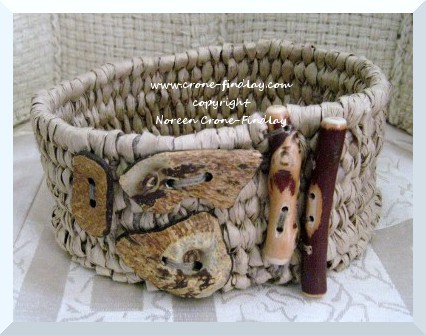
This basket was woven with paper ribbon and embellished with buttons that I made from arbutus twigs and coconut shells.
copyright Noreen Crone-Findlay
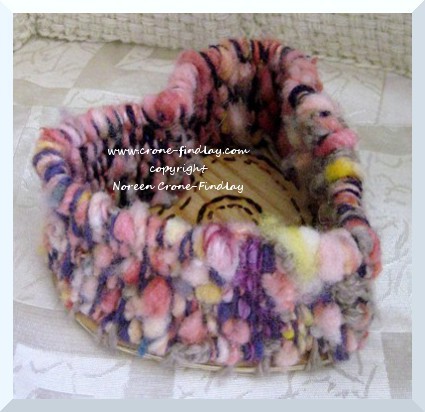
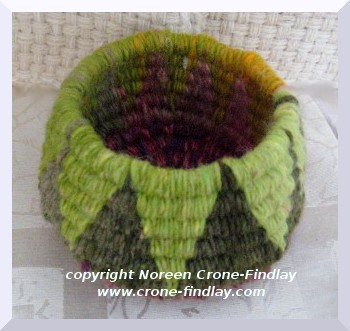
The heart shaped basket has a plywood heart base (the template for the heart is included in the pattern).
Here, the heart basket is woven with art yarn:
copyright Noreen Crone-Findlay
Workshop participants who were learning how to weave the baskets asked me:
What can we use these baskets for?
Anything that fits in them that you want to keep organized! Beads, hair clips, packages of smallness, buttons, thread, bobbins, yarn….
copyright Noreen Crone-Findlay
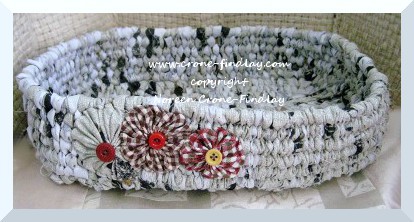
The large oval basket in the photo above was woven with strips of torn fabric, so it’s a great eco option.
The yo yo flowers that embellish it’s side are made from scraps of upcycled fabric. (The instructions on how to make the yo yo circles are also included in the pattern).
This basket is great for holding fruit or heaps of little green tomatoes while they ripen, or anything else your heart desires.
Because it’s made of cloth, if it gets soiled, it can just be rinsed clean.
copyright Noreen Crone-Findlay
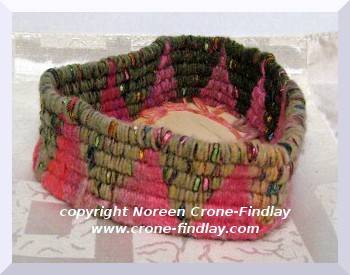
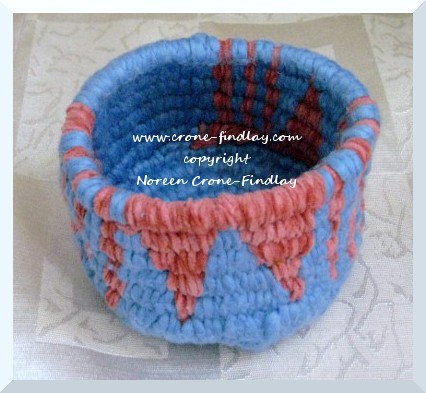
The green round basket is woven in the same way as the pink and blue one in the photo below, but I pulled up on the warp strands of the upper edges of the green one to curve it in.
copyright Noreen Crone-Findlay
So you can see that a small change makes a huge difference in the look of the basket.
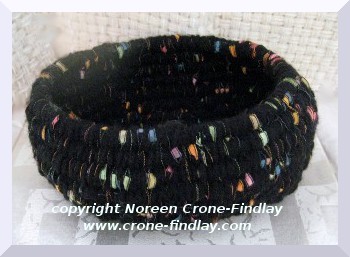
I did the same thing to curve the top edge of the black oval shaped basket that is woven in exactly the same way as the paper ribbon basket.
copyright Noreen Crone-Findlay
The yarn that you use (combine several strands to get neat effects) and how you embellish the basket will guarantee that each basket that you make is totally unique.
Tapestry bobbins have a mystique around them and they can be expensive.
But, what do you do if you need a lot of tapestry bobbins and have a limited budget?
Well… you improvise.
copyright Noreen Crone-Findlay
First you analyse, then you upcycle!
After all… a tapestry bobbin is a yarn delivery device.
What does it need to do?
It needs to hold yarn in a way that allows you to pass it through a fairly small shed.
It should have a tip that will allow you to tap your weft yarn into place.
It needs to be able to hang from the tapestry while it’s parked.
So…. there are things that will work quite nicely for you as you feed your piggybank, but weave your tapestries in the meantime.
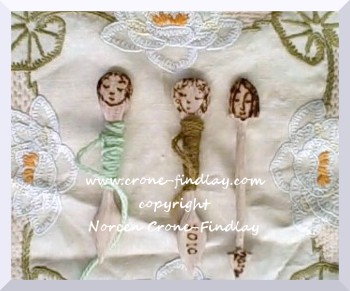
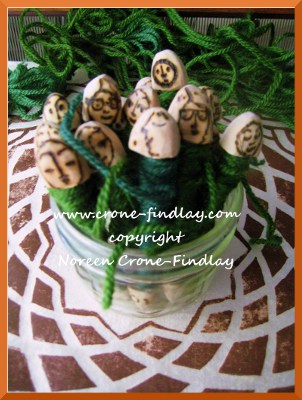
I make my own quirky, but perfect for me tapestry bobbins from upcycled wood: Link to post
copyright Noreen Crone-Findlay
Recently, I noticed that one of my fave bobbins looks a lot like a little spoon…
and of course, that started me thinking…
would a little coffee spoon work as a tapestry bobbin?
It seemed rather outrageous….
copyright Noreen Crone-Findlay
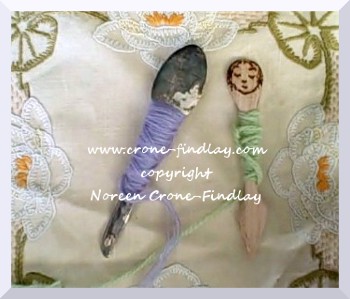
So, I took a little orphaned silver coffee spoon that had been in a box of sandbox toys that I bought for my grandson at a garage sale, and hammered the poor thing flat.
It works BEAUTIFULLY as a tapestry bobbin!
copyright Noreen Crone-Findlay
This made me think…. hmmm…. metal spoon…. hmmmm…. ~metal bobbins~…. hmmmmmm….
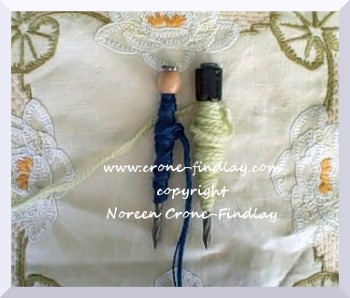
So, what about a 4 inch nail with a bead on the end? Would that work?
Yup. Wash it well first, and if the tip is snaggy, sand it smooth or file with a nail file.
You could paint it if you want, or coat it with a clear gel just to ensure that it won’t discolor your yarn.
Stuff a bit of tissue into the opening of the bead to secure it.
copyright Noreen Crone-Findlay
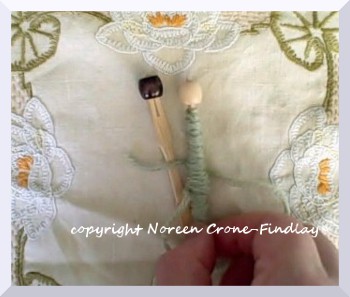
I learned about using bamboo forks as bobbins on Ravelry.
I like them!
But, I have found that they work much better if you stick a bead on the end.
Squish the tines of the fork into the bead center and you’re set to weave.
copyright Noreen Crone-Findlay
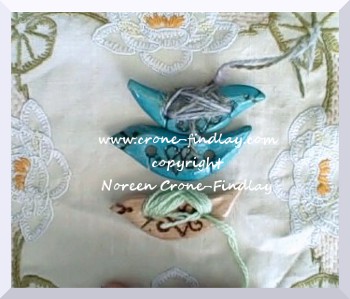
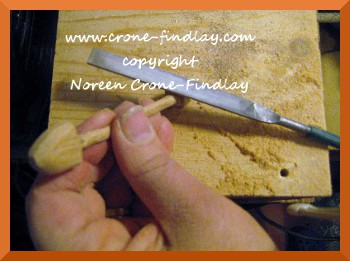
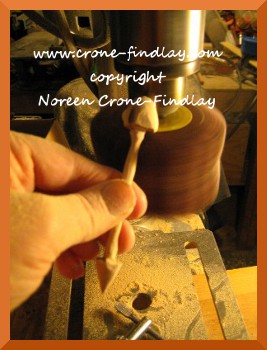
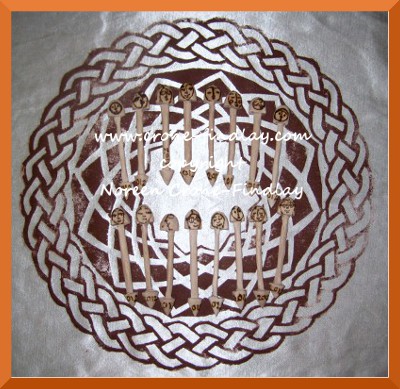
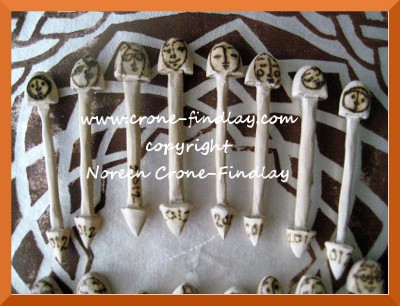
I love tatting, and used to carve tatting shuttles.
I’ve discovered that my Little Bird shuttles work beautifully as tapestry bobbins. Whodathunkit? 🙂
So, be creative and think outside the box when you are contemplating tapestry bobbins.
I mean, really… spoons and forks?
Yes!
If you are willing to experiment, you’ll find all kinds of things that will work really well in your weaving!
Here’s a video that I made about cheap and cheerful alternatives for tapestry bobbins:
I love buying vintage crochet cotton at the thrift shop. It speaks to me of the hands that it has passed through, and the pleasure it has brought to other thread lovers.
I like to use it in my weaving, crochet and tatting, as it gives me a sense of connection to needlewomen of the past.
BUT… storing balls of crochet cotton can be a problem. Those hollow cores take up a LOT of space!
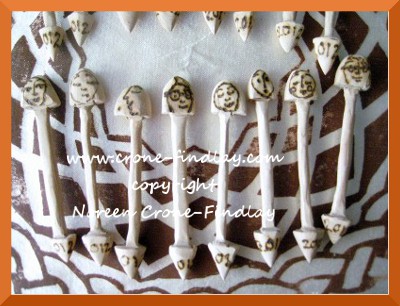
So, for many years, I have been upcycling old credit cards or pieces of cardstock to make bobbins like this:
copyright Noreen Crone-Findlay
Because, storing yarn or thread on a small flat bobbin is so much more efficient than leaving it on the cardboard tubes:
copyright Noreen Crone-Findlay
Last night, I had insomnia, and was thinking about winding off a pile of vintage crochet cotton, when I had a flash of inspiration!!
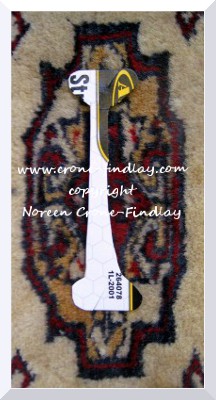
Instead of making chubby little embroidery style bobbins, if I made ‘dog bone’ shape bobbins, I could use my bobbin winder to speed up the process of winding them. AND, they’d take up less room, as it would be a longer, leaner shape.
I jumped out of bed, and started cutting the new shape bobbins:
copyright Noreen Crone-Findlay
And, winding up balls of cotton:
copyright Noreen Crone-Findlay
In a twinkling of an eye, I have compactly wound bobbins that won’t tangle with other bobbins, as the thread is taken through a slot and secured. Another bonus! No snaggles!
copyright Noreen Crone-Findlay
This shape of bobbin is great for warping the Mirrix loom, as it’s so compact. Yep – it’s a win!
And, they can be easily stored in unusual containers, like this:
copyright Noreen Crone-Findlay
I made a video to show how quickly and easily this works:
I haven’t tried using these bobbins for tapestry weaving, but I will, and will let you know how I like them.
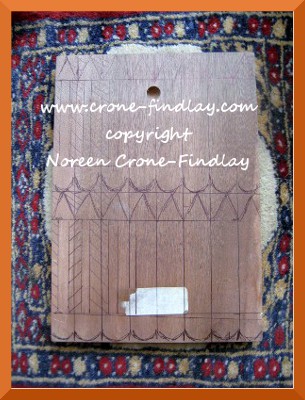
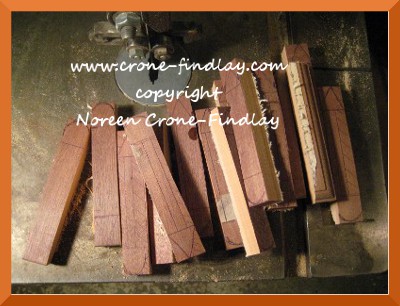
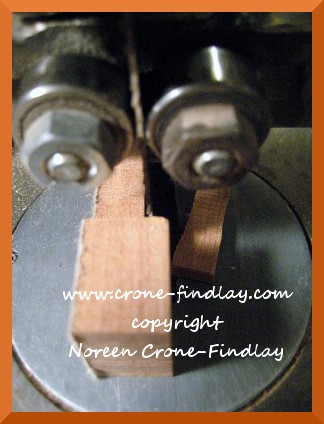
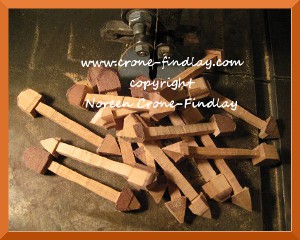
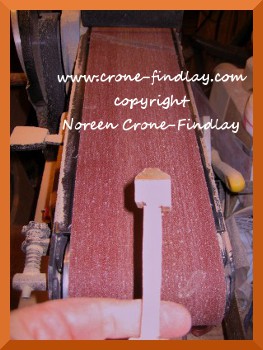
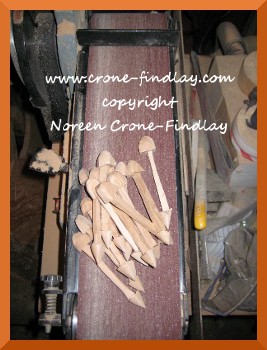
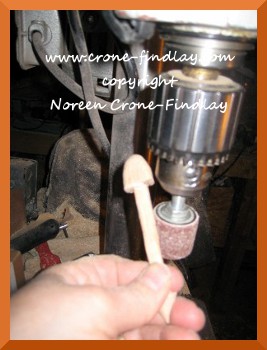
I love making tapestry bobbins from wood- especially upcycled wood, so I will be showing you how I do that in an upcoming post.
Happy weaving, and here’s to creative ways of storing yarn and thread stash! 😀
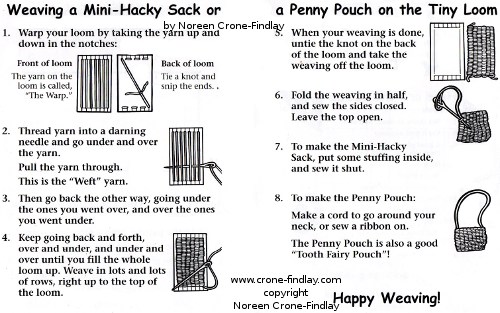
If you are teaching a child to weave, or just want an impromptu, no cost small loom for sampling yarns and colorways, this little loom is very handy.
copyright Noreen Crone-Findlay
The project on the foam food tray loom is a bookmark, but you can weave amulet bags, rug mugs, small dolls and toys, doll house rugs or squares that you stitch together to make larger projects.
It’s great for traveling, as it’s light, and if you use a plastic darning needle for weaving, it’s fine to take through airport security.
Yesterday, I posted part one of the recycled and upcycled looms: Here’s the link: PART ONE
I think that one of the most accessible looms for beginning weavers is the weaving stick loom.
I am doing a lot of designing for it – here’s my post about the mermaid to weave on the stick weaving loom: LINK
Yesterday, I posted about teaching children to weave Link
One of the pleasures of weaving is that it can be done with tremendously complex machines, but, can also be done with small bits of this and that from around the house.
Today and tomorrow, I am going to be posting little how to’s on making recycled and upcycled looms that are great for teaching kids how to weave, or just for noodling about with sampling yarns and weaving little bags, or hacky sacks or bookmarks….
So, here’s today’s installment:
copyright Noreen Crone-Findlay
If you make each grid square 1/4 inch, then the loom is business card size, which is a charming size to work with, and to pop into a pocket or bag.
copyright Noreen Crone-Findlay
If you weave 2 tiny rectangles on the loom, and stitch them together, then add a beaded fringe, it makes a very pleasing little amulet bag.
I think that one of the most accessible looms for beginning weavers is the weaving stick loom.
I am doing a lot of designing for it – here’s my post about the mermaid to weave on the stick weaving loom: LINK
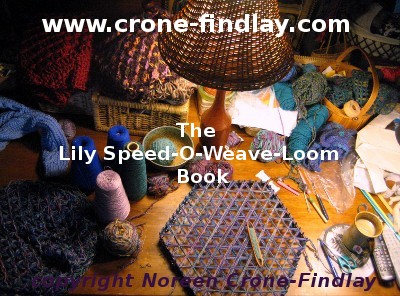
A lady on Ravelry just asked for more of a preview of what is in the Lily Speed-O-Weave loom book (link to page on my website)
Lily Speed-O-Weave Loom book by Noreen Crone-Findlay (c)
The first two sections of the book teach a ton of useful and neat techniques for working with the Lily Speed-O-Weave looms- there are several different ways of wrapping the looms, how to tie the intersections, how to weave more than just hexagons on the hexagon loom ( half hexagon motifs and triangle motifs), how to make easy linings for projects, how to spool knit edgings over a core, how to make butterflies and hearts on little triangle looms (don’t have a small triangle loom? I’ve made a couple of video tutorials on how to weave triangles on the potholder loom. See Potholder loom page ), plus the special hexagonal grid paper that I drew to be able to design with the hexagons. (Hexagons are tricky critters until you unlock the code on them! 😀 ) As well, there are instructions on how to work with the square and rectangular Lily Speed-O-Weave loom. And a whole lot more….
Then, there are 19 different projects:
Lily Speed-O-Weave Loom book by Noreen Crone-Findlay (c)
How to make hexagonal AND square baskets from upcycled fabric strips from torn up clothing- of course, you can use yarn, roving, string or cord to make the baskets, but I really enjoy using fabric strips, so I did the baskets with them.
Lily Speed-O-Weave Loom book by Noreen Crone-Findlay (c)
Whoosh! Summer raced by, with renovations on our house, and helping out on renovations at our daughter and son-in-law’s house and weaving, weaving, weaving, weaving, weaving!
I’ve been working HARD on new books and am hunkering in and am ~FINALLY~ getting them closer to completion and releasing- oh my!
I took a little break from my looms the other evening to indulge in a little bit of upcycling.
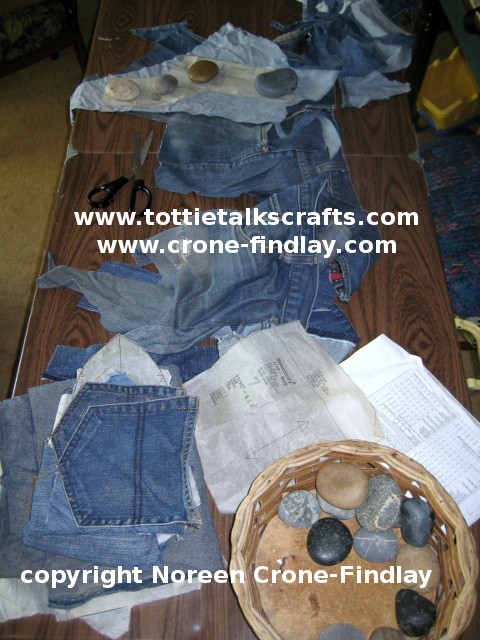
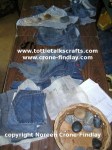
My daughter in law gave me some of her torn blue jeans a few months ago.
Suddenly, the other evening, I felt the urge to take the scissors to them:
copyright Noreen Crone-Findlay
I have a couple of dress patterns that I am besotted with these days, and find myself making them over and over in various configurations.
In my previous blog post, (link to post) I showed how I used my fave dress pattern with fabric that I had woven on various narrow looms.
Snipping up the bluejeans to fit the pattern pieces was a touch tricky, and forced me to bend a few ‘good seamstressing’ rules, but what the heck, why not?
copyright Noreen Crone-Findlay
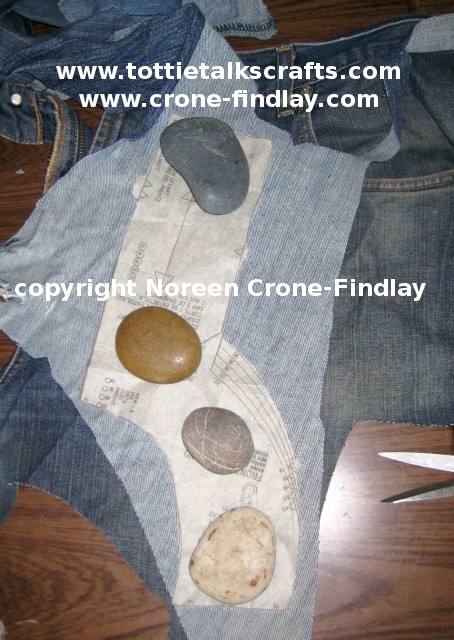
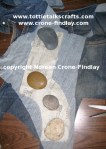
I am fanatical about pinning the living daylights out of the sections of garments when I am stitching them together, but I don’t pin my pattern pieces to the fabric when cutting out.
I like my rock collection that I have gathered up over the years. 🙂 They hold things in place without damaging the pattern tissues.
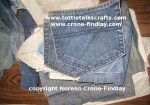
And, of course, I HAD to save and re-use the bum pockets!
I also saved a little pocket from the inside of one pair for a cellphone or glasses mini-pocket, too.
copyright Noreen Crone-Findlay
Unfortunately, when I picked the pockets off the backside of the jeans, there were 2 dark blue pocket shapes. Drat!
I thought about attempting to bleach them out, but then thought: Ah, why not consider them to be ‘design elements’? 😀
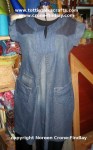
I am tickled pink with my upcycled denim dress, and am so happy that a couple of pairs of torn jeans have come back to life as a fun and comfy tunic that I am going to enjoy enormously! Whee!
copyright Noreen Crone-Findlay
I really should show you the dress that I made from a garage sale tablecloth… it’s great! I wove the neckband…. okay… must take pictures and get back into the habit of blogging again!