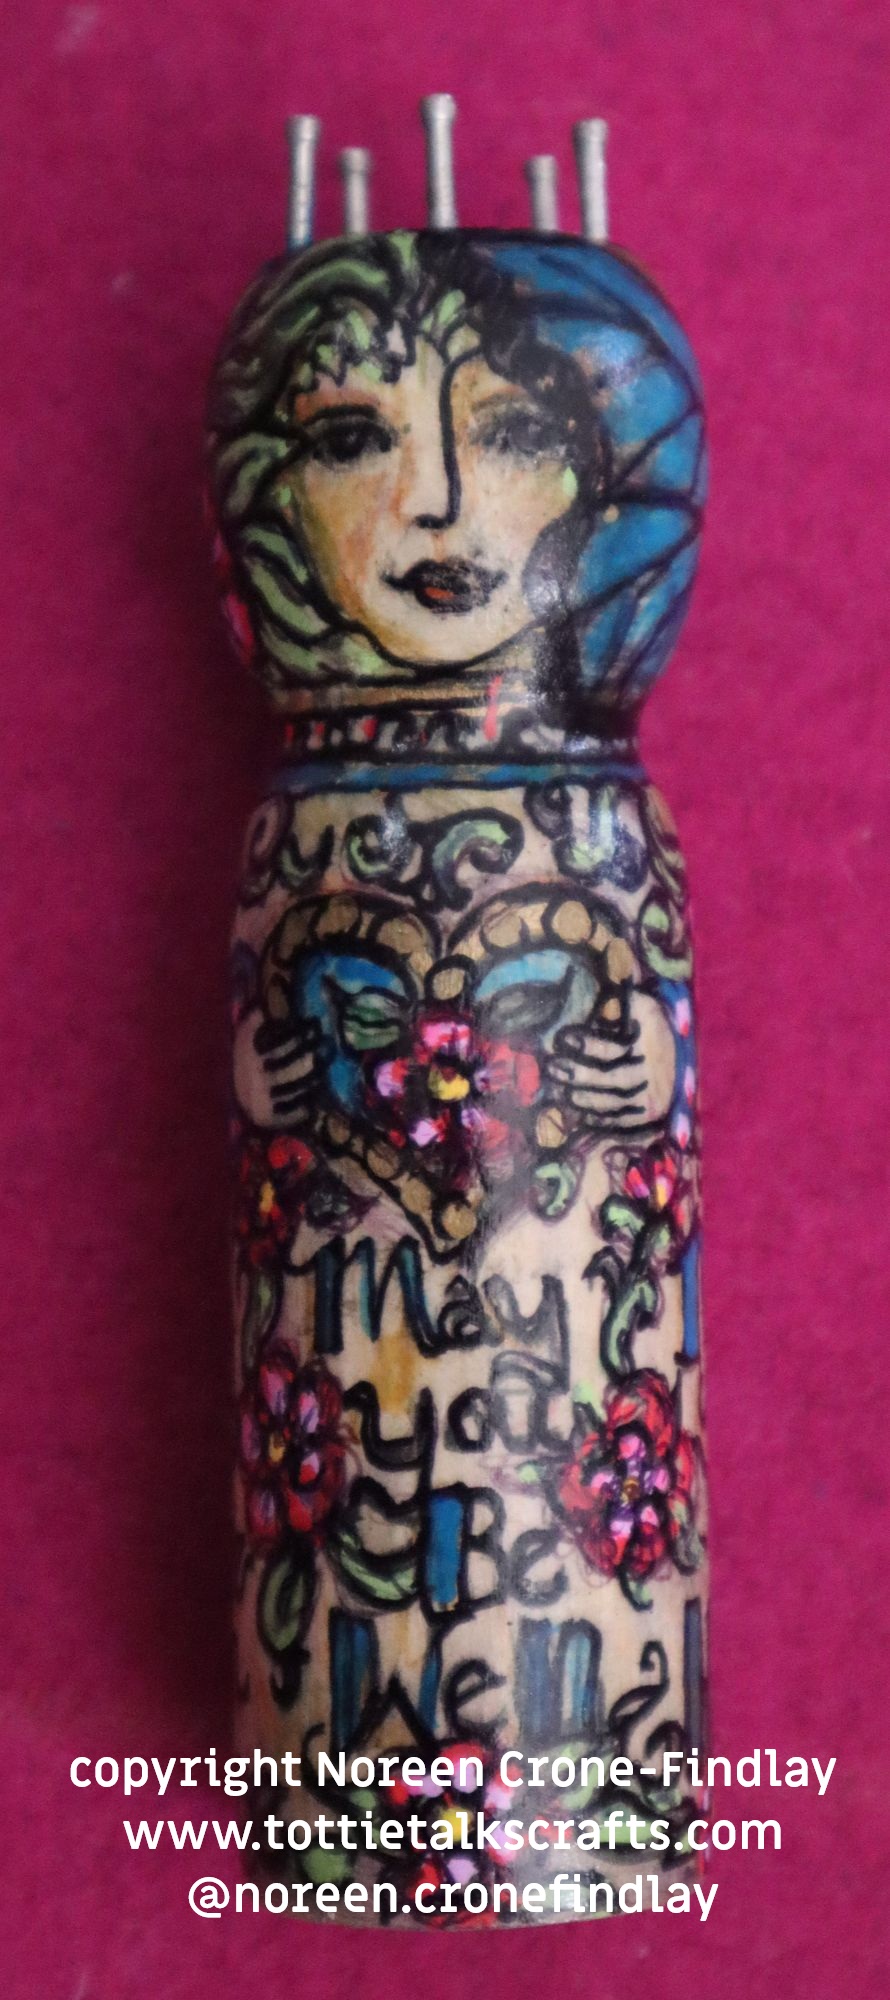
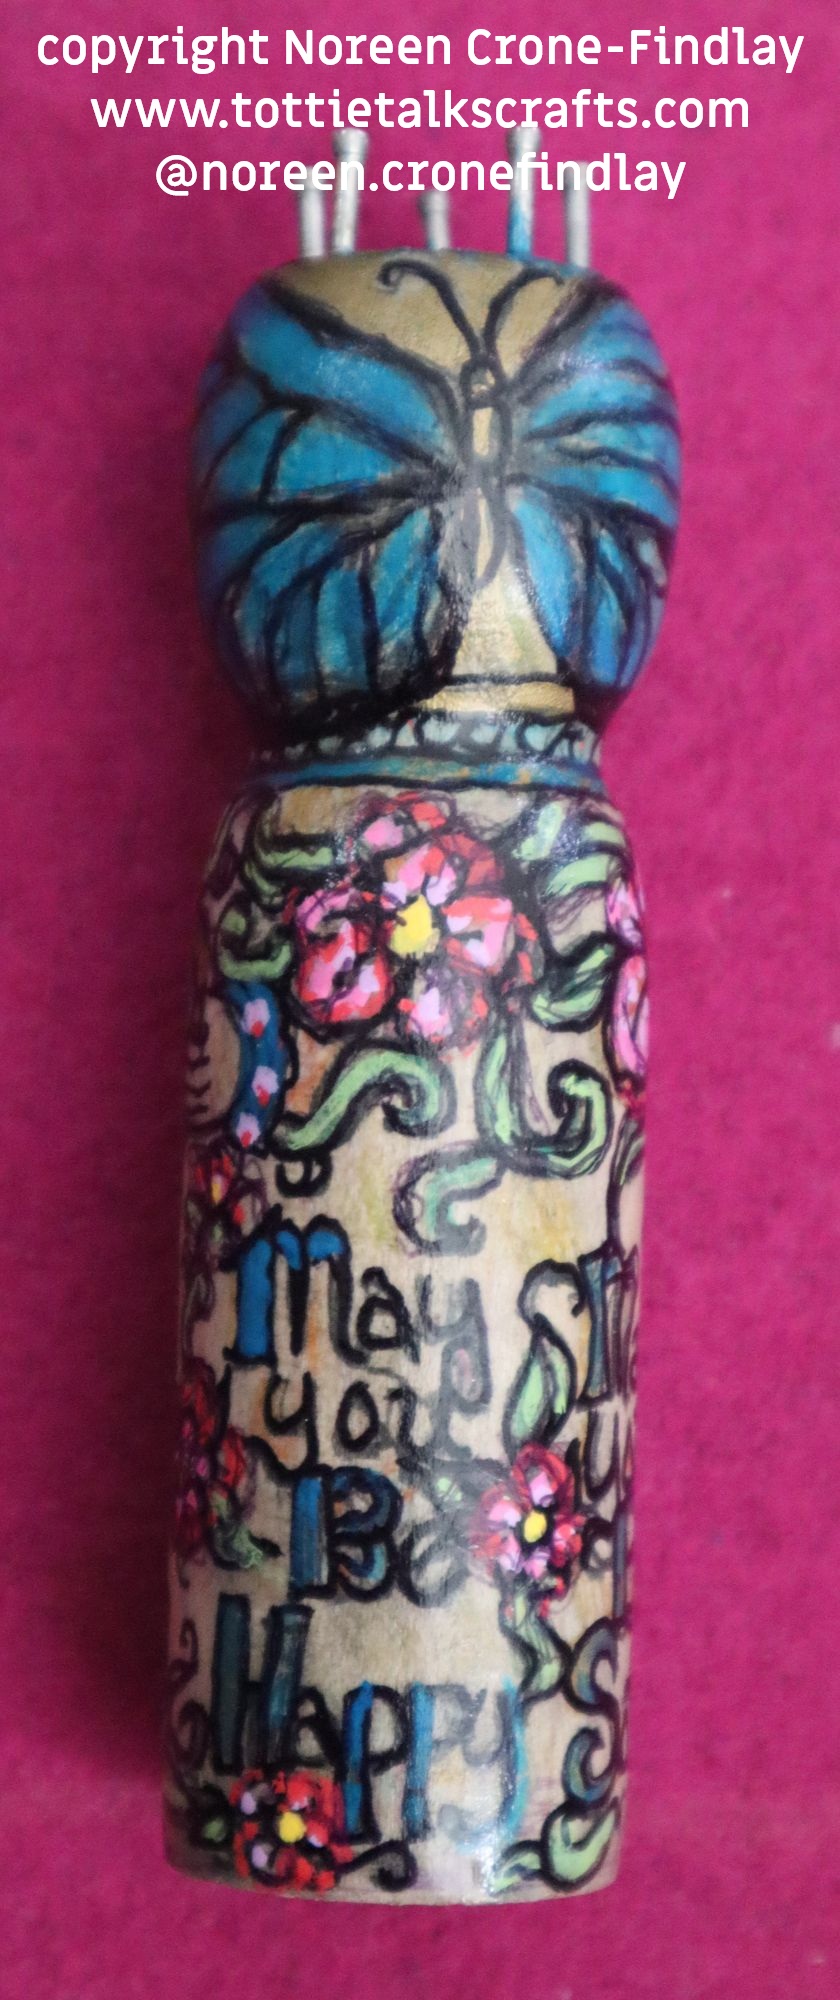
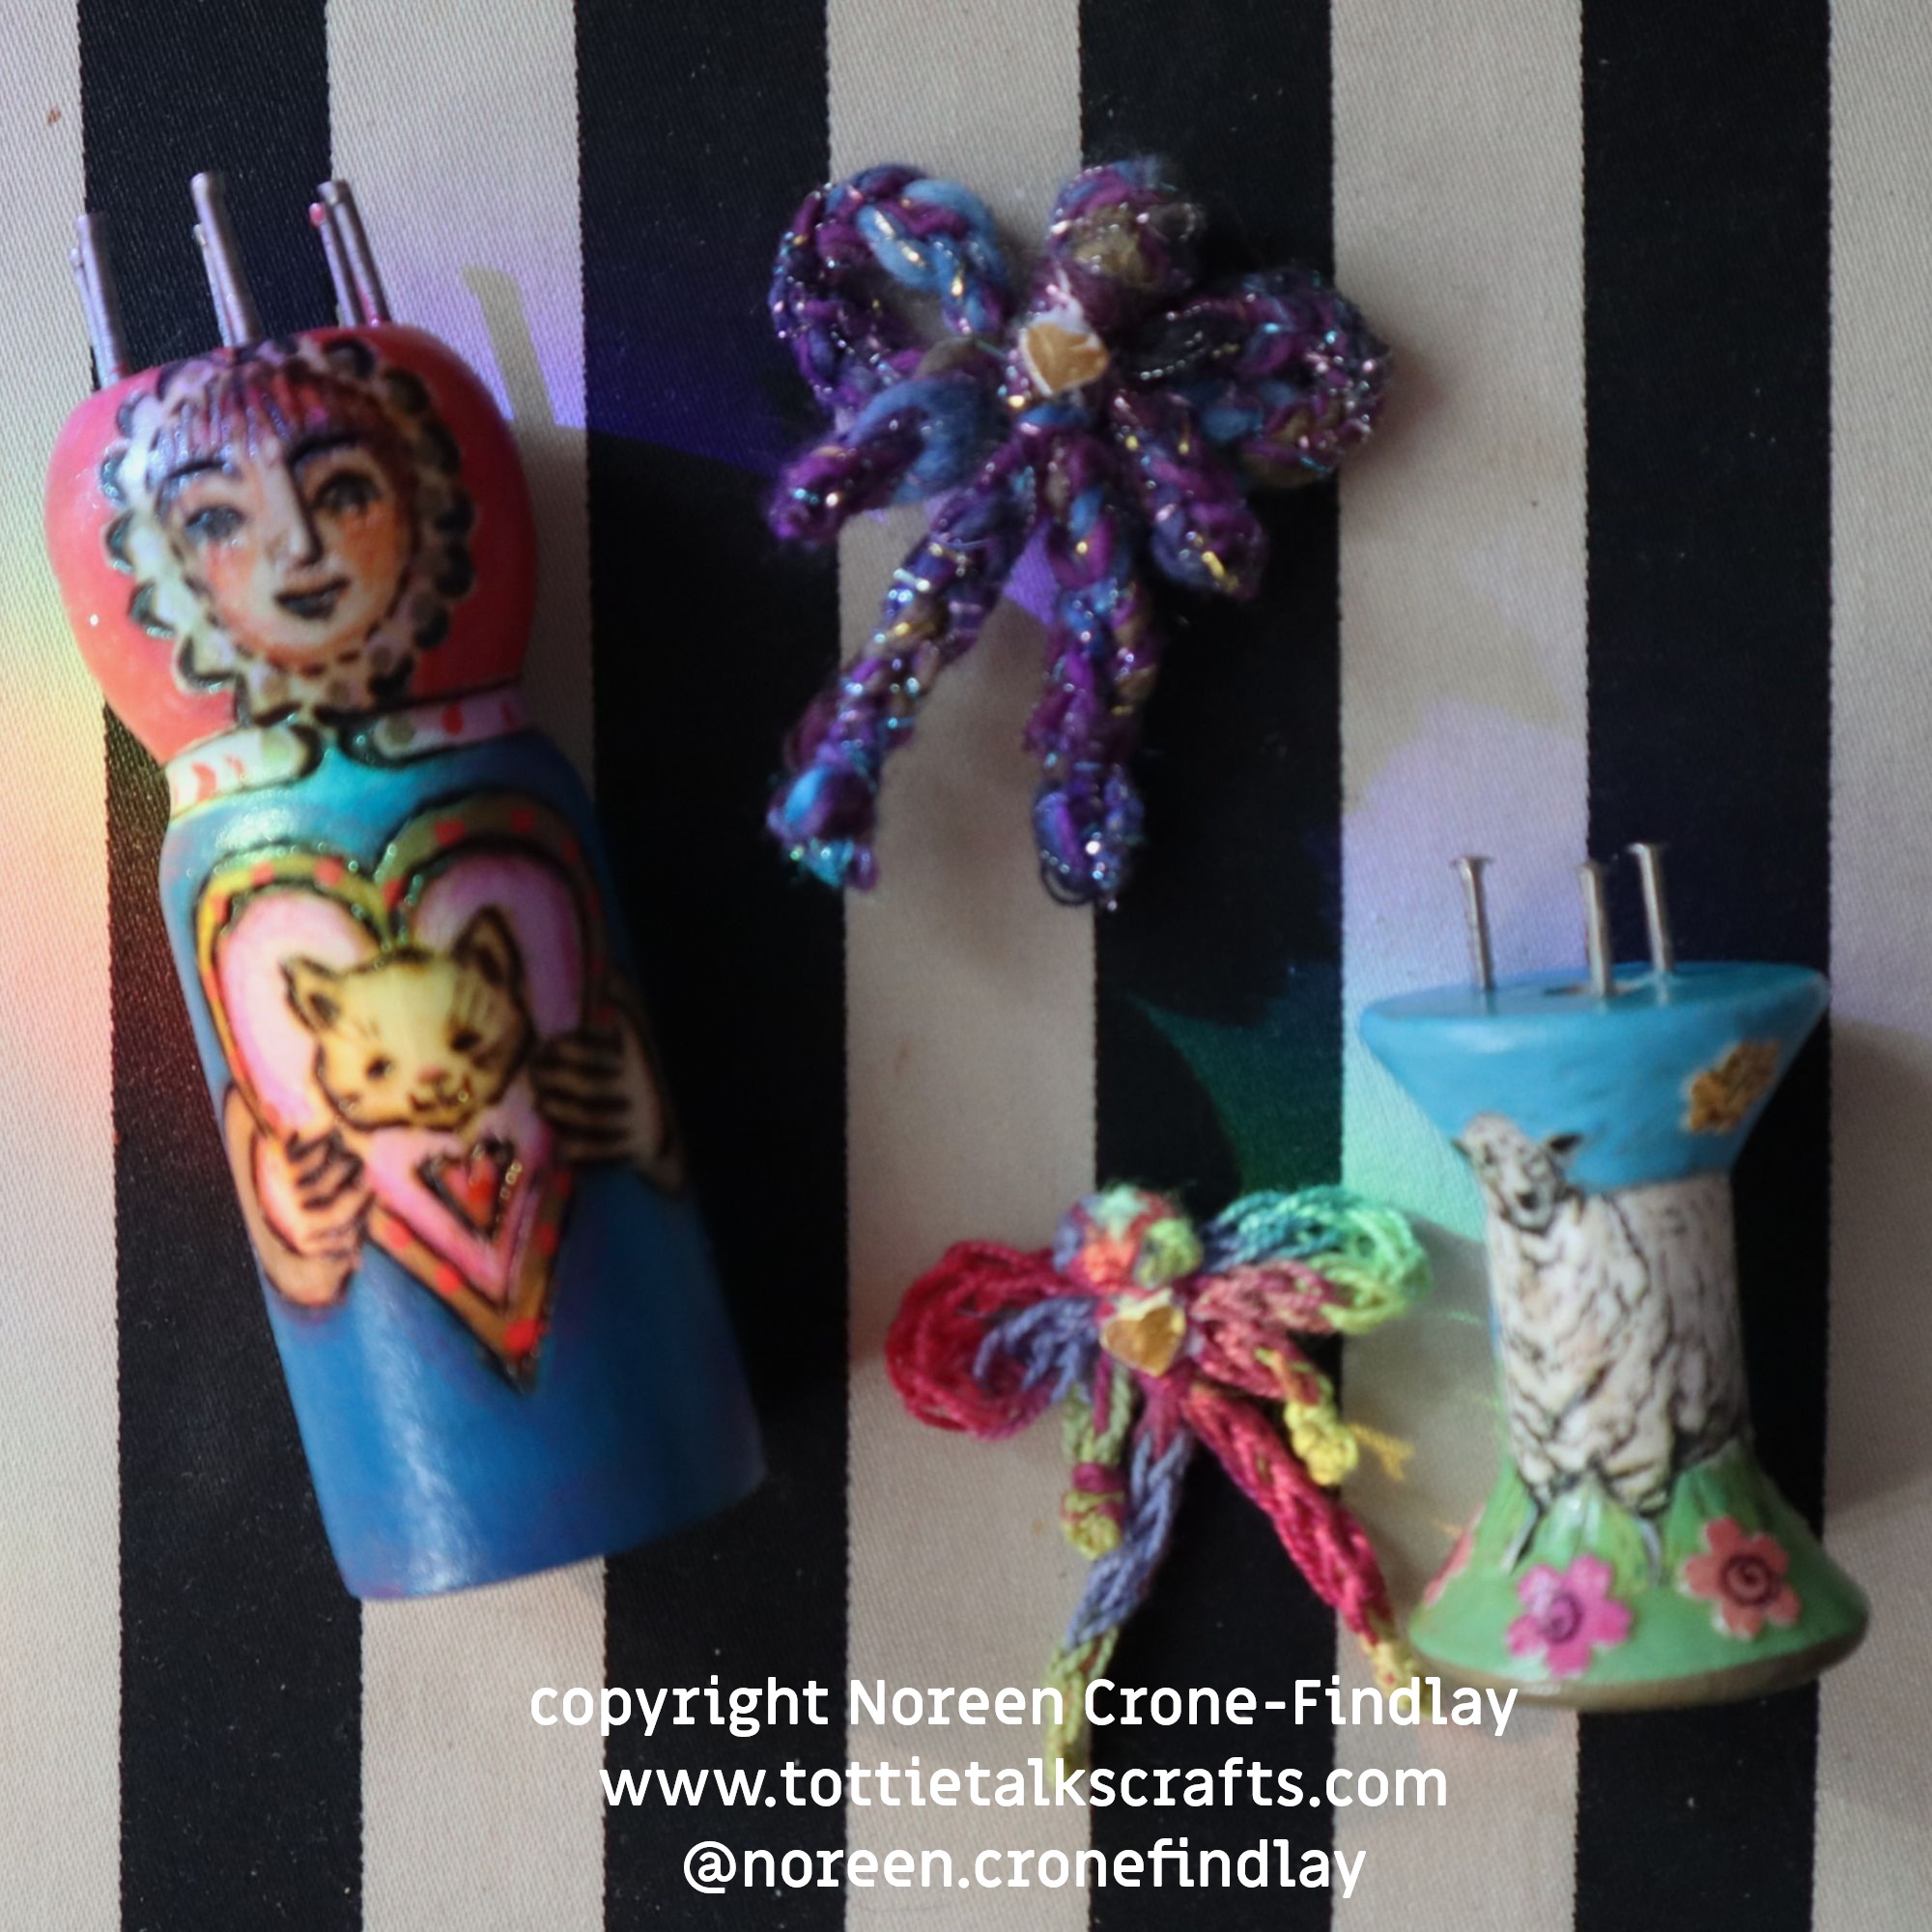
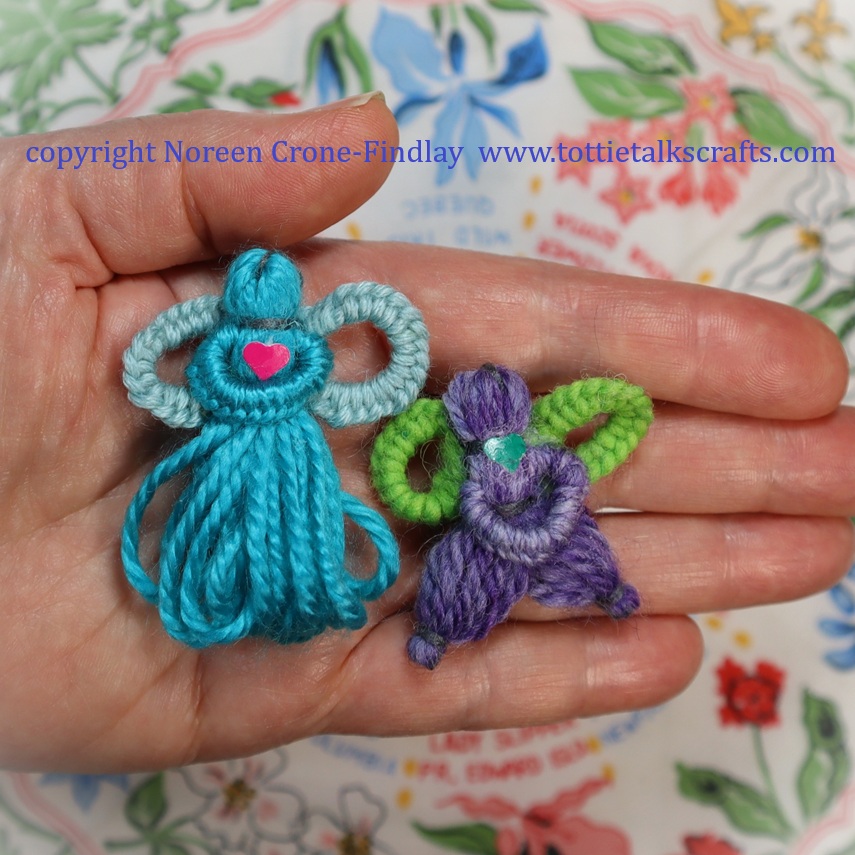
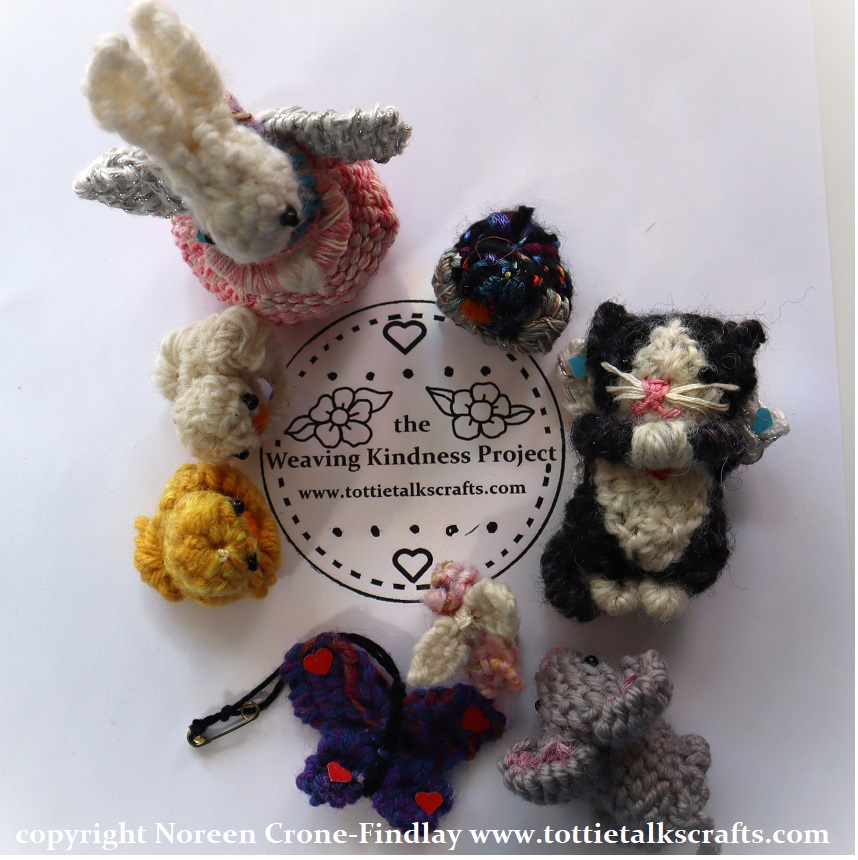
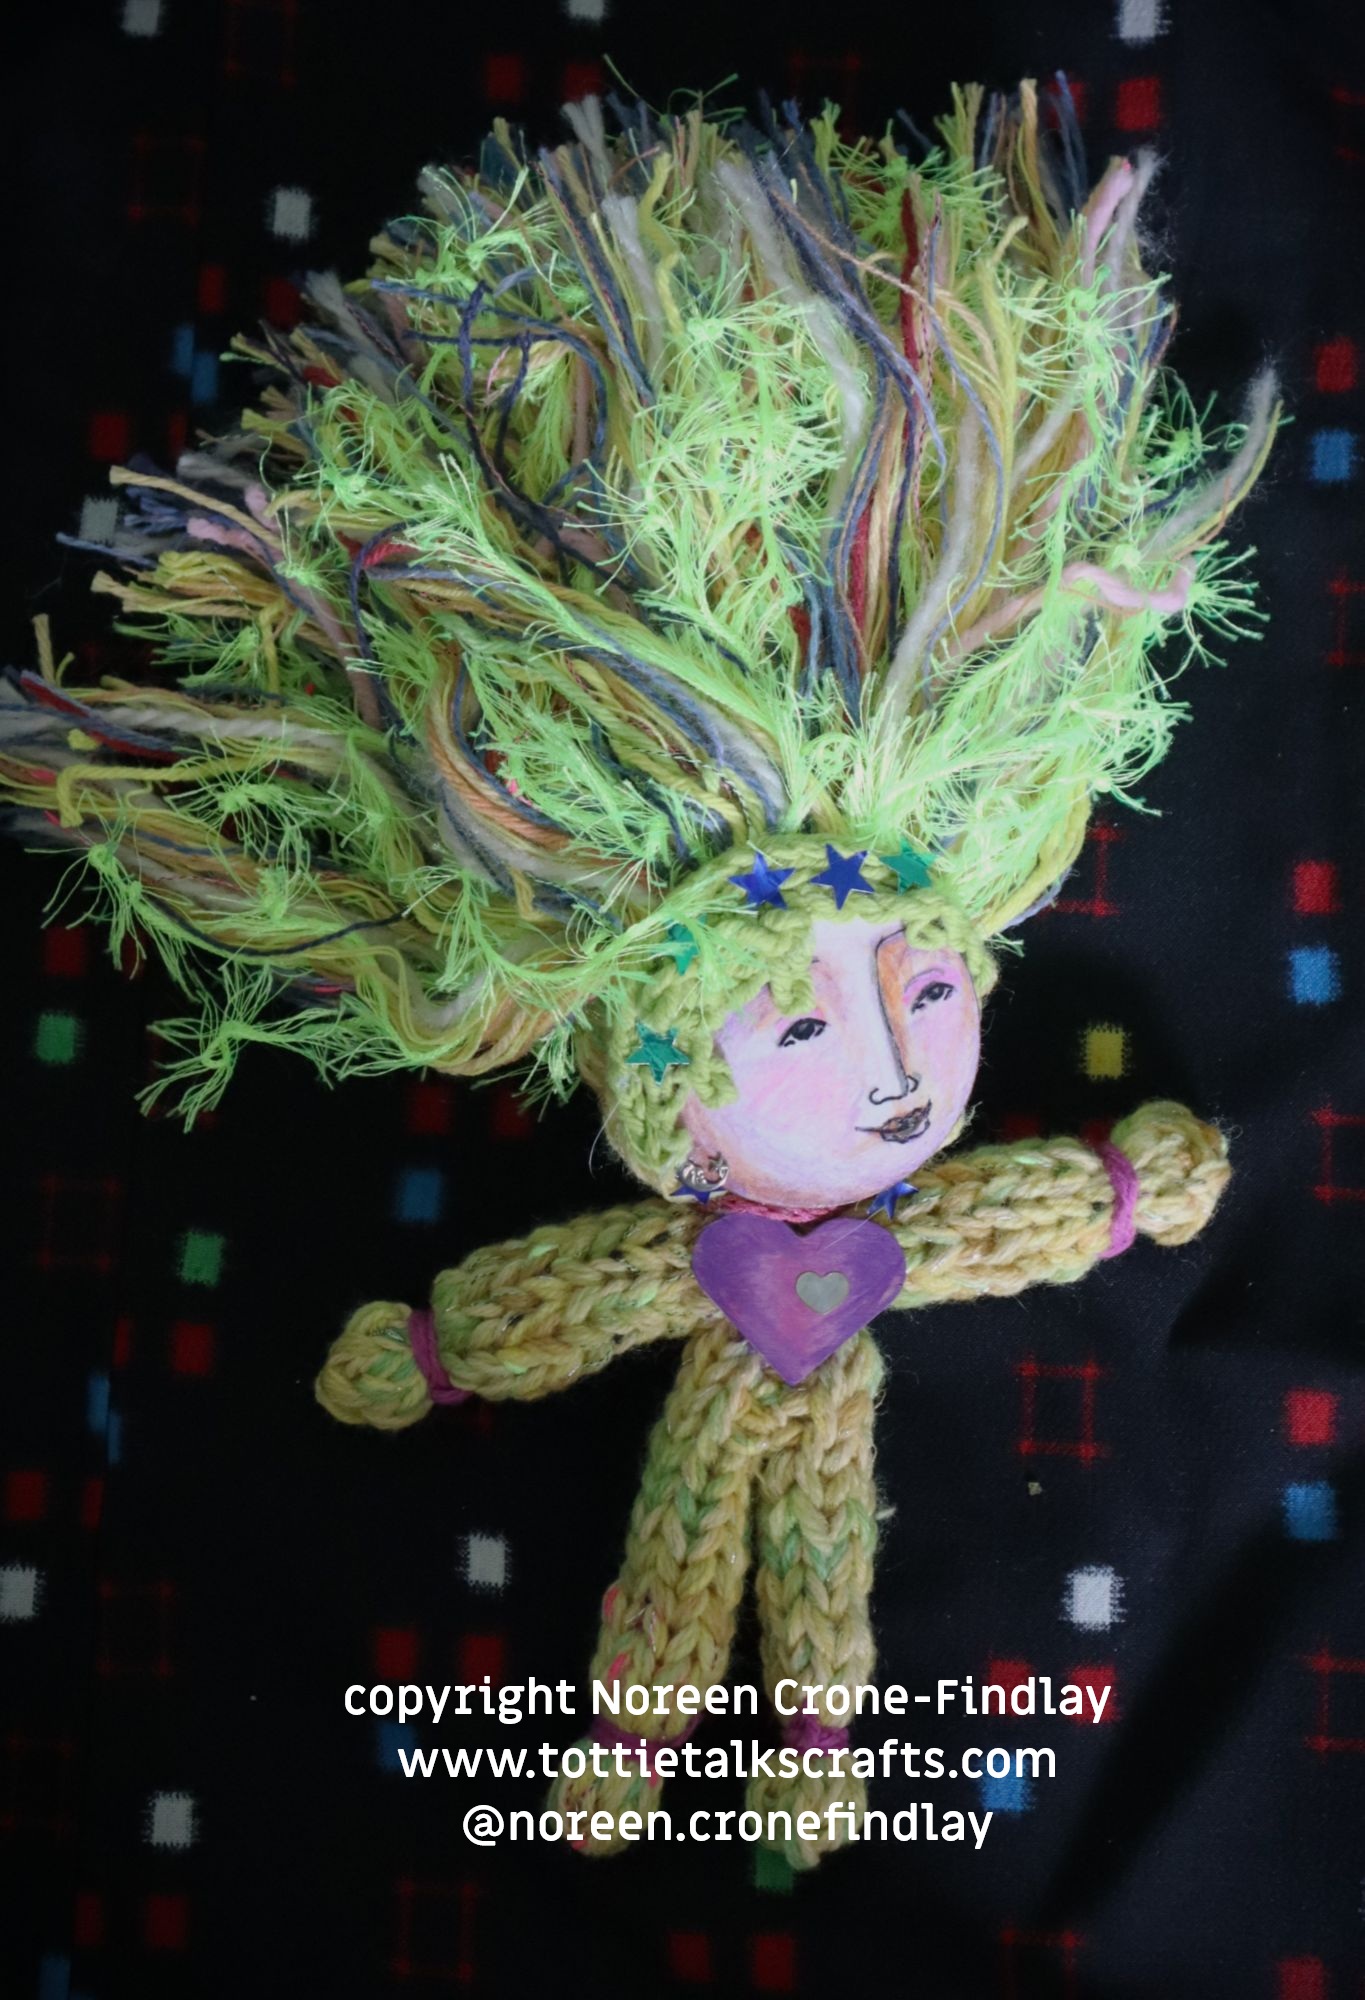
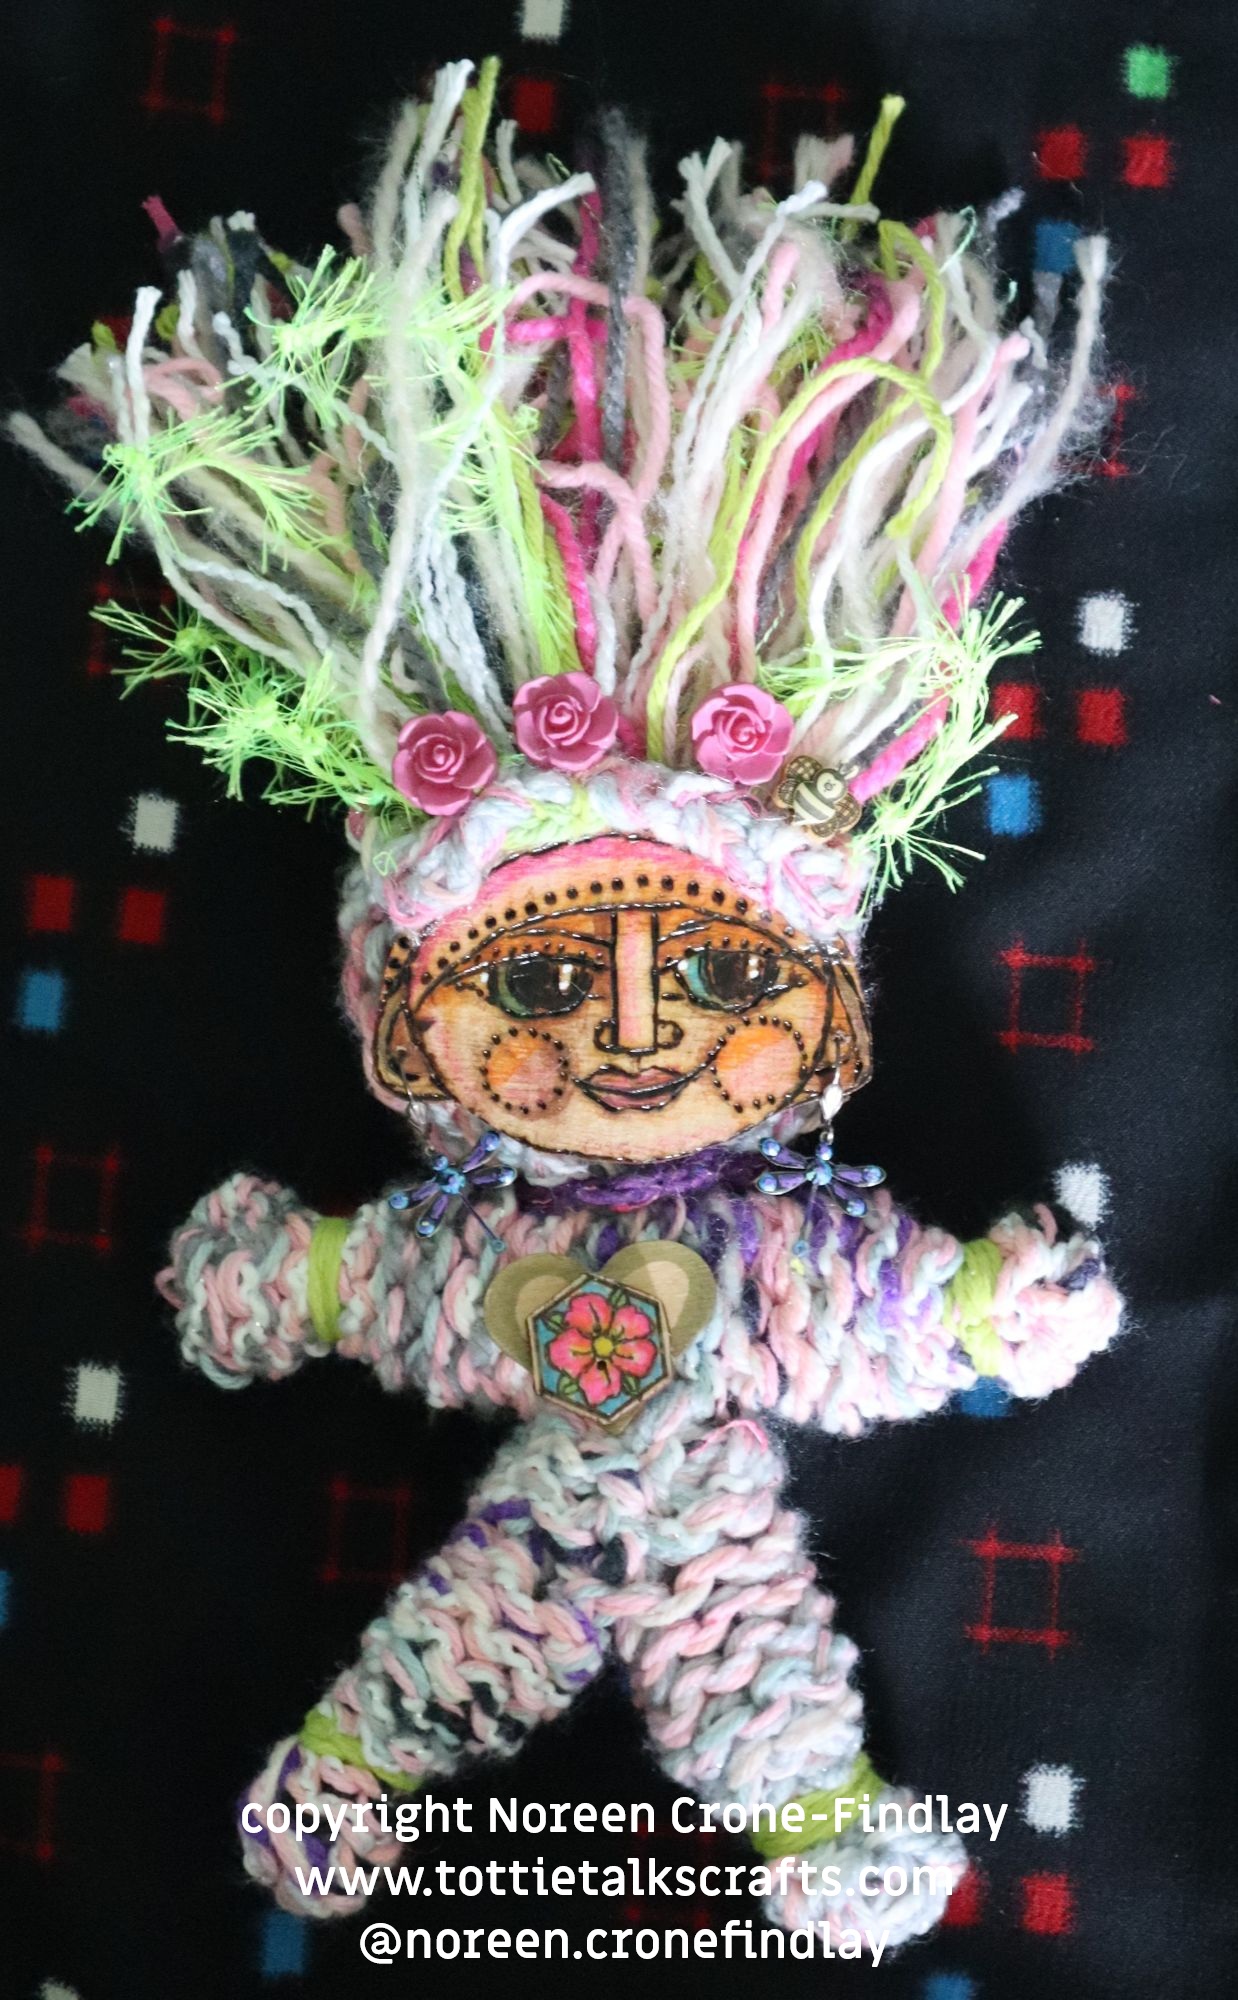
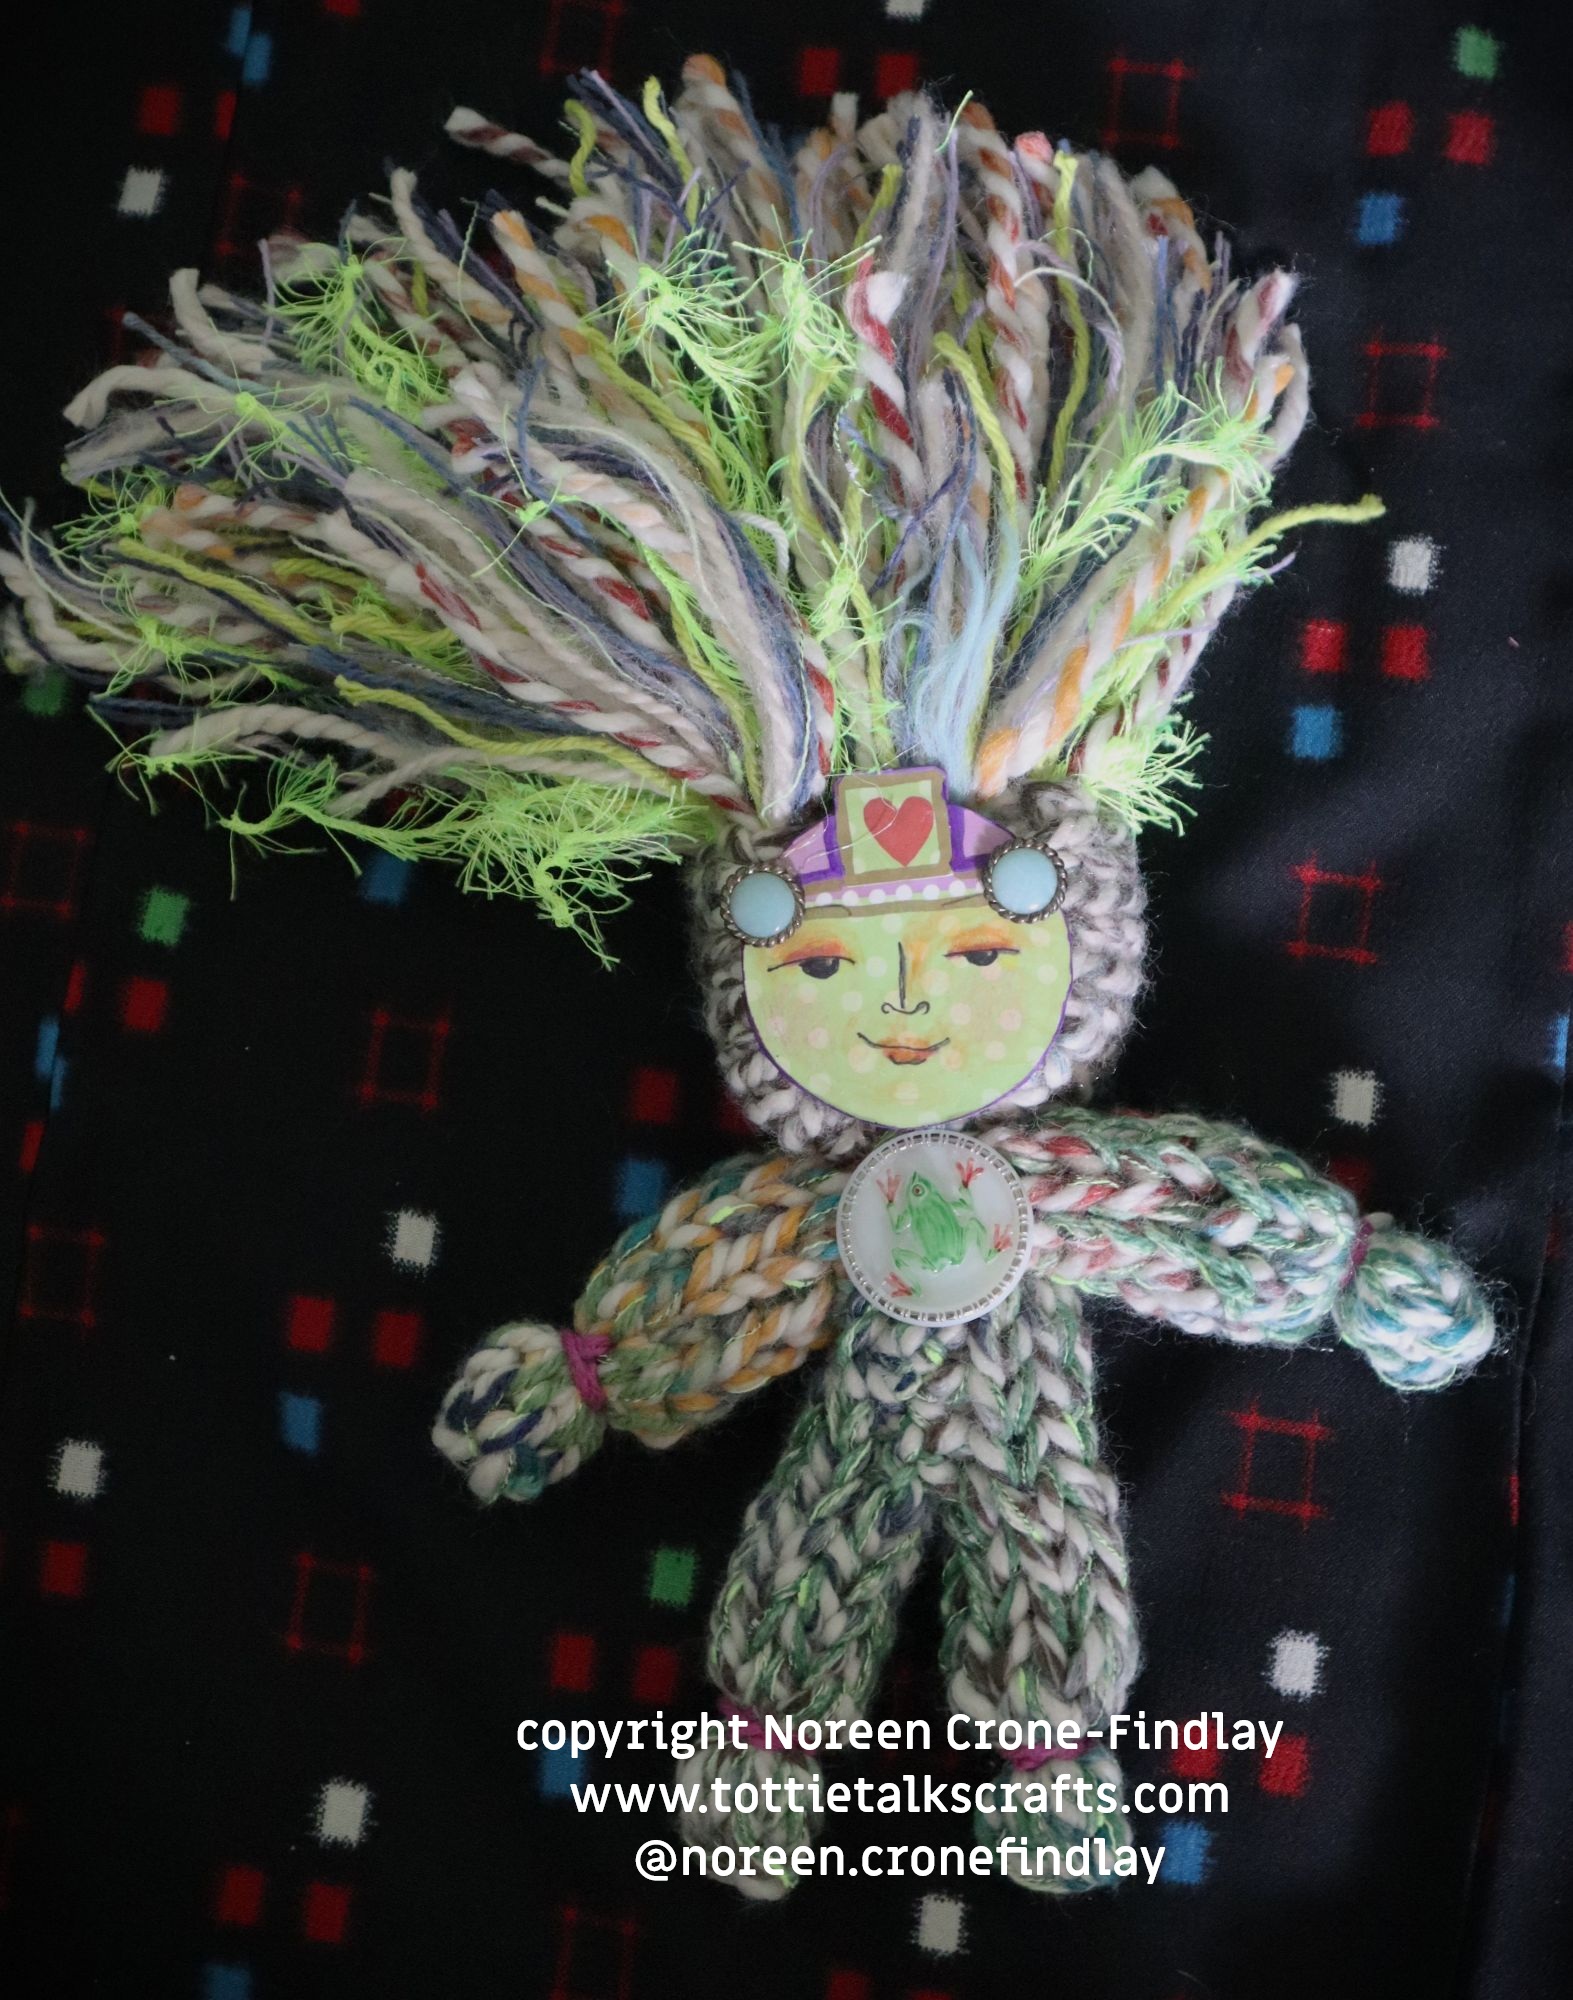
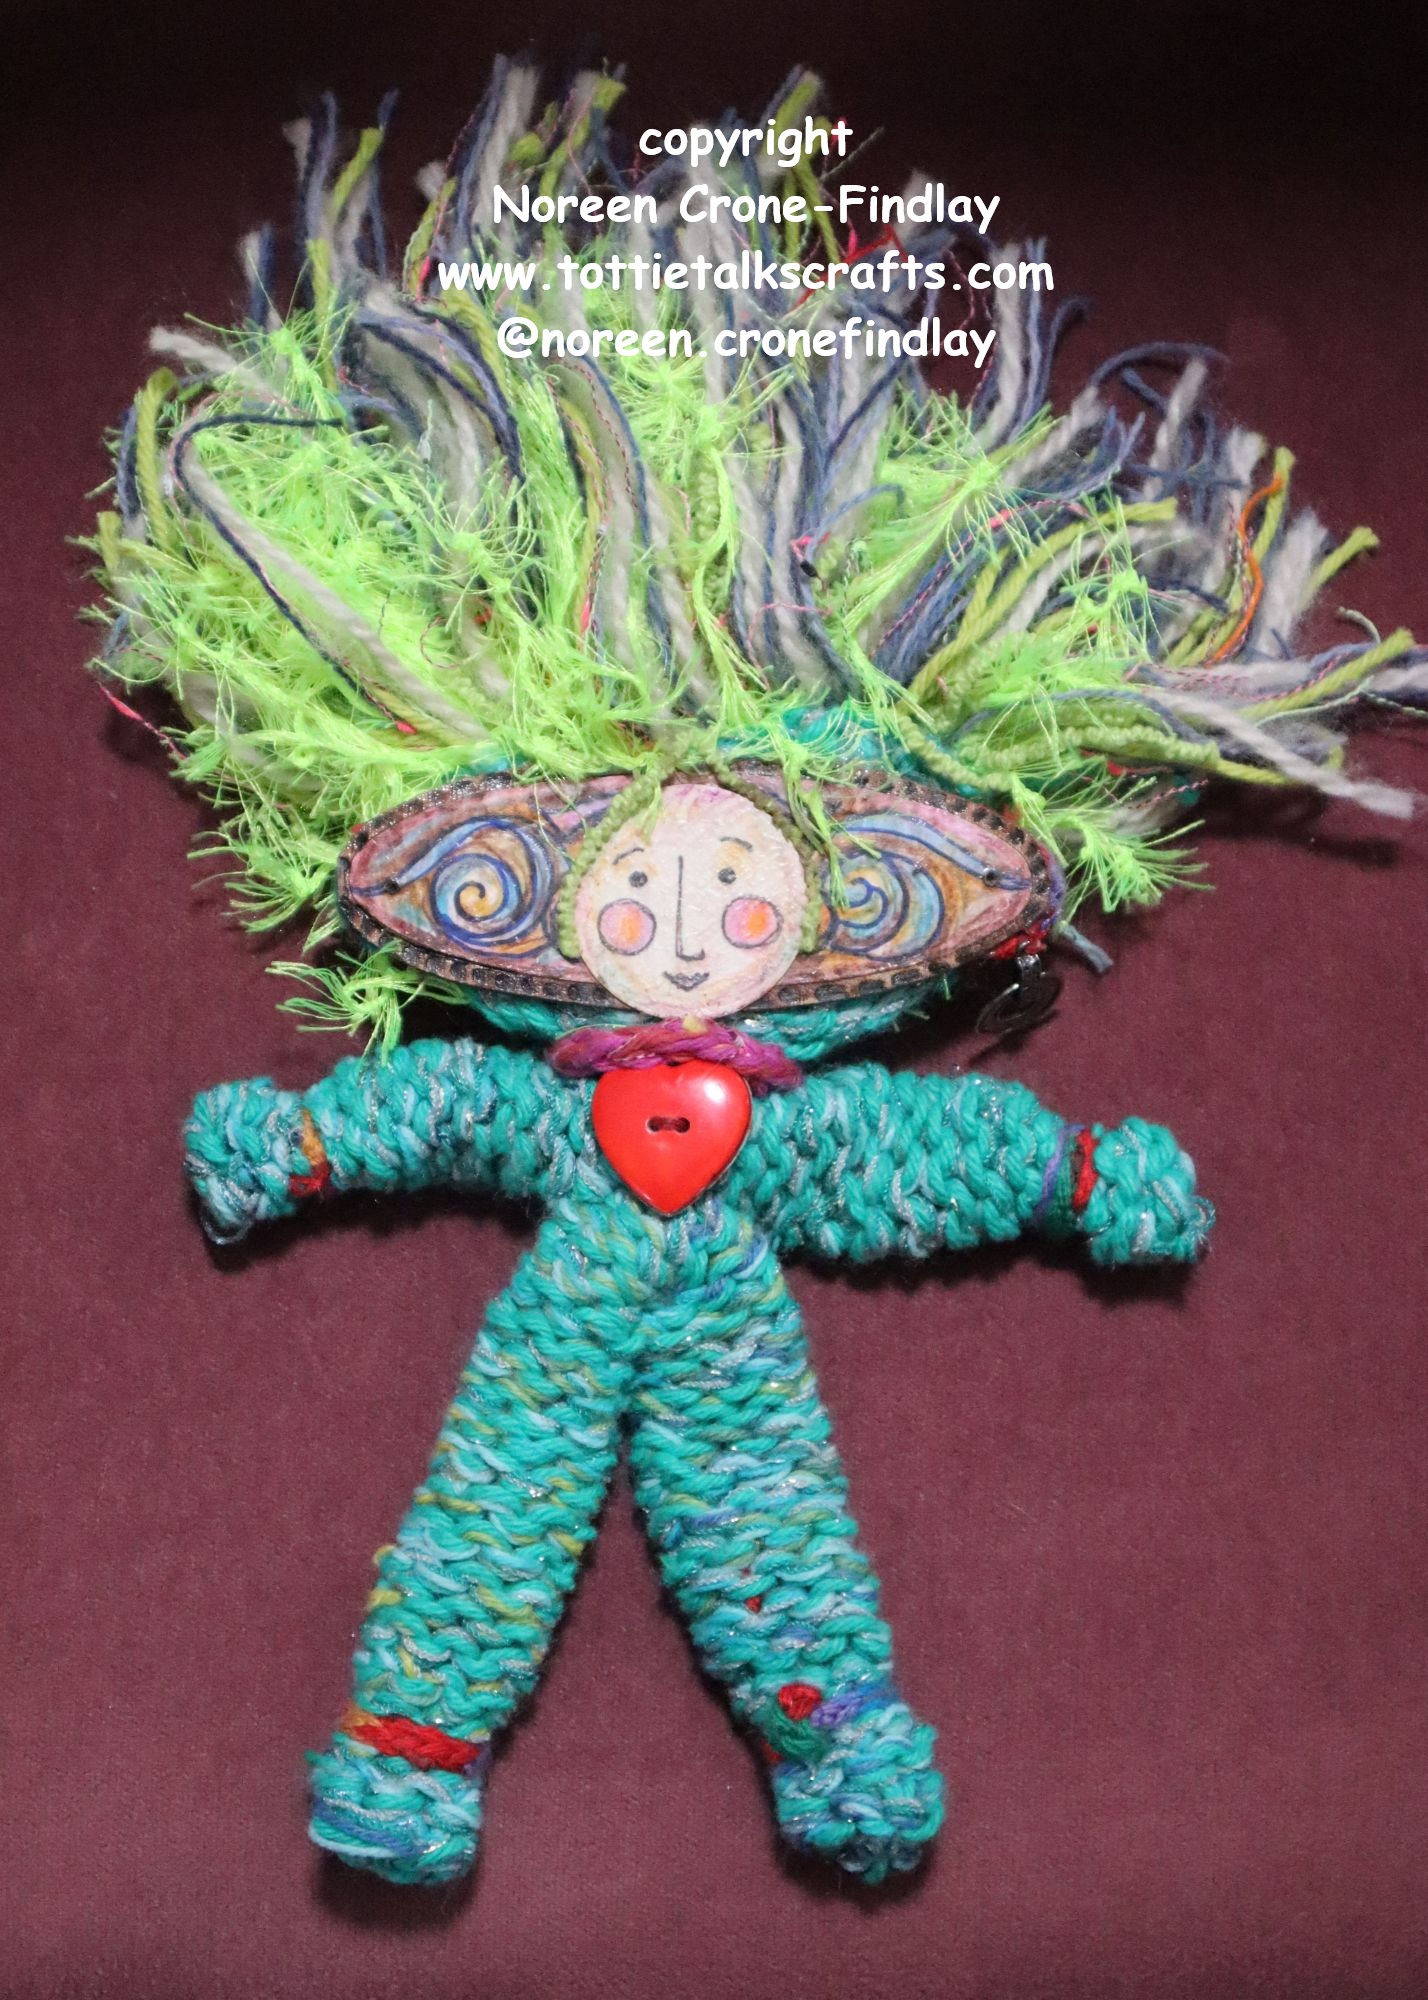
Day 24 of #100daysofspoolknittersandlittlelooms- Well Well Well Spool Knitted Dolls
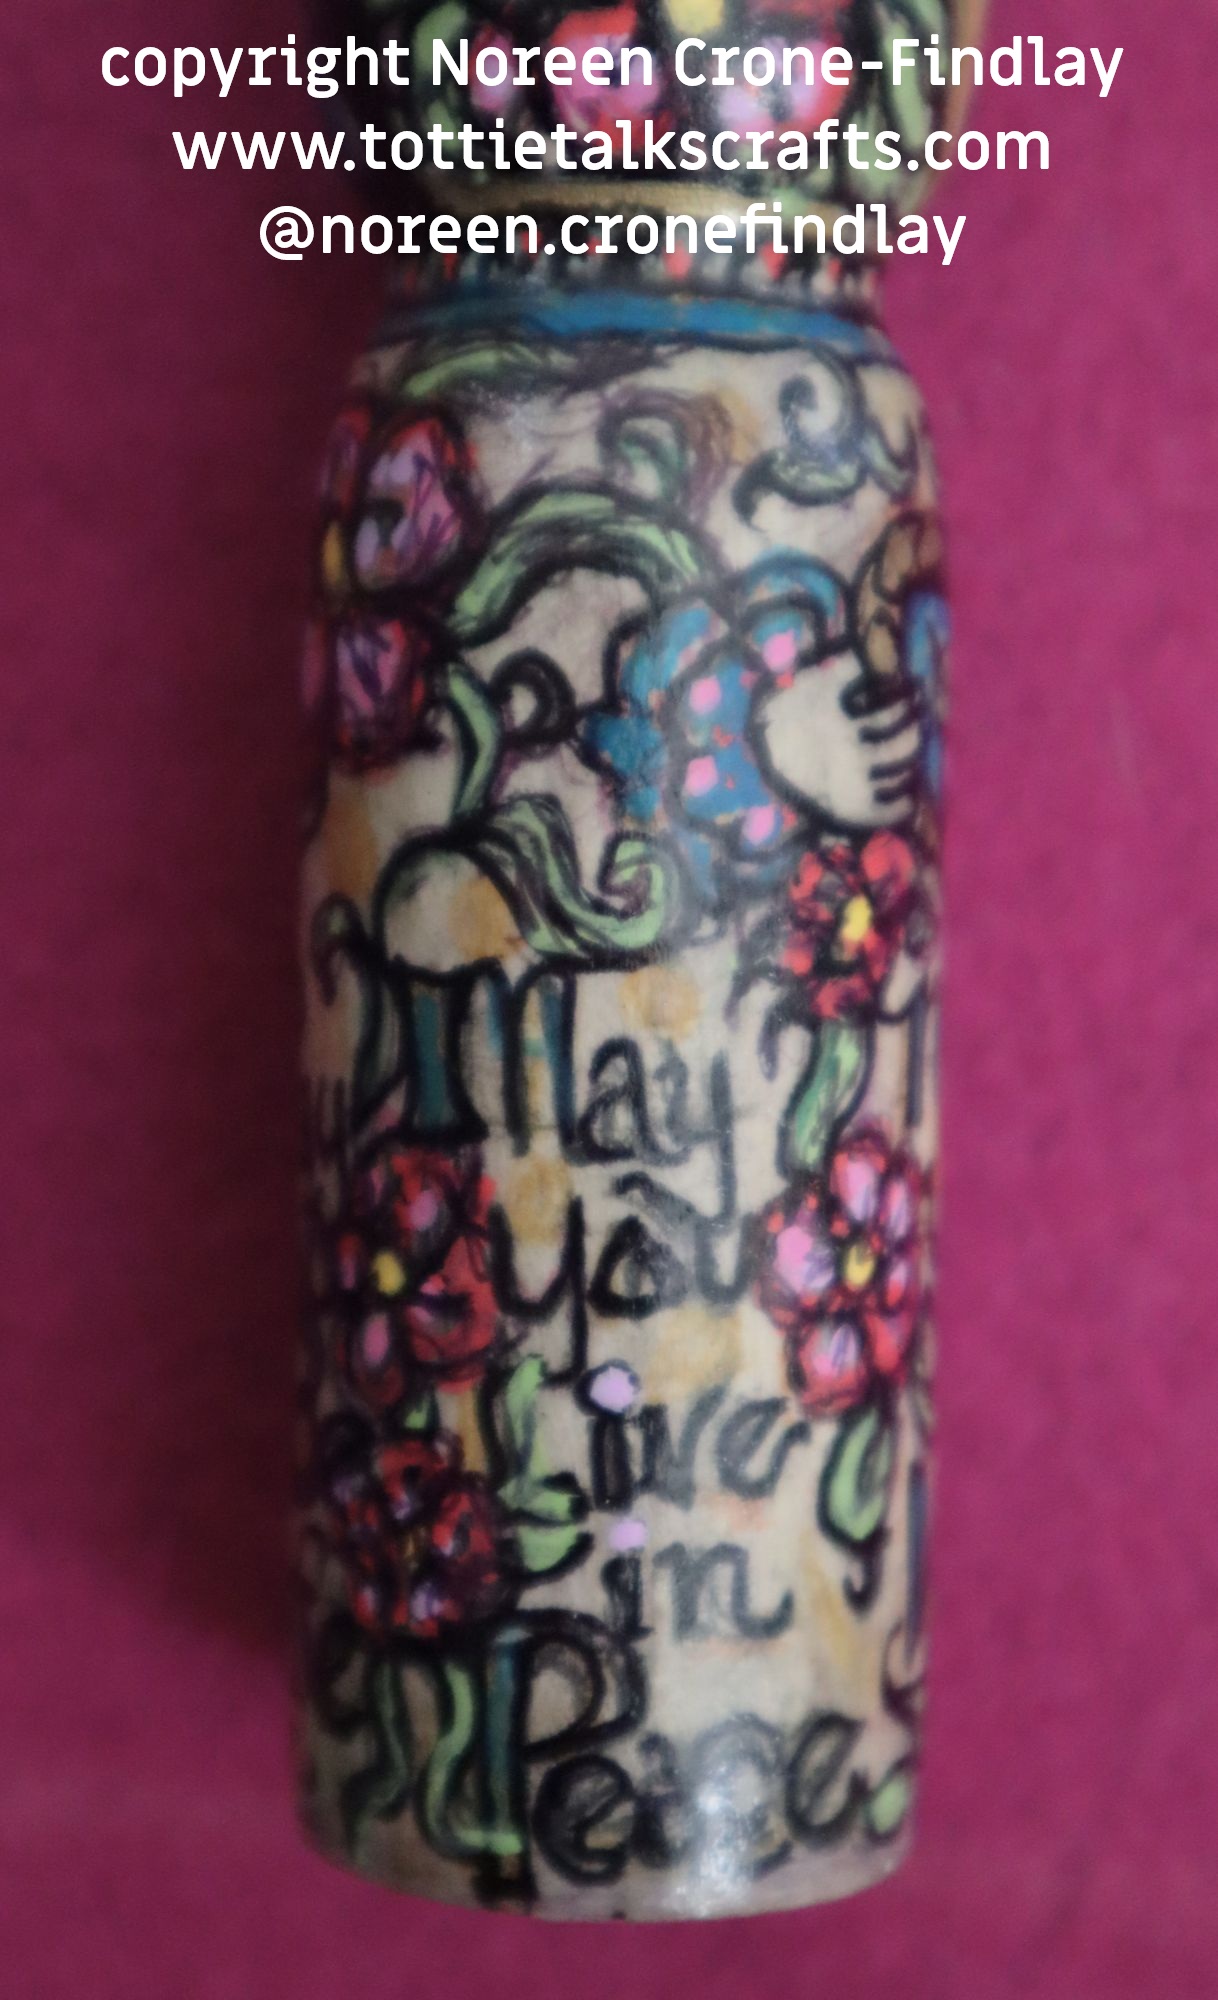
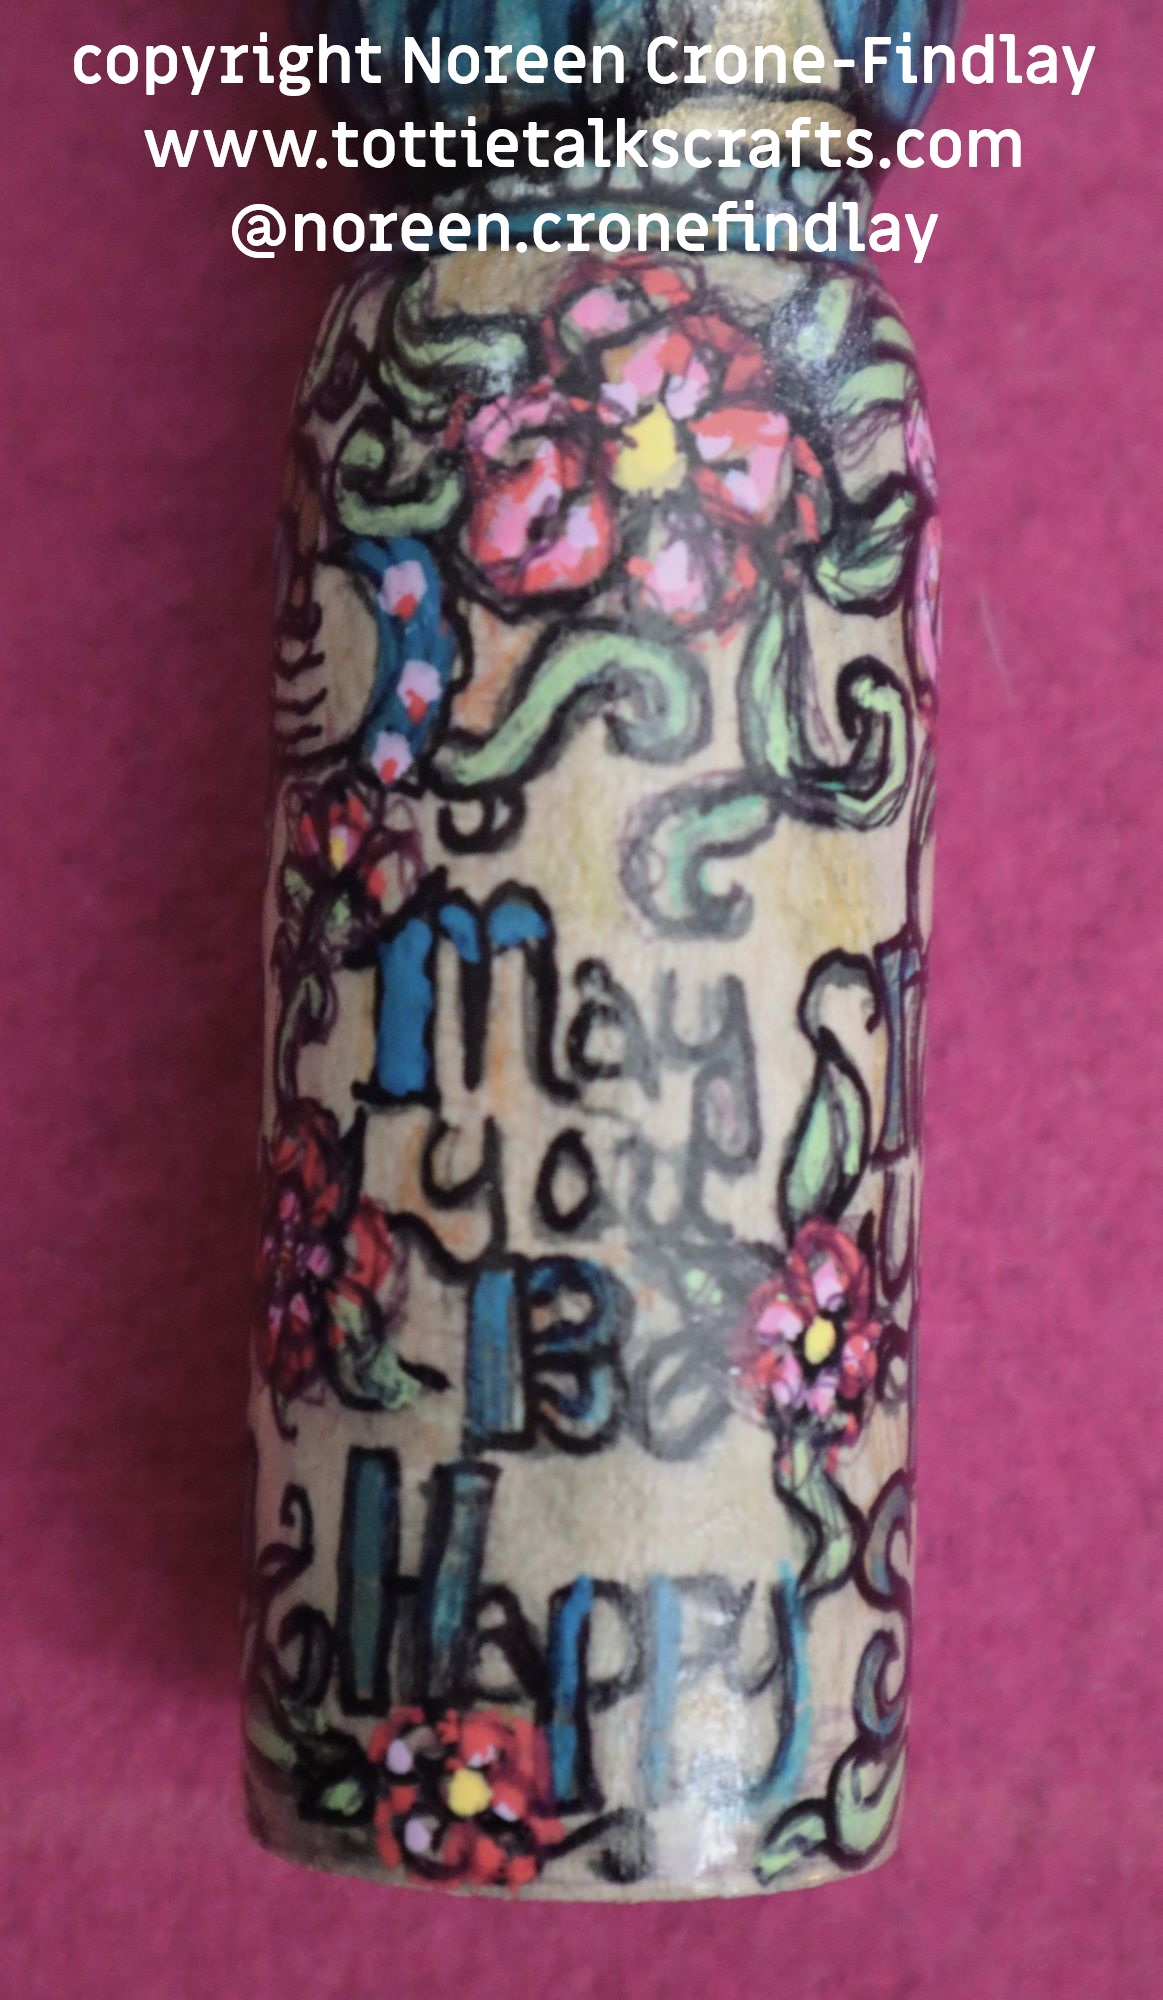
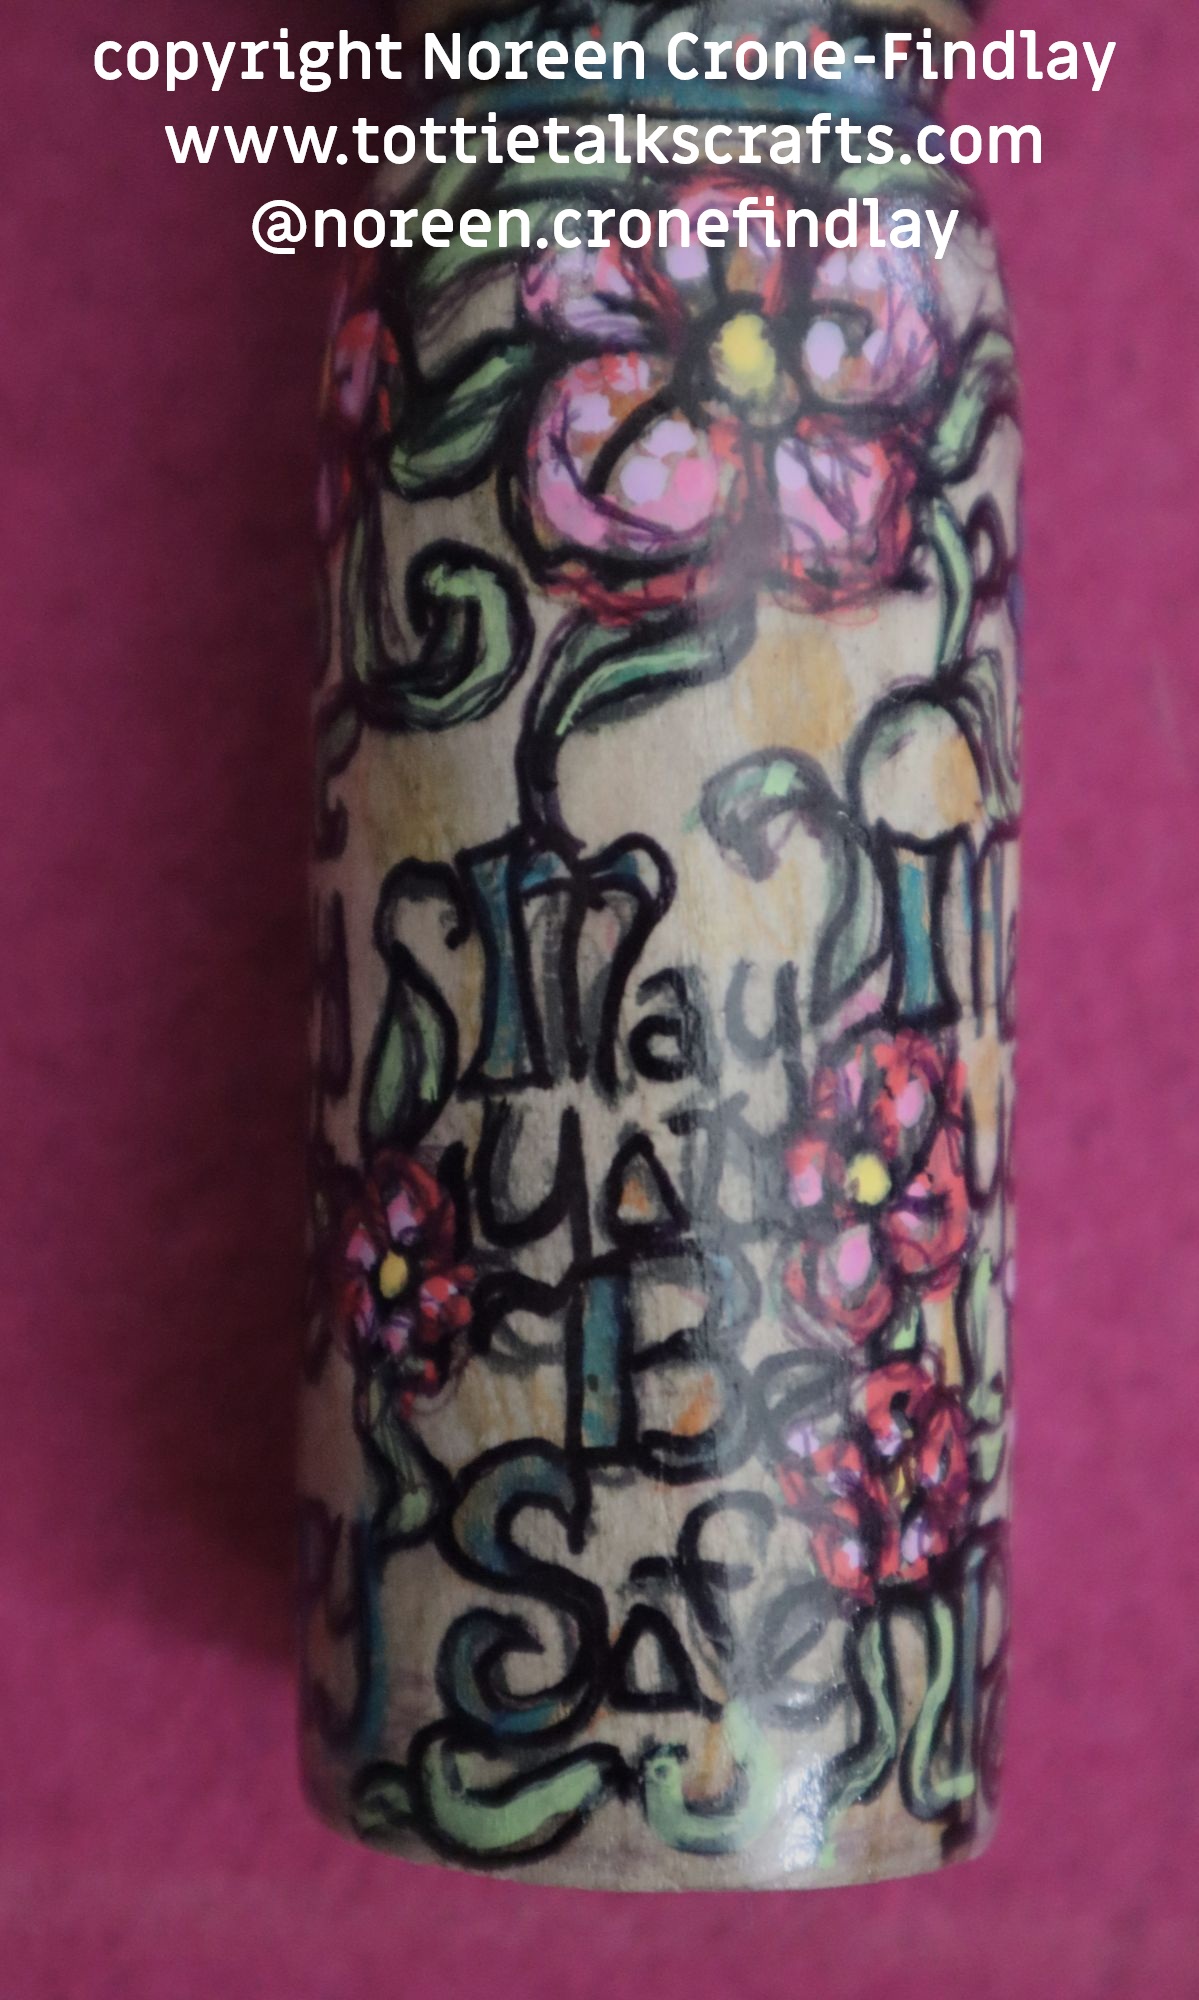
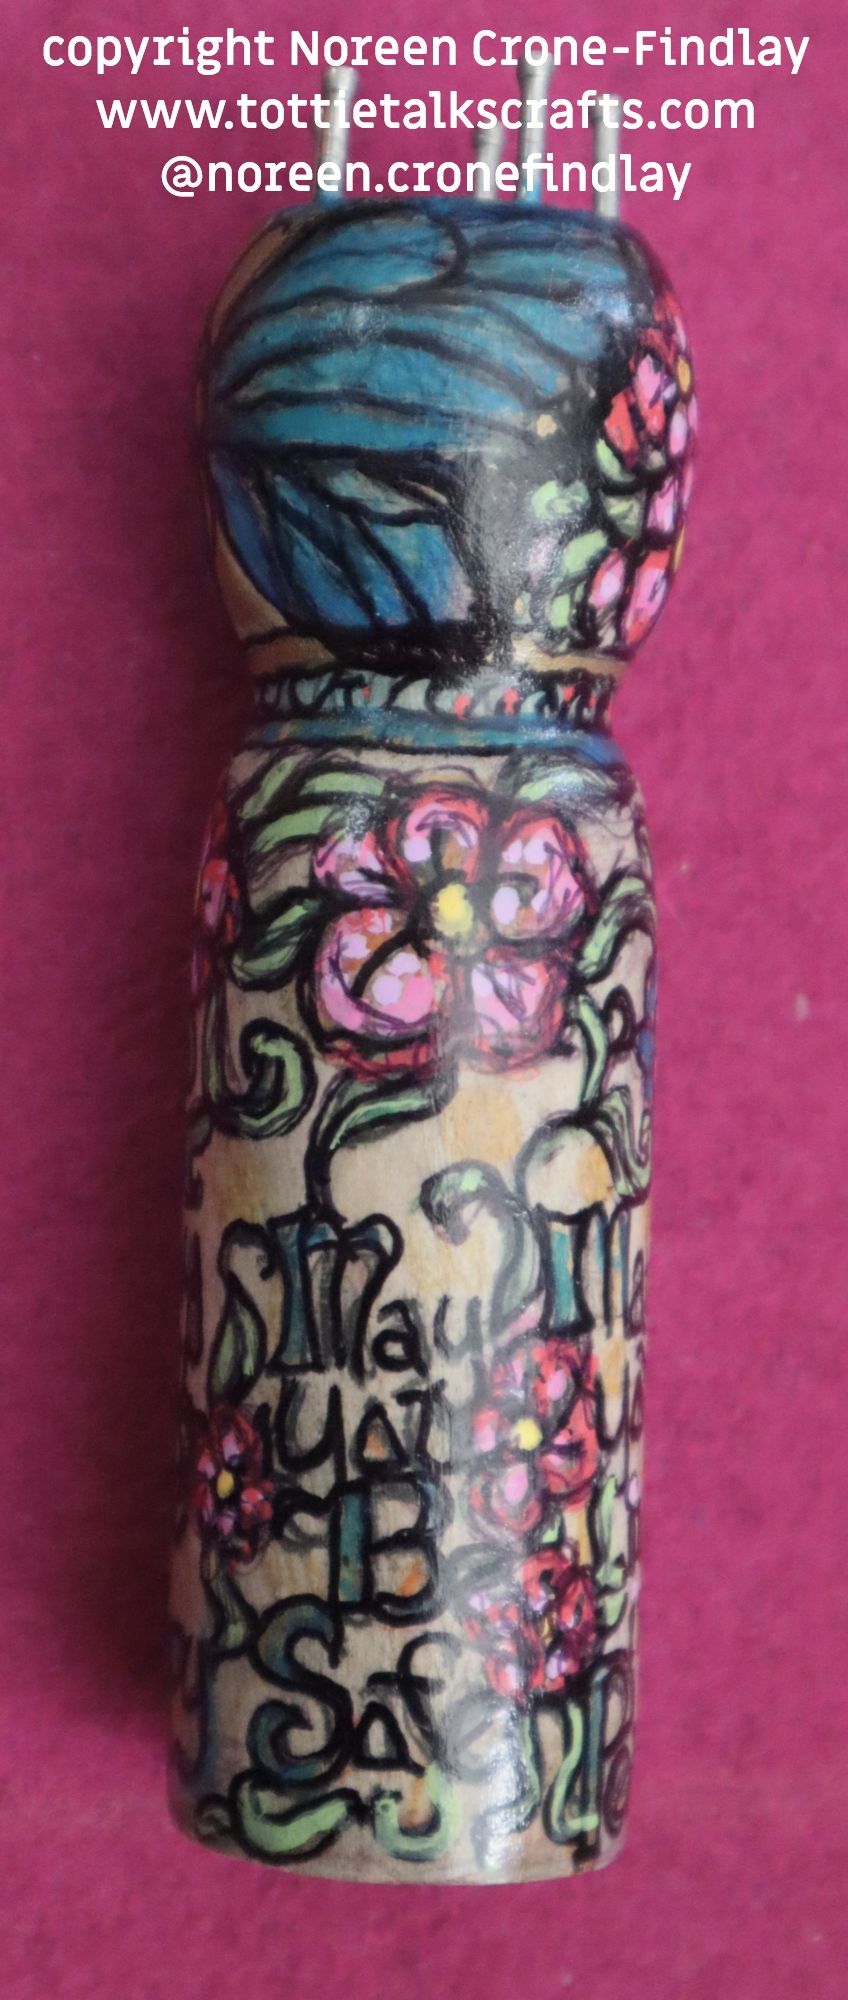
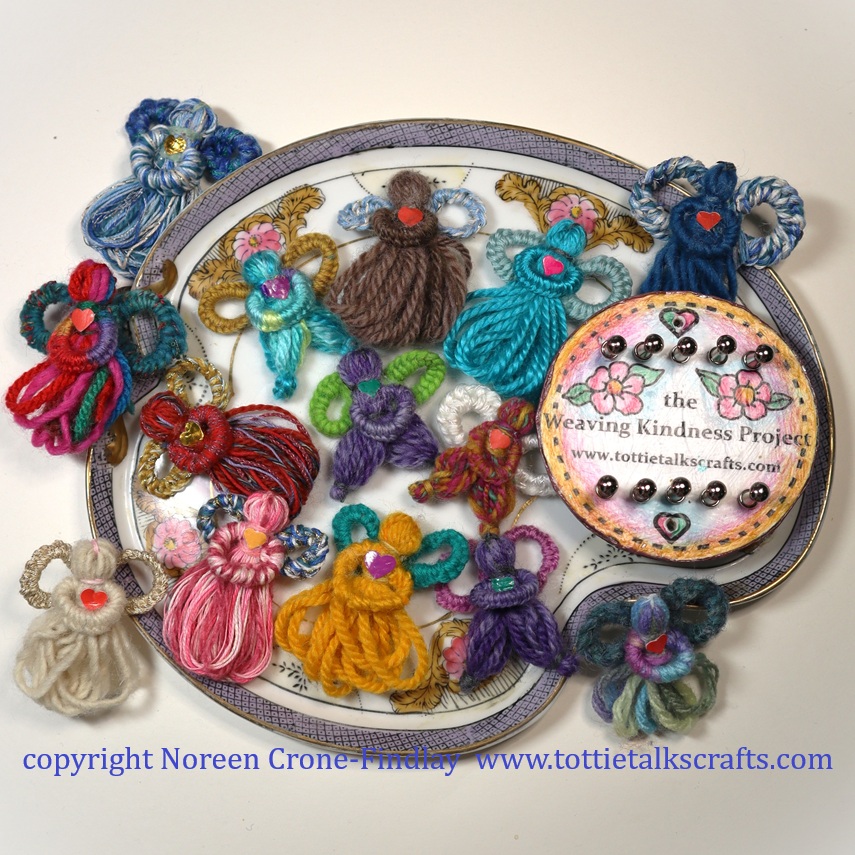
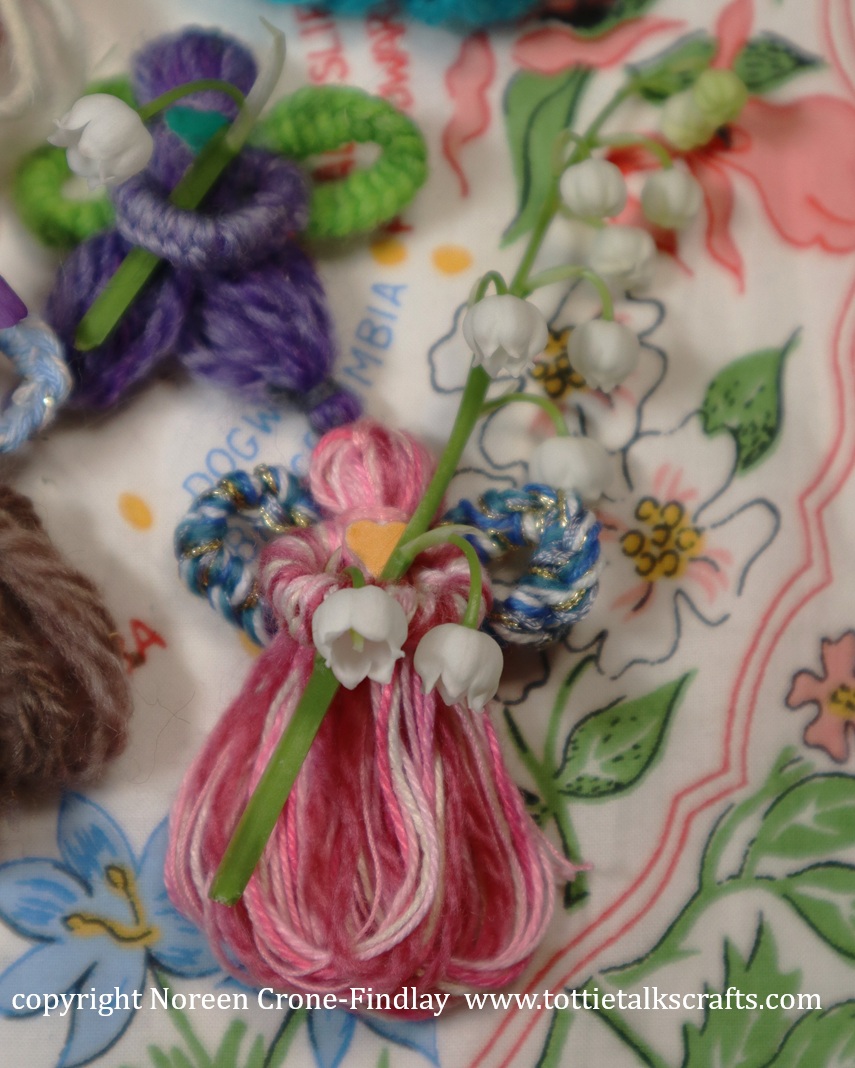
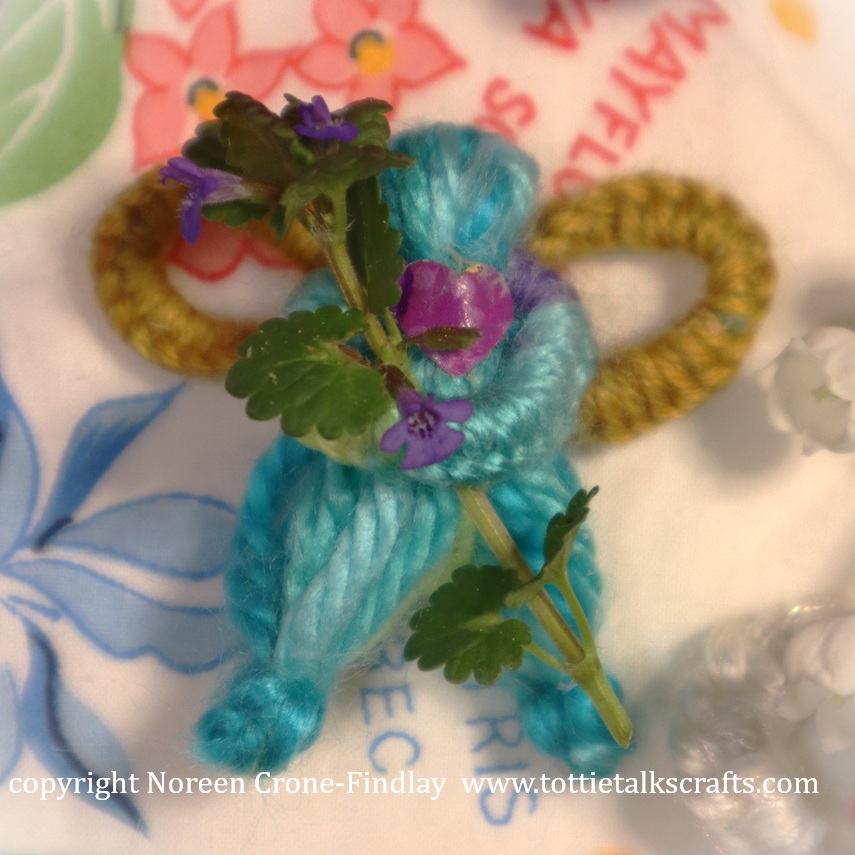
I designed the Well Well Well Spool Knitted Dolls as a wish that everyone, everywhere, would feel well, and that our precious planet would feel well, and that anyone who makes these dolls will feel well, and happy, and safe and hopeful and live in peace, and equanimity.
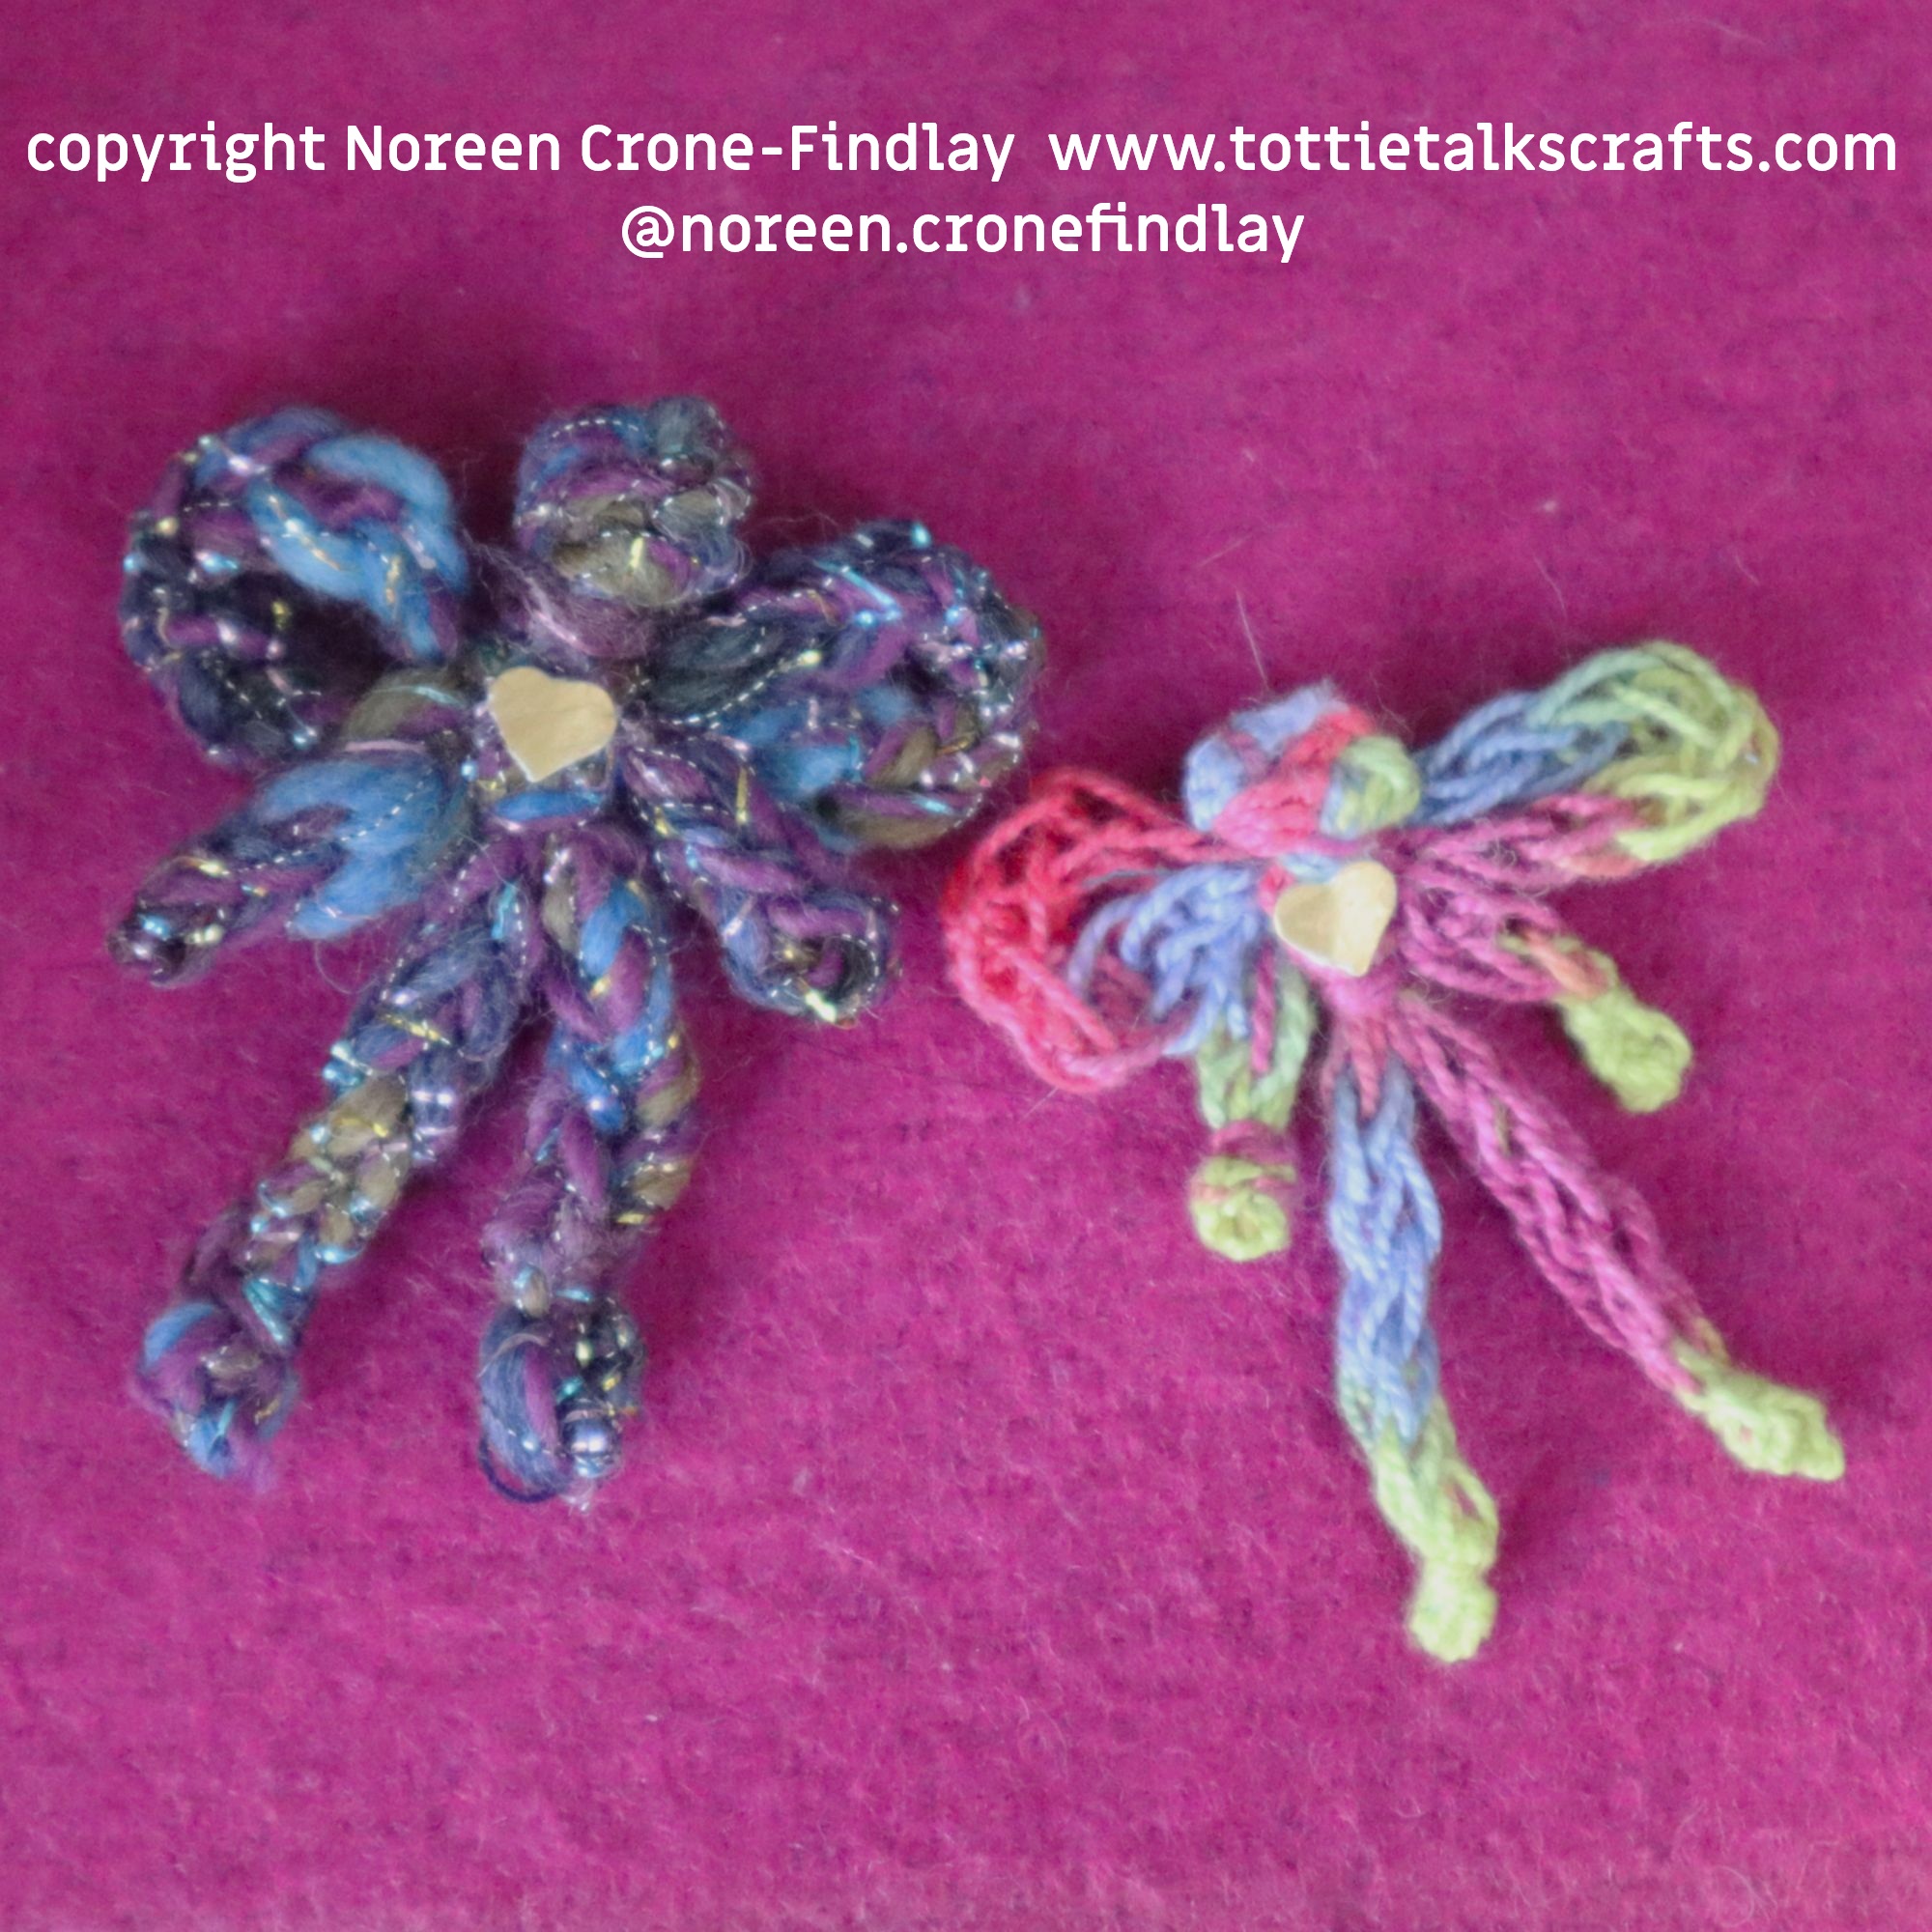
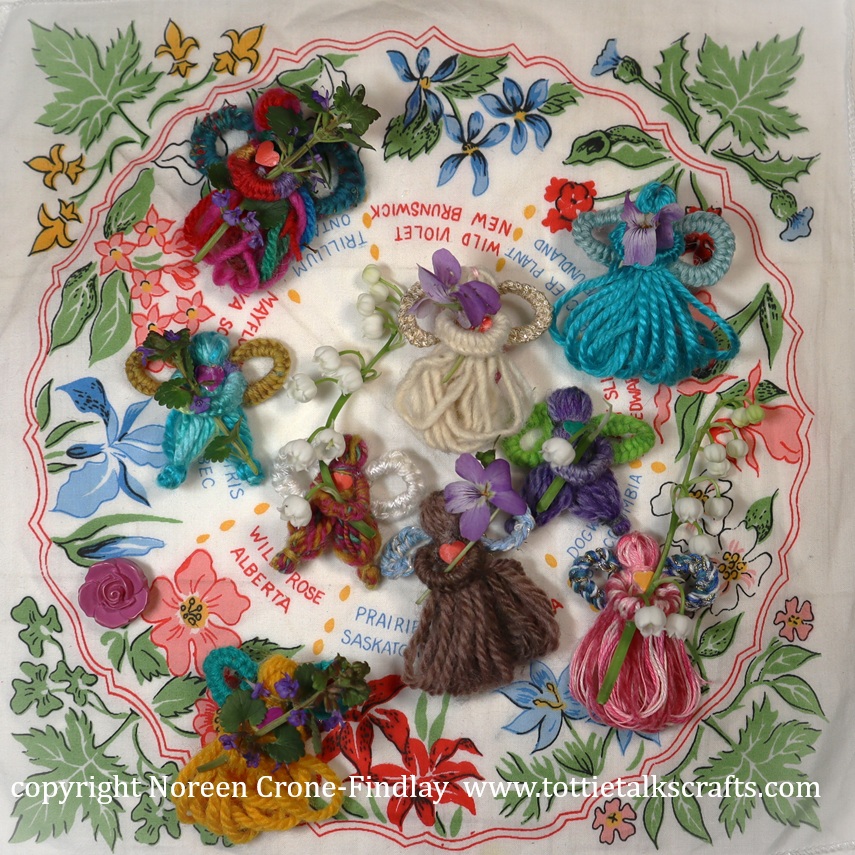
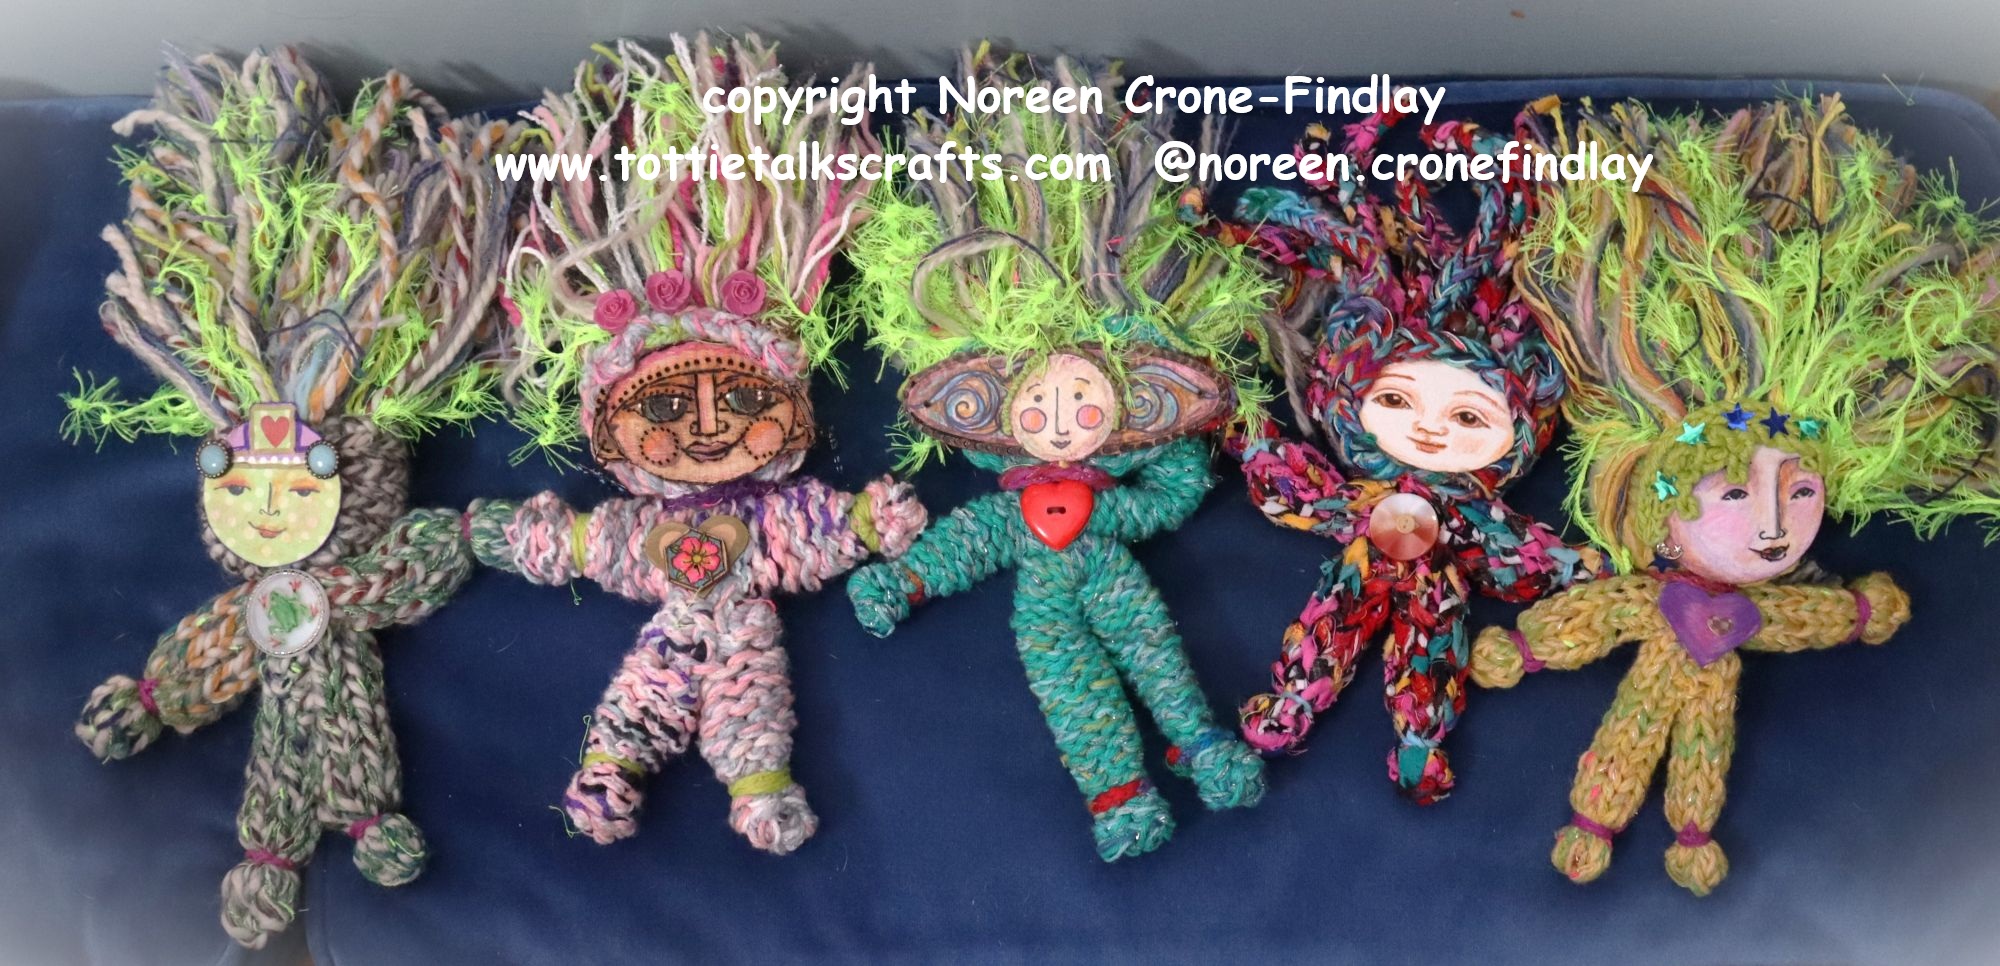
As I made them, I asked myself: What does JOY look like today? What does peace and safety look like today? What does this doll want me to know? How can this doll feel like hope or sweetness today?
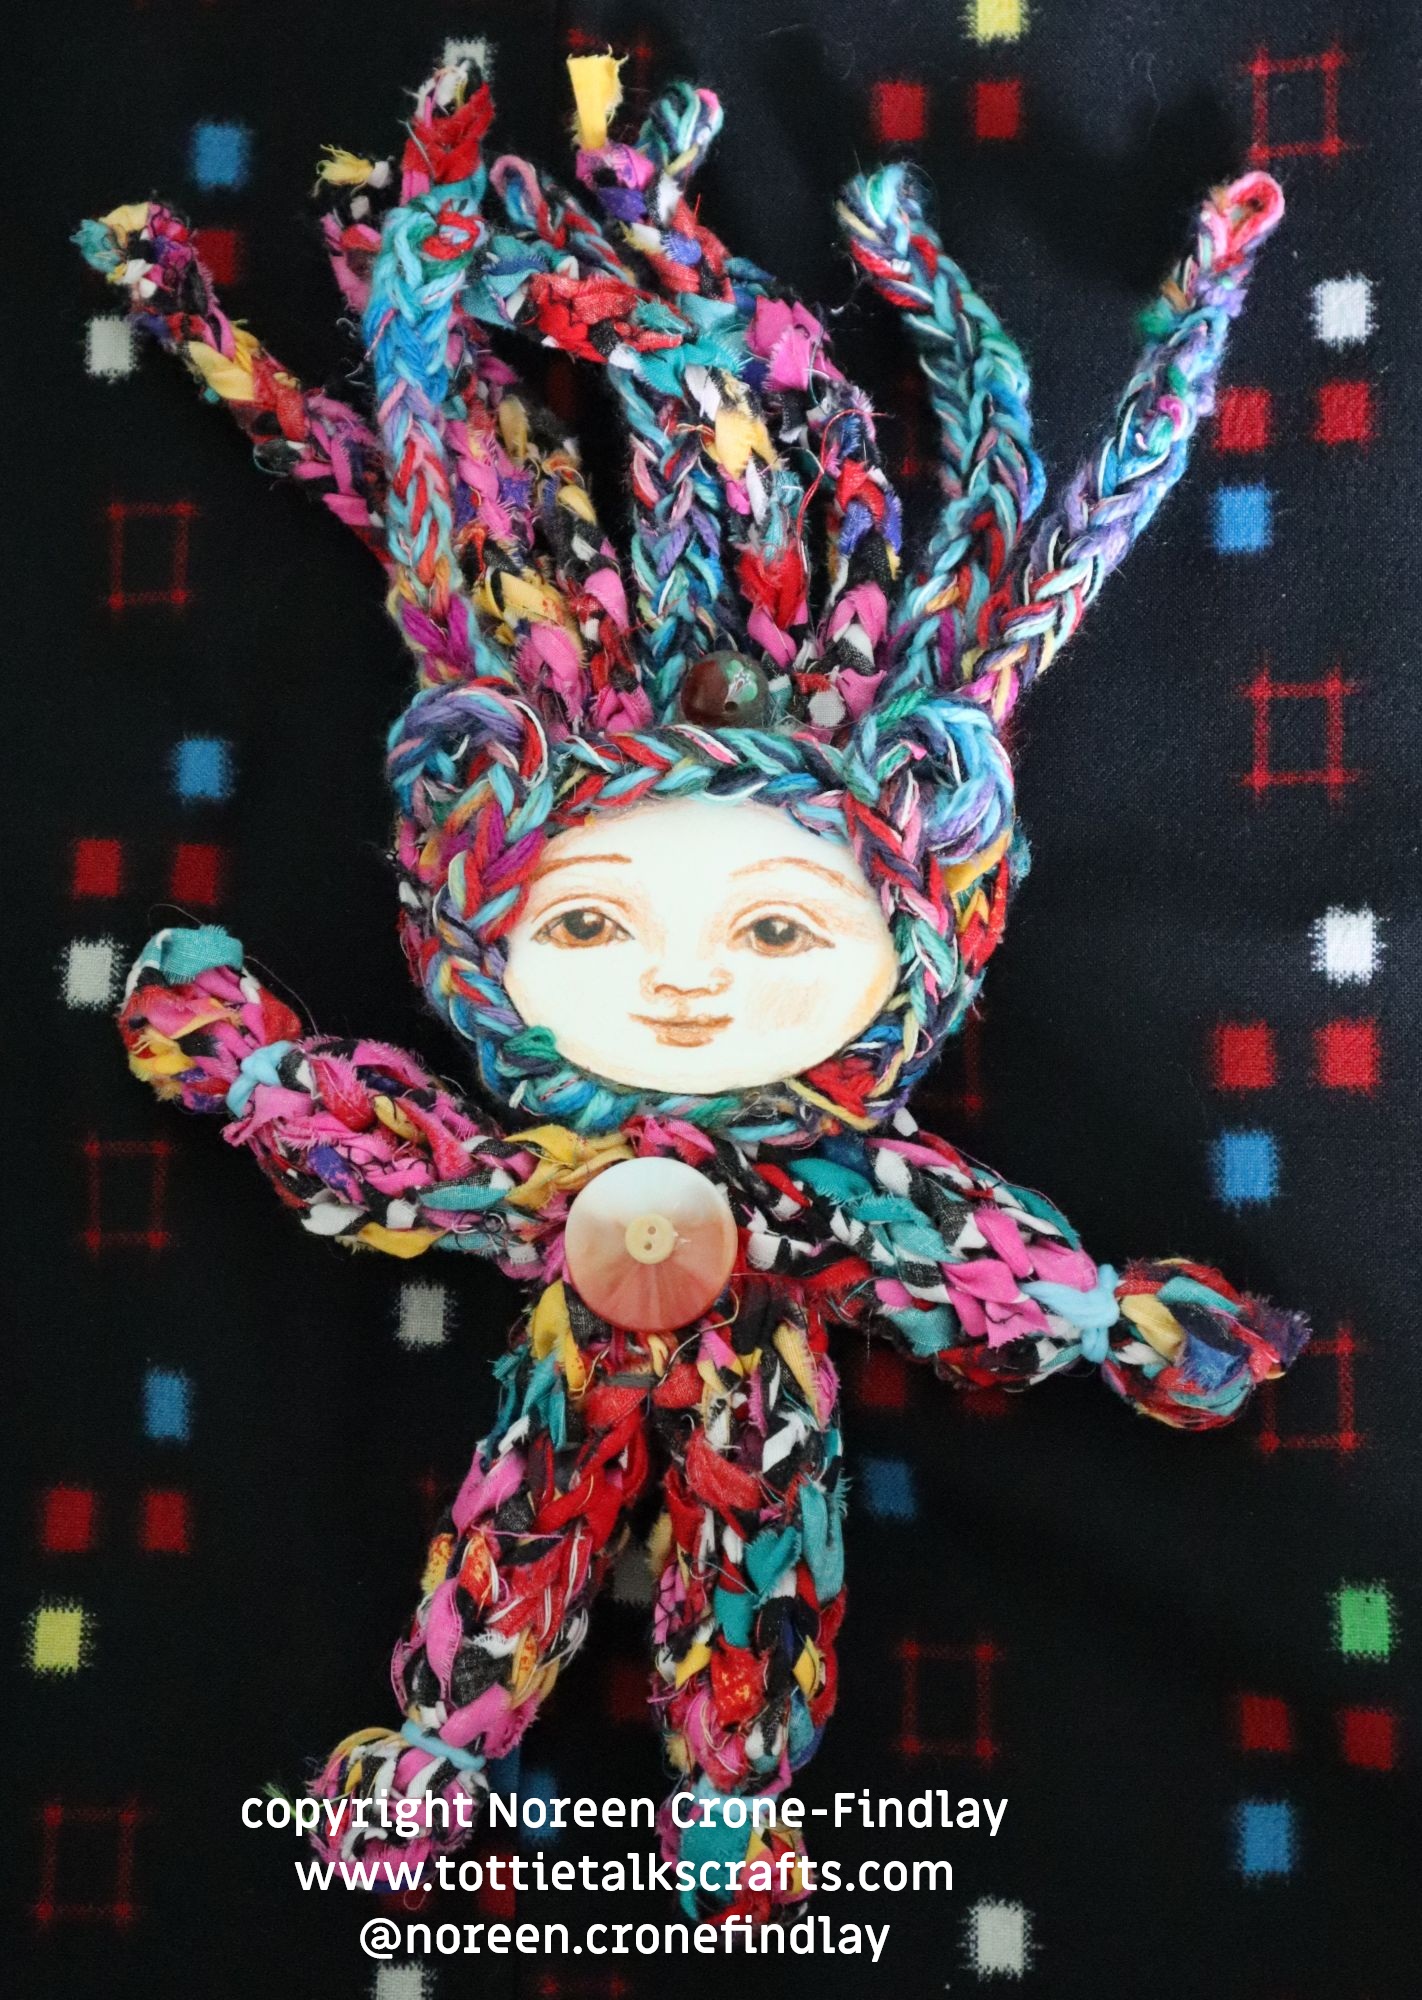
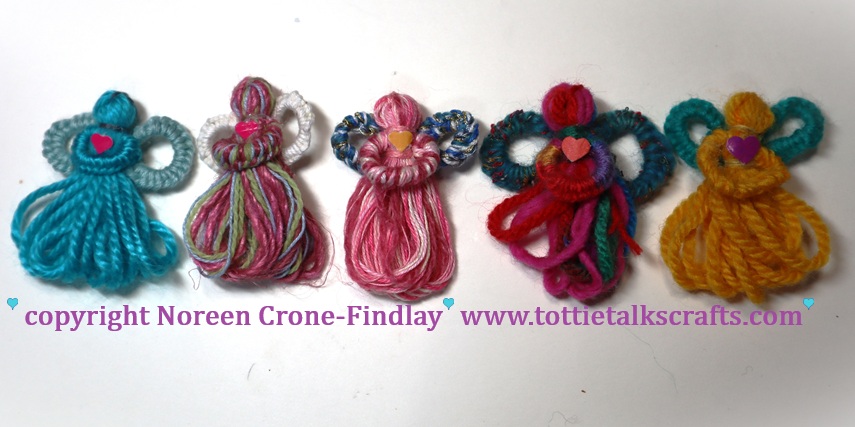
I invite the doll makers to play with drawing their own unique, one of a kind faces for their Well Well Well dolls and have made a video tutorial to help them do this.
I hope that these joyful, playful, happy dolls will bring all good things to the people who make them, and if the Well Well Well dolls are meant as a gift that they will bring love, light, laughter and hope to those who receive them.
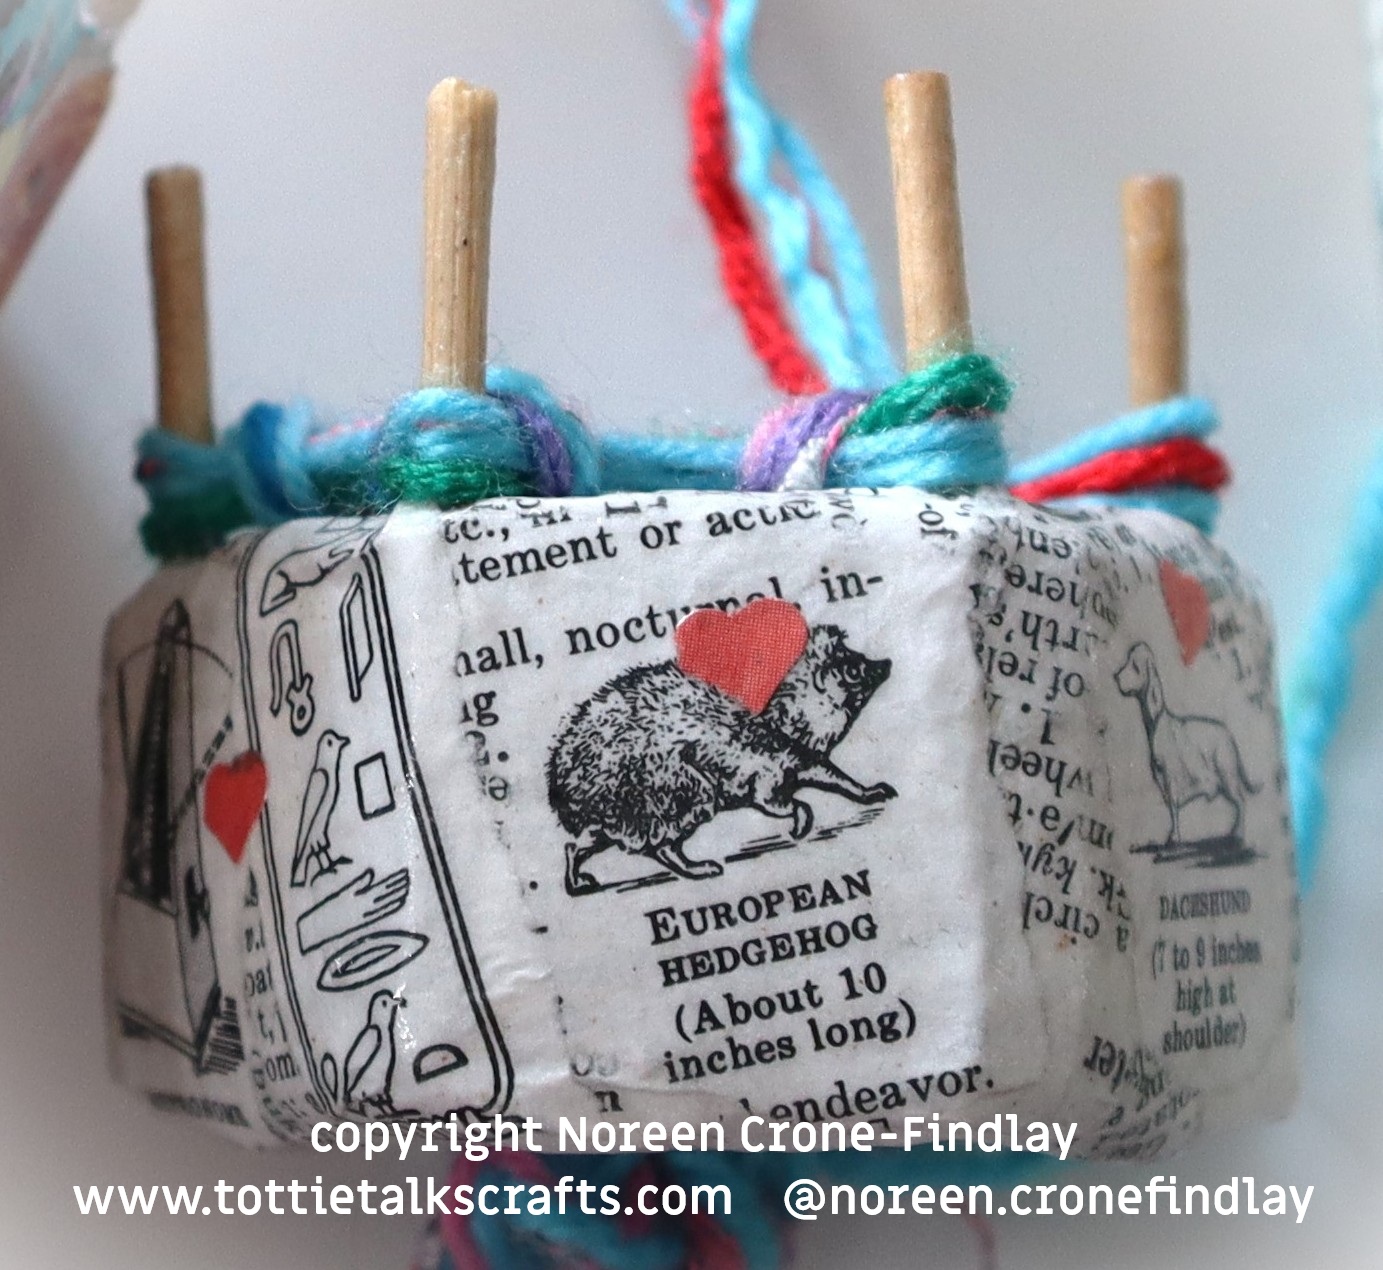
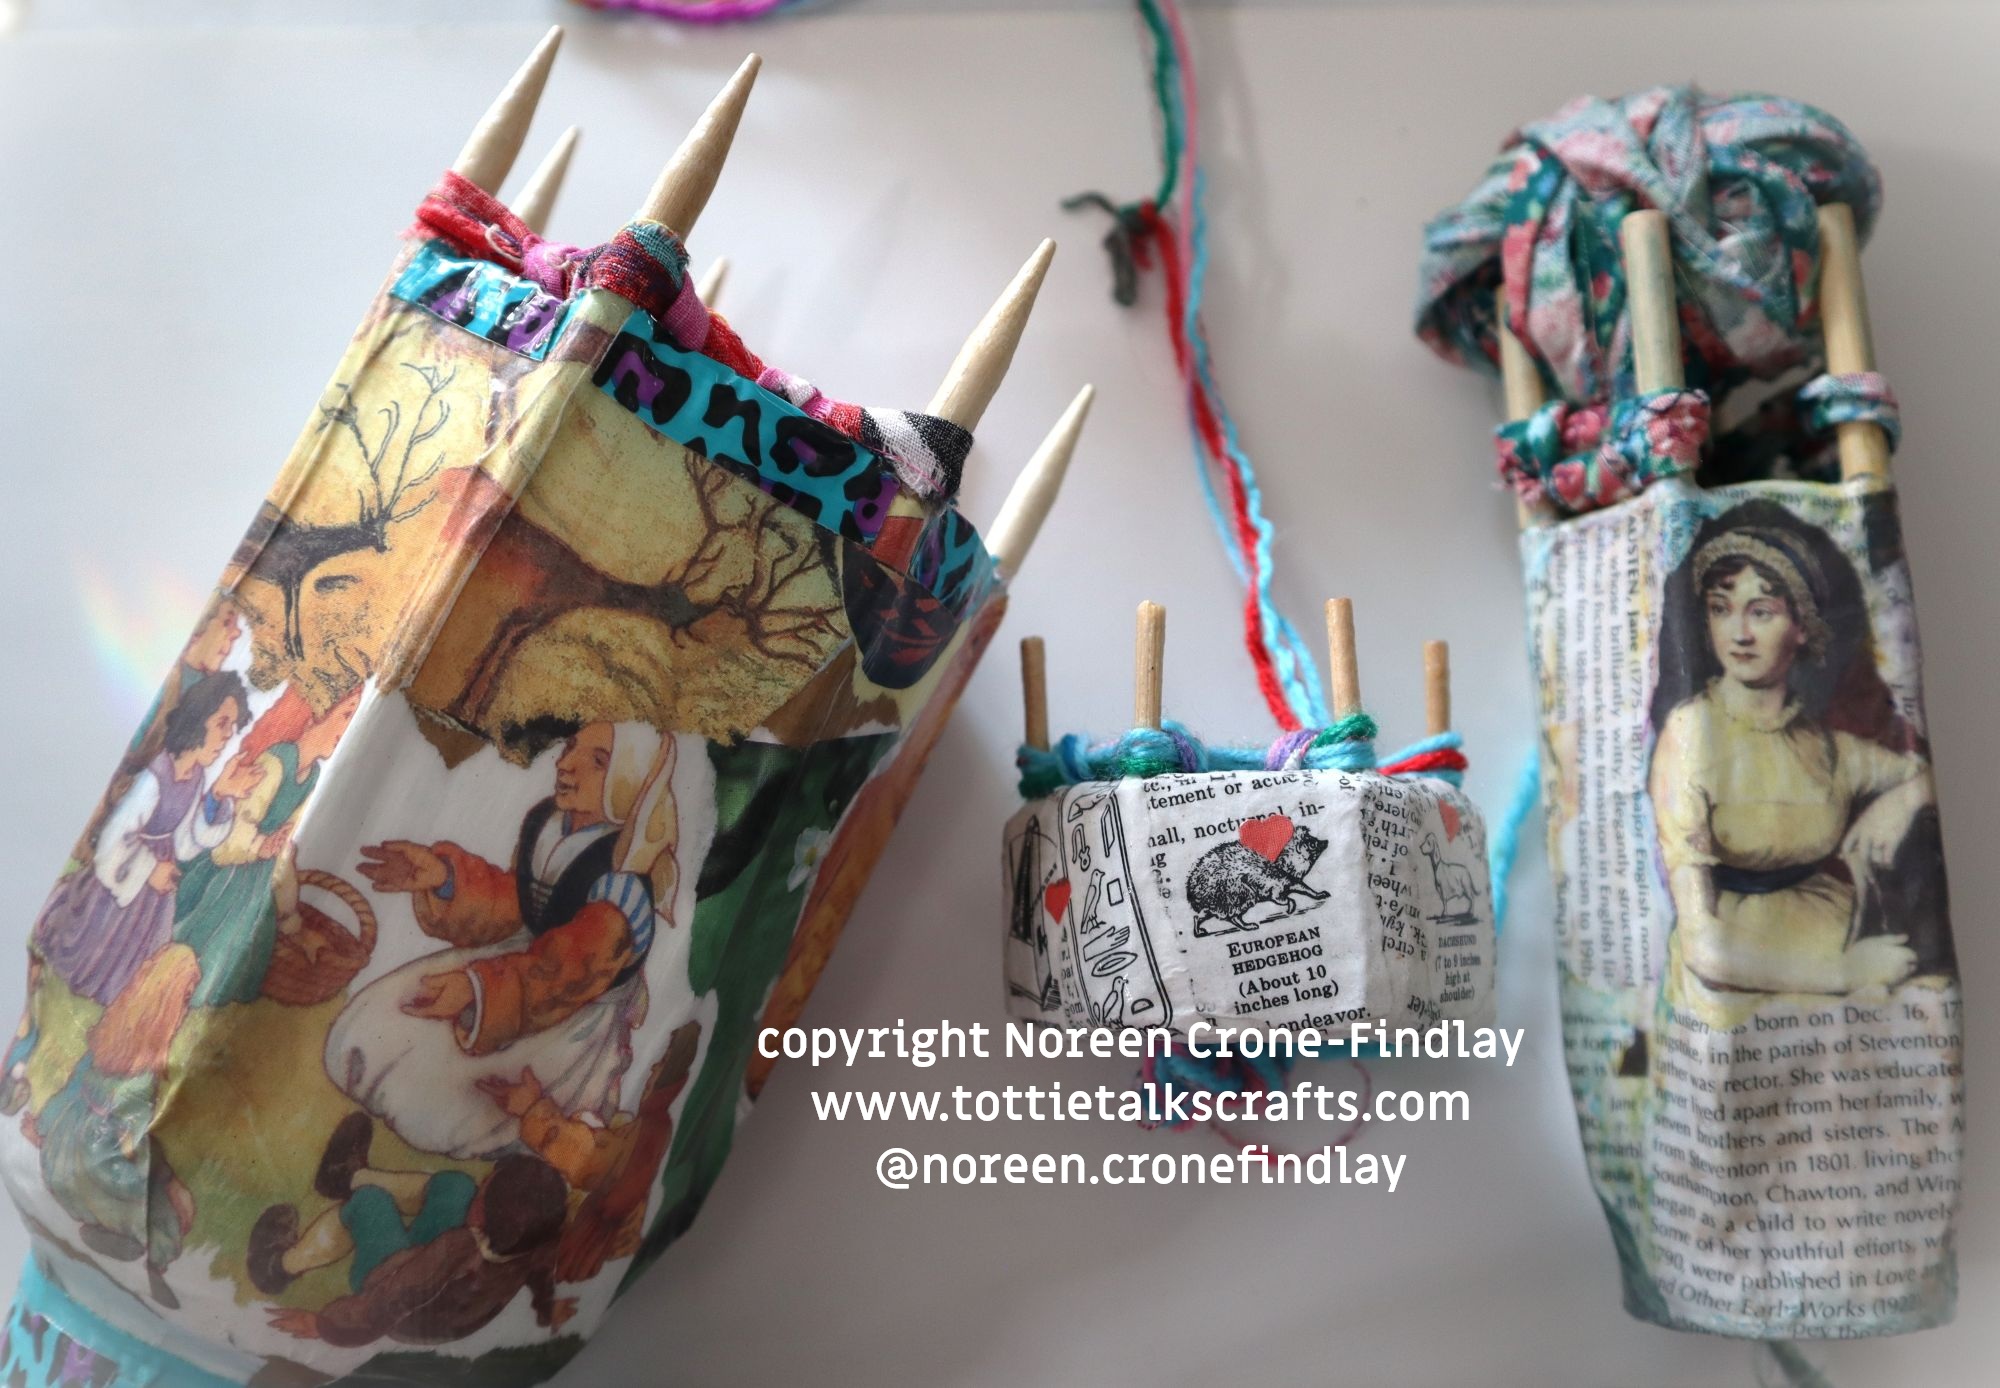
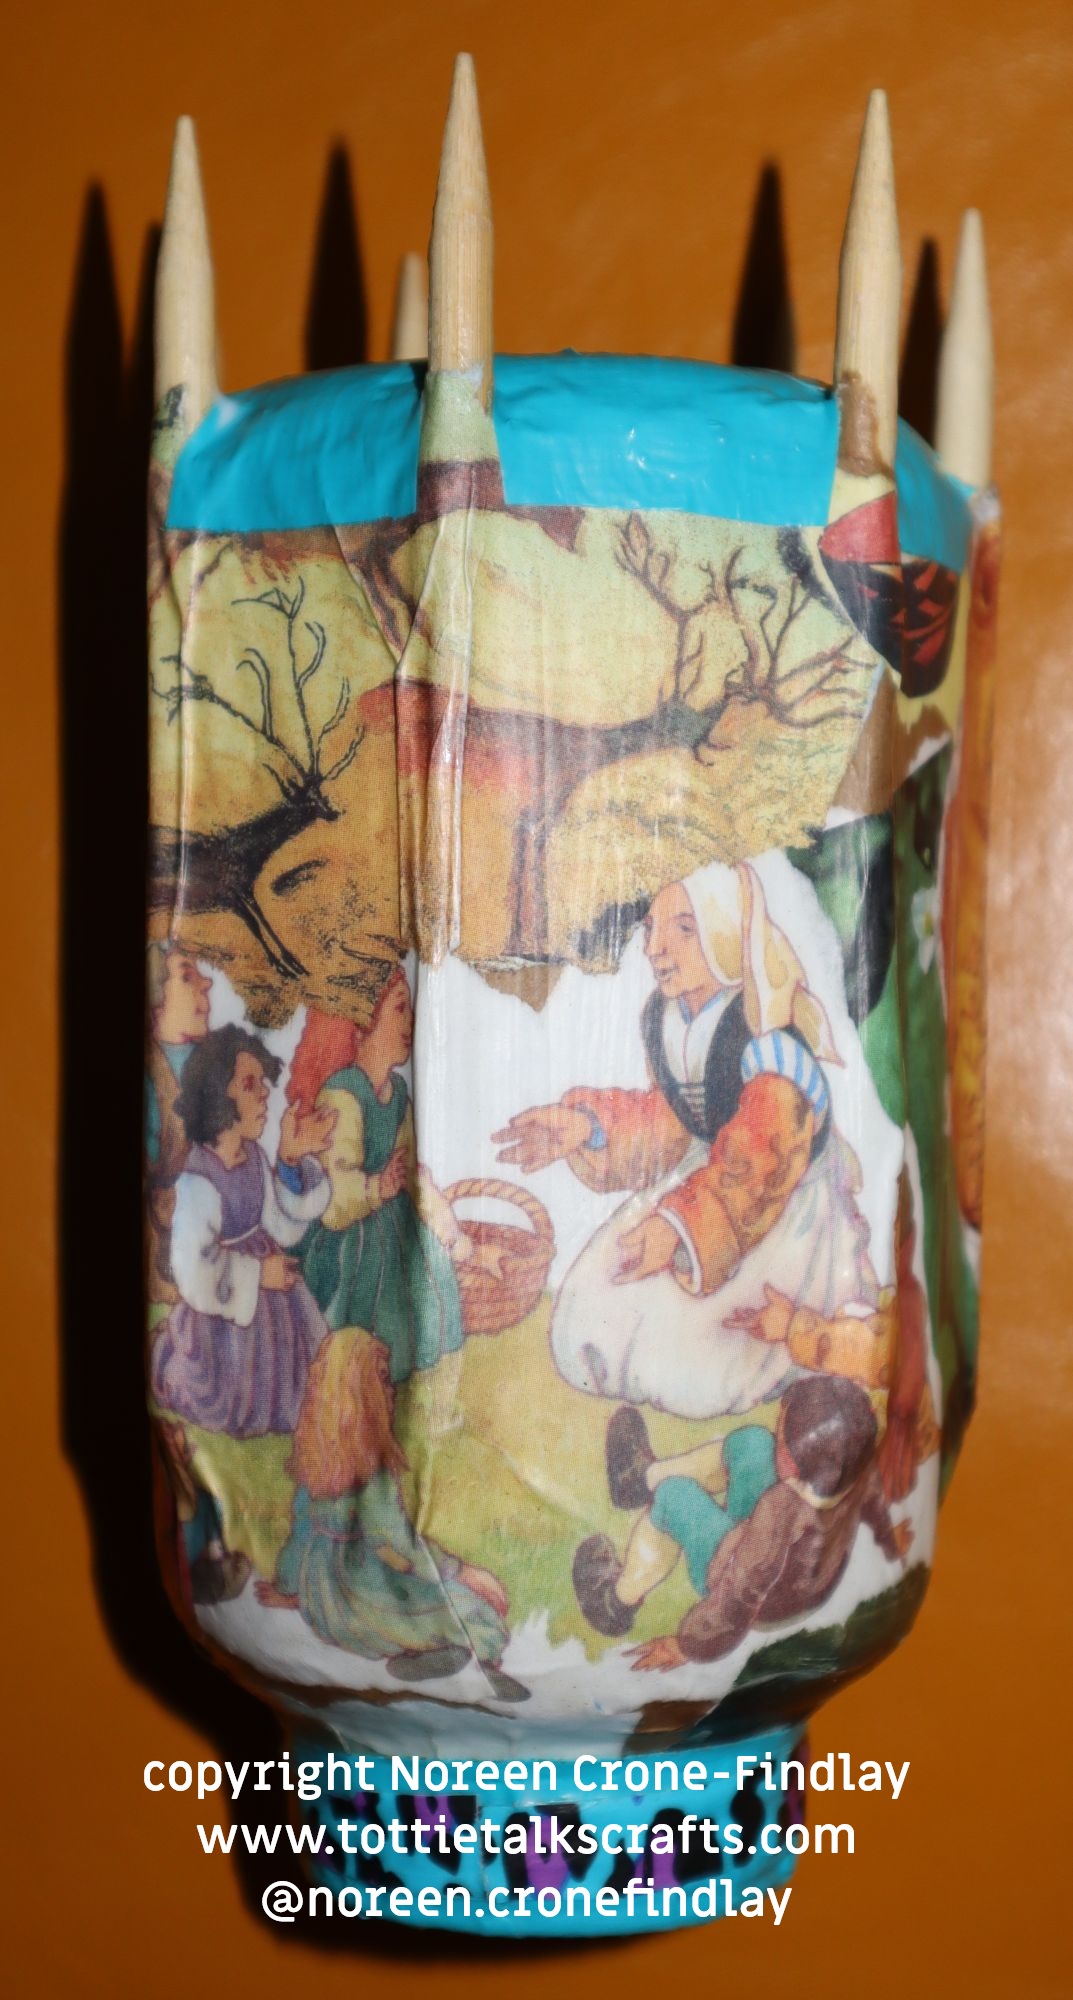
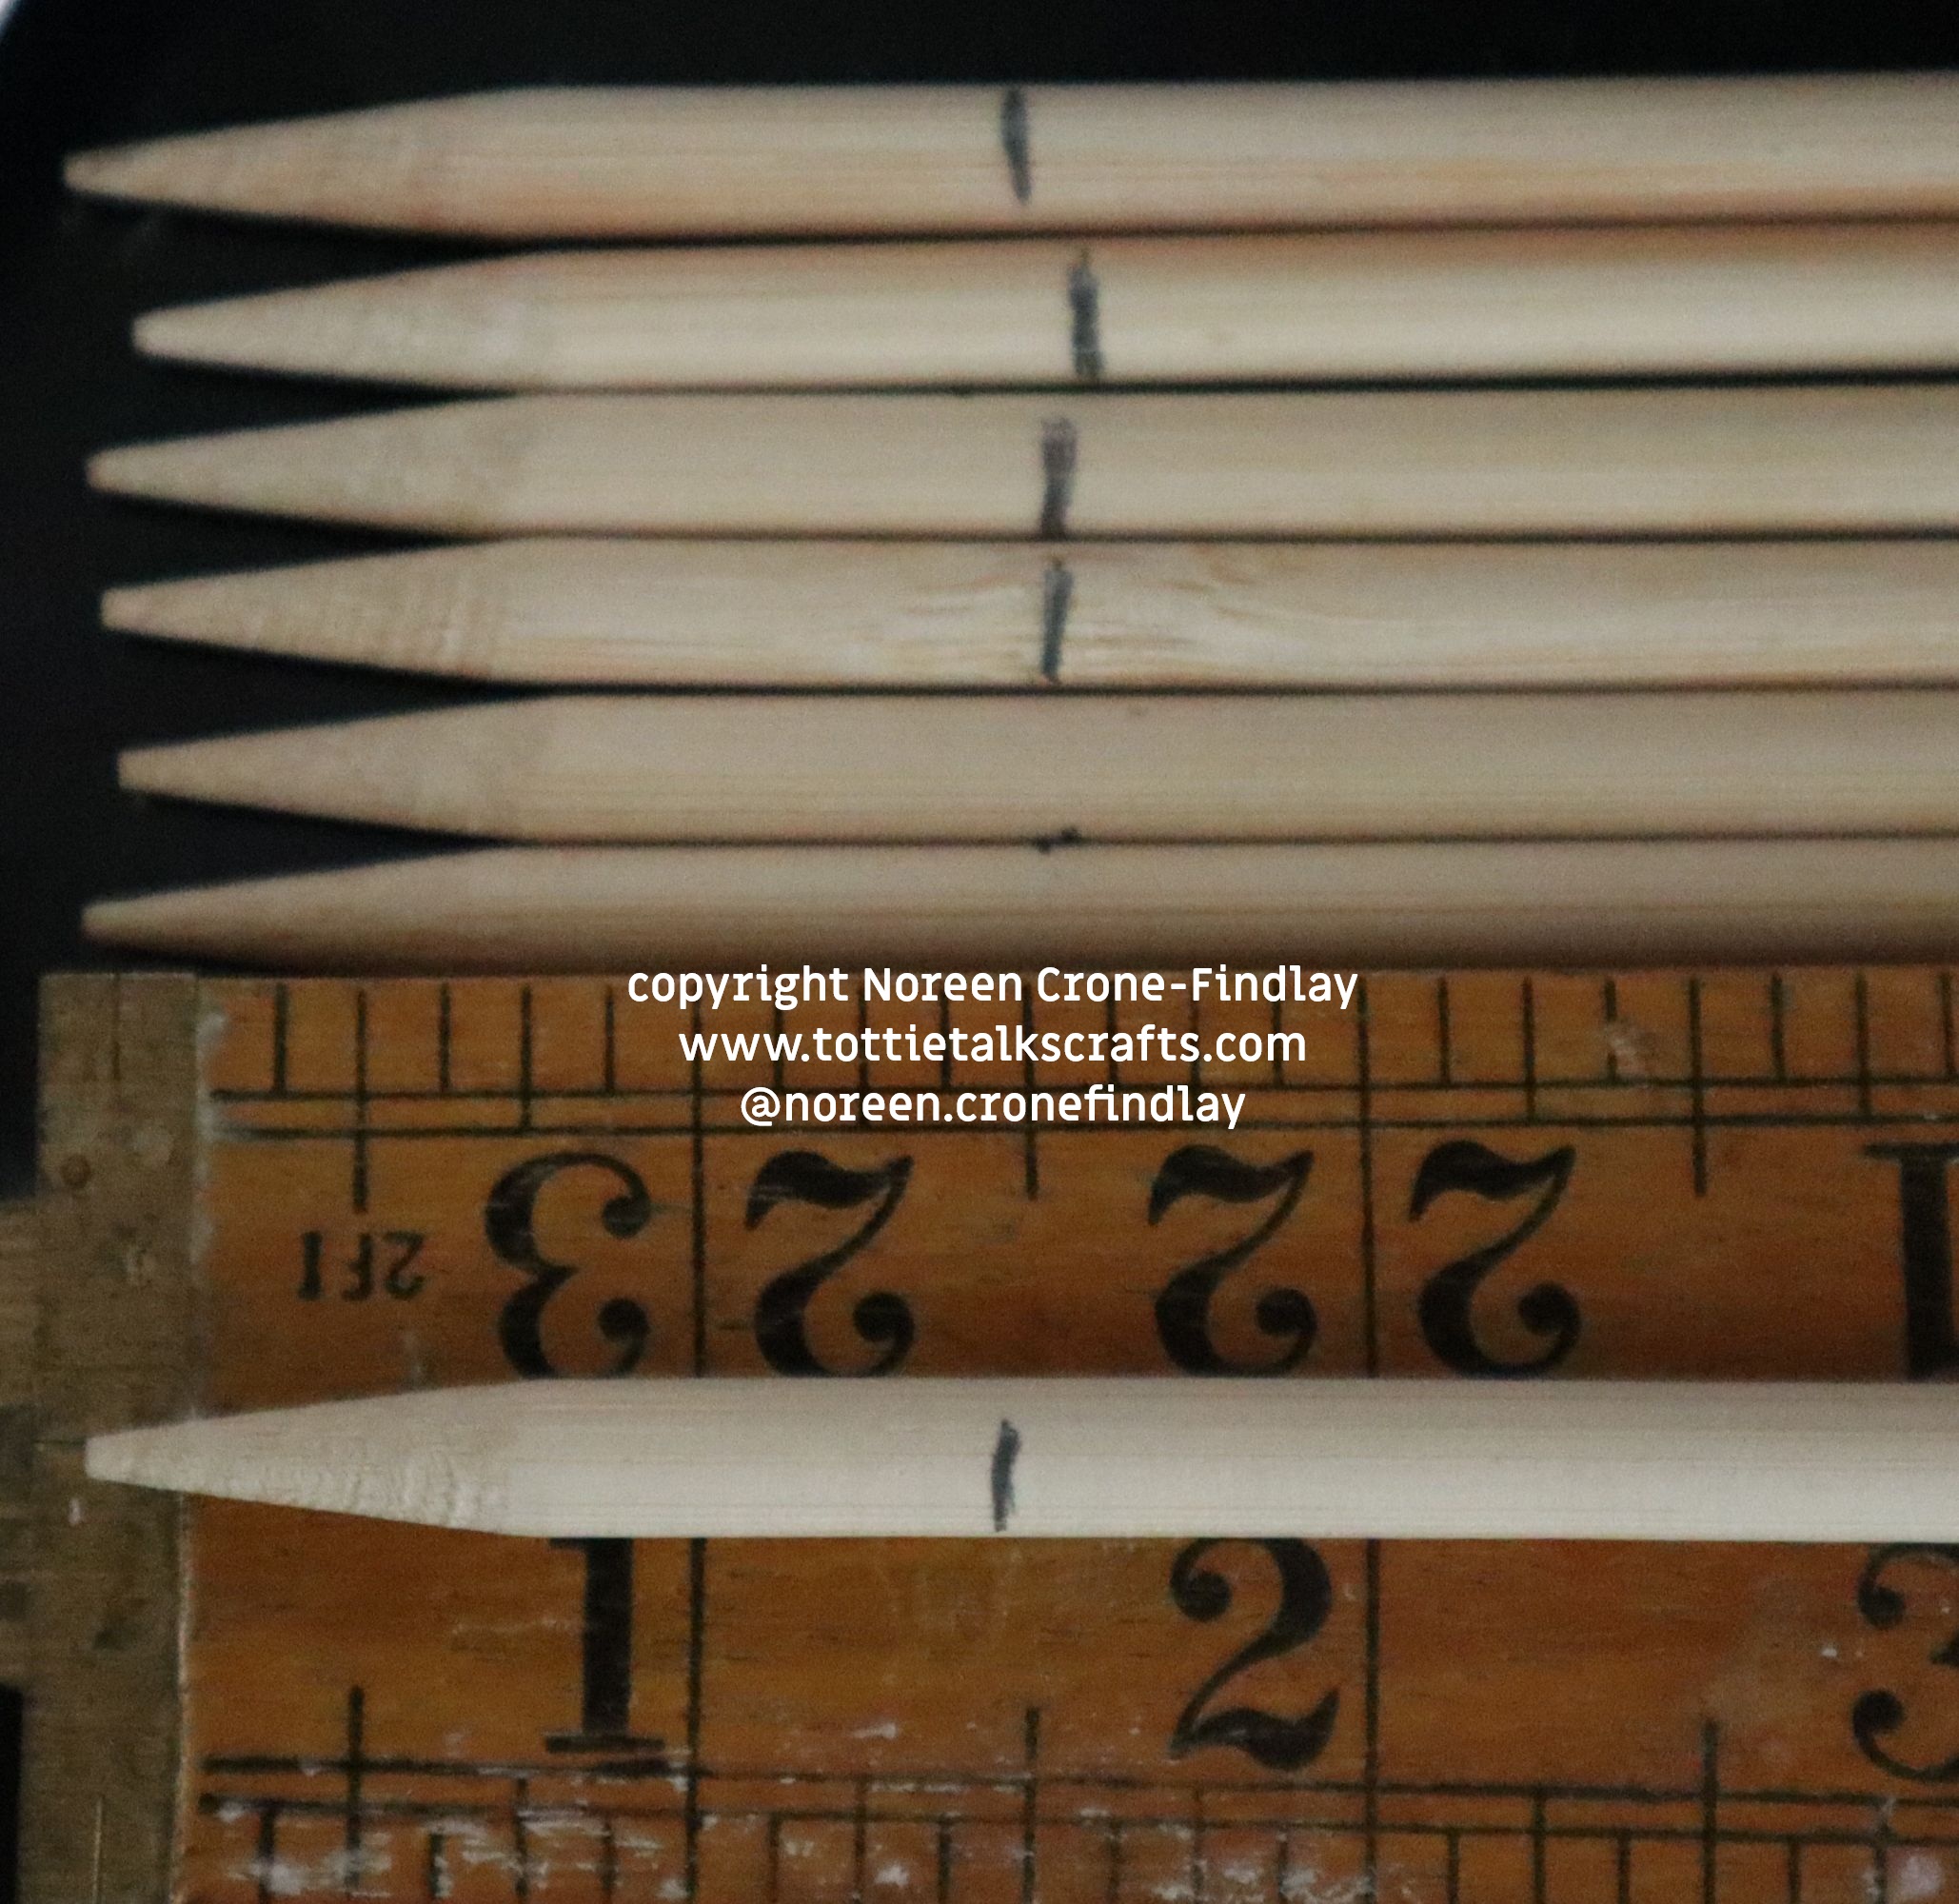
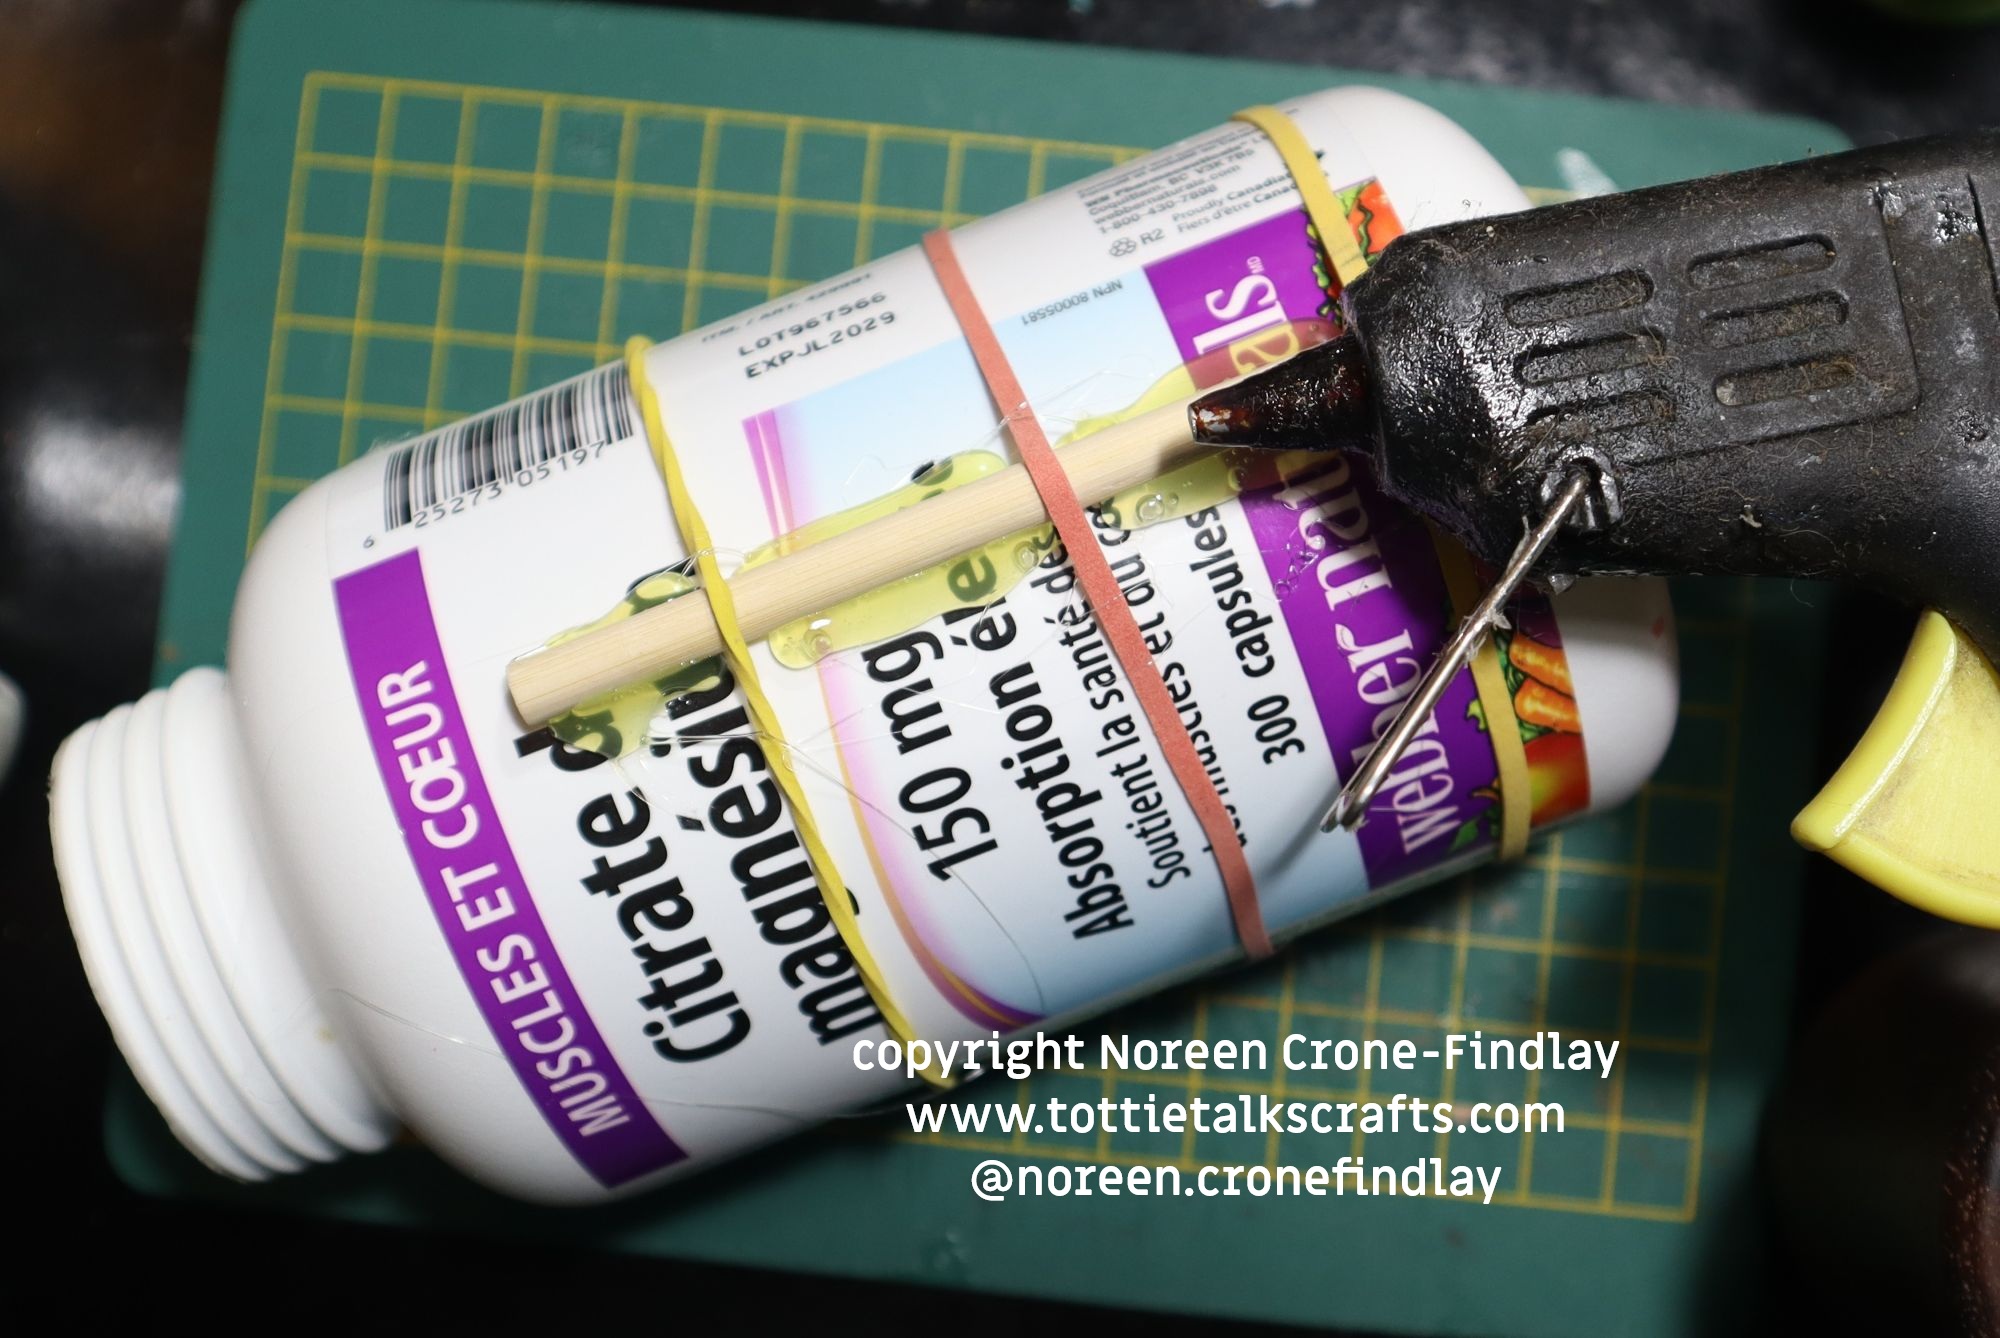
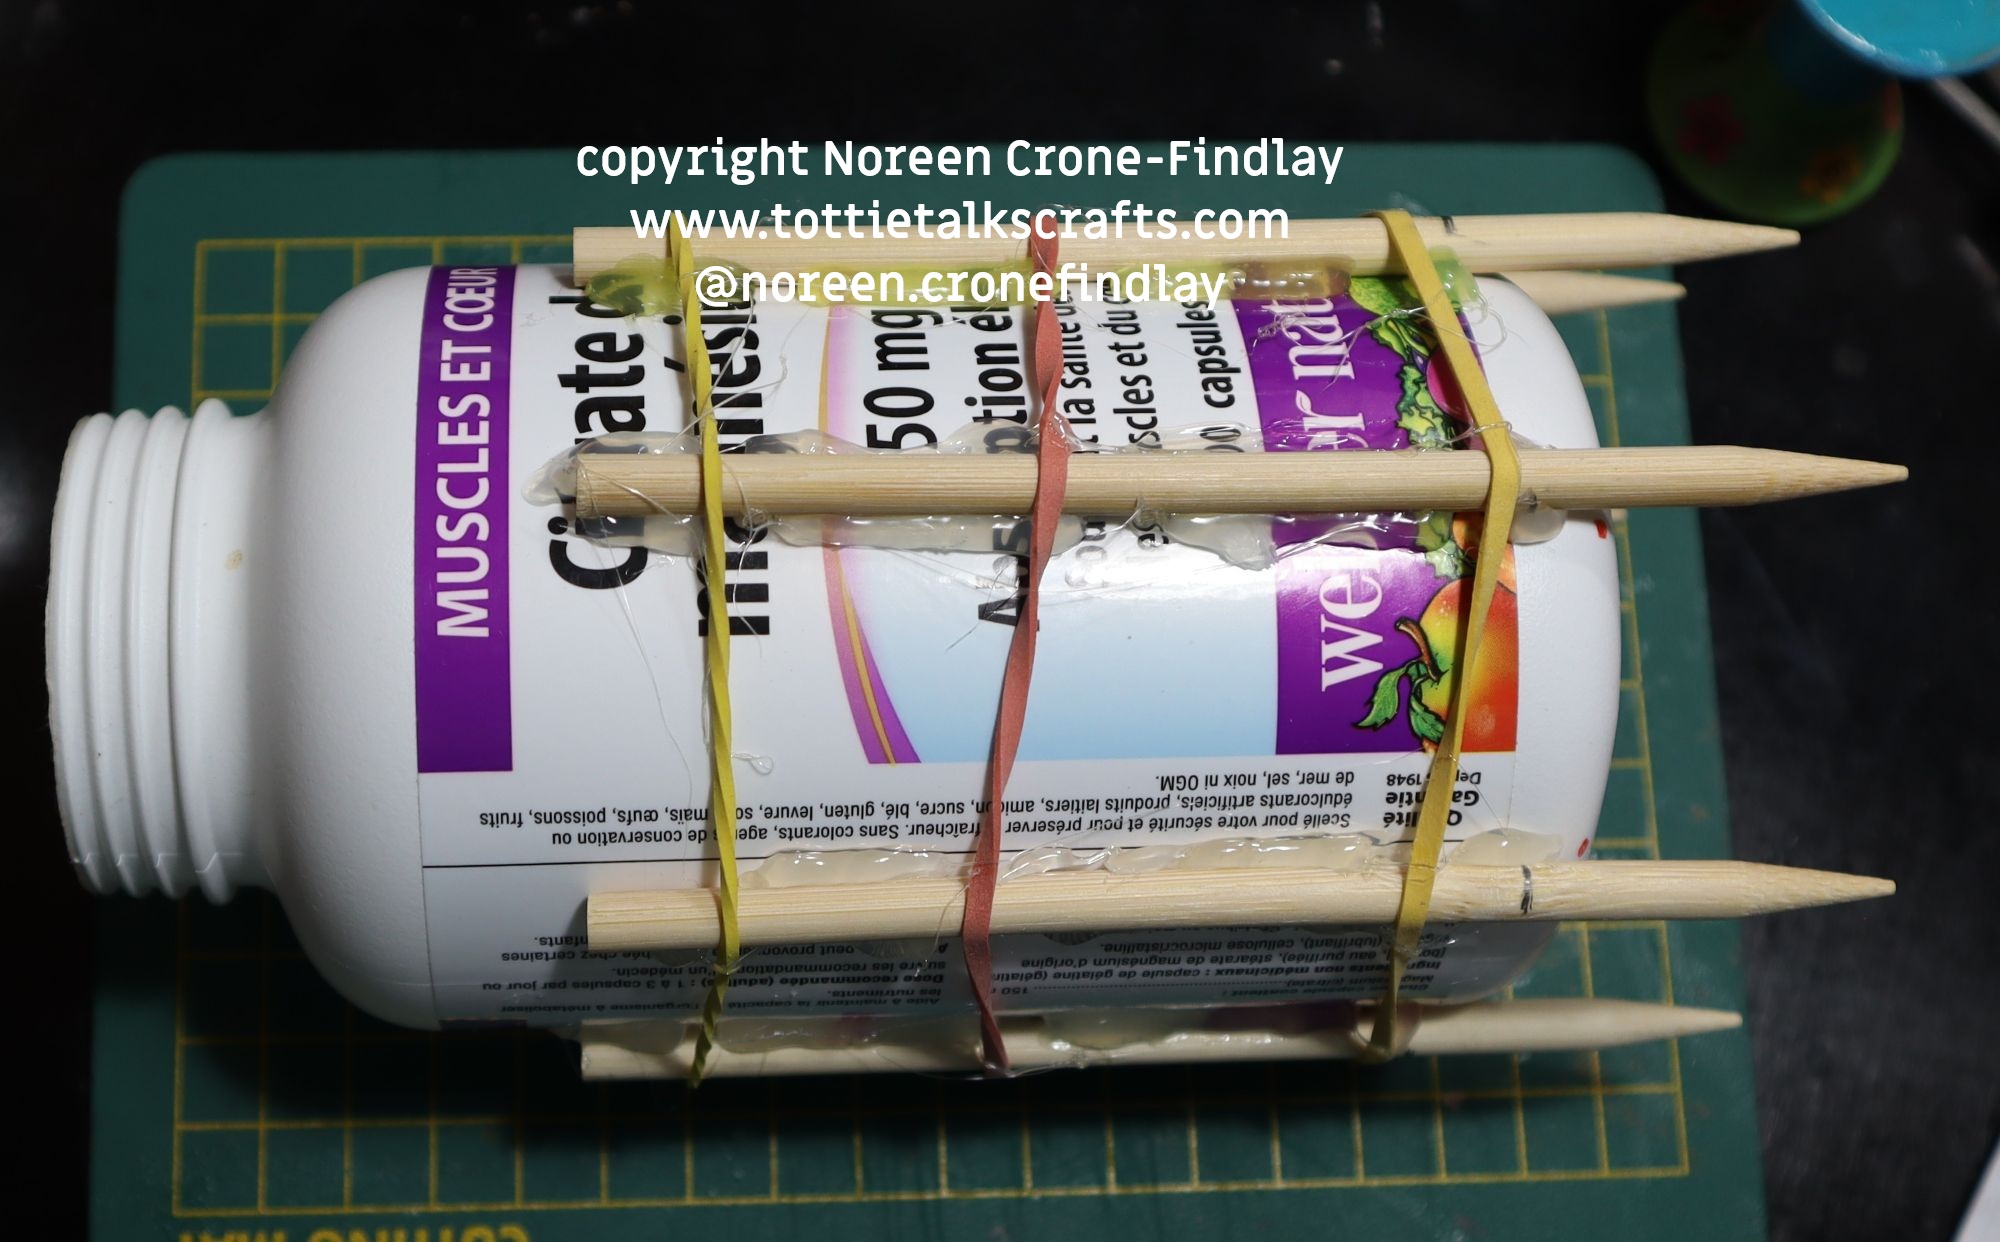
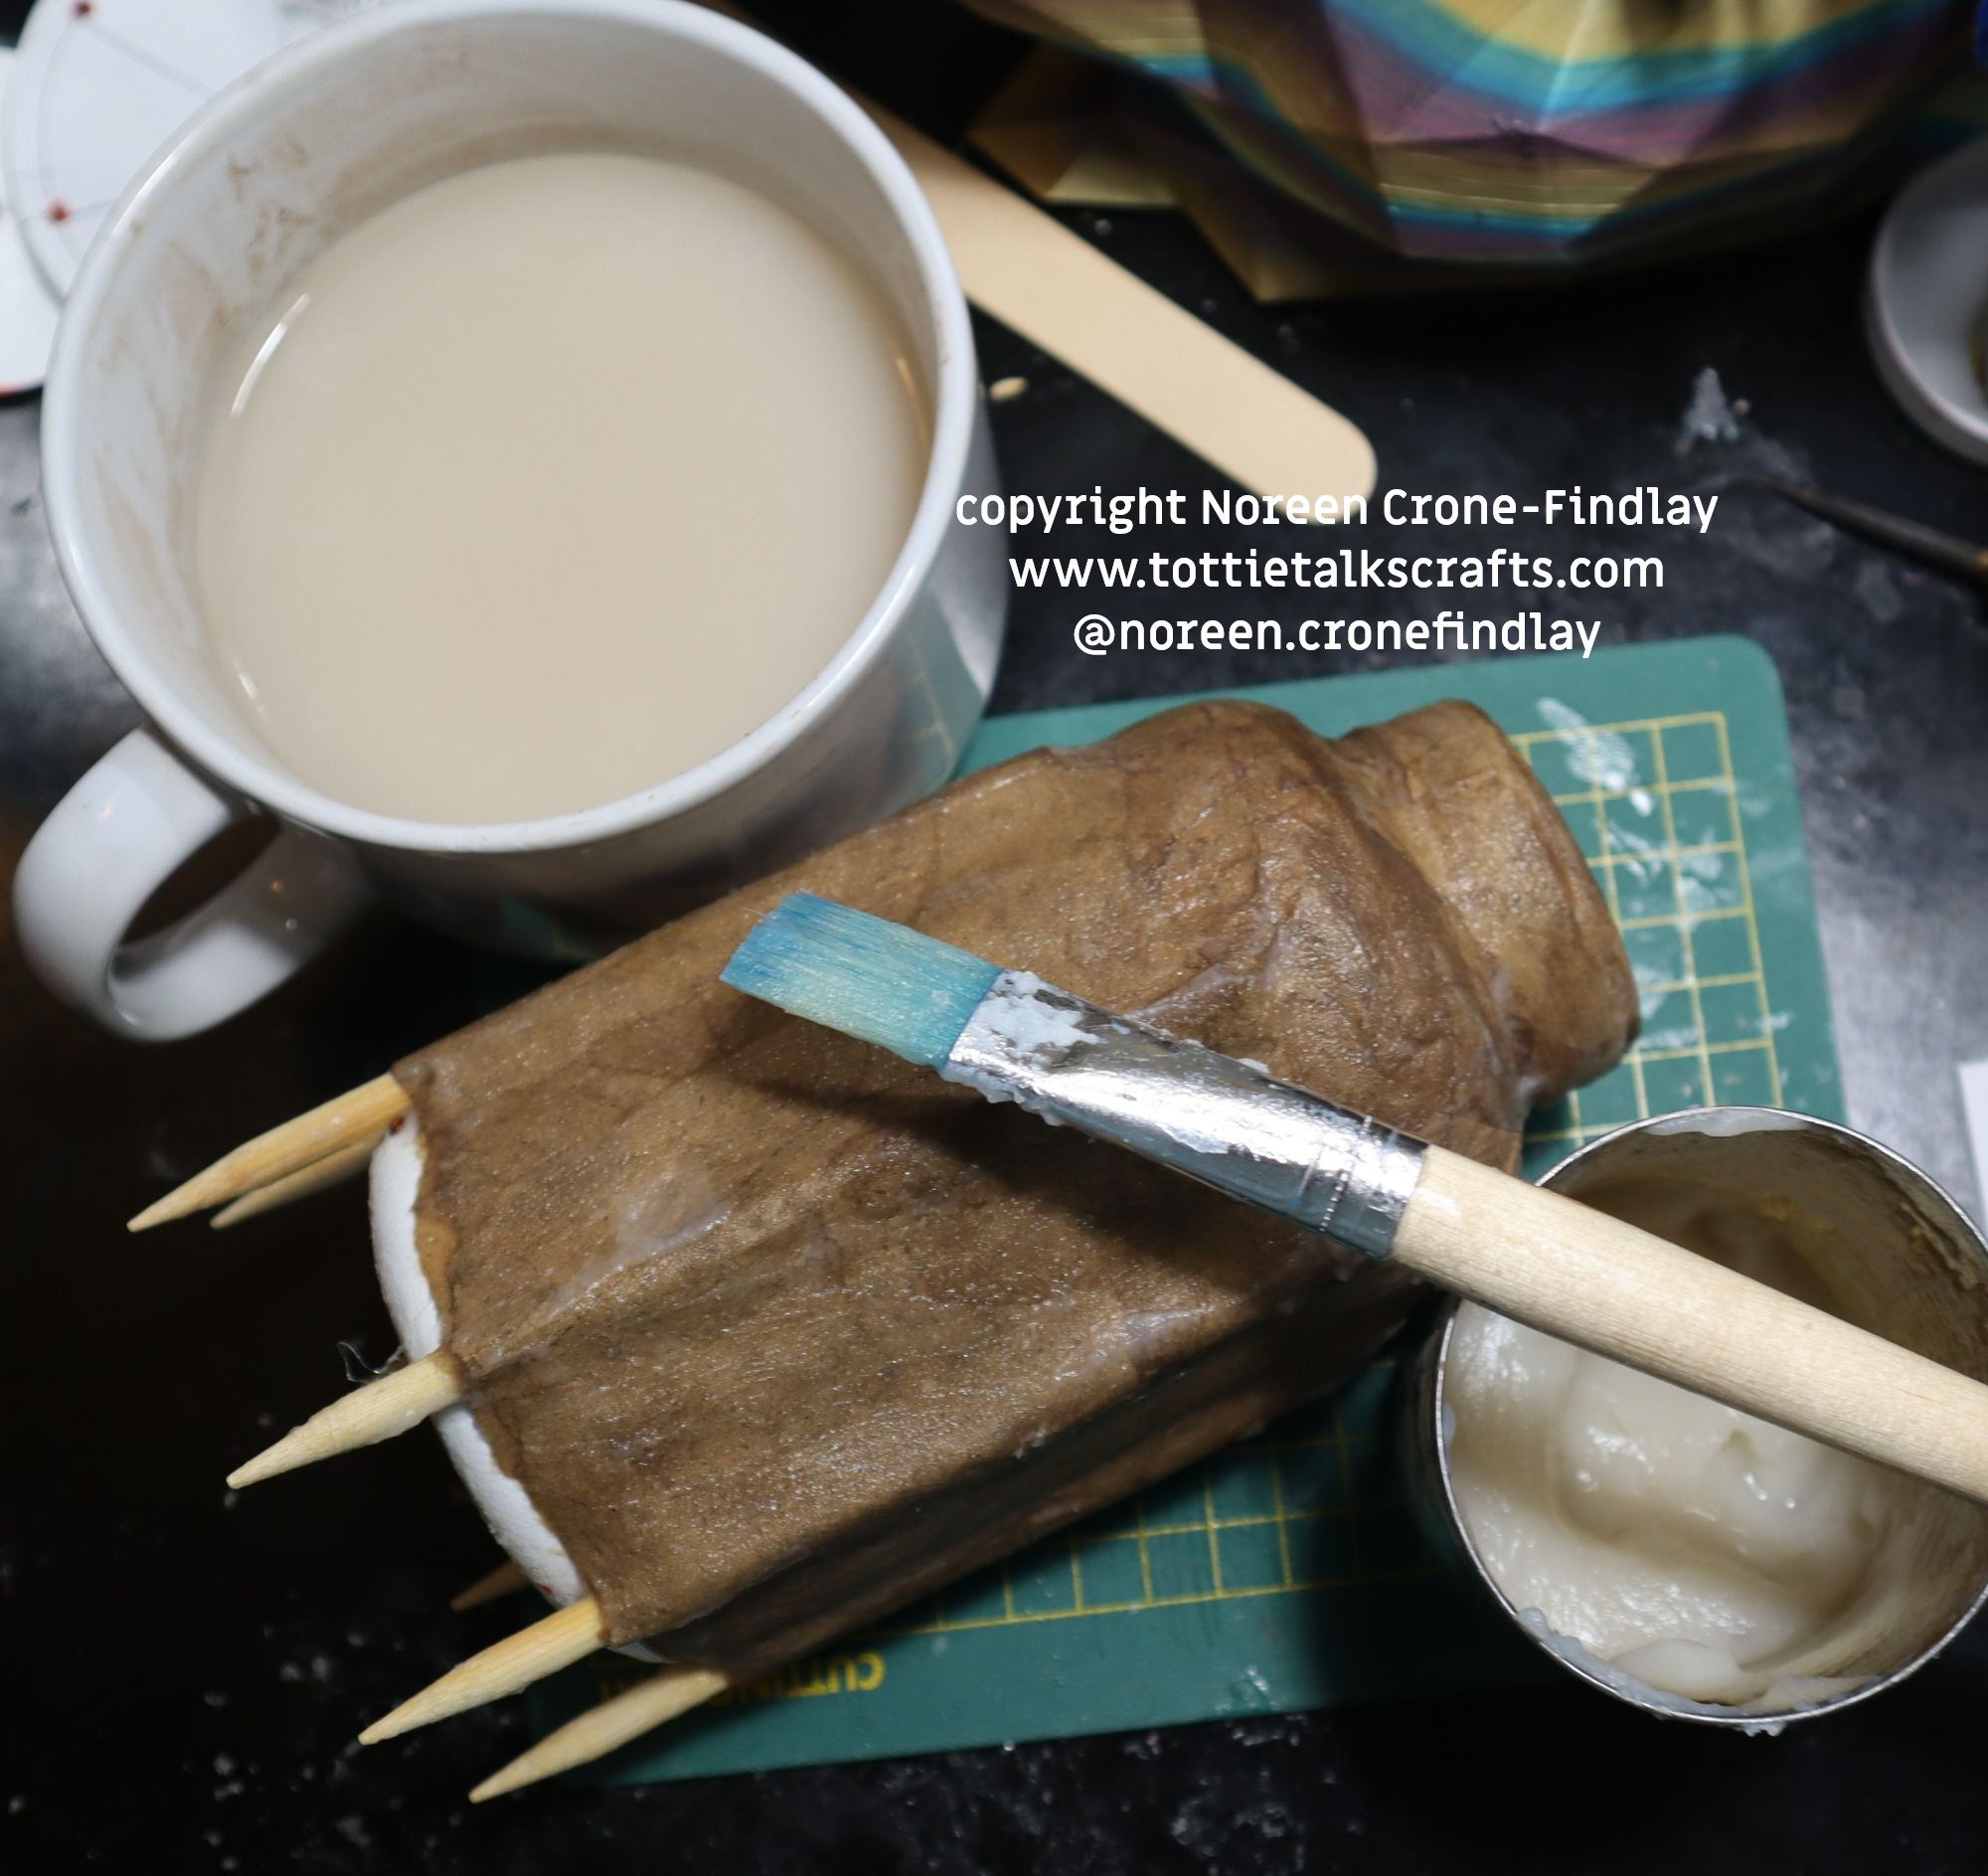
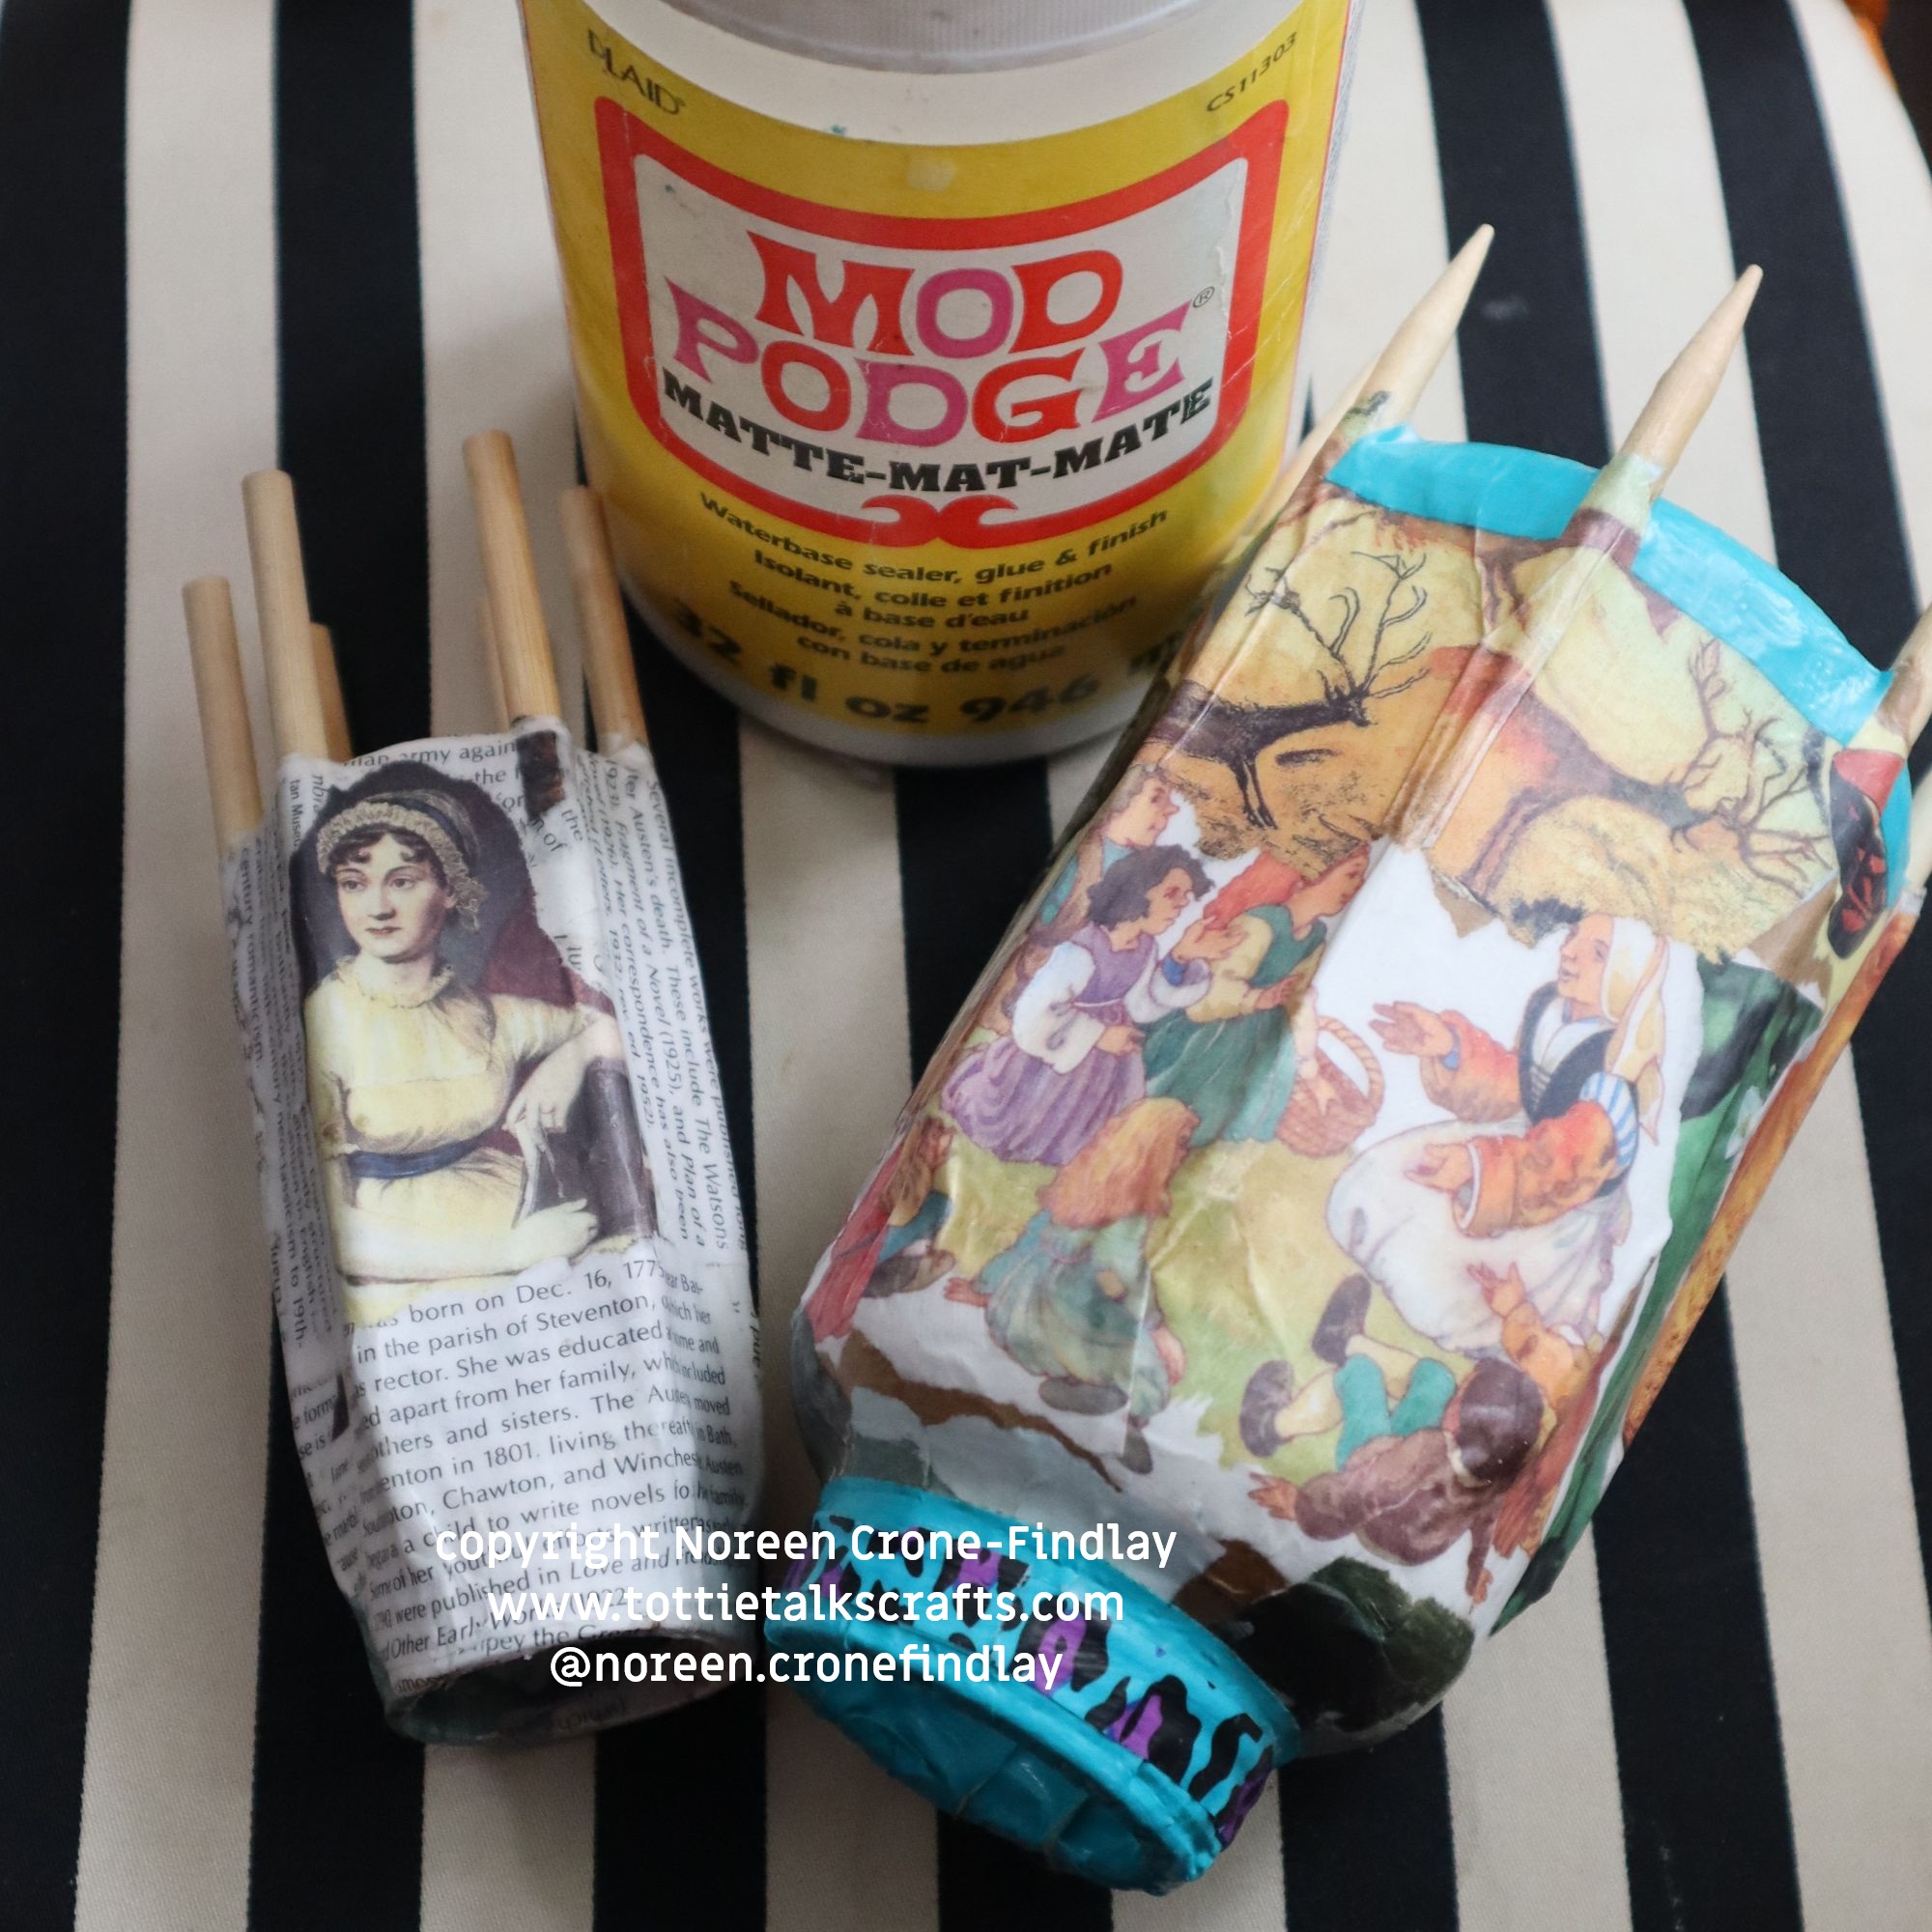
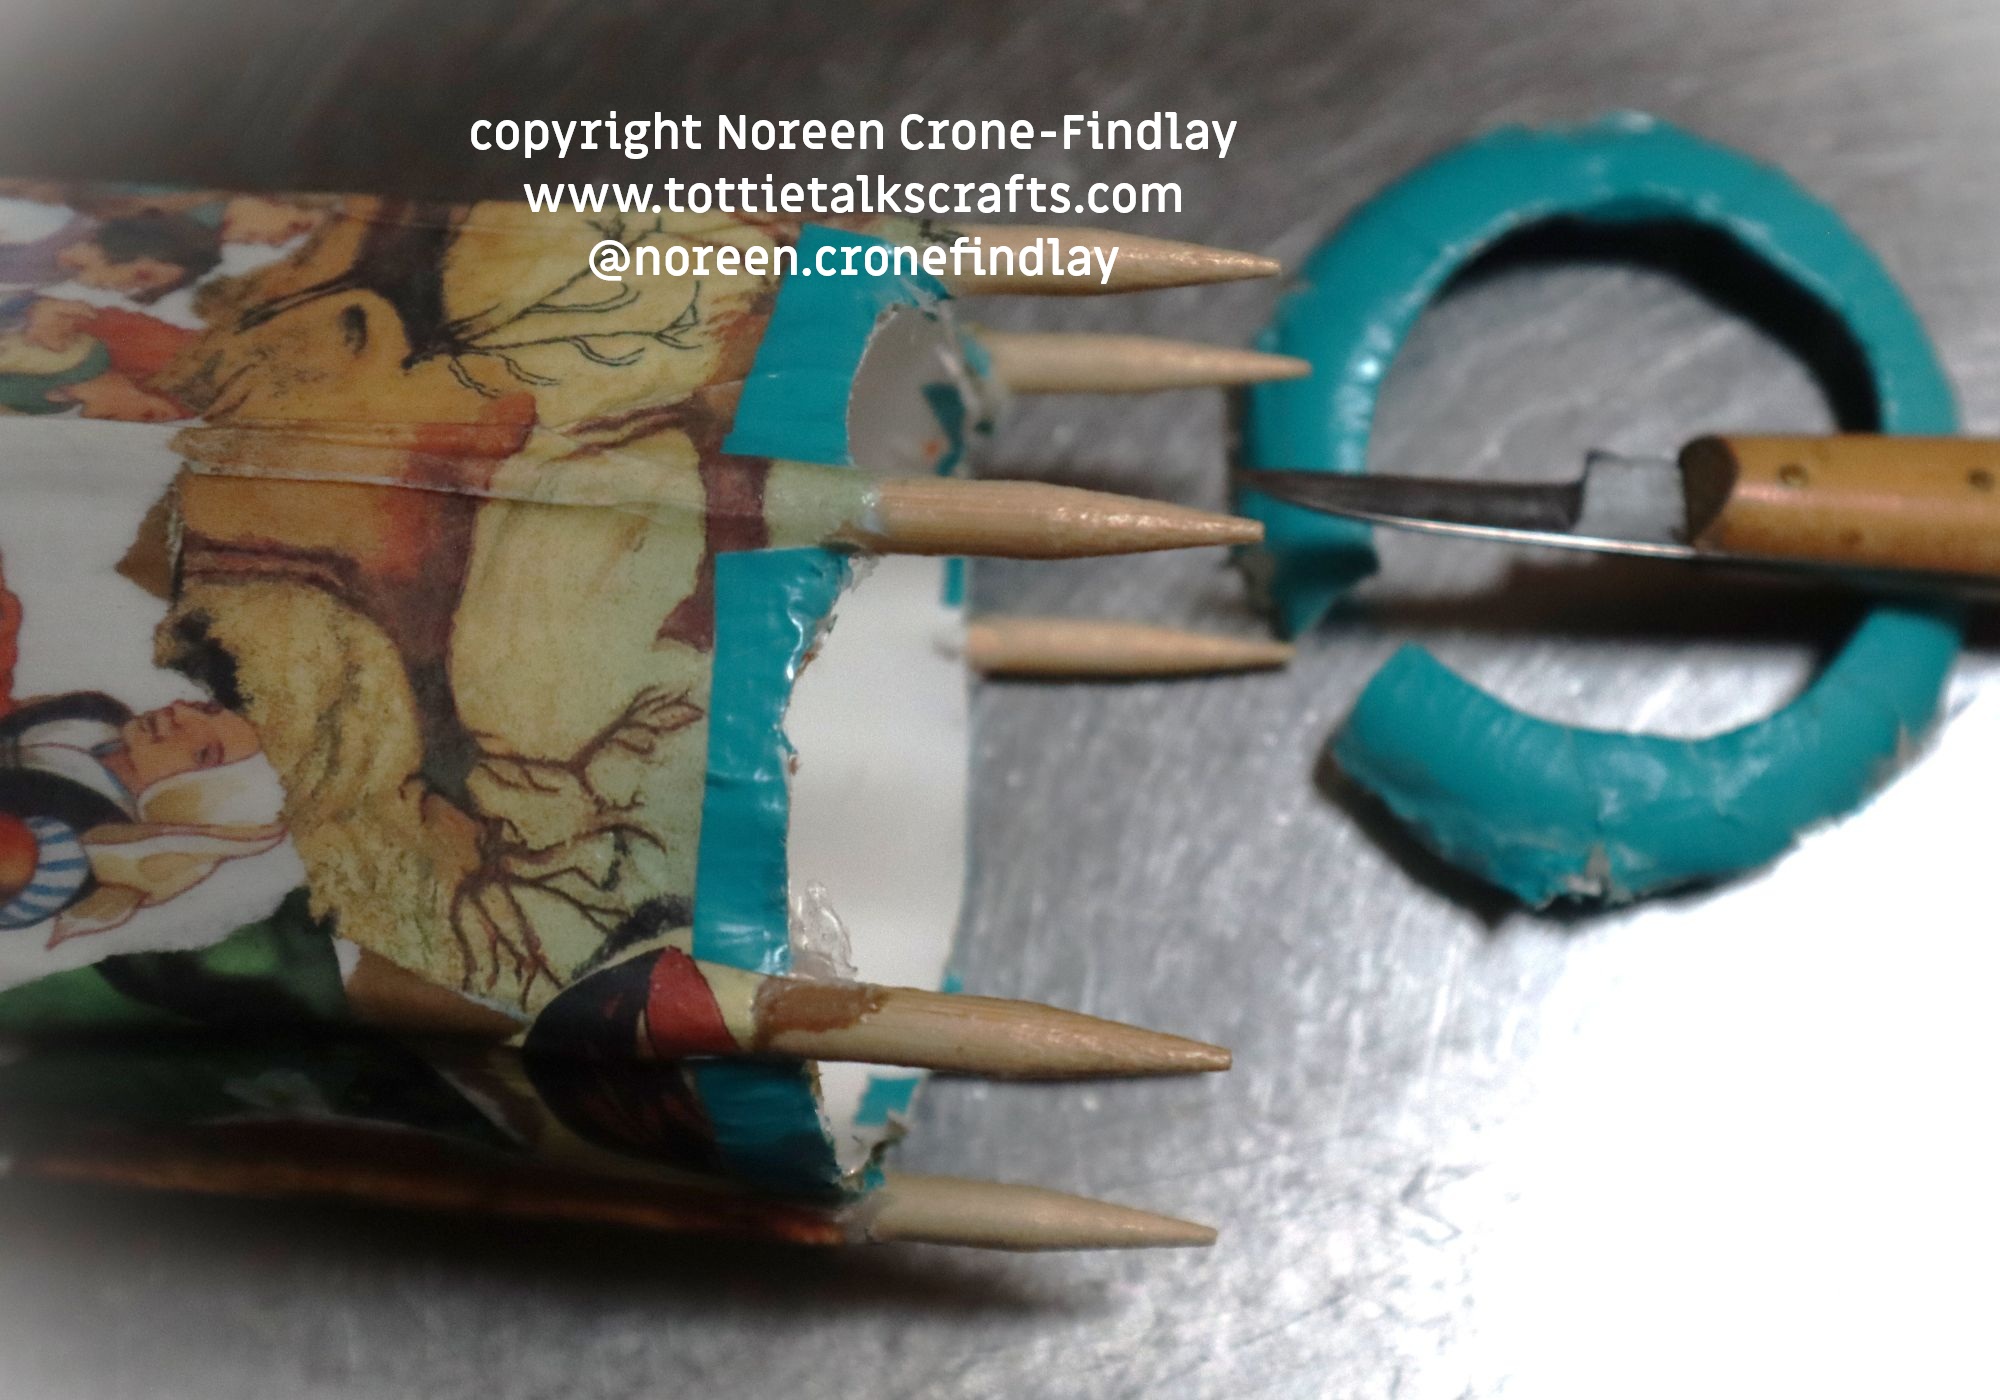
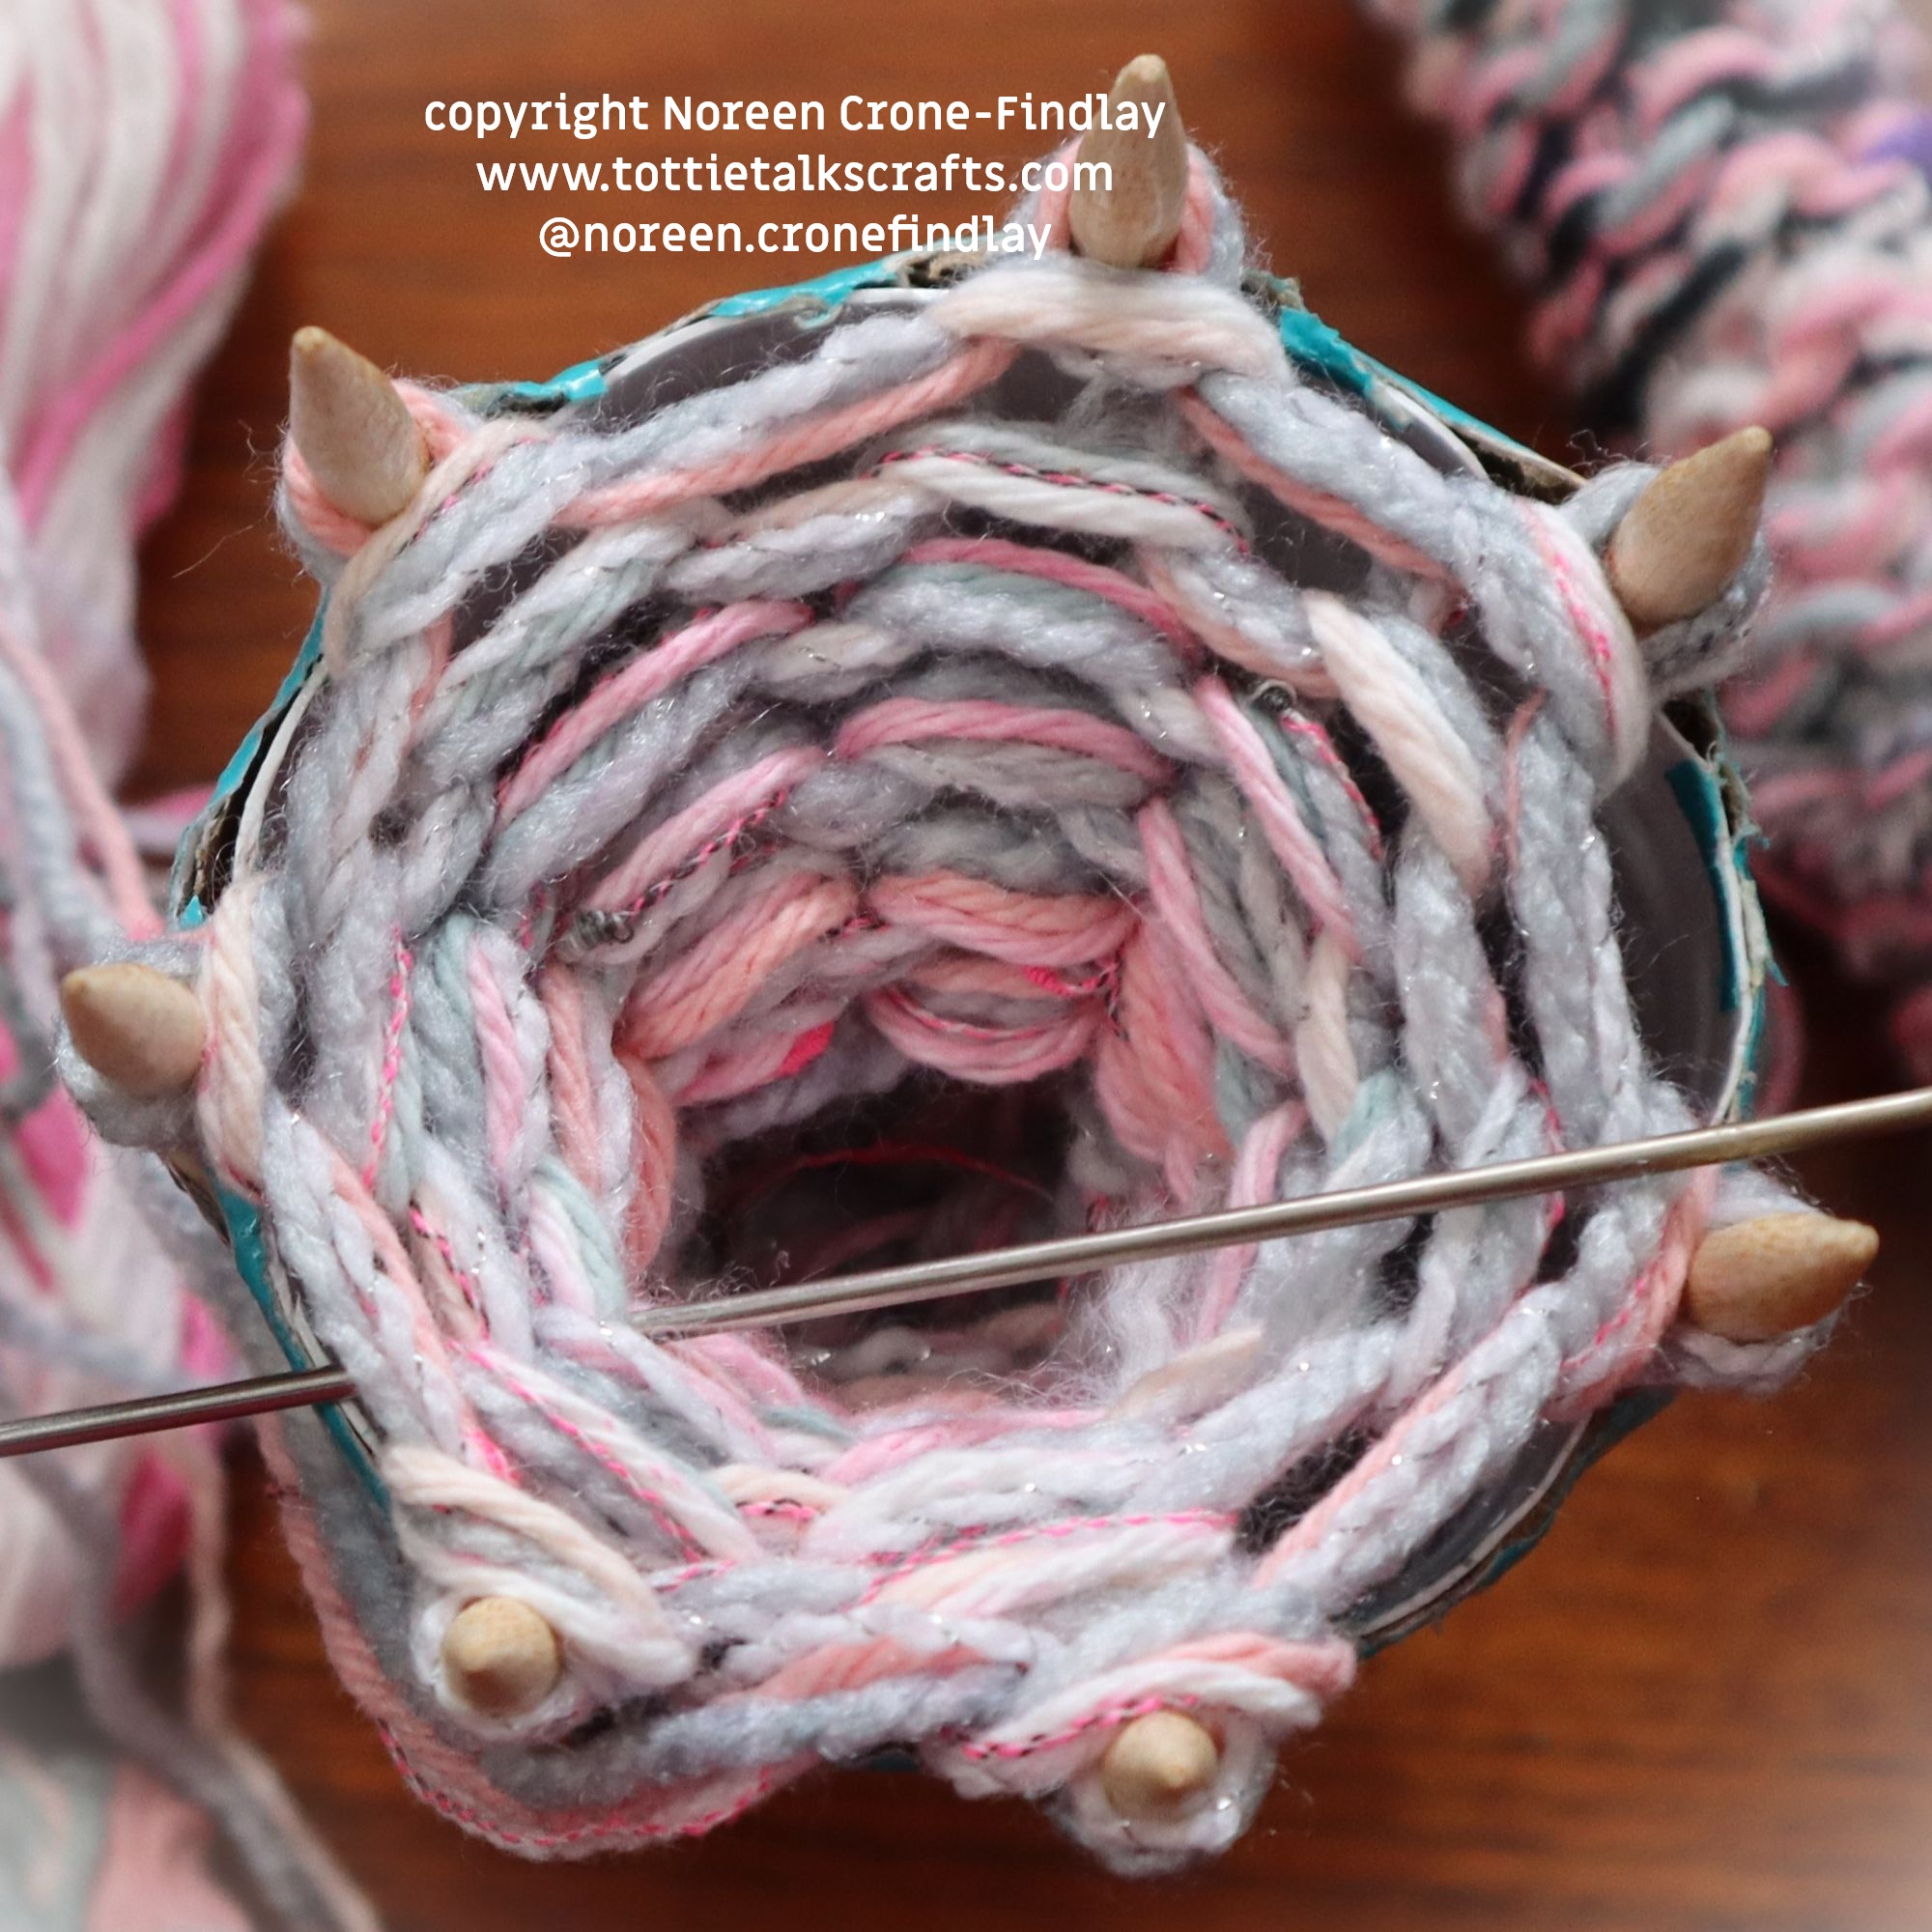
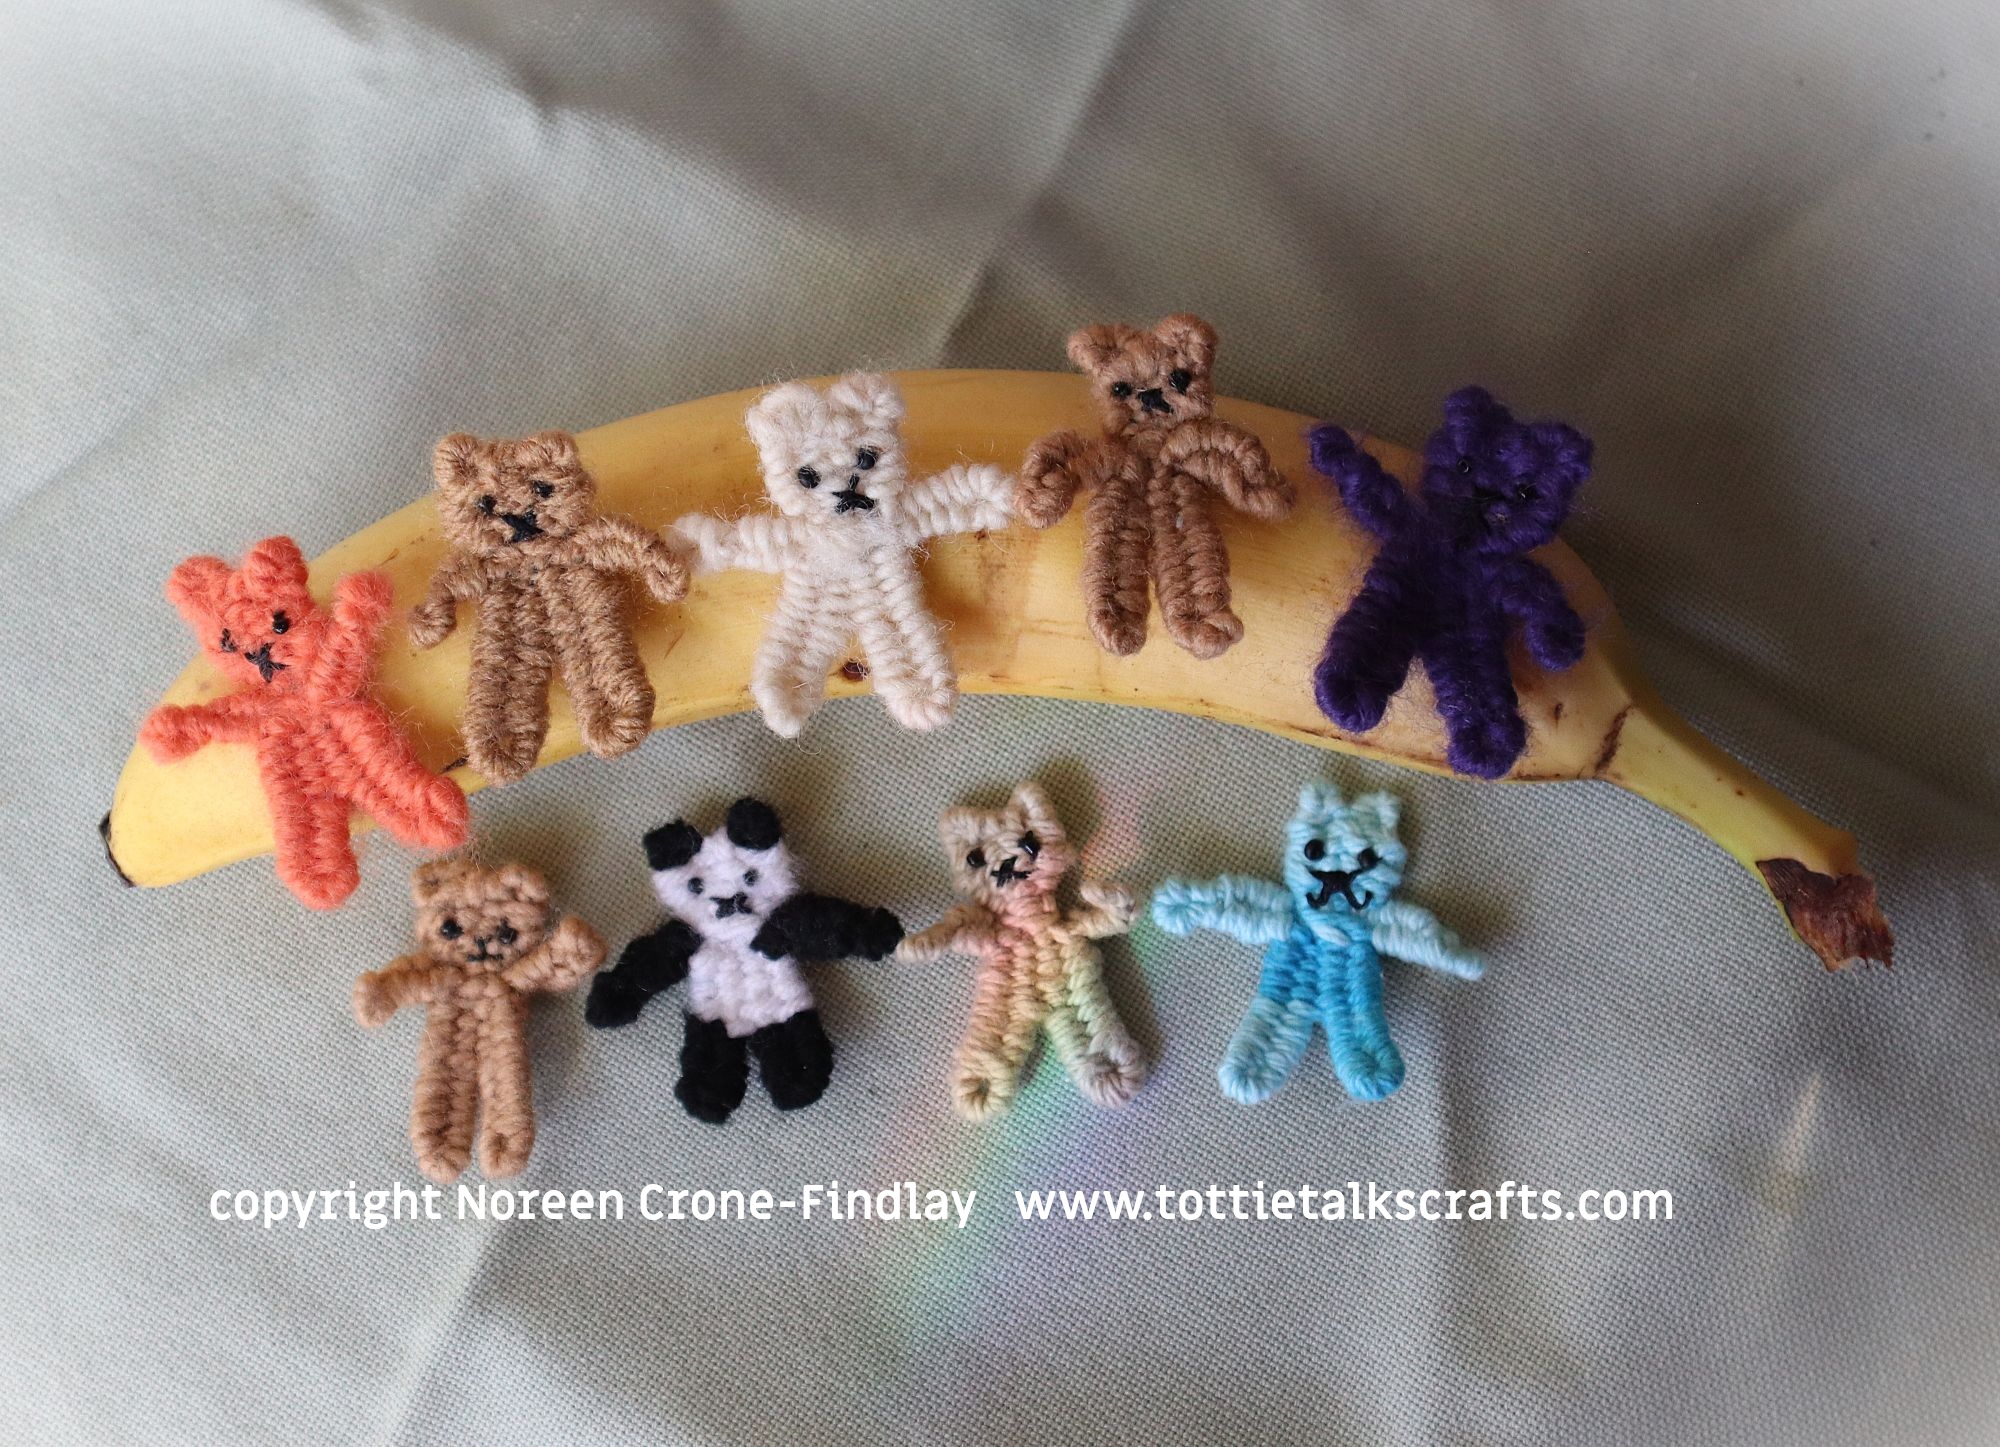
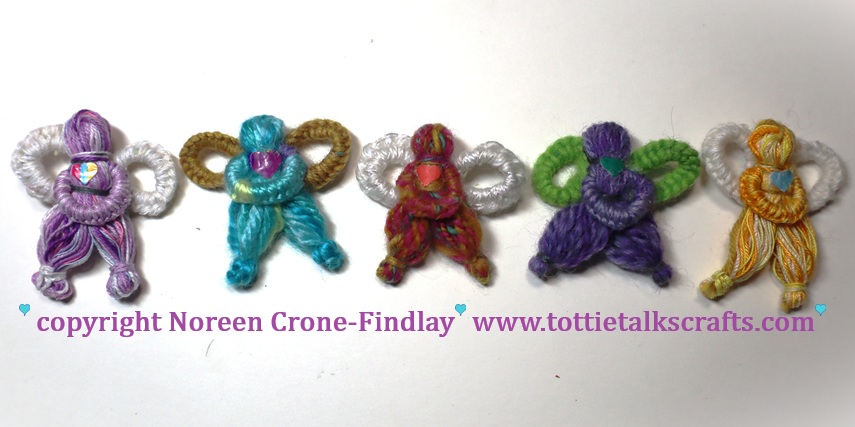
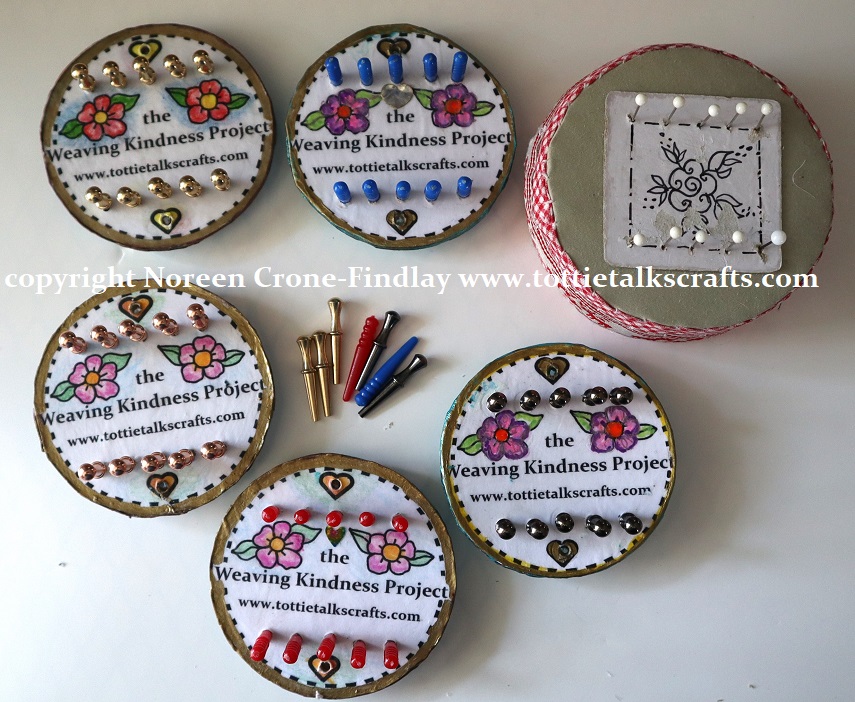
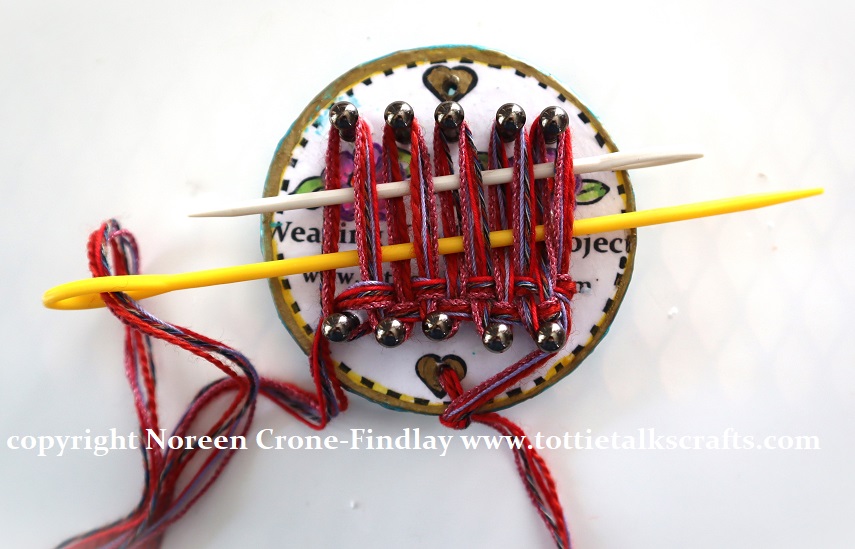
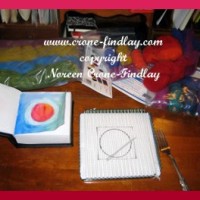
The pattern includes links to 3 video tutorials for how to make your own larger spool knitters as well as videos on how to spool knit in the round, and how to spool knit flat panels as well as spool knitting 2 peg/nail cords.
The pattern has complete step by step instructions for making the Well Well Well Spool Knitted Dolls with yarn and with fabric strips too.
The pattern is available in my etsy shop:
https://www.etsy.com/ca/listing/4473549156/pdf-pattern-for-spool-knitted-well-well