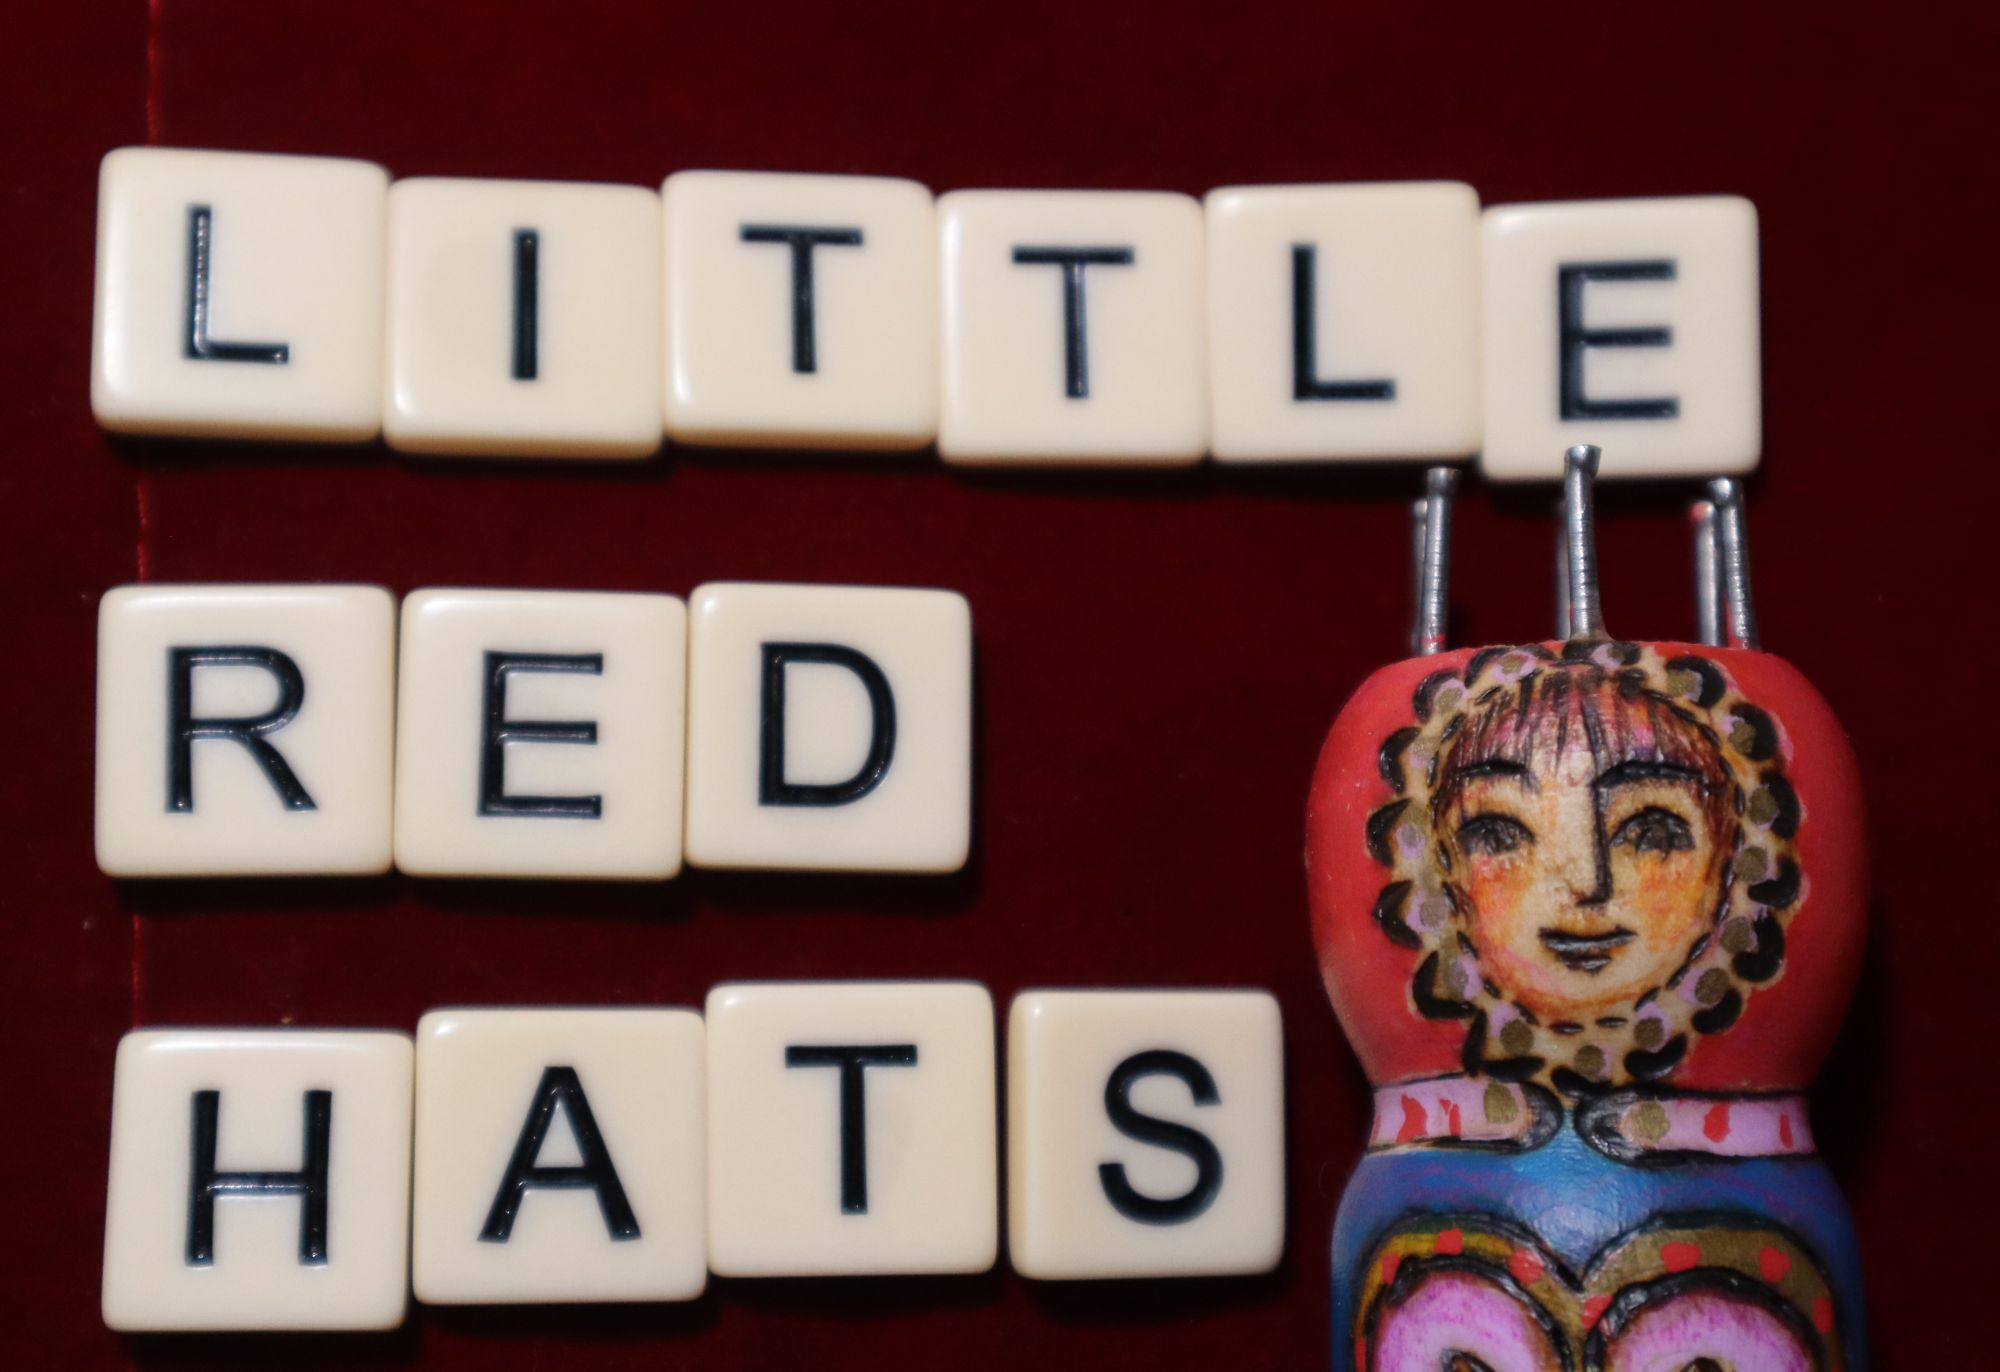
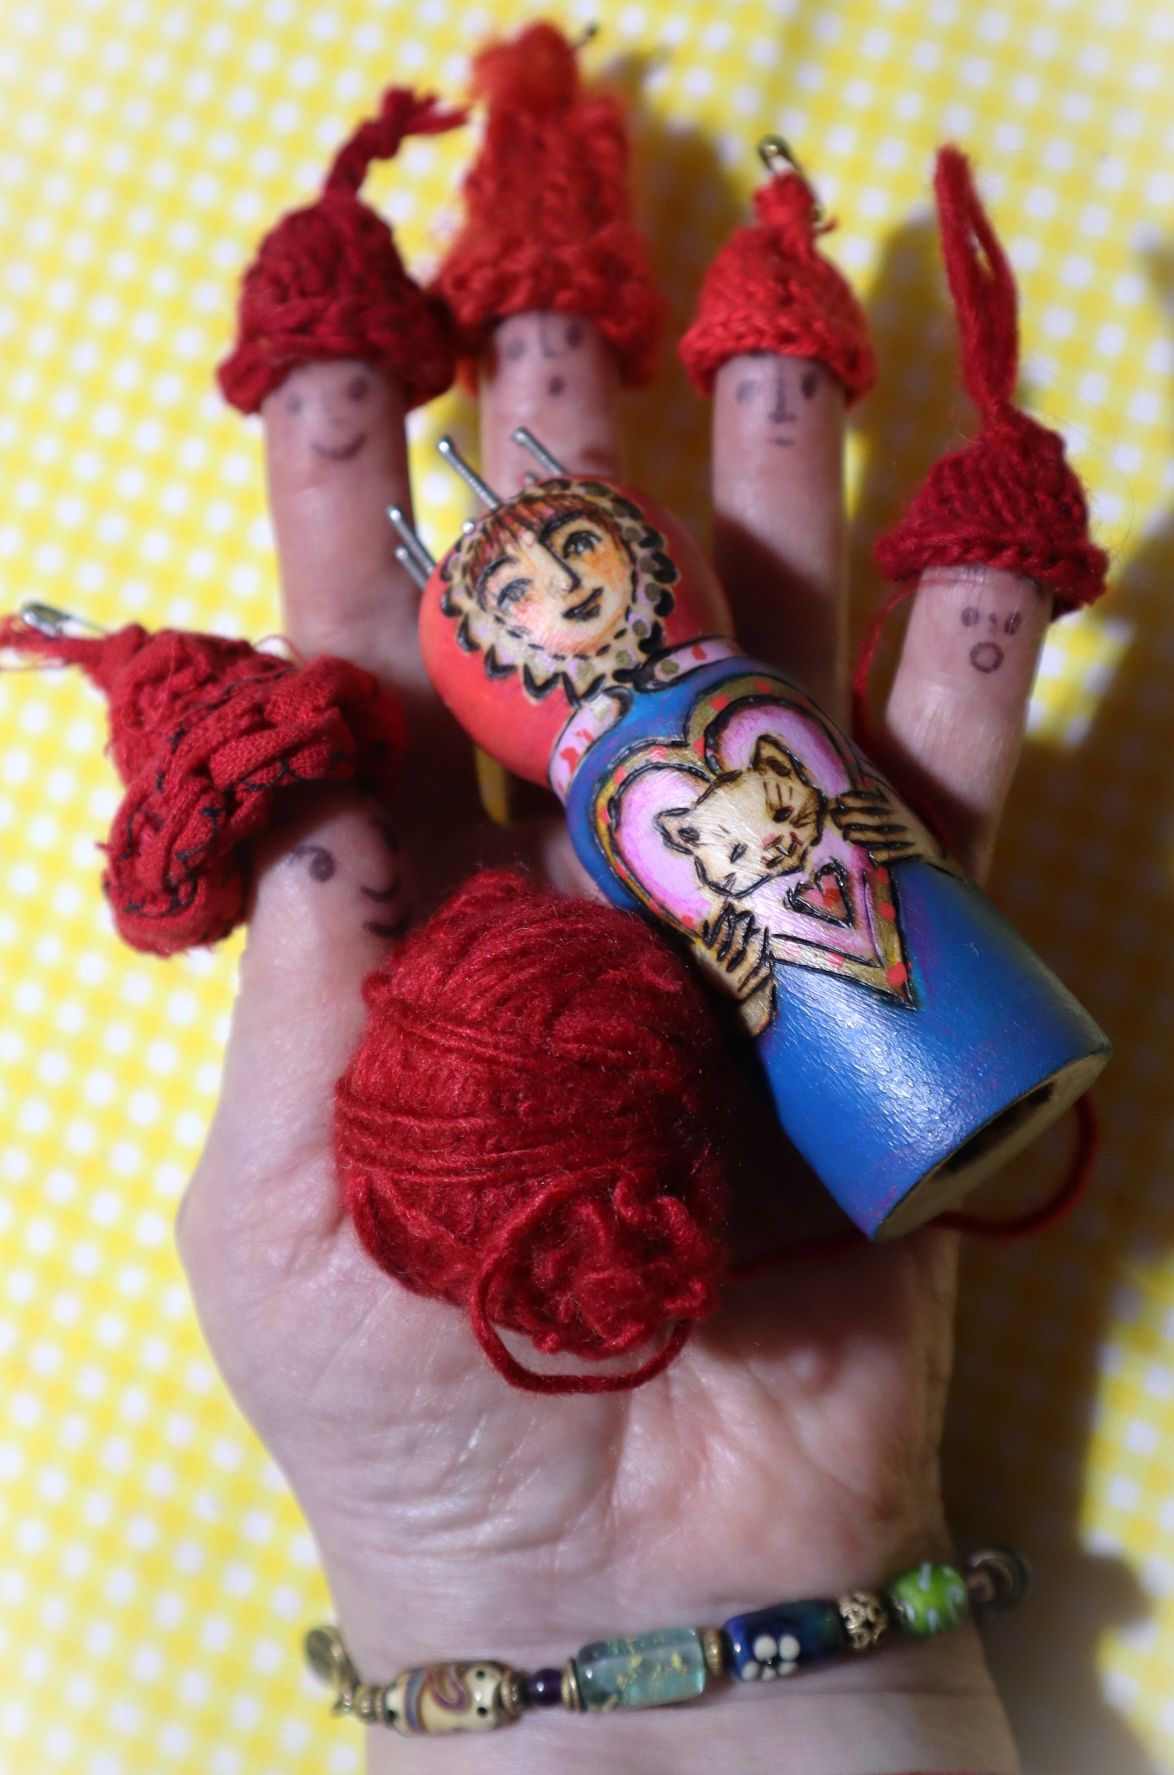
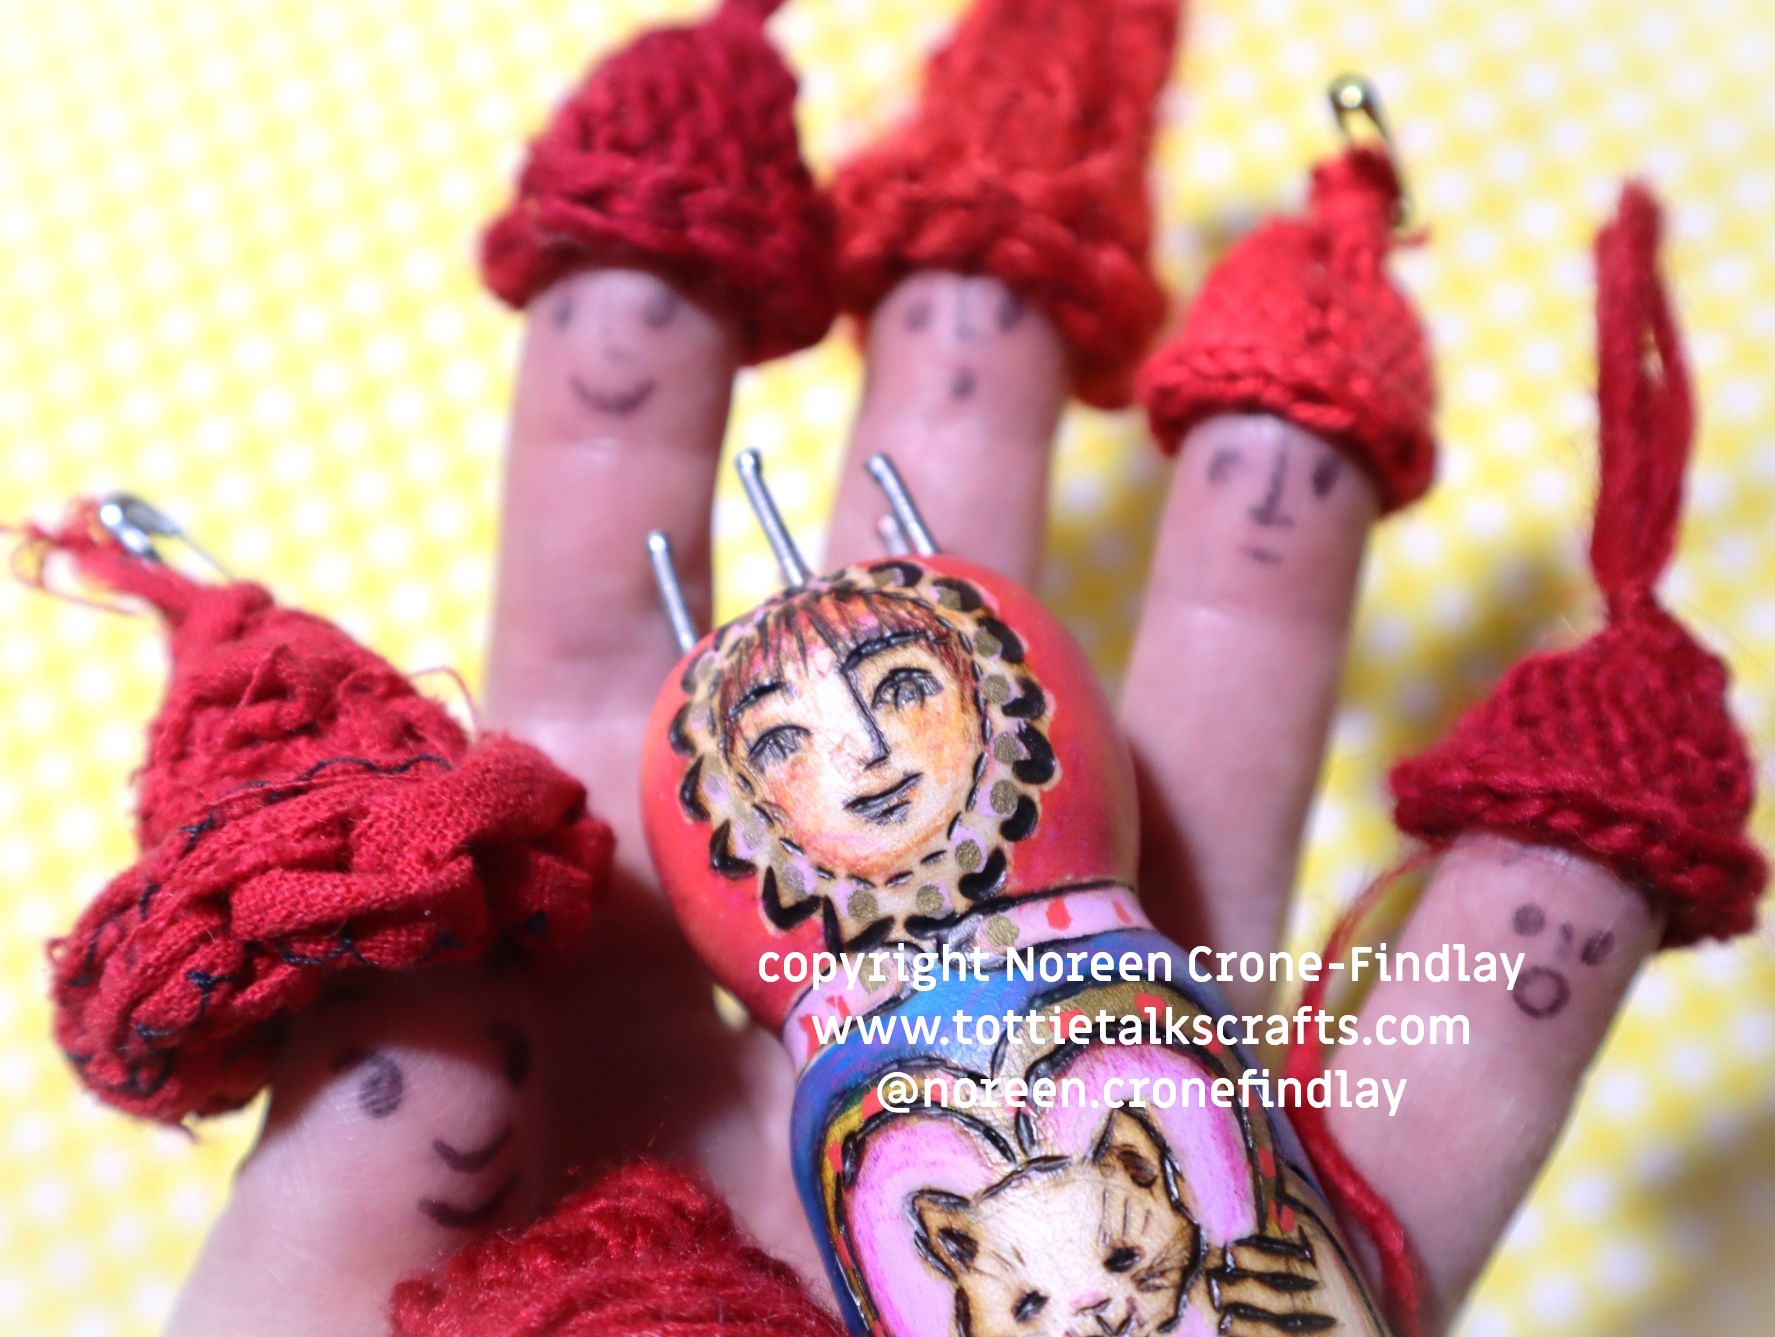
Would you like to make Irresistible tiny Red Hats to wear on your finger –
cheering yourself up in these challenging times, or for reminding yourself that Hope is an antidote to despair and cynicism
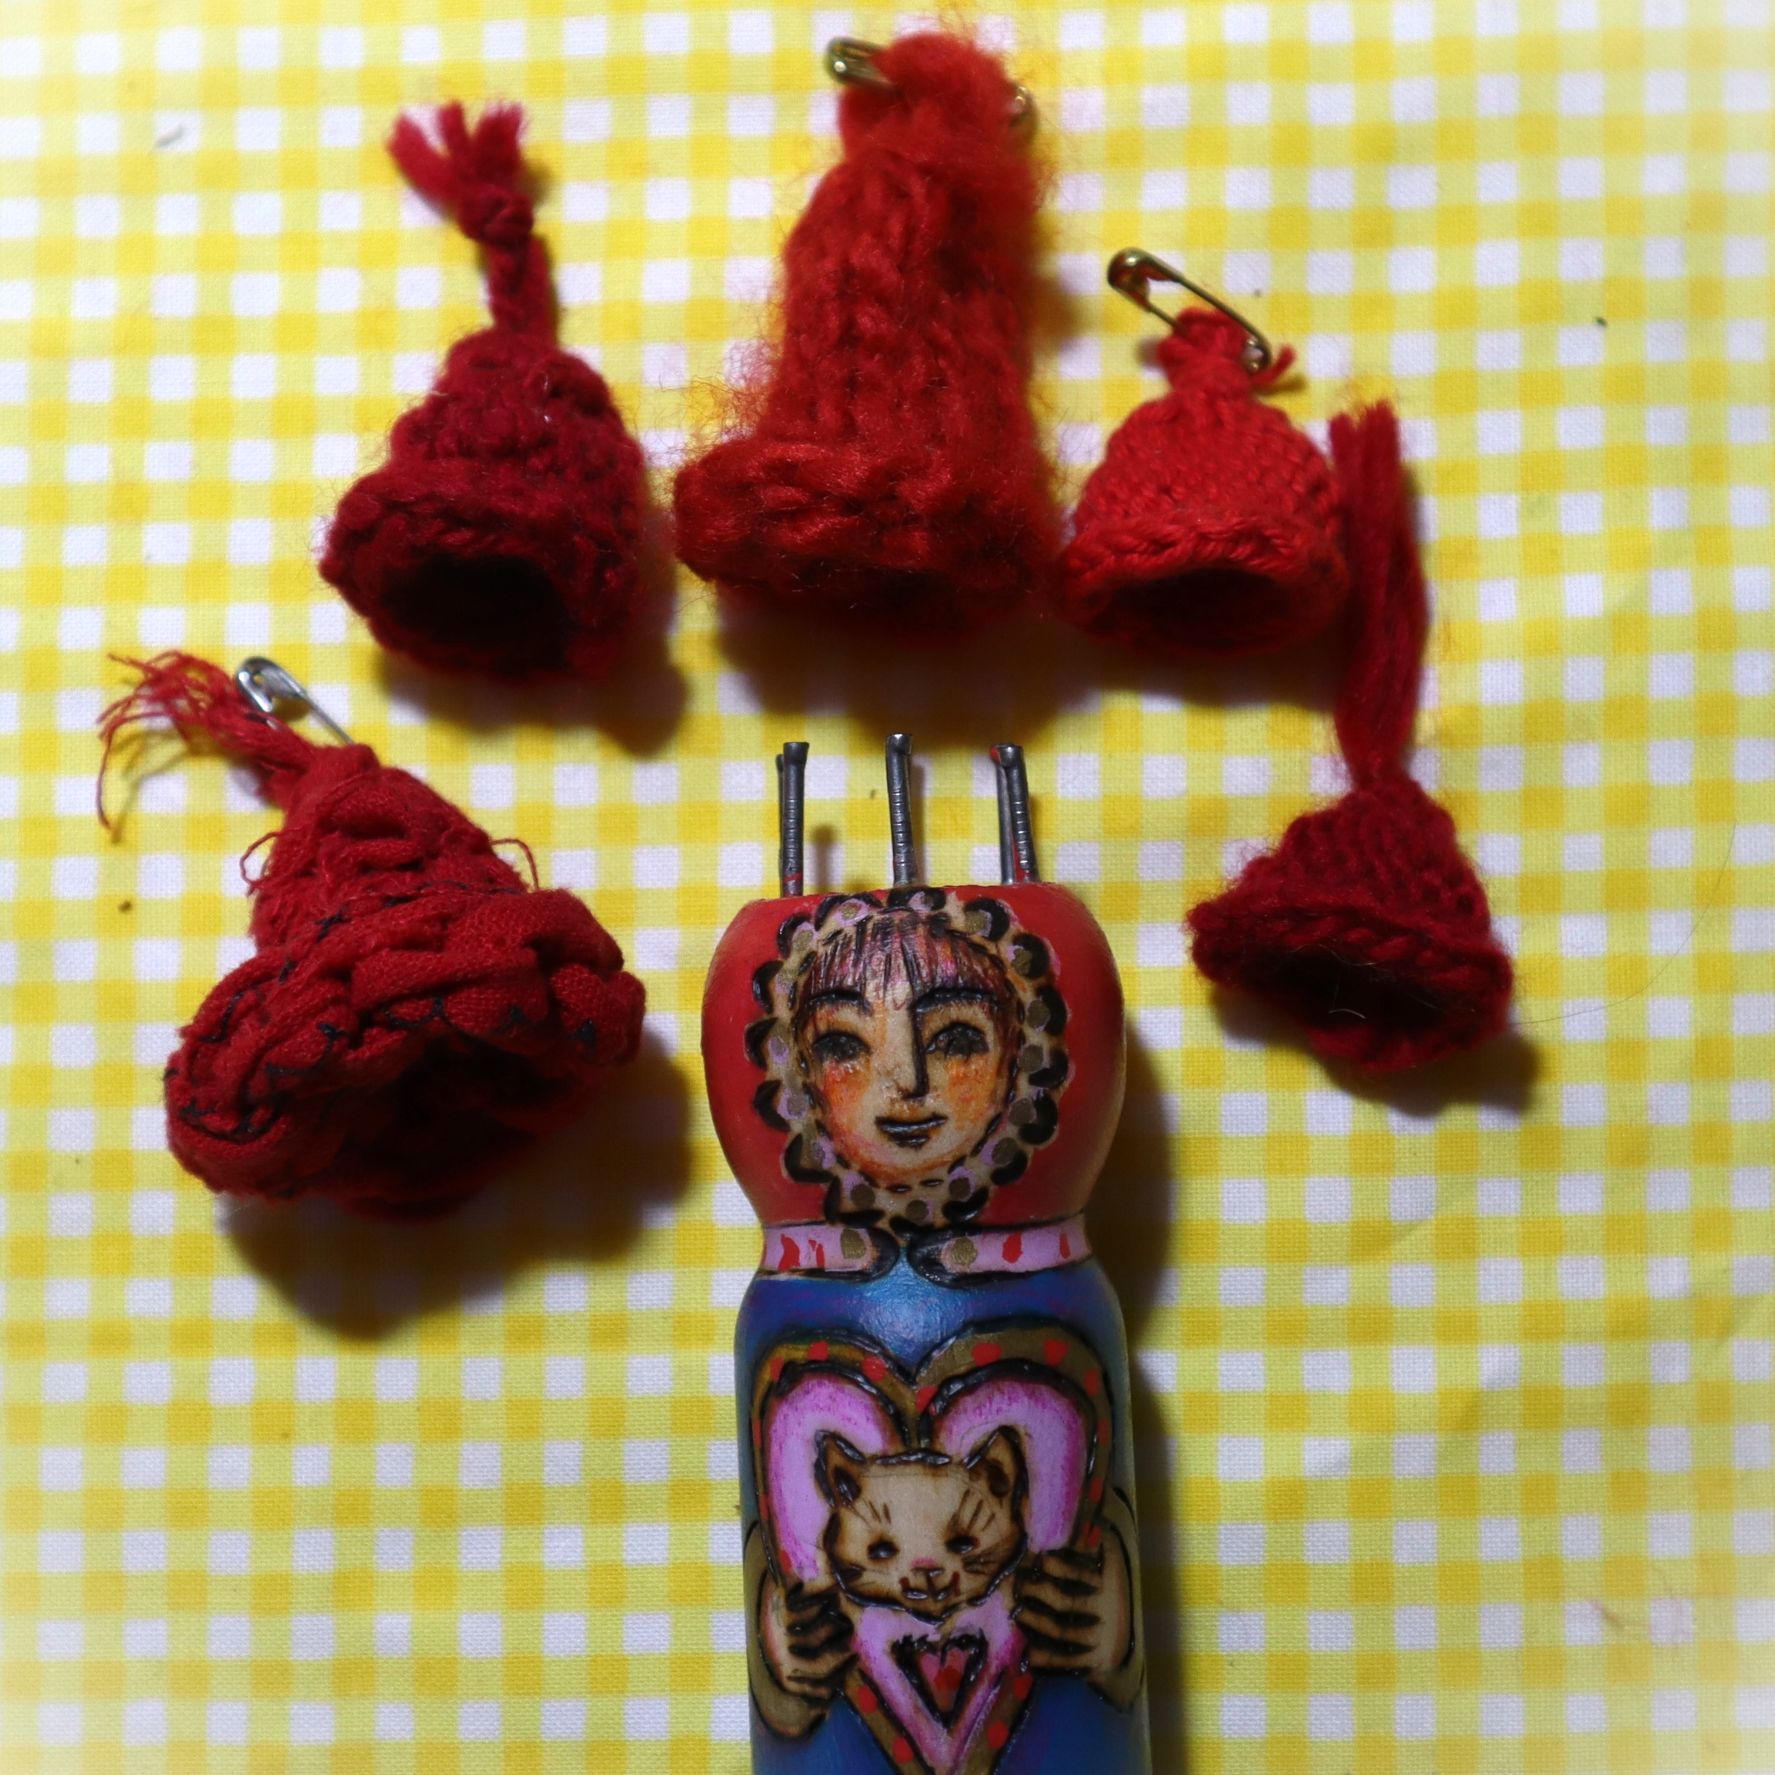
OR maybe just for a moment of fun in putting on very small finger puppet shows?
OR, perhaps to wear on your lapel or pin to your bag or backpack as a sign of community and connection, OR to give as little gifts to friends and family and fellow travellers?
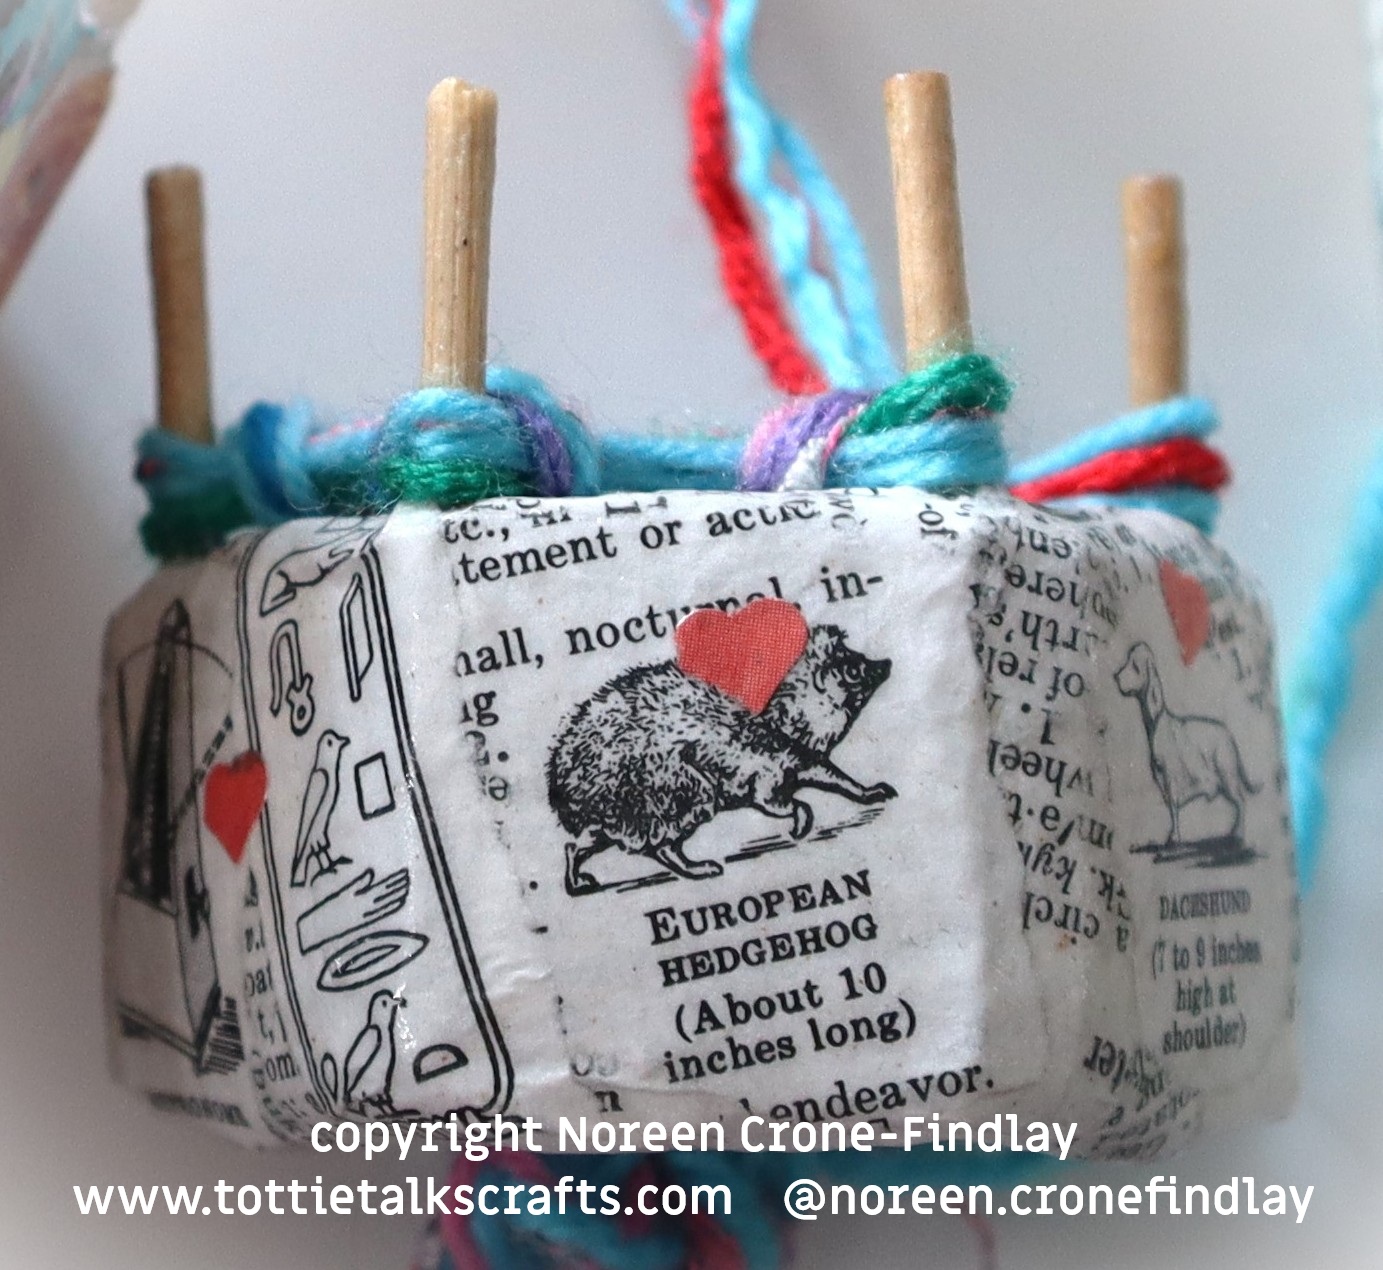
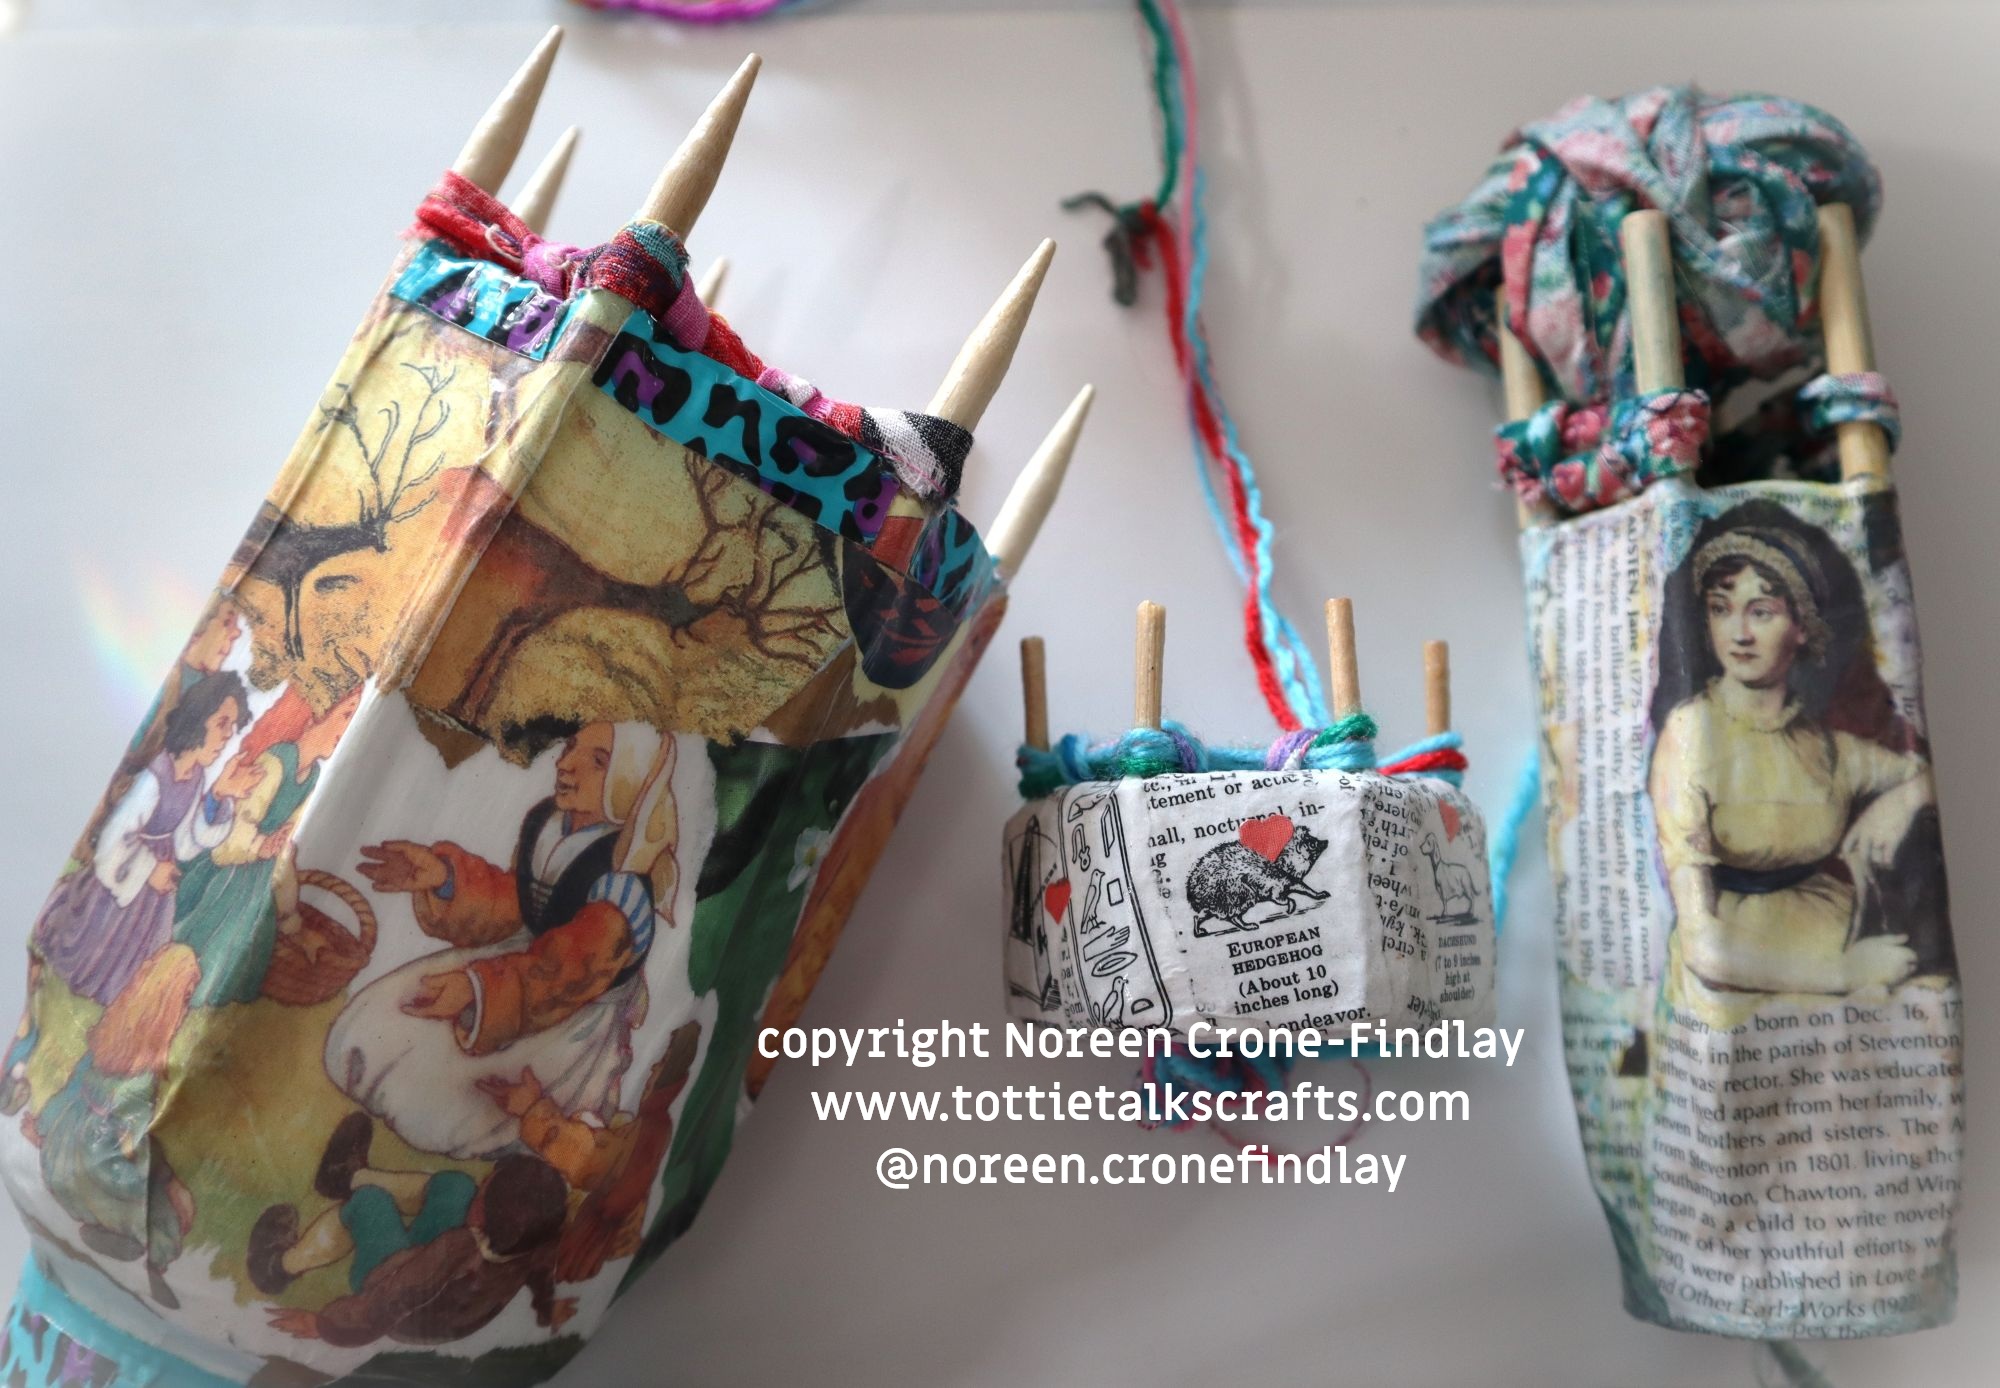
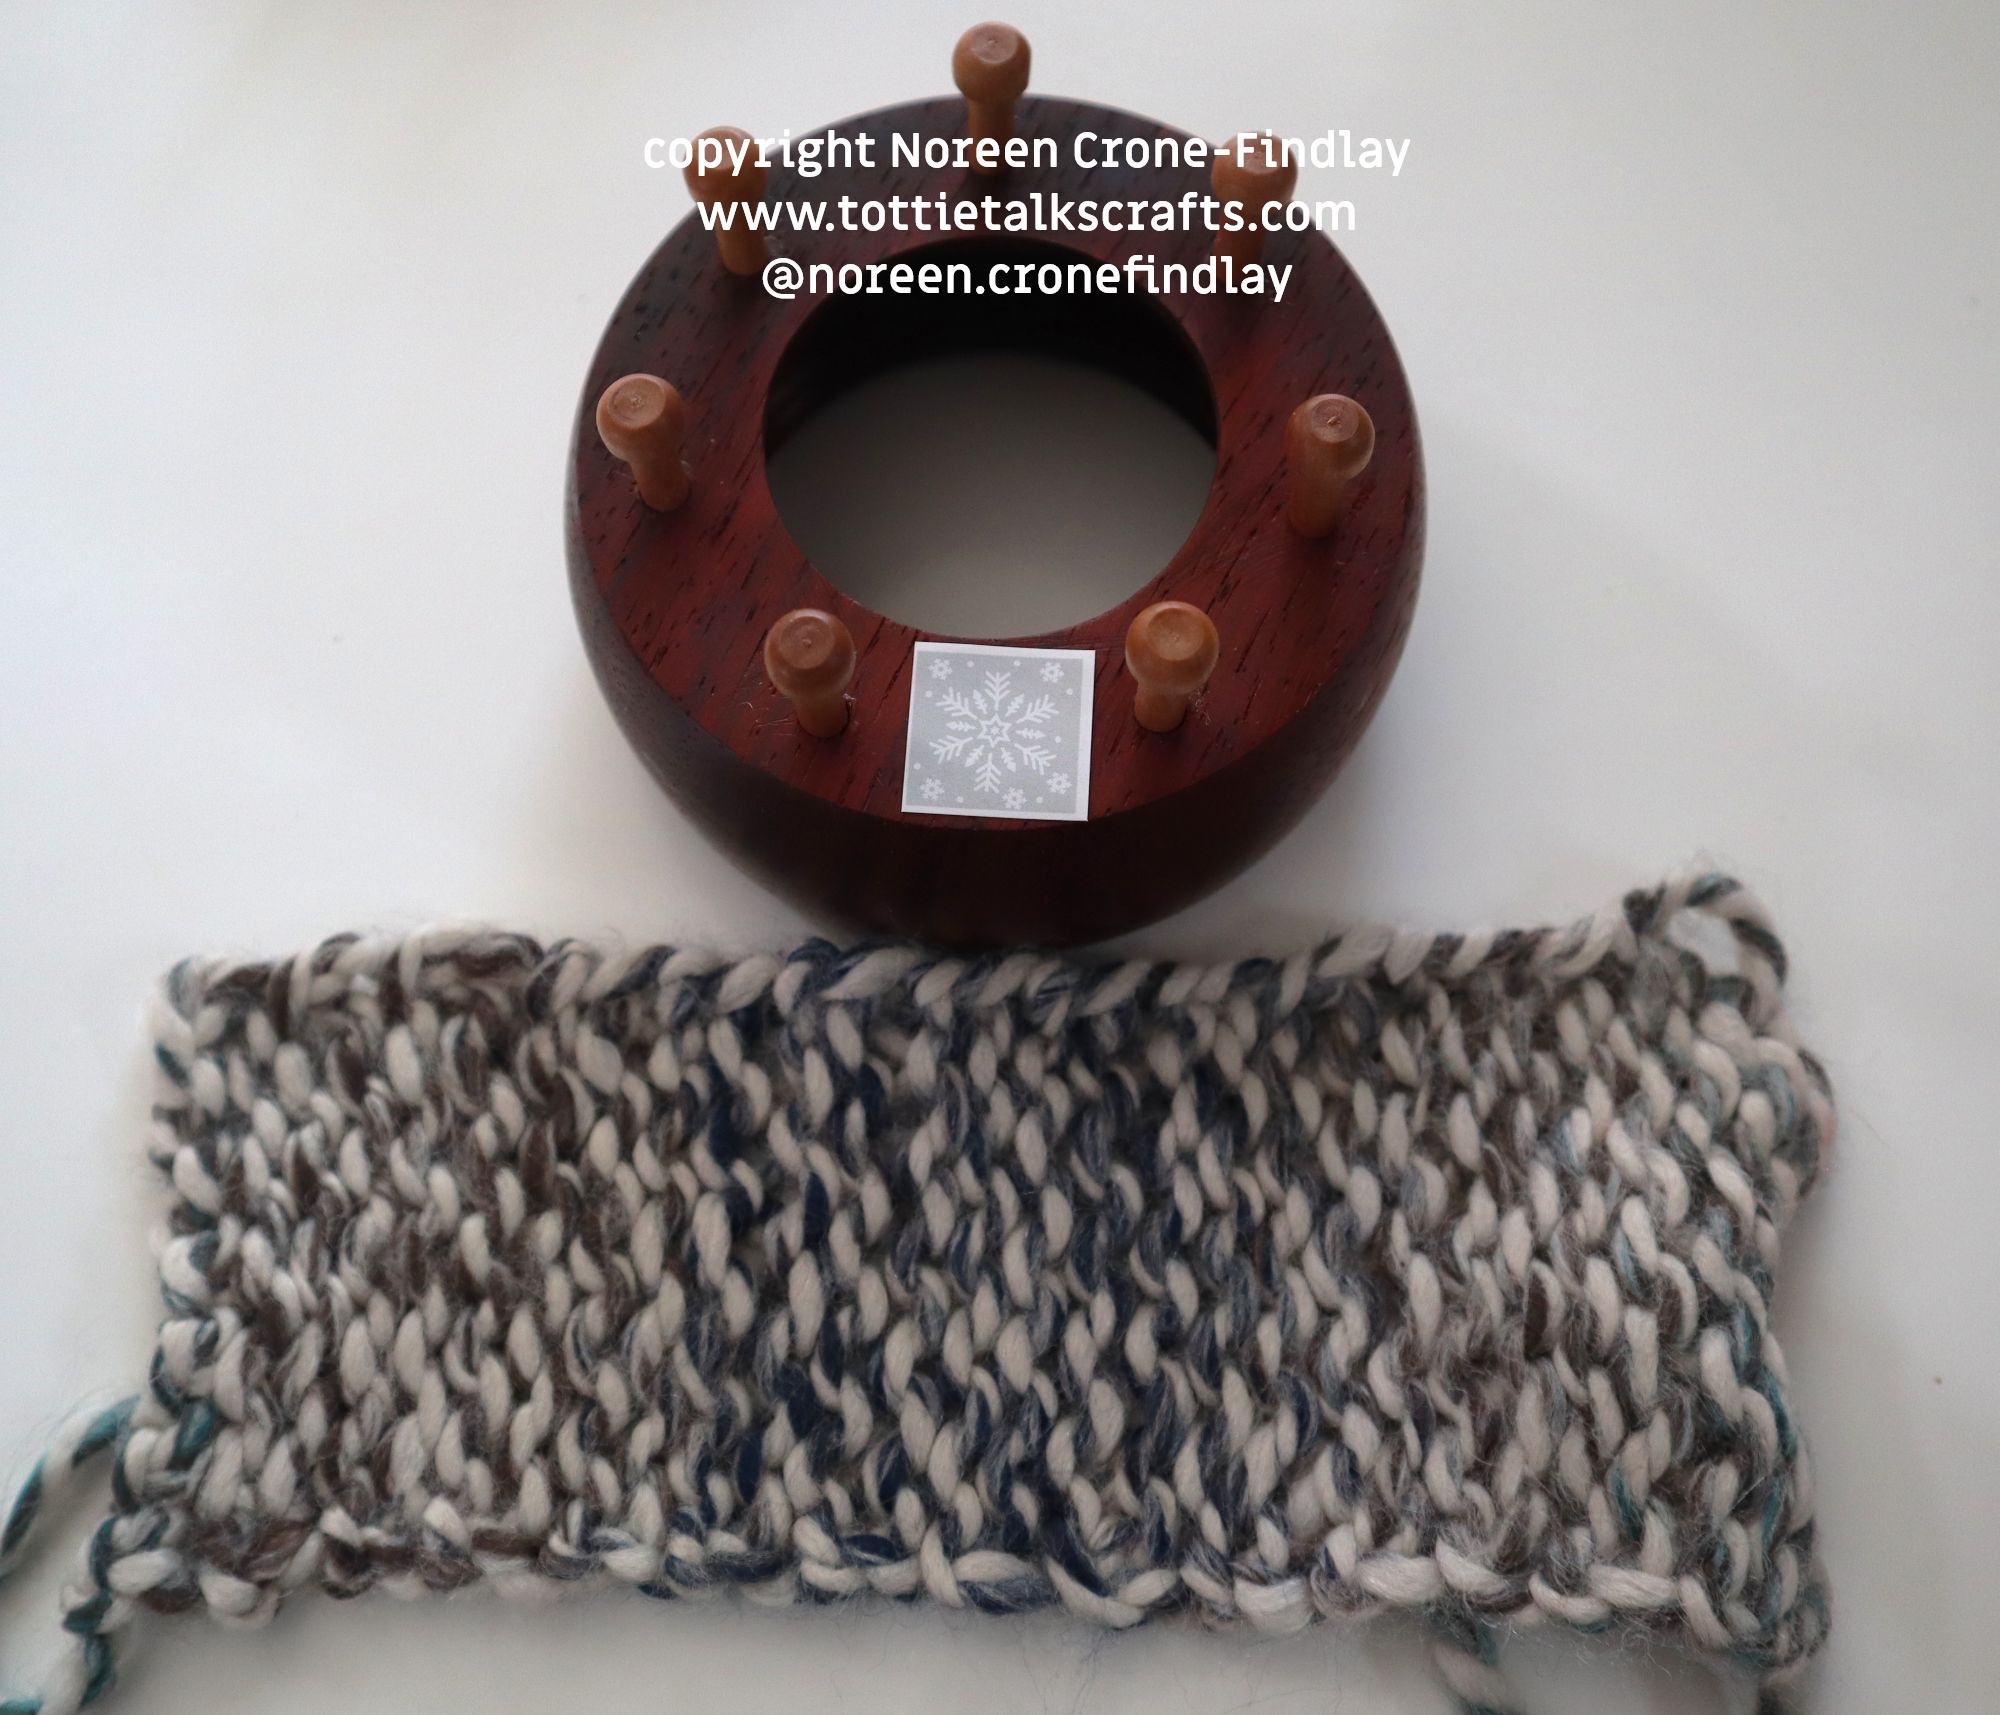
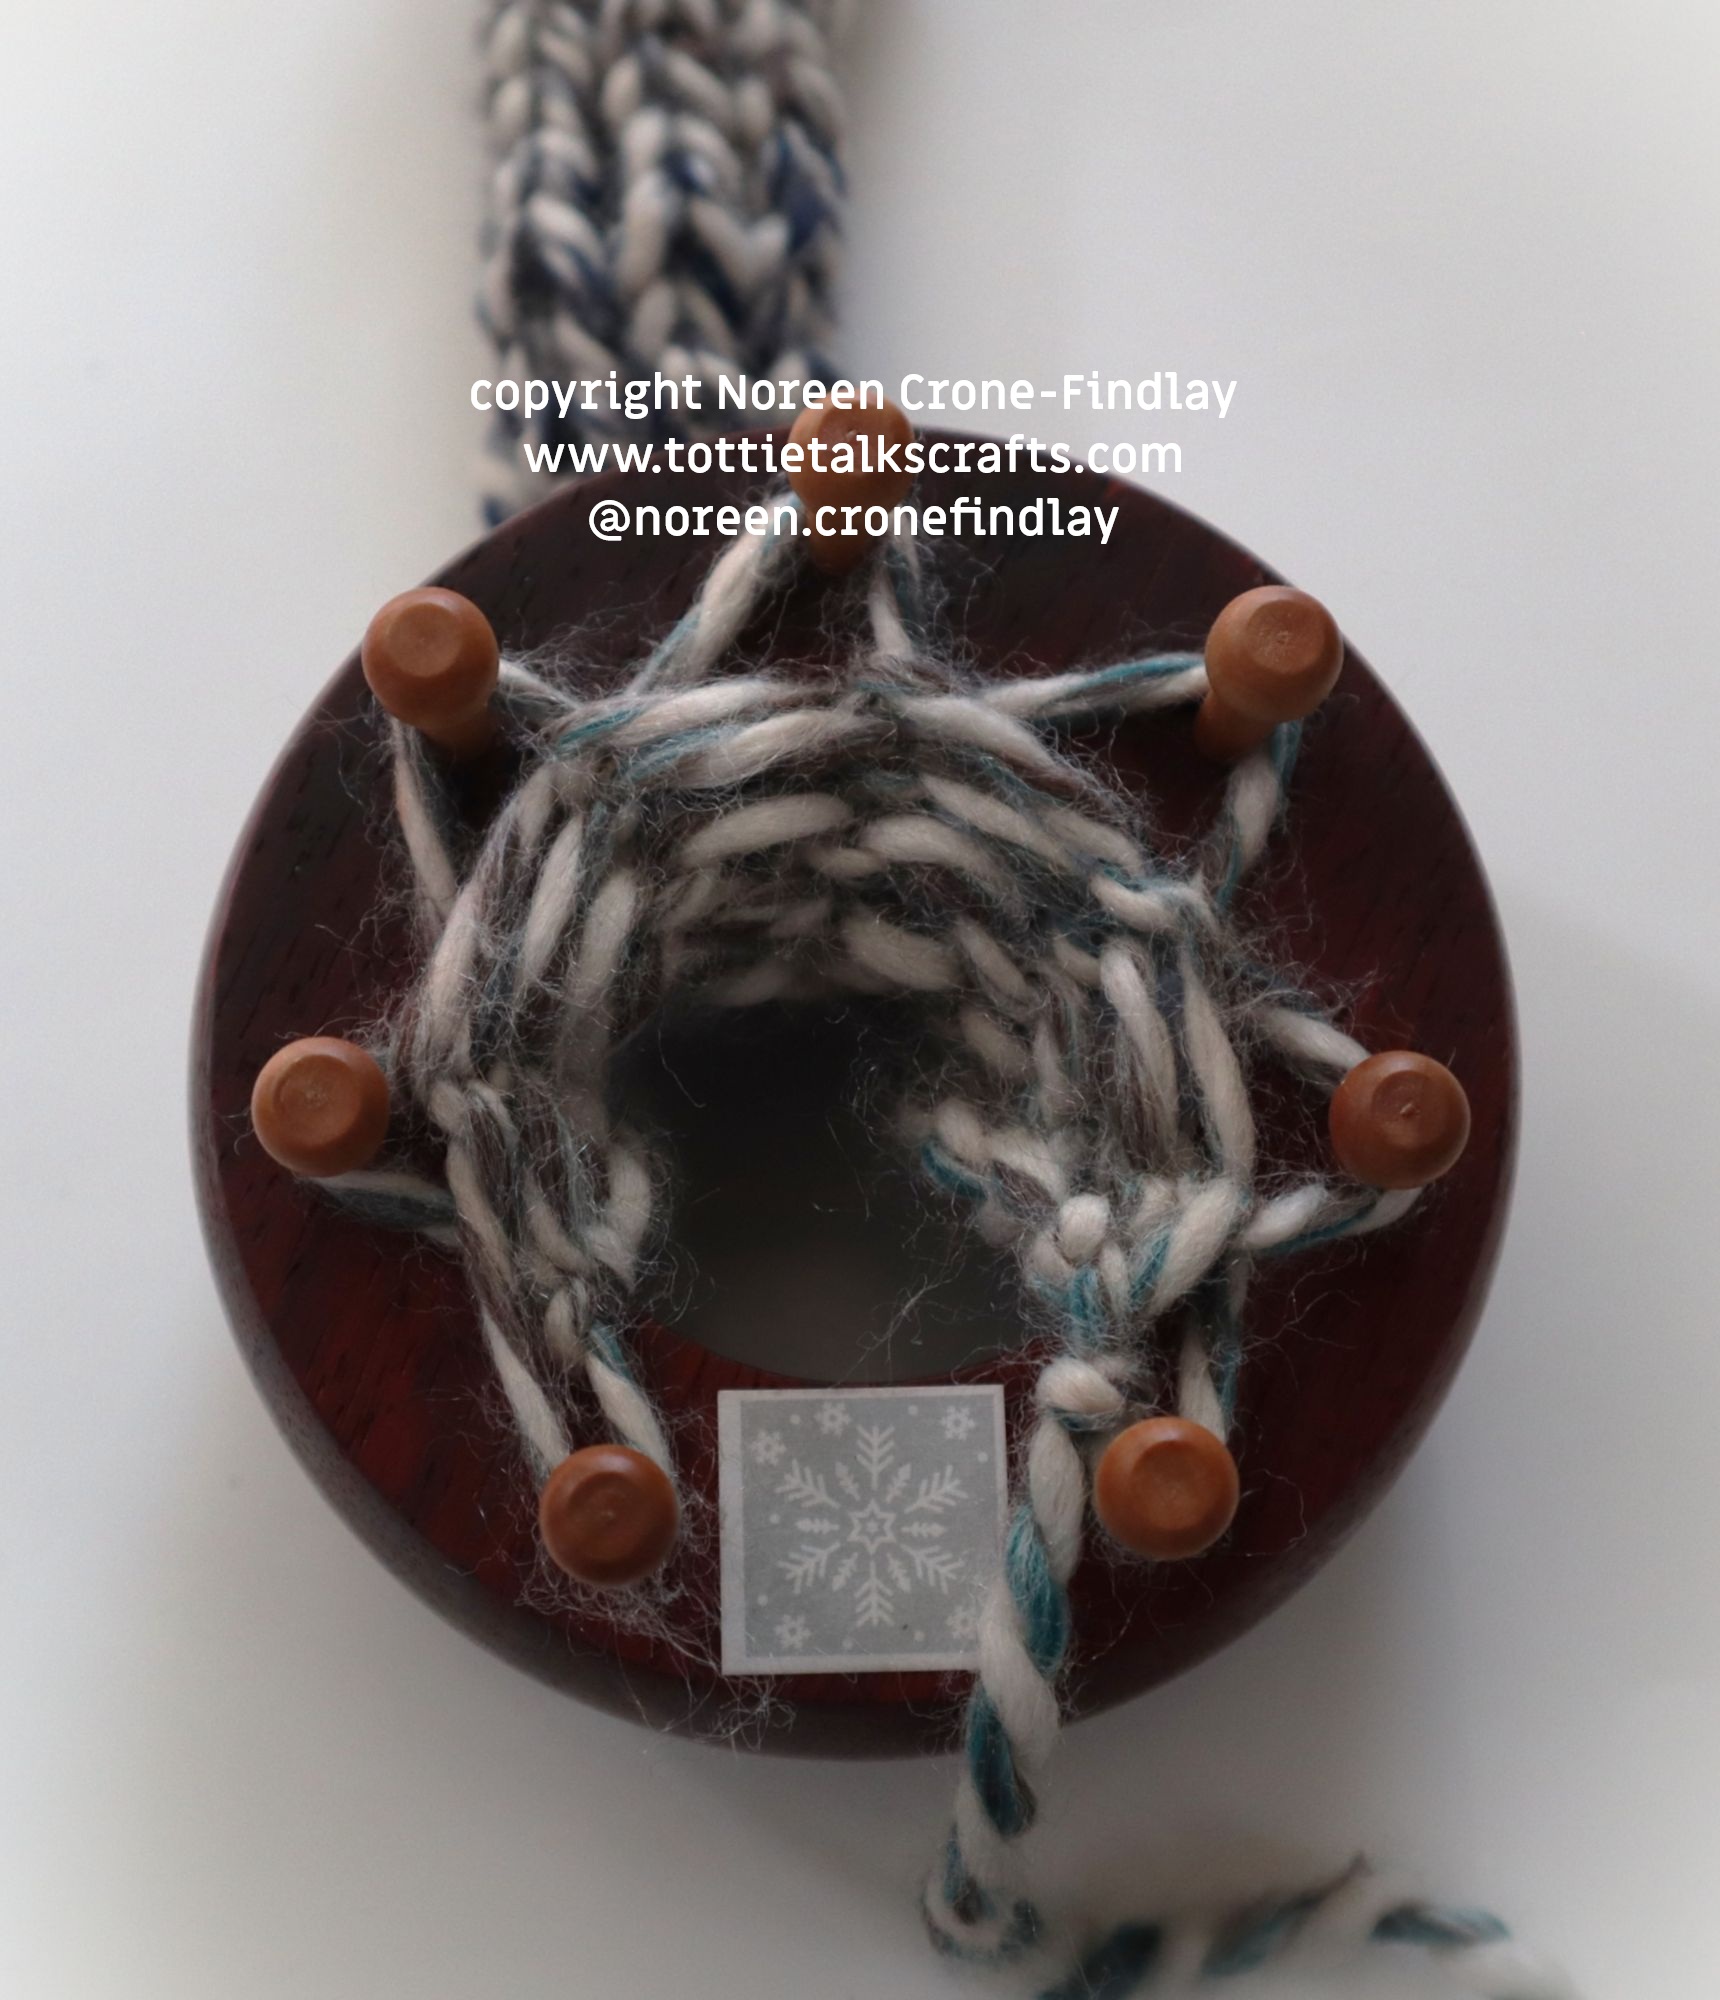
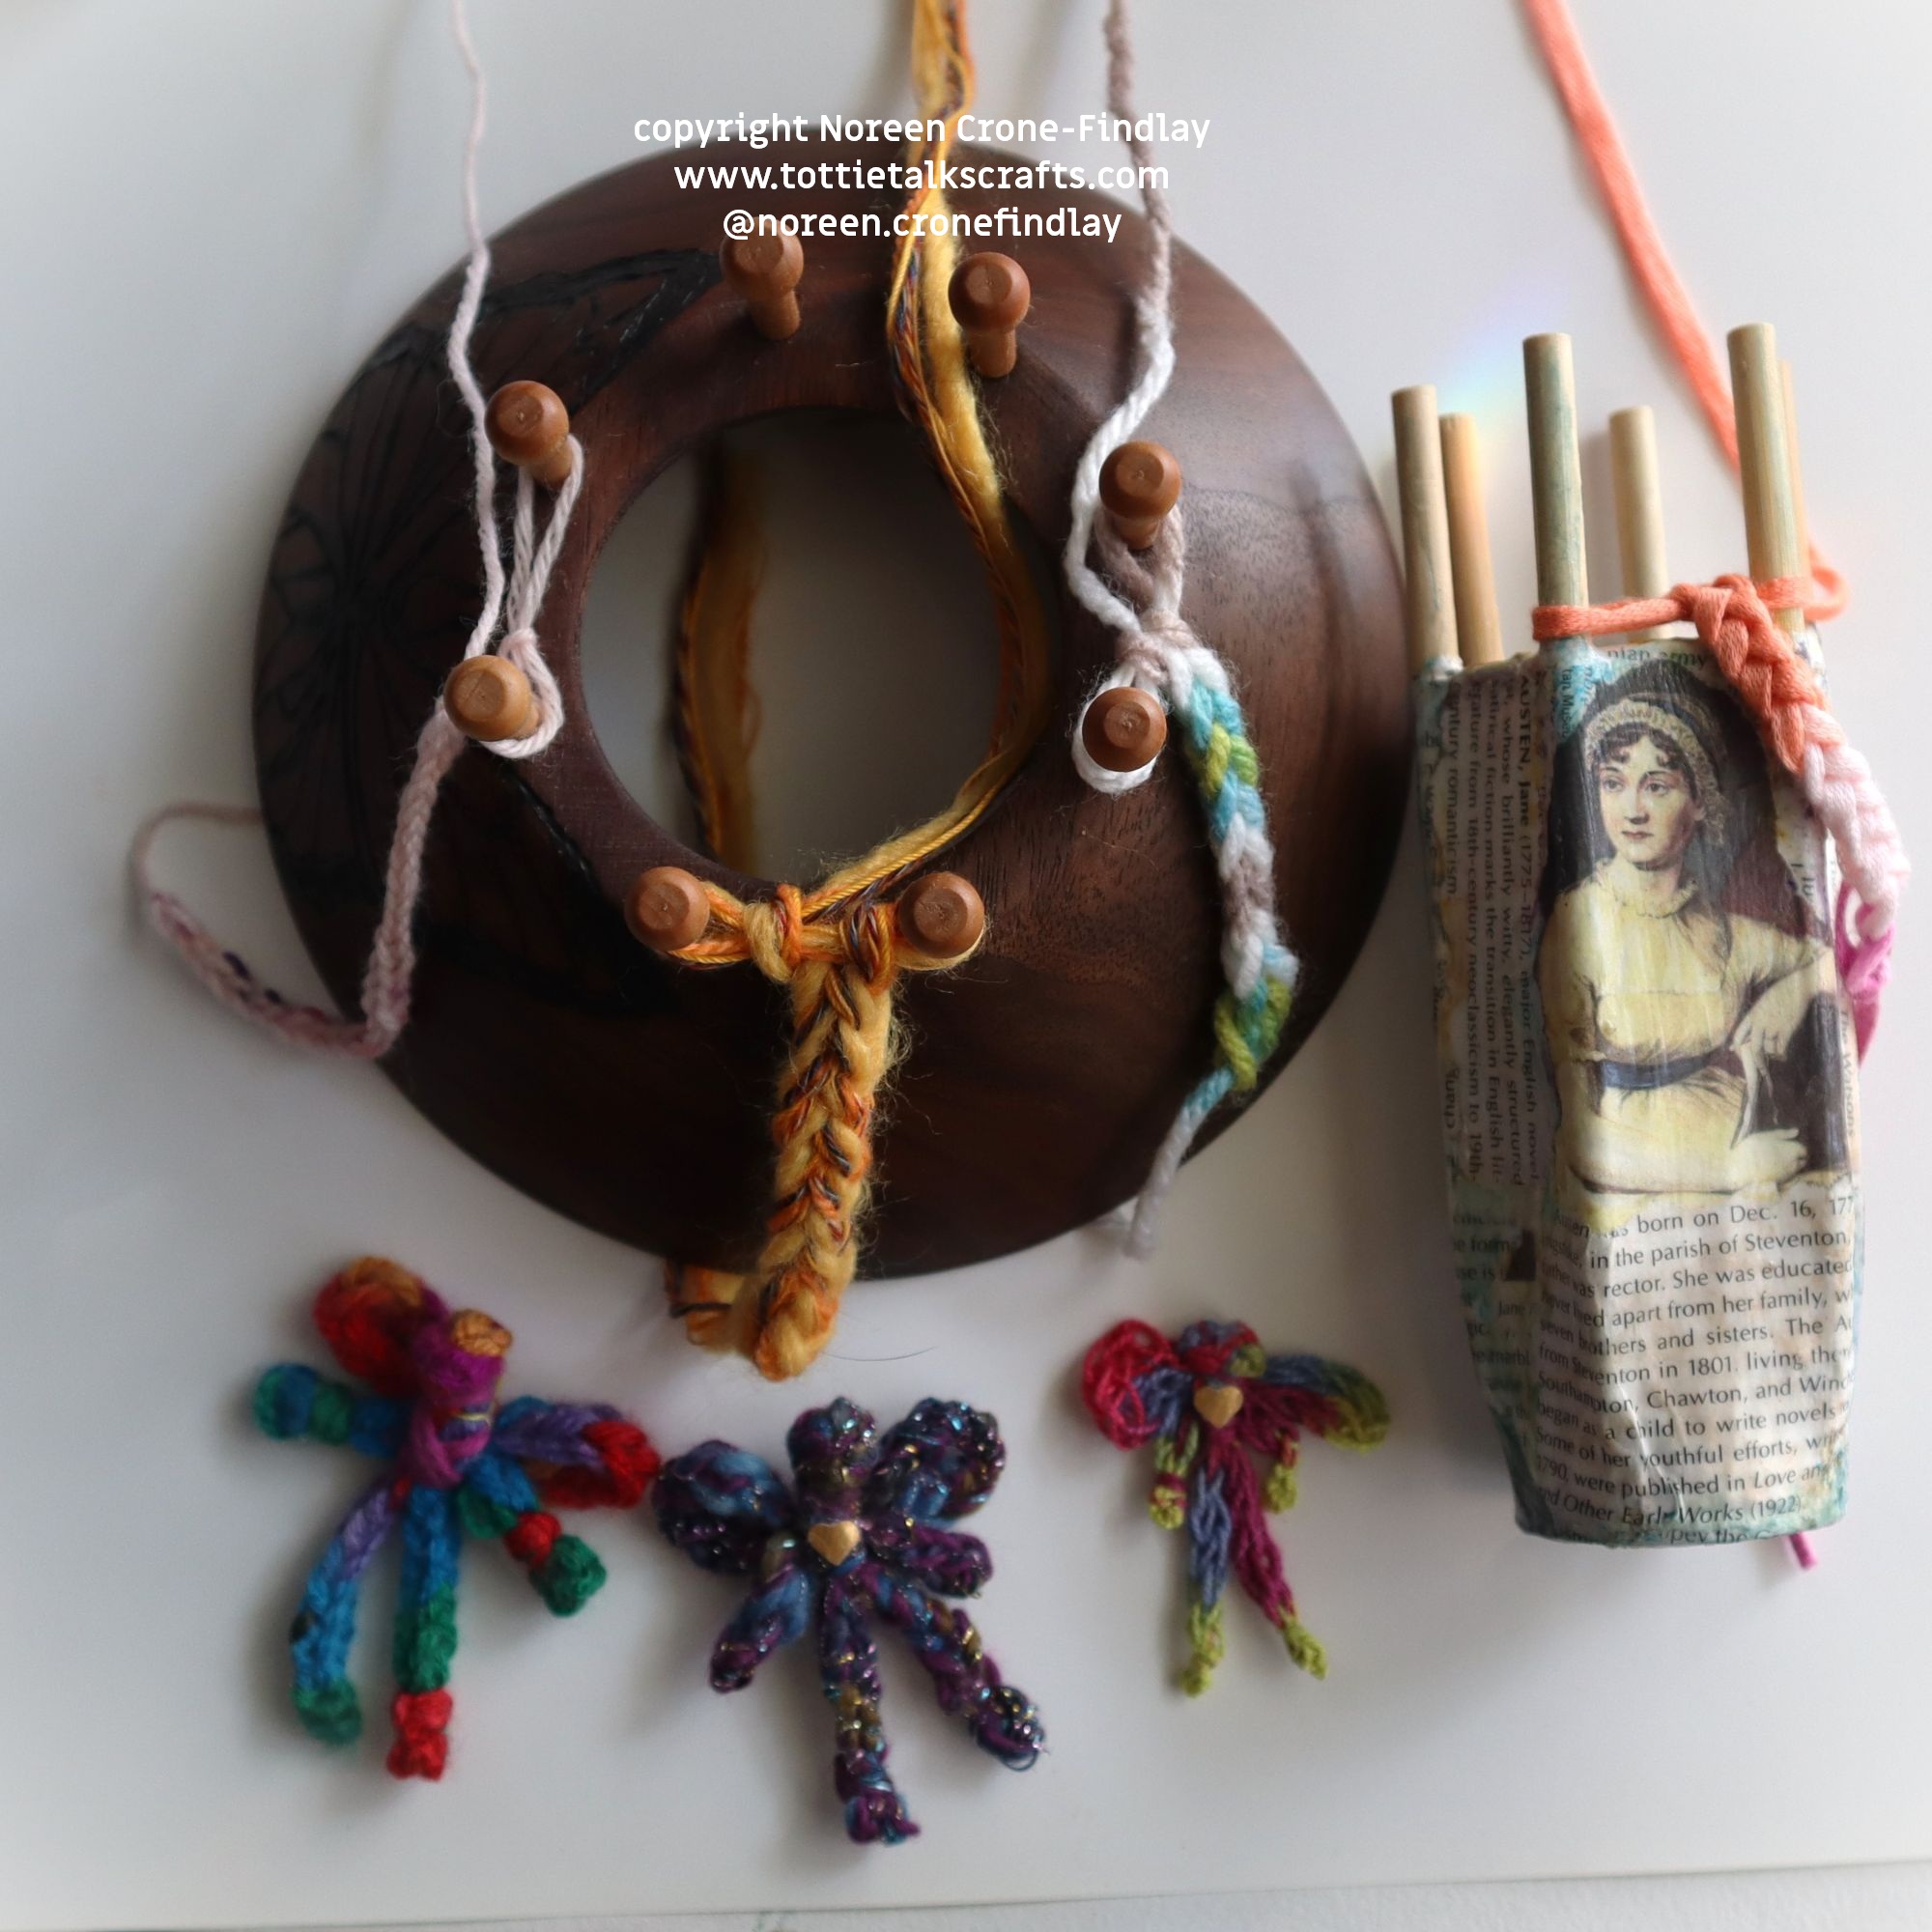
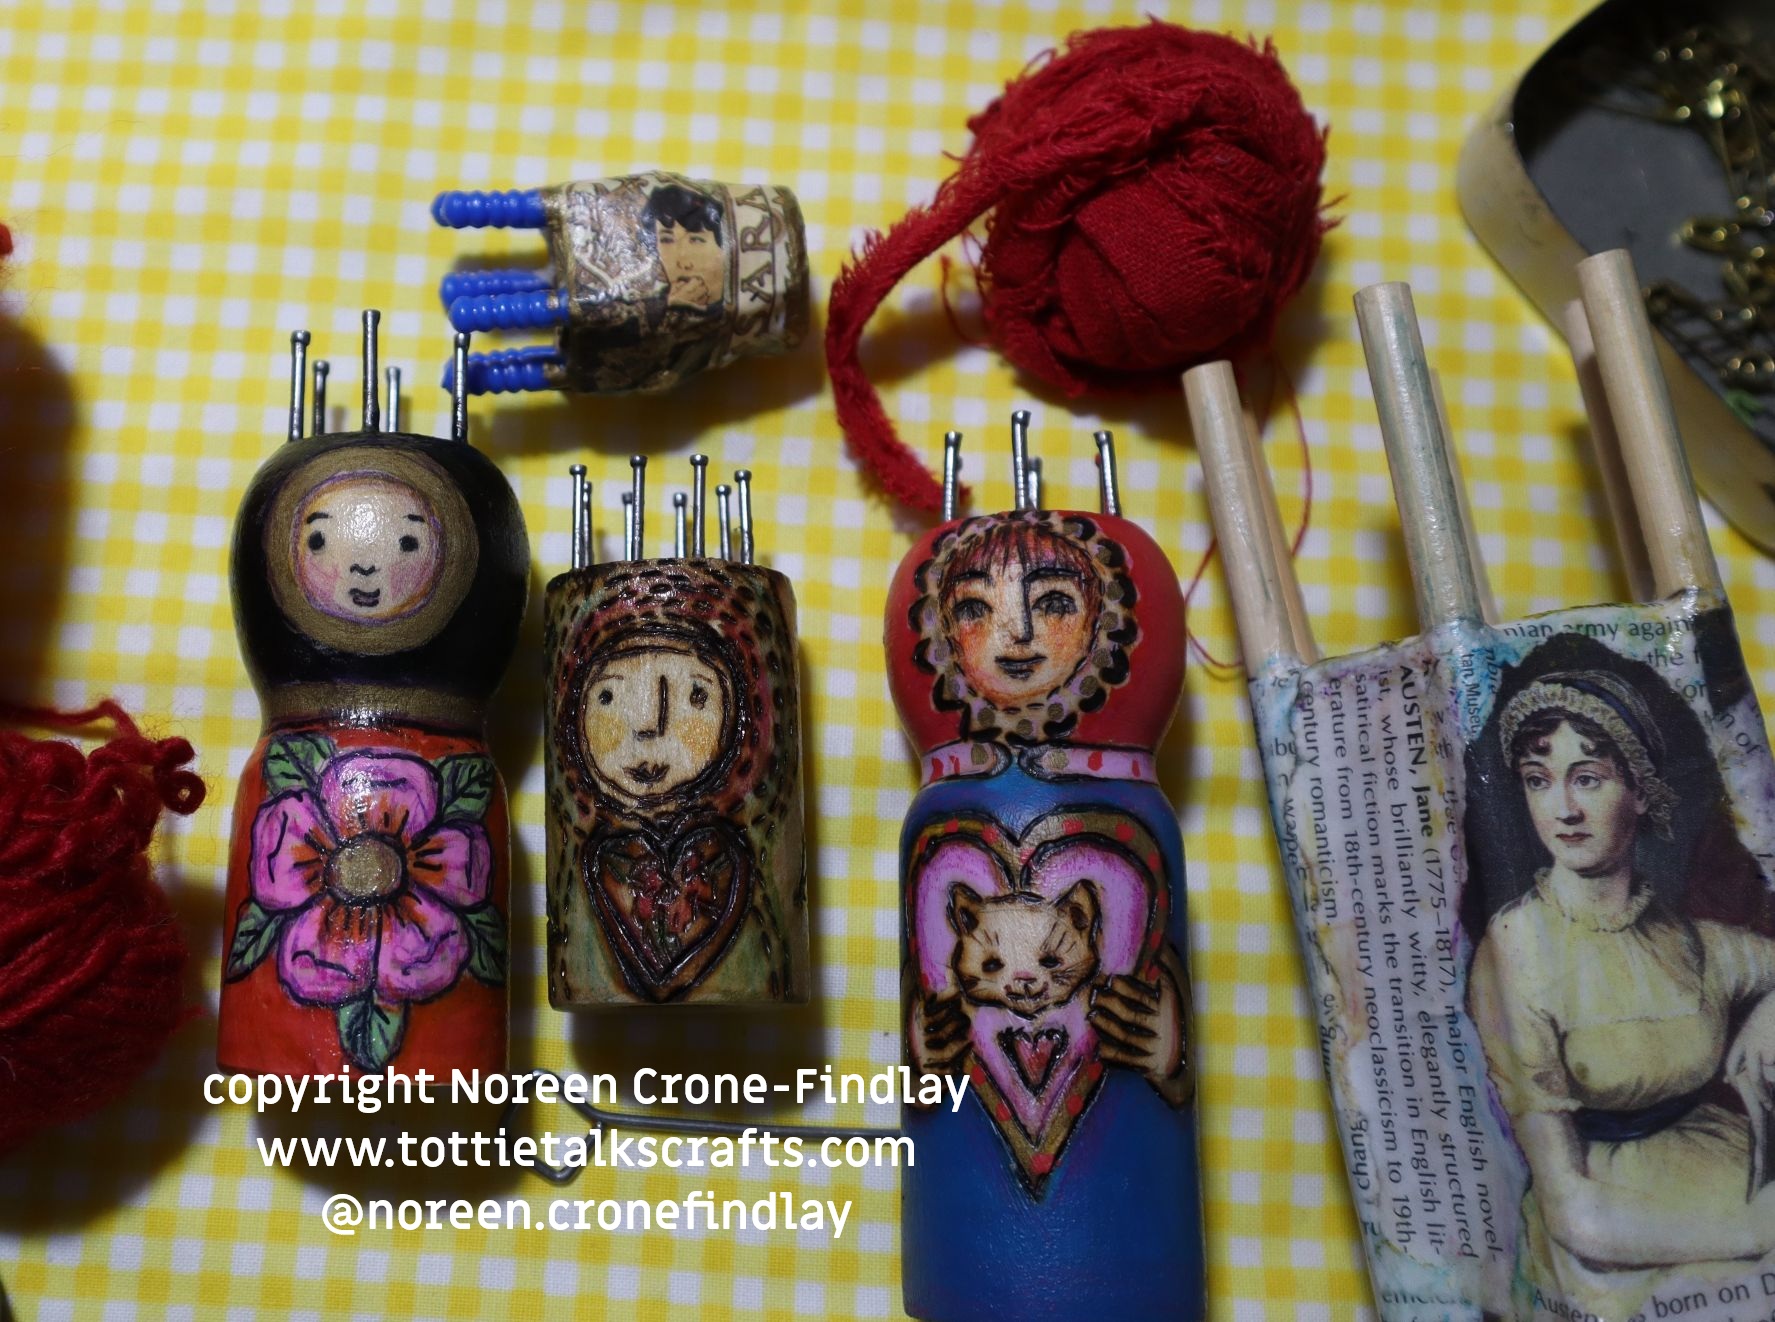
Okay, here’s a video that I made showing how to spool knit an Irresistible Tiny Red Hat with yarn or fabric strips if you can’t find red yarn. Previously, I have made video tutorials on how to spool knit in the round, as well as flat panels and also how to spool knit with fabric strips. All the links to the tutorials and so much more are at my blog tottietalkscrafts dot com.