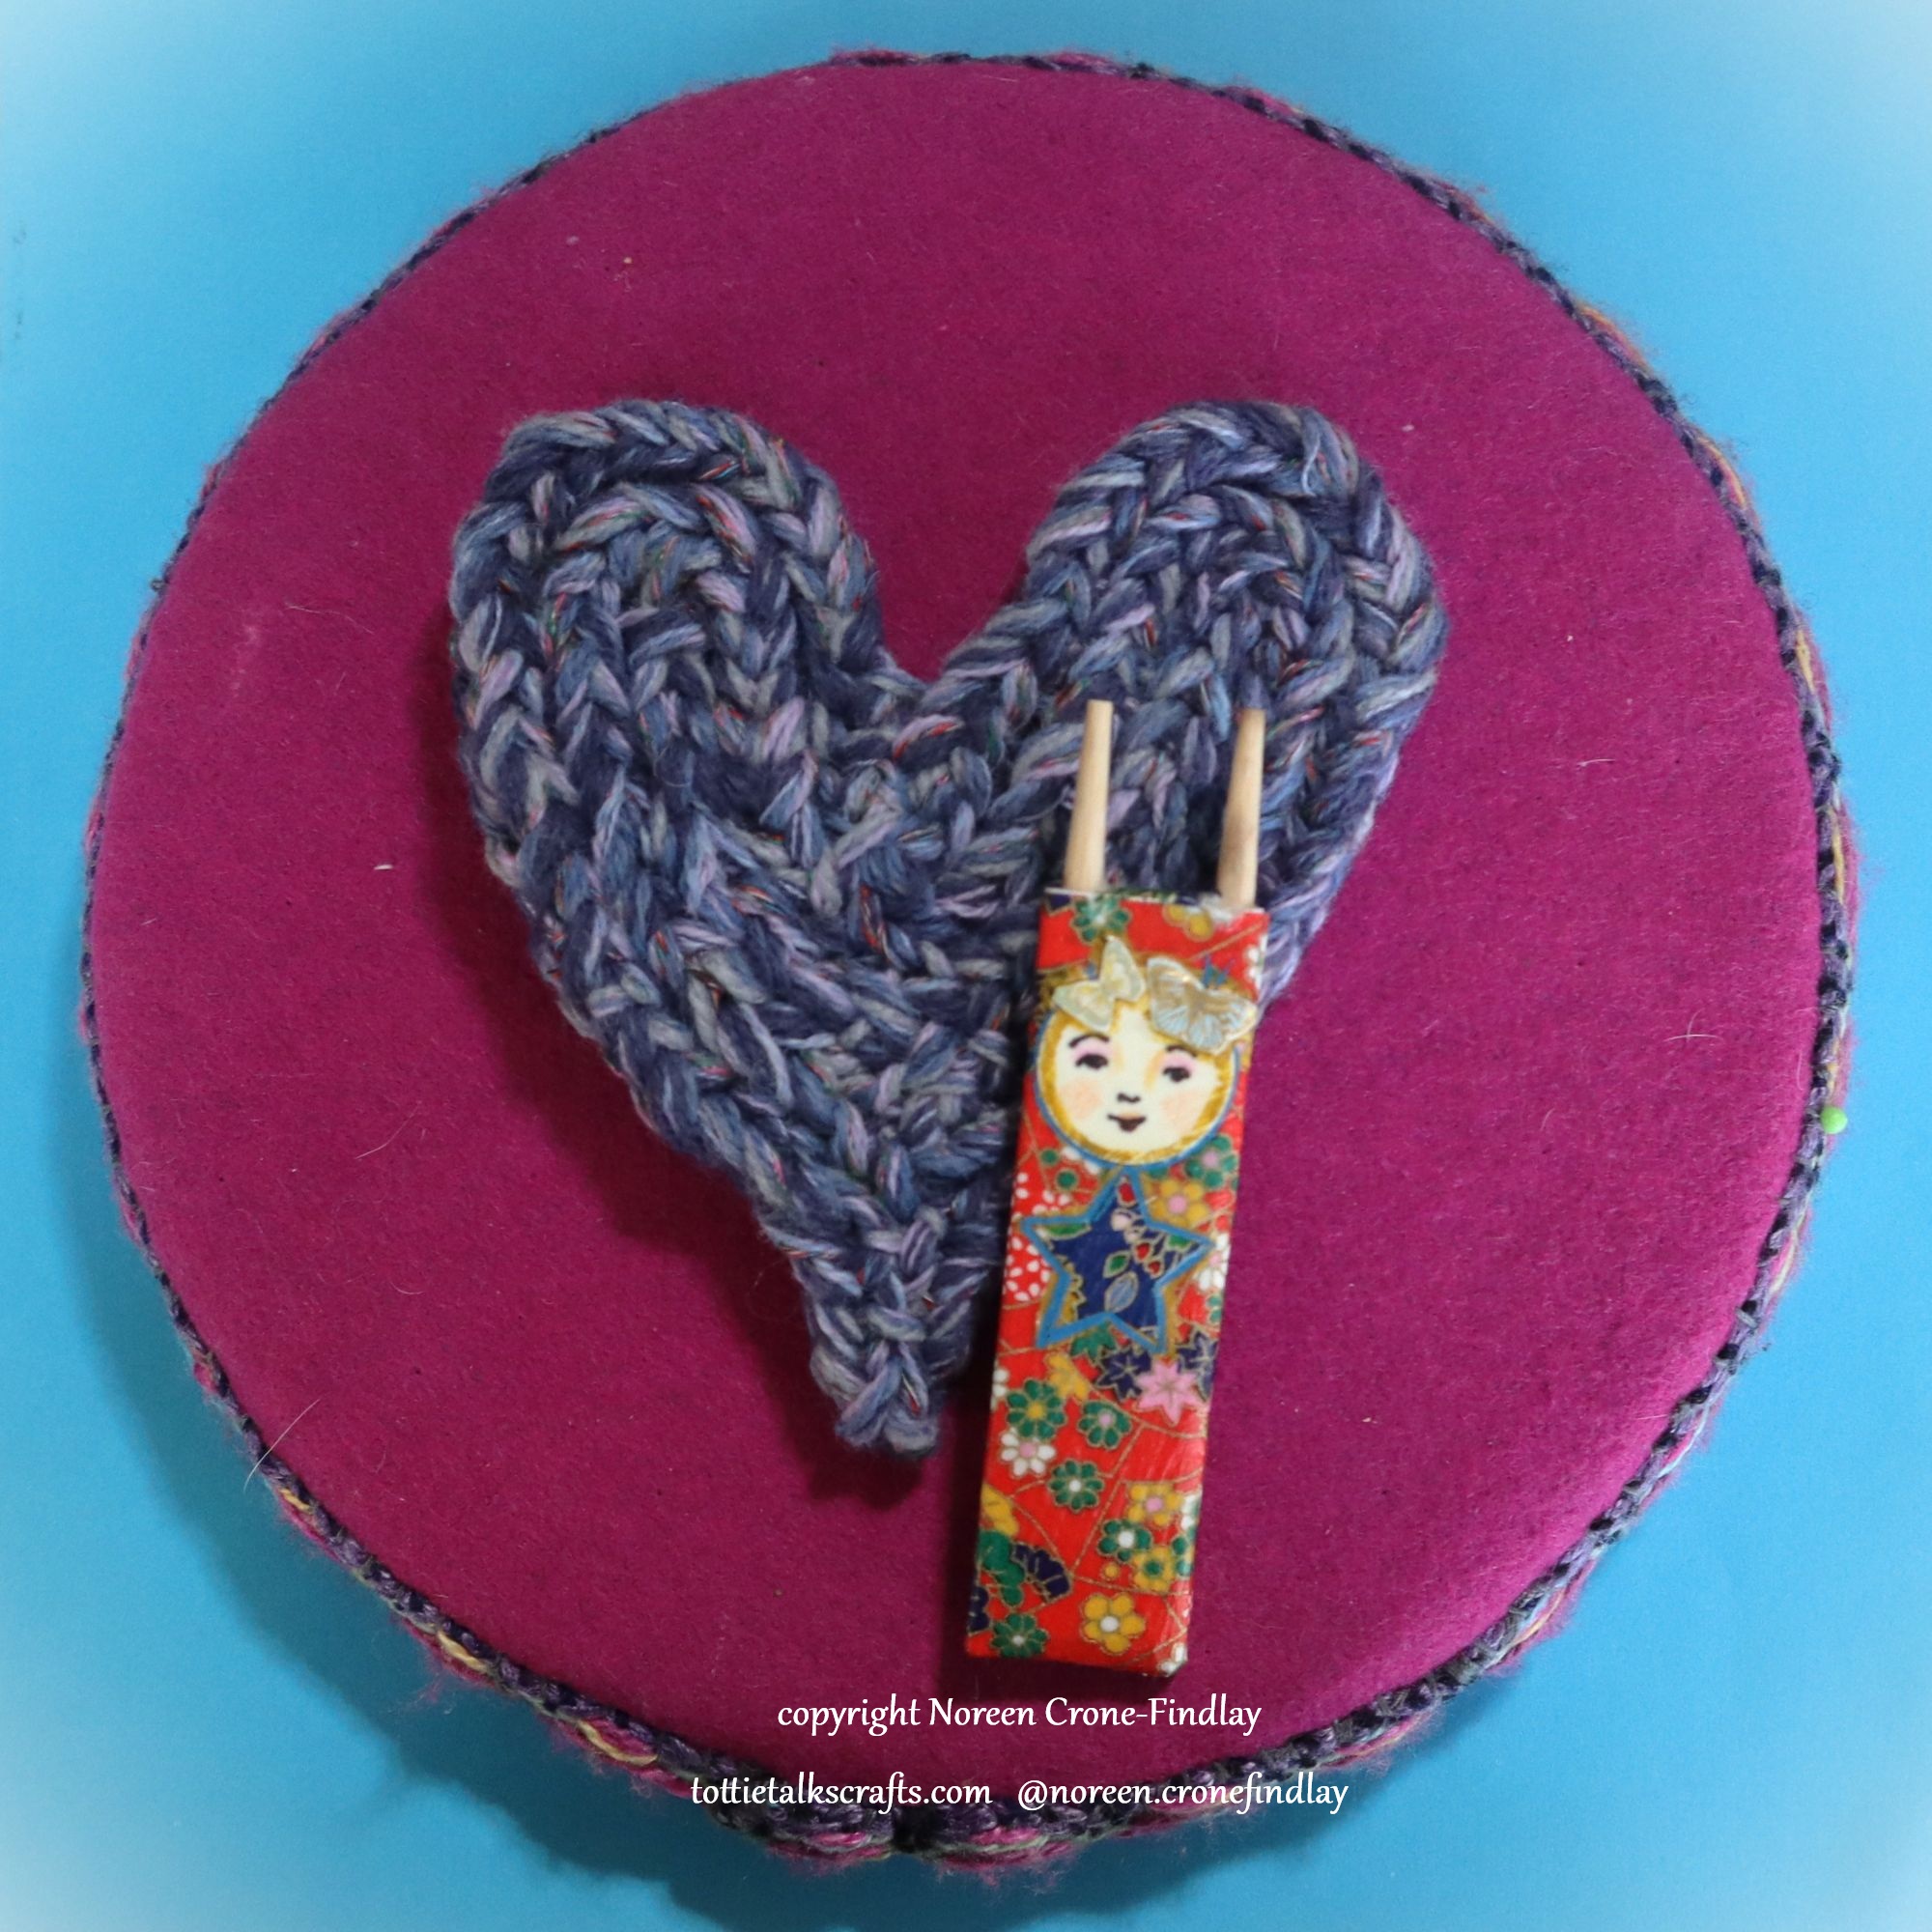
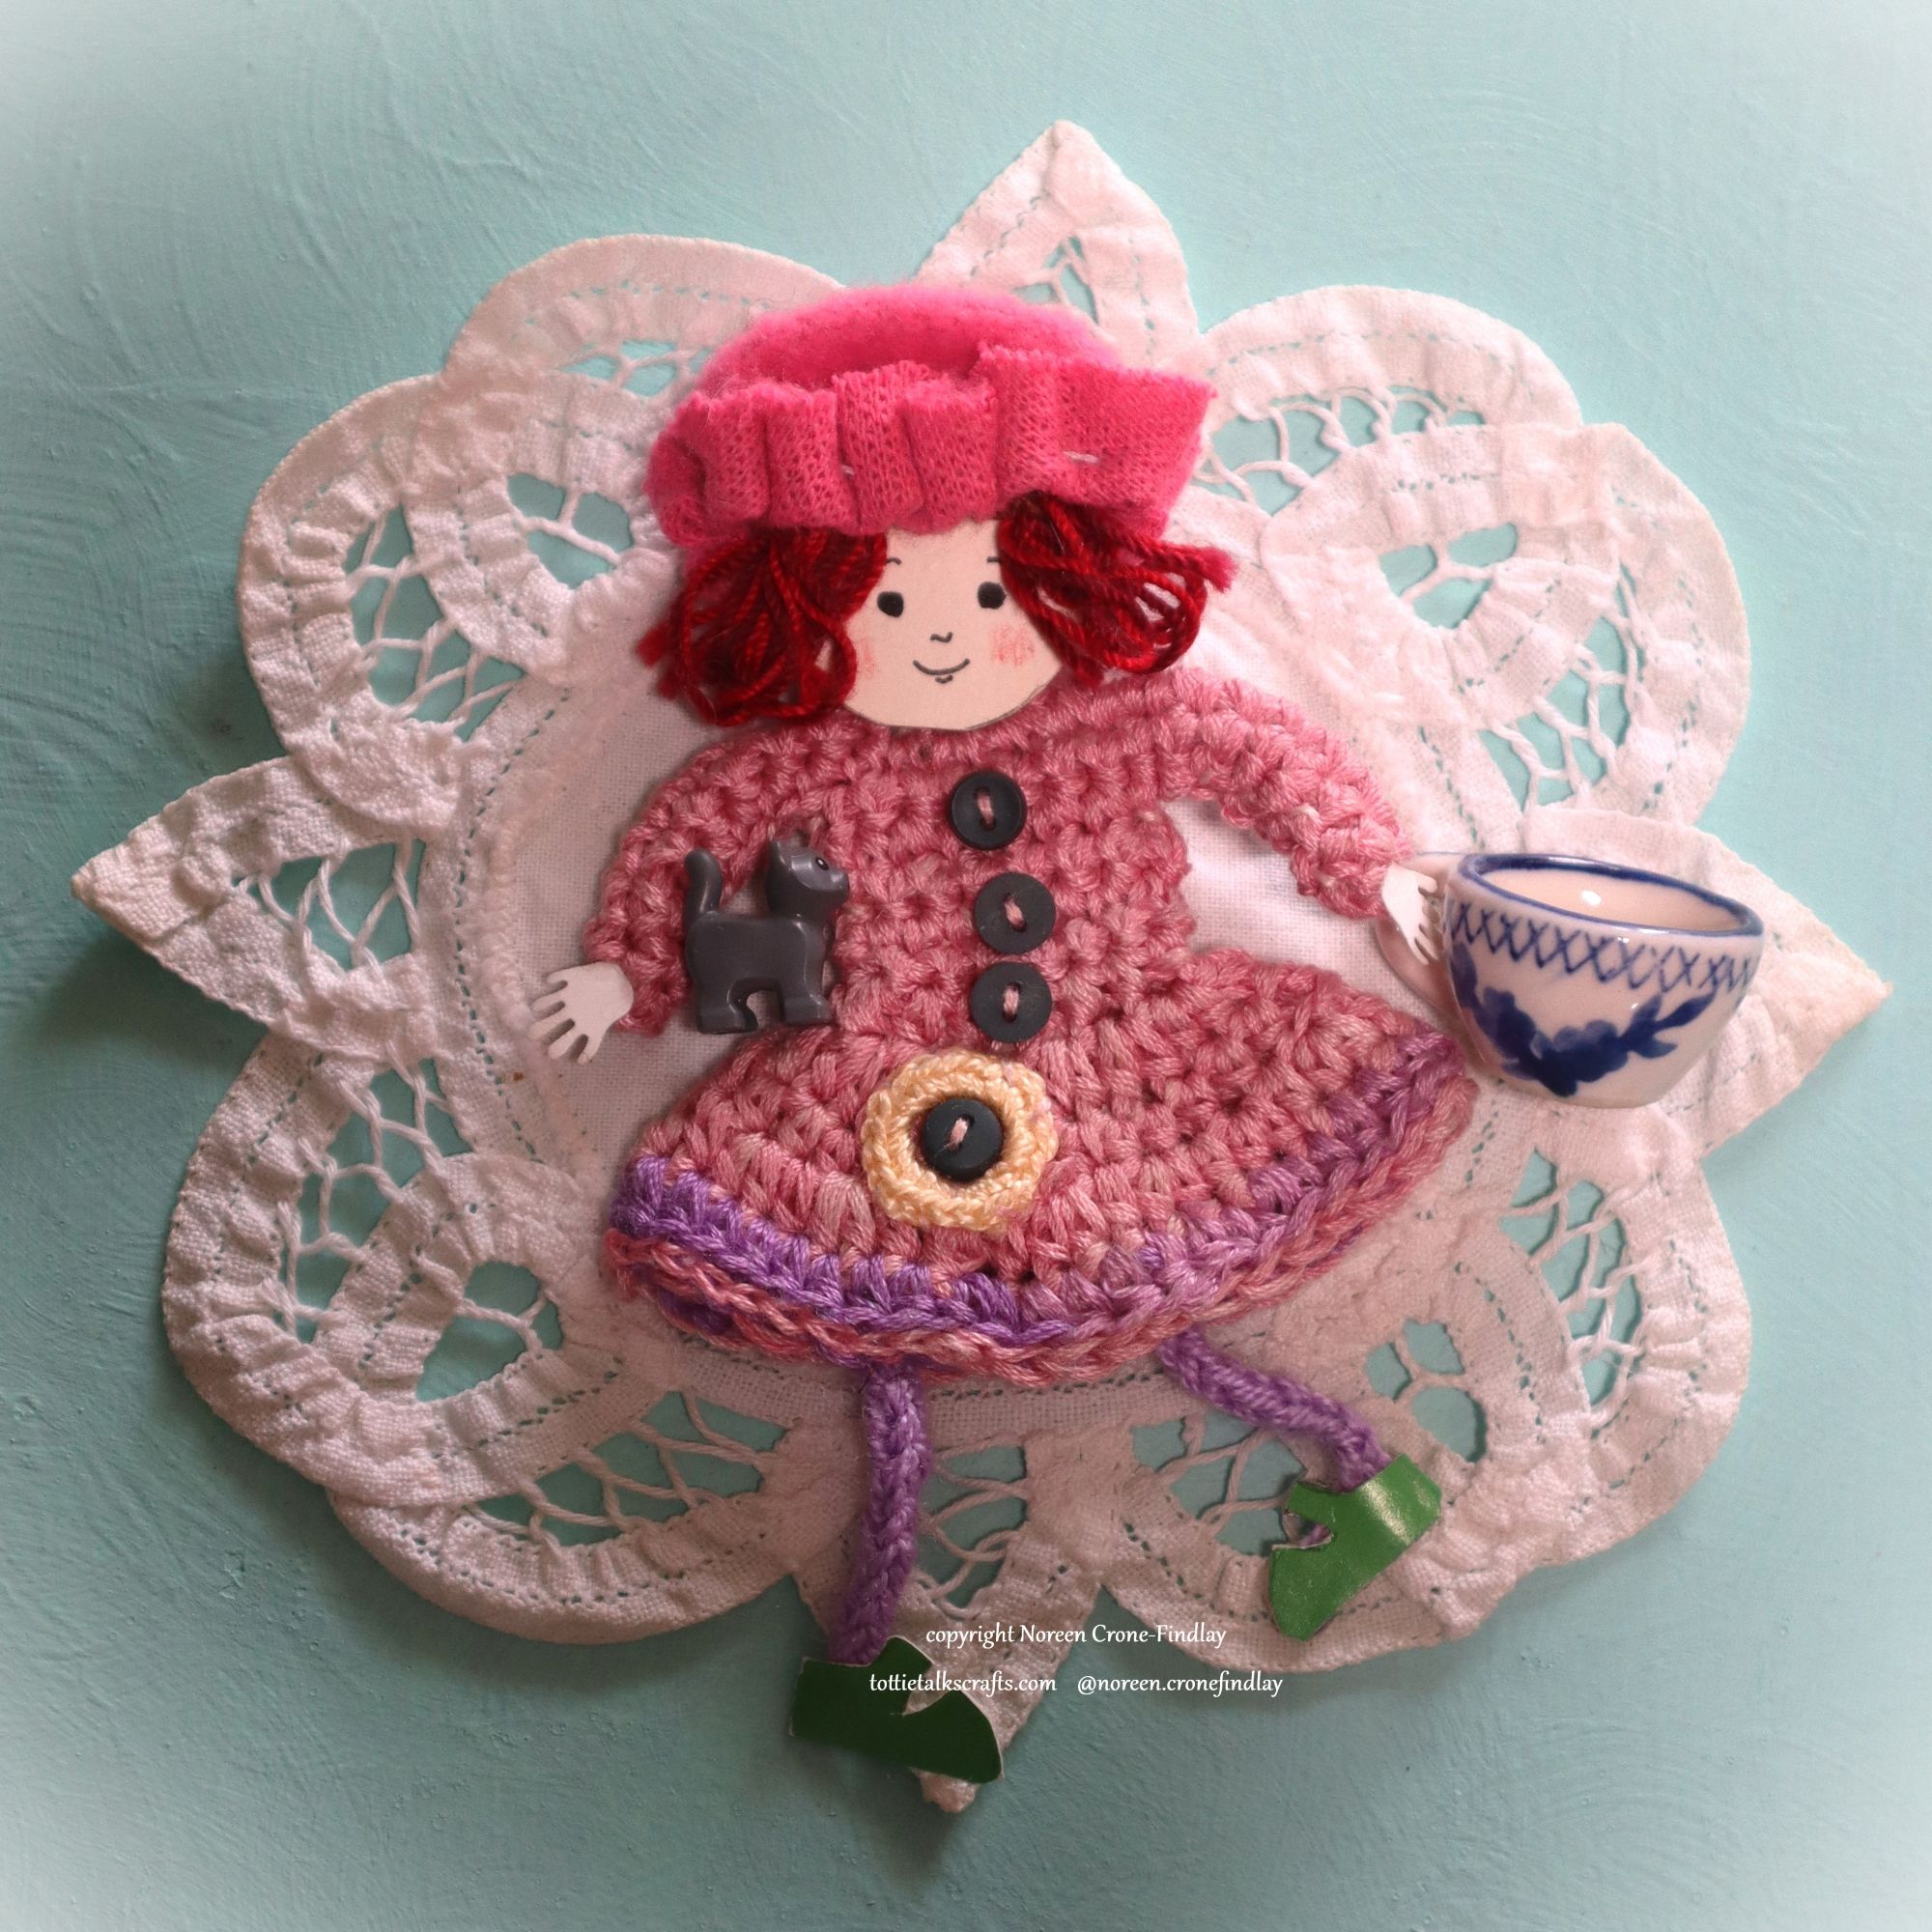
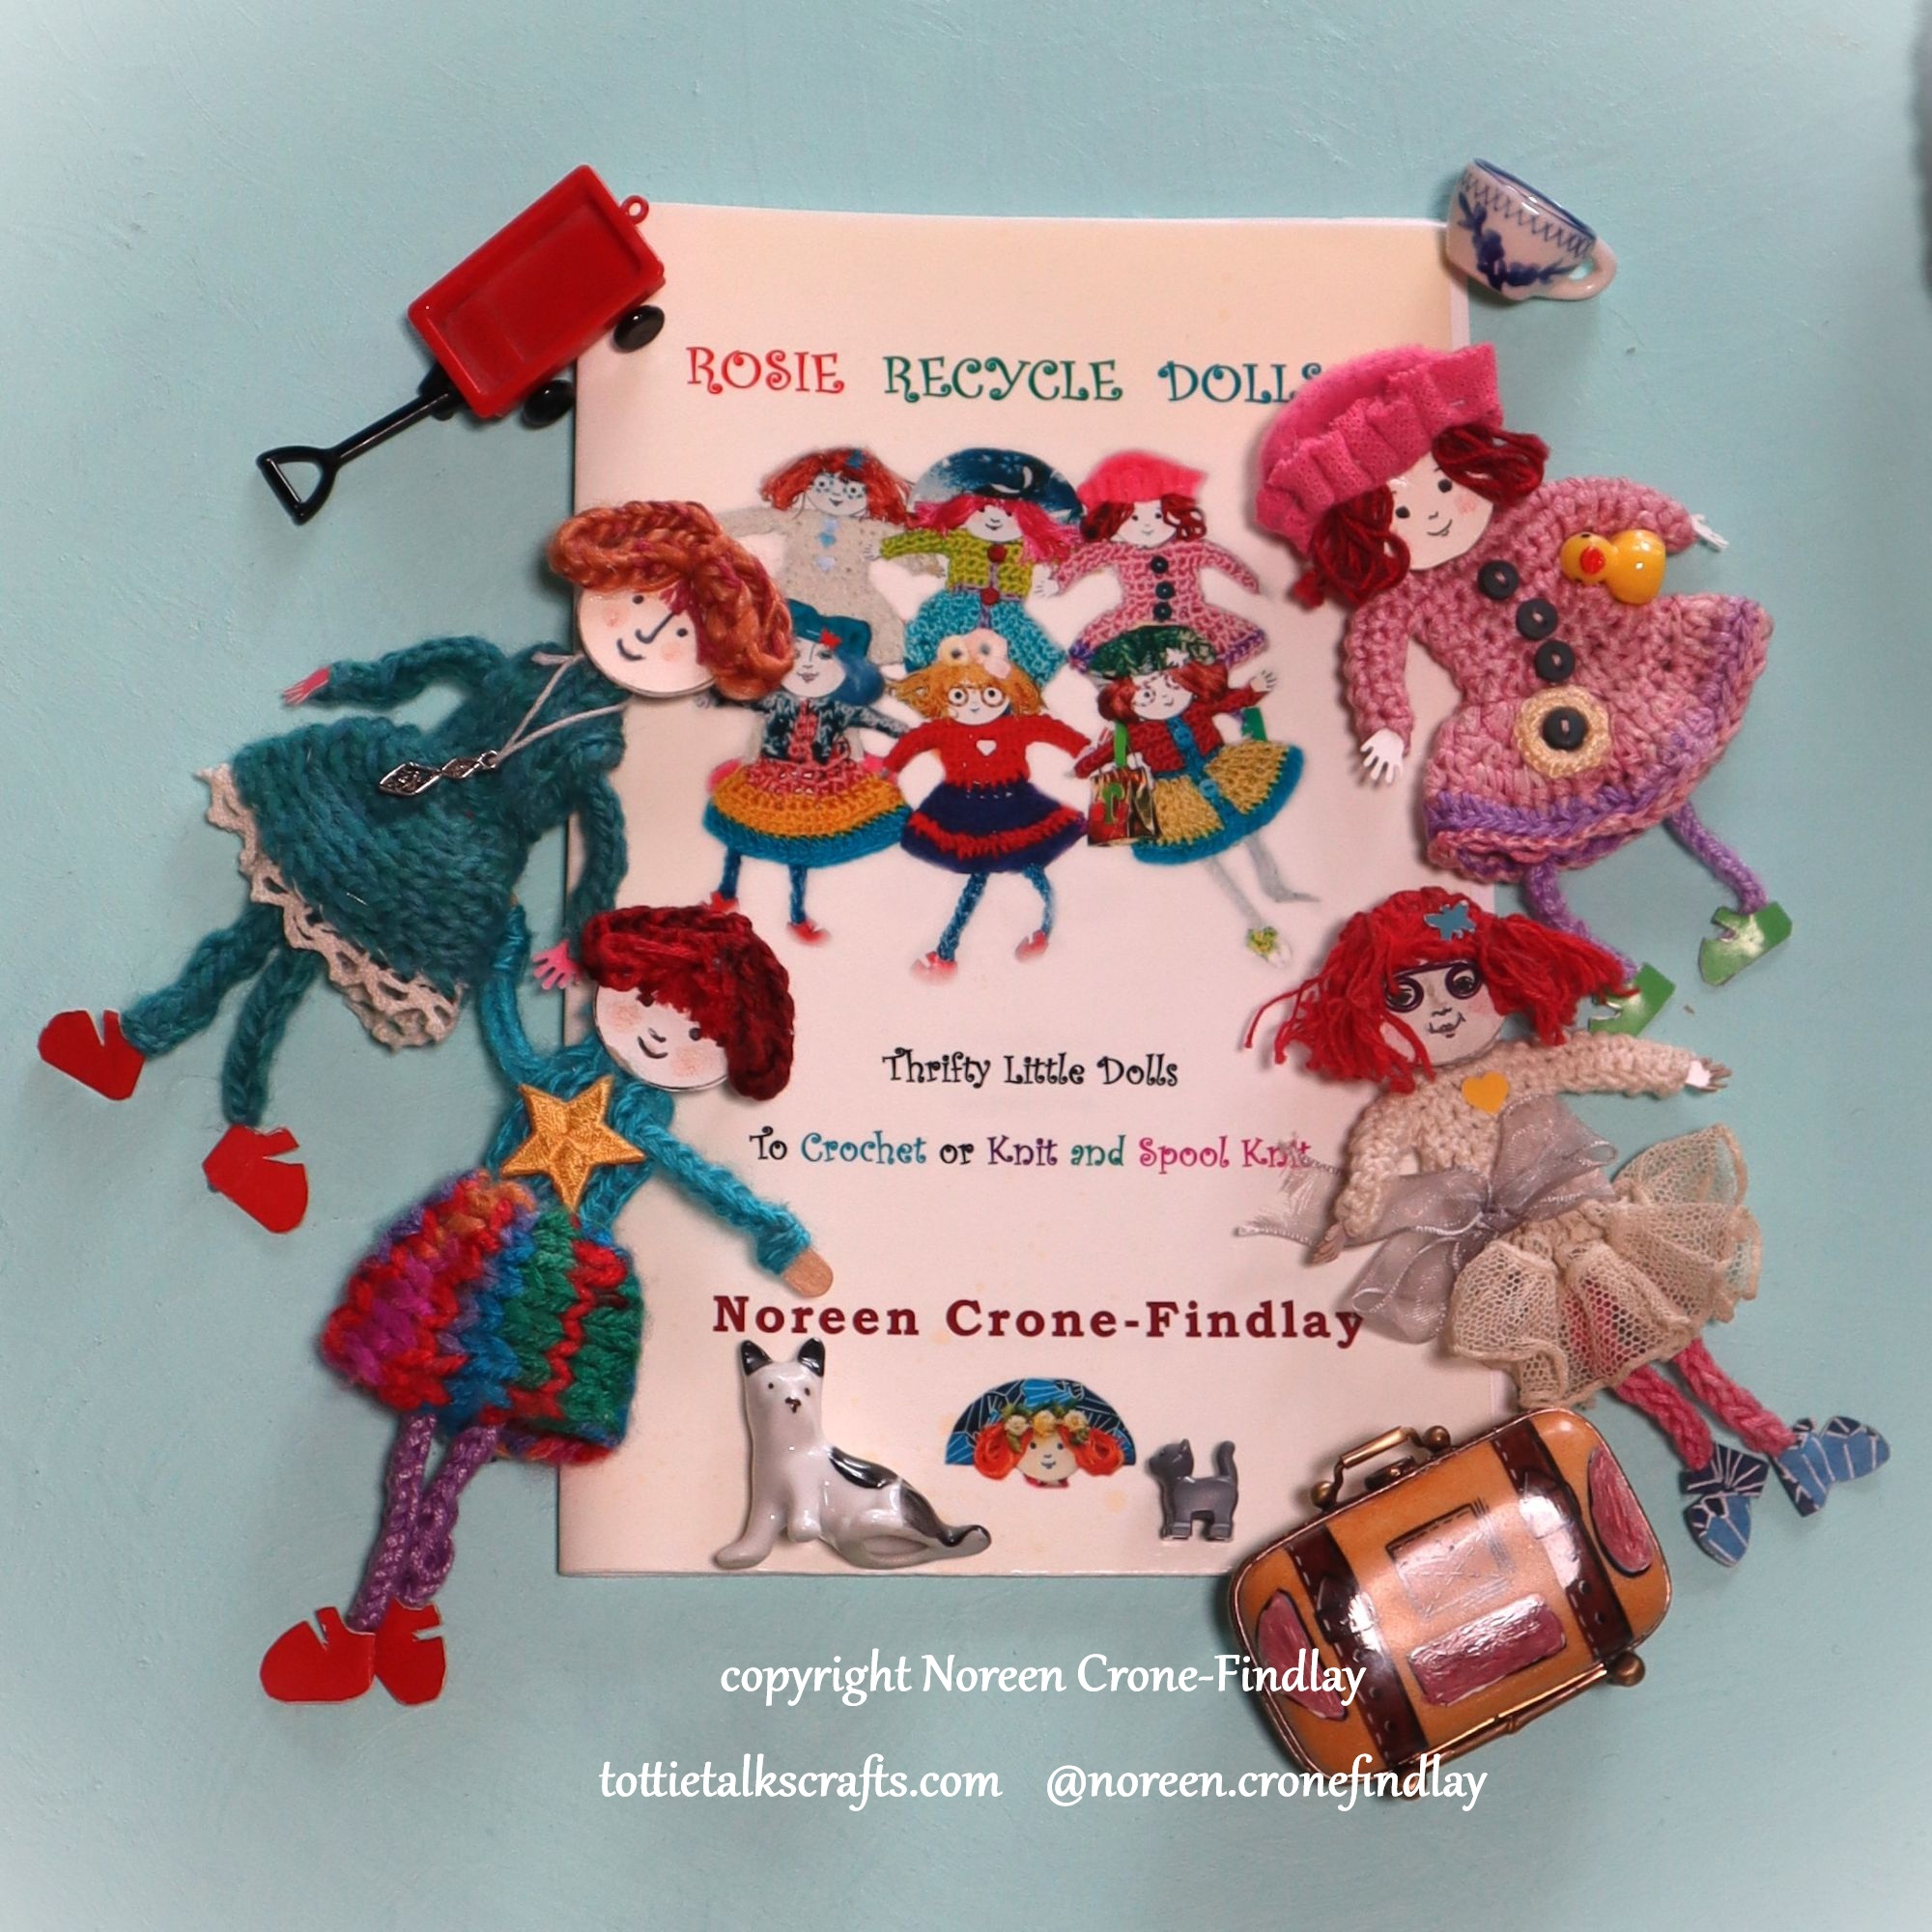
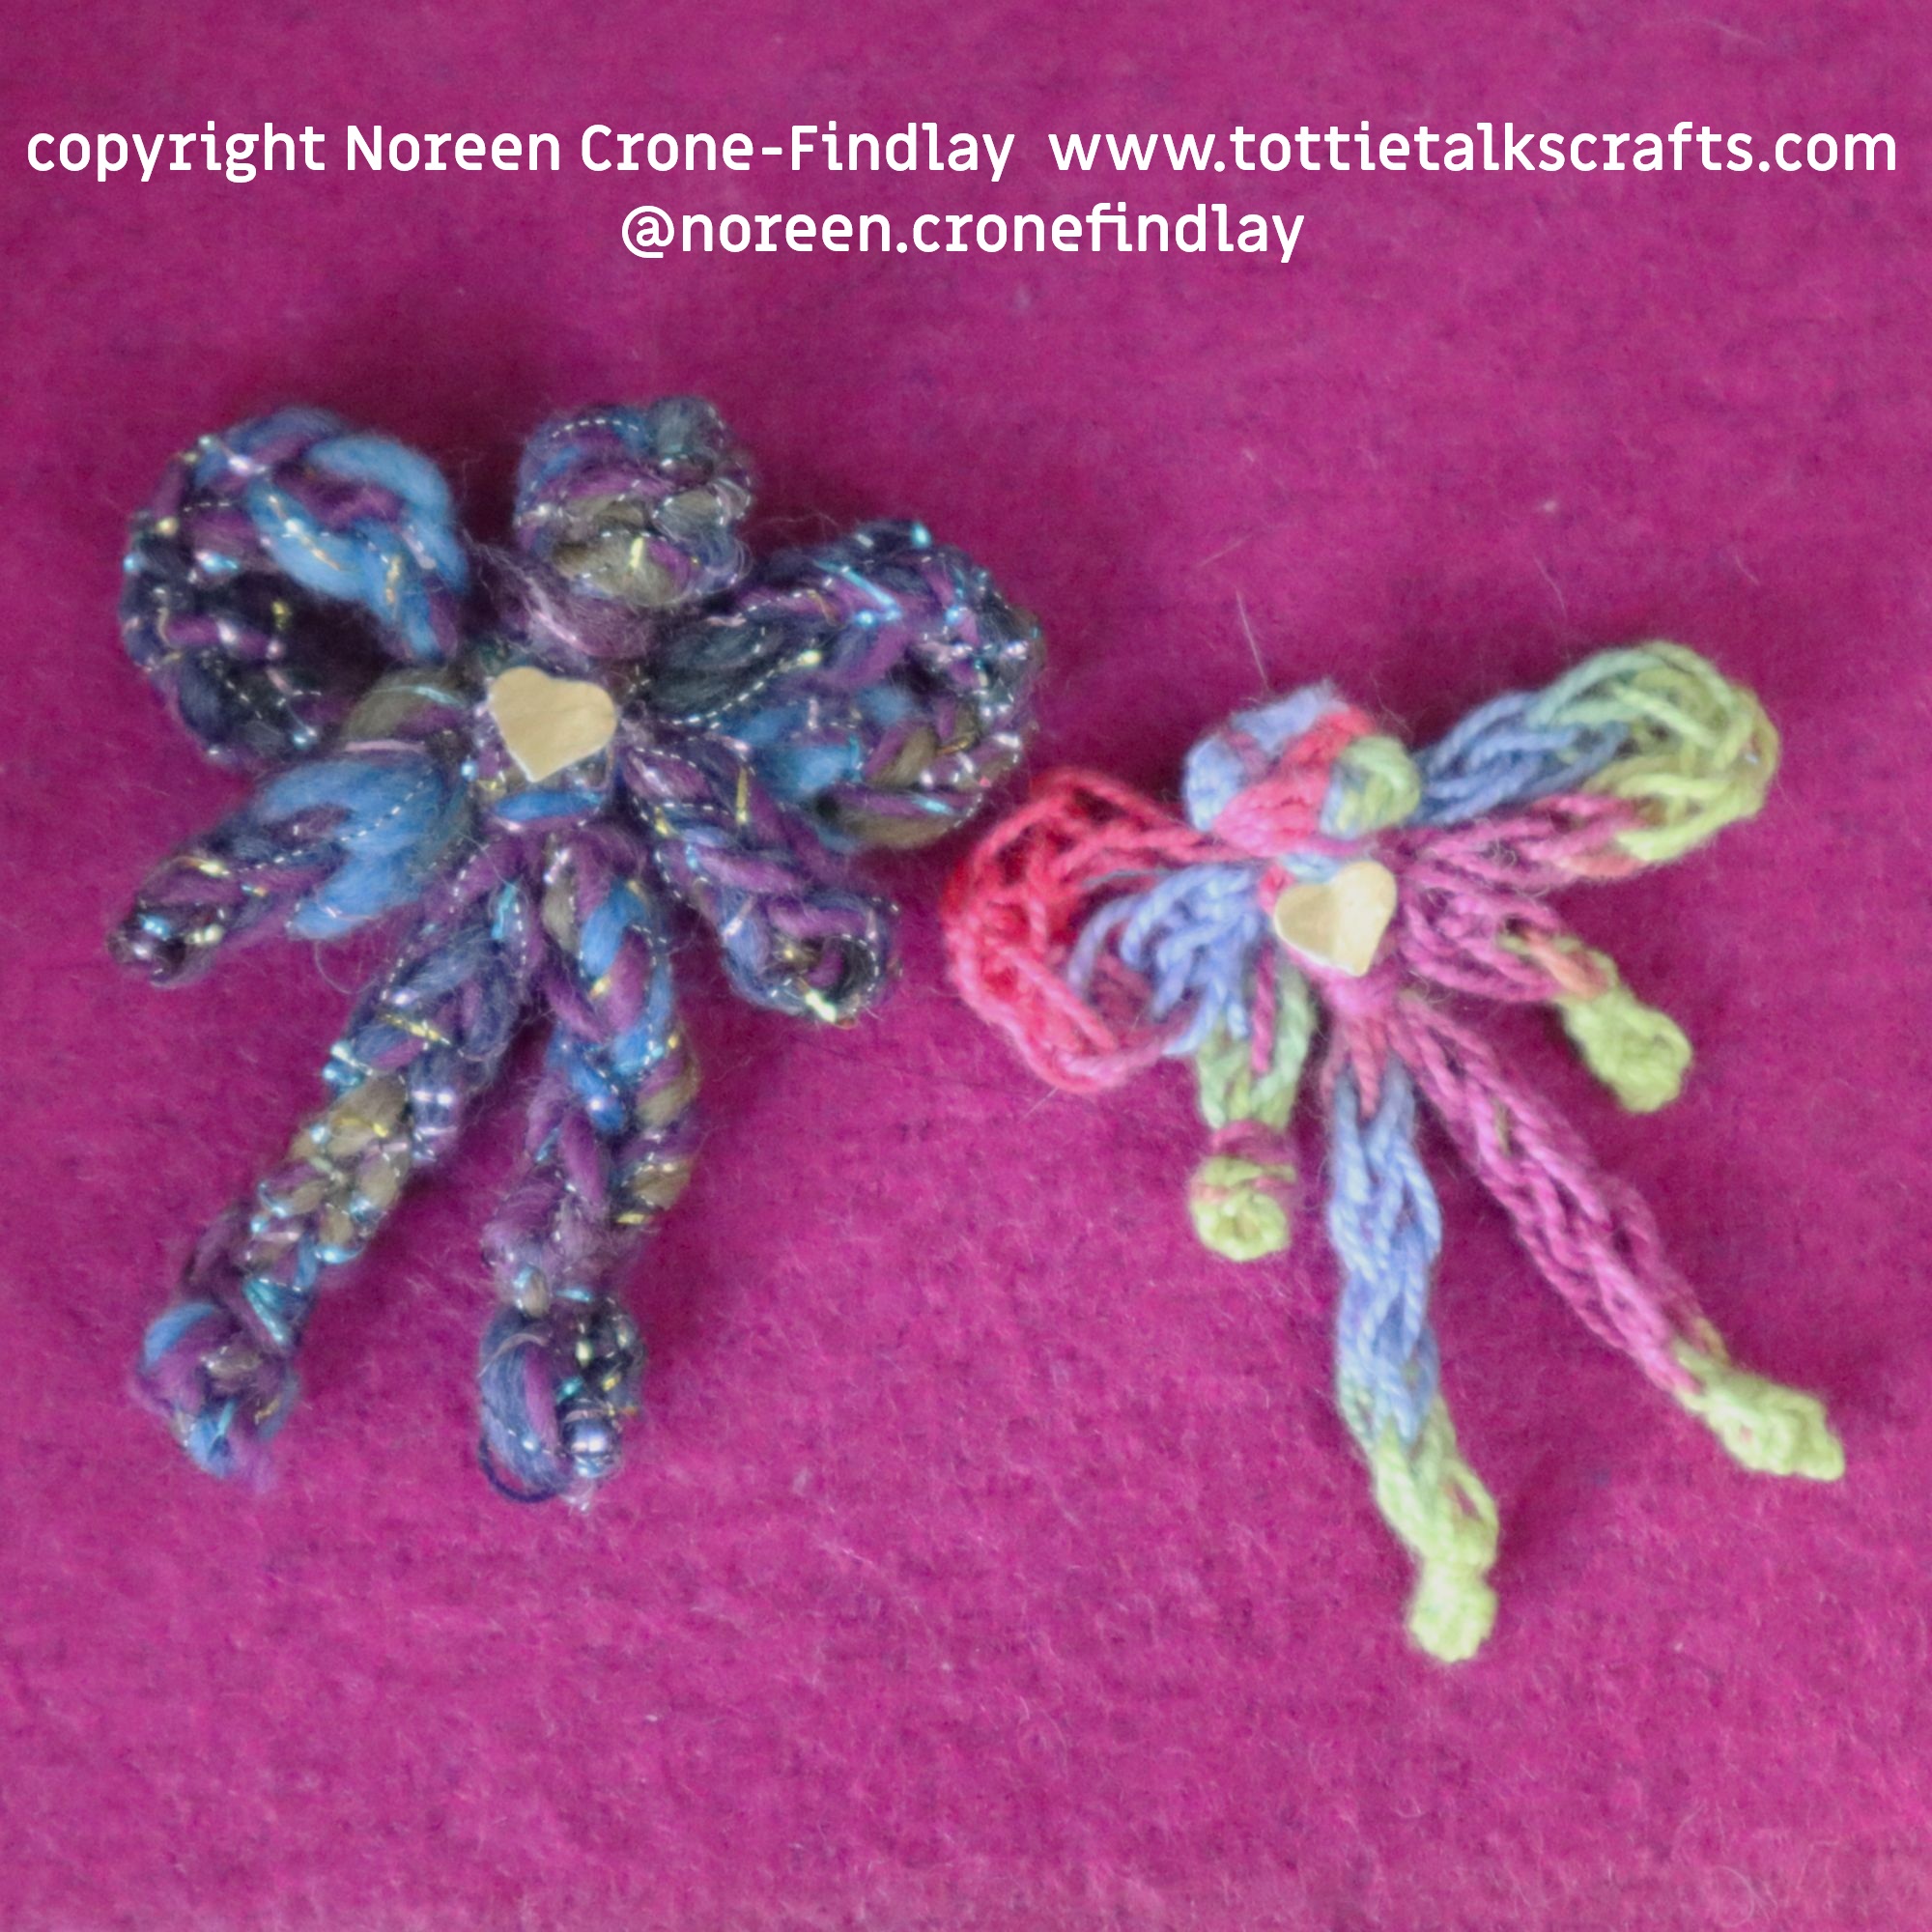
Day 72 of #100daysofspoolknittersandlittlelooms- I have always loved making dolls.
I am a dyed in the wool upcycler, so using upcycled things in my doll making is really important to me.
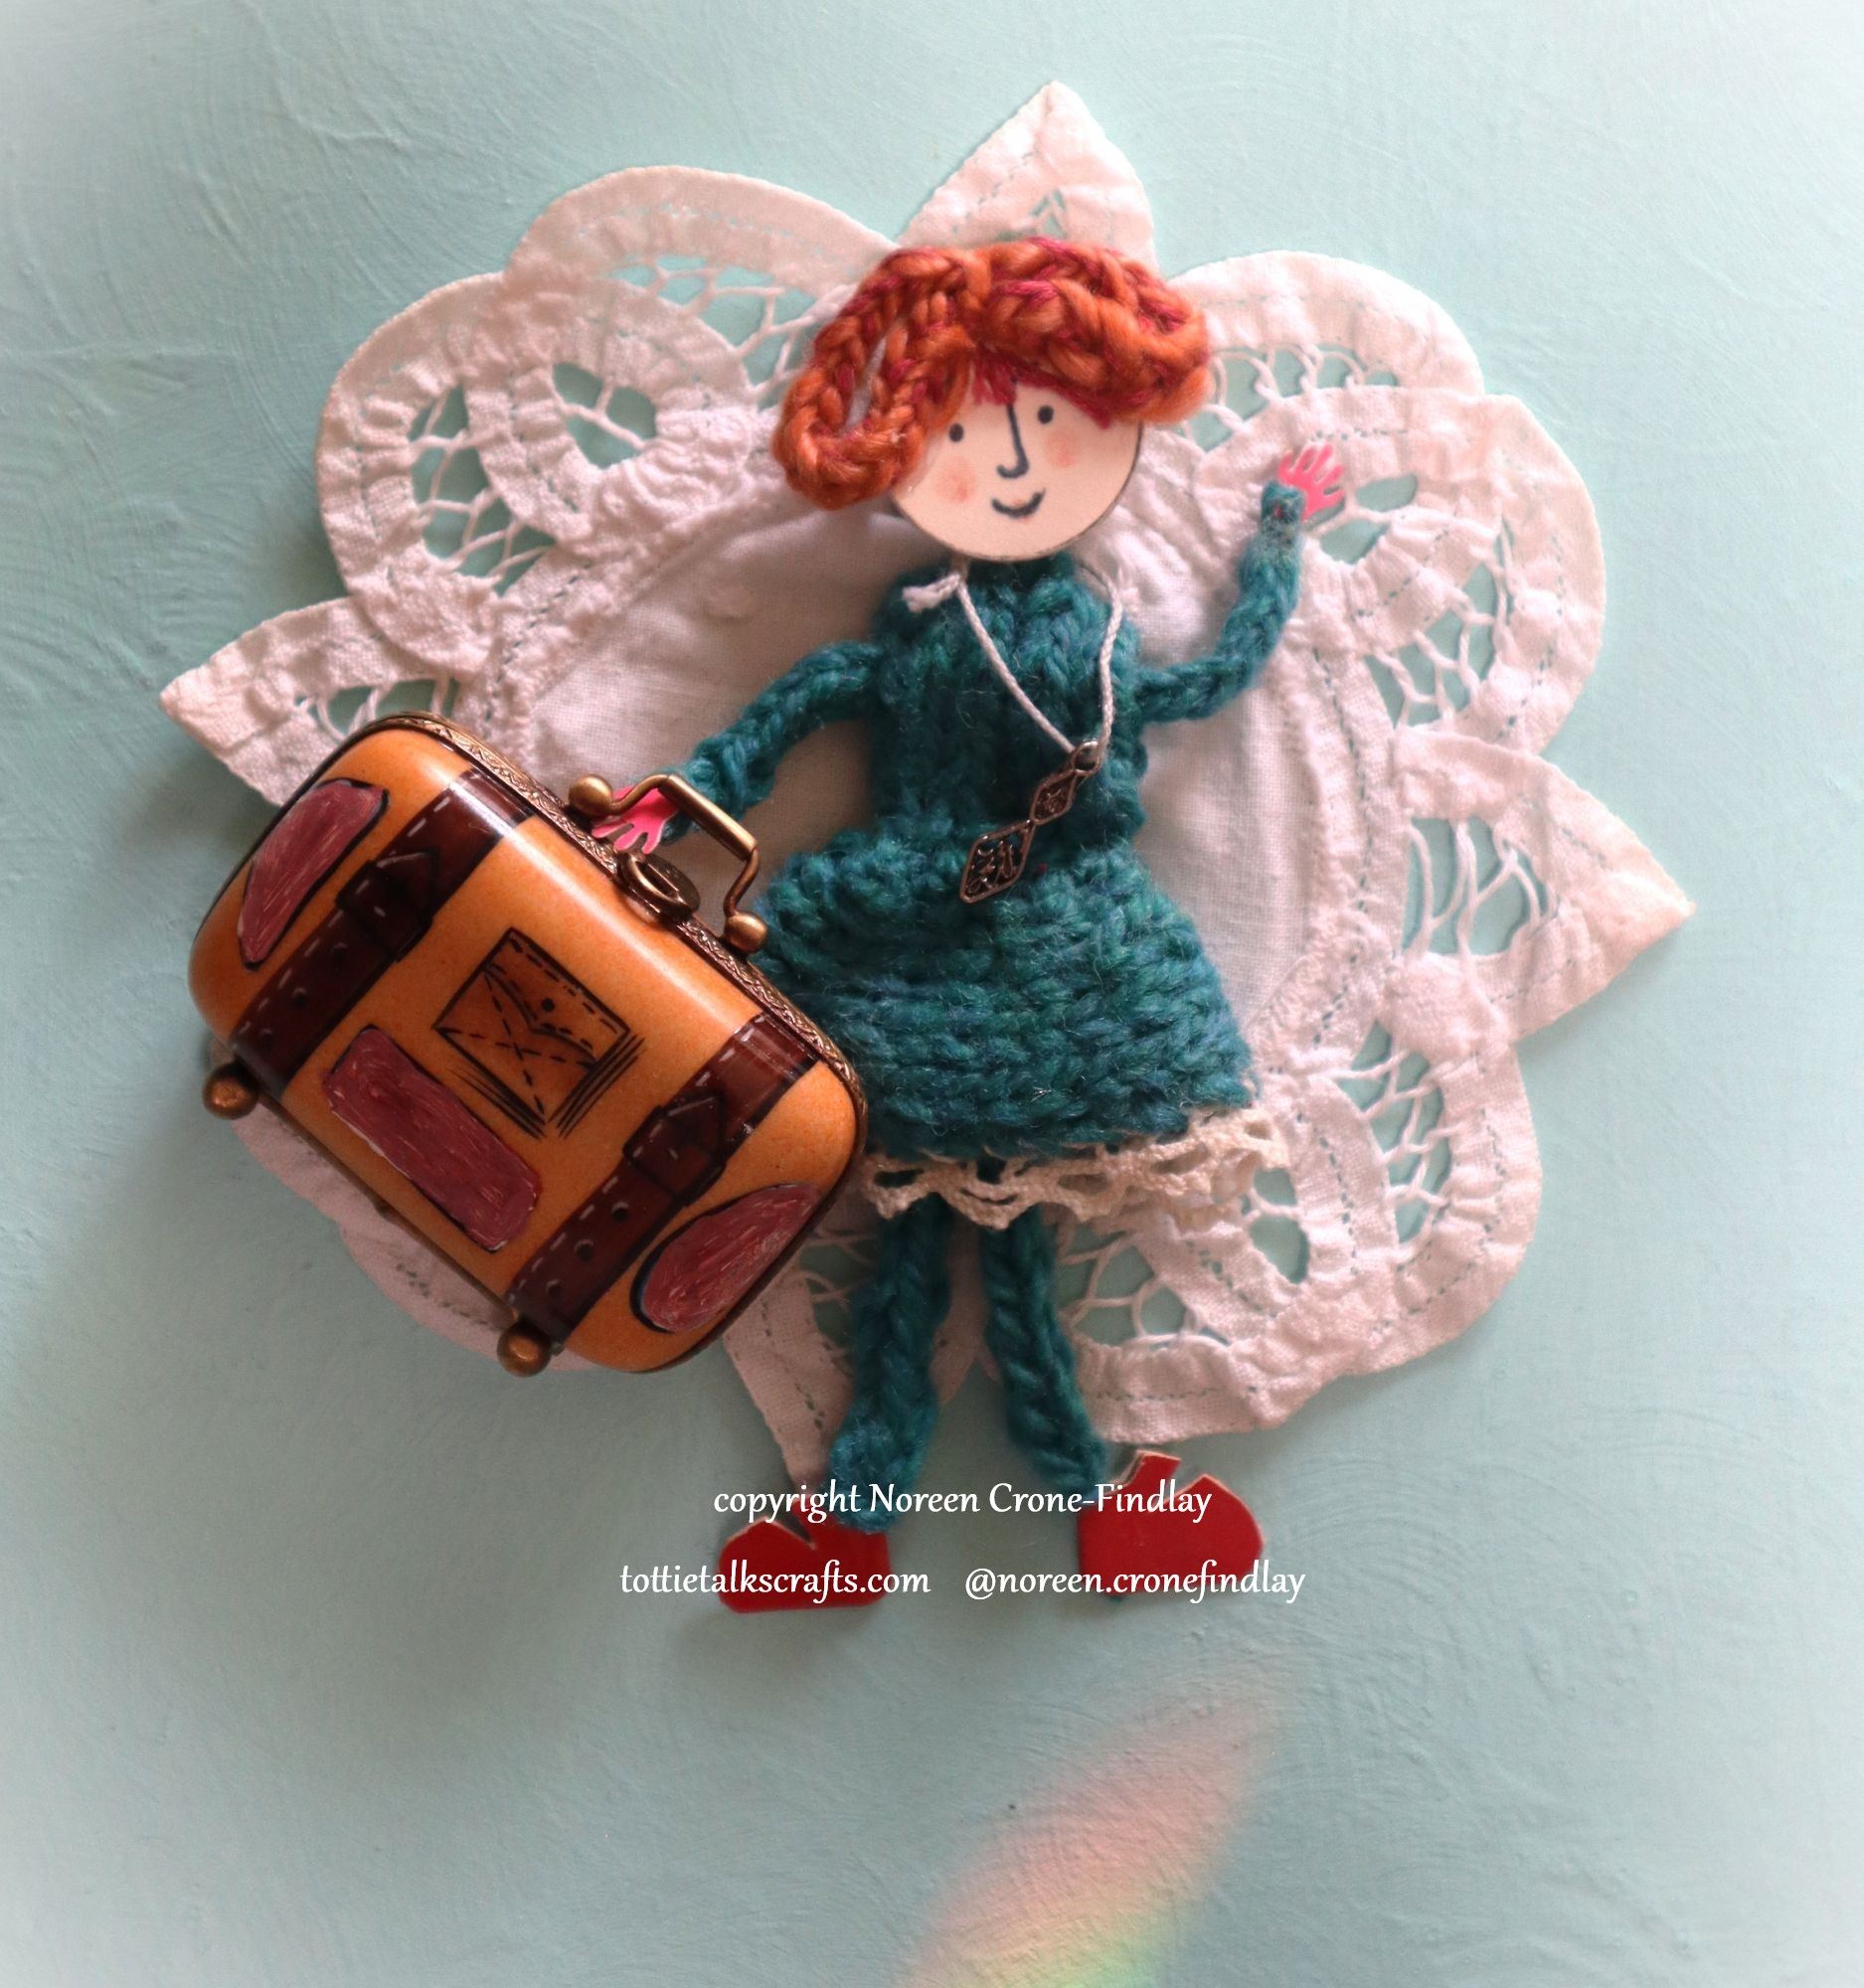
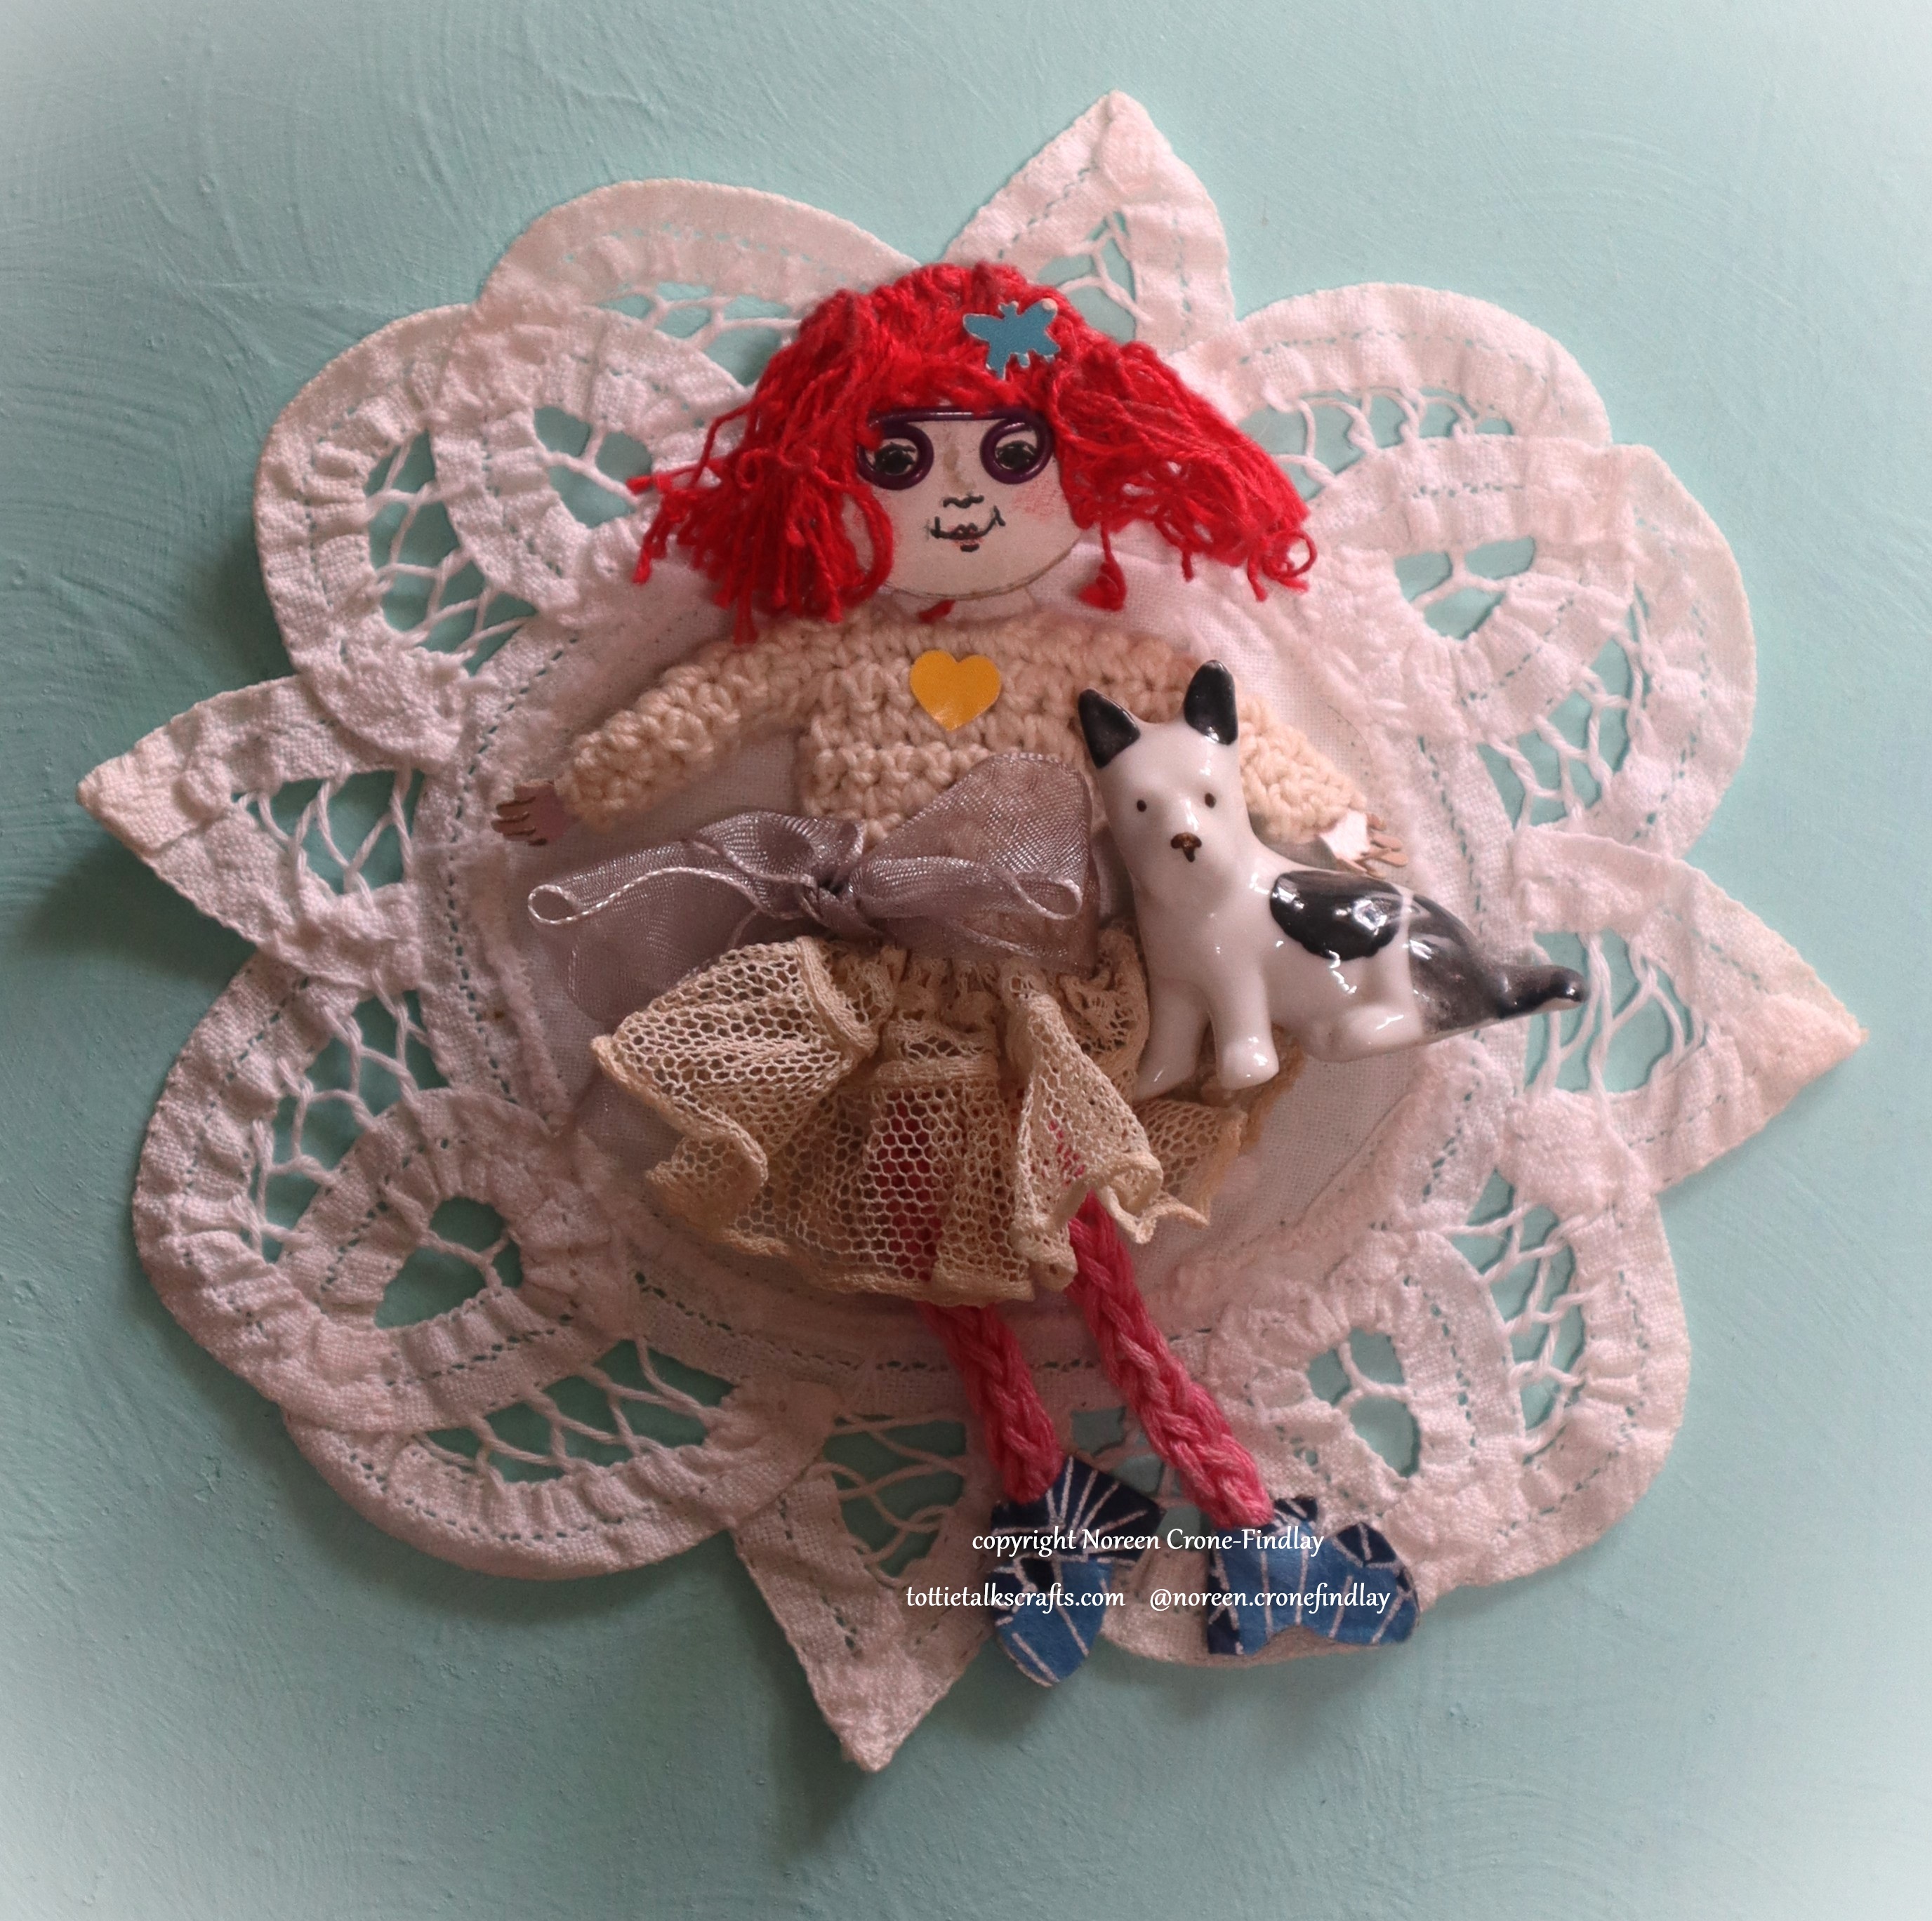
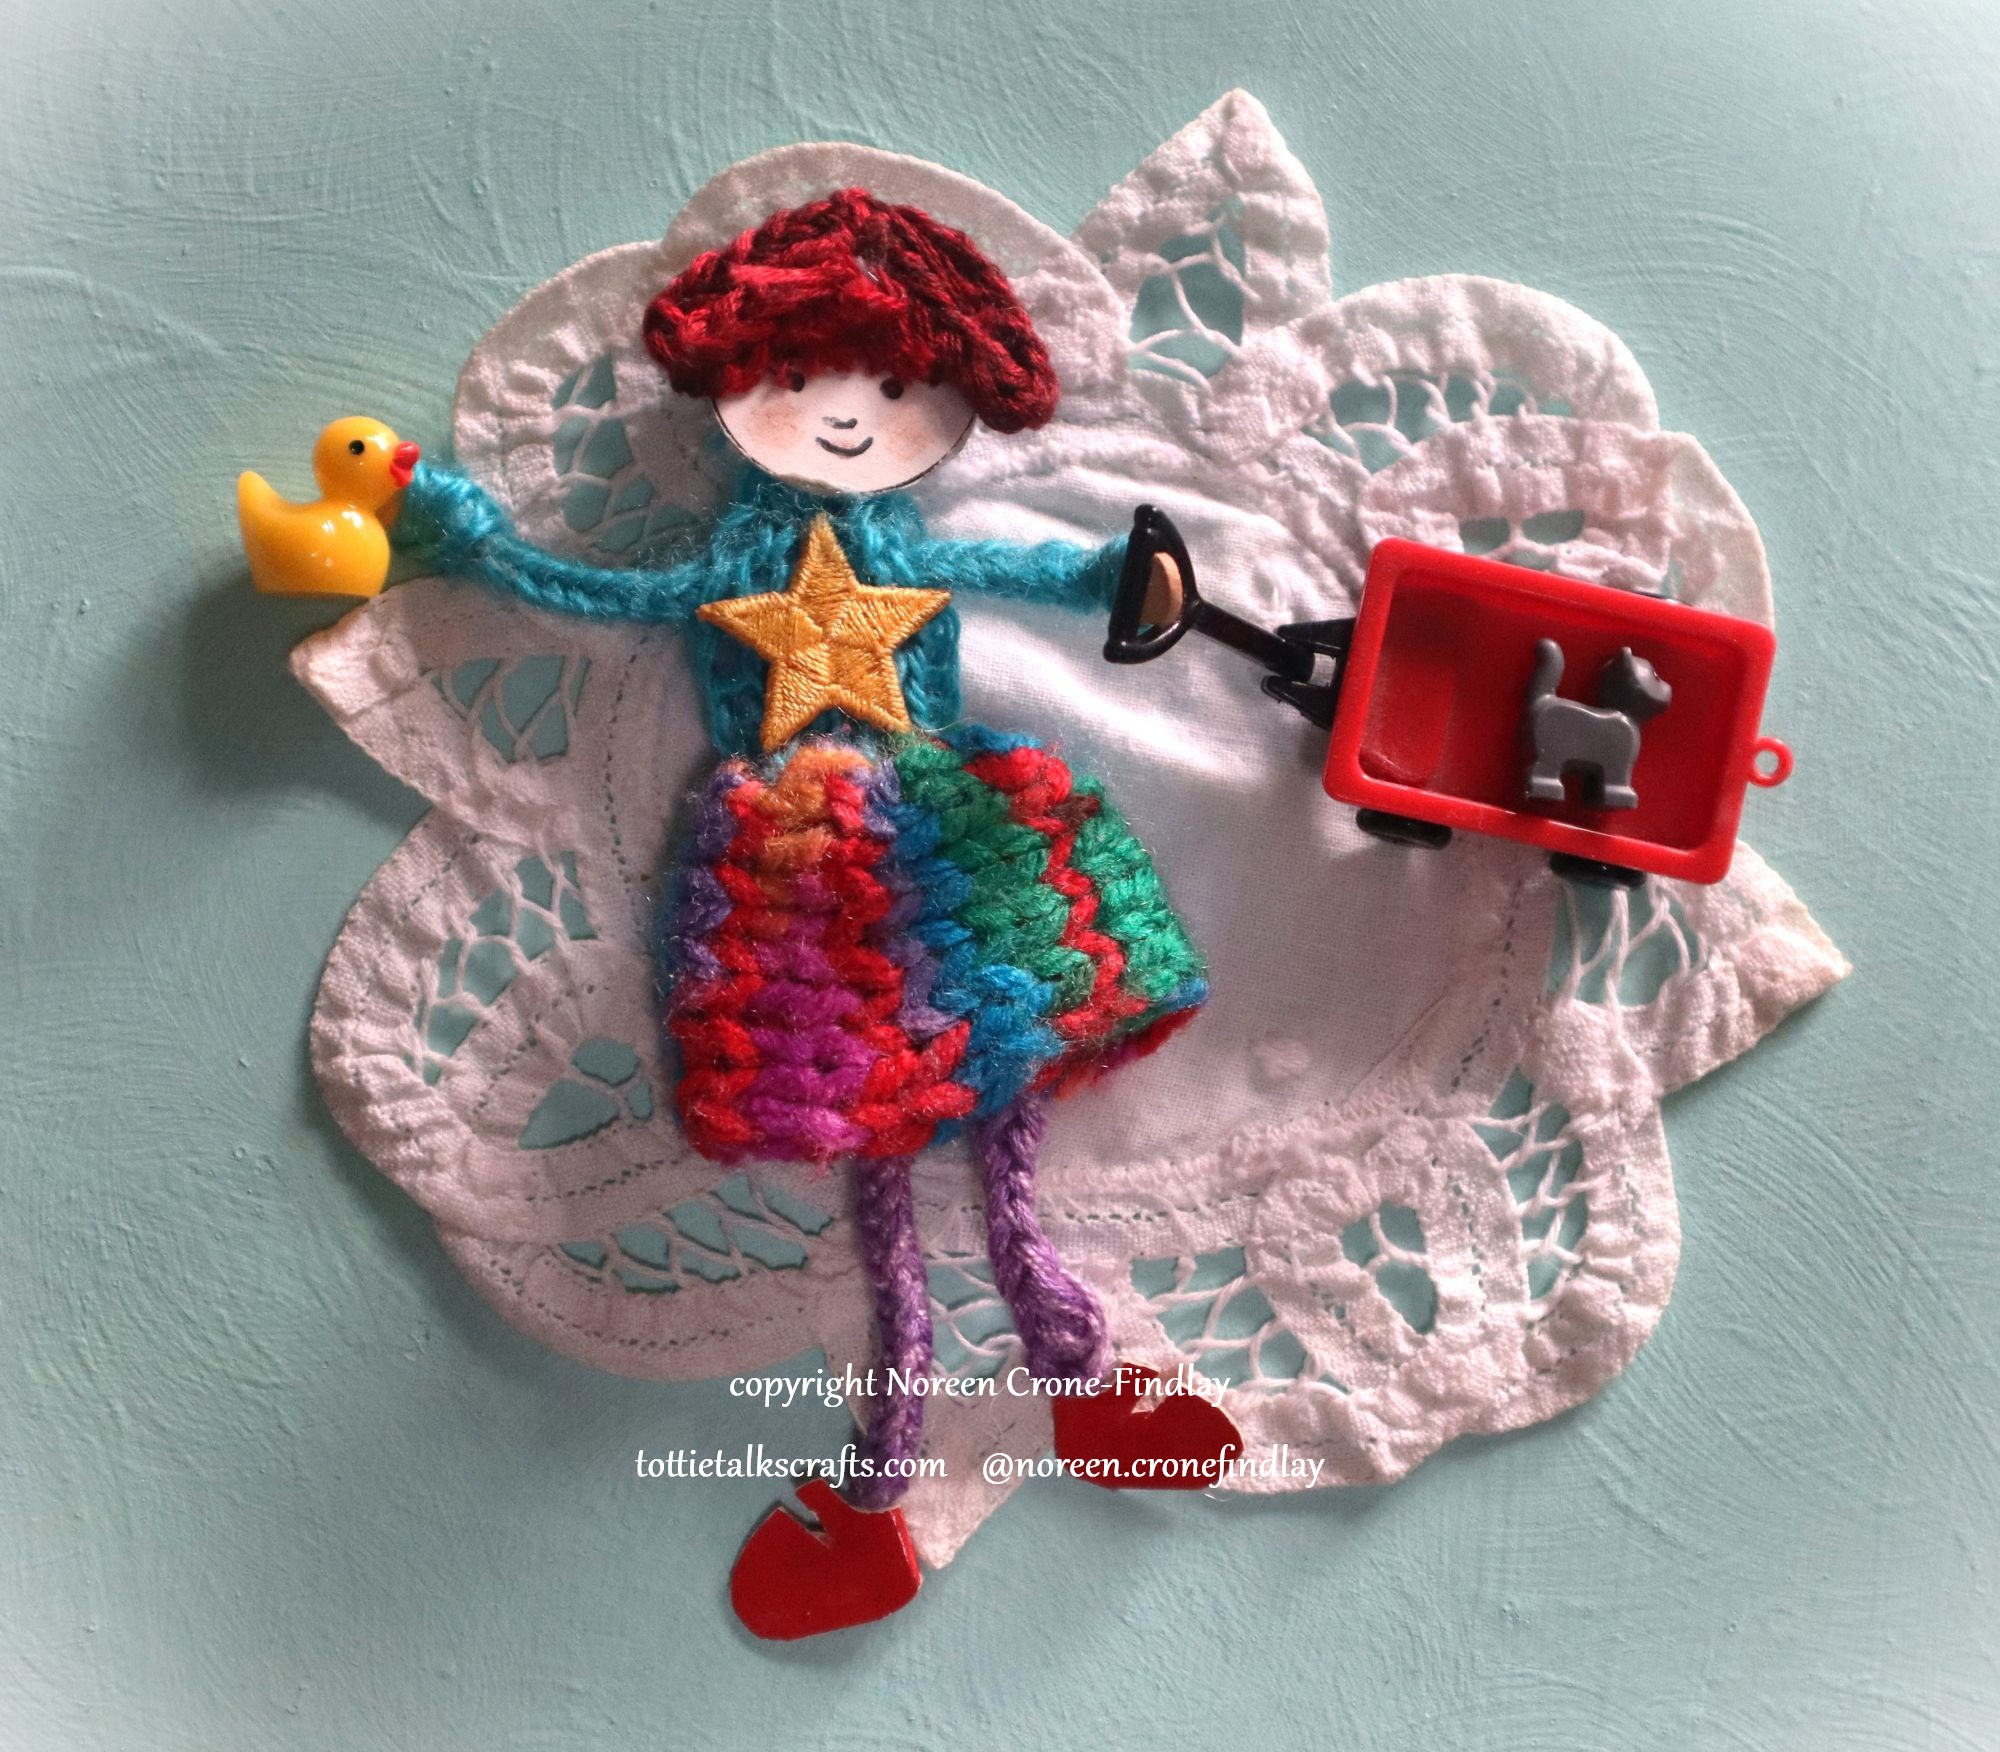
My ‘Rosie Recycle’ dolls are ‘pin dolls’ that have pins on the backs of their heads so they can be hung on a curtain, worn on a lapel or hat, or pinned to bag or backpack.
Their bodies are jointed from the neck so they ‘dance’.
I love them 🙂 They are so much fun to make!
When I wrote the instructions, I didn’t include lucet cords, but the Rosie Recycle dolls can definitely be made with lucet cords as well as spool knitters.
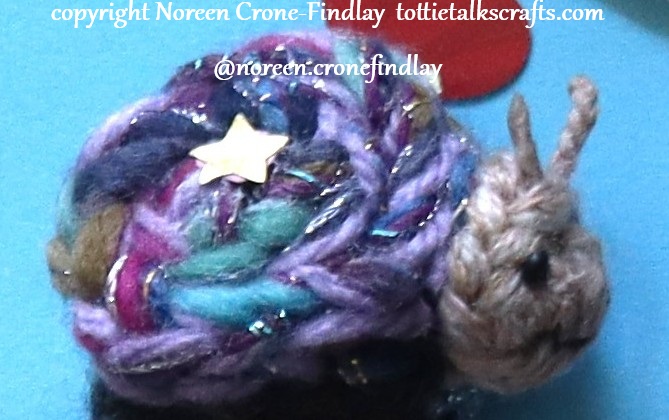
Days 61 and 62 of #100daysofspoolknittersandlittlelooms- a comment on my previous video about the Lucet Emotional Support Snails that said that pennies are not made anymore.
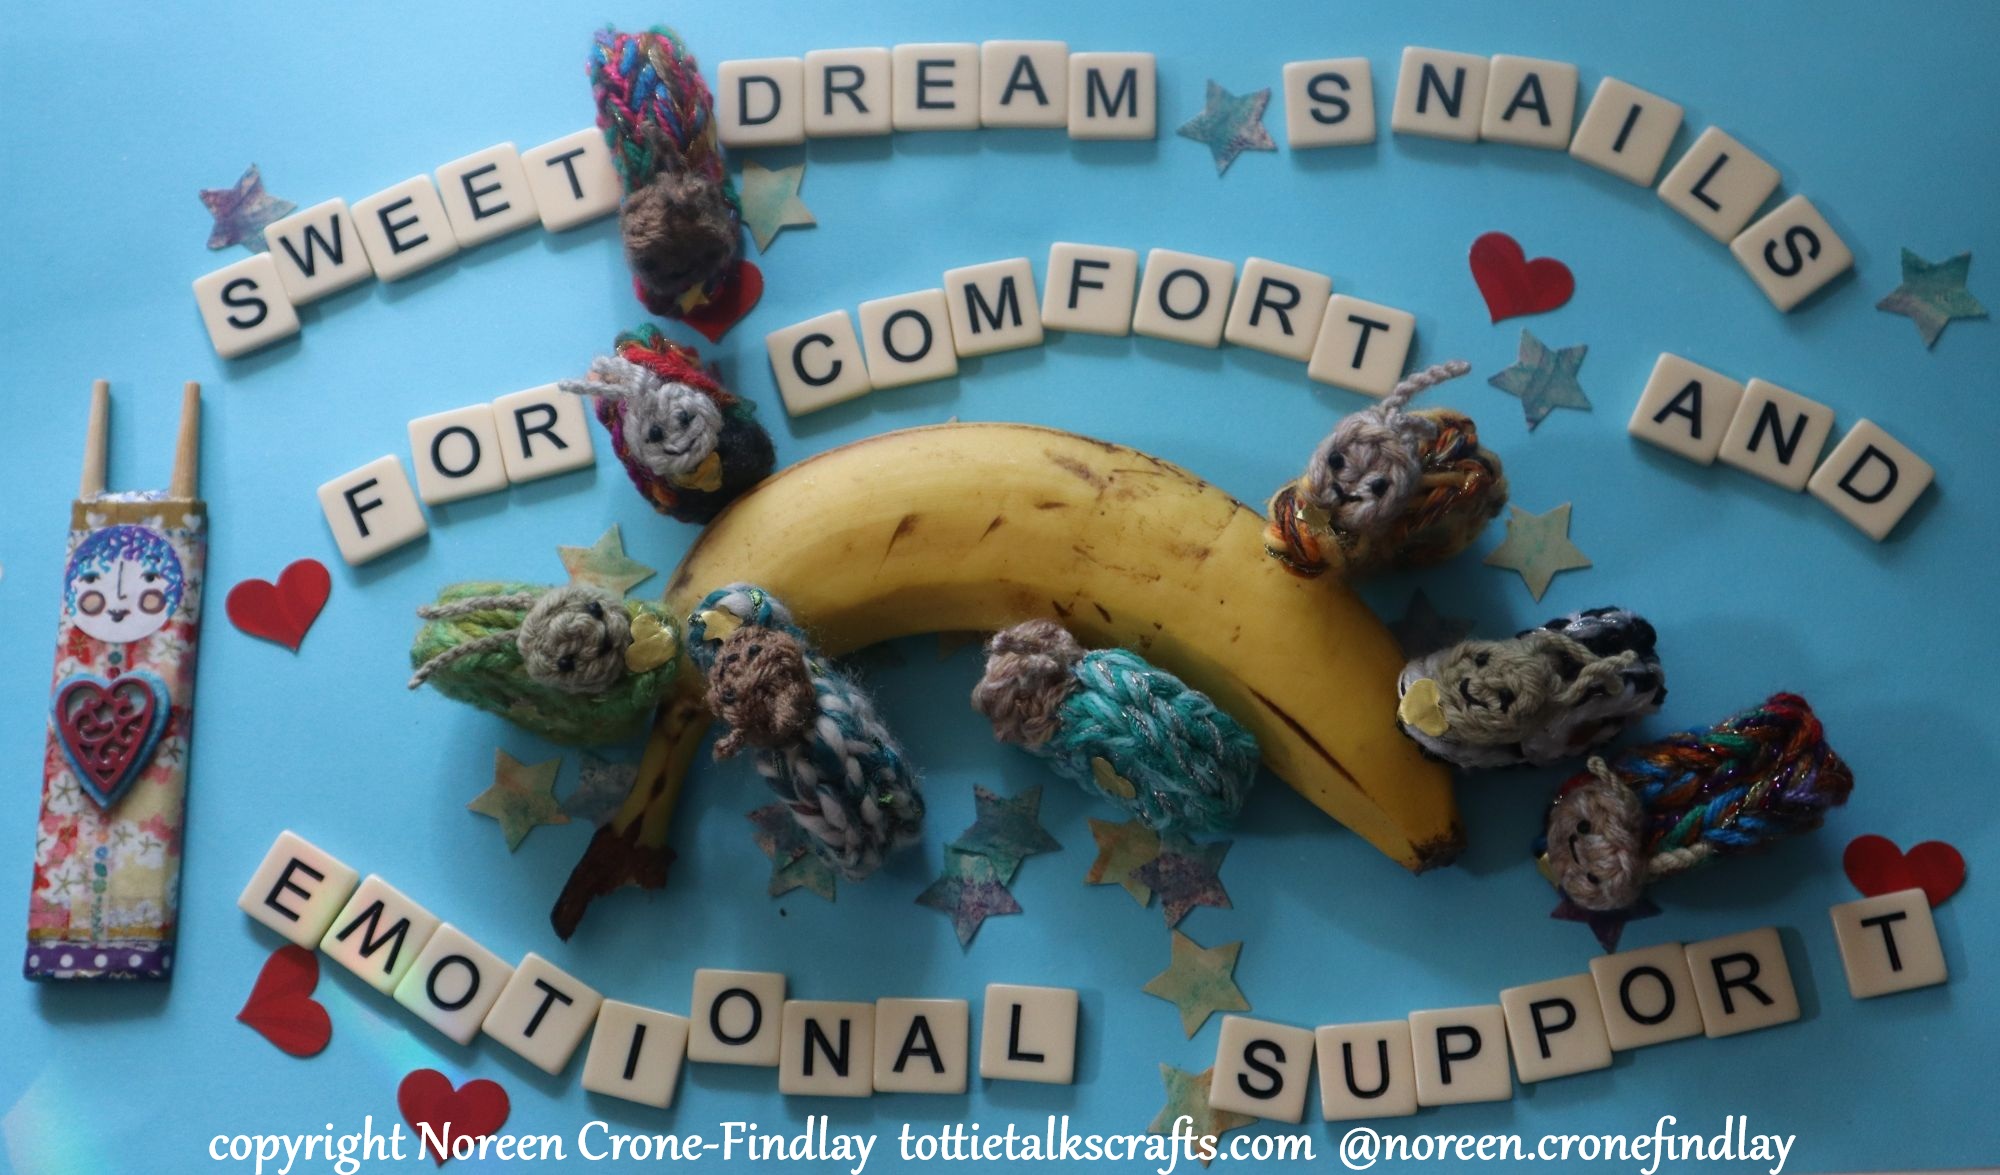
Ah! BUT there are lots of ways of putting Good Wishes into the Emotional Support/Comfort/Sweet Dreams Snails- and I have made a little video that shows how 🙂
I have updated the pattern for the Emotional Support Snails so that people who don’t have pennies to include in the Snails can still put in all kinds of good wishes and good luck.
Days 44 to Day 59 of #100daysofspoolknittersandlittlelooms-
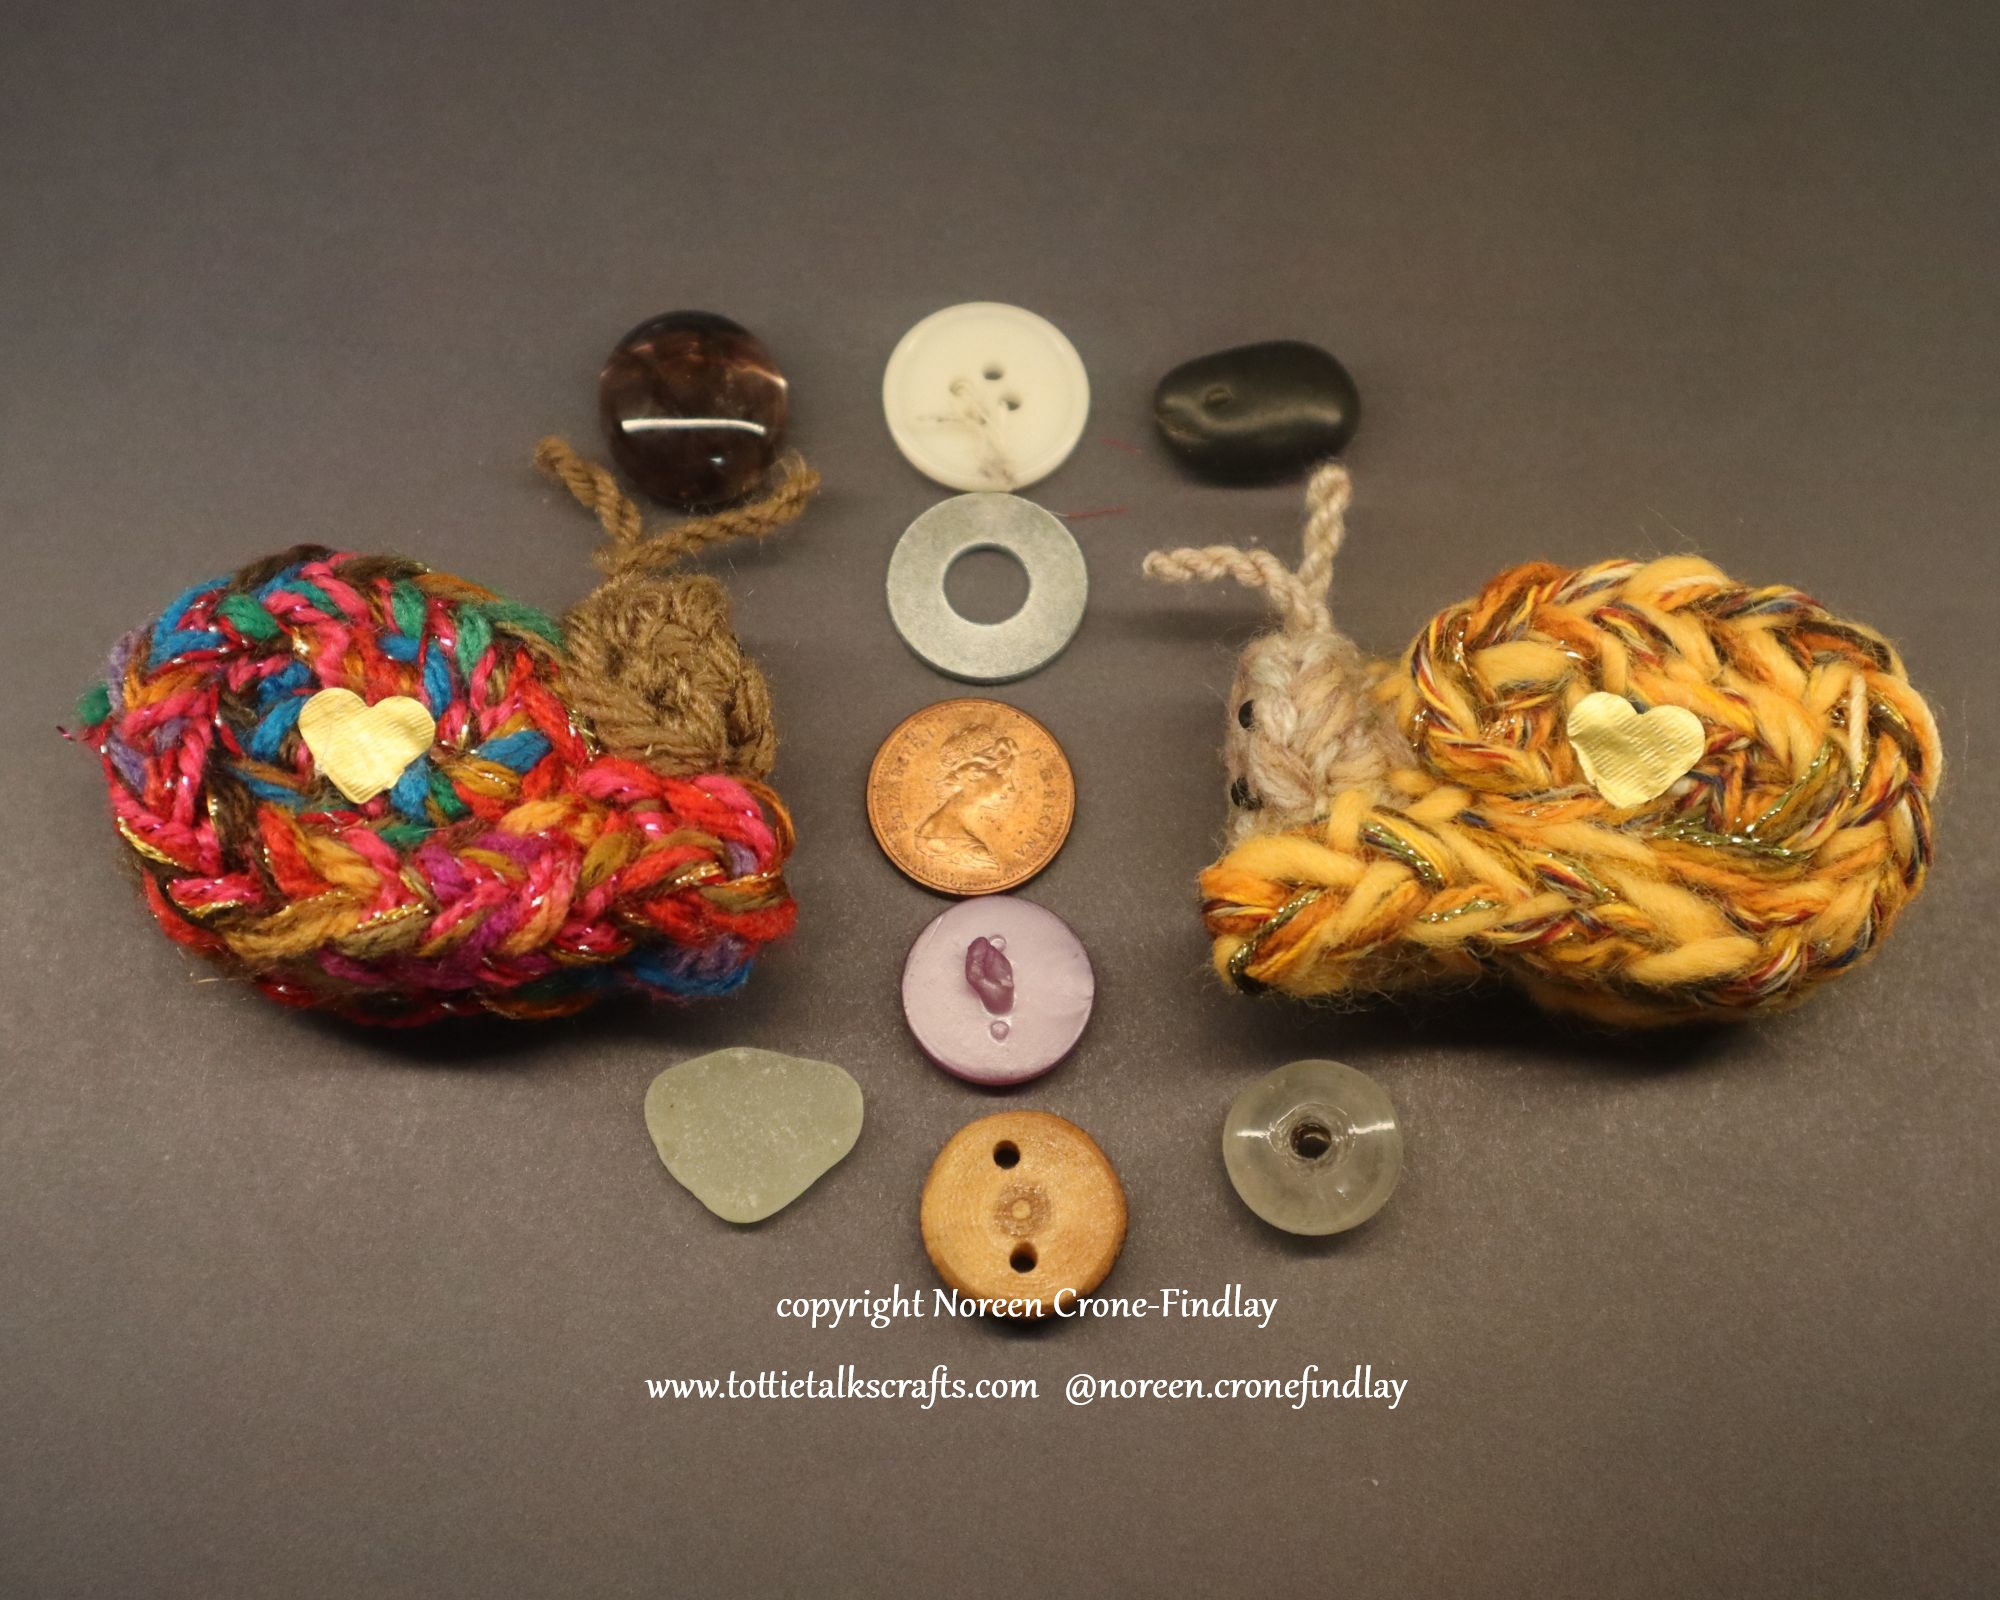
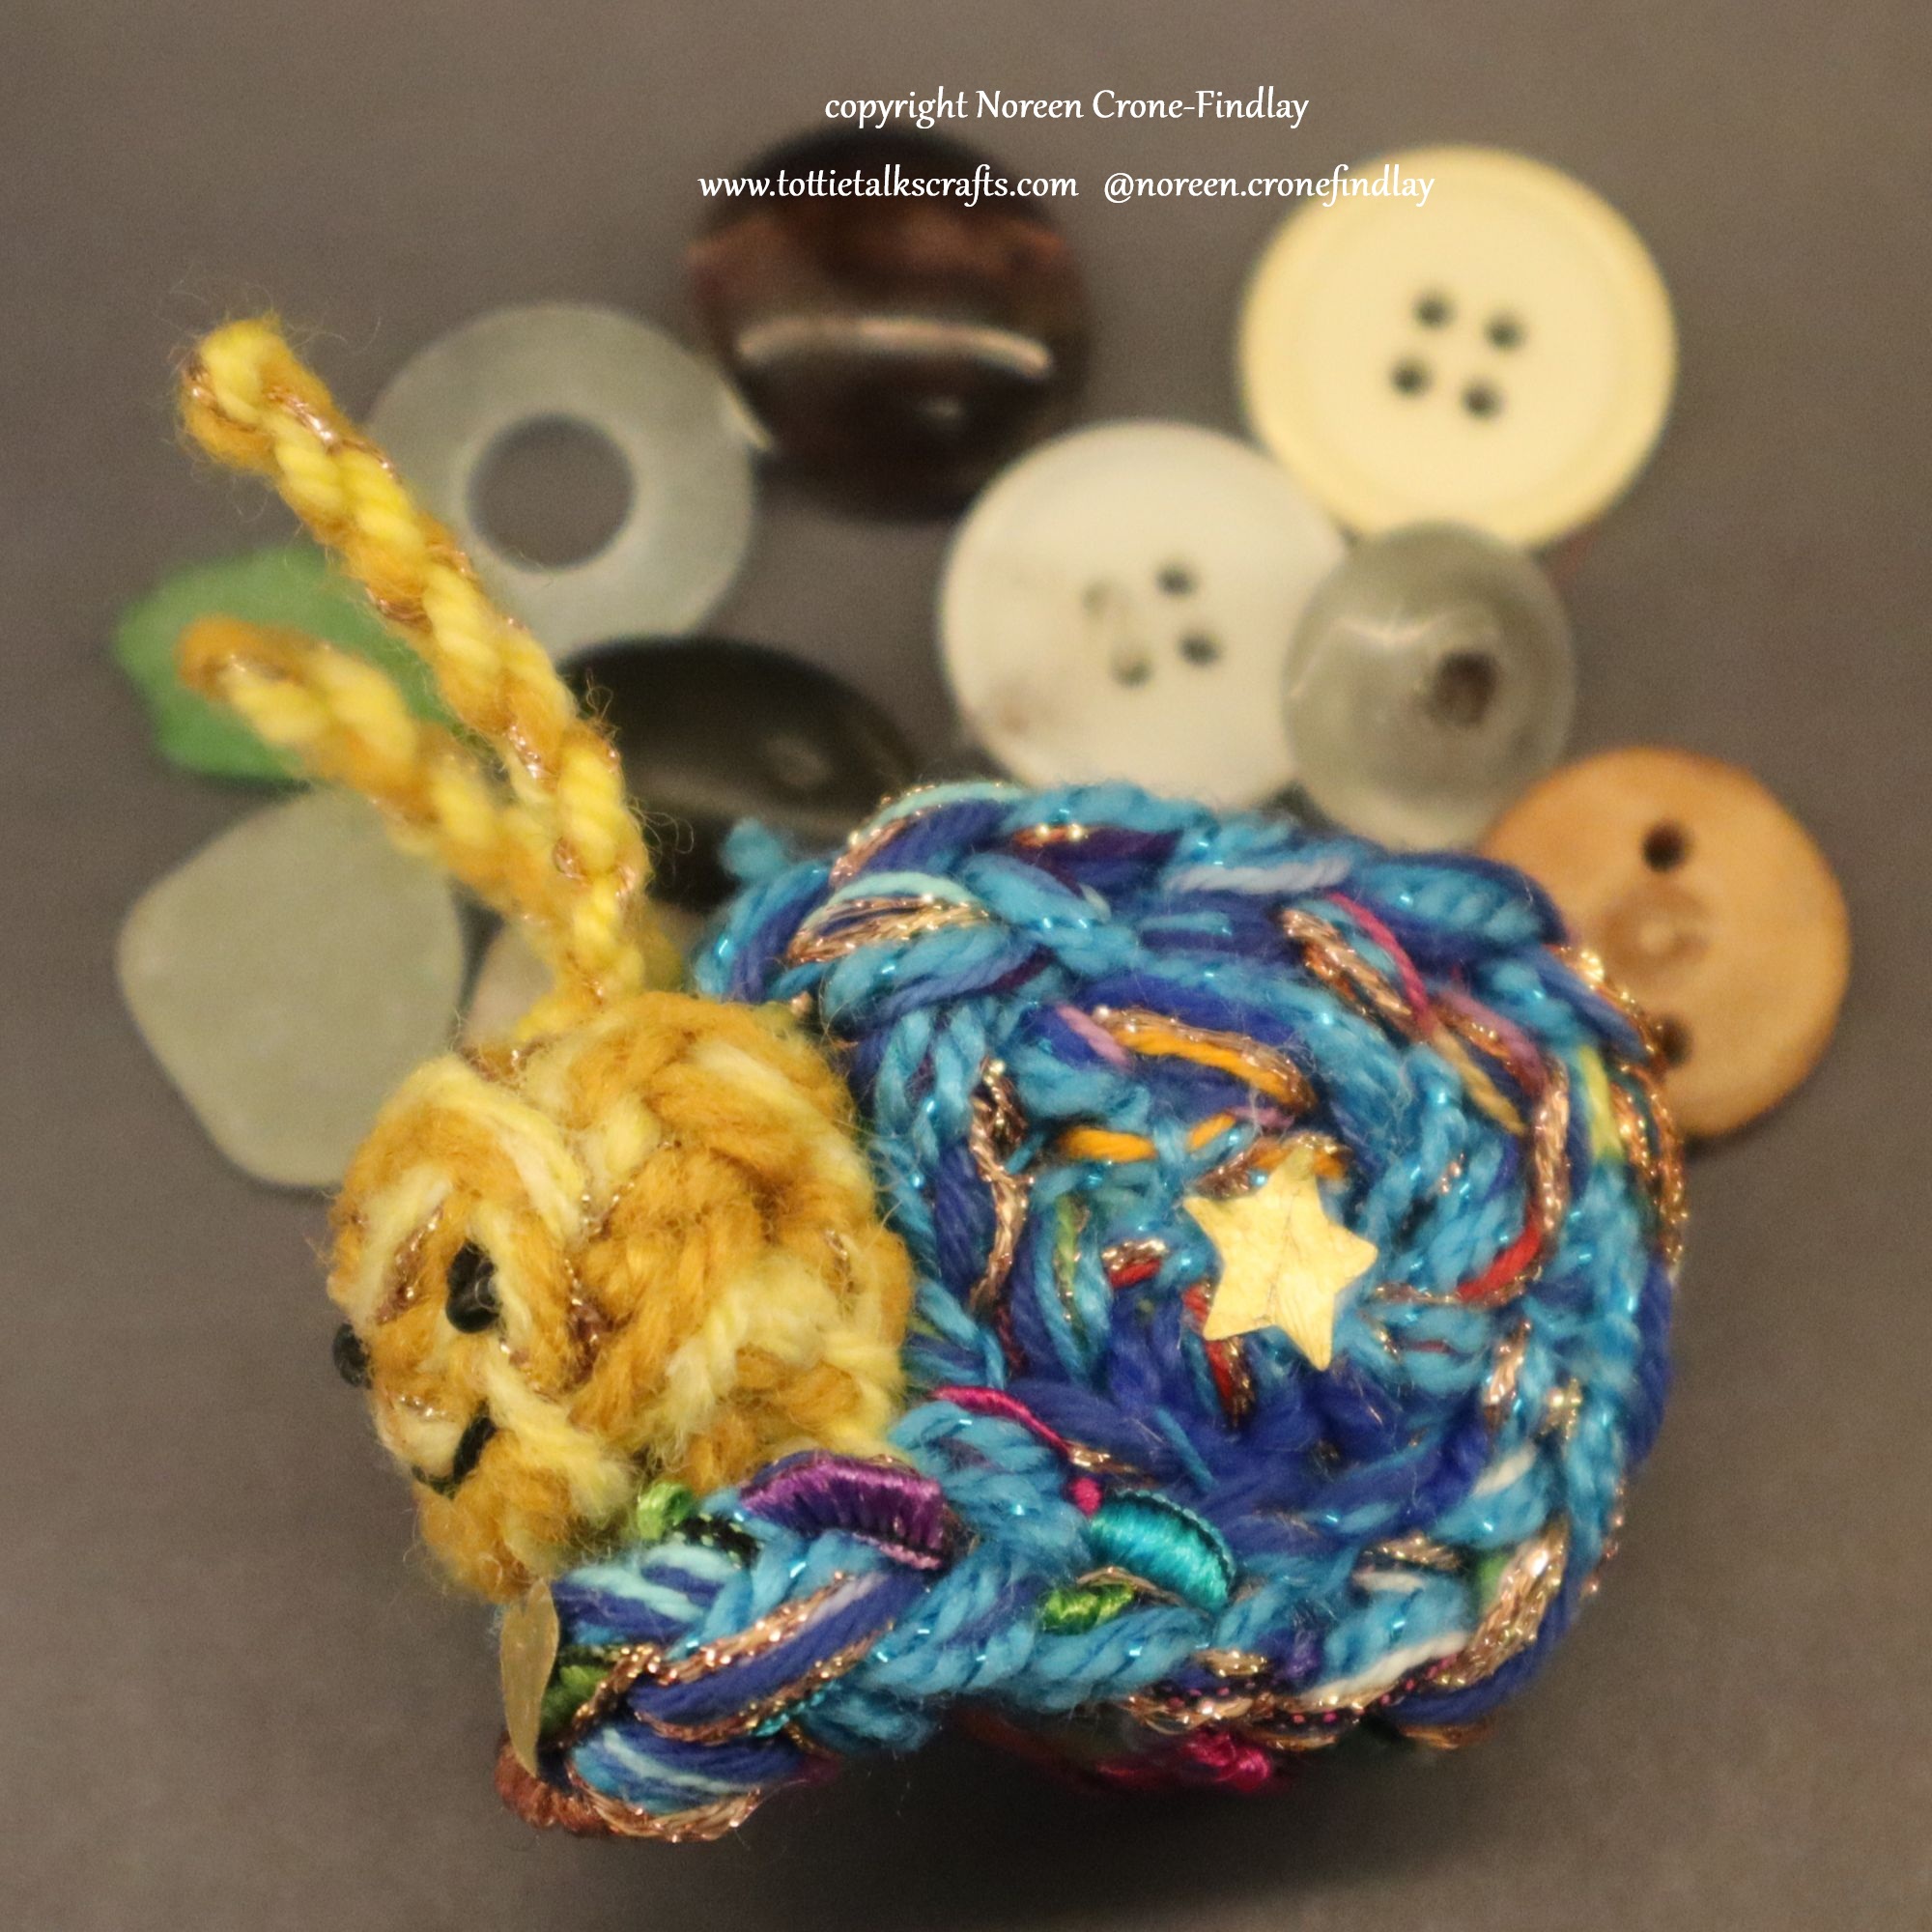
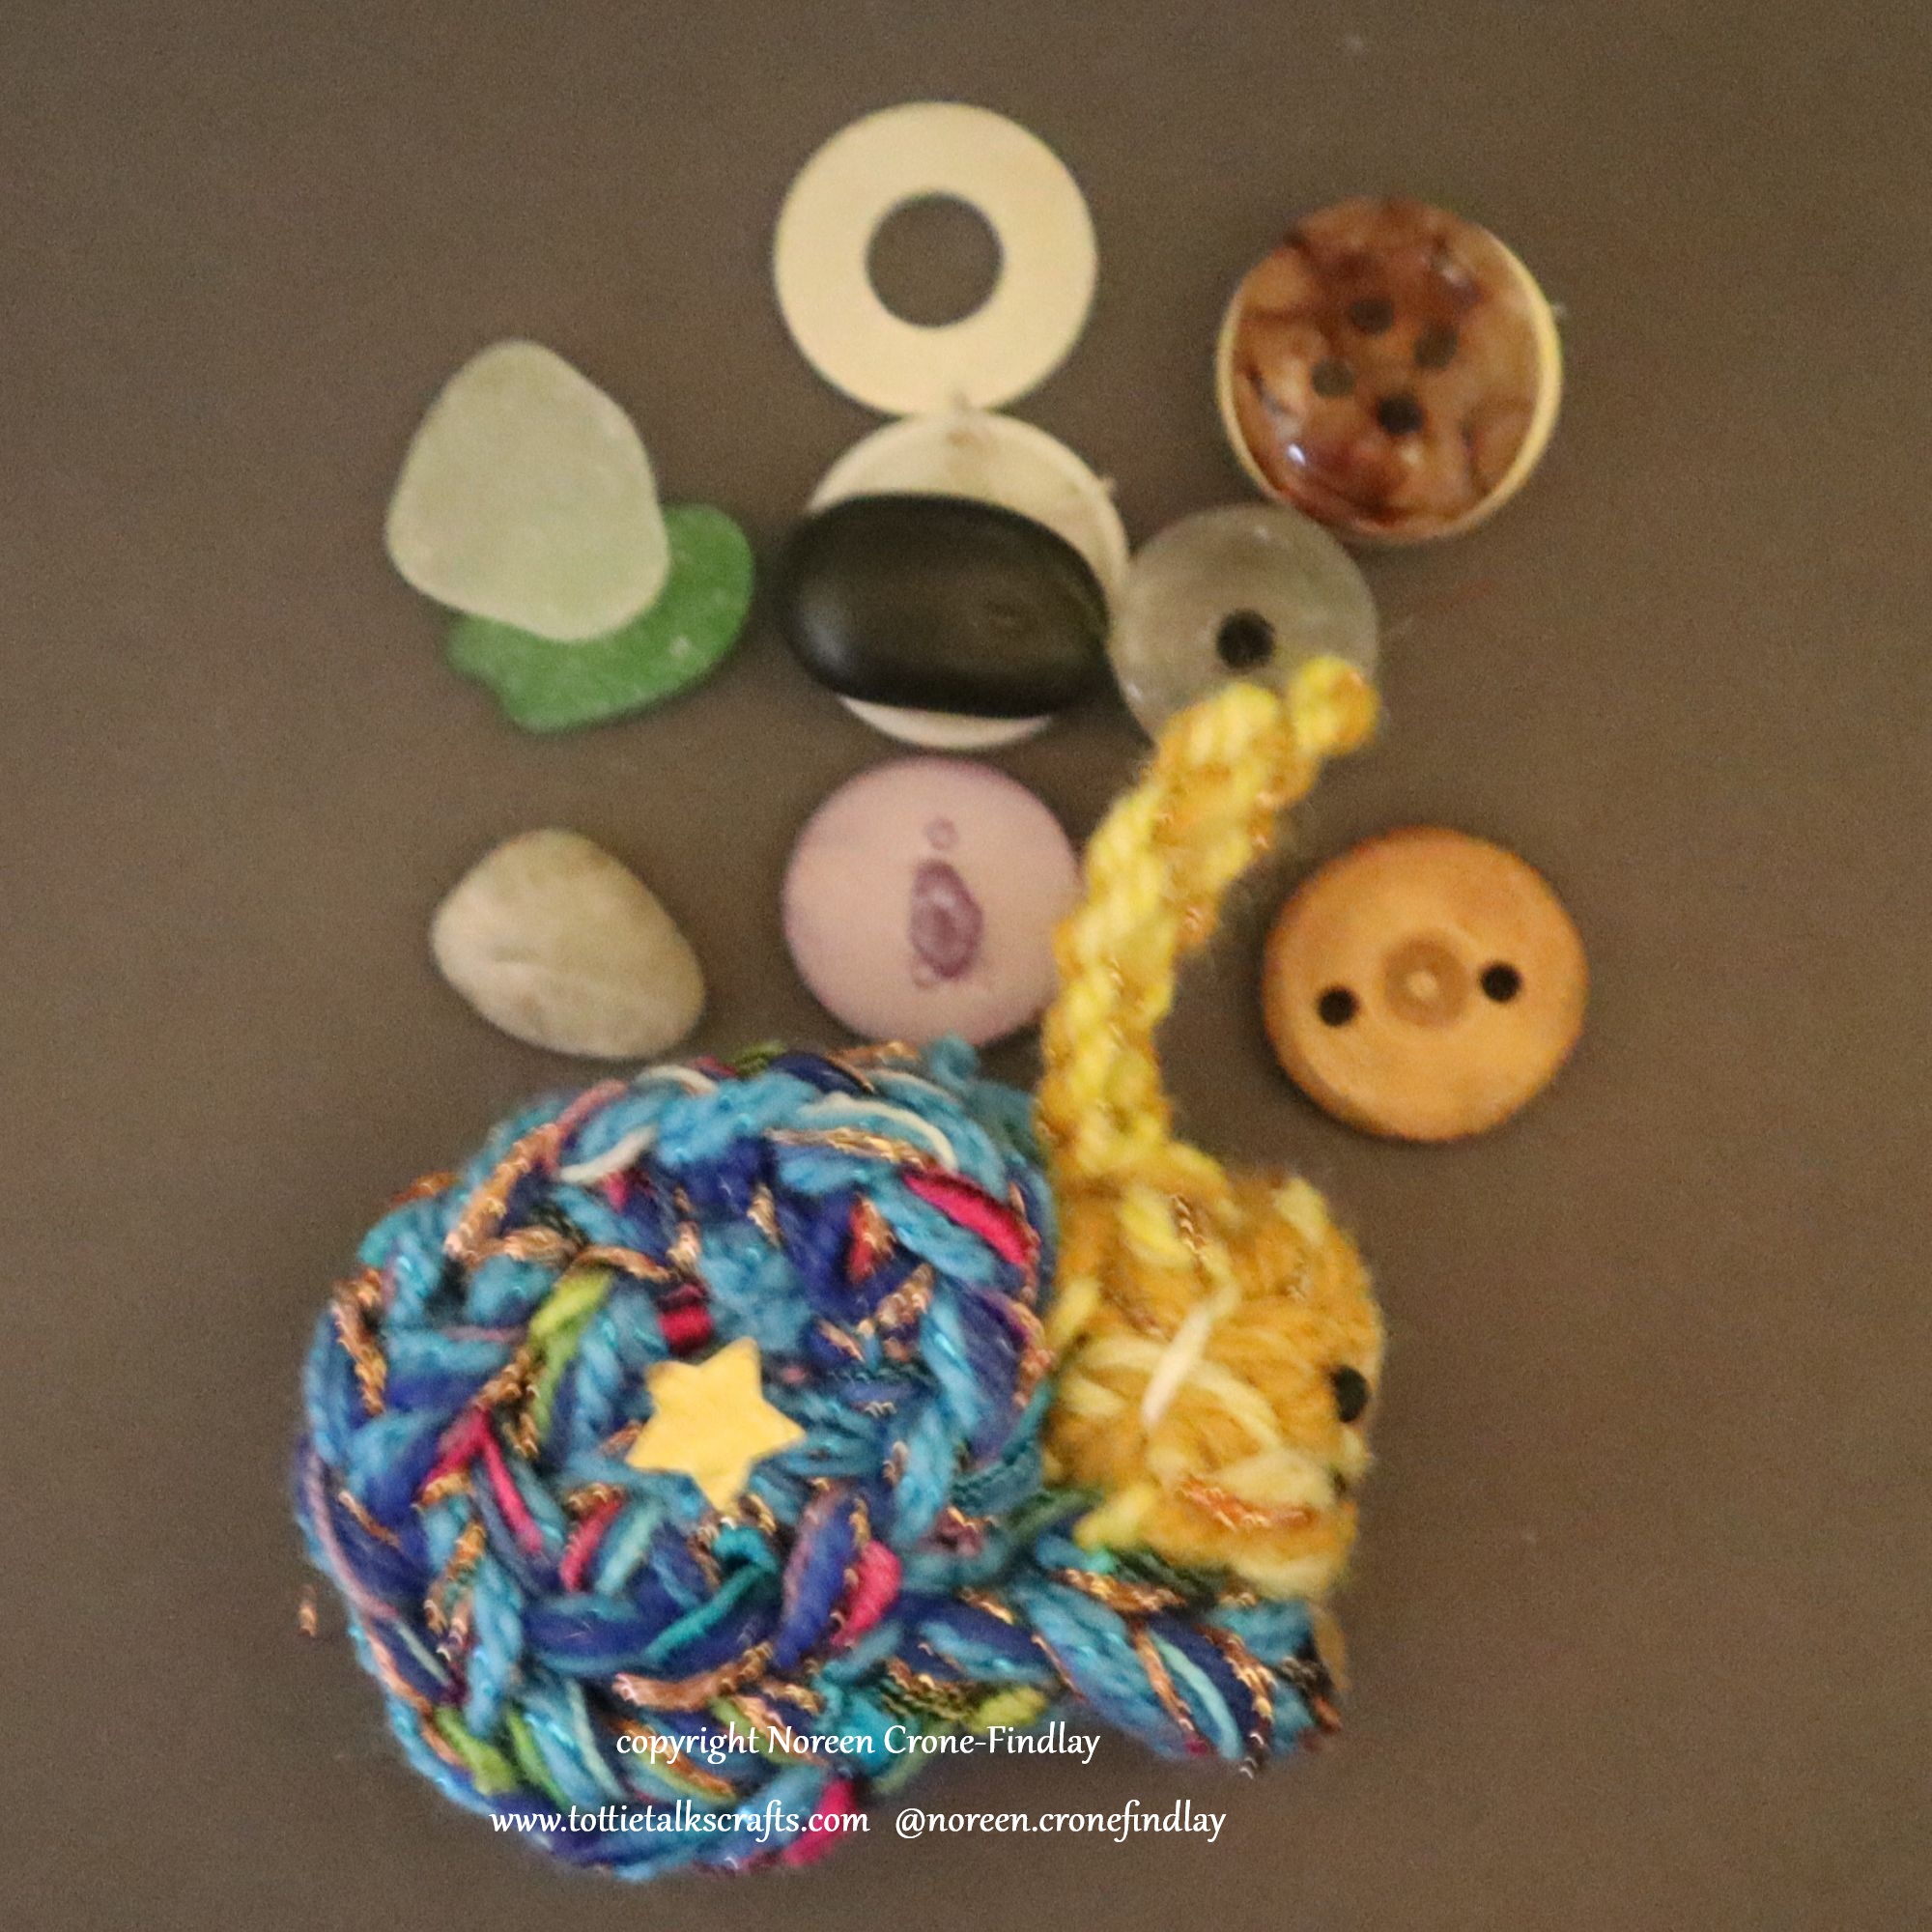
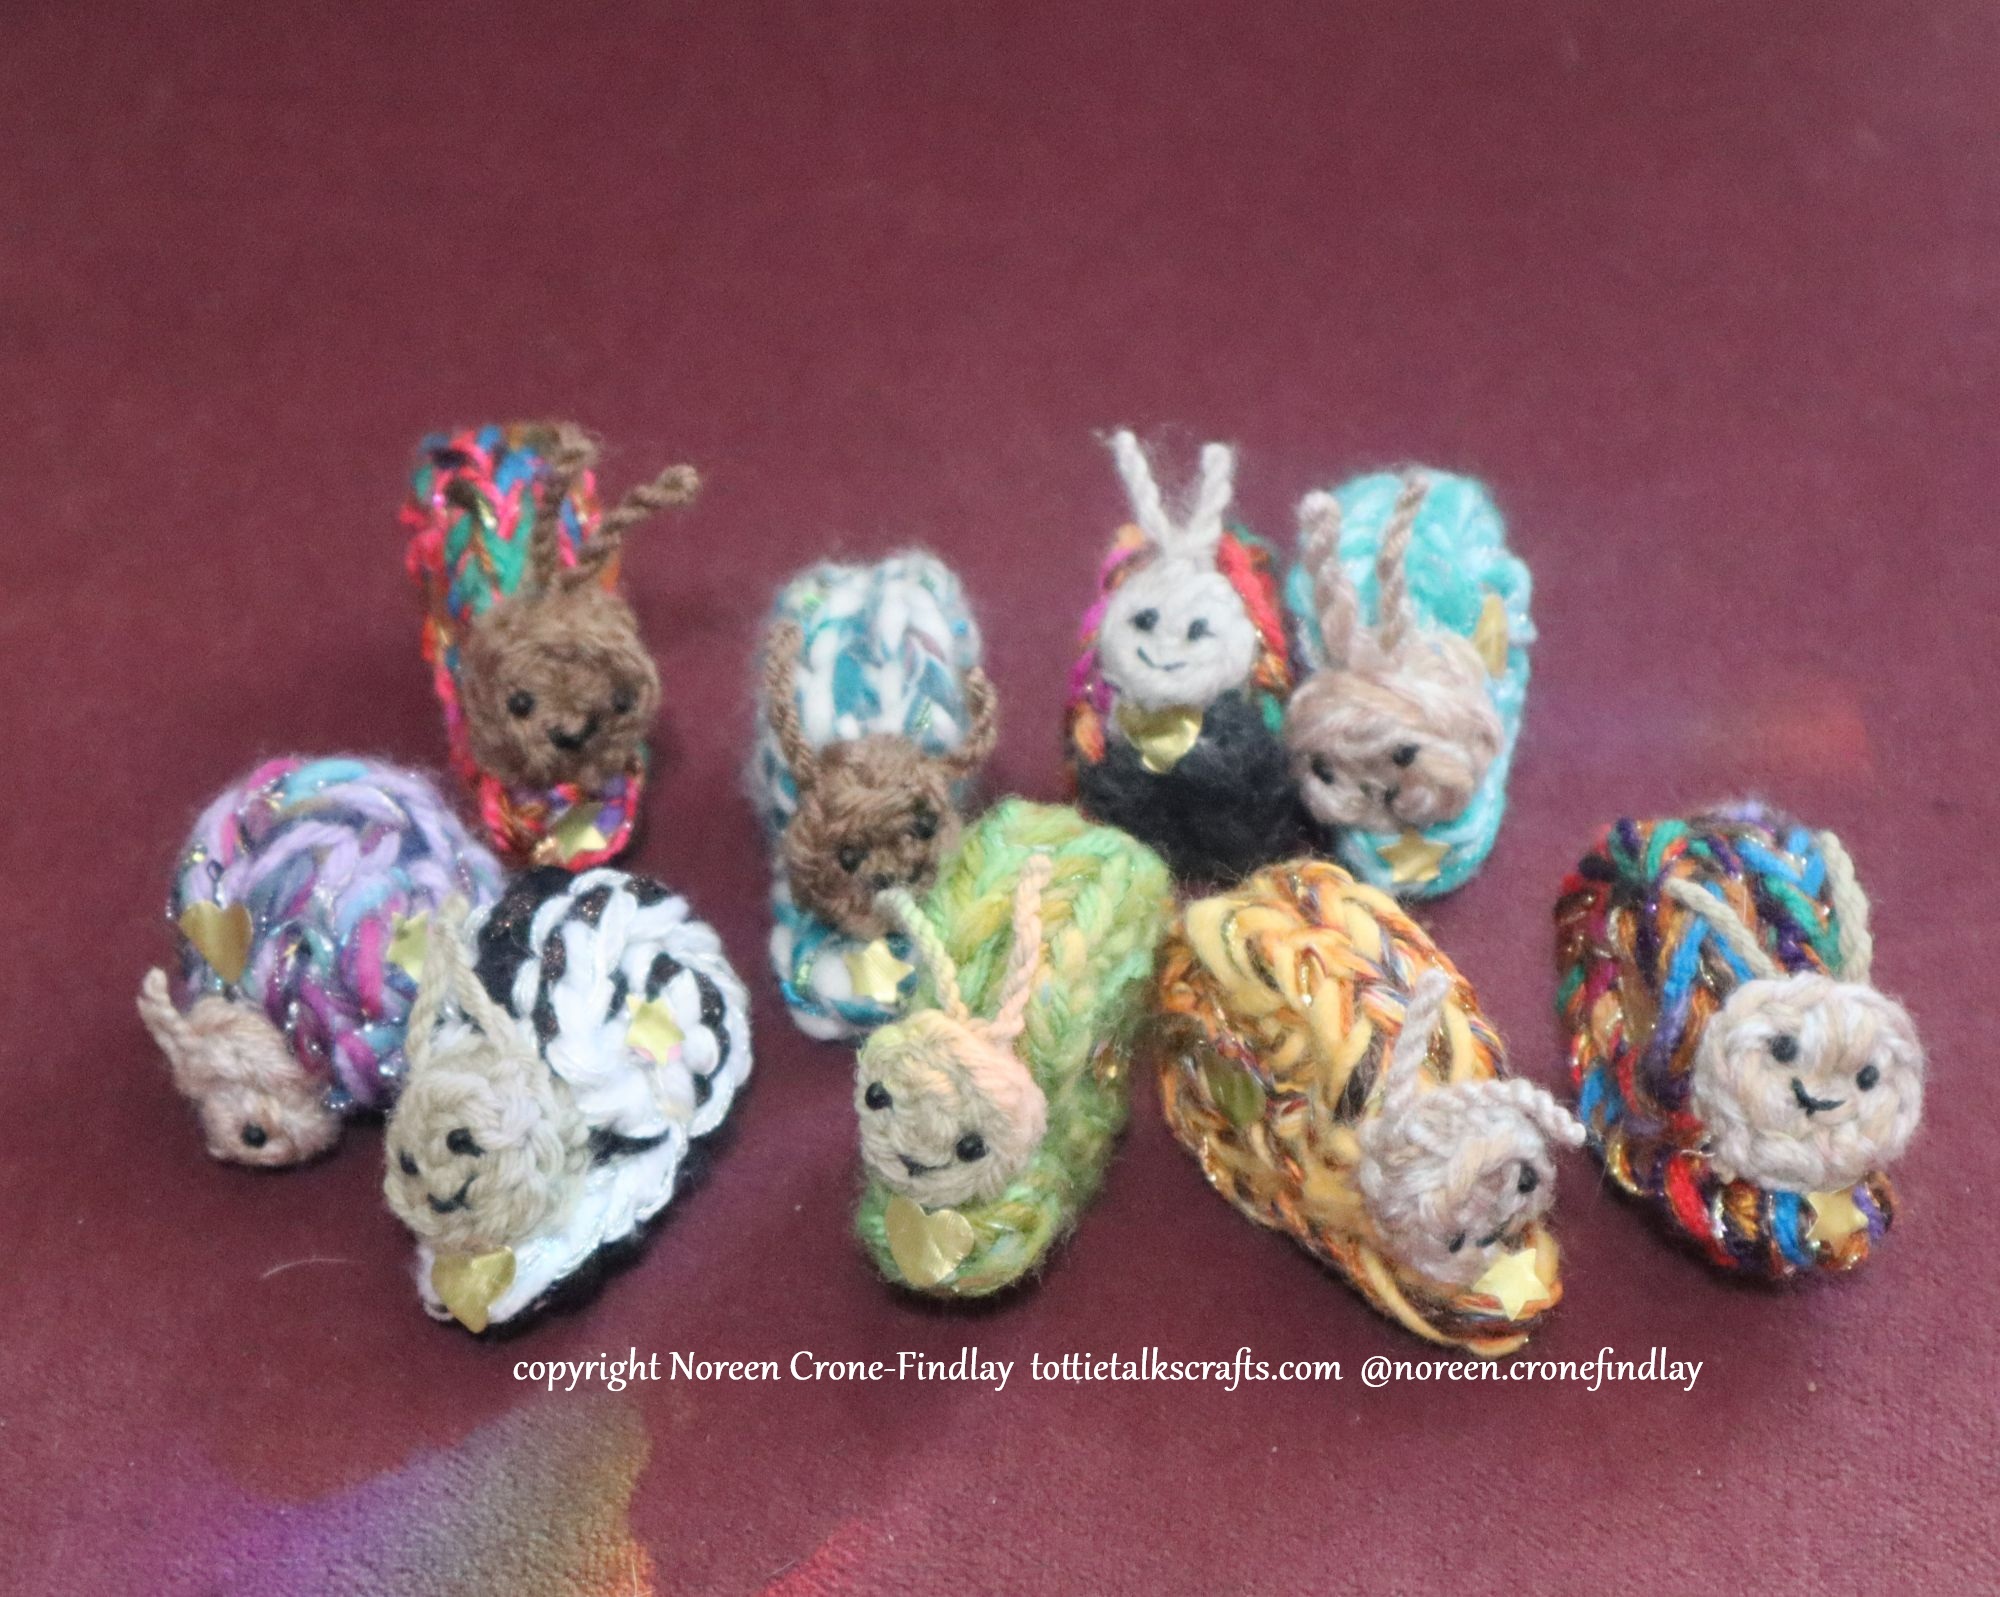
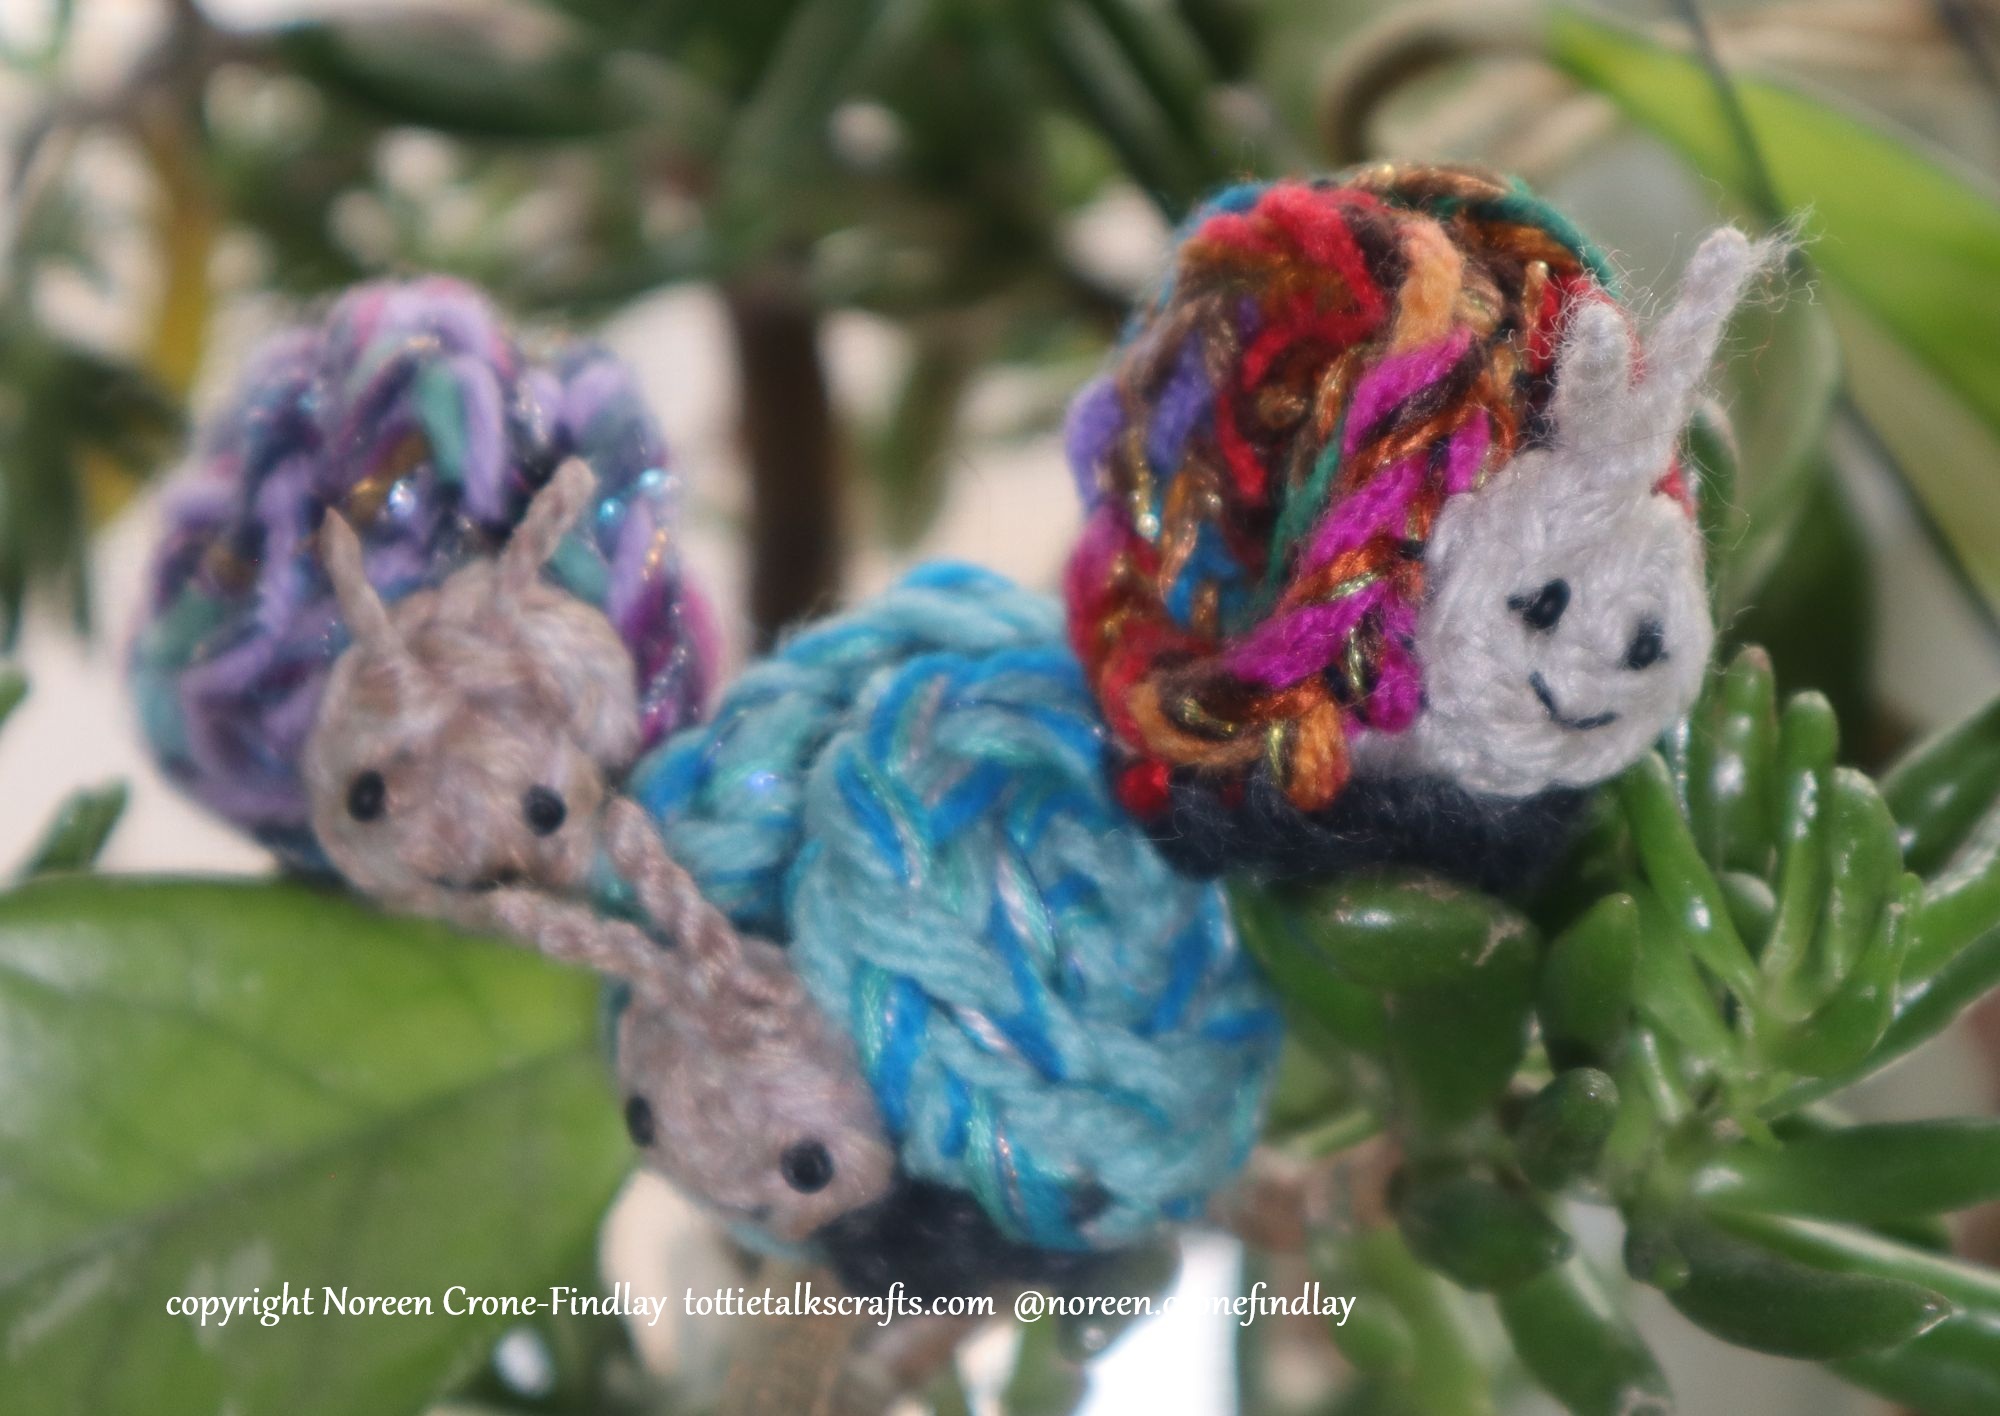
It has taken me ages to get it done, but I have finally uploaded a pdf pattern with step by step instructions and photos on how to use a Lucet to make ‘Sweet Dreams/Emotional Support/Comfort Snails.
For weeks, I dreamt about these charming little ‘Emotional Support’, ‘Comfort’ Snails and they really did make Sweet Dreams!
They showed up in liminal dappled and speckled spaces.
They offered me comfort and guidance and spoke of the shadows that flicker in the places that are growing-when the breezes flit through the sunshine, whispering of greening new hope, love and light.
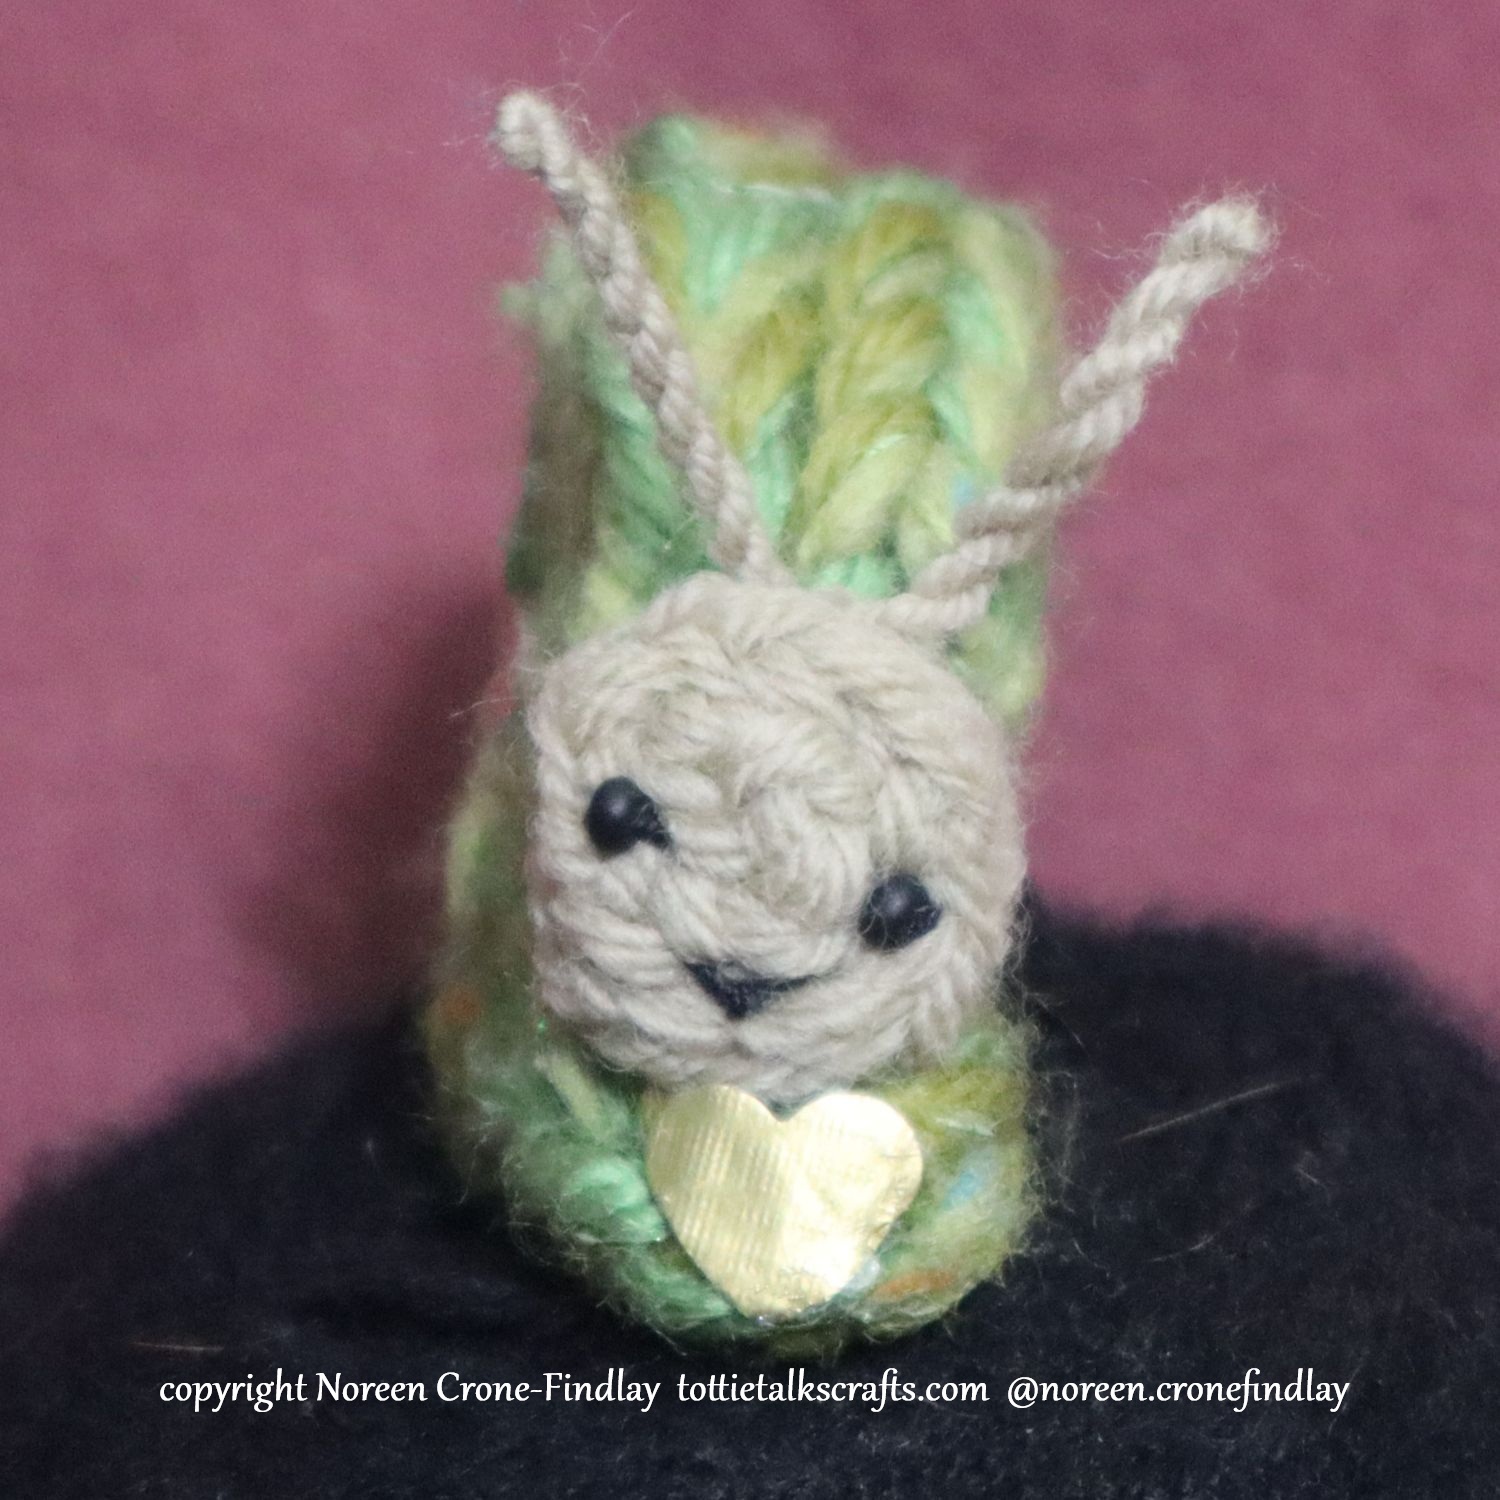
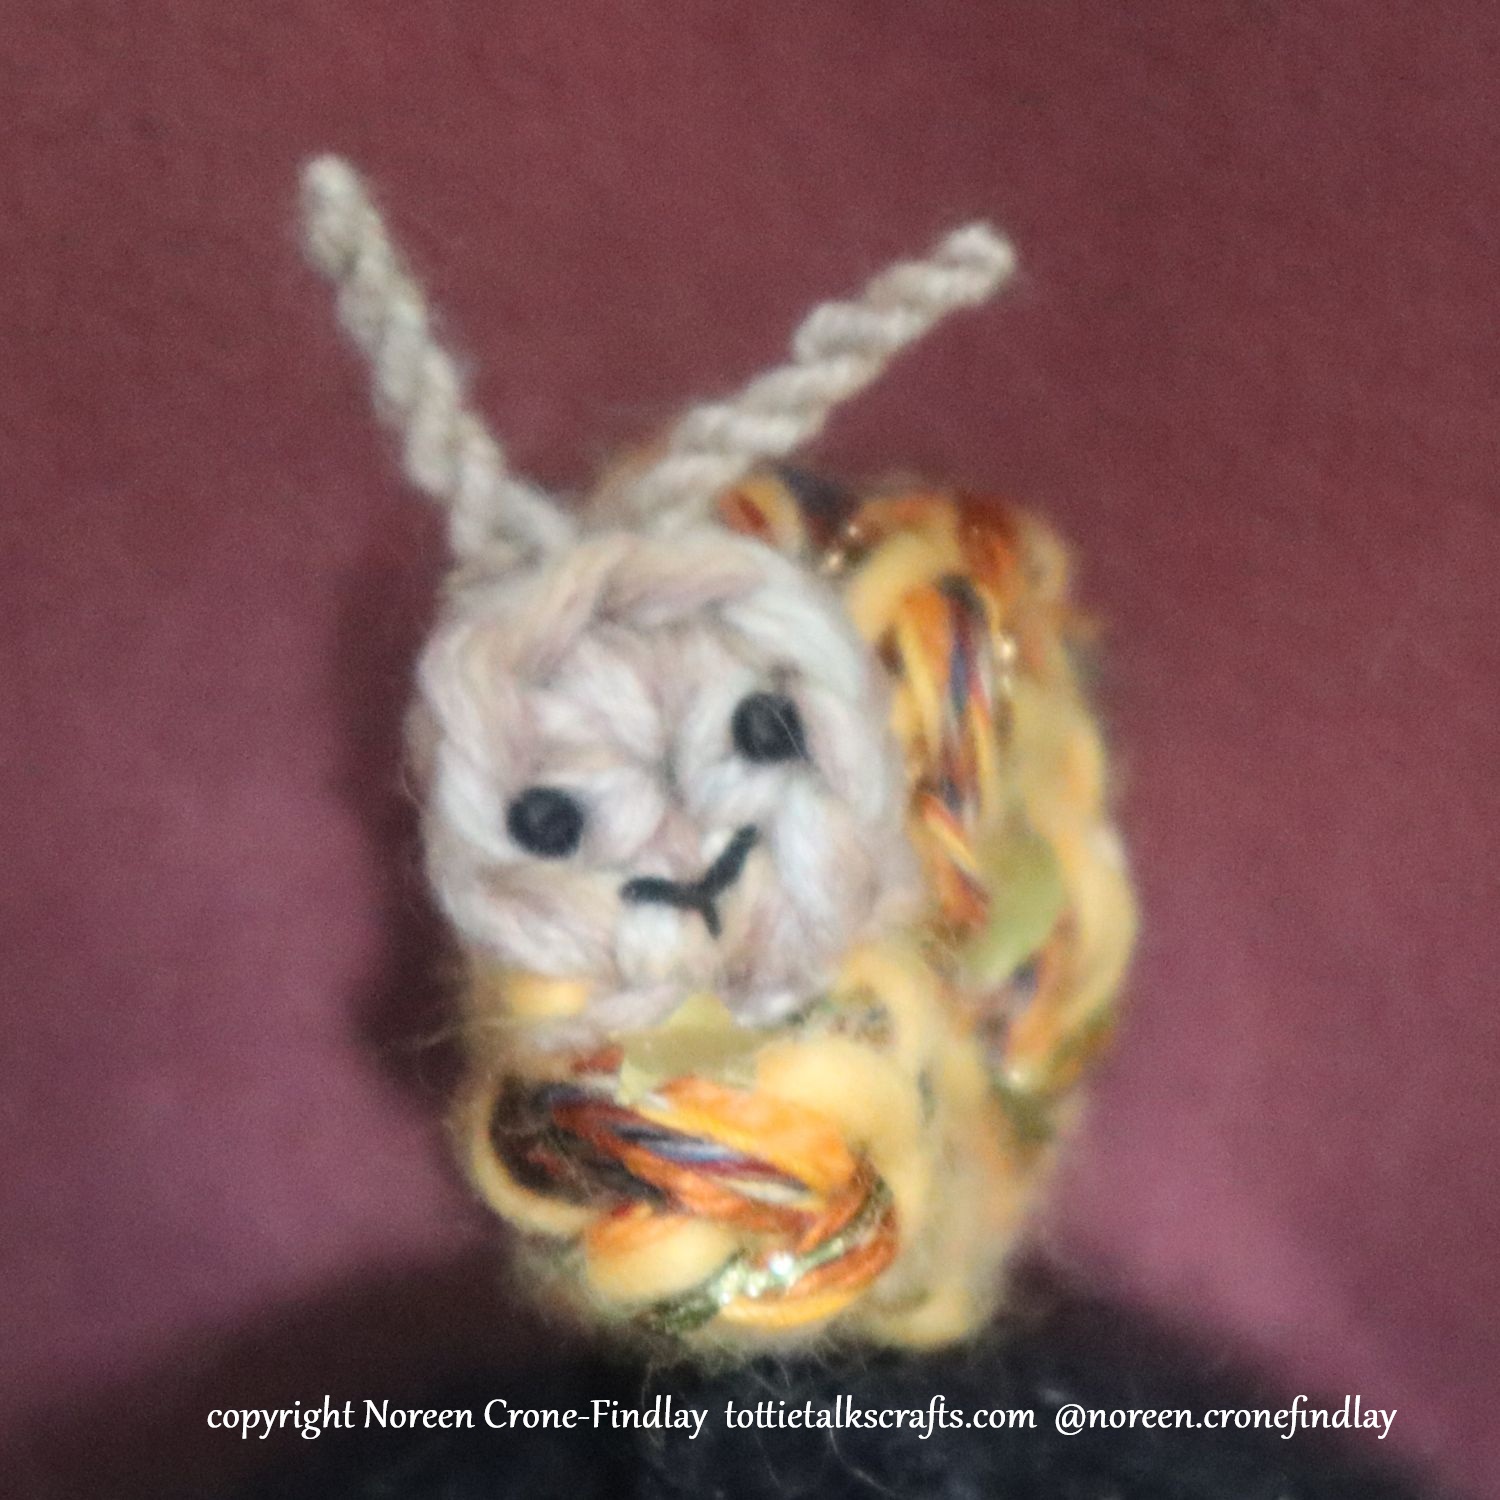
They delight me- I hope that they will offer you sweet dreams, and emotional support and comfort, too!
Throughout the amazing Artemis 2 Moon Mission, I worked away with my Lucet, experimenting to find ways of refining these snuggly Snails.
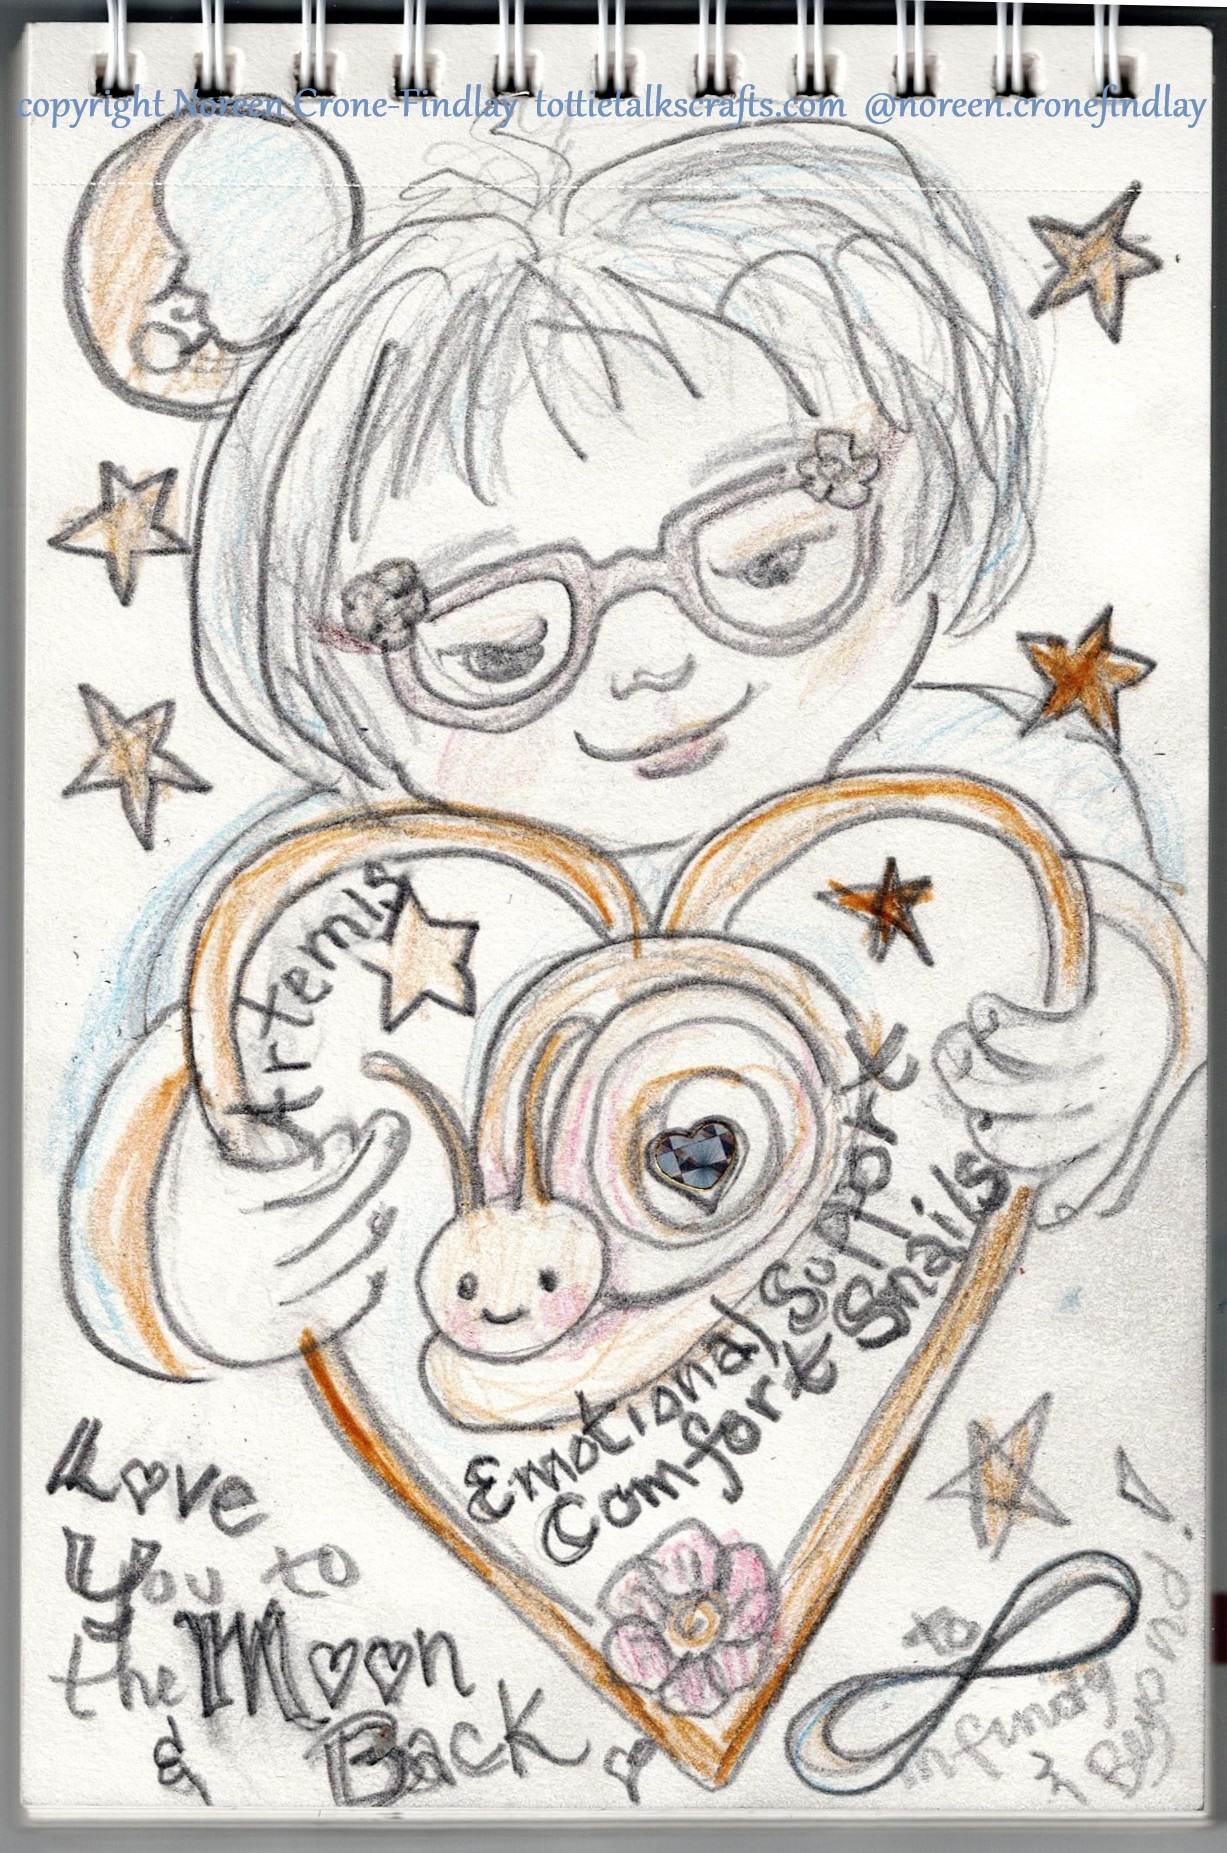
In one of the dreams that I had about these little Lucet Snails, they said that the Artemis Astronauts took us to the moon and back and showed us that we are all really made of stardust and love….
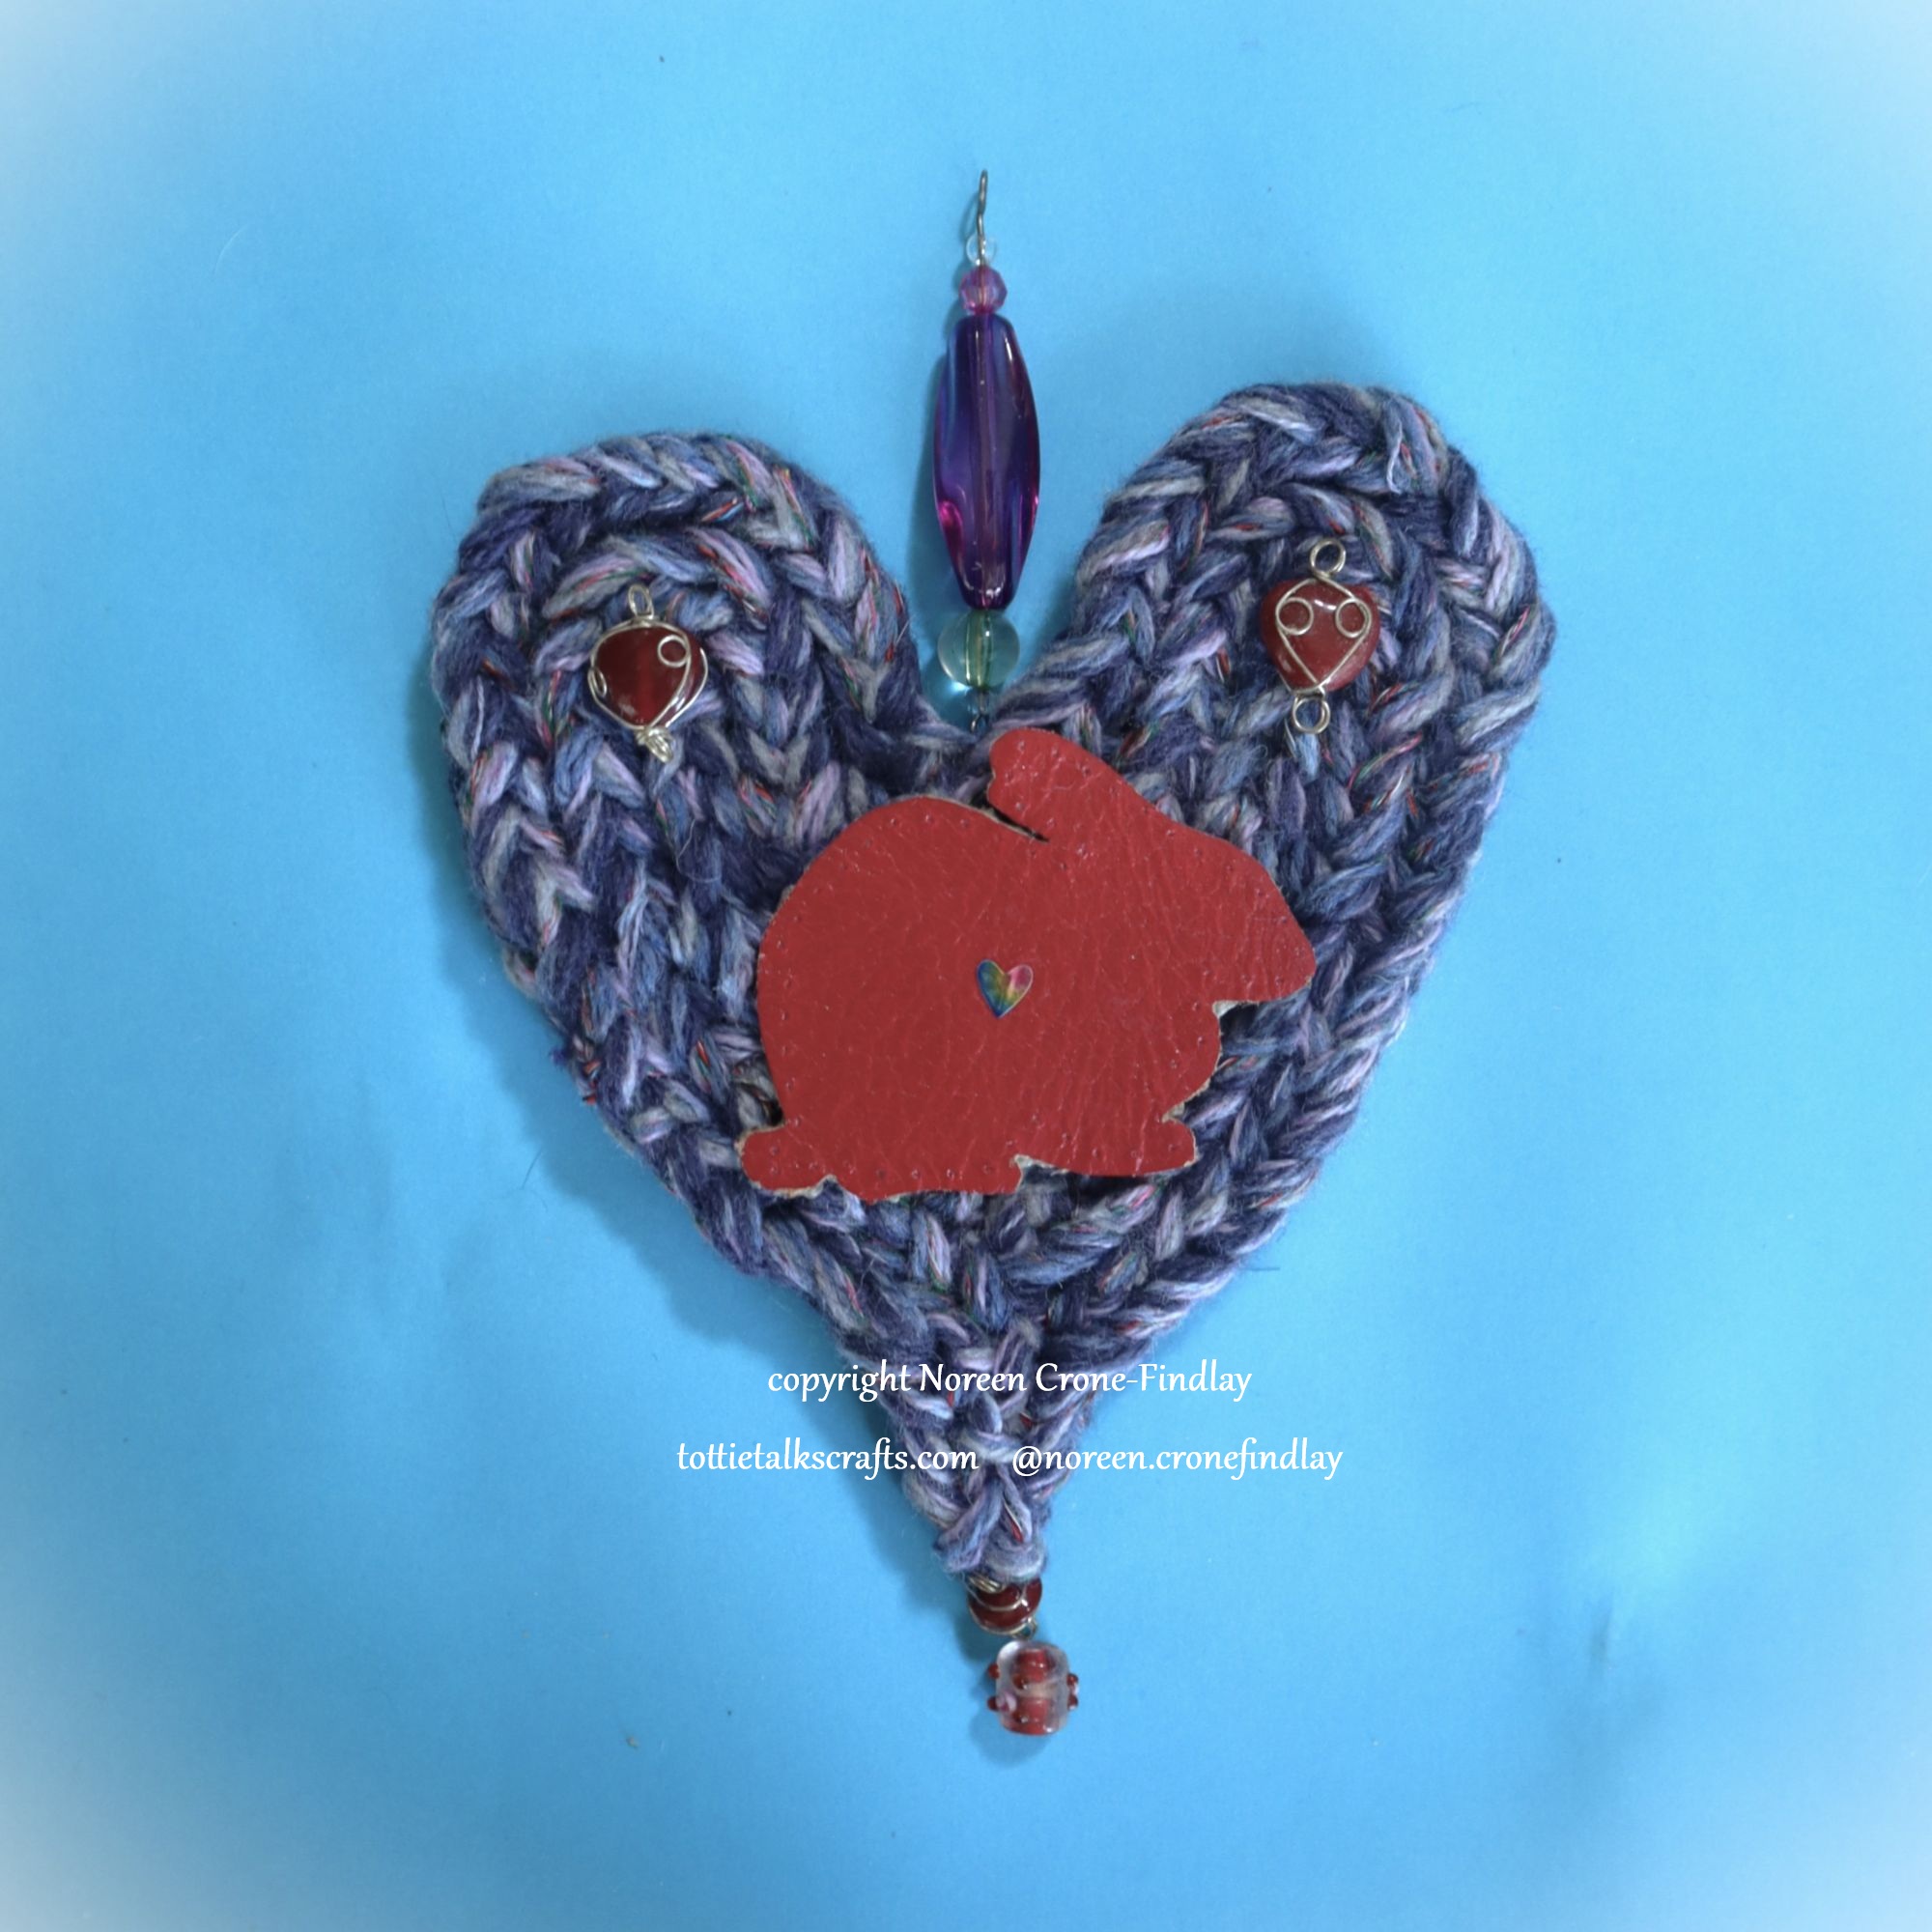
So the Sweet Dreams/Emotional Support /Comfort Snails have both hearts and stars on them so we will remember that lovely thought!
They also have Lucky Pennies inside them so they will always carry good luck and best wishes with them.
There is a link in the pattern for a how to video that has step by step instructions on how to make an upcycled chopstick Lucet.
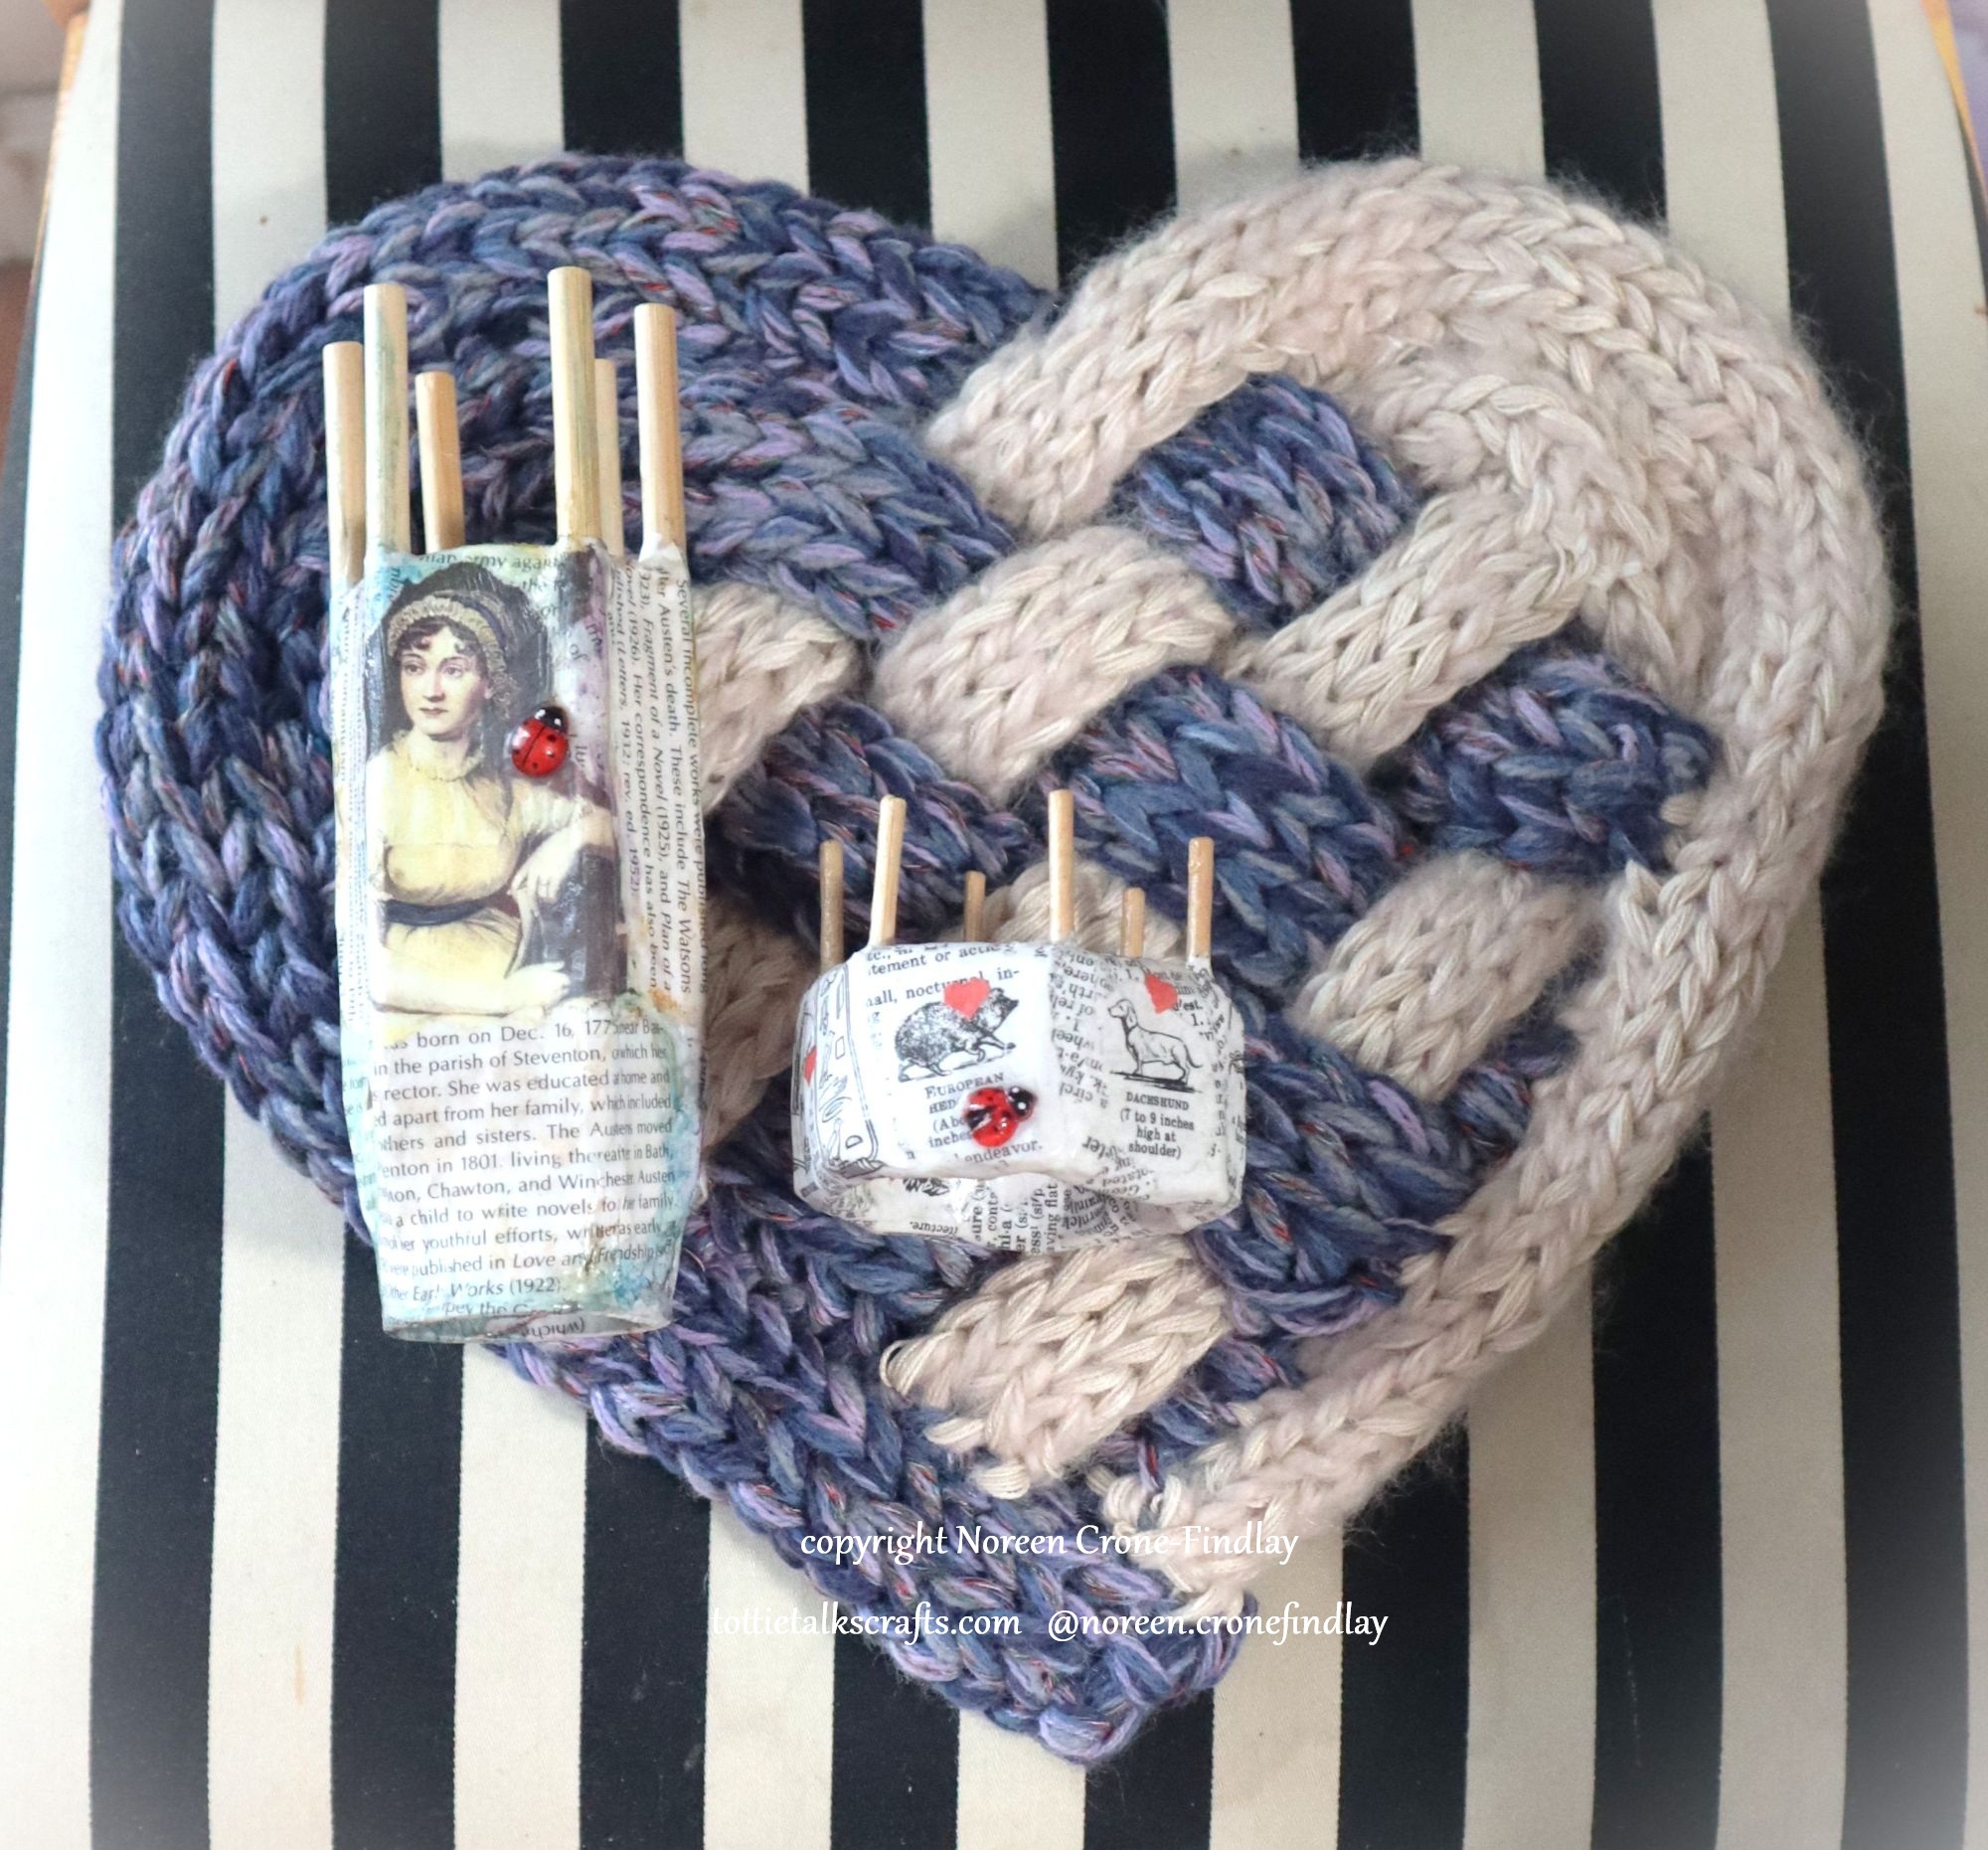
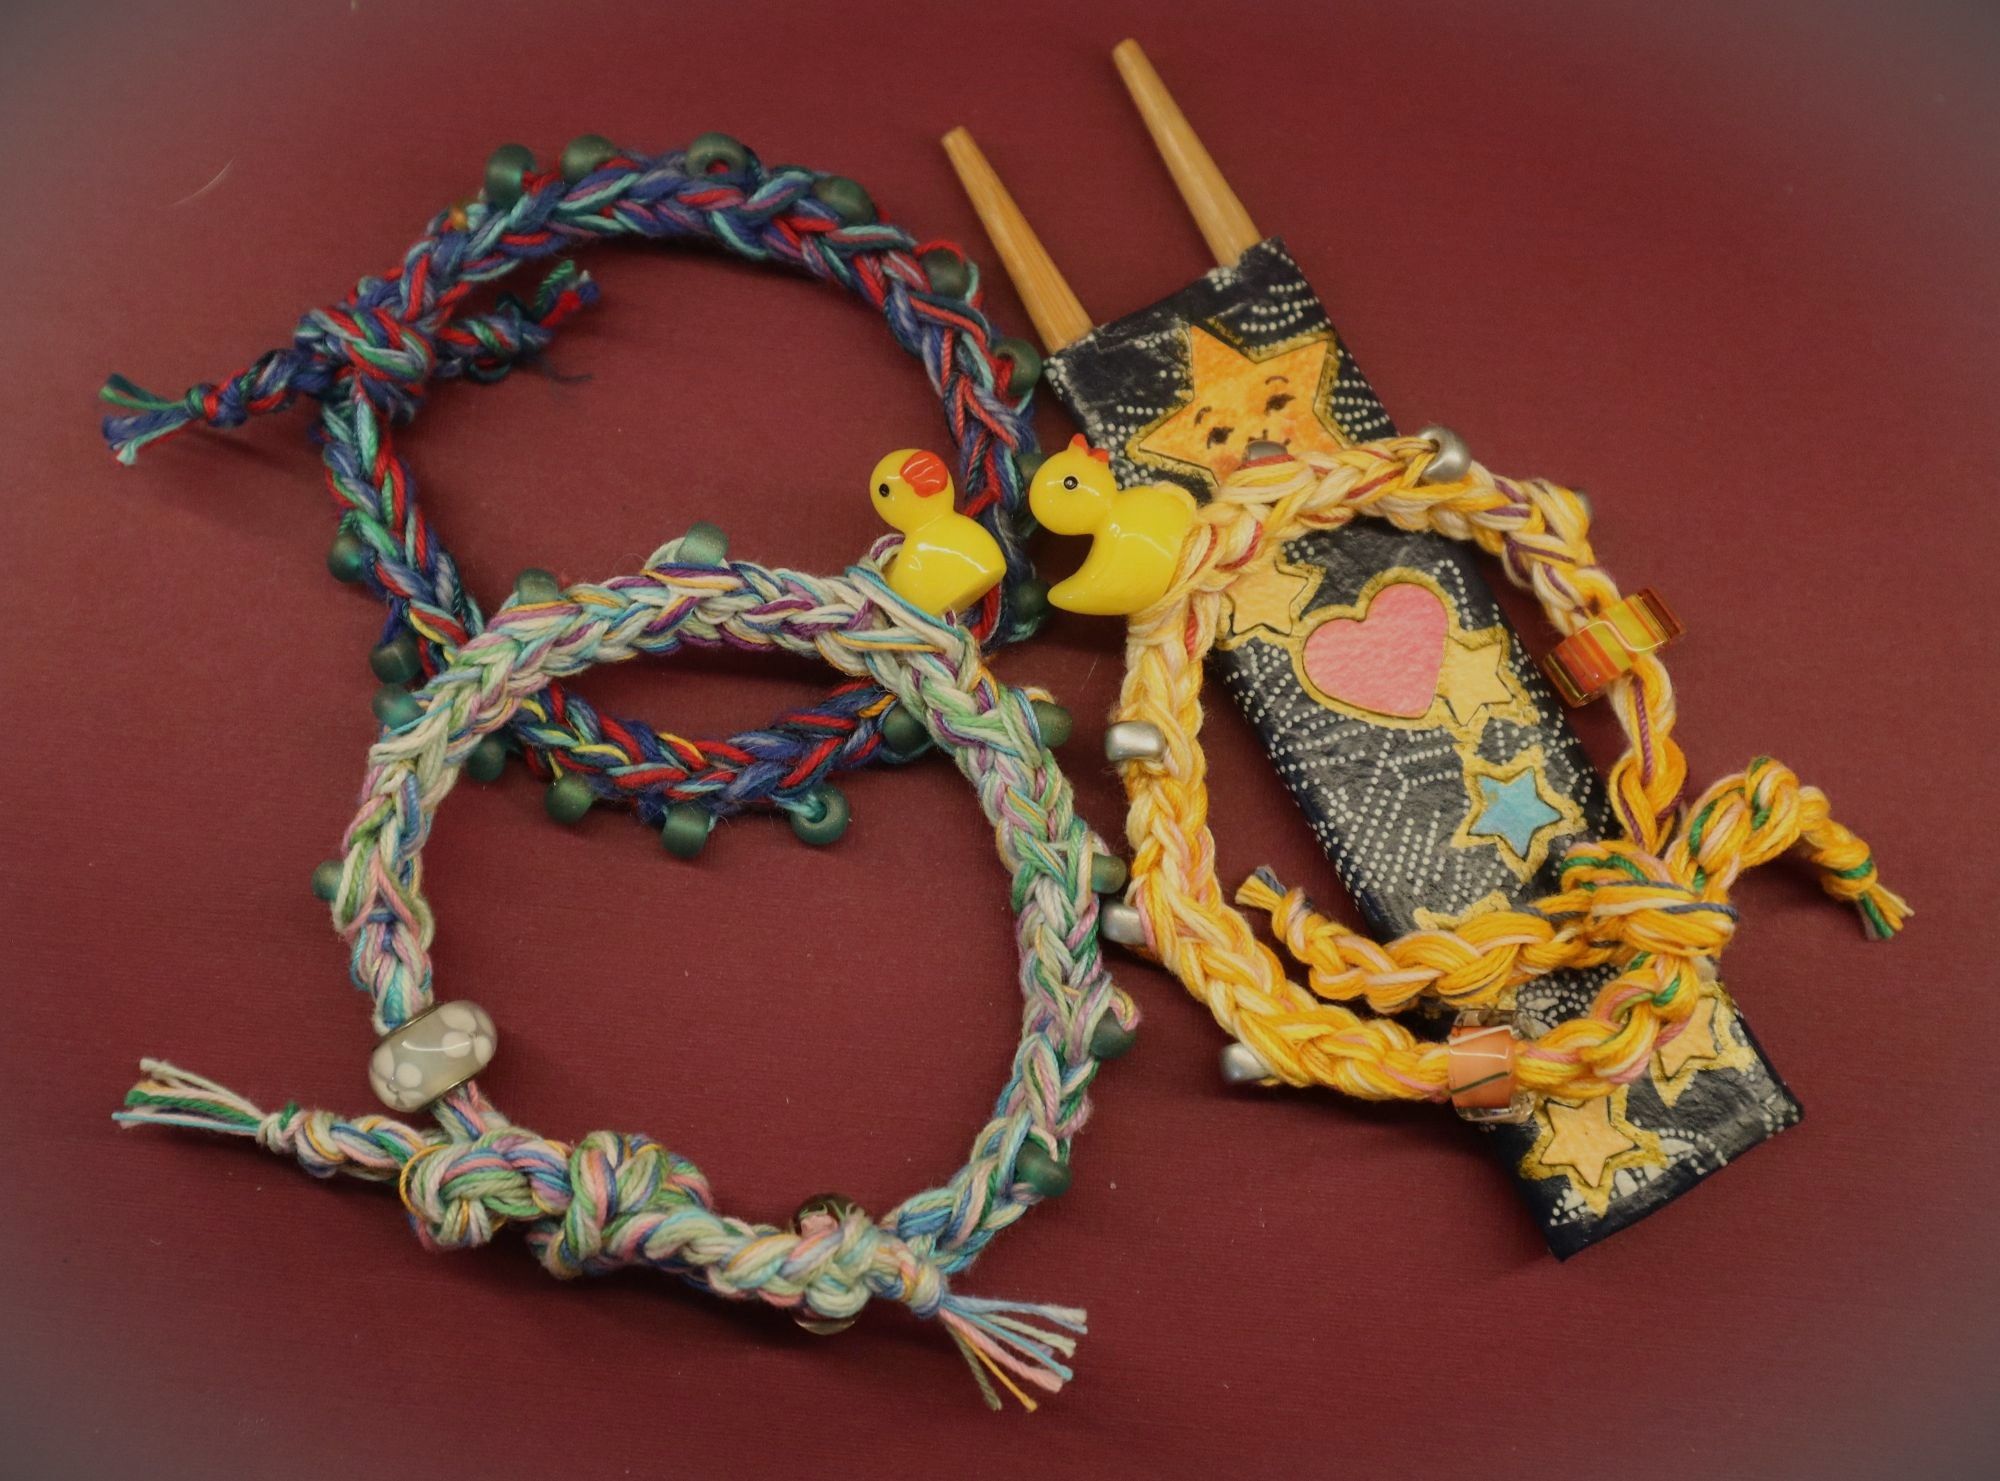
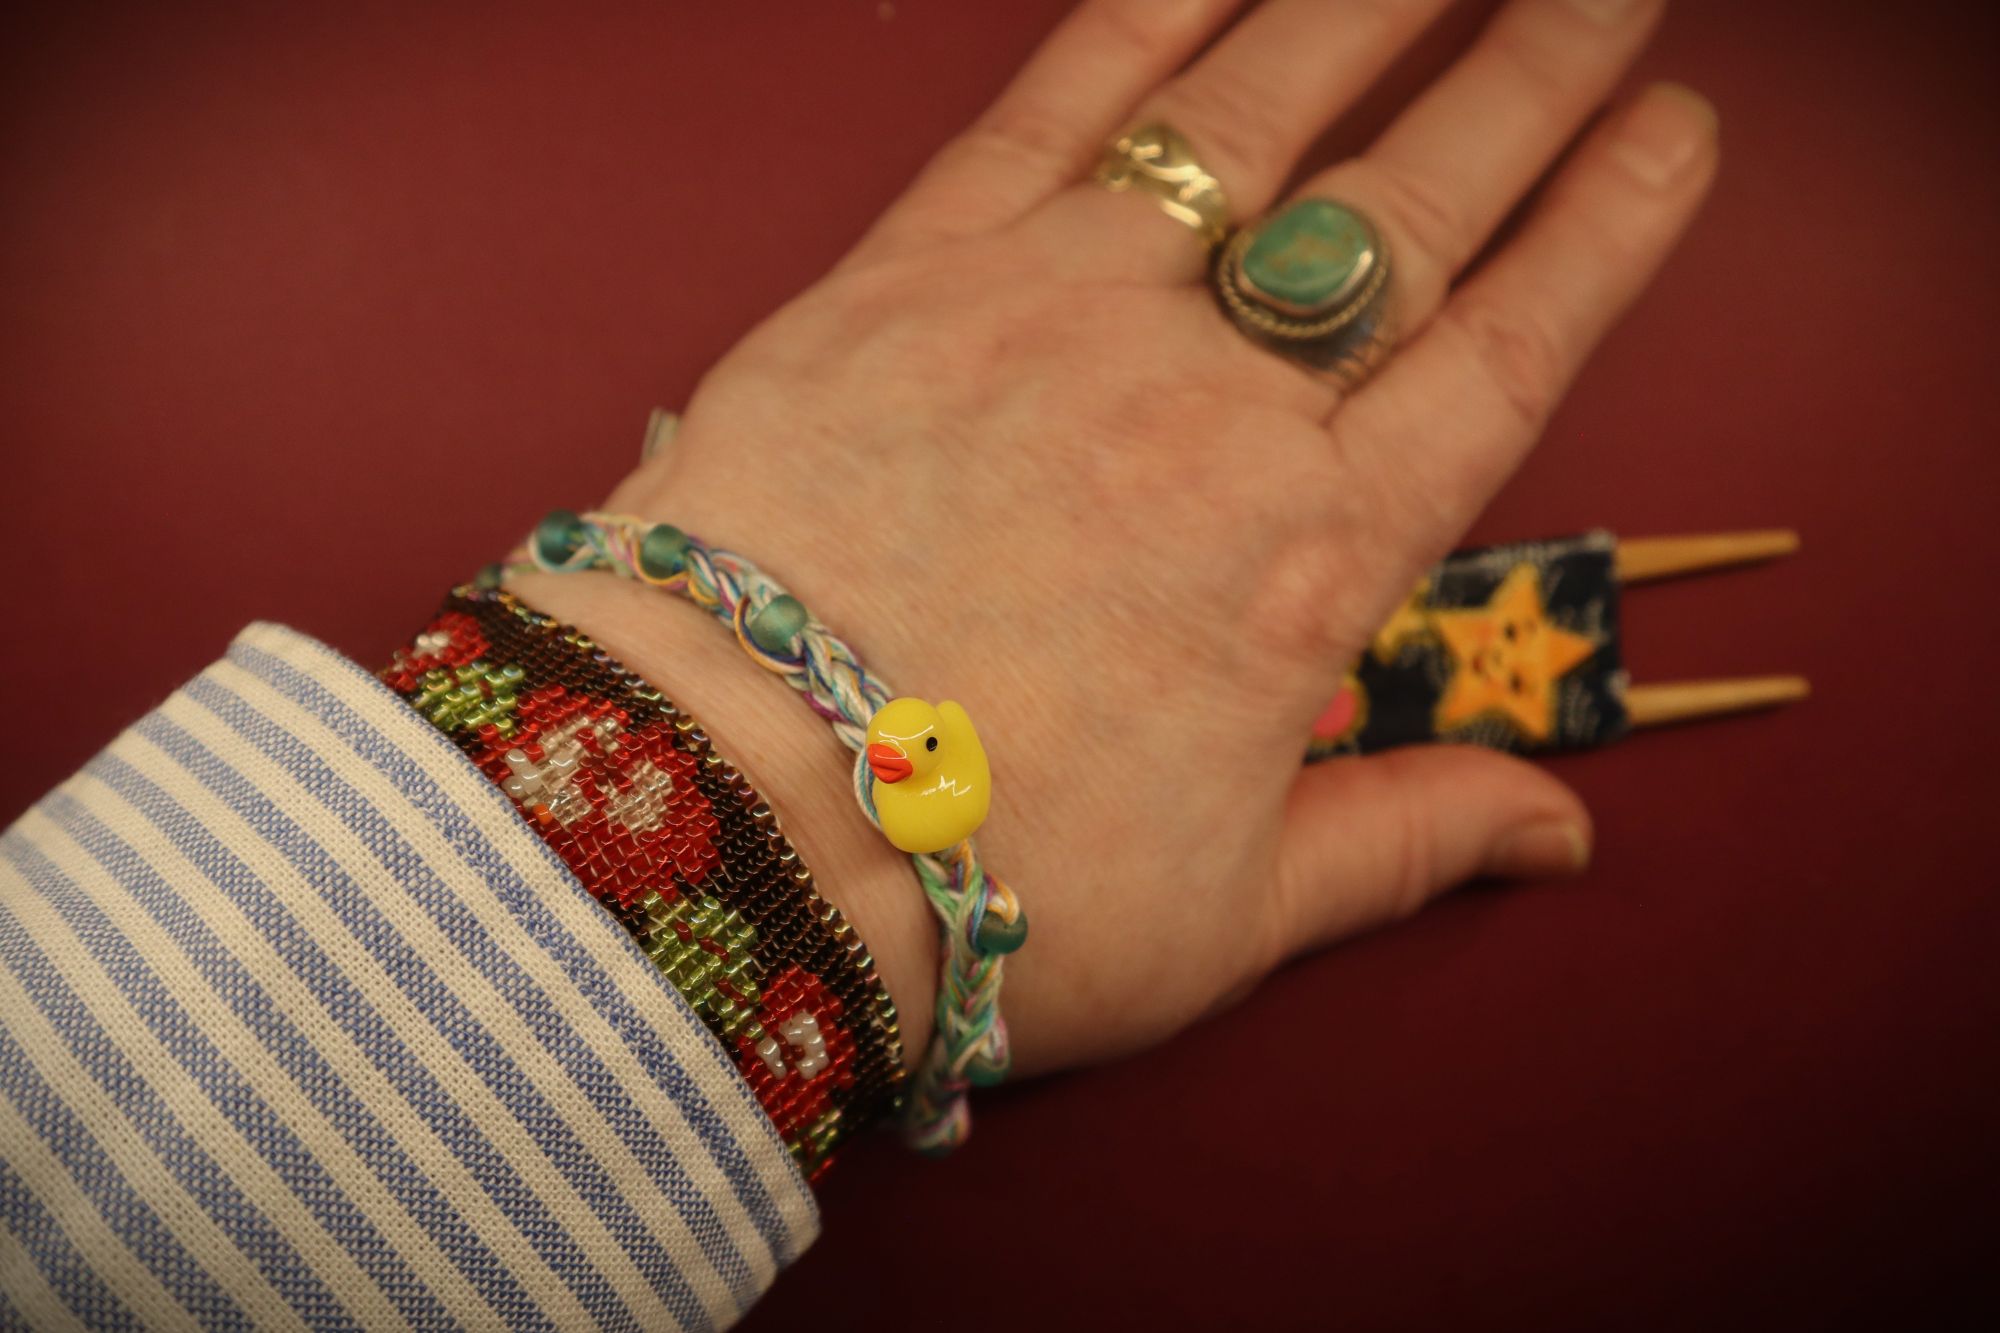
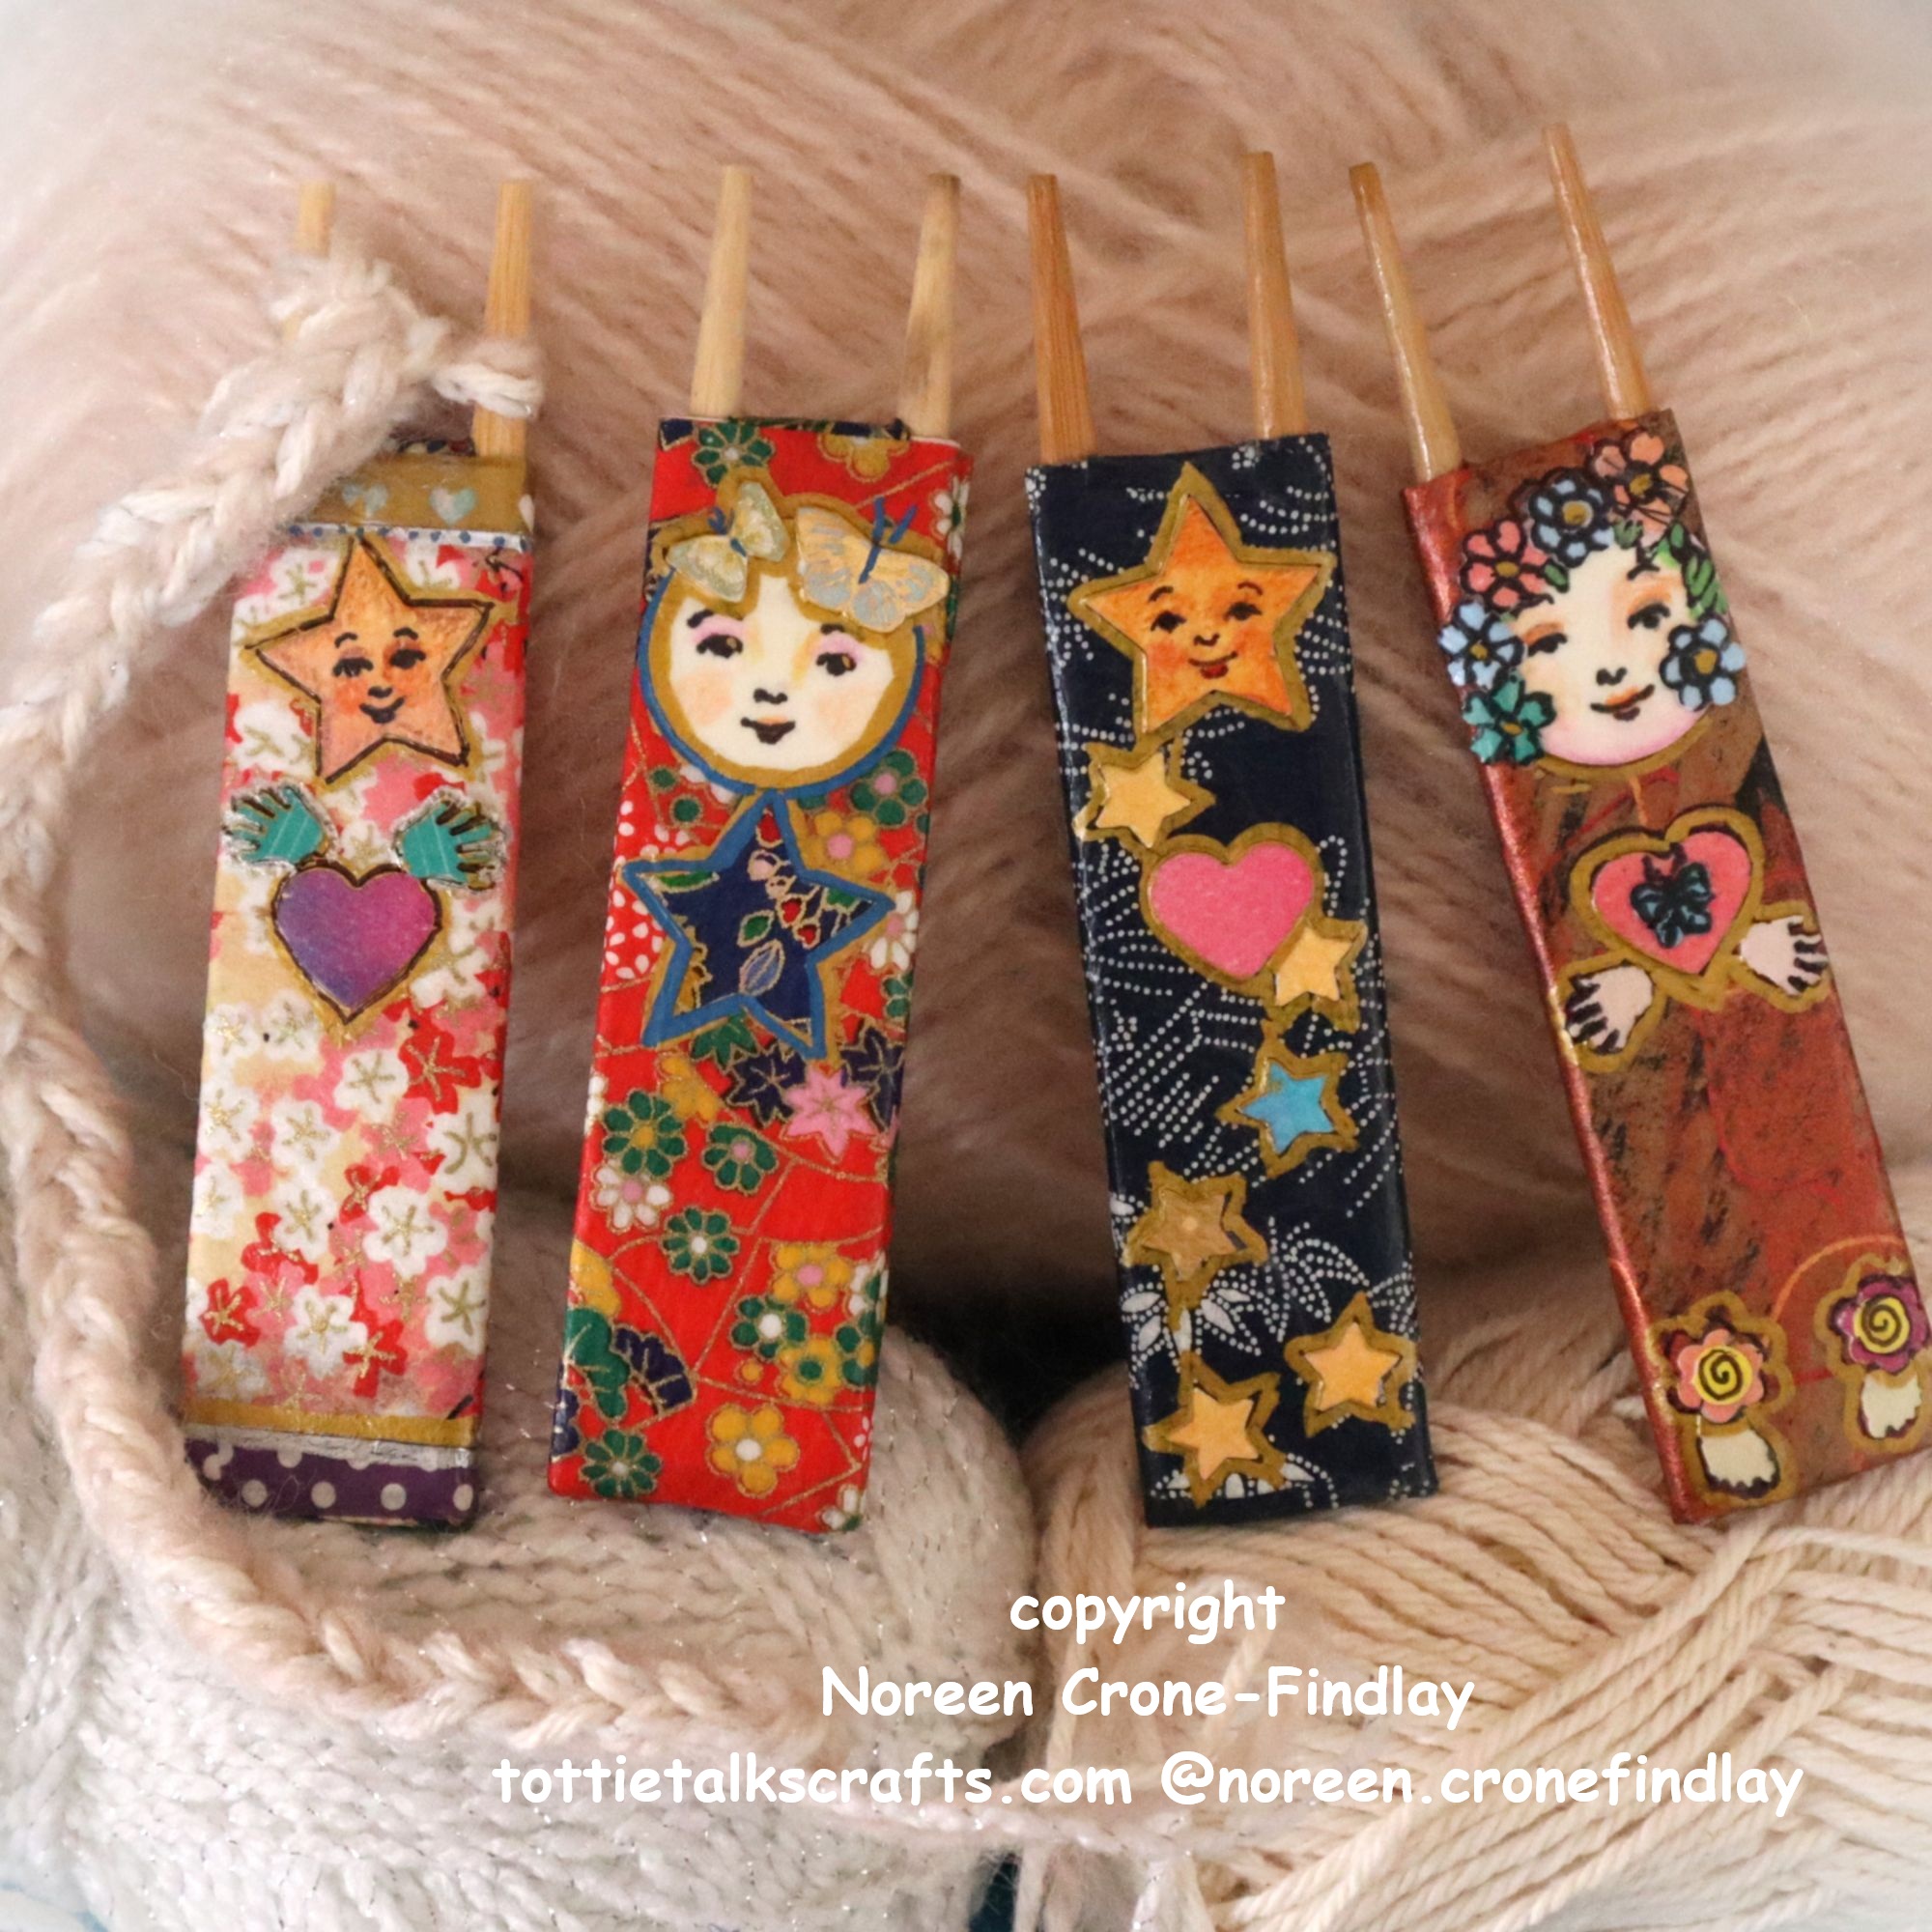
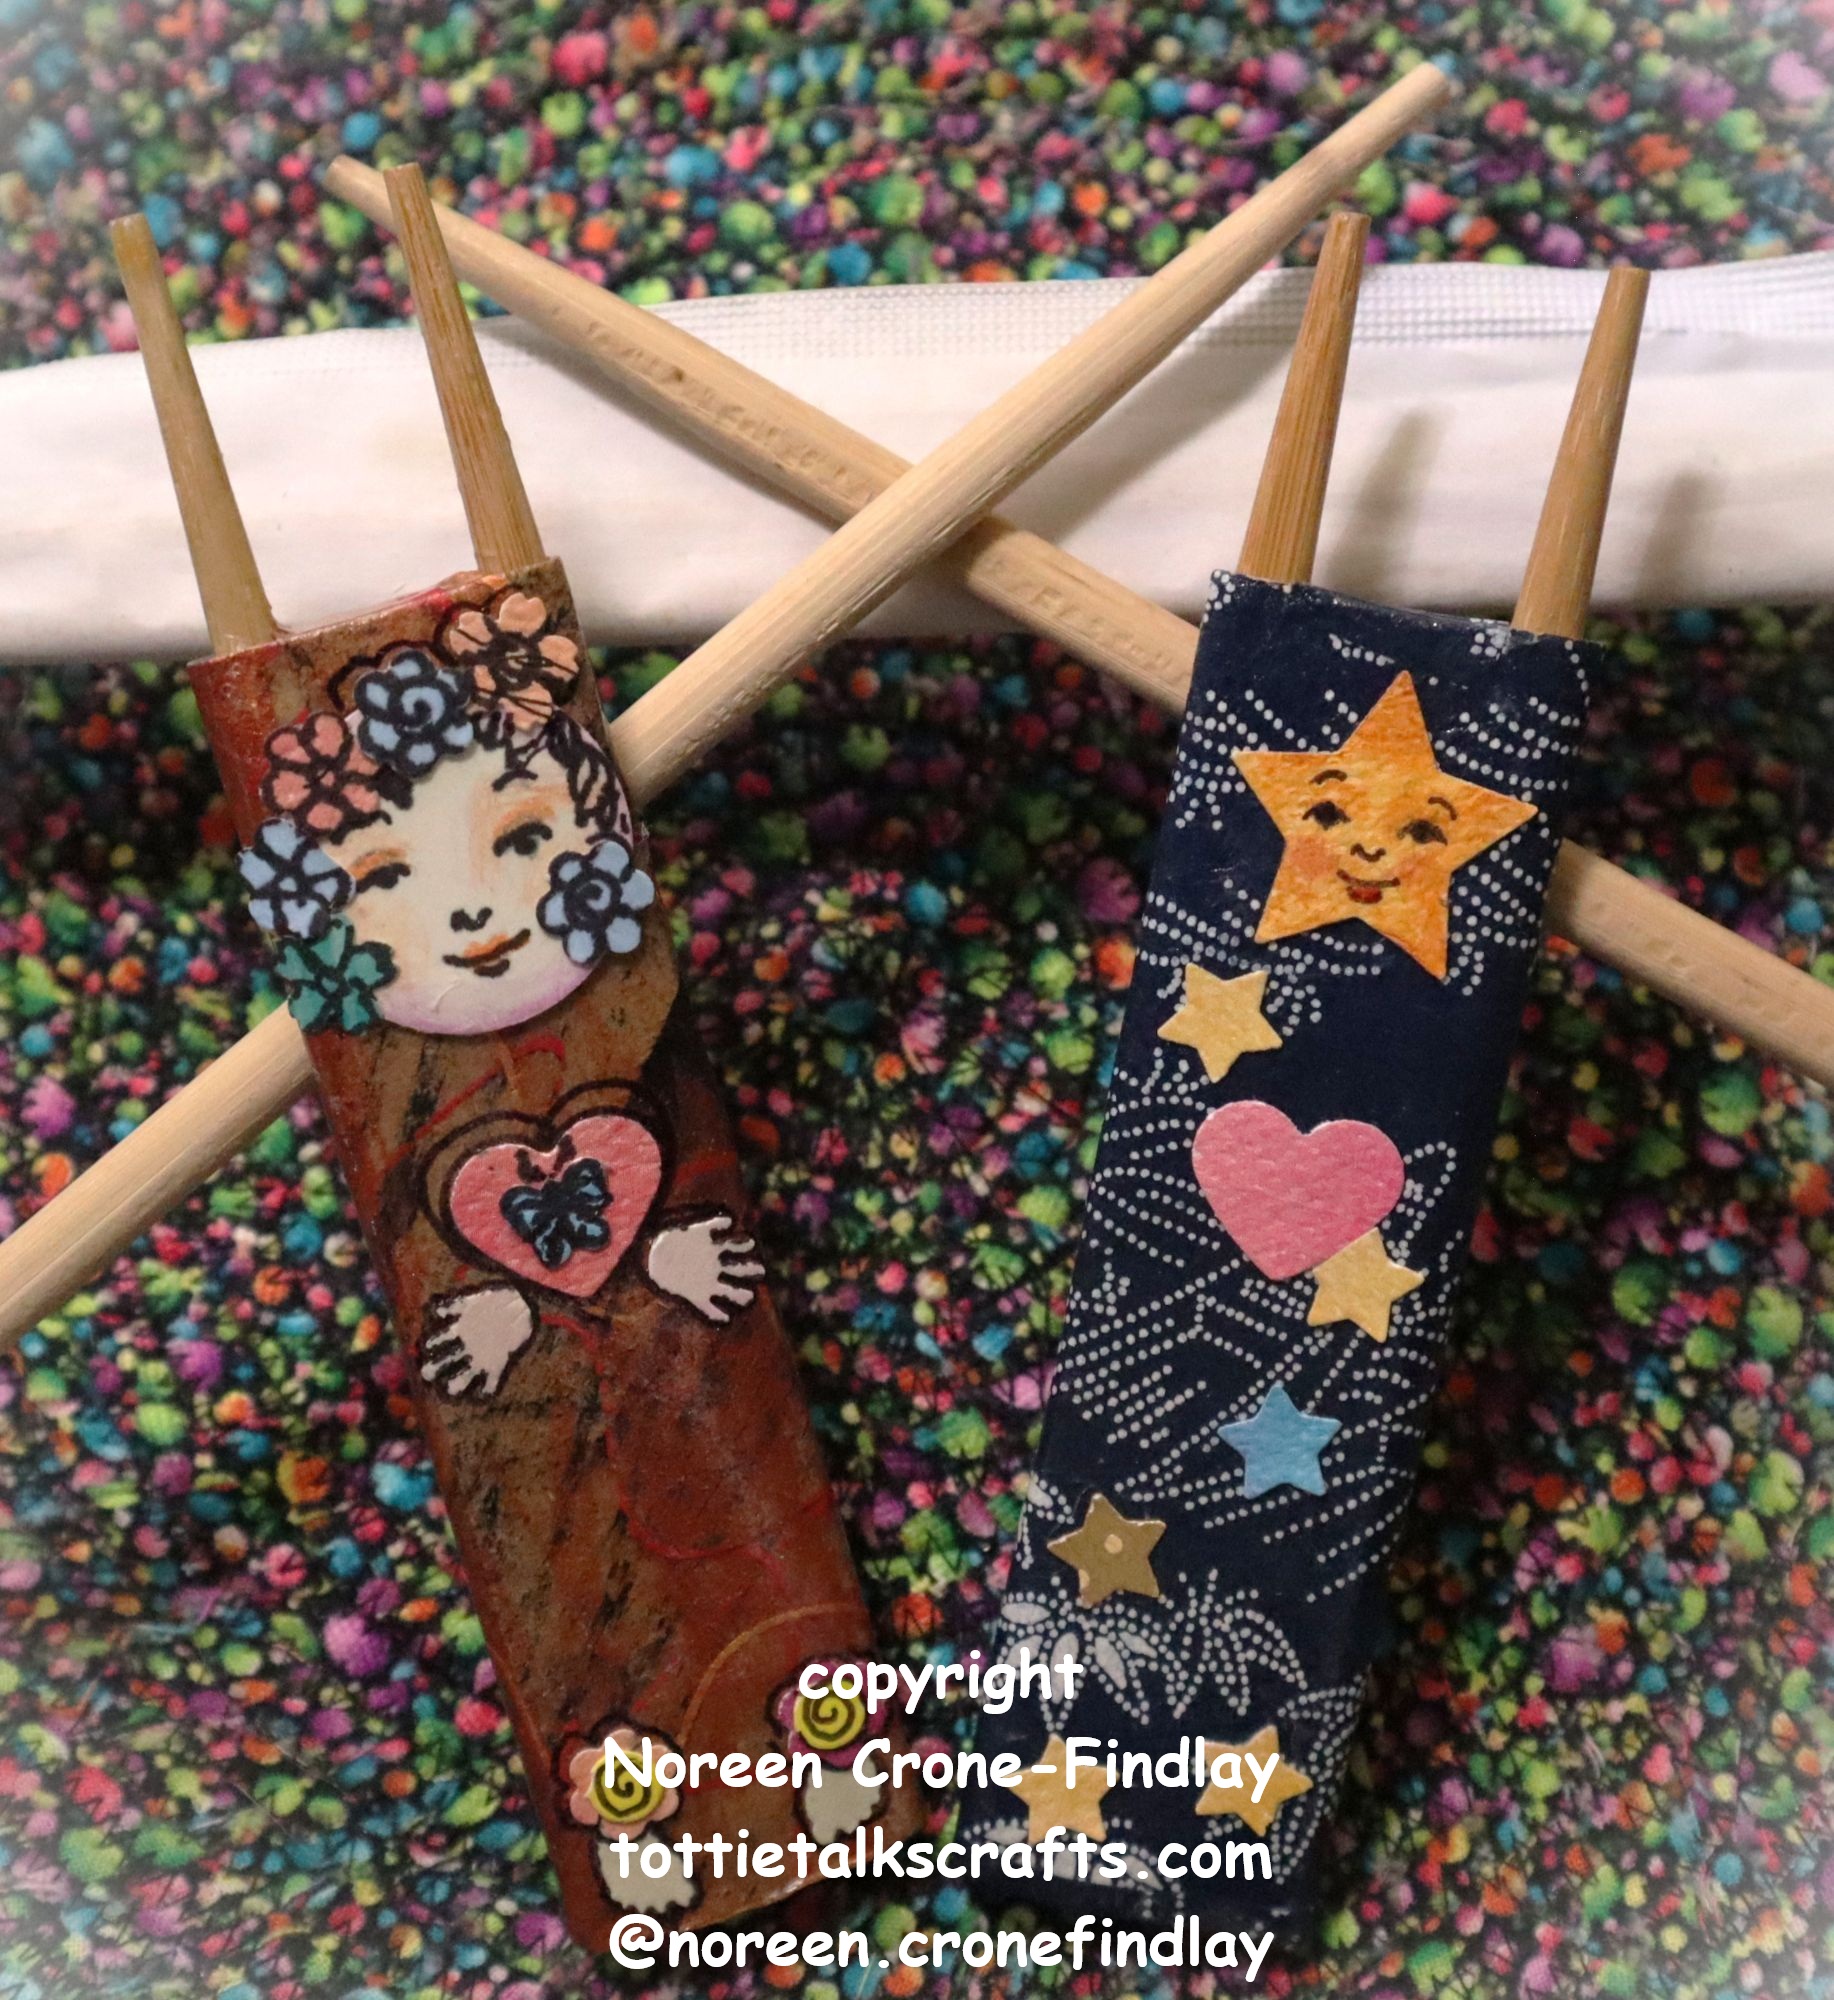
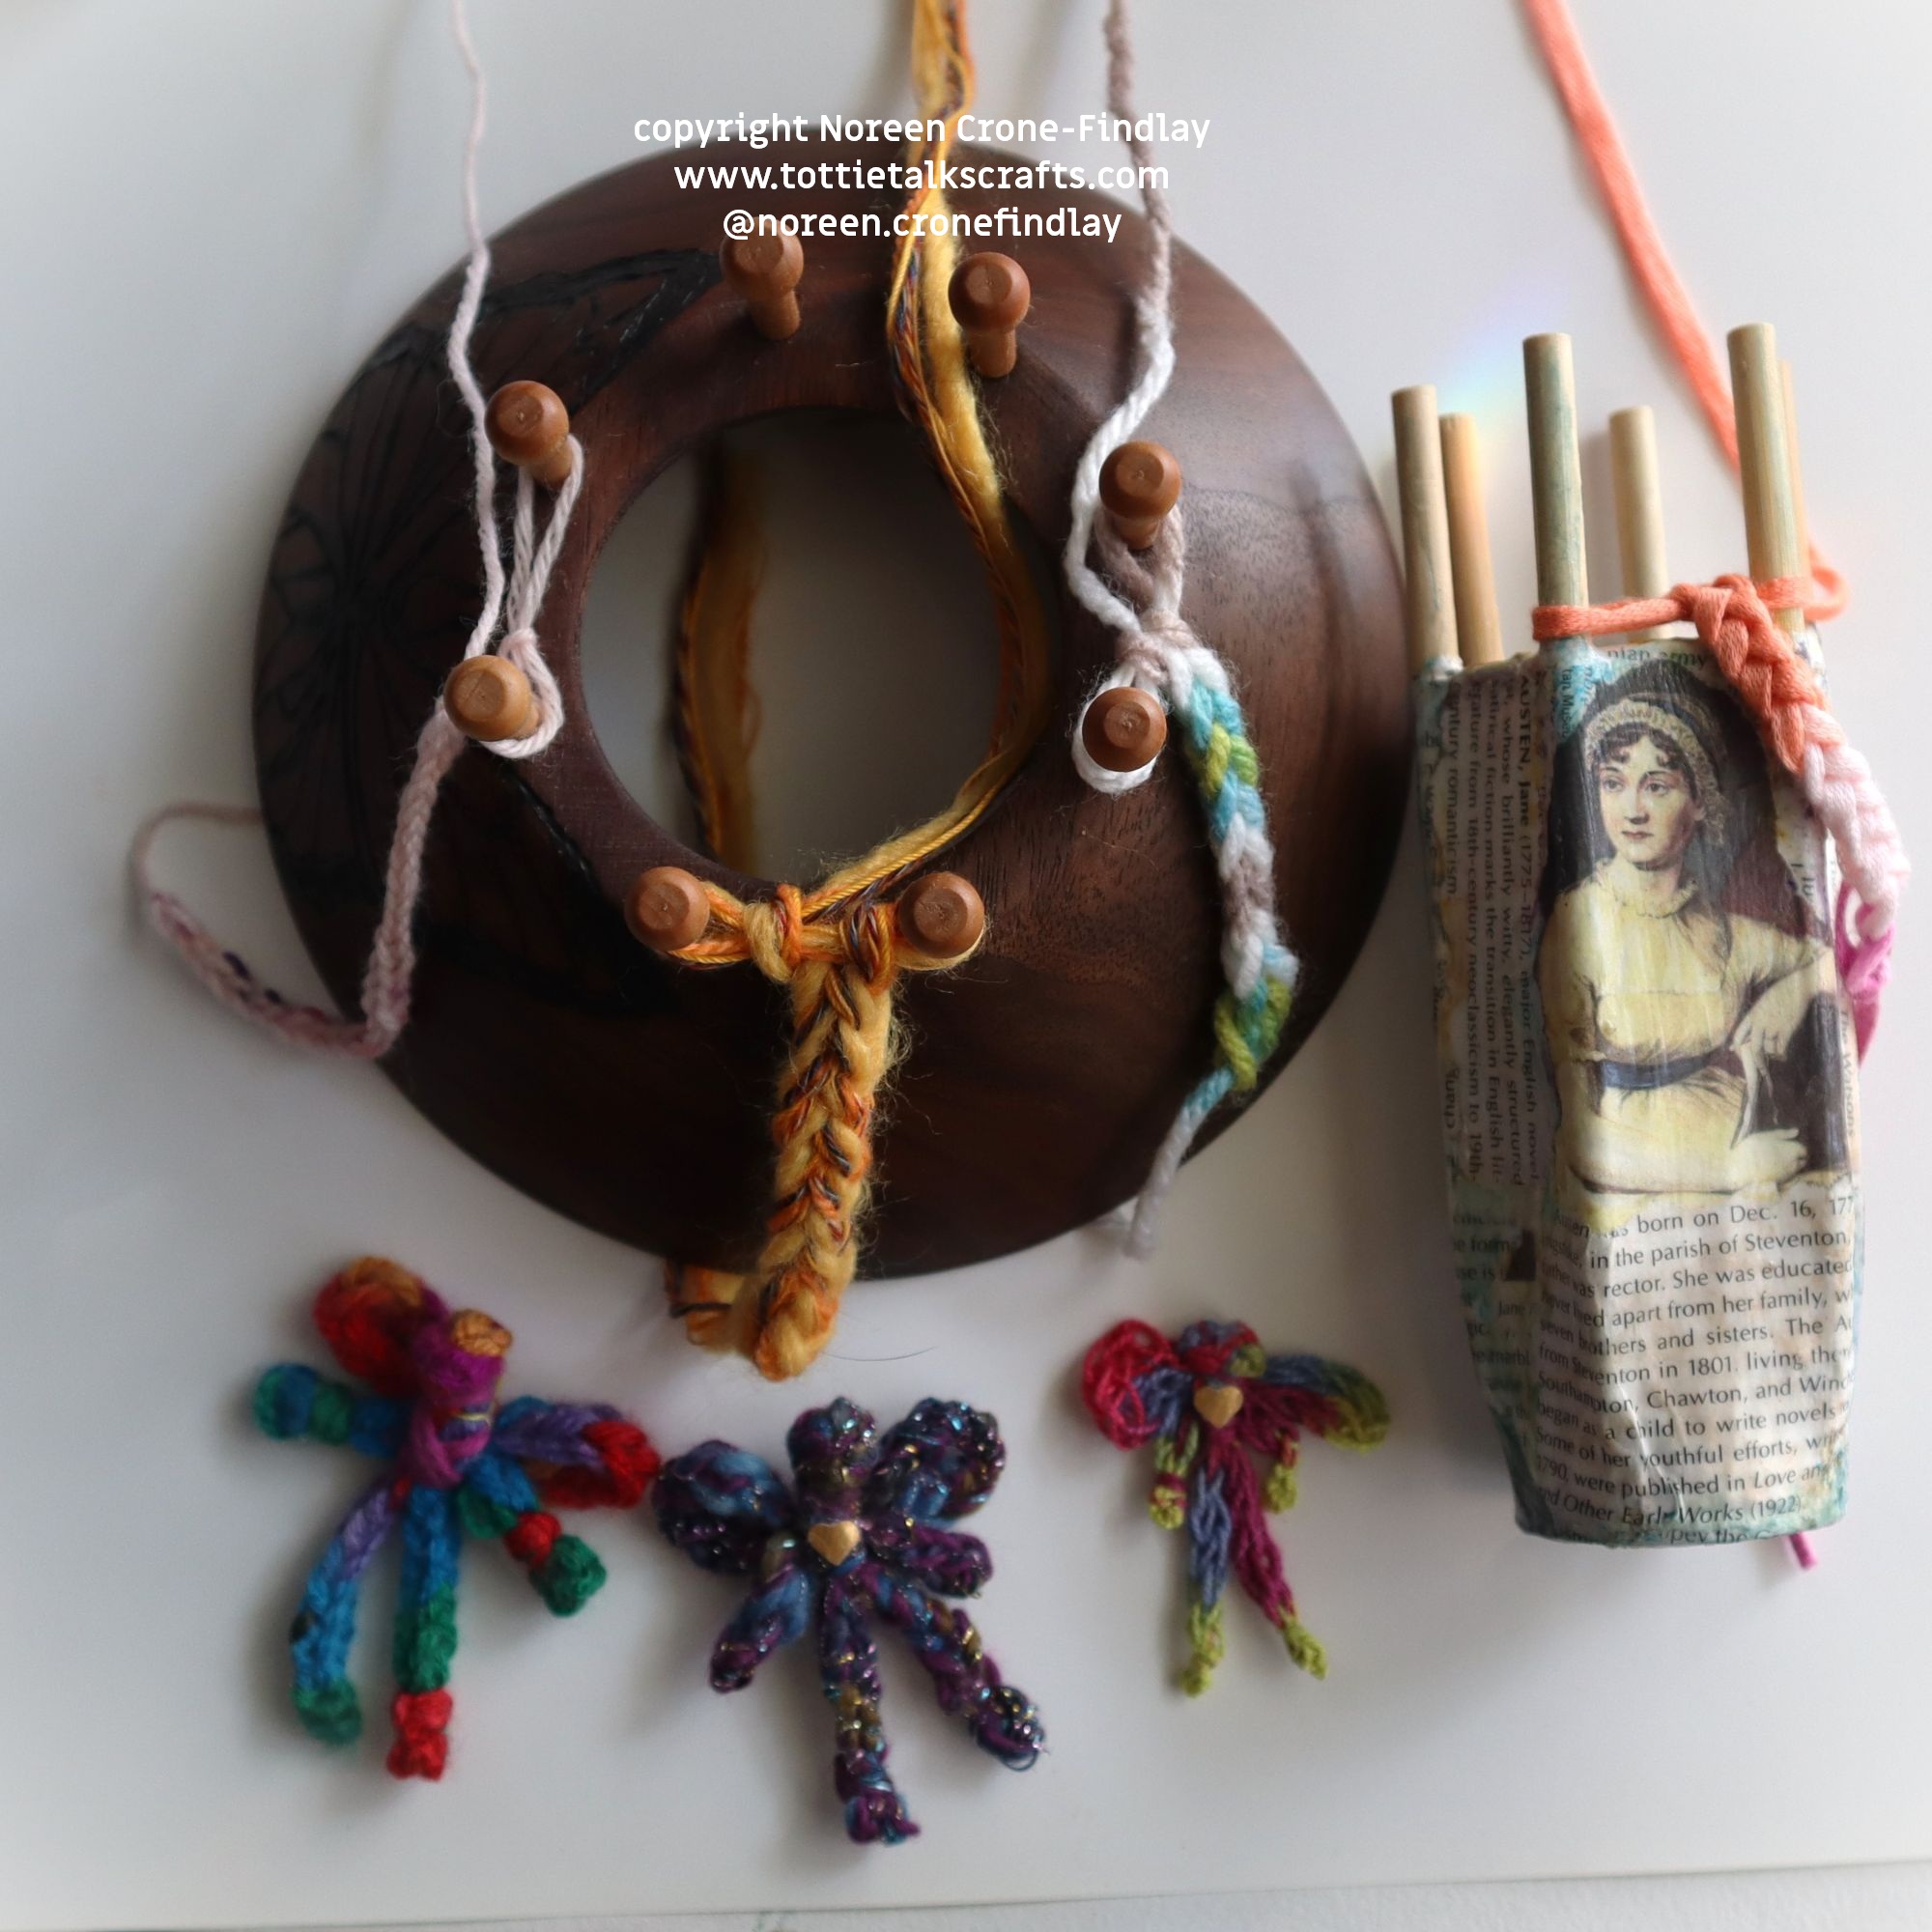
Day 42 of #100daysofspoolknittersandlittlelooms- How to Make a Lucet from Upcycled Chopsticks and How to Make Lucet Cord with it
One of the unexpected bonuses of doing the 100 Day Project is that it reminds me of things that I have designed and then set aside and forgotten.
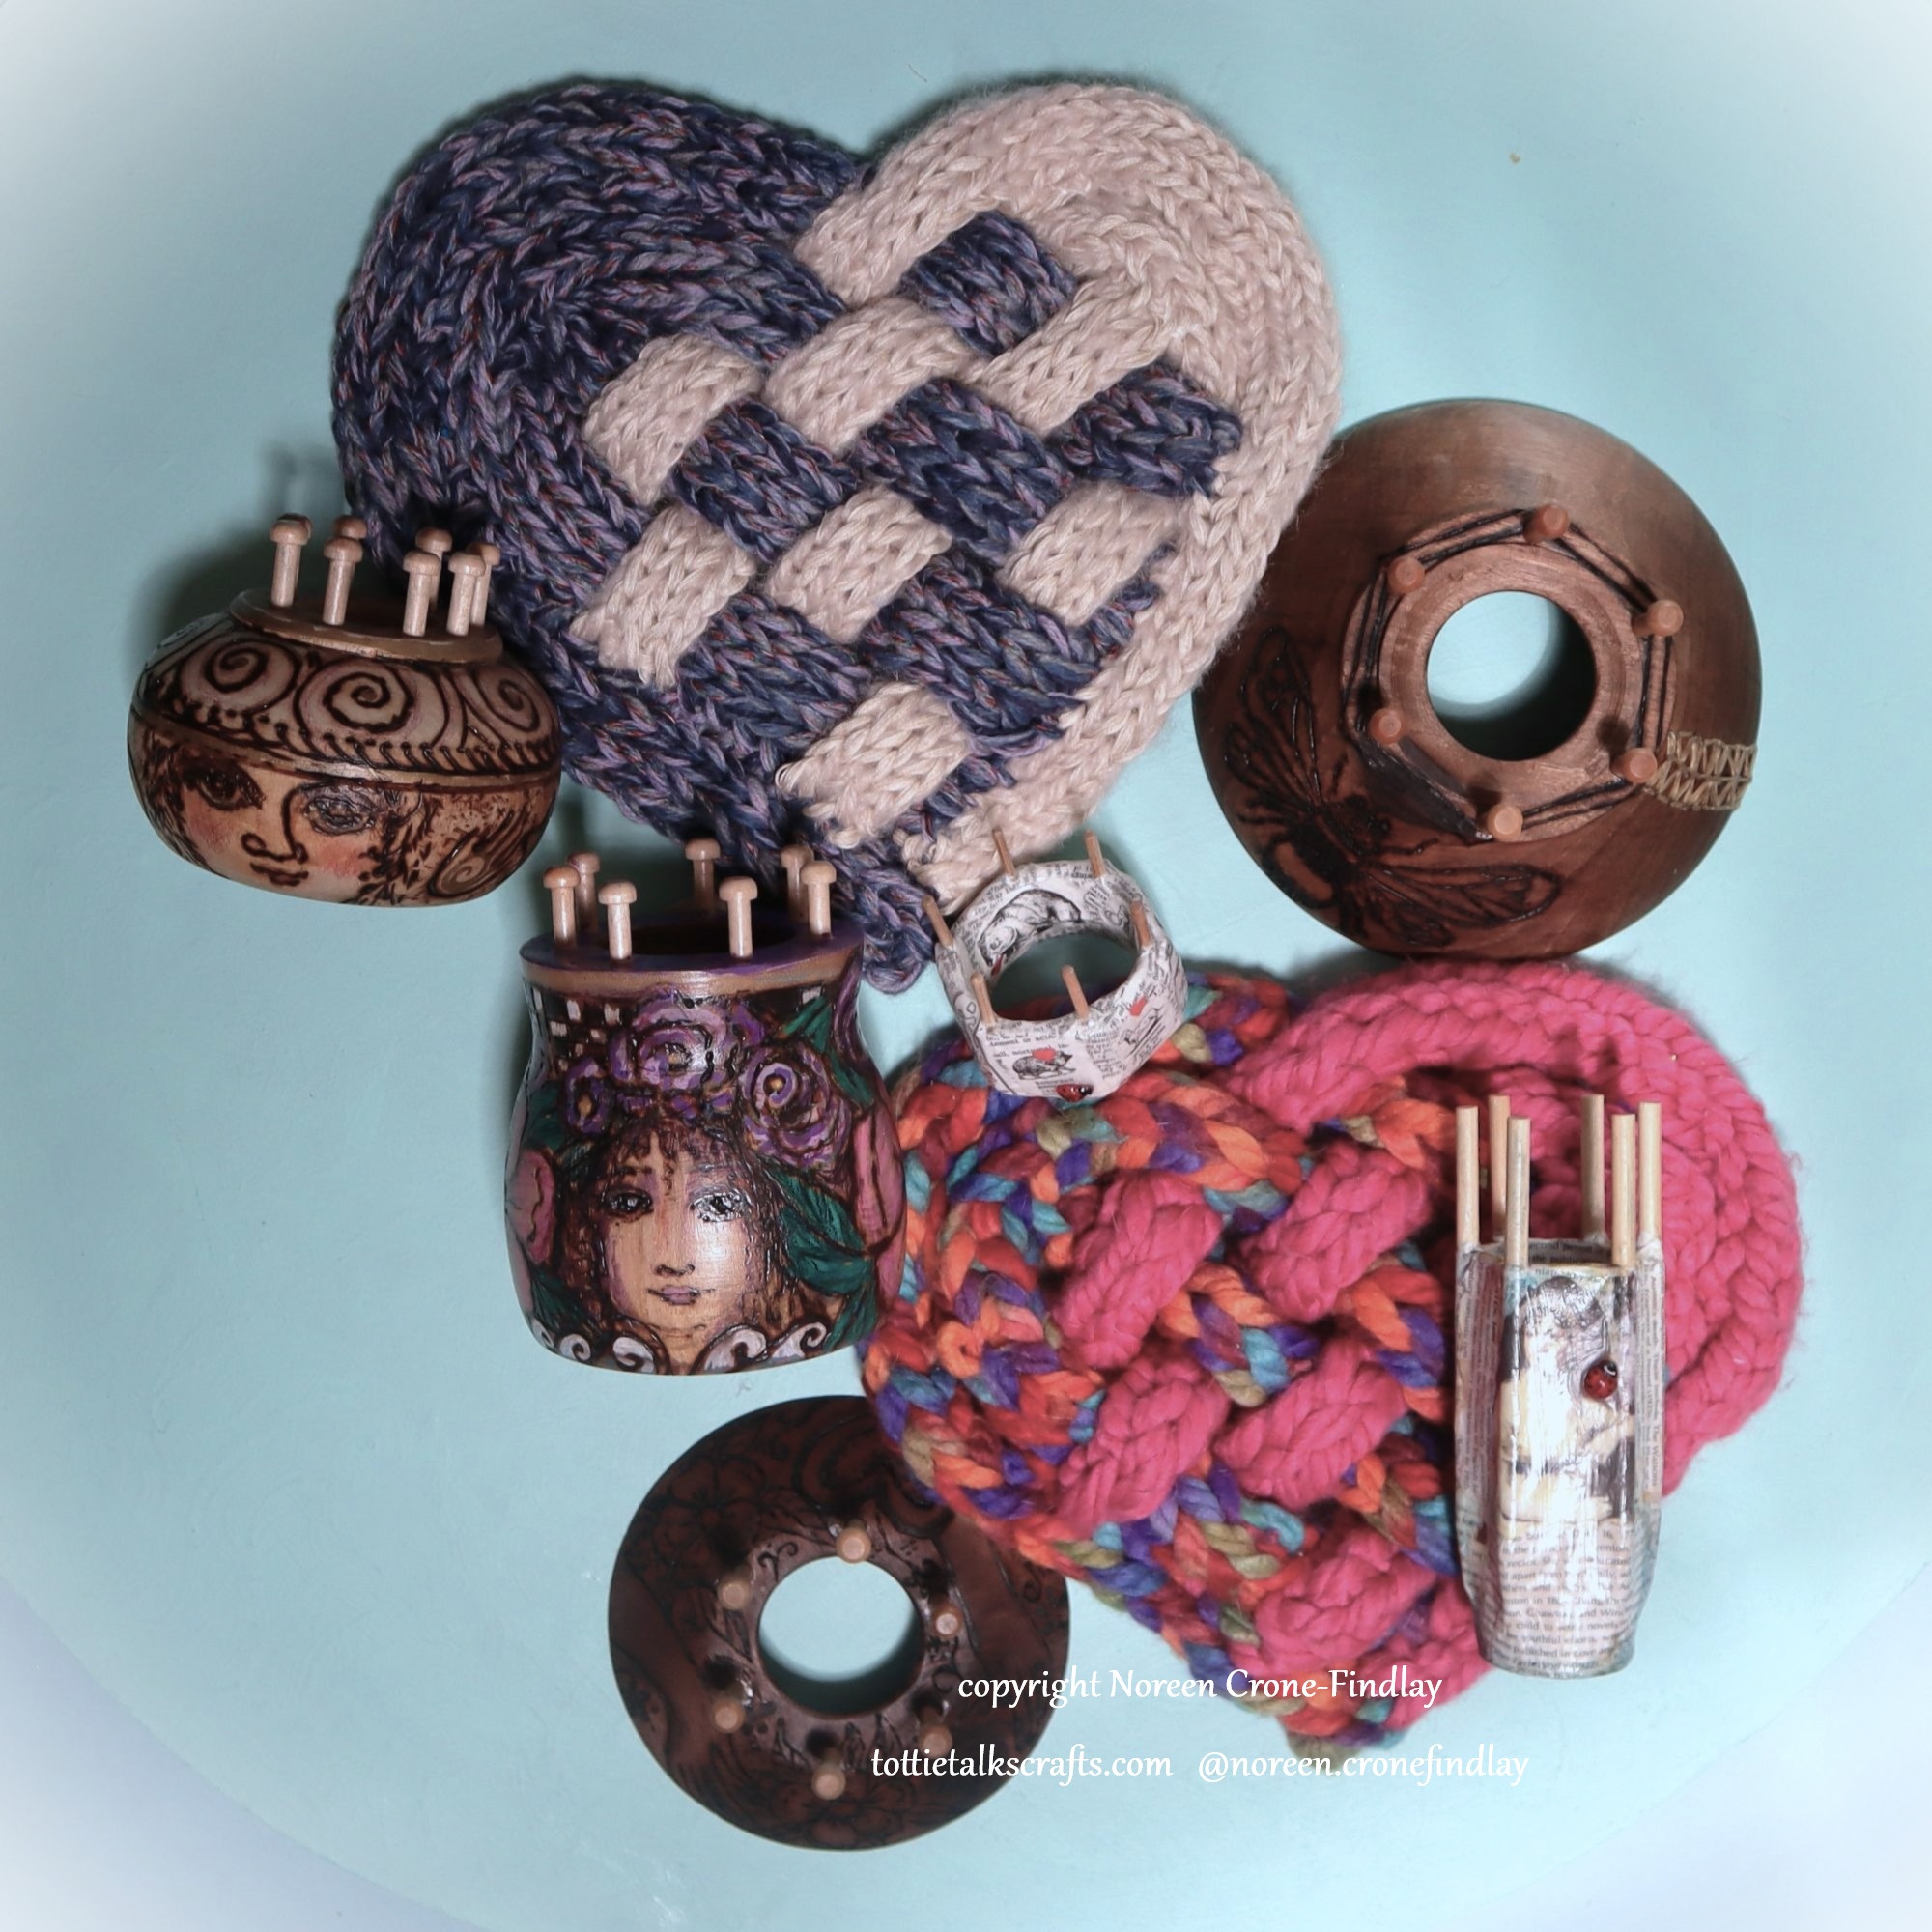
One of those things is the delightful Lucet Cord maker (Lucets are flat 2 peg spool knitters) that I use upcycled chopsticks to make. They are such a pleasure to work with and I love making cord with them.
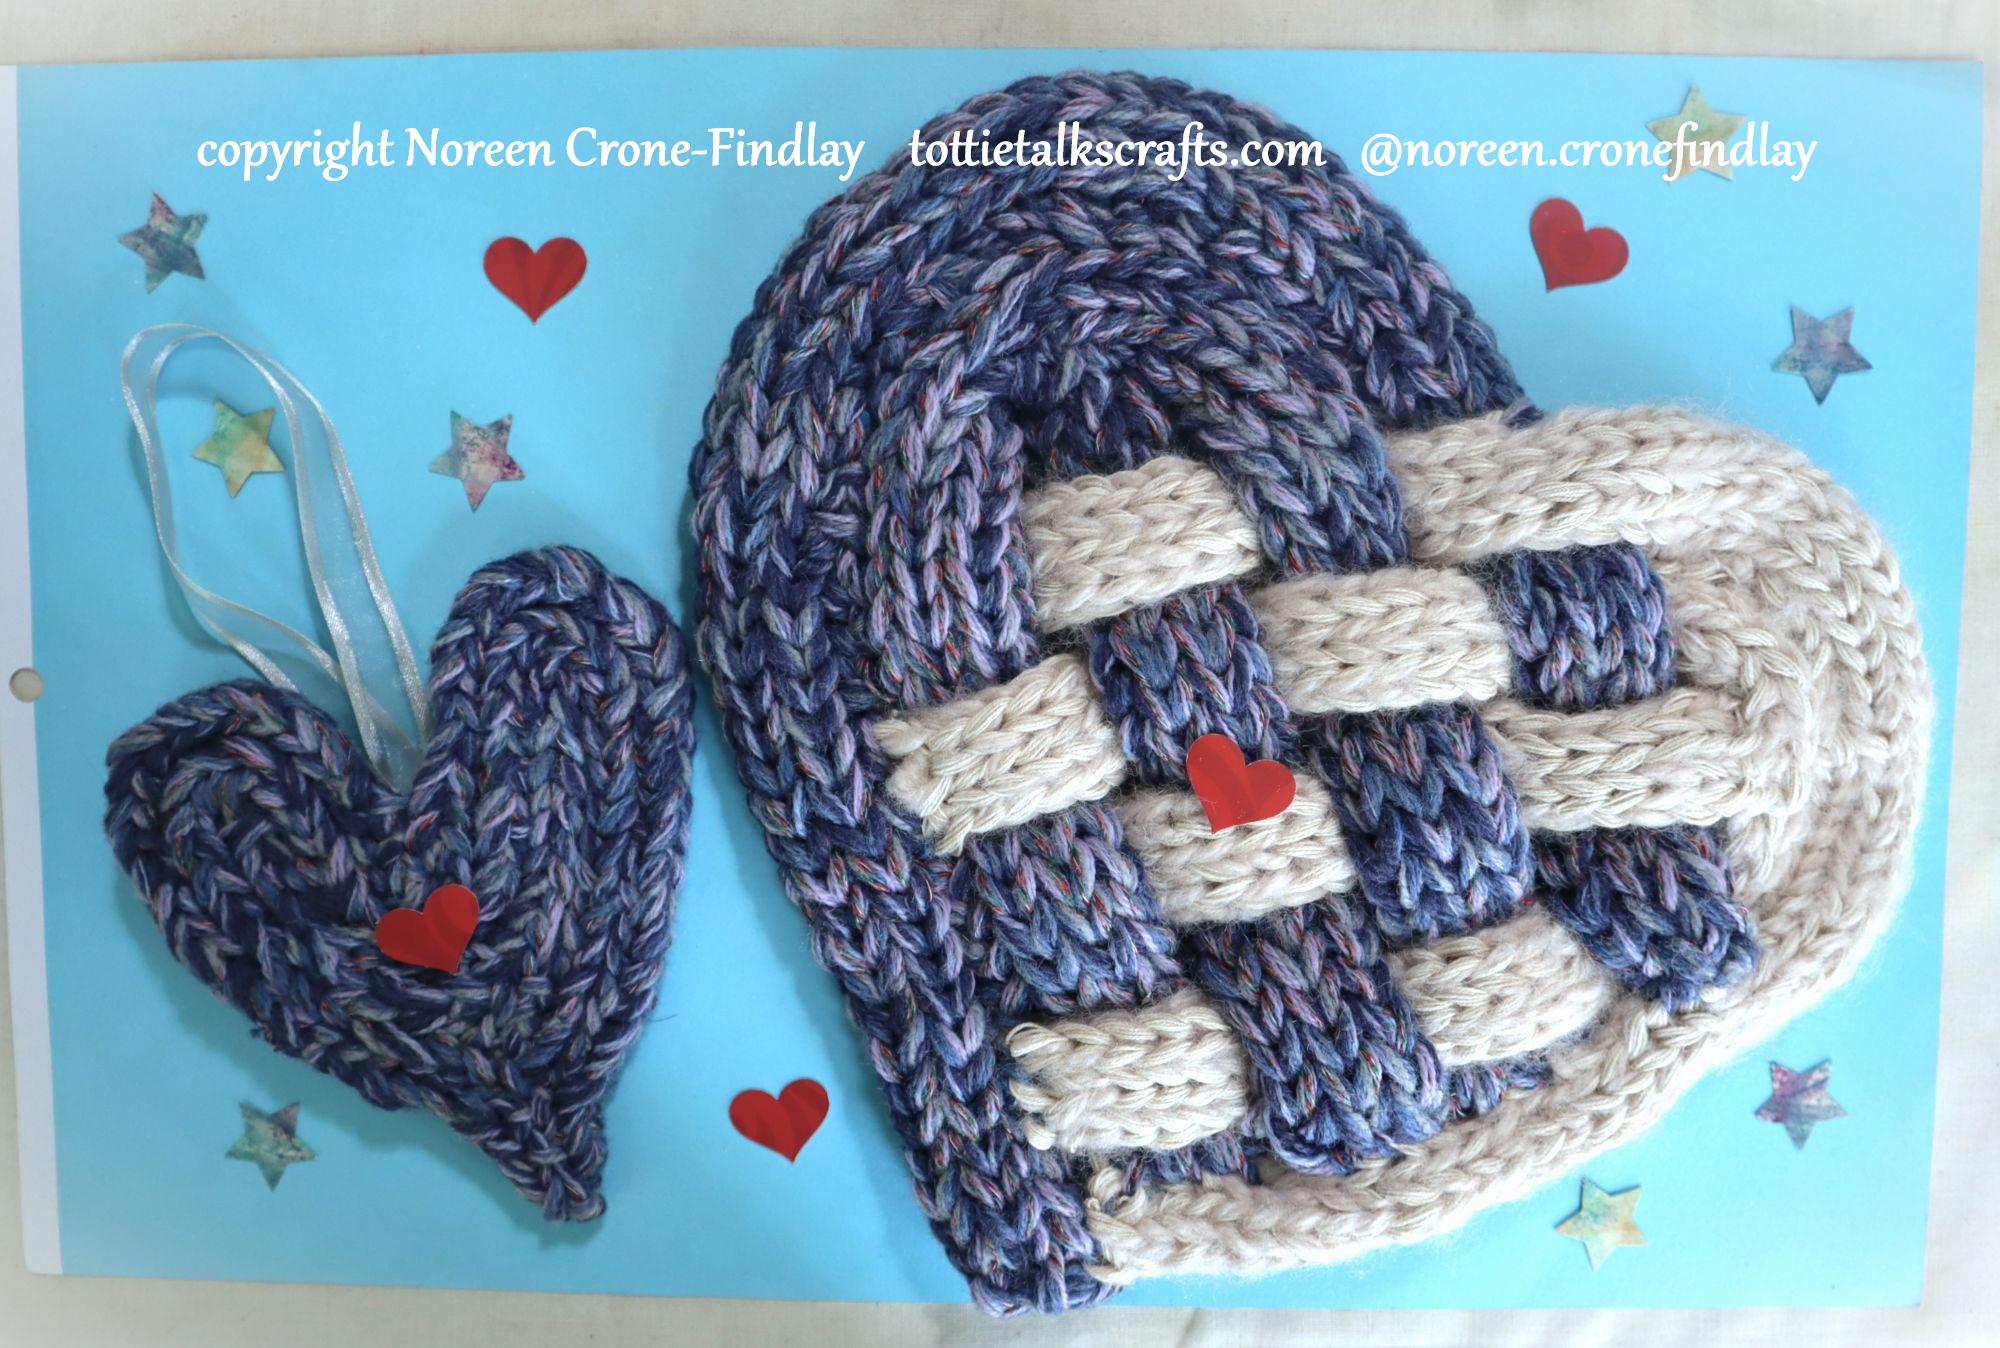
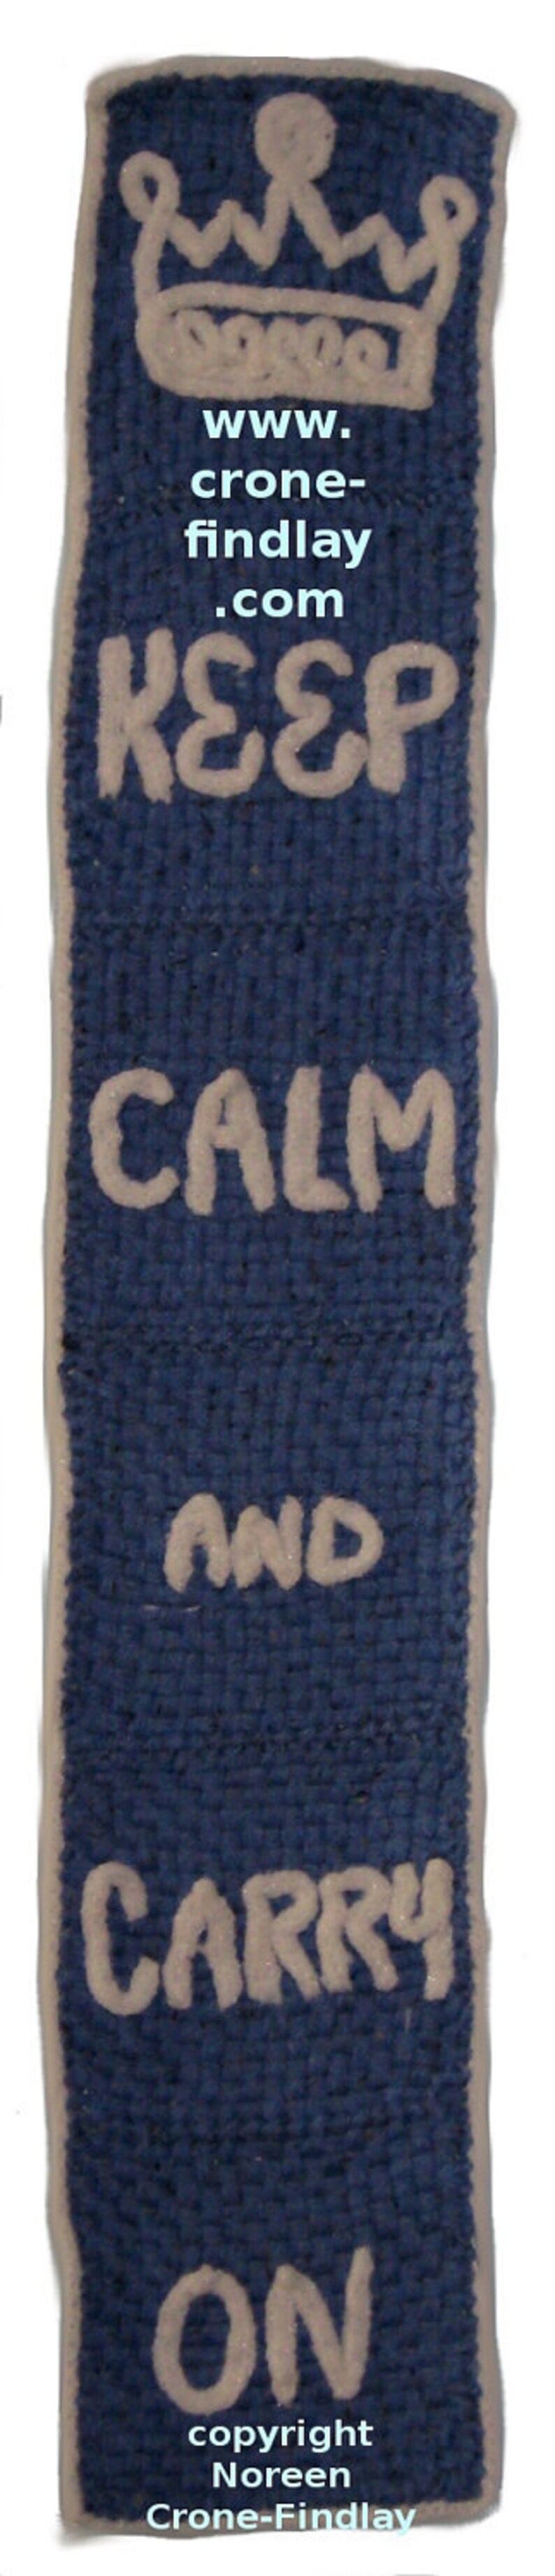
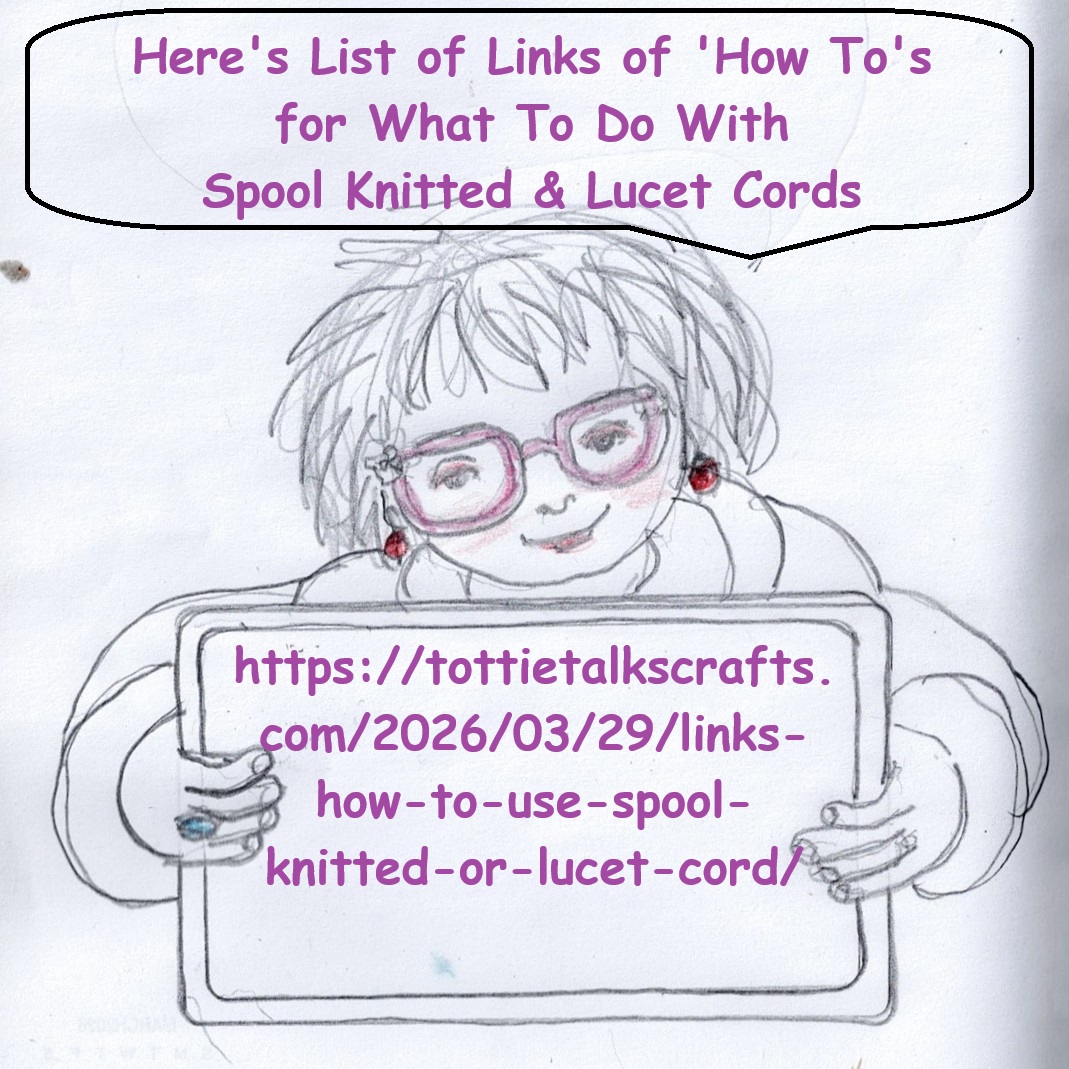
Day 35 of #100daysofspoolknittersandlittlelooms- Lots of Links for How To Use Spool Knitted or Lucet Cord
Spool knitting and using lucets to make lovely cord is relaxing, meditative, contemplative and just plain fun. But, people often ask me: What do you do with all those cords after you’ve made them?
Here’s a list of useful links to videos that I have made about ways of using spool knitted and luceted cord. (Lucets are flat 2 peg spool knitters))
Go to my Etsy shop to buy pdf patterns for fun spool knitted projects:
Day 16 of #100daysofspoolknittersandlittlelooms- A video tutorial for making square 2 peg cord on almost any spool knitter
For Day 16 of #100daysofspoolknittersandlittlelooms I made a video showing how to use any size of spool knitter (with any number of pegs) like a lucet to make square cord by using only 2 pegs of the spool knitter.