In the past week, we have added several friends and relations of relations to our healing prayers.
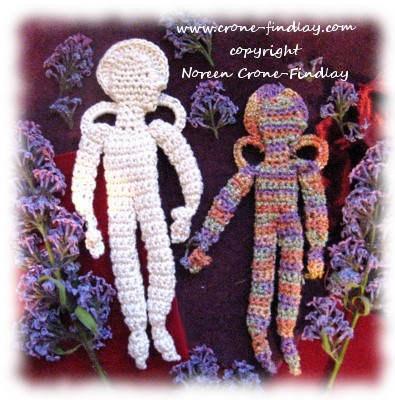
As part of my meditations and prayer work, I focus my mind by creating healing dolls.
I pour my love and healing thoughts and images into the making of a healing doll.
Stitch by stitch, I make a doll that I quietly, gently and peacefully pour my thoughts and intentions of wellness, loving kindness, tenderness, inspiration and insight into.
Sometimes, the doll is for a specific person, and sometimes, it is simply a response to feeling the call to make a sacred or healing doll.
I never sell these dolls- I give them to a person that feels right for it.
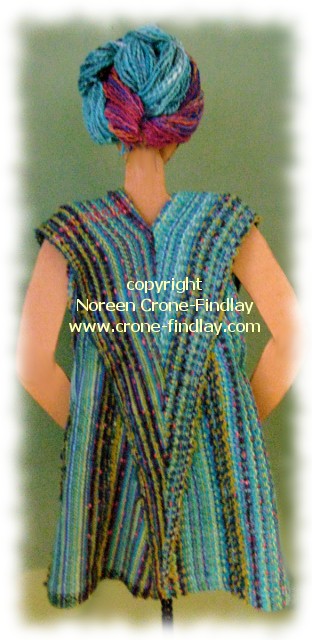
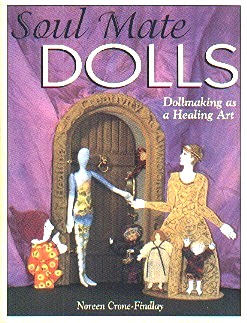
I wrote the book: Soul Mate Dolls: Doll making as a healing art many years ago. It’s out of print now.
Over the years, since the publication of this book, I have continued to work with the sacred art of doll making for my own contemplative practice, but also professionally.
I have taught many workshops, and I have designed many patterns for people to continue to make dolls that are focused on healing themselves and others.
And, now I am working on a whole new book about the healing power of mindful doll making.
Until it is released, here are some of my designs that are available on my website http://www.crone-findlay.com and in my etsy shop. The link to my etsy shop is below each of these dolls.
May doll making be the source of great happiness, healing and wholeness for you, my friends!
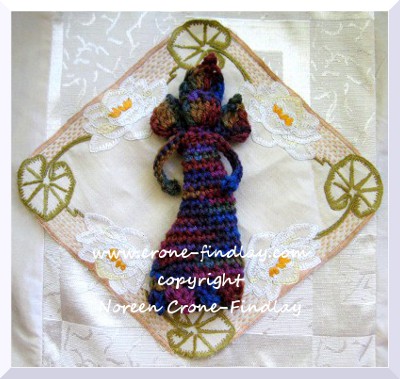
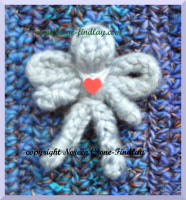
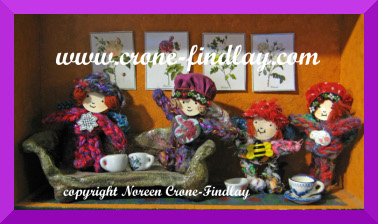
The crocheted Angel of Compassion link to pattern on etsy: Link
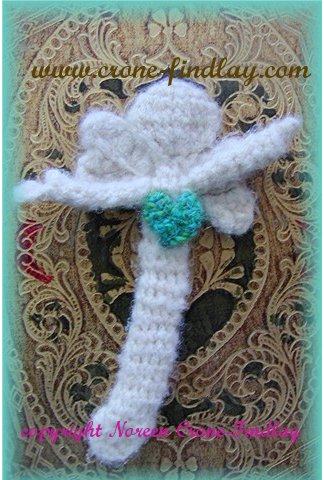
The Crocheted Angel of Healing dolls: LINK
The Crocheted Angel of Peace: LINK
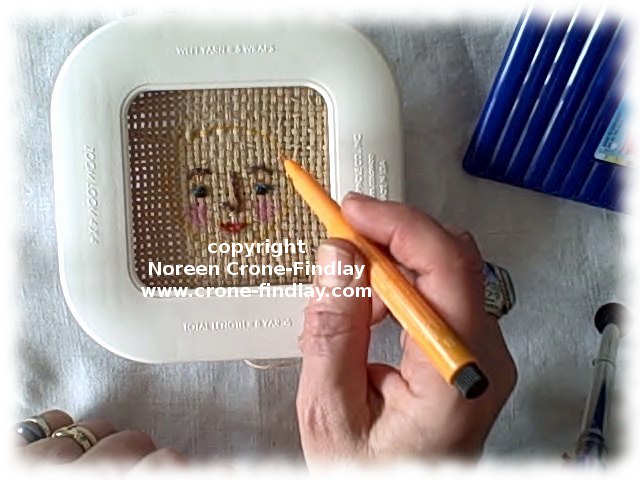
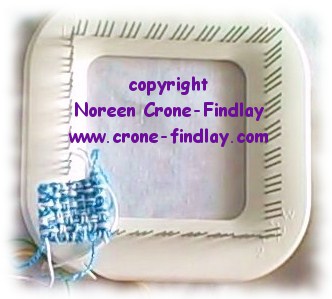
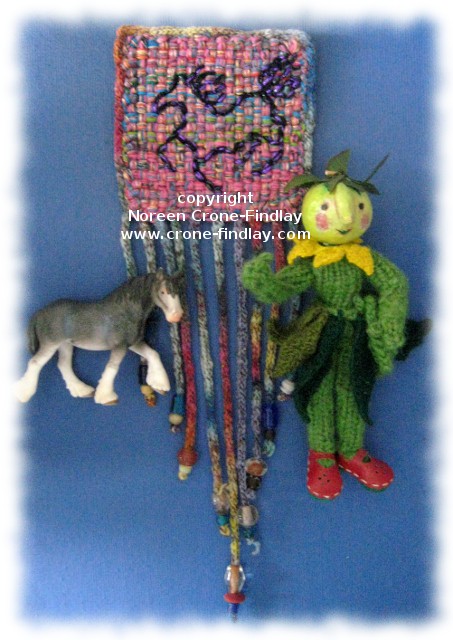
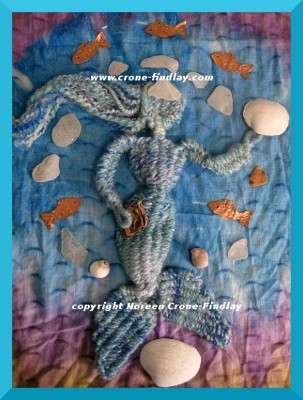
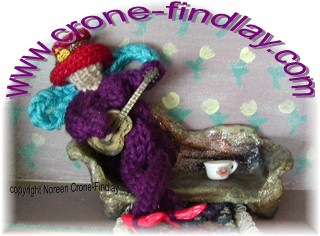
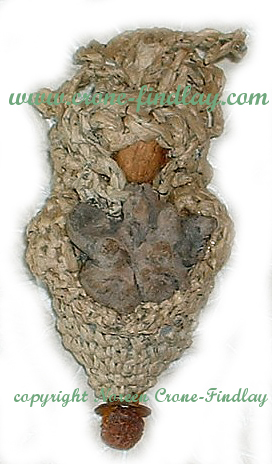
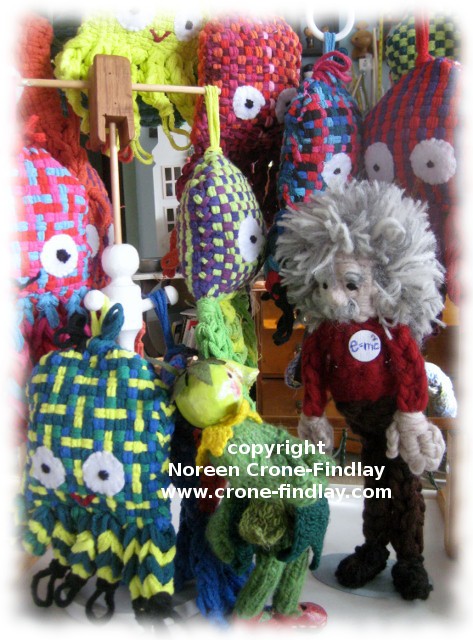
Weaving with simple looms, such as the peg or stick loom is very meditative, and I find that weaving mermaids is an excellent way to focus my thoughts on healing body, mind and spirit: LINK
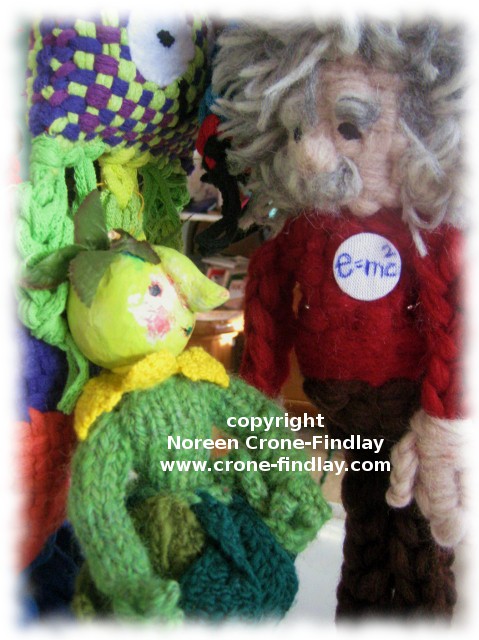
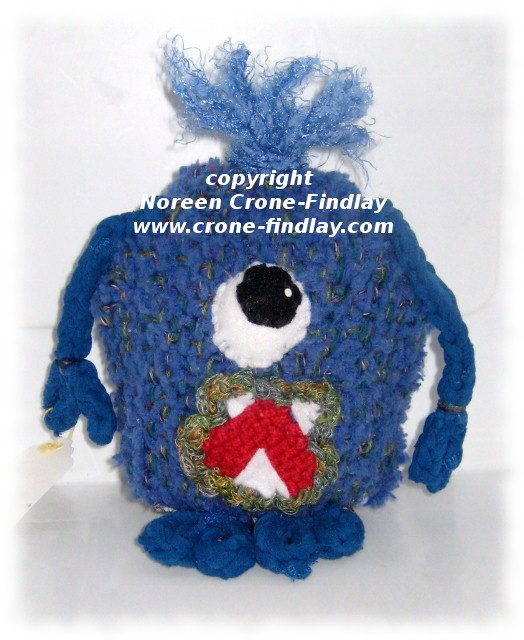
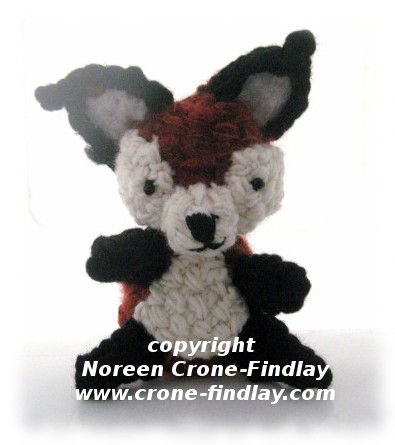
Simple tools can be used to make sweet little dolls that provide great comfort when tucked into a pocket, and they are so easy to pop into an envelope and mail to a friend:
The spool knitted tiny angels are so easy to make, but full of love, too: LINK
As are the Friendship Fairies: LINK
And, I mustn’t forget the Menopause Fairy!
After all…. the Tooth Fairy takes away teeth and leaves a gift of money, right?
Well, the Menopause Fairy takes away all manner of things and leaves behind the gifts of laughter, wisdom and compassion, as well as soooooooooo much more!!!! LINK
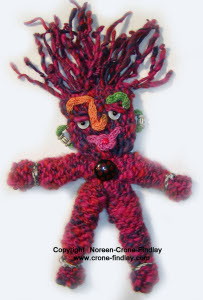
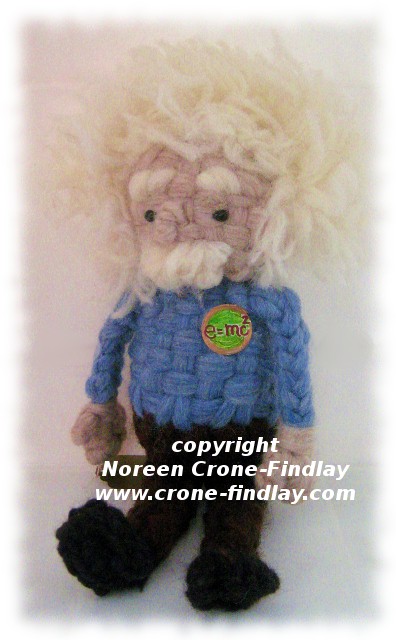
And, if the healing involves some deliciously wild energy, then perhaps a Wild And Wooly doll is in order: LINK
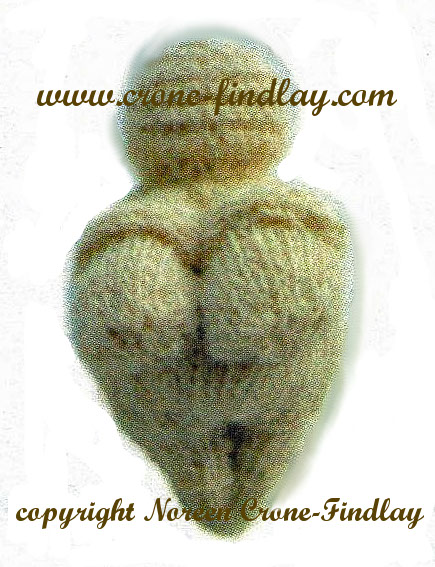
If you feel a connection to Goddesses, I have designed a knitted pattern for the Venus of Willendorf.
I love holding her in my hand- she’s just a perfect little handful of the Feminine Divine energy! LINK
And Venus of Willendorf inspired Goddesses to Crochet: LINK
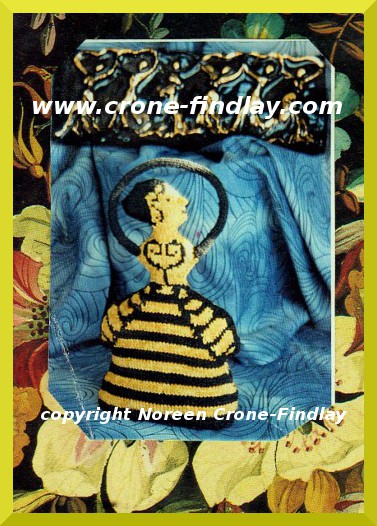
There’s also the Minoan Goddess of the Bees to knit: LINK
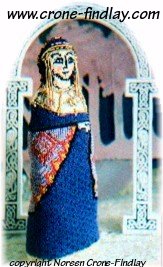
There are so many women from history who are powerful role models and whose strength, dignity and wisdom are deeply inspiring and offer great hope. One of them is the Empress Theodora….. LINK
May the work of your hands bring you soulful and engaging ways of healing your heart, mind, body and spirit and may it bring joy and peace and healing in countless ways to your family and friends, too!
Blessings abounding!!!! With love, always, and all ways! 🙂