If you are afraid to cut your handwoven fabrics so you can sew them into garments, DON’T BE!!
Raise up those scissors, and start cutting! I’ve been snipping and sewing some fun new clothes.
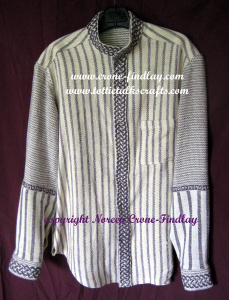
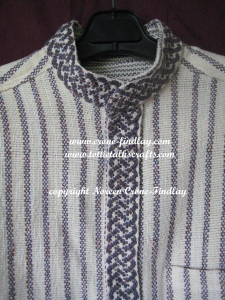
In my last post, (link) I talked about weaving my husband, Jim, a shirt to wear while he performs with his Jazz Trio.
And, here he is, wearing his spiffy, and most importantly: COMFORTABLE 😀 shirt, while playing at the Edmonton International Jazz Festival with his trio:

Jim playing at the Jazz Festival 2011
When I was weaving the fabric for his shirt, I also decided to weave fabric for a tunic for me. I blogged about weaving up heaps of fabric here: Link
I have a favorite dress or tunic pattern that I decided to sew from my handwoven fabrics. It’s Simplicity 2702
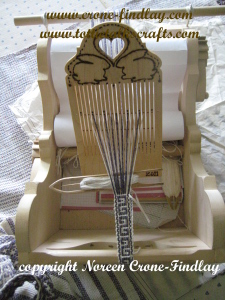
I decided that I would weave the fabric for it on my Structo looms.
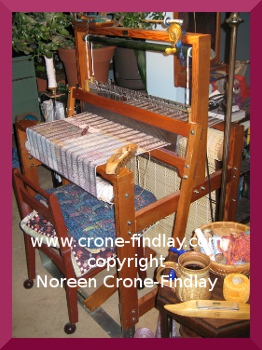
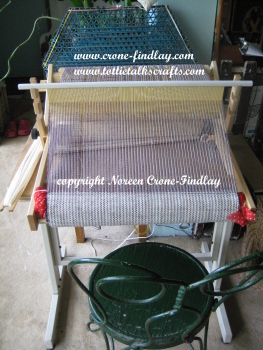
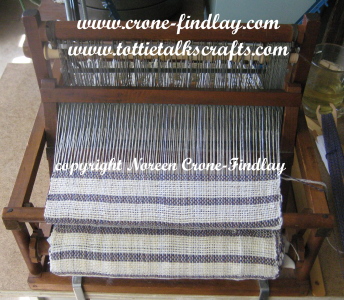
They are vintage 4 harness looms that weave a fabric that comes off the loom at 8 inches wide. The fabric does shrink, so it’s usually about 7 inches wide after it’s been washed and steam pressed. The reeds are 15 epi.
I used cotton and mixed fibres from my stash to weave up lonnnnnnnnnnnnnnnnnnnng lengths of fabric.
I put on a rather too long warp onto one of the Structos, and ended up having to release some of the fabric from the cloth beam, as I couldn’t advance it any more. Oops:
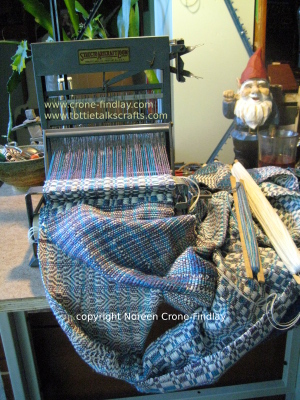
handwoven fabric on Structo loom
I was being very playful with the weaving, as I am in the process of getting to know my ‘new to me’ Structo looms.
I decided that I would have a freeform, anything goes exploration while weaving. This is a great way to learn about what I like and don’t like about different weave structures on the Structo loom. I wanted to get to know the Structo loom and this has been a fun way to get acquainted!
I also wanted to push the boundaries to see what would happen when I experimented with all kinds of combinations of patterns, while sticking to a single group of colors- although I did end up throwing in a little pink and green. 🙂
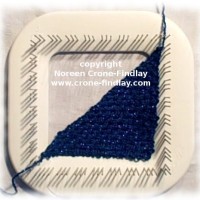
I really like weaving pockets on potholder looms, as I like having all 4 sides with clean edges, and not having to turn seam allowances under.
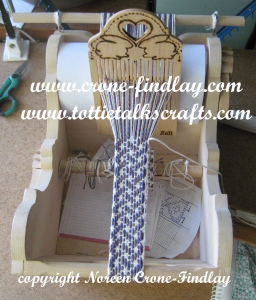
I am just getting to know my ‘Lil Weaver’ square looms from Donna and Gary McFarland at Dewberry Ridge Looms, so I decided to weave the pockets on a 7 inch Lil Weaver. It worked great 🙂 The flash makes it look a lot more open than it really is, and of course, when I washed it, it closed up very nicely.
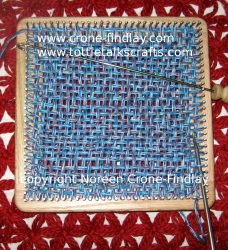
weaving a pocket on a Lil Weaver square loom
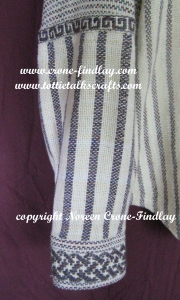
I added a little of the trim that I wove for Jim’s shirt to the top of the pocket, and that’s just perfect.
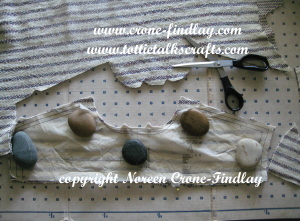
Cutting into narrow bands to piece them together is not at all intimidating- although I got the jitters at how wild the fabric was looking when I laid it all out. I fussed a bit about it on facebook and got lots of encouragement from my friends to go ahead and just make the tunic. They told me to be brave and not worry and that it would be fine.

cutting out and piecing handwoven fabric
I really didn’t want to have people raise their eyebrow, and wonder if I had lost my senses!
But, with the encouragement of friends, I went, what the heck! This is a celebration dress, why not celebrate?
And then, I remembered the BEST thing my father ever said to me. Once, when I was wondering if I should combine some wild fabrics and held them up to him and asked if he thought that they were just too wild and crazy, he rubbed his chin thoughtfully, and said:
“Just wear it with panache!”
Isn’t that the best thing you could imagine? It’s become a mantra for me.
So, I carried on, piecing the sections of the tunic together:

piecing handwoven fabrics to sew a tunic
I really didn’t like the first placket section, so I nipped off to the dining room, and snitched 2 placemats that I had woven a couple of years ago. I cut them up, and love the new placket.
The fabric sewed up beautifully.
I quite like using narrow strips of fabric to piece together for garments.
Why?
Well, it is much less intimidating to cut a narrow piece than to cut into a wide piece. Snipping a narrow piece feels so much less threatening because the fear of loosing hours of weaving work is so much less.
Also, narrow bands allow you to experiment and explore, and then to put the pieces together any way you want- it’s a lot like quilting.
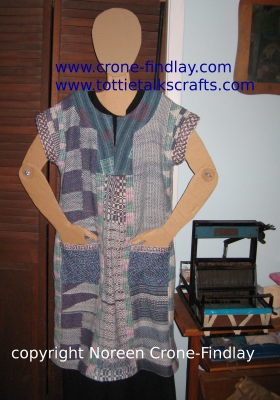
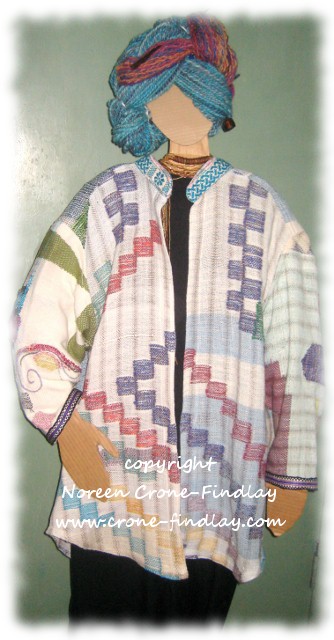
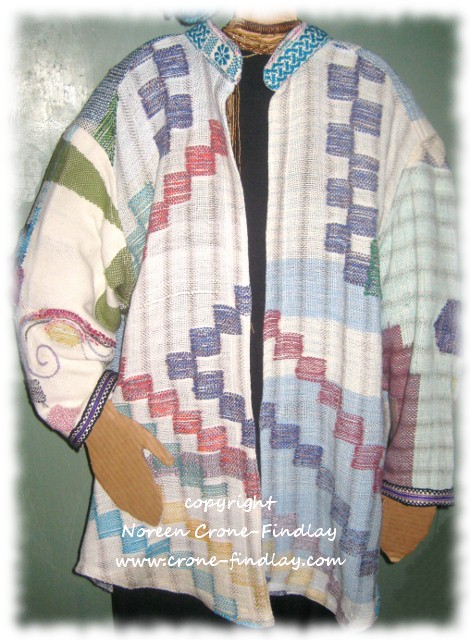
tunic sewn from handwoven fabric - front
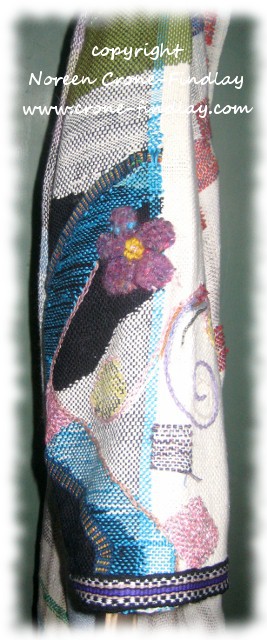
The tunic came together really nicely. It was important to me to add in some fabric and bands that were left over from weaving Jim’s shirt. I am really happy with the way they blend into the tunic just perfectly.
Here’s Patient Zillah, standing beside one of the Structo looms that I used to weave the fabric for the tunic.
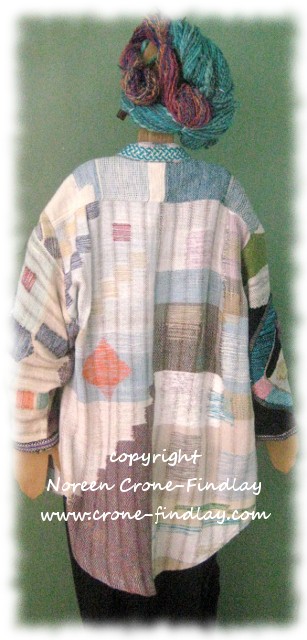
and here’s the back view:

tunic sewn from handwoven fabric - back
I had a serious- Oh oh… moment, when I remembered that I had pieced and stitched the tunic to last summer’s measurements, and I have put on weight on this winter.
I thought…. oh no! What if it doesn’t fit?
Well, luckily, it does, but it’ll look a whole lot better when I loose that unwelcome weight!
Sewing with handwoven fabric is really rewarding, but it is slower than sewing commercial fabrics.
But, it’s a mindful, contemplative,wonderful journey!
Here are a few tips for sewing with handwoven fabrics:
1] Pins are your friends. Use a LOT of them. And, then, use some more.
2] Stay stitching, overcasting, basting and top stitching are all your friends. Do a LOT of all of them when sewing handwoven fabrics.
3] If your pattern tells you to clip to a pivot point, it can be scary, but do it. BUT, make sure that you have done several rows of stay stitching to secure your threads. And, don’t be afraid to go back and sneak a little more stitching in to secure it.
4] Interfacing is your friend- and I interfaced the placket sections with iron on interfacing. But, I decided that I wanted the shoulder bands to not be too energetic about standing to attention. I figured that using the Celtic interlace band to embellish them would add enough structure, and I was right. They sit just nicely where I want them to.
5] Change the needle in your sewing machine frequently. You MUST have a very sharp needle for sewing handwoven fabrics.
6] Bias tape is perfect for hemming. It gives a hem that isn’t bulky, and is probably more secure than a rolled handwoven one.
7] Sew all seams more than once. I like to sew the seam, then fold the seam allowance over and stitch it to the garment.
8] Your steam iron is your friend- (although my steam iron and I had a little contretemps when it spewed brown stuff all over a section of white fabric. Wailie wailie. But all is well,as stain remover removed the splorches). Steam and press the living daylights out of EVERY seam, after you stitch it, including the zigzagging of any cut edges. My mother, who was a fabulous seamstress in her day, impressed this fact into me, and it makes a world of difference to be steaming and pressing as you sew.
9] Zigzag stitching every cut edge is essential. I use a stitch that is running straight stitches in a zig zag formation.
10] Sew your pattern up in commercial fabric first, so you know how it fits and also, how the pattern goes together. Knowing the pattern is going to give you confidence in working with your handwoven fabrics!
I am feeling very self conscious and uncomfortable about having gotten so hefty, and wasn’t going to put a pic of myself up wearing the new tunic, but, what the heck. Fat happens. So, like my father said: I’ll just have to wear it with panache!!!! 😀

Jim and me in our handwoven festival clothes

