Oh my goodness! Carving wooden spoons is just wonderful!
Hard work, yes. but…. ohhhh….
I have been a wood carver for decades, but have just discovered the joy of carving spoons.
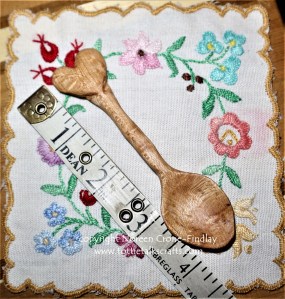
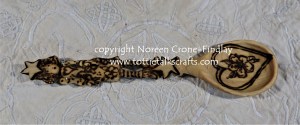
The picture above is the first spoon I carved…. for our grandson.
My husband loved it, so I secretly carved one for him for Christmas, too.
I asked my family if they would like spoons, and the response was an enthusiastic yes!
So…
and
And, then….
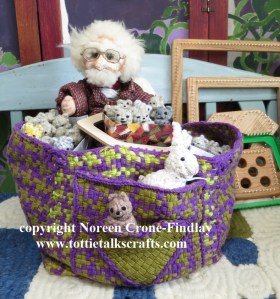
I couldn’t resist combining one of my other great delights, which is carving wooden dolls, with spoon carving.
The inspiration that poured out kept me out of bed for a couple of nights as I had to sit and draw and draw and draw
all the ideas that were just pouring out….
I have tied in a few metaphors that have been weaving their way around in my heart…
On Facebook, I learned about stardust that has been discovered in Antarctica and then having a long time friend
sent me a poem about how the trees are full of stardust (as we all are) just enchanted me!
I am now carving what I call: ‘Storyteller Spoons’ – hand carved spoons that are meant to stir up STORIES, not soup.
After, stories are food for the Soul 🙂
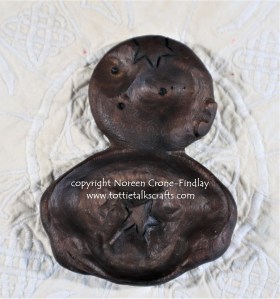
Oooh! I had to carve a Star Baby spoon from walnut:
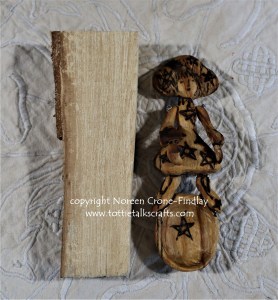
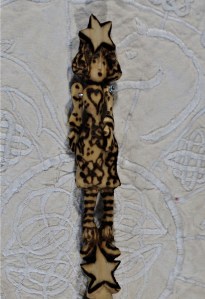
And, I have started a series of ‘Stardust Sisters Spoons’- articulated dolls with moving arms,
This one is carved from a blank that my son made for me from a birch tree that died and was cut down
in his neighbor’s yard:

I carved this Stardust Sister from the bass wood blank that came with the kit:
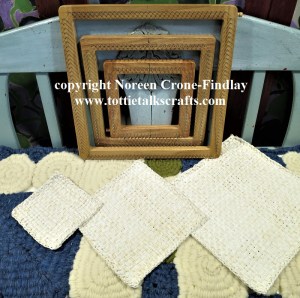
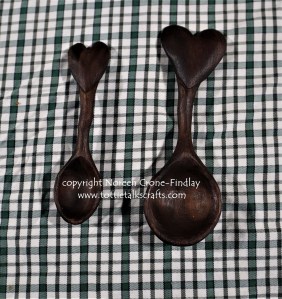
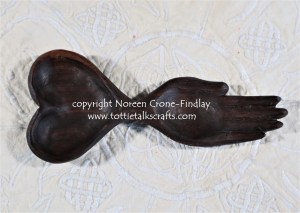
I love the metaphor of hearts and hands working together, so I went back to
the drawings that I did for the first scoop that I carved for my daughter.
But, I added a hand to the spoon, and carved out a bowl in the palm of the hand
as well as in the scoop of the heart.
While I was carving it, it came to me that spoons are meant to gather things,
but also to offer them, which is the perfect metaphor for this spoon:
I will be working with Hearts and Hands together a whole lot!
I made a video showing some of the carving that I have done over the last 30 odd years,
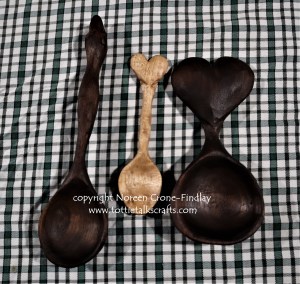
as well as the very very first beginnings of getting started in spoon carving.
These are just the first spoons that I have carved, and now that I have worked out
a pattern language for myself with this, there will be many, many more!
(I hope!) 😀
And, I hope that you are finding things that bring you joy, too!
Be kind, be safe, be well! ❤
Here’s the video: