Last week, a friend asked me what I was working on these days.
In response, I rattled off a list of projects and tasks that is the length of my arm.
The next day, as I was leaving the dentist, he drove up to the stop sign, he said: ‘Oh yah, you say you’re working on all these things, but here you are, just walking down the street!’ 😀
Um… if I could master the transporter, I would! Zap! into the dentist chair! Zap! Home again! Sparkle sparkle zing. 🙂
I would like that…. 🙂
Anyhow, here are some of the things that are happening in my studio right now….
(Not ~ all ~ the things that are happening, as I can’t show projects that I am designing for magazines etc- the editors would be smacking me on the side of the head if I did….)
(and I am working on some stuff that I need to not talk about until it ripens. You know how it is.)
Okay… first things first…
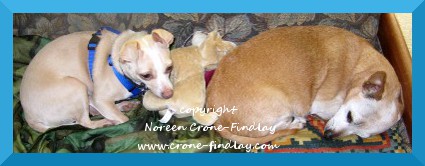
We have adopted an adorable little rescue…. he’s 4 1/2 years old and is just wonderful.
(except for being a cat botherer… that is NOT good 😦 ) This is him (in his fetching blue harness) with his adopted big brother. (Our dear old chihuahua/daschund cross).
copyright Noreen Crone-Findlay
Ah, well, other than being oh so barkie about the cats, he is completely adorable. As you can see, he has settled in beautifully.
Although, every adoption takes time and patience and attention….
Alright…. a brief zip around the studio:
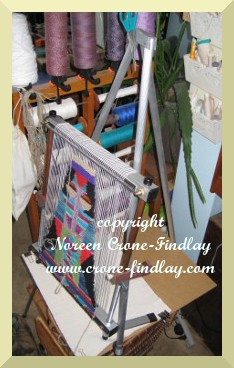
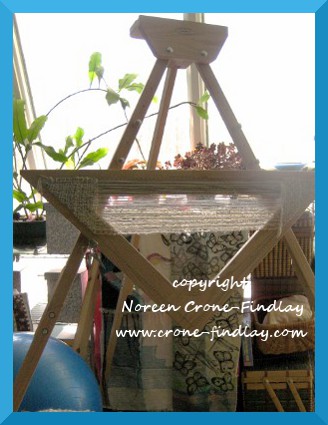
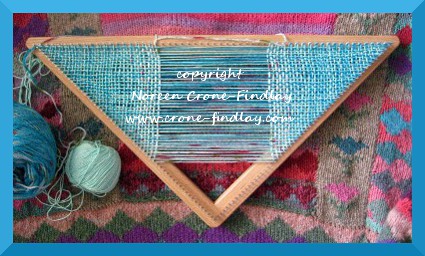
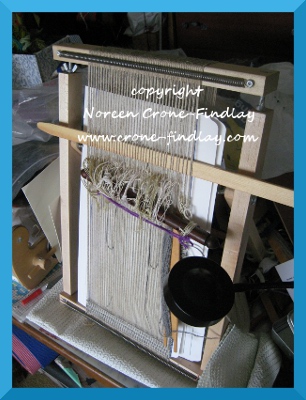
Okay, in the southeast corner, there’s a big project happening on my tri loom (configured to the 3 foot size).
I’ll be posting more about this as the project moves closer to the finish line:
Hearts are one of my most favorite design motifs ever.
I decided that I should design a tiny little woven heart motif as a project for the ‘Stitch Red’ heart health campaign, and also work as an embellishment on a special ‘I love you’ scarf for my daughter.
Here’s the link to the previous post about using tambour crochet to embellish the scarf: Link
The yarn used in the heart motif is from Koigu, made specially for the Stitch Red campaign. Link
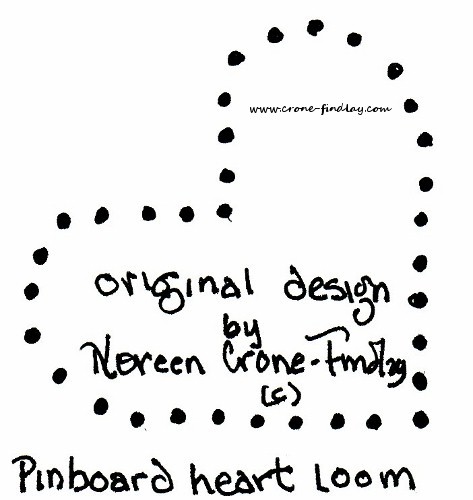
Here is the pattern to make the pin board loom to weave the heart:(Note: Print it out so the pattern is 2 inches by 2 inches)
copyright Noreen Crone-Findlay
Materials and equipment: a square of foam (I upcycled some packing material) that’s about 4 inches square by an inch or so thick.
34 pins or 1 inch fine finishing nails. (You may need a nail file to file rough edges off the tops)
A 3 or 4 inch square of clear plastic from a clamshell package or other recycled thingie.
Knife to cut the foam, scissors.
2.5 mm crochet hook
small tapestry needle
Instructions
1: Copy the pattern, and trim to fit the size of piece of foam.
2: Place the piece of clear plastic over the pattern. Push the pins into the dots.
Warping: The right hand arch of the heart is held vertical and the left hand arch is horizontal.
3: Tie 2 strands of yarn together (Note, you need to be working with fine yarn, like a sock weight) and place over the pin at the point of the heart.
4: Skip 8 pins, go around the next pin and down to the lower edge, and around the pin to the left of the pin at the point.
5: Go up and down across the 5 pins at the top and their mathcing pins on the lower edge.
6: Take the yarn up to th emifpoint pin (there are 3 empty pins above it) and down.
7: Go up and down across the next 5 sets of pins. There will be 3 vertical pins/nails left empty. Make an ‘8’ around the last set of nails to bring the yarn back down to the lower set of nails.
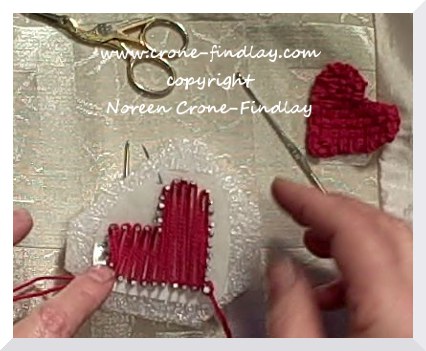
copyright Noreen Crone-Findlay
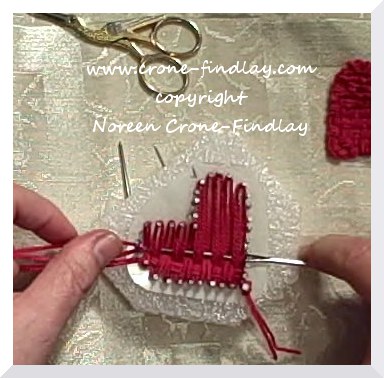
8: Weaving
Row 1: Weave hook from right to left: Over 4/Under 4 between the 1st and 2nd pins.
Make a loop of yarn and place it on the hook, then draw it through the warp strands. Place the loop on the 2nd nail on the right hand side.
Adjust yarn.
Rows 2 & 4: Weave Under 4/Over 4 across, pick up the loop of yarn, ease through, place loop on nail/pin.
copyright Noreen Crone-Findlay
Row 3: WEave Over 4/Under 4 across, pick up loop, ease through, place on nail on right hand side of loom.
Rows 5 & 7: Weave )ver 4/Under 4/Over 4/Under 4/Over 4… make loop, ease through, place on pin on right hand side.
Note: on Row 7, the yarn passes by 5 pins before it’s woven in.
Rows 6 & 8: U4/O4/U4/O4/U4 make loop, ease through, place on pin on right hand side.
Row 9: Working with top 3 pins only: U4/O4/U 4 make loop, ease through, place on pin on right hand side. (It already has loops on it, but not to worry).
copyright Noreen Crone-Findlay
Finishing:
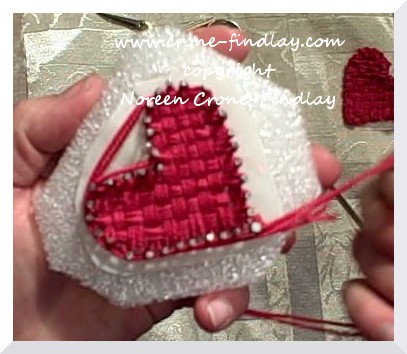
Wrap the yarn around the circumference of the heart 2 1/2 ties and snip.
Working in a counter clockwise direction: Thread the yarn ends into a darning needle and lift the stitches off, one by one, stitching through them.
copyright Noreen Crone-Findlay
Some nails have 2 sets of threads on them, so lift the sets of yarn off one at a time.
Stitch over the long floating threads to capture them.
Stitch twice at the tip of the heart.
Untie the beginning knot and weave in the ends.
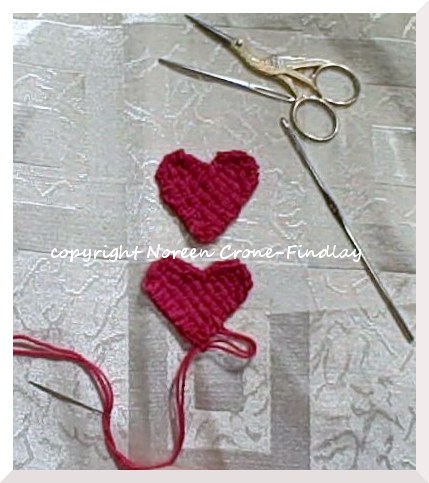
Adjust the circumference stitching to shape the heart, and stitch through the outside edge again if desired.
Weave in ends and trim.
copyright Noreen Crone-Findlay
The hearts can be used to embellish or trim scarves, hats, mittens, gloves, cowls, hair ornaments, bags, stuffies, dolls, toys, blankets, shawls, stoles, vests, coats, wall hangings, cellphone and tablet covers. The sky’s the limit!
Here’s the video tutorial on how to weave the heart motif:
I think that people might like to have a heart loom in wood, so I asked Donna and Gary McFarland of Dewberry Ridge looms Link if they would make them, and they said yes, so if you want one, drop them a note.
PLEASE NOTE: All content of this blog, including video, audio, written and photographed is the sole work and property of Noreen Crone-Findlay, and MAY NOT be used without my permission. Thanks so much!
My husband is a jazz musician and composer and completely awesome bundle of wonderfulness, and I love weaving beeeeeuuuuutiful shirts for him to wear when he’s performing. (last year’s Jazz festival shirt: Link).
I have been weaving away on fabric to make him a new shirt for this year’s Jazz Festival, LINK
But…. oops… it’s cream and ecru with lotsa colors…. and, the color that the guys mostly wear to perform in is black.
Our daughter made Jim a gorgeous black shirt from the Folkwear Victorian Gentleman’s shirt pattern, so it’s kinda dumb to weave him another one….. sooooooooooooooo the big AHA was…………… weave him a VEST!!!!!!
Ding! Lights go on, whee’s and skippetty hops and happy dances ensue….
copyright Noreen Crone-Findlay
When our son got married, I used the Folkwear pattern to make him and my hubby kilts, (oh my word.. the grooms men, hubby and our son, all wore kilts and they looked FABULOUS…).
The kilt pattern has a really spiffy vest pattern, which Jim likes (that’s essential- why make it if he doesn’t like it?)
Oh oh, whenever I go on the Folkwear pattern site, it makes me want to buy more patterns. I love their patterns and have been wearing them for more than 3 decades. We actually got married in clothing I sewed from Folkwear patterns, and our children grew up in Folkwear.
(No profit, affiliations etc, just love their patterns)
Okay, just had a brief noodle through their website, and am seriously in love with the Siberian Parka….. hmmmm… that would be fun to weave the fabric for…. hmmmmmm.
Anyhow…. in the midst of meeting design deadlines, and new projects that are so delicious and tantalizing and time consuming,
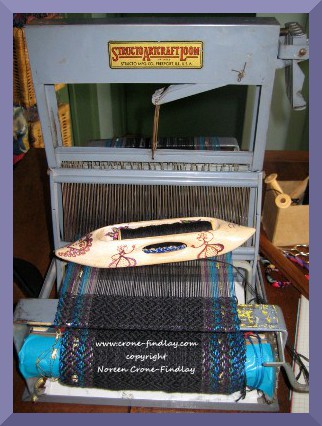
I am in the throes of weaving up narrow bands for this vest, and loving it!
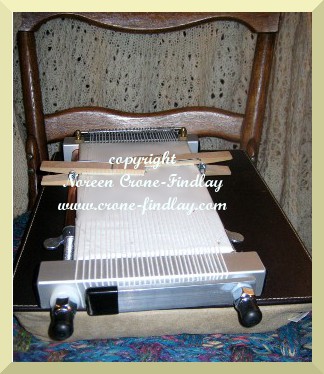
The vintage Structo looms are kind of like the ‘Featherweight’ sewing machine – tiny, perfectly formed workhorses that are beautifully engineered and much sought after.
Although, after I spent hours the other evening, warping the black cotton, I would have cheerfully sold the blessed loom to the first taker. (Warping black thread at night is not so much fun).
Luckily, I got over my snit, and am now utterly enchanted and weaving merrily away.
Which is good, as the Jazz festival is getting closer and closer…. eep… I need to go meet some deadlines and then get weaving!
😀 Happy weaving!
PS: I carved the shuttle in the photo a few years ago. 🙂
My dear friend, Terri Bibby, is a Saori teacher and weaver extraordinaire, who told me about some shuttles that don’t have a metal rod through them.
This intrigued me, so I made myself one to see how I liked it.
I absolutely love it. I made it small and low profile to fit the small shed of Structo and Peacock looms. Thumbs up, indeed!
I needed to make a long narrow piece to fill a gap in a woven piece that I am working on.
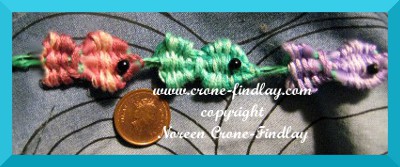
I thought…. why weave a rectangle, when I could weave a whole string of little fishies!
copyright Noreen Crone-Findlay
A few years ago, I figured out how to weave Cluny knots or Clunies, which are little woven circles or ovals, on the potholder loom.
While I was doing that, I thought that I could probably figure out a way of weaving fishies instead of circles. This thought has been lingering on hold in the back of my mind for years, and so, today, I decided to go for it.
I also decided that the Martha Stewart loom would work even better than the potholder loom, because you can just put in whatever pegs you want, wherever you want them. Brilliant!
So, I wove and un-wove and wove and un-wove and wove wove wove wove and came up with some pretty darned cute little Swishy Fishies!
copyright Noreen Crone-Findlay
They are about the size of a penny. You can weave one little Swishy Fish, or a whole line of them.
The fish can either be used individually (earrings, perhaps?) or can be woven as a continuous strand to make trim for wall hangings, towels, pillows, bags, hats, vests, coats, mitts, totebags, cards, journals, scrapbook pages or whatever your heart desires!
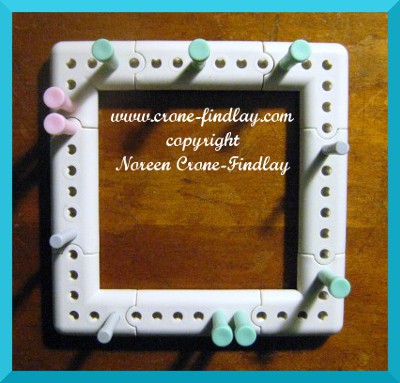
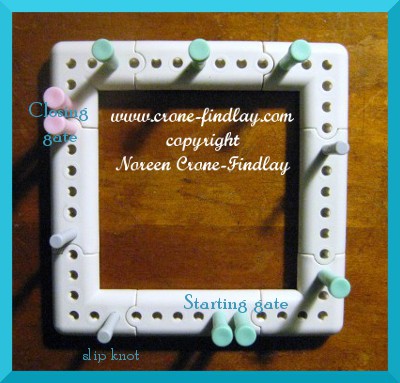
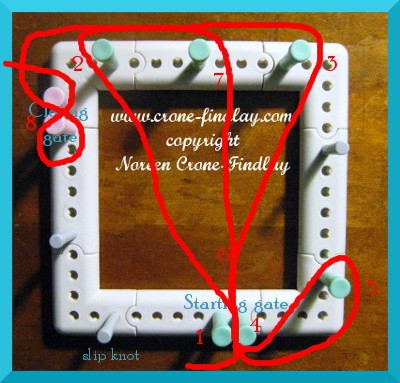
Here’s how to set up your Martha Stewart loom:
copyright Noreen Crone-Findlay
Here’s the video:
What do you need to weave Swishy Fish?
1] A Martha Stewart loom
2] Craft needle and a finer darning needle
3] Warp: A ball of smooth yarn that is medium weight
4] Weft: Each Swishy Fish takes at least a yard of yarn
5] Beads for eyes, and needle and thread to sew them on.
Here are some diagrams to hopefully explain things even more….
copyright Noreen Crone-Findlay
Here’s the warping path:
copyright Noreen Crone-Findlay
On a sad note: 😦 This video is dedicated to a very sweet little fish who lived in my daughter and son-in-law’s fish tank for 5 years, ‘Won Ton’ was a friendly little goldfish who was always interested in what was going on outside the tank! (I wove the little white fish in memory of Won Ton for my daughter.)
Sadly, Won Ton went to swim over the rainbow bridge while I was making this video, which struck me as a sad bit of synchronicity.
Swim on, little Won Ton!!!!
And, may weaving these little fish bring delight to weavers where ever they may be!
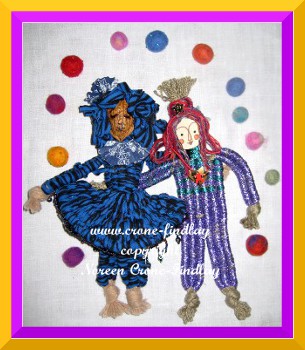
I have fallen in love with weaving sticks (aka stick weaving looms), and am just releasing two new patterns for wonderful woven dolls that are made with weaving sticks. You can order them from my website: LINK
There are 2 NEW patterns. They are each quite different from each other.
The pattern that I am featuring in this post is for weaving dolls with 6 weaving sticks.
copyright Noreen Crone-Findlay
I have designed 7 marvelous dolls to weave with all 6 of the weaving sticks.
They are about 8 or 9 inches tall.
copyright Noreen Crone-Findlay
In this PDF pattern, (16 pages), you will also learn how to weave the circular skirts worn by some of the dolls in a tutorial with step by step photos.
Another step by step photo tutorial shows how to use the weaving sticks as a flower loom!
copyright Noreen Crone-Findlay
And there are photo instructions on how to make wire glasses.
There are also how to photos for faces that are woven and for dolls that have faces made from other things: paper, wood, walnut shells and twig slices.
There are many different methods shown for how to finish the heads, and the step by step photos showing exactly how to do each step are comprehensive and clear.
copyright Noreen Crone-Findlay
These little woven dolls are delightful on their own, but are also great to use as embellishments on bags, pillows, throws and wall hangings.
They are a great way to use small amounts of treasured yarn, whether it’s handspun or not.
The pattern shows how to weave with yarn, fabric strips and roving to weave these dolls, and how to make each doll unique with nifty hair style techniques.
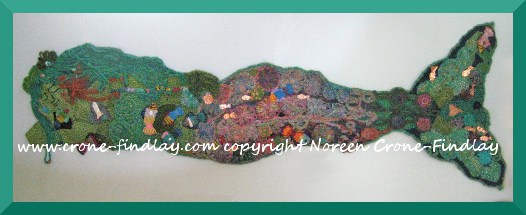
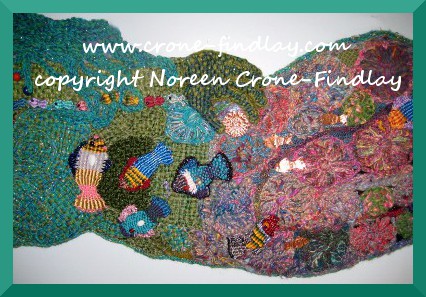
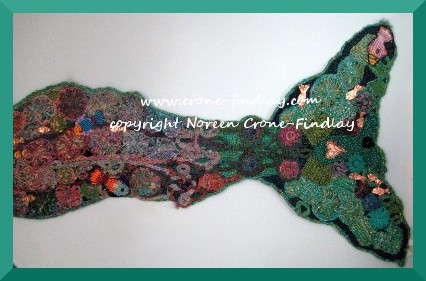
In January, I released my first pattern in my new series of weaving stick patterns, the Mermaid: Link
It’s a treat to finally have finished these new patterns- Happy Weaving! 😀
One of the joys of self publishing patterns is that I get to talk about them as soon as I finish them. (Not allowed to do that with commissioned projects! It’s up to the editors to decide when the word goes out on those).
Whimsical-woven-cats-by-Noreen-Crone-Findlay-(c)
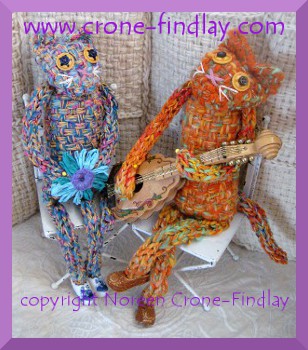
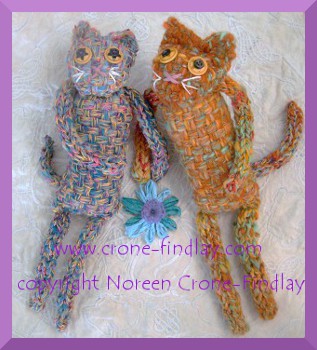
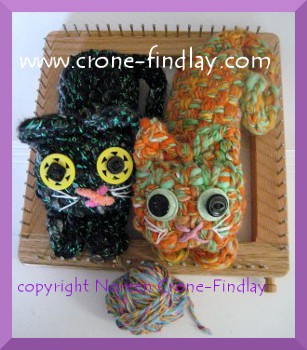
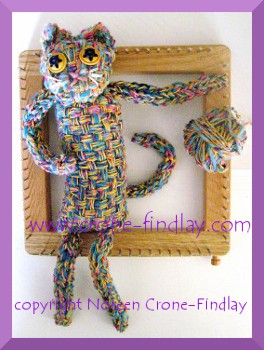
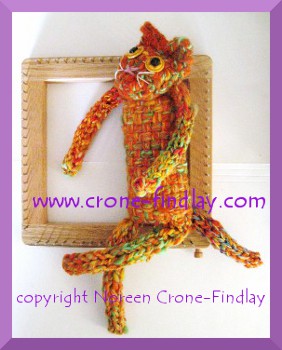
My most recent self published pattern is for the Woven Whimsical Cats.
You can order the pdf pattern from my website: Link
They have been so much fun to design.
I started the designing process for them last February.
I went through several variations of them before I settled on the two versions that are in the pattern.
There’s the sitting Whimsical Cats, who are infinitely poseable (and can be convinced to wear shoes and play musical instruments, too!)
Whimsical-woven-cats-by-Noreen-Crone-Findlay-(c)
They have distinctly, ‘Who me?!’ expressions of feline innocence, which probably means that they are up to all manner of mischief!
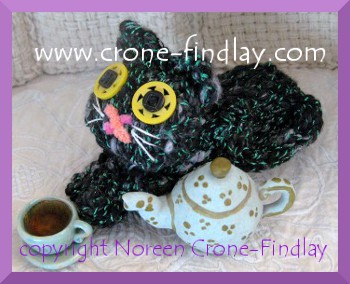
Their ‘Laying Down’ cousins:
Whimsical-woven-cats-by-Noreen-Crone-Findlay-(c)
are lovely to rest your wrist on when playing with the computer mouse.
Of course, they might take a swipe at the mouse, but that’s to be expected, isn’t it?
Whimsical-woven-cats-by-Noreen-Crone-Findlay-(c)
Whimsical-woven-cats-by-Noreen-Crone-Findlay-(c)
The yarn is art yarn, handspun by the delightful Nancy Nagle of Nangellini: www.nangellini.com
Whimsical-woven-cats-by-Noreen-Crone-Findlay-(c)
When I was designing and weaving the Whimsical Woven cats, I was remembering all the wonderful cats who have graced my life with their marvelous ways.
So, here’s to our Feline Friends! with love and thanks for all the blessings! 😀
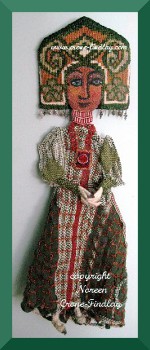
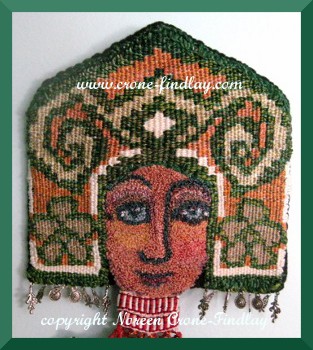
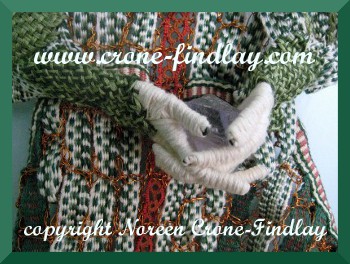
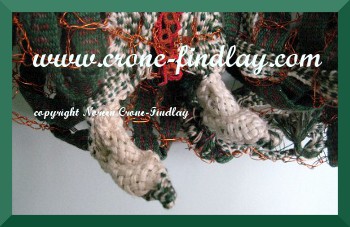
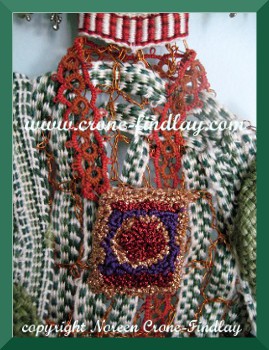
I am calling this series, ‘Woven Women’. I made a little video mini tour of one corner of my studio, showing ‘The Green Empress’.
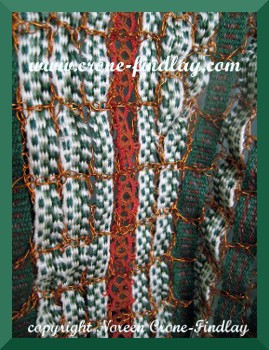
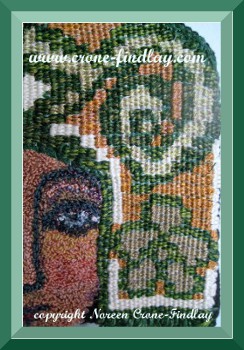
The Green Empress brings together many of my favorite fiber techniques: Tapestry weaving, inkle weaving, small loom weaving, crochet, wire work, tatting and punch needle embroidery.
My plan is to eventually have enough ‘Woven Women’ for a one woman show. I don’t have enough of them finished yet, but I am working on it!
Here are some more photos and the video tour that shows The Green Empress:
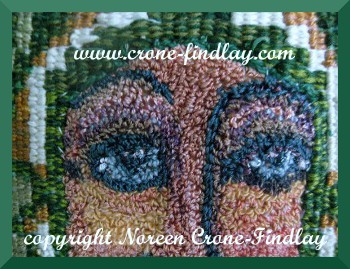
Close up of one eye and part of the crown. You can see that I love Byzantine art, as there is a definite influence here.
And, here is the link to a mini studio tour, with my wonderful husband playing one of his compositions (with our small dog in his lap, as small dog insists on sitting in Jim’s lap when he plays and practices!)