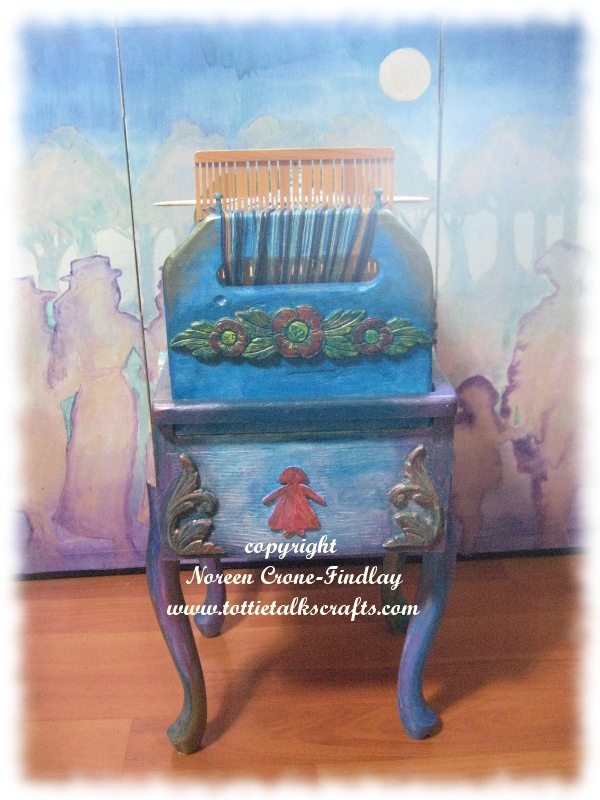
My son, Angus Findlay, and I have just co-created a loom and stand that I absolutely love.
Last January, I asked Angus to build me a box that I could turn into a loom.
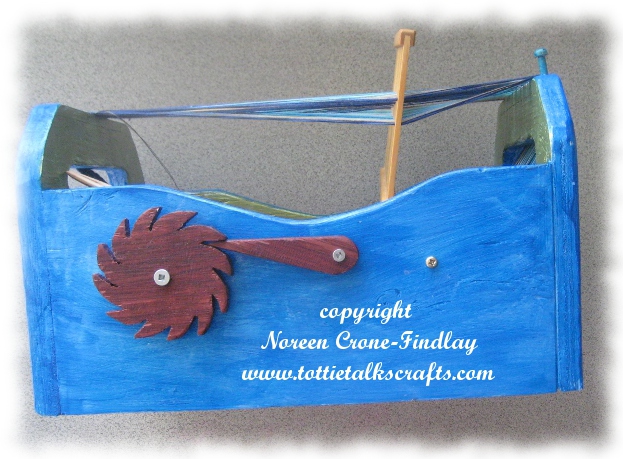
I made the ratchets and pawls from purpleheart wood, cut the ends and sides into the shapes I wanted, made the warp and cloth beams and started painting it.
I loved it, but found it a bit too big to hold in my lap while weaving, and I didn’t have the perfect table to sit it on and weave comfortably.
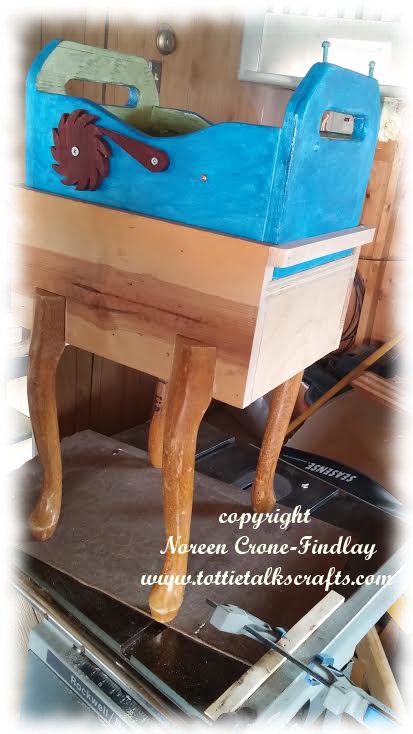
So, I asked Angus to take some funky old legs that I had bought at a garage sale, and build a stand for the loom.
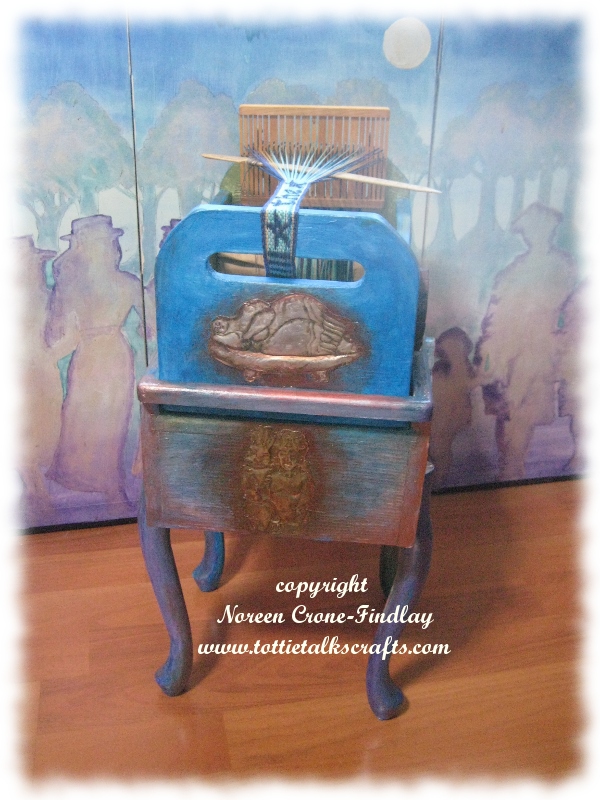
Woo hoo! I love it! I am enchanted by Angus’ design and how he built such a whimsical and quirky (and VERY solid and sturdy) loom stand.
He intuitively made it just the perfect height for me.
I brought it home and started playing with embellishments.
I cut out some of my favorite wooden shapes to glue on it, and then painted 3 coats of gesso to prime it.
Then, I slowly began the layering on of paint:
Painting was a long slow process, as I applied layers of acrylic paints in thin washes to build up the color shifts.
The screen behind the loom shows how I use this layering technique on other pieces, too.
I was quite surprised when the loom started to lead me in this direction, as I had had a totally different concept
in mind before I started painting.
But, I believe in listening to the piece and allowing it to tell me how it wants to be.
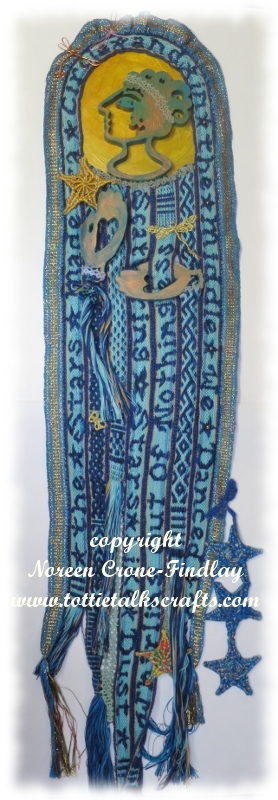
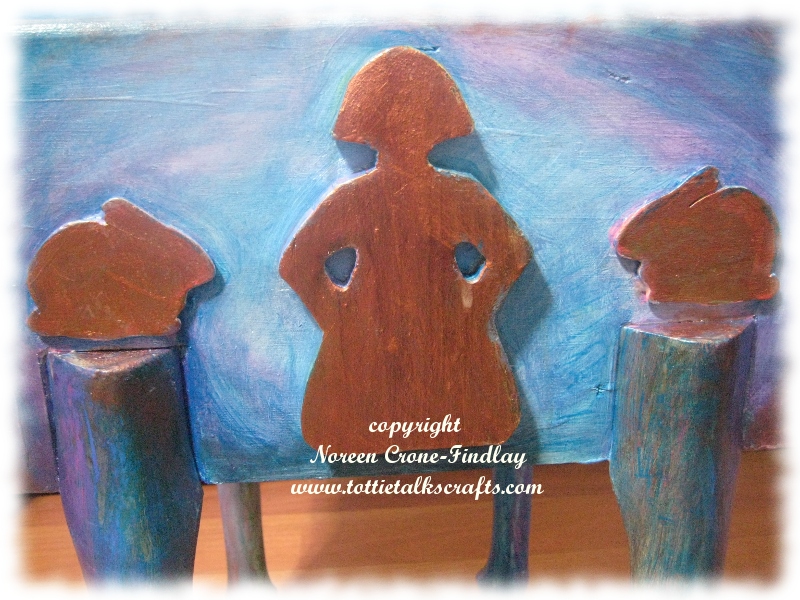
The ‘Dancing Girl’ and ‘Resting Rabbit’ motifs are a theme that I have used for more than 40 years.
They’re just me.
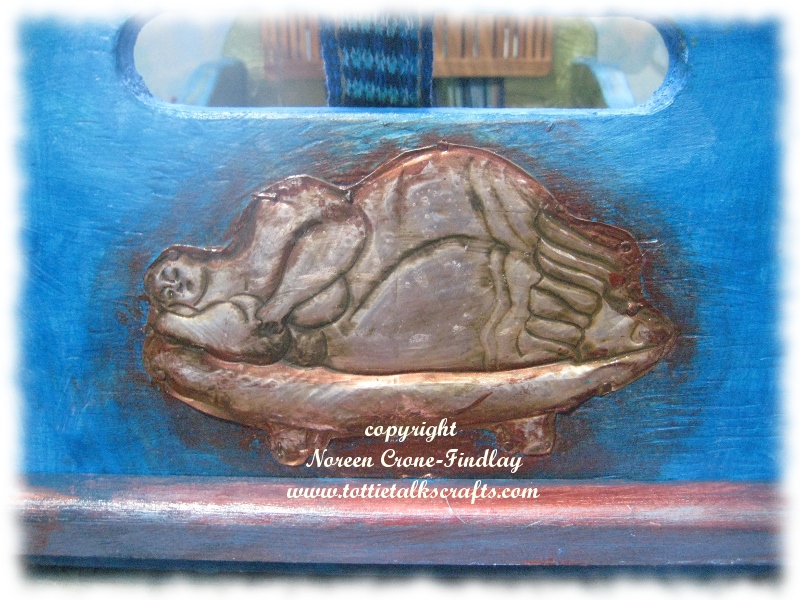
I made the metal image of the Dreaming Lady of Malta with sheet metal, using the repousse technique of pressing and shaping the metal from the back.
Because I work with my dreams and use them as one of the main sources in my art and artisanship, I felt that placing an image of the Beautiful Dreamer was a great metaphor.
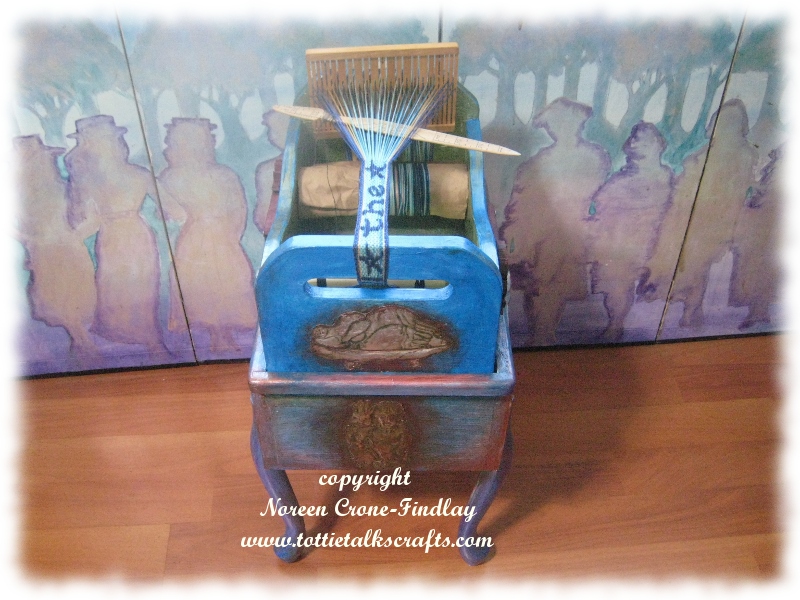
and on the stand, I attached another repousse image that I had made at the same time as making the Dreaming Lady.
This is Xchtel, the Mayan Goddess of weaving, with her companion Rabbit.
So, the metaphor and message of these two images is:
Dream weaver. Weaver of Dreams…..
It is just pure bliss to weave on this loom.
Words cannot convey the delight.
I LOVE how my beloved son, and dear friend, Angus, and I created a loom that is so completely US.
I feel blessed.