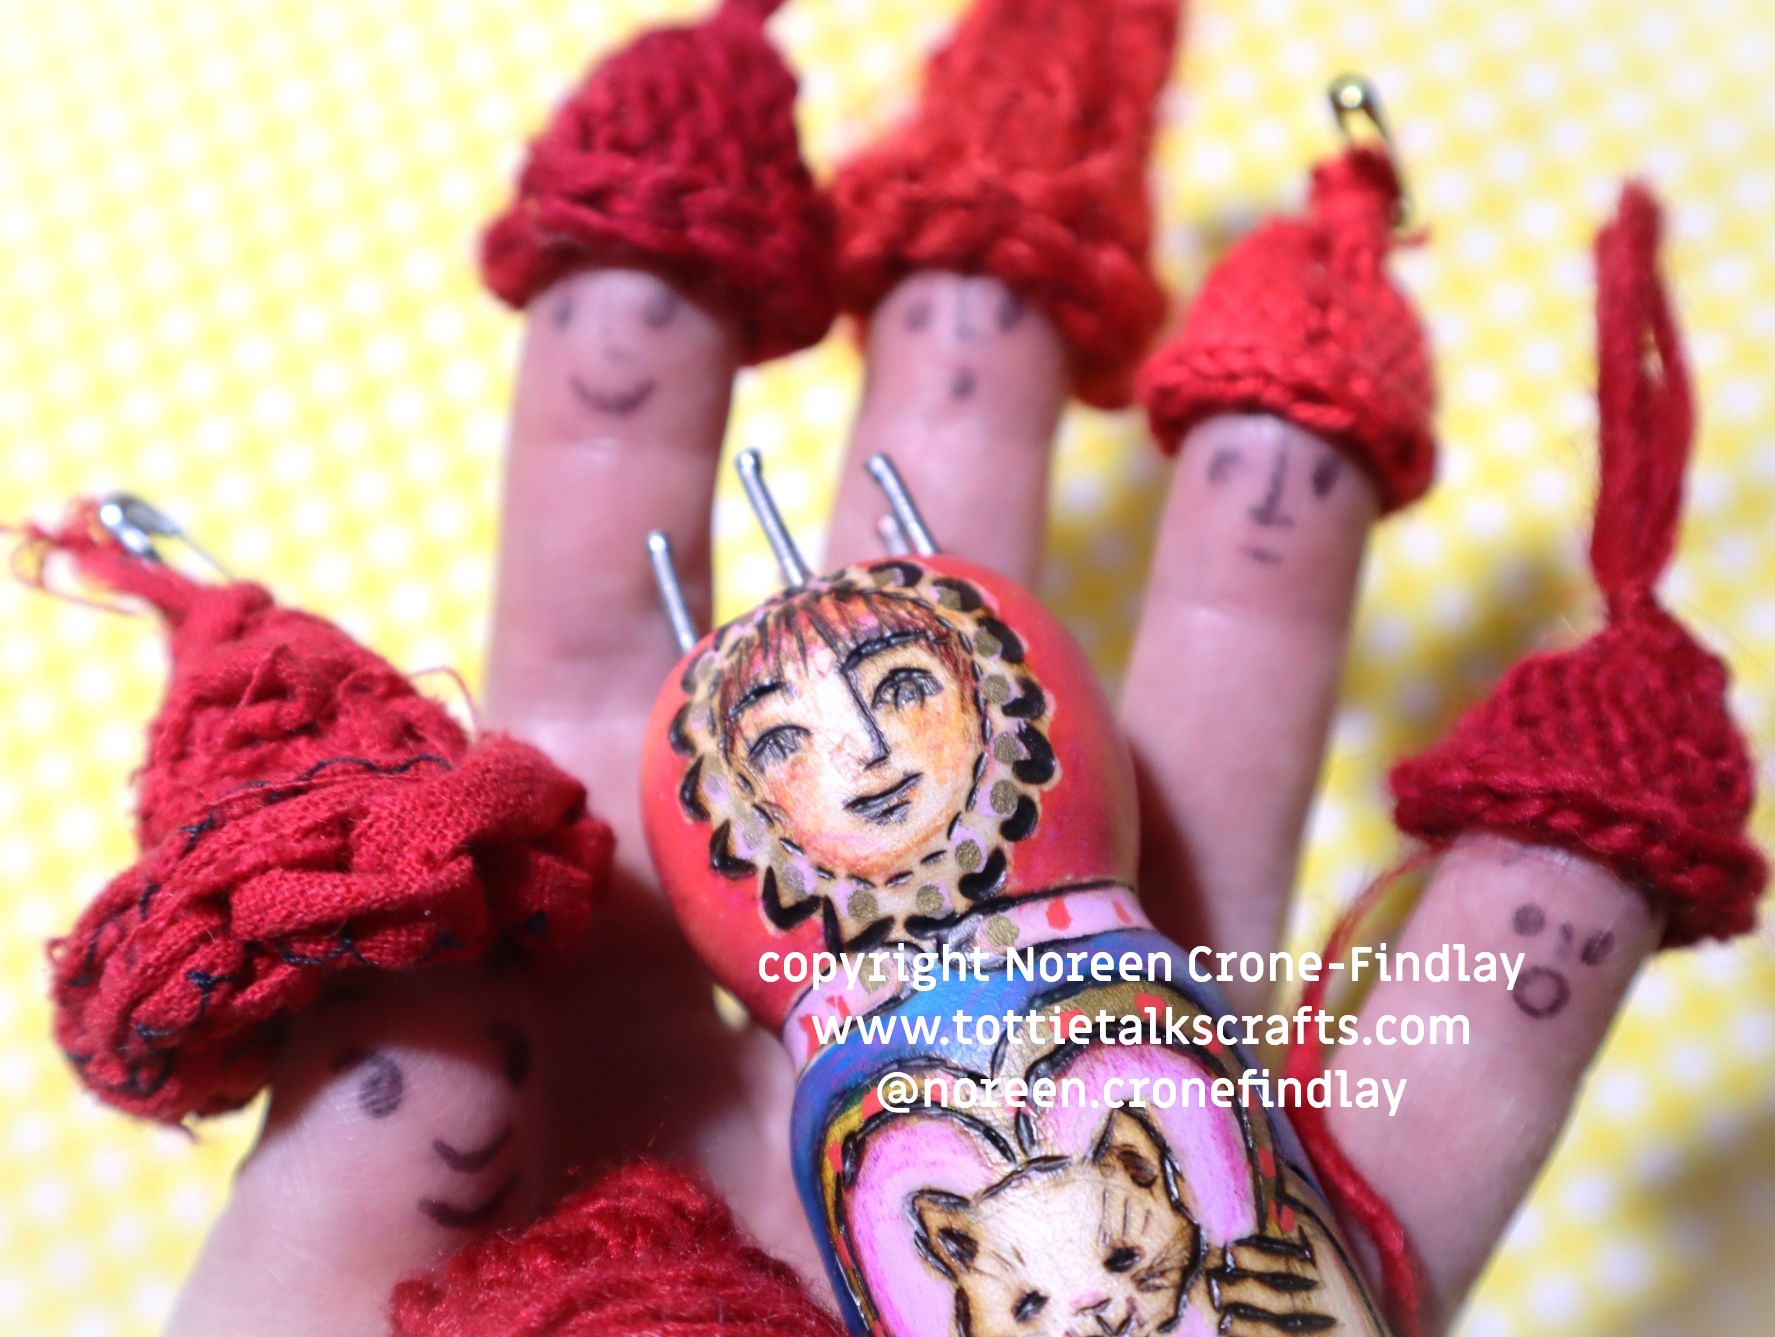
Day 35 of #100daysofspoolknittersandlittlelooms- Lots of Links for How To Use Spool Knitted or Lucet Cord
Spool knitting and using lucets to make lovely cord is relaxing, meditative, contemplative and just plain fun. But, people often ask me: What do you do with all those cords after you’ve made them?
Here’s a list of useful links to videos that I have made about ways of using spool knitted and luceted cord. (Lucets are flat 2 peg spool knitters))
Go to my Etsy shop to buy pdf patterns for fun spool knitted projects:
Tutorials and links are nested here: https://tottietalkscrafts.com/
Video Tutorials:
How to add buttons, beads and charms to Lucet or 2 peg spool knitted Cord:
If you are going to use this technique to add embellishments to spool knitted cord, you will need to use the 2 peg spool knitting technique:
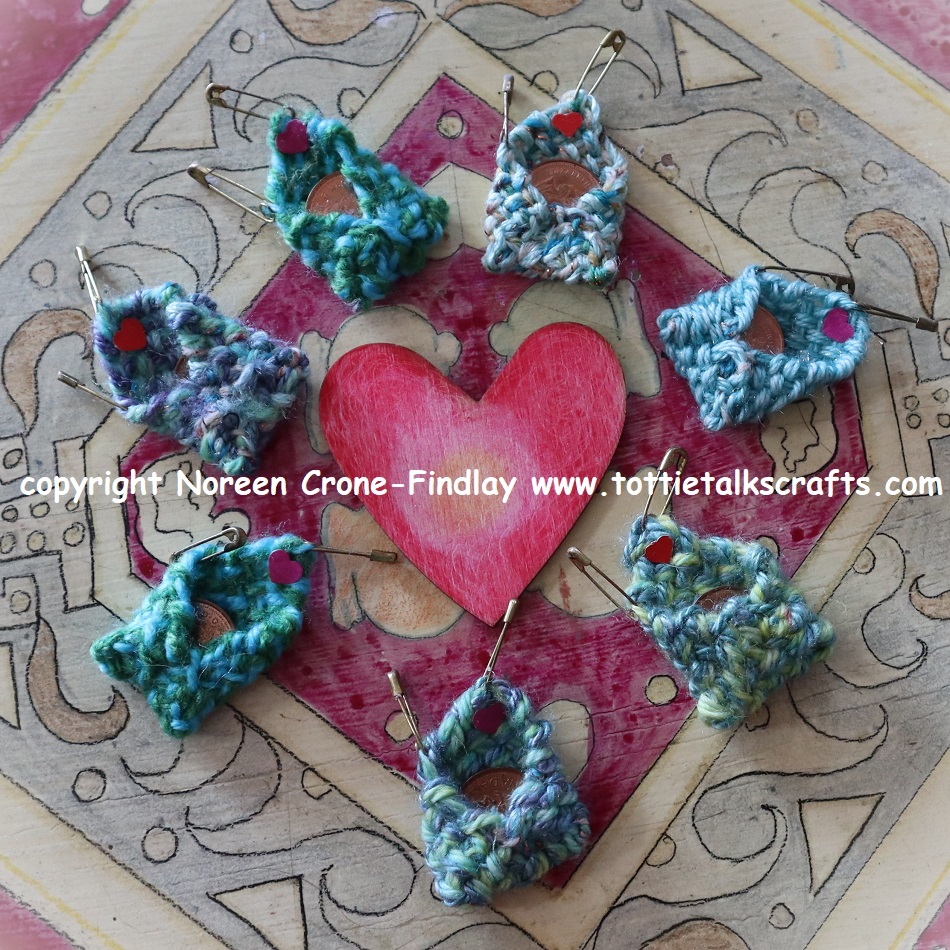
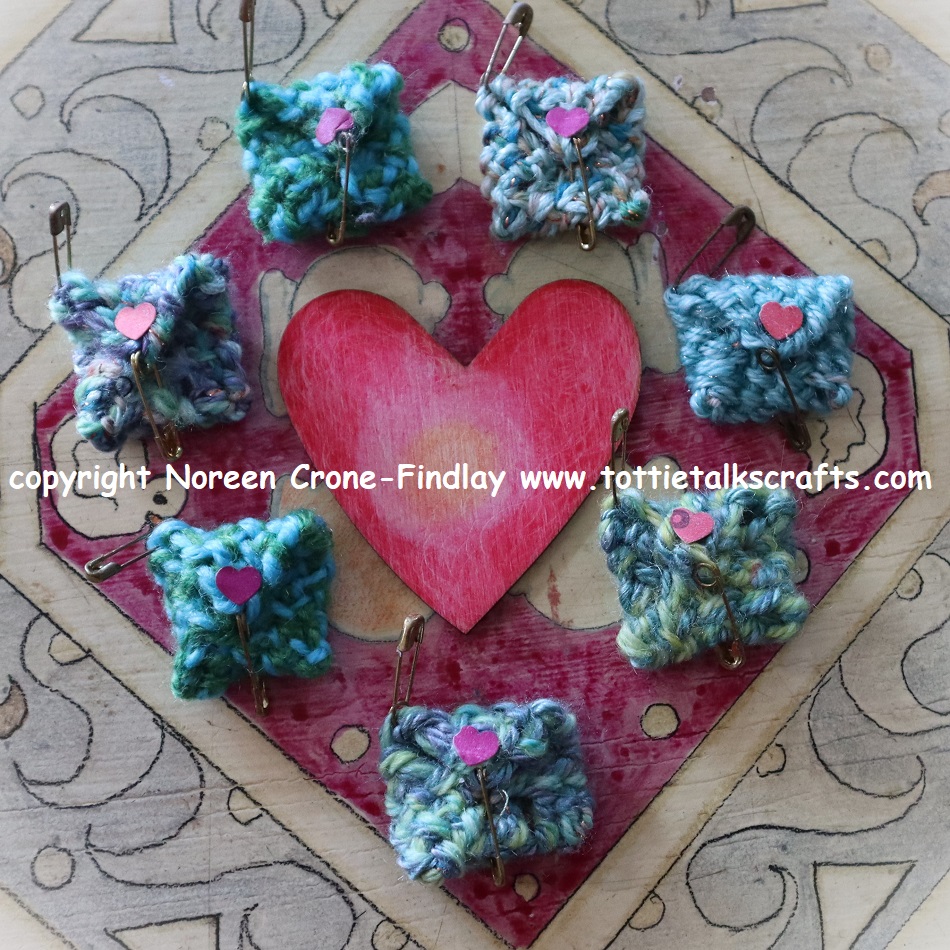
How to add buttons, beads, found objects and charms:
Button closures
Celtic knots and interlaces
Shoe laces
Celtic Interlace Hearts
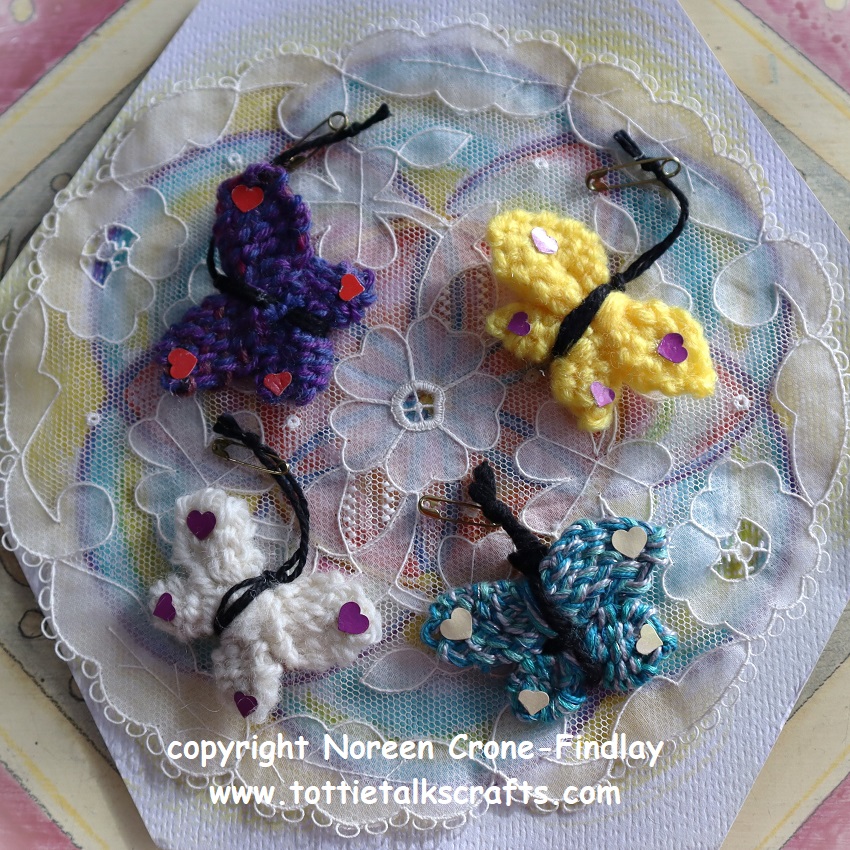
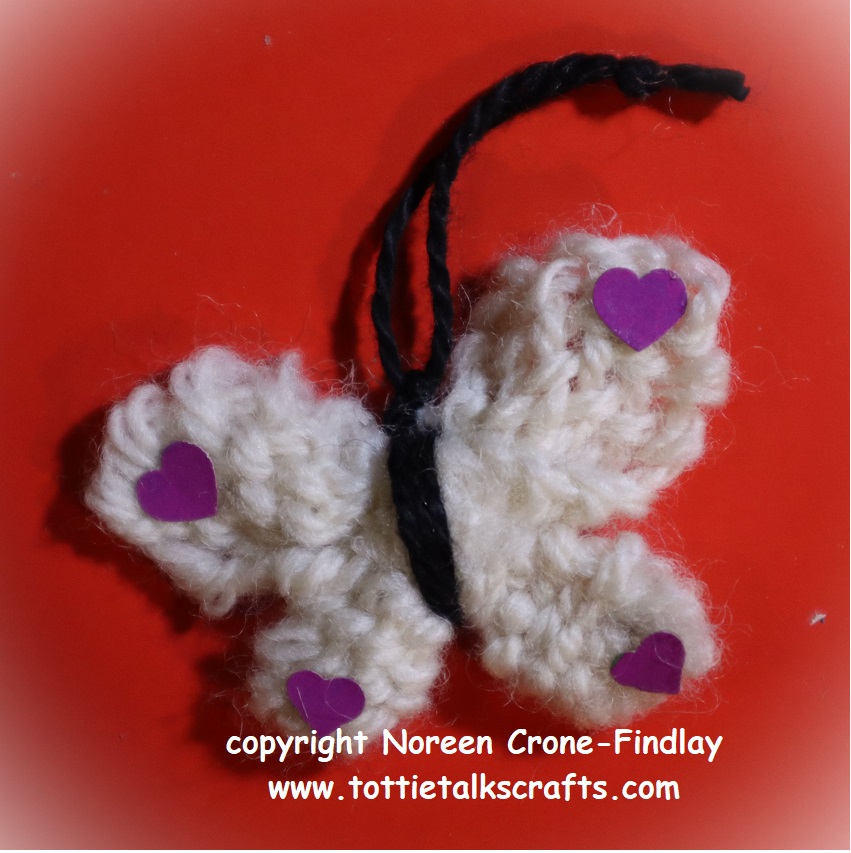
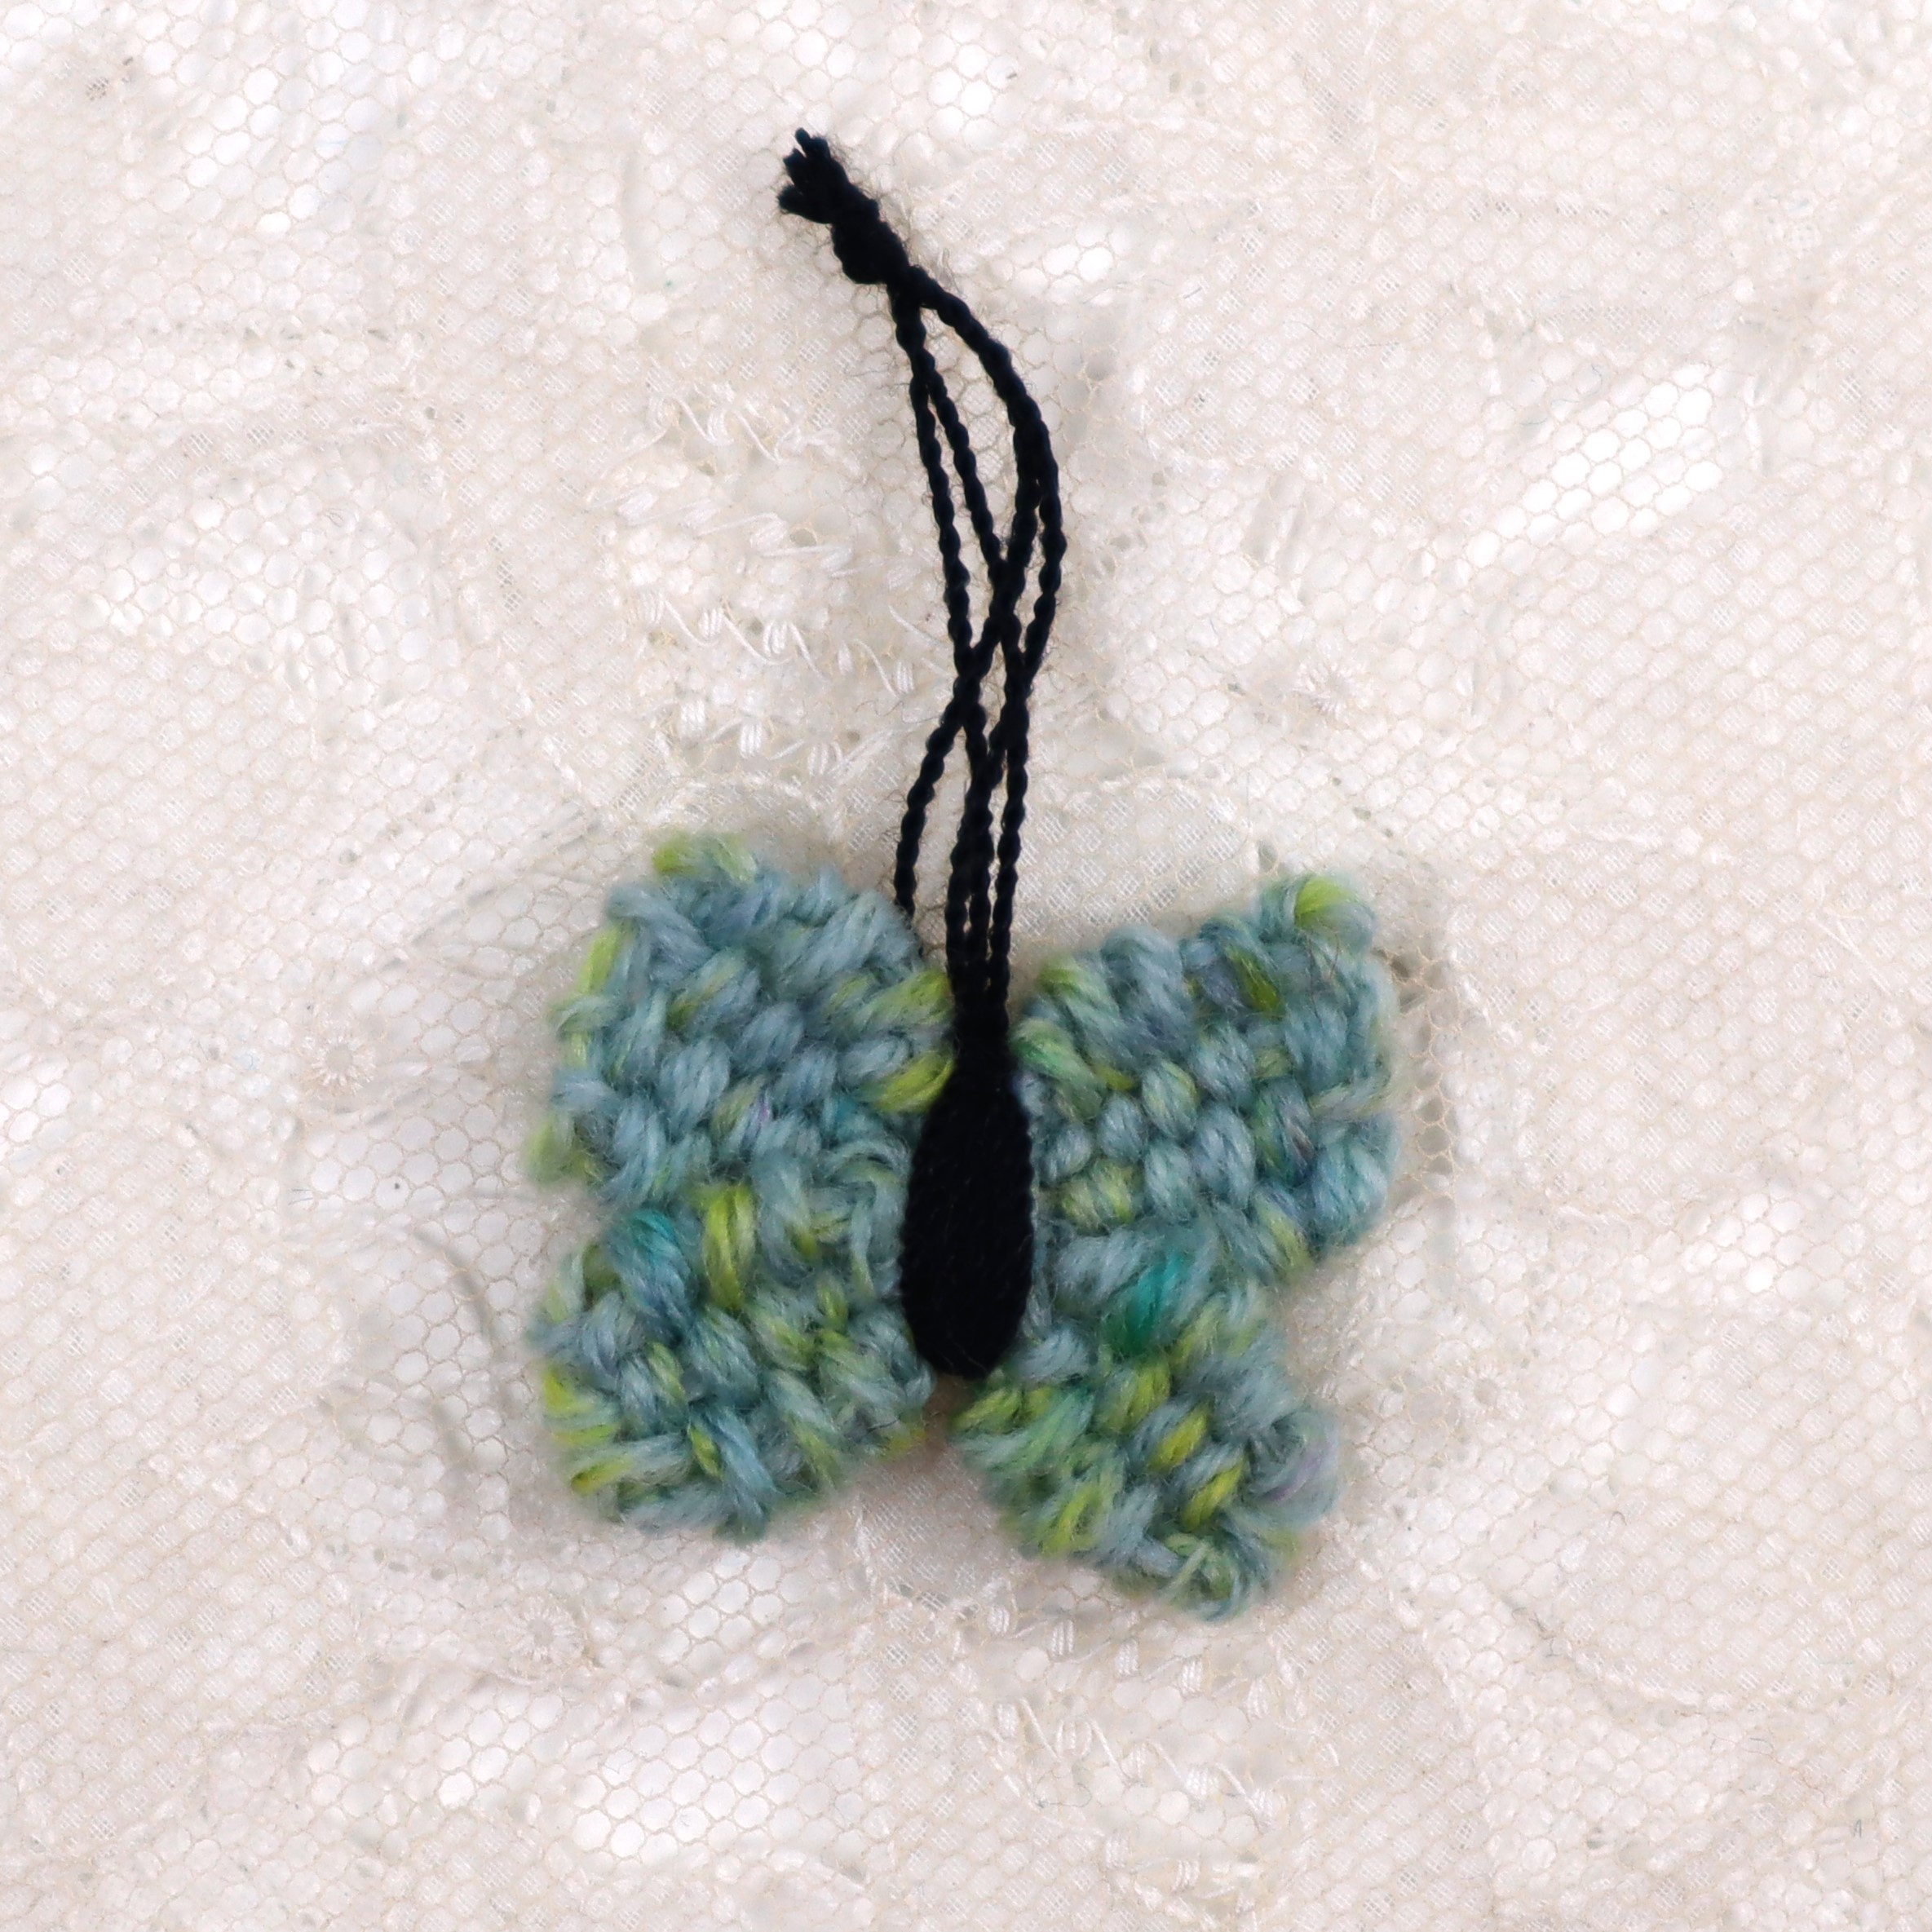
Lucet cord or 2 peg spool knitted butterfly:
How to attach lucet or 2 peg spool knitted cord to garments:
I will be adding more tutorials to this list.
How to weave a ‘Flower of Life’ motif on the Lily Speed O Weave Loom using spool knitted cord:
How to adapt a 4 nail spool knitter so you can spool knit a 5 nail cord on it:
How to cast off spool knitting:
Spool knitting with 4 nails/pegs: