Last week, we went to a baby shower for friends who are soon to be parents.
I was so delighted to see how many handmade gifts were given to this soon to be among us little sweet person!
Quilting, sewing knitting and crochet were all beautifully shared by the extended family. Delightful!
What did we give to the new baby?
Well, since his parents love space and planets, and have decorated the nursery with all many of space and planet images, it seemed like a good idea to me to give Lil Baby a Star Mobile…. yup… from my book: Crochet Stars. With love, of course! ❤
It’s such a joyful moment when a box appears on the porch and it’s my new book!
I was thrilled last week to see Crochet Stars up on the online book sellers, but, to have the book in my hands is pure joy!
Crochet Stars is so dear to my heart- it is a small book – a new format with my wonderful publisher, Stackpole, which feels just so right on so many levels.
Writing this book was a journey of healing on the path of grief. It is full of so much love and is all about finding healing and laughter and hope through the joy of making small but sweet and precious things with our hearts fully infusing our hands as they create gifts of connection and love!
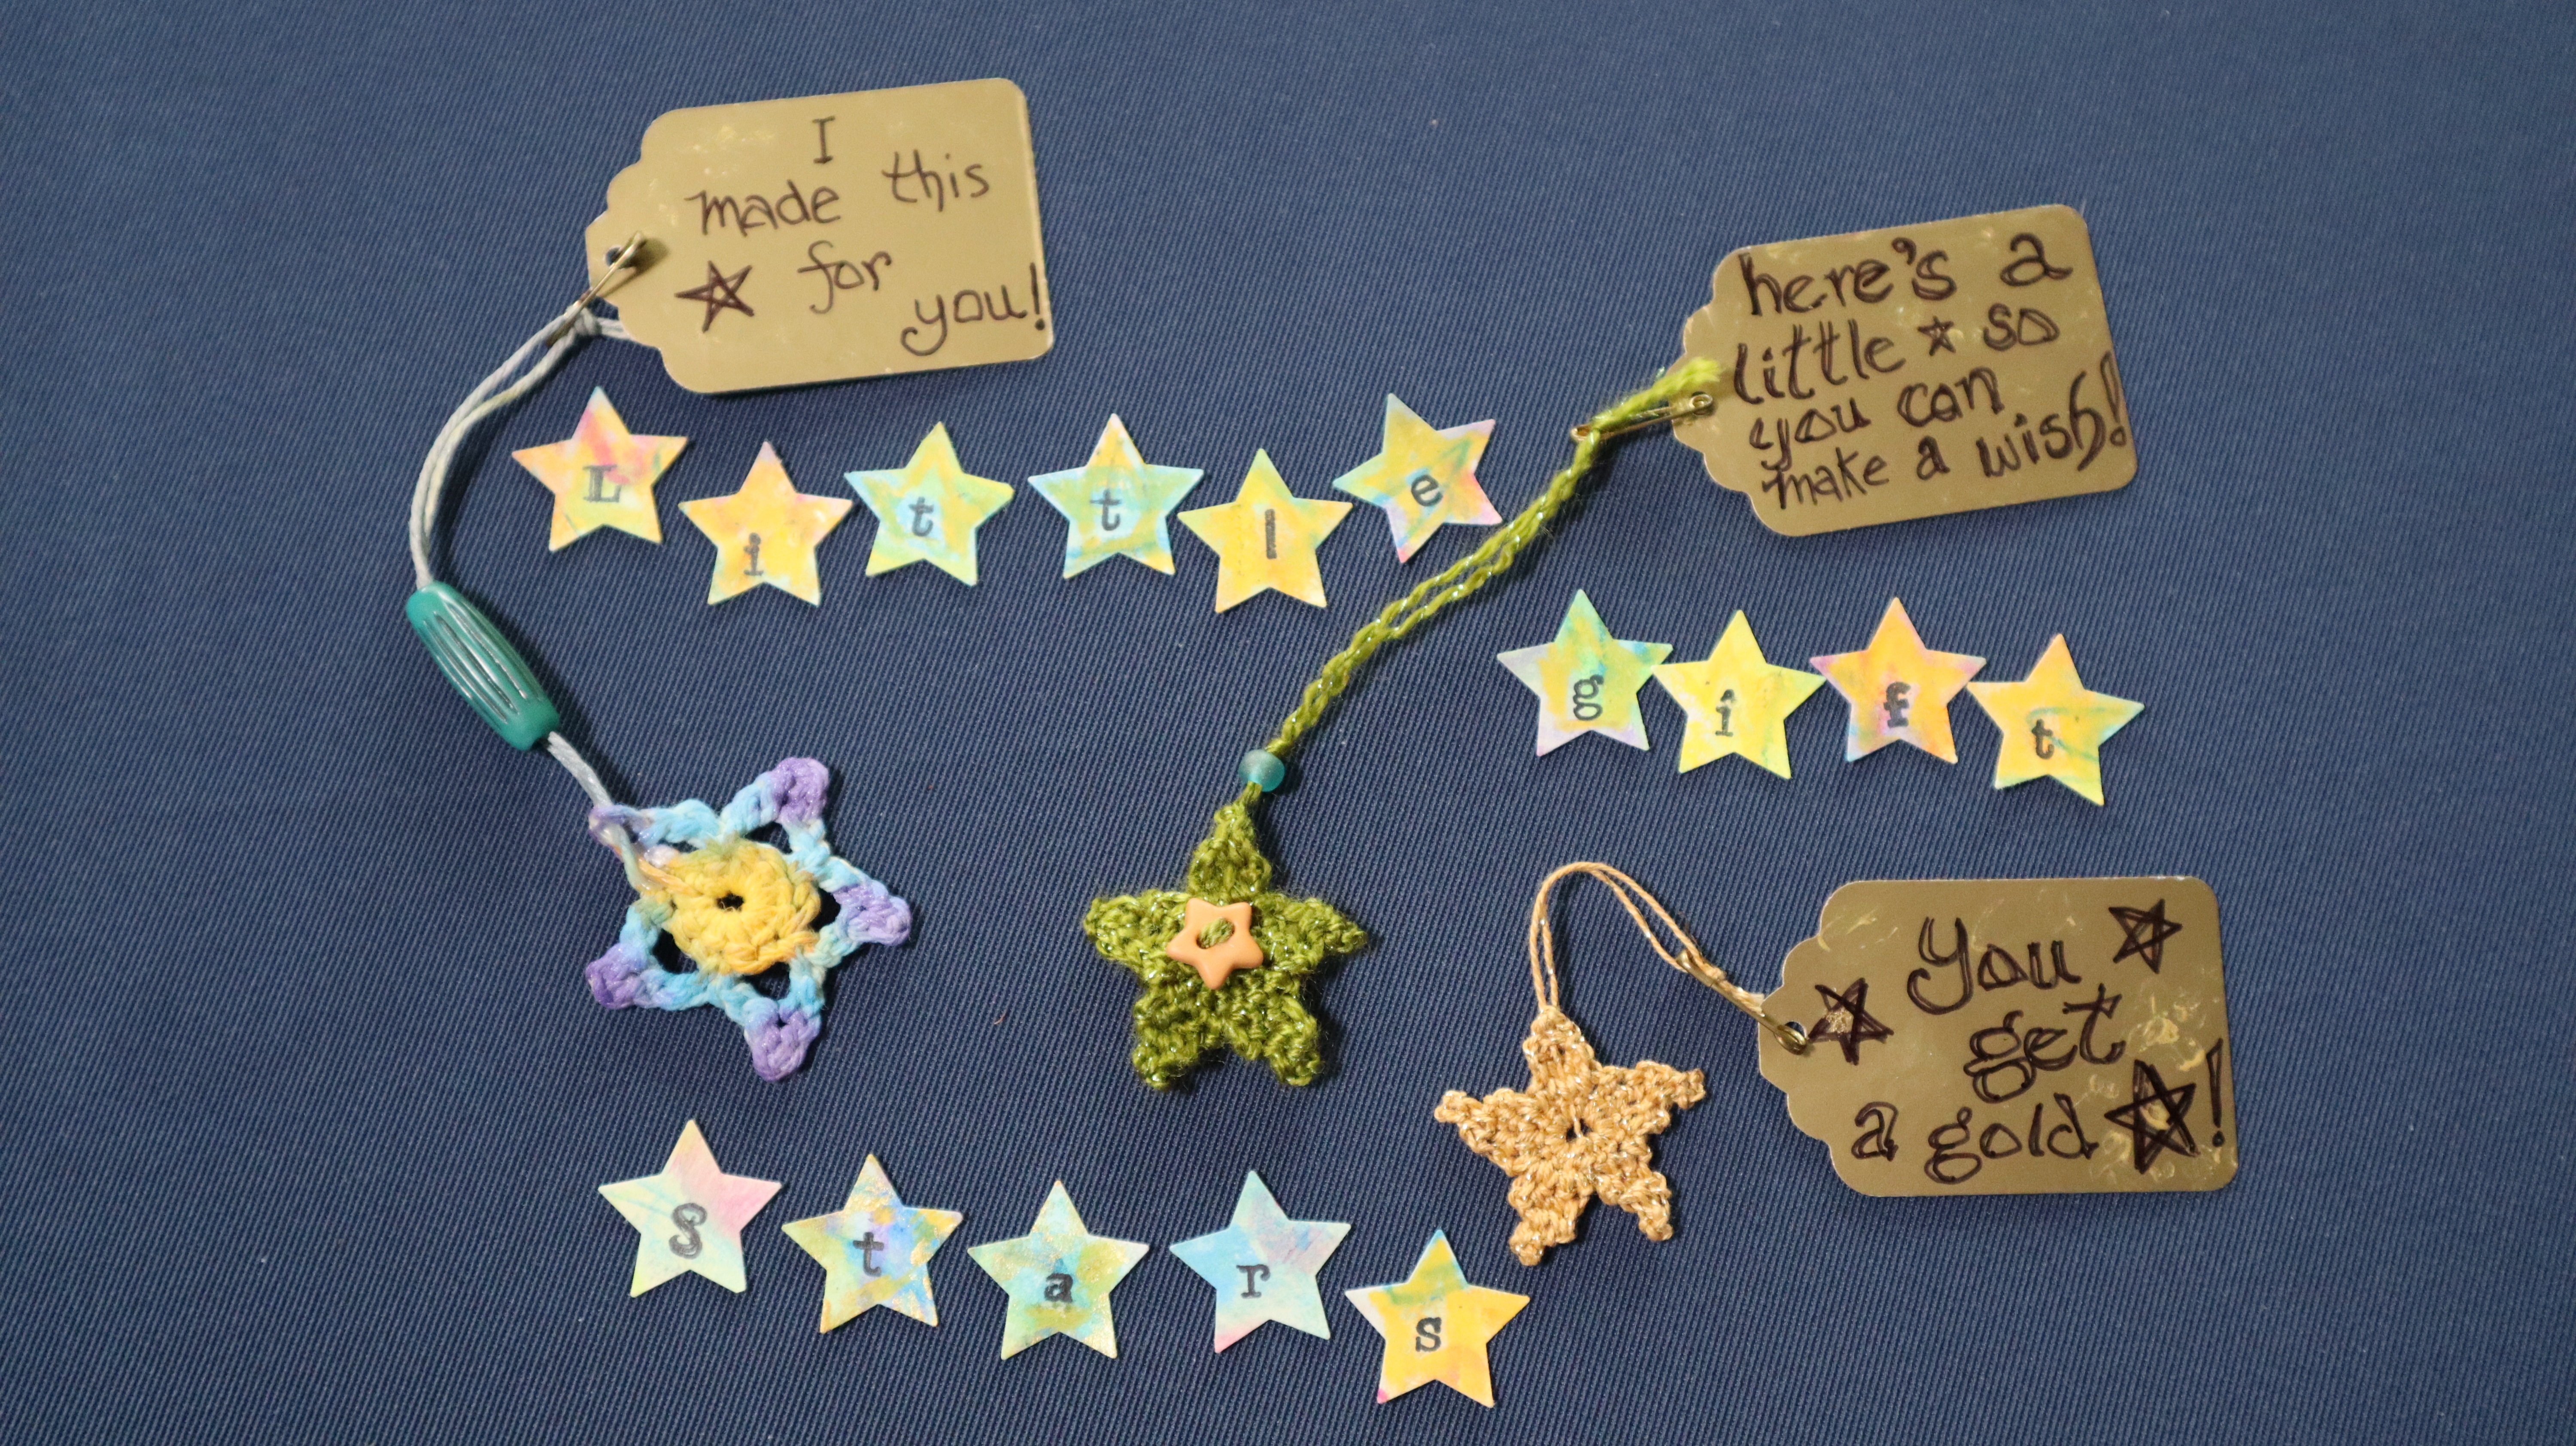
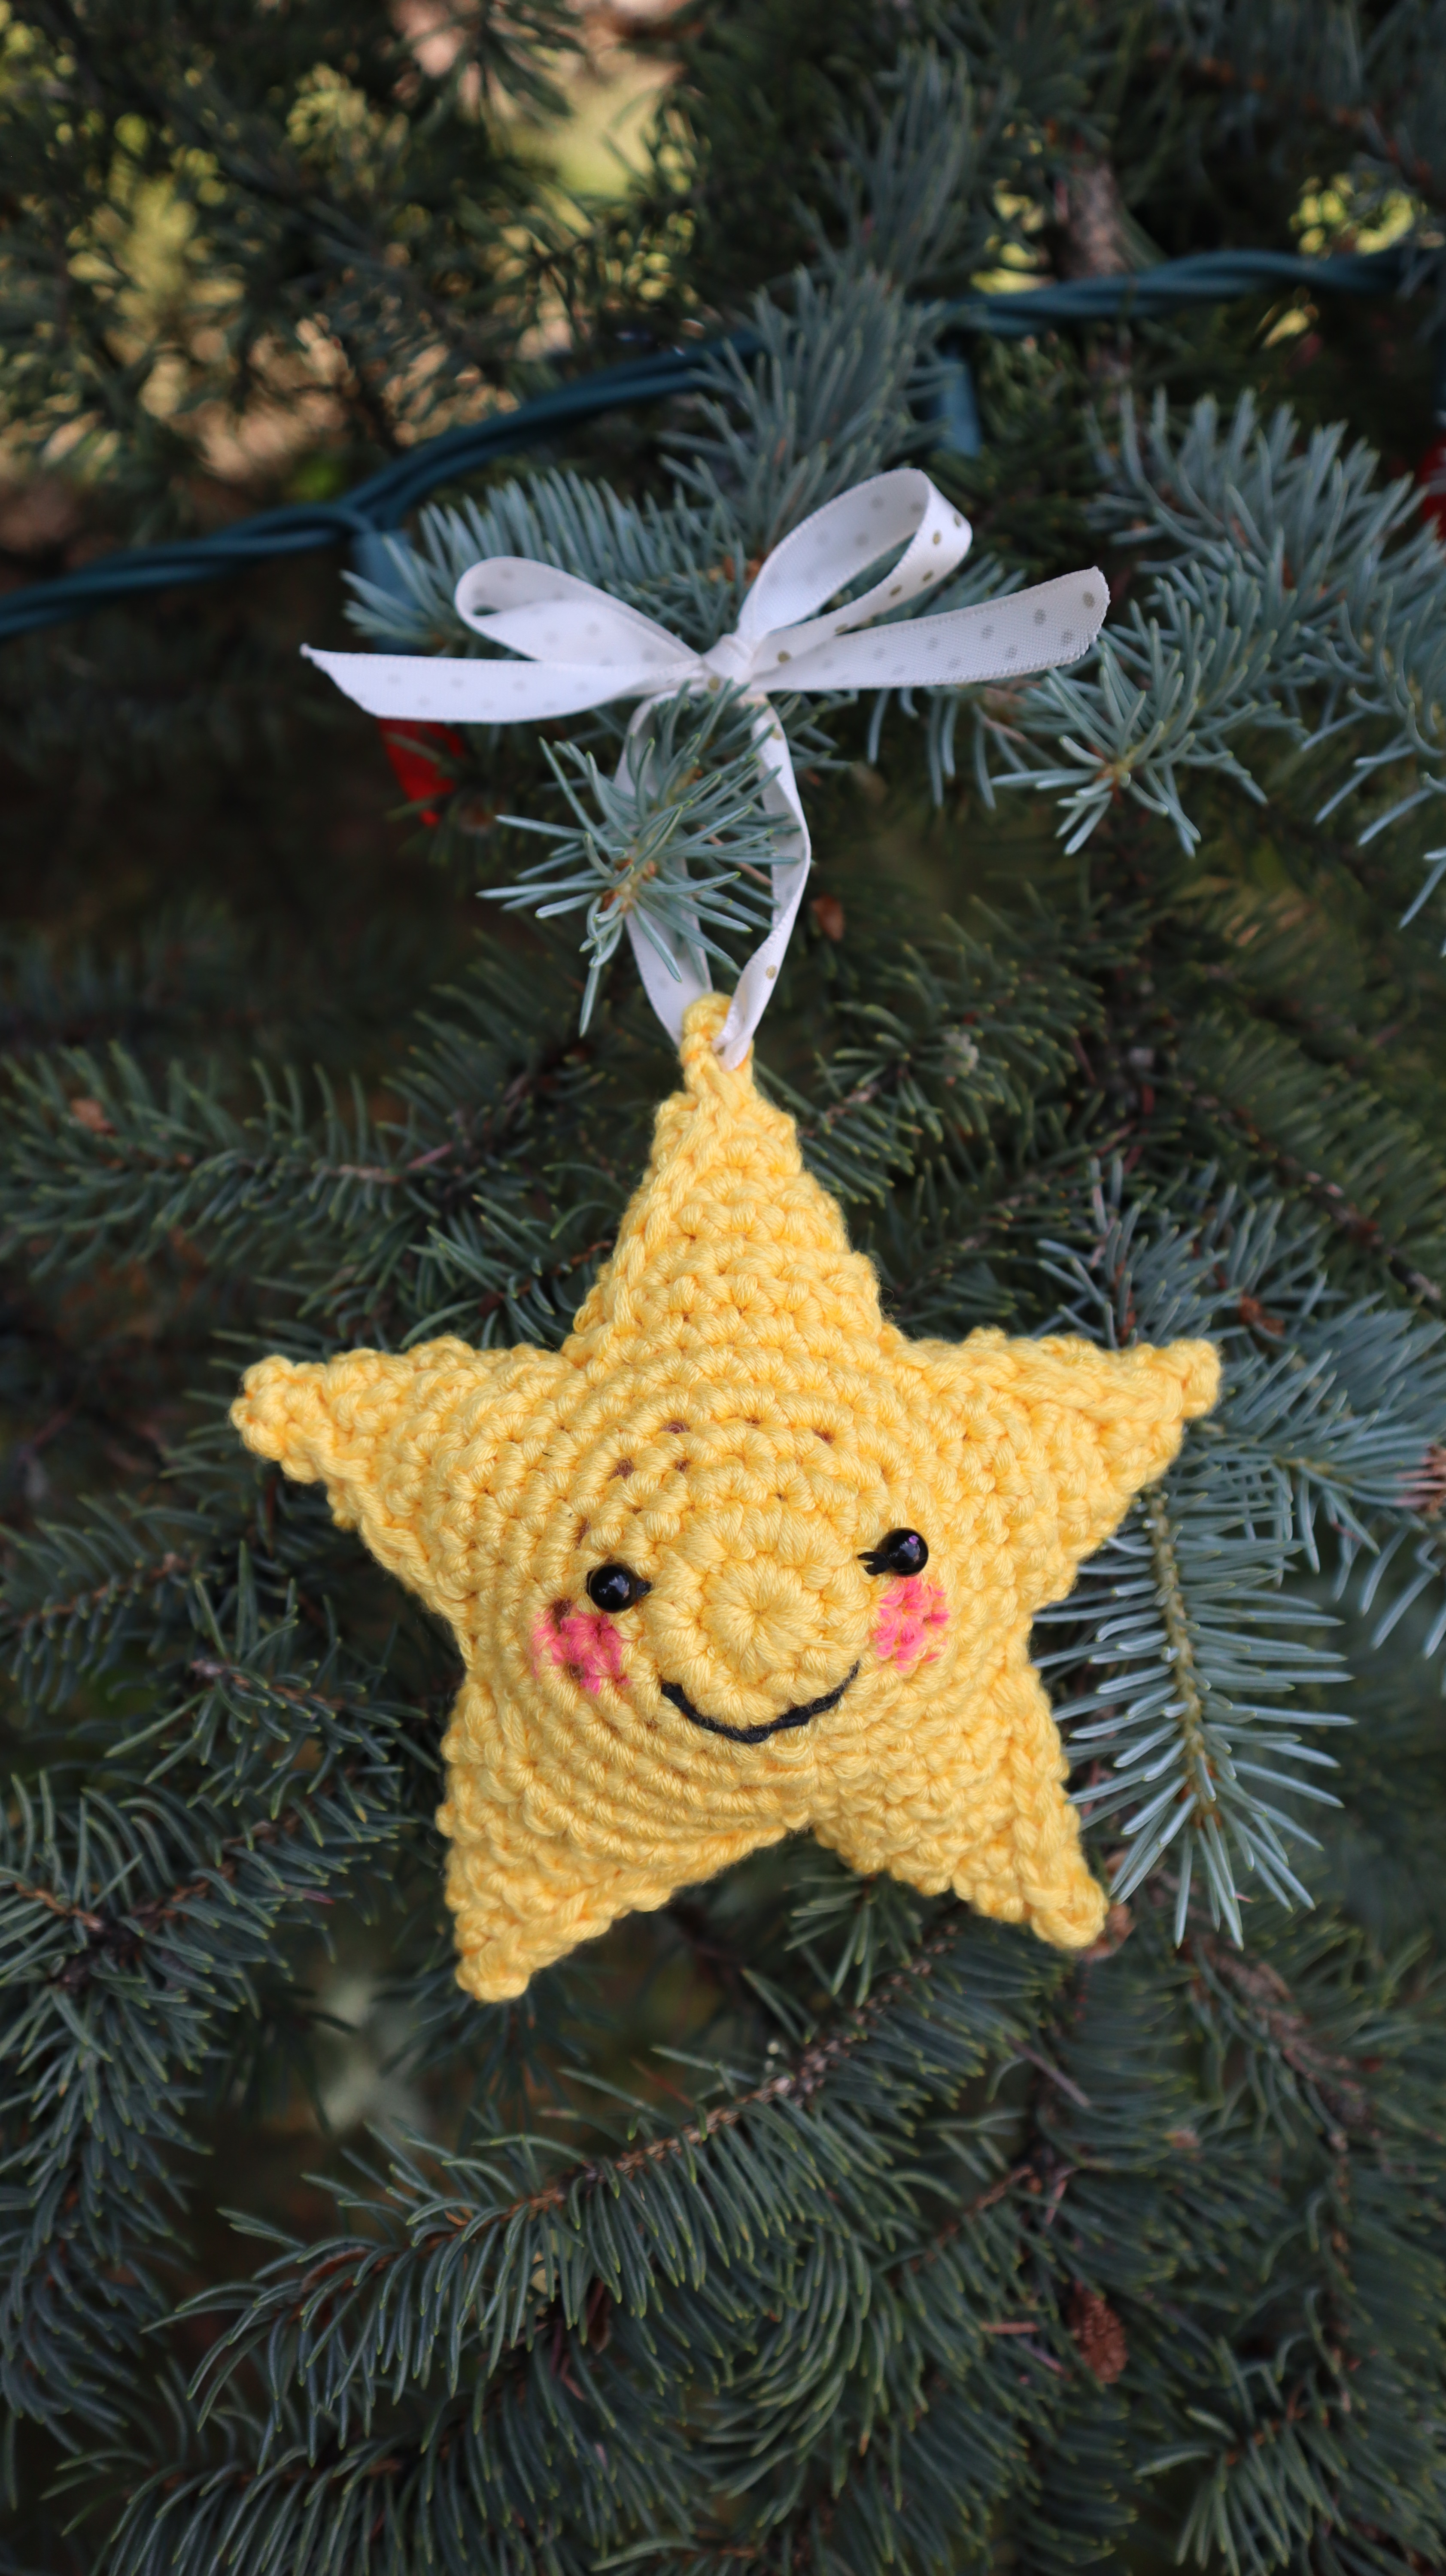
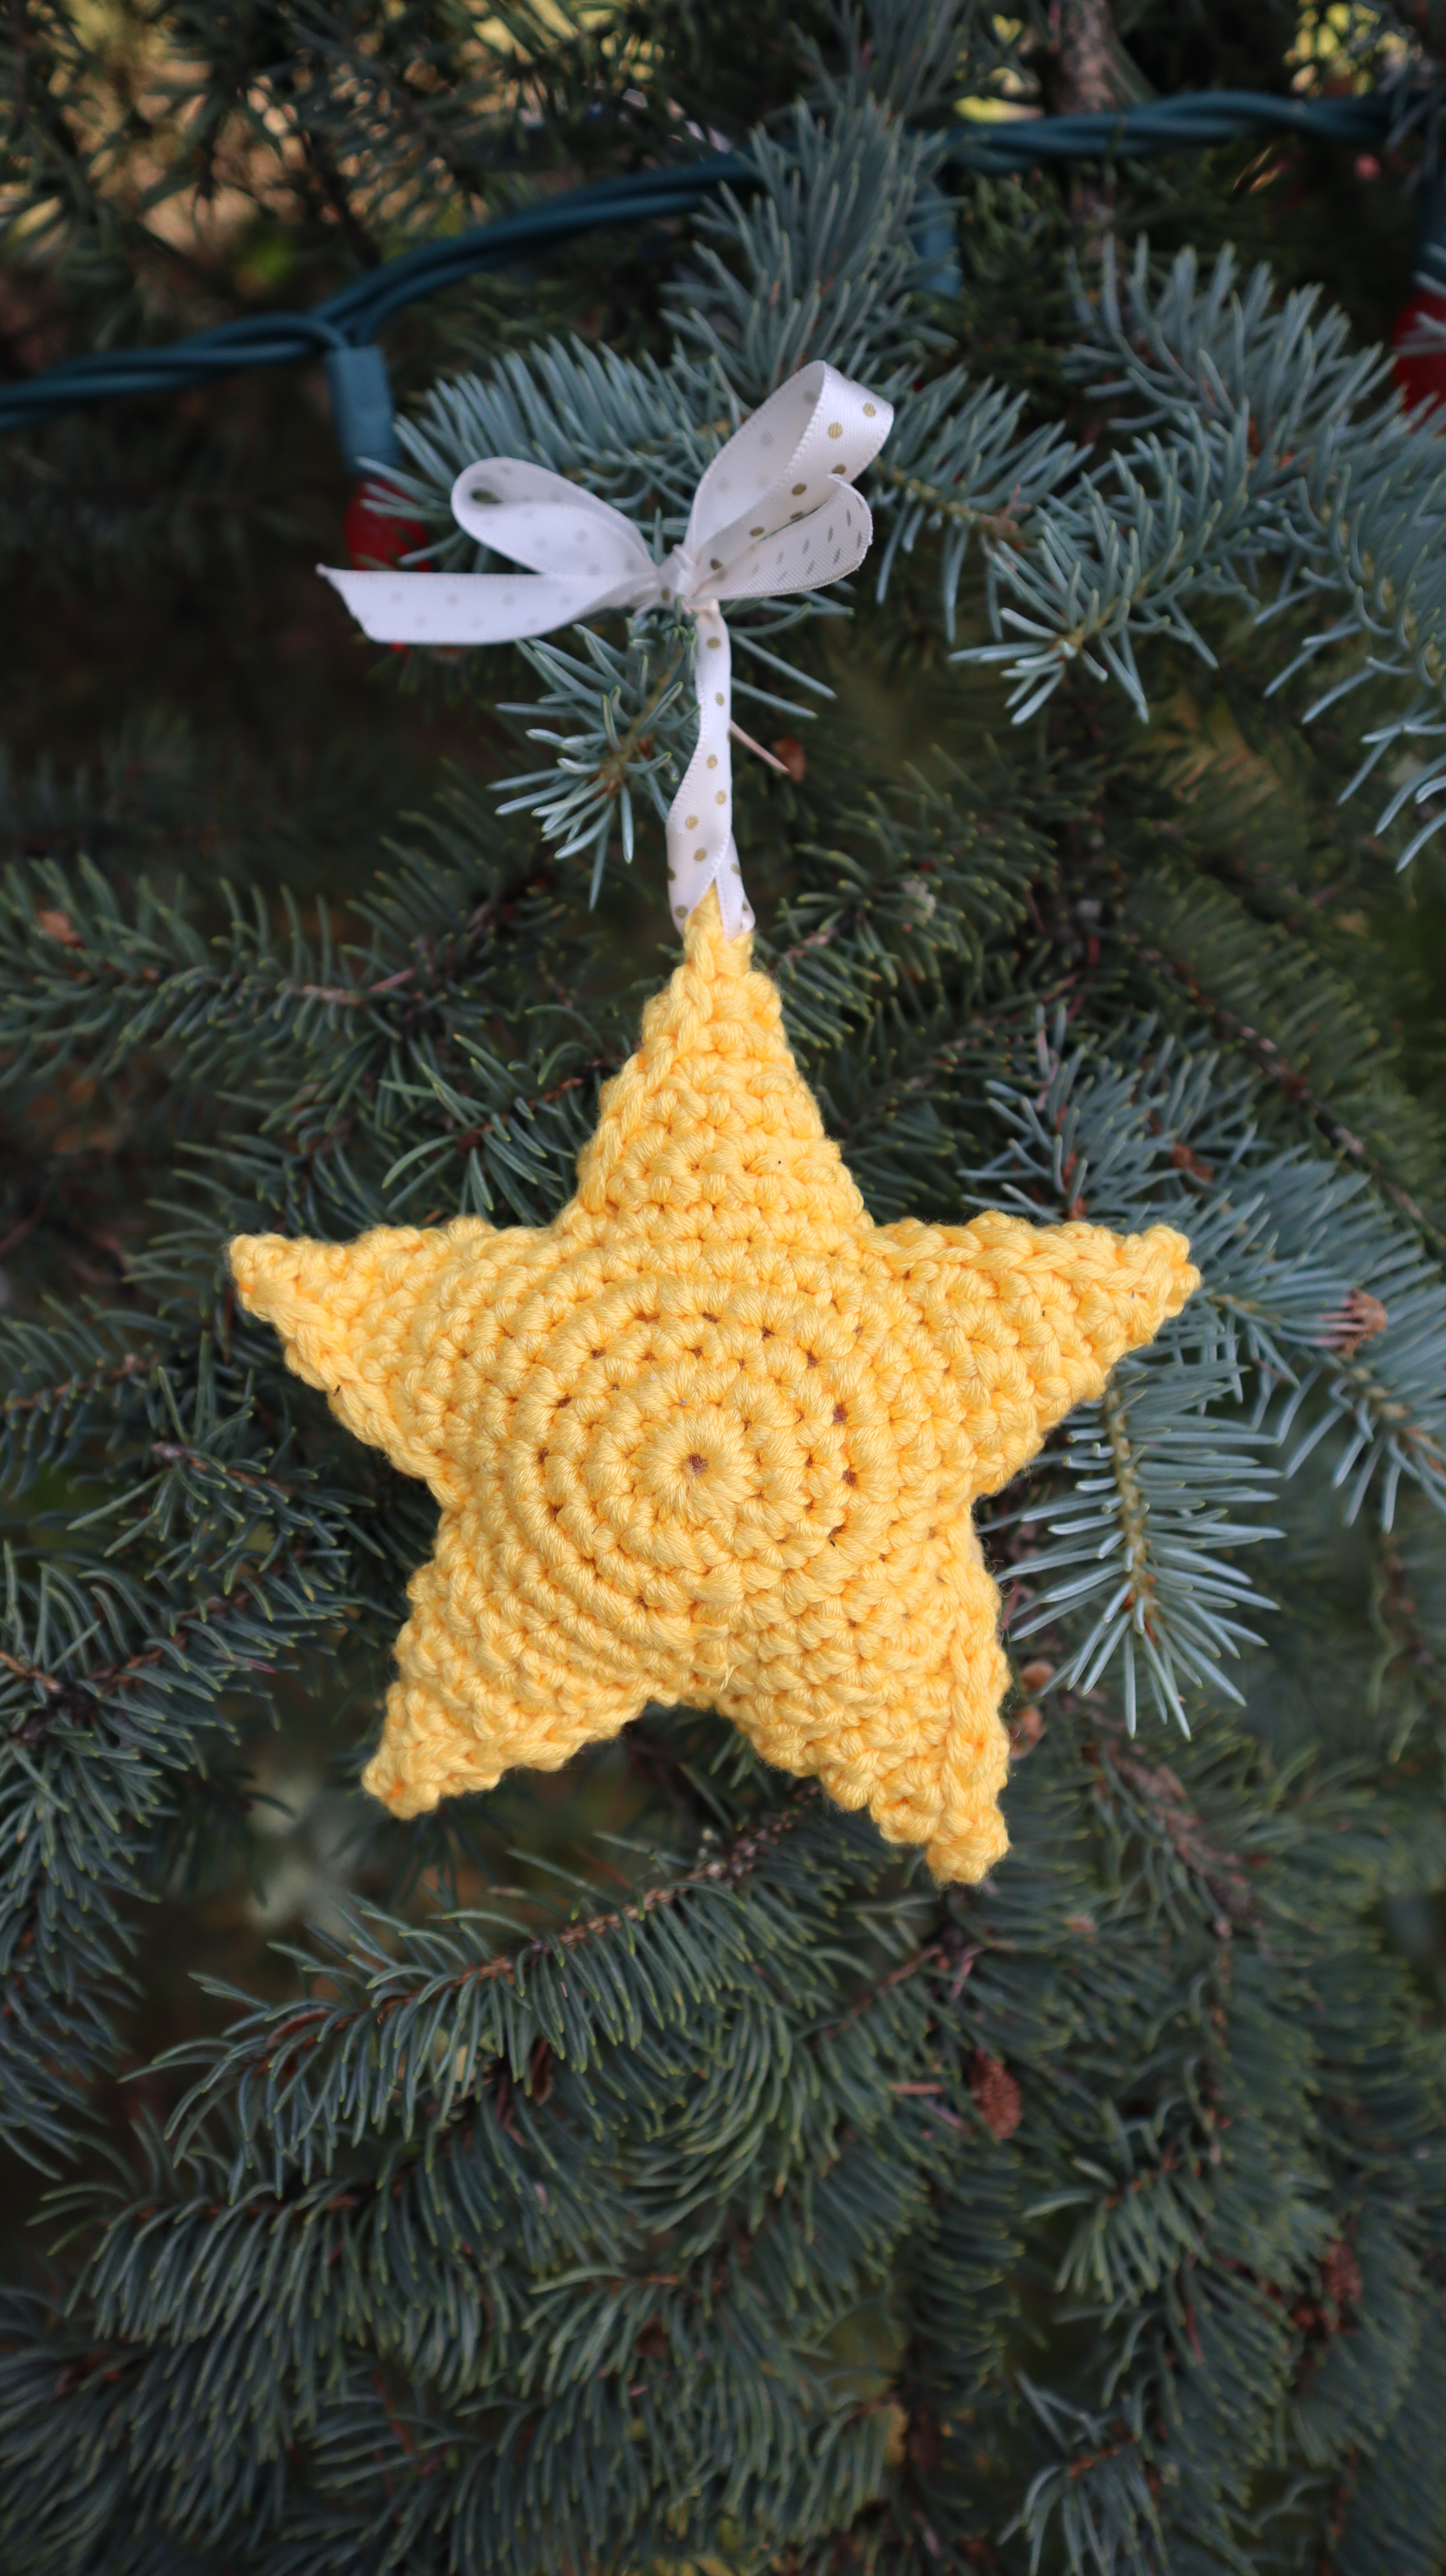
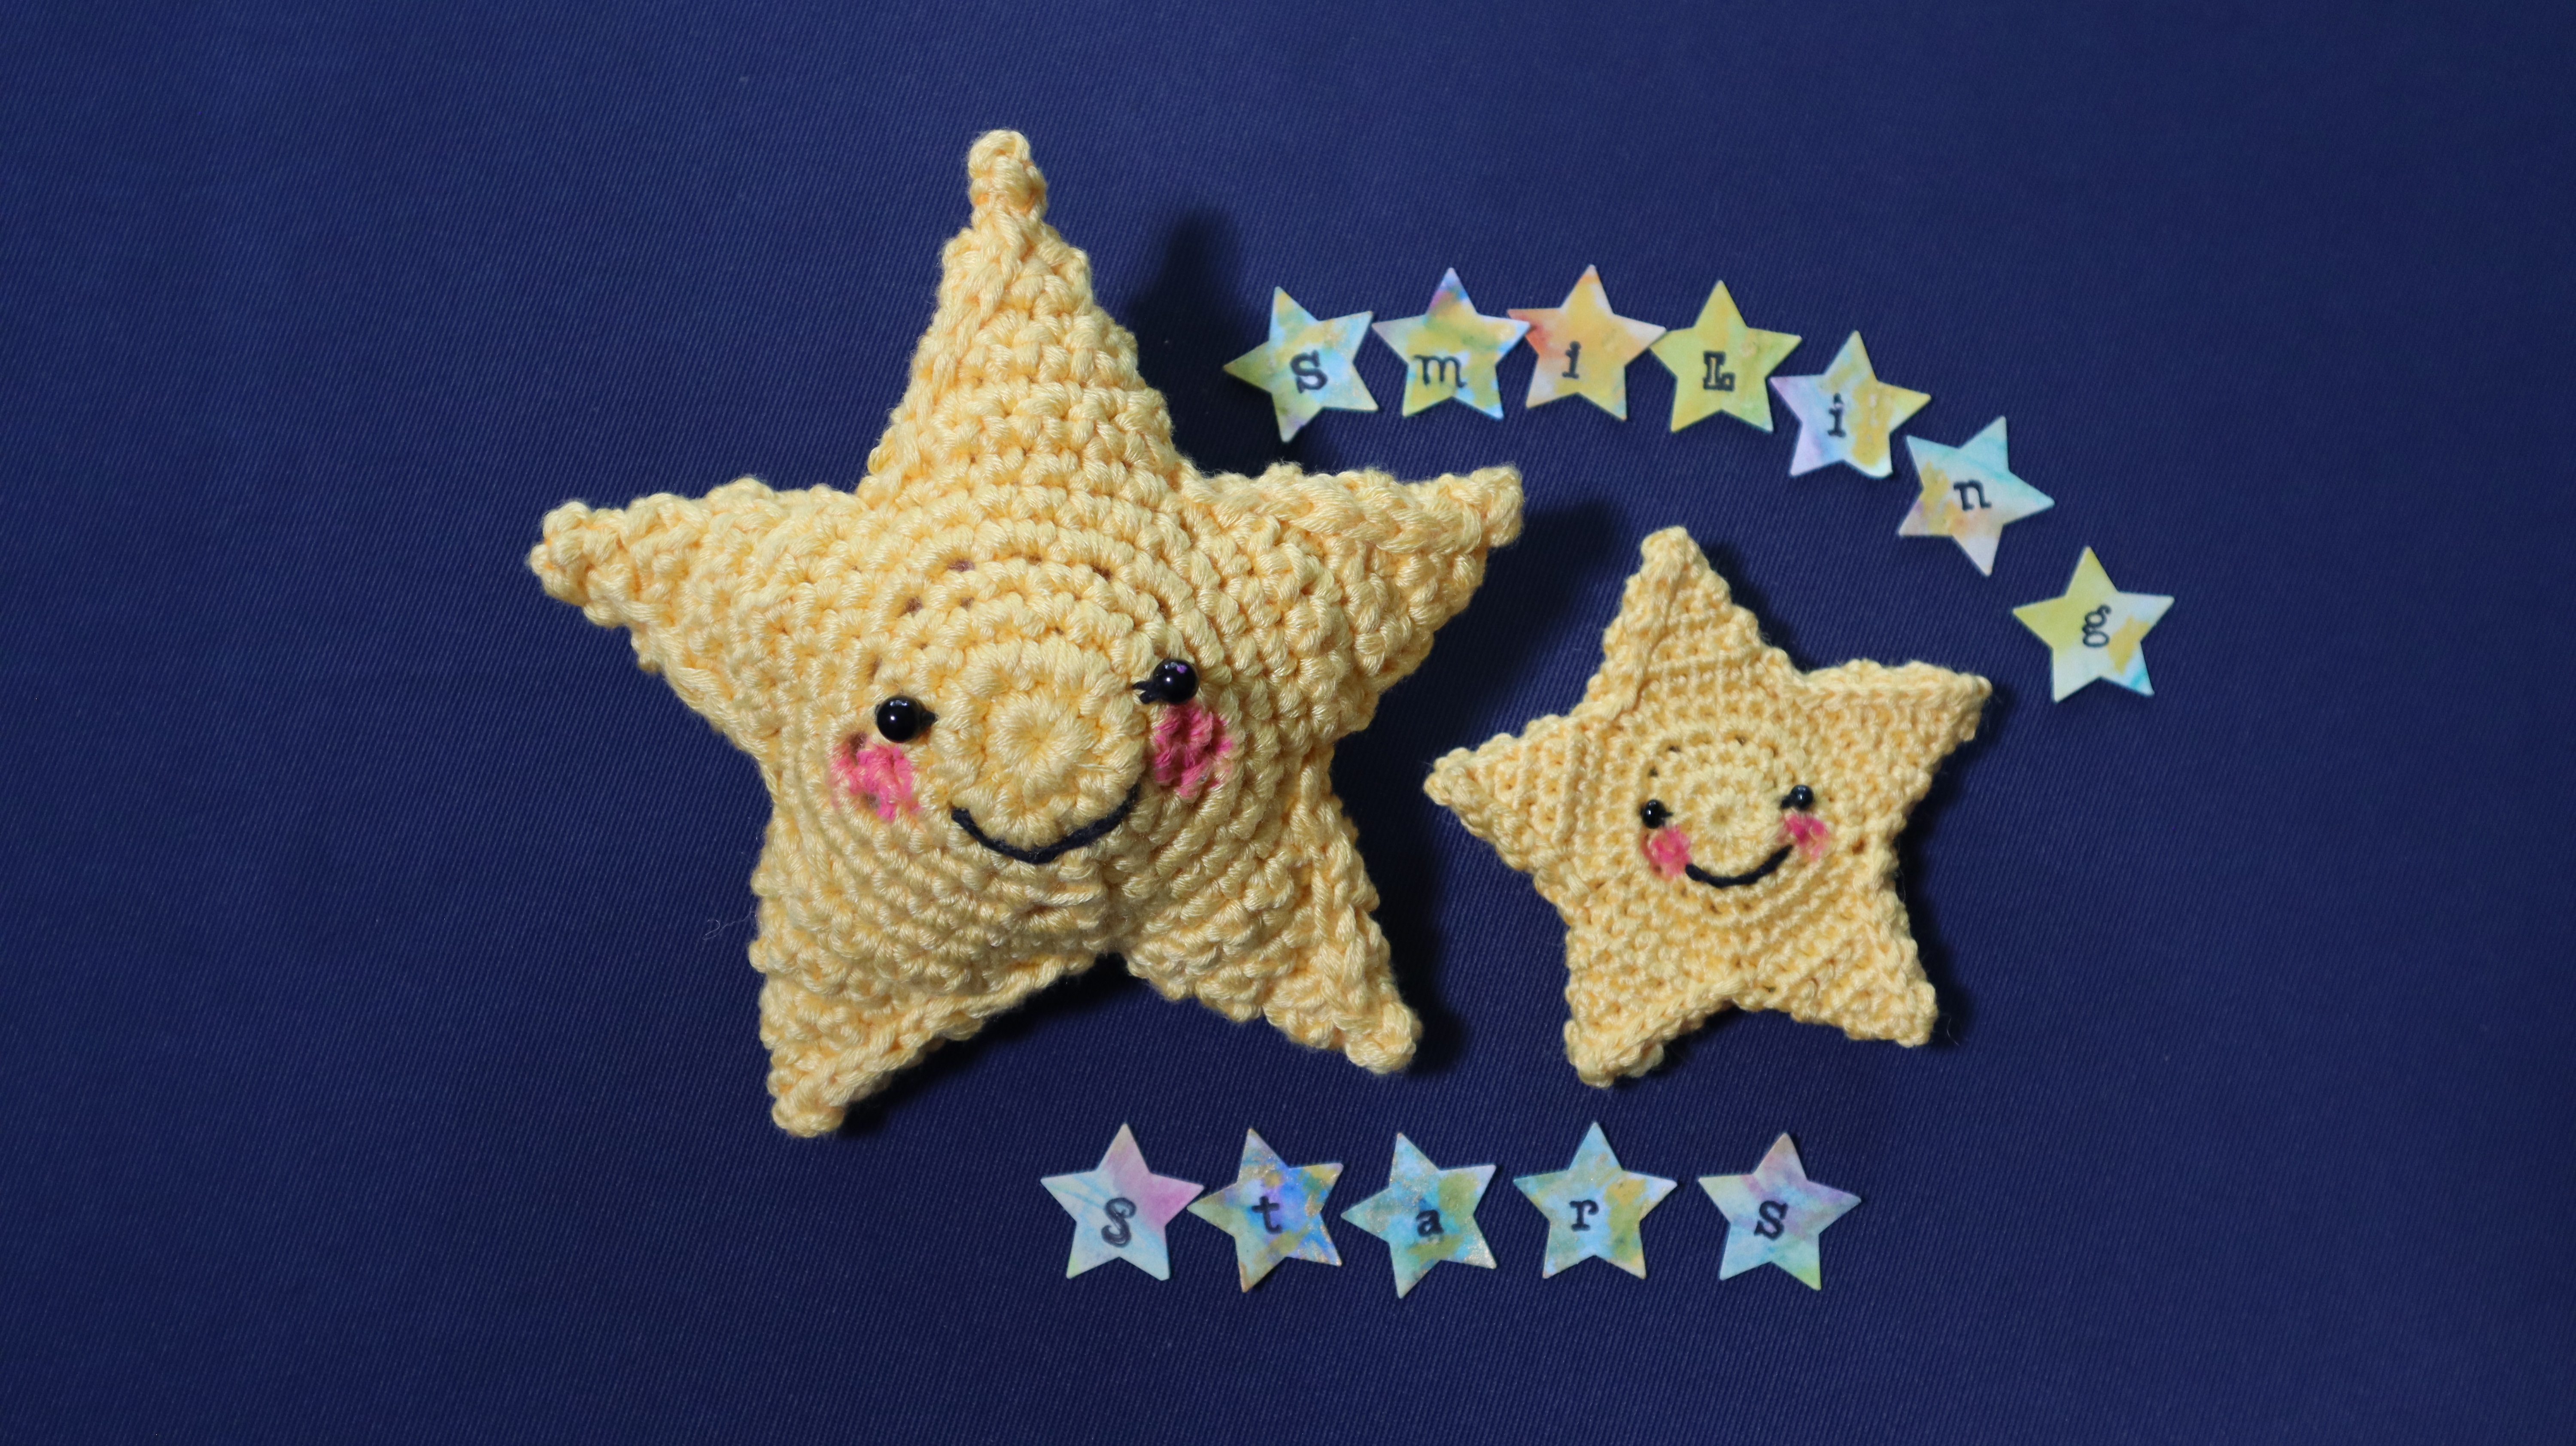
This little Laughing Star is based on a series of delightful dreams that I had over many many years, and it is, in a lot of ways, for me, the ‘Star’ of the book…. but then, I LOVE all the stars that I designed for the book!
Stars are such a powerful metaphor for the light of love, laughter and healing that flows through our lives.
I deliberately designed several very small stars so that people can give them freely and happily as gifts to say to people: Thank you for being here, and I appreciate you and oh my goodness! You matter! ❤
Joni Mitchell had it so right when she sang that we are stardust and we are golden.
I hope that this book, Crochet Stars, will bring golden stardust to life in so many ways! ❤
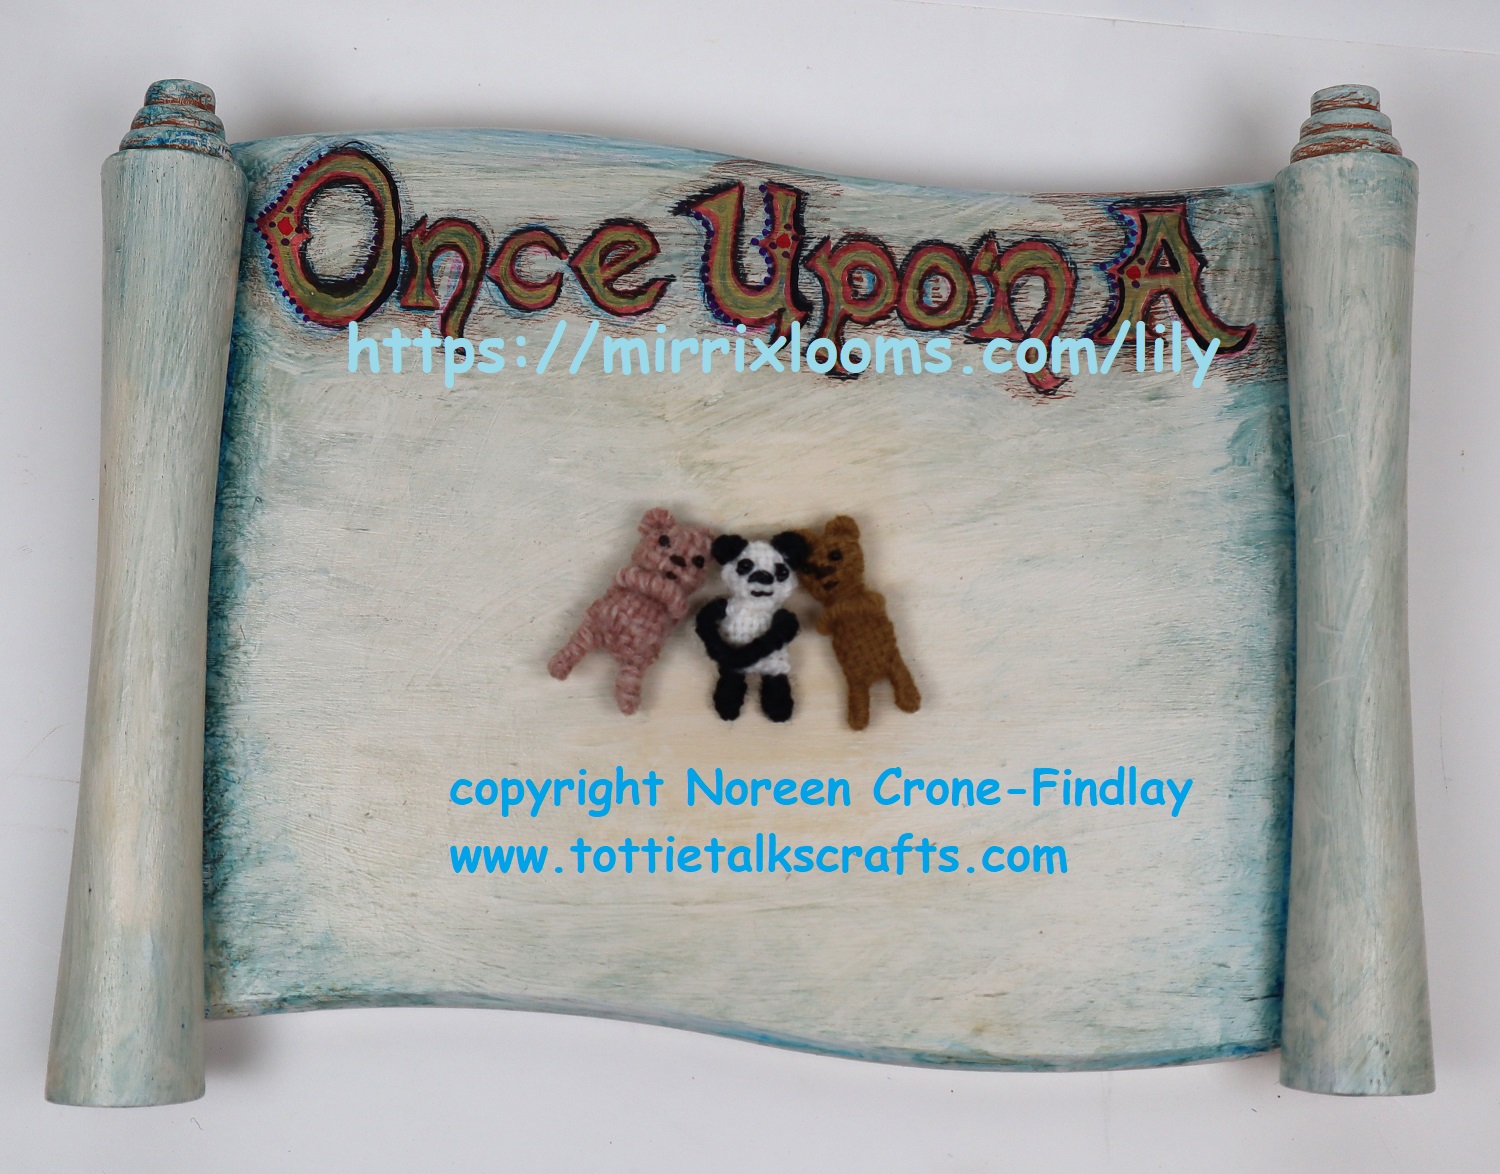
I love weaving these Small Square ‘Comfort’ Teddy Bears!
They have ‘huggy arms’ that hold onto a thumb or finger so hugs are always near.
To make a Small Square ‘Comfort’ Teddy Bear that is a Panda, weave the body in white and work the ears, arms and legs in black or any color that you prefer.
Weave them in just one color or with 2 shades to make them ‘tweedie’.
They have lucky pennies and good wishes hearts inside, so they have very good energy.
Because they are so small, they easily fit in your pocket. It’s so good to always have a couple of them with you, because you never know who you will meet that needs a little bit of comfort!
These charming and whimsical Small Square Comfort Teddy Bears fit in an envelope so you can send them to friends who need a little hug.
They are quick and easy to make and are a lovely way to share love, kindness and all good things!
By the way, on the 15th of each month through 2024, we will be releasing a new kit for a design that I have made for the Lily Doll project. They’re all available at the mirrix website.
We’re planning some other fun things, too. I’ll post about them as they come up.
Hope 2024 is full of good things for you and yours: Blessings and hugs ❤ and happy weaving!
The Pixel People are quirky little woven wonderfuls that I designed for the Lily Doll Project.
They began as doodles on graph paper and were so delightful that I had to weave them right away! They are very small, so they are quick to weave and are great little stash busters. (they’re 1 1/2 inch or 3.75 cm square). I always put a ‘Lucky Penny’ and a paper heart inside to make them even more good natured.
They should probably come with a warning that they are so much fun to weave that it becomes quite addictive to weave them. This is really okay, as people love them so much that the Pixel People jump merrily into other people’s hands and hearts and pockets, too.
I find simple little things to be endearing. That’s how I feel about the woven Pixel People that are part of the Lily Doll Project.
I was inspired to design and weave the whimsical little Pixel People when I was sketching on graph paper (one of my most favorite design tools). I was doodling ‘inside the squares’ and started drawing cheerful little faces in the squares. I was captivated by their sweetness so one thing lead to another.
I warped up my Chloe loom and these quirky little darlings evolved from those simple sketches. I love them with their little circle hands and feet, but you can also play with other options, too. They have lucky pennies and good wishes hearts inside, so they have very good energy.
They are fun to carry in your pocket or attach jewelry findings and click them onto a zipper, bag or as a charm on a pouch, phone or other device.
Stitch a pin back on them to wear them as a pin. Glue a magnet to the back and they can live on the fridge or a lamp or other metal surface. These quirky little Pixel People are fun, easy and a delight to make!
Panda bears…. so sweet! I can’t resist…. so I wove a tiny Panda, using scraps of yarn left over from the Lily Doll kit (using the instructions from the Tiny Teddy Bear in the Lily Doll Project)
He felt like having a little nap so I tucked him into the teeny tiny crib. Two of the Tiny Bears raced over to see who was this new little friend in the studio.
Panda said that he was a little chilly all alone in the crib, so the Little Bears invited him to hop into their cozy bed and tell them all about himself….
They are so happy being together in the studio that they are hoping that there will be more bears coming along, soon to join them! They posed for a few photos…
And went back to bed to tell each other winter stories and to nap and dream of Springtime….
It’ s the festive season, so I designed a party dress for Lily Doll:
And, then I discovered that there is enough yarn in the Party Doll kit to be able to weave the Pinafore Dress (with a pocket!), so, I asked Elena and Claudia at Mirrix if we could add the Pinafore Dress to the Party Dress kit. They thought that that was a great idea. 😀
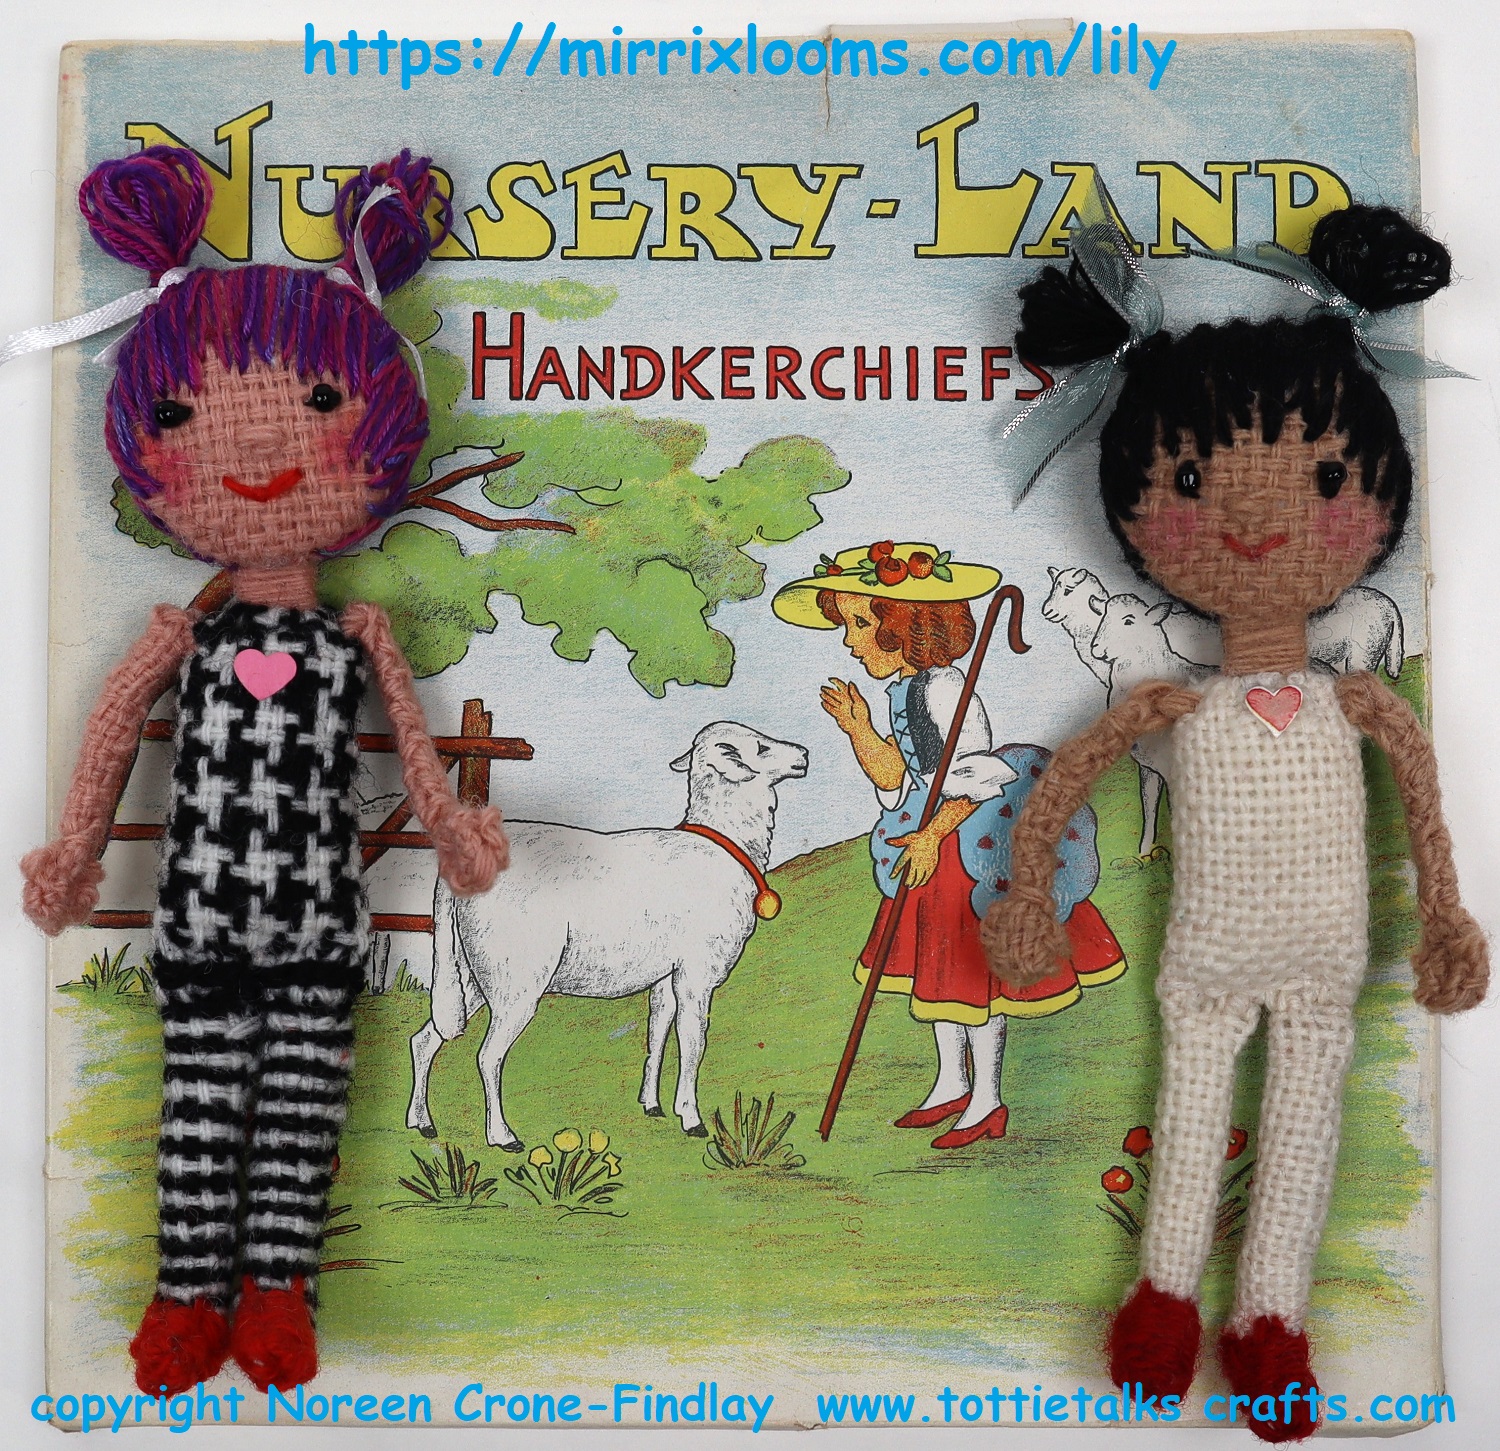
It struck me that people might want to weave the Lily Doll in a way that is unique to them. I love exploring creative and imaginative options, so I decided to weave a doll using the Lily Doll Pattern, but to change things up a little.
Well, LOL…. I ended up having to weave her arms twice, because I managed to (HUH?!?!) mess them up on the first go. Okay, so I un-picked them and wove them again. Got it right this time. Whew.
Then, I was weaving too late at night, when, thanks to Long Covid, my cognitive function isn’t always at the top of the loop- oops… and I wove the body in plain white, which I hadn’t meant to do. Went to bed shaking my head. Got up the next morning and wove the body using Herringbone technique. (I’ll do another post about weaving Herringbone on the Chloe loom). YAY! Got it right!
Next, I merrily wove her legs using pick and pick in tapestry technique which mysteriously gave her very out of proportion legs. Sigh. Un-wove them and wove them in pick and pick, but THIS time, I used the tabby technique. AND YAY! The legs are totally tickety boo…. whew…..
And, luckily, her dear little head (using the pink and purple yarn and hand dyed silk left over from the Party and Pinafore Dresses kit) turned out perfect the first time round…. so…. here she is!
Lily Doll would like to introduce her cousin, Lally Doll!
and here they are, wearing the Party Dress and the Pinafore with a Pocket Dress:
Ooh, I am so delighted with them! Even though I seemed to get so much wrong on the way to getting Lally Doll right, she was totally worth the effort.
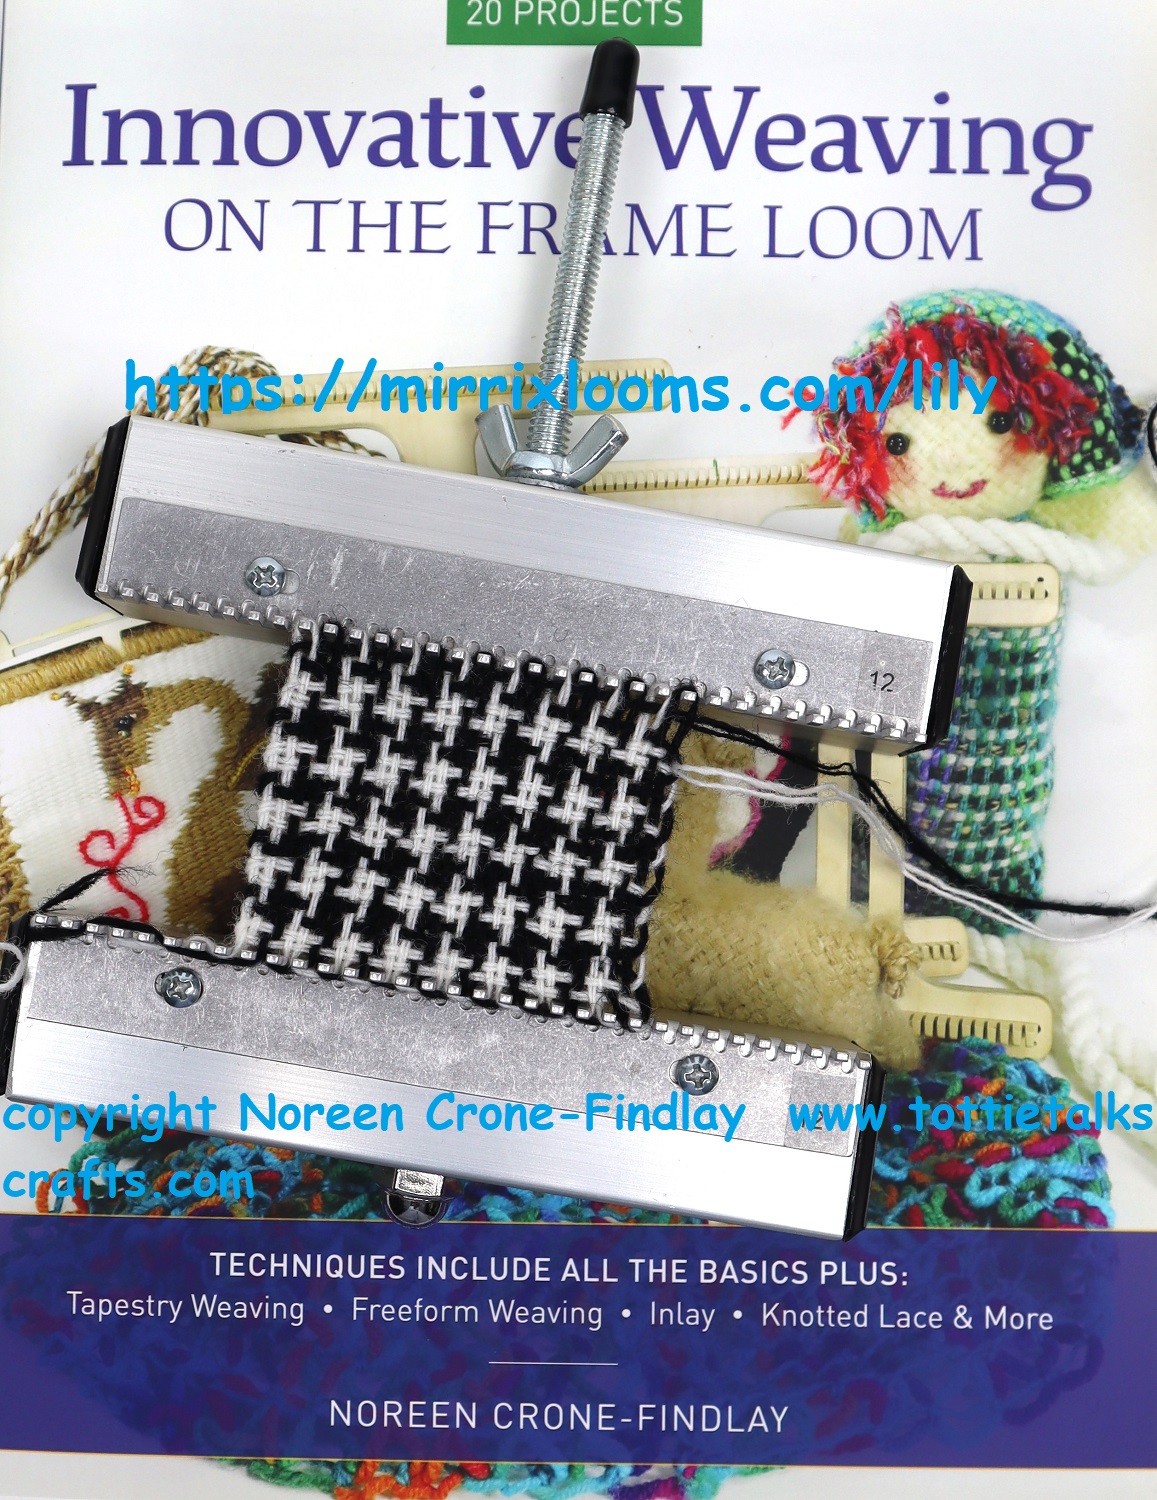
The Herringbone technique is explained in step by step photos in my book: Innovative Weaving on the Frame loom. It, and the kits and patterns for the Lily doll project are all available at: LINK
Last week I was given two little gifts that made me feel all hippetty skippety and happy….
The first gift was from a dear friend of ours who has just moved and is downsizing. She’s been treasuring a collection of vintage hankies and some linens from her grandmother for years. She asked if I would like to have them and I am so thrilled to have them ❤
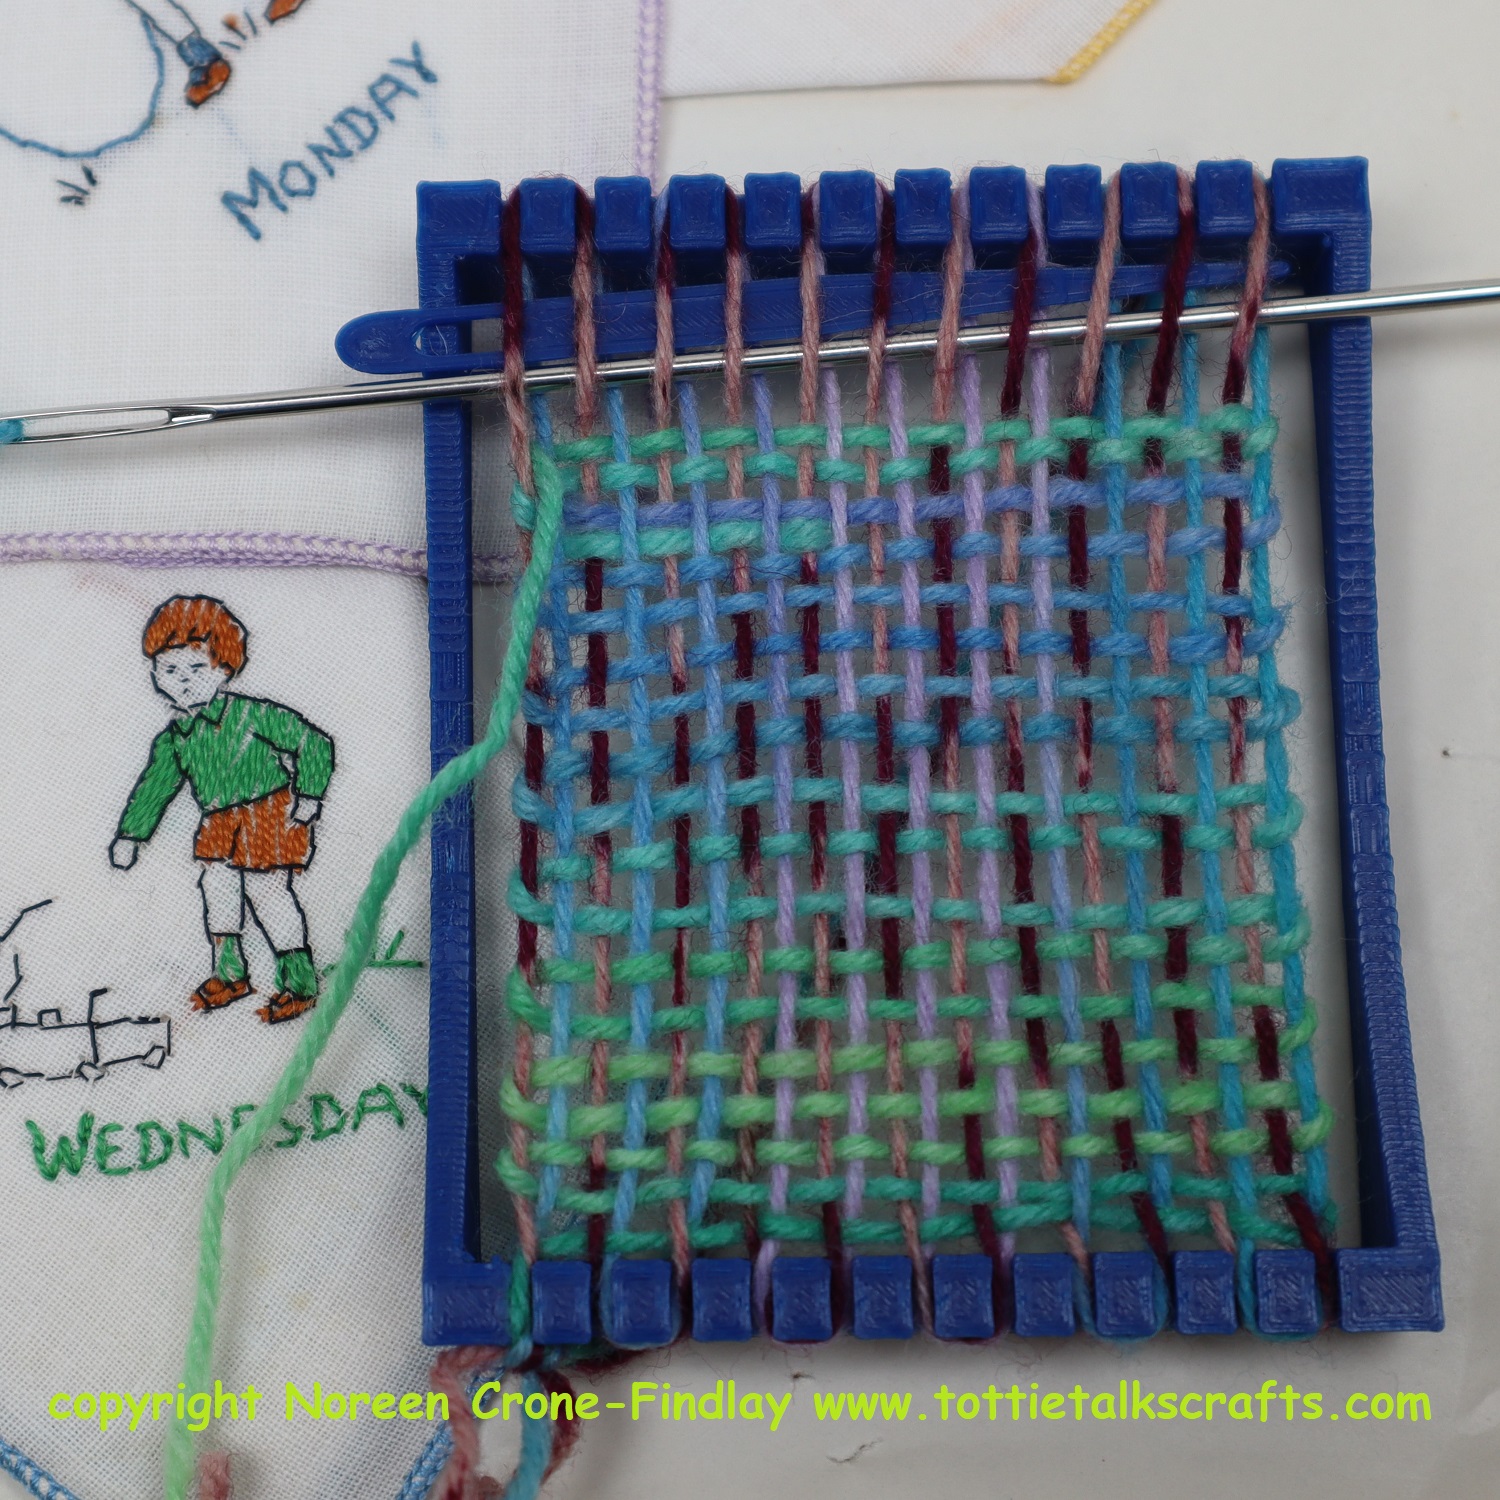
The second gift is from my grandson. He’s been learning the ins and outs of 3D printing and decided to print himself a tiny loom. This was so exciting for me, as he’s been weaving with me, on and off all his life. Having him decide to print himself a little loom made me feel all ‘wheee!’. And, then, when he presented me with this tiny loom, joy simply bubbled up all over! It was such a delight to sit with him and do a little weaving together. Sigh…. happy….
Simple little gifts can be such a source of joy….. ❤ and I hope that little treasures and delights will find their way into your life, too! ❤