All over the world, red is a color of celebration, so to celebrate all the ways we as humans enjoy the turning of the seasons and the connection to the Divine, Lily Doll has a new red Celebration dress.
The links on the Mirrix site to order the kit are:
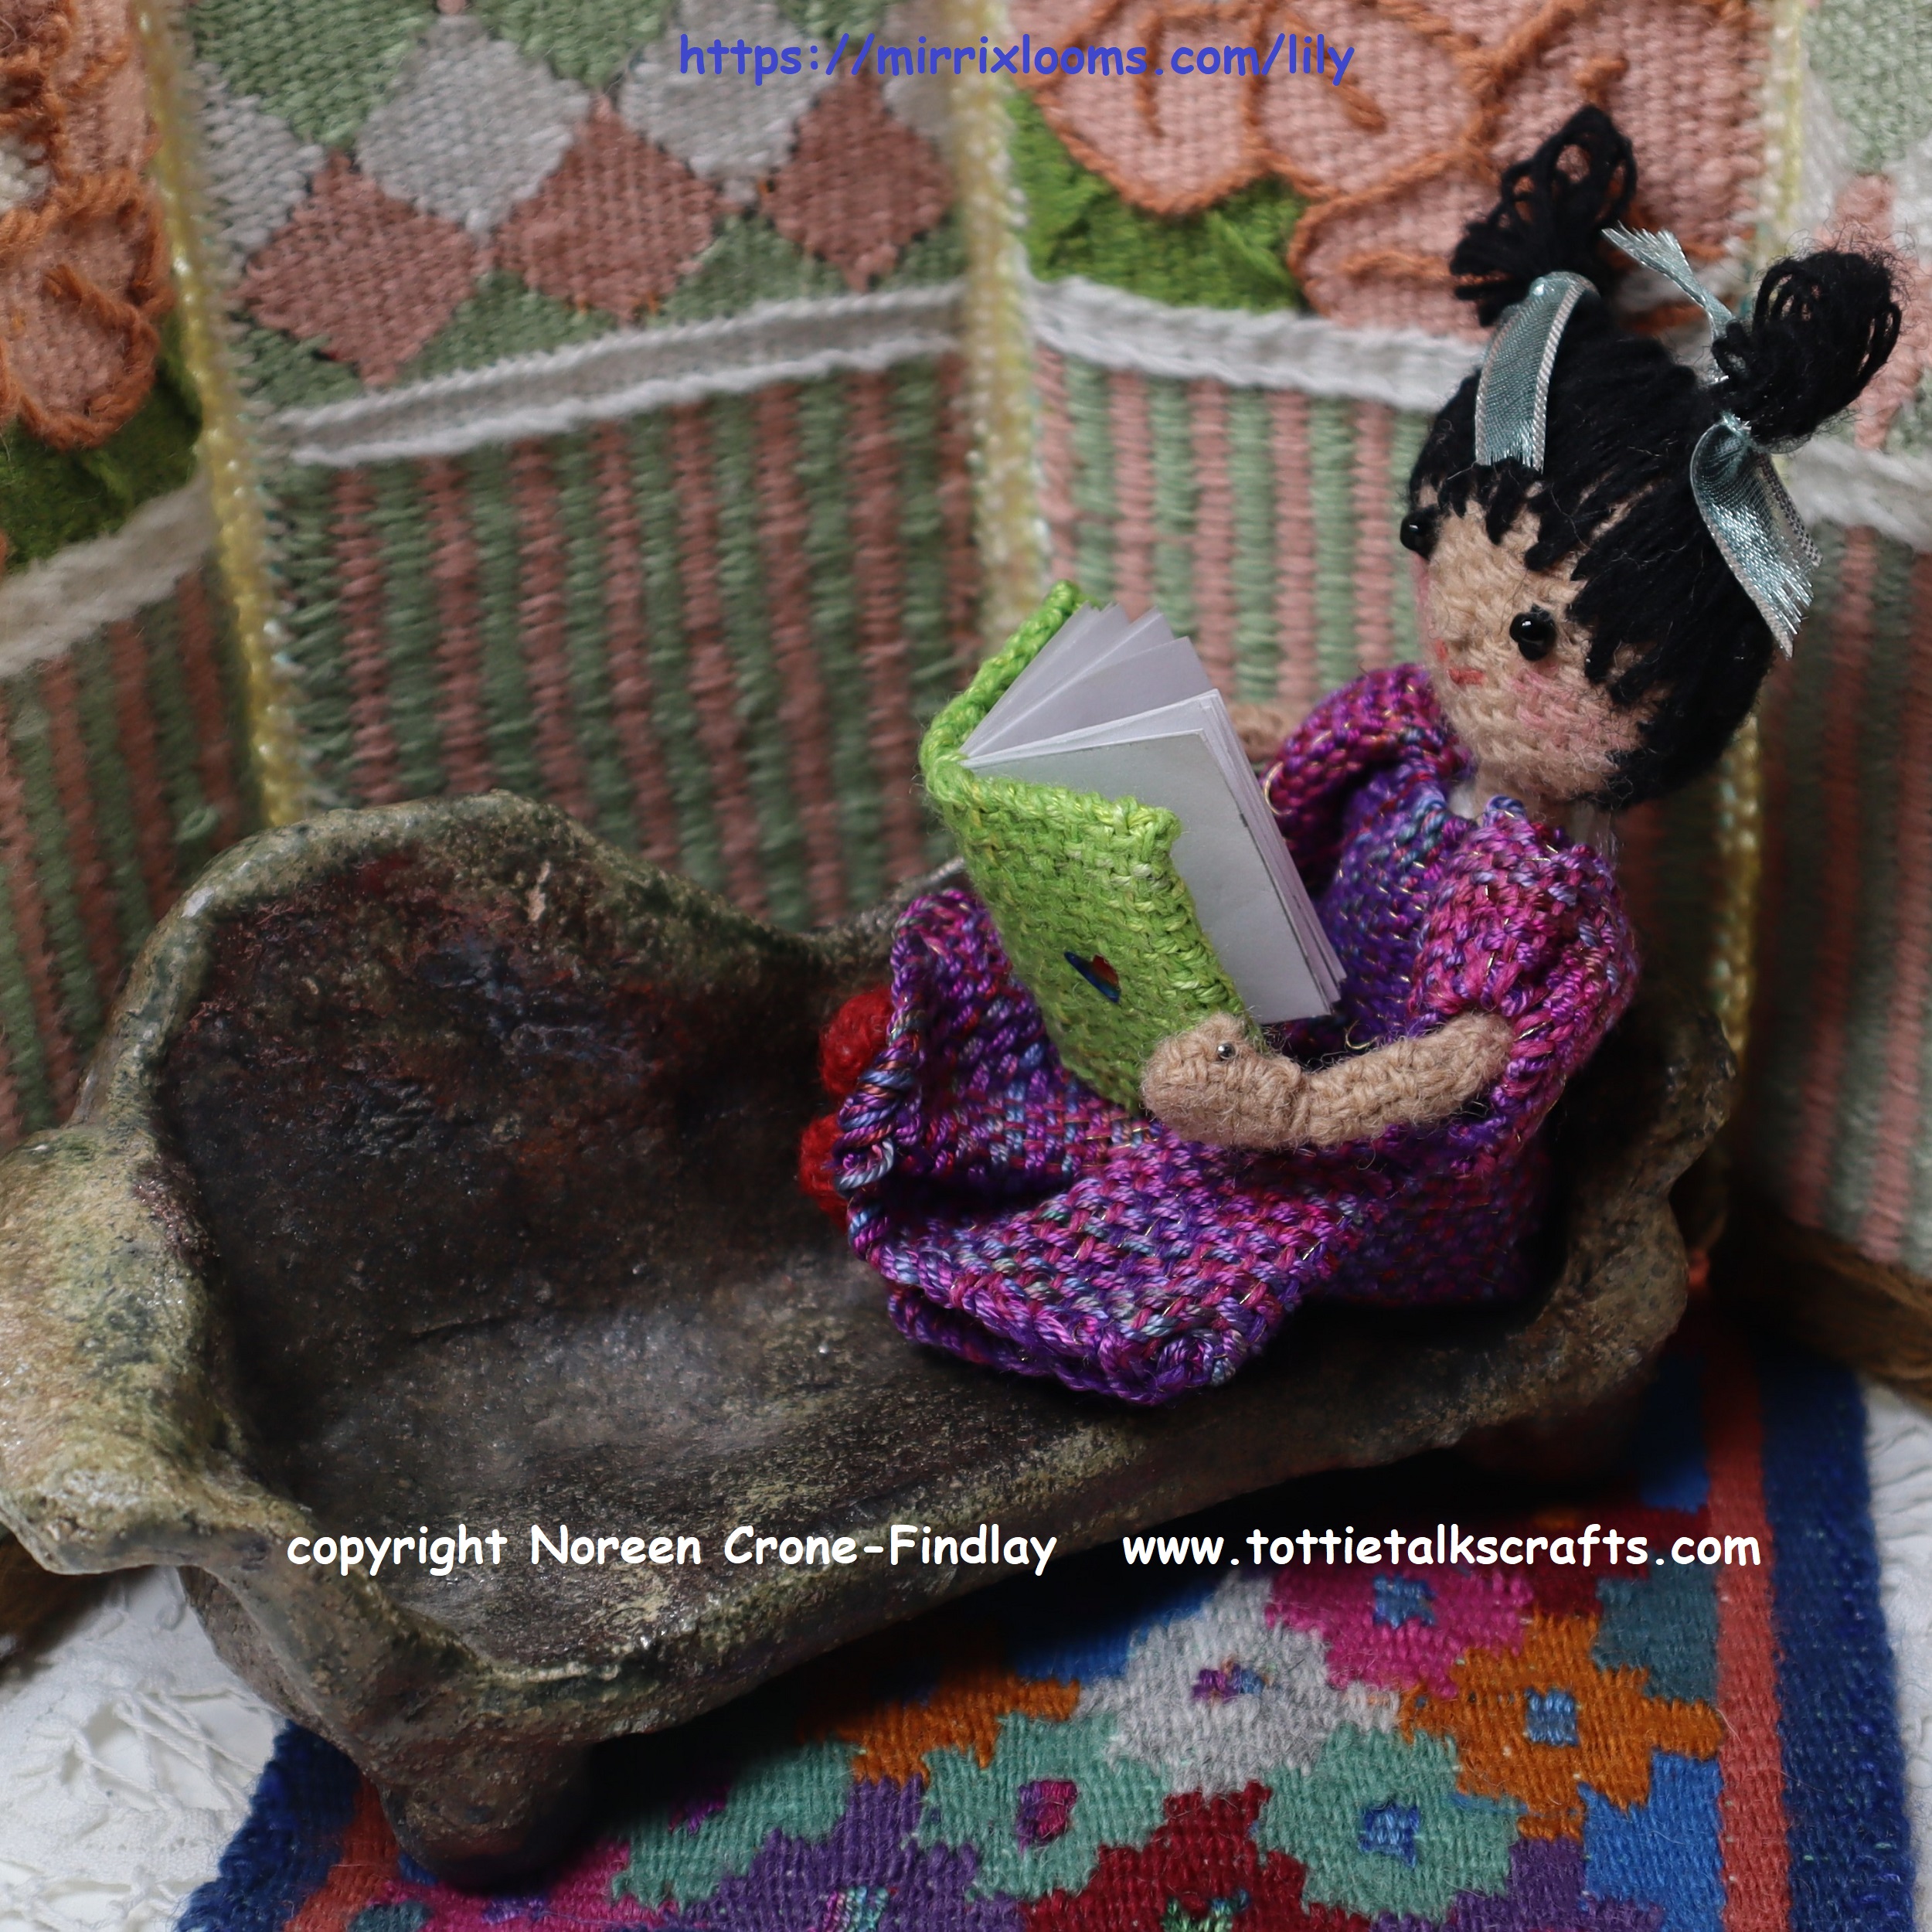
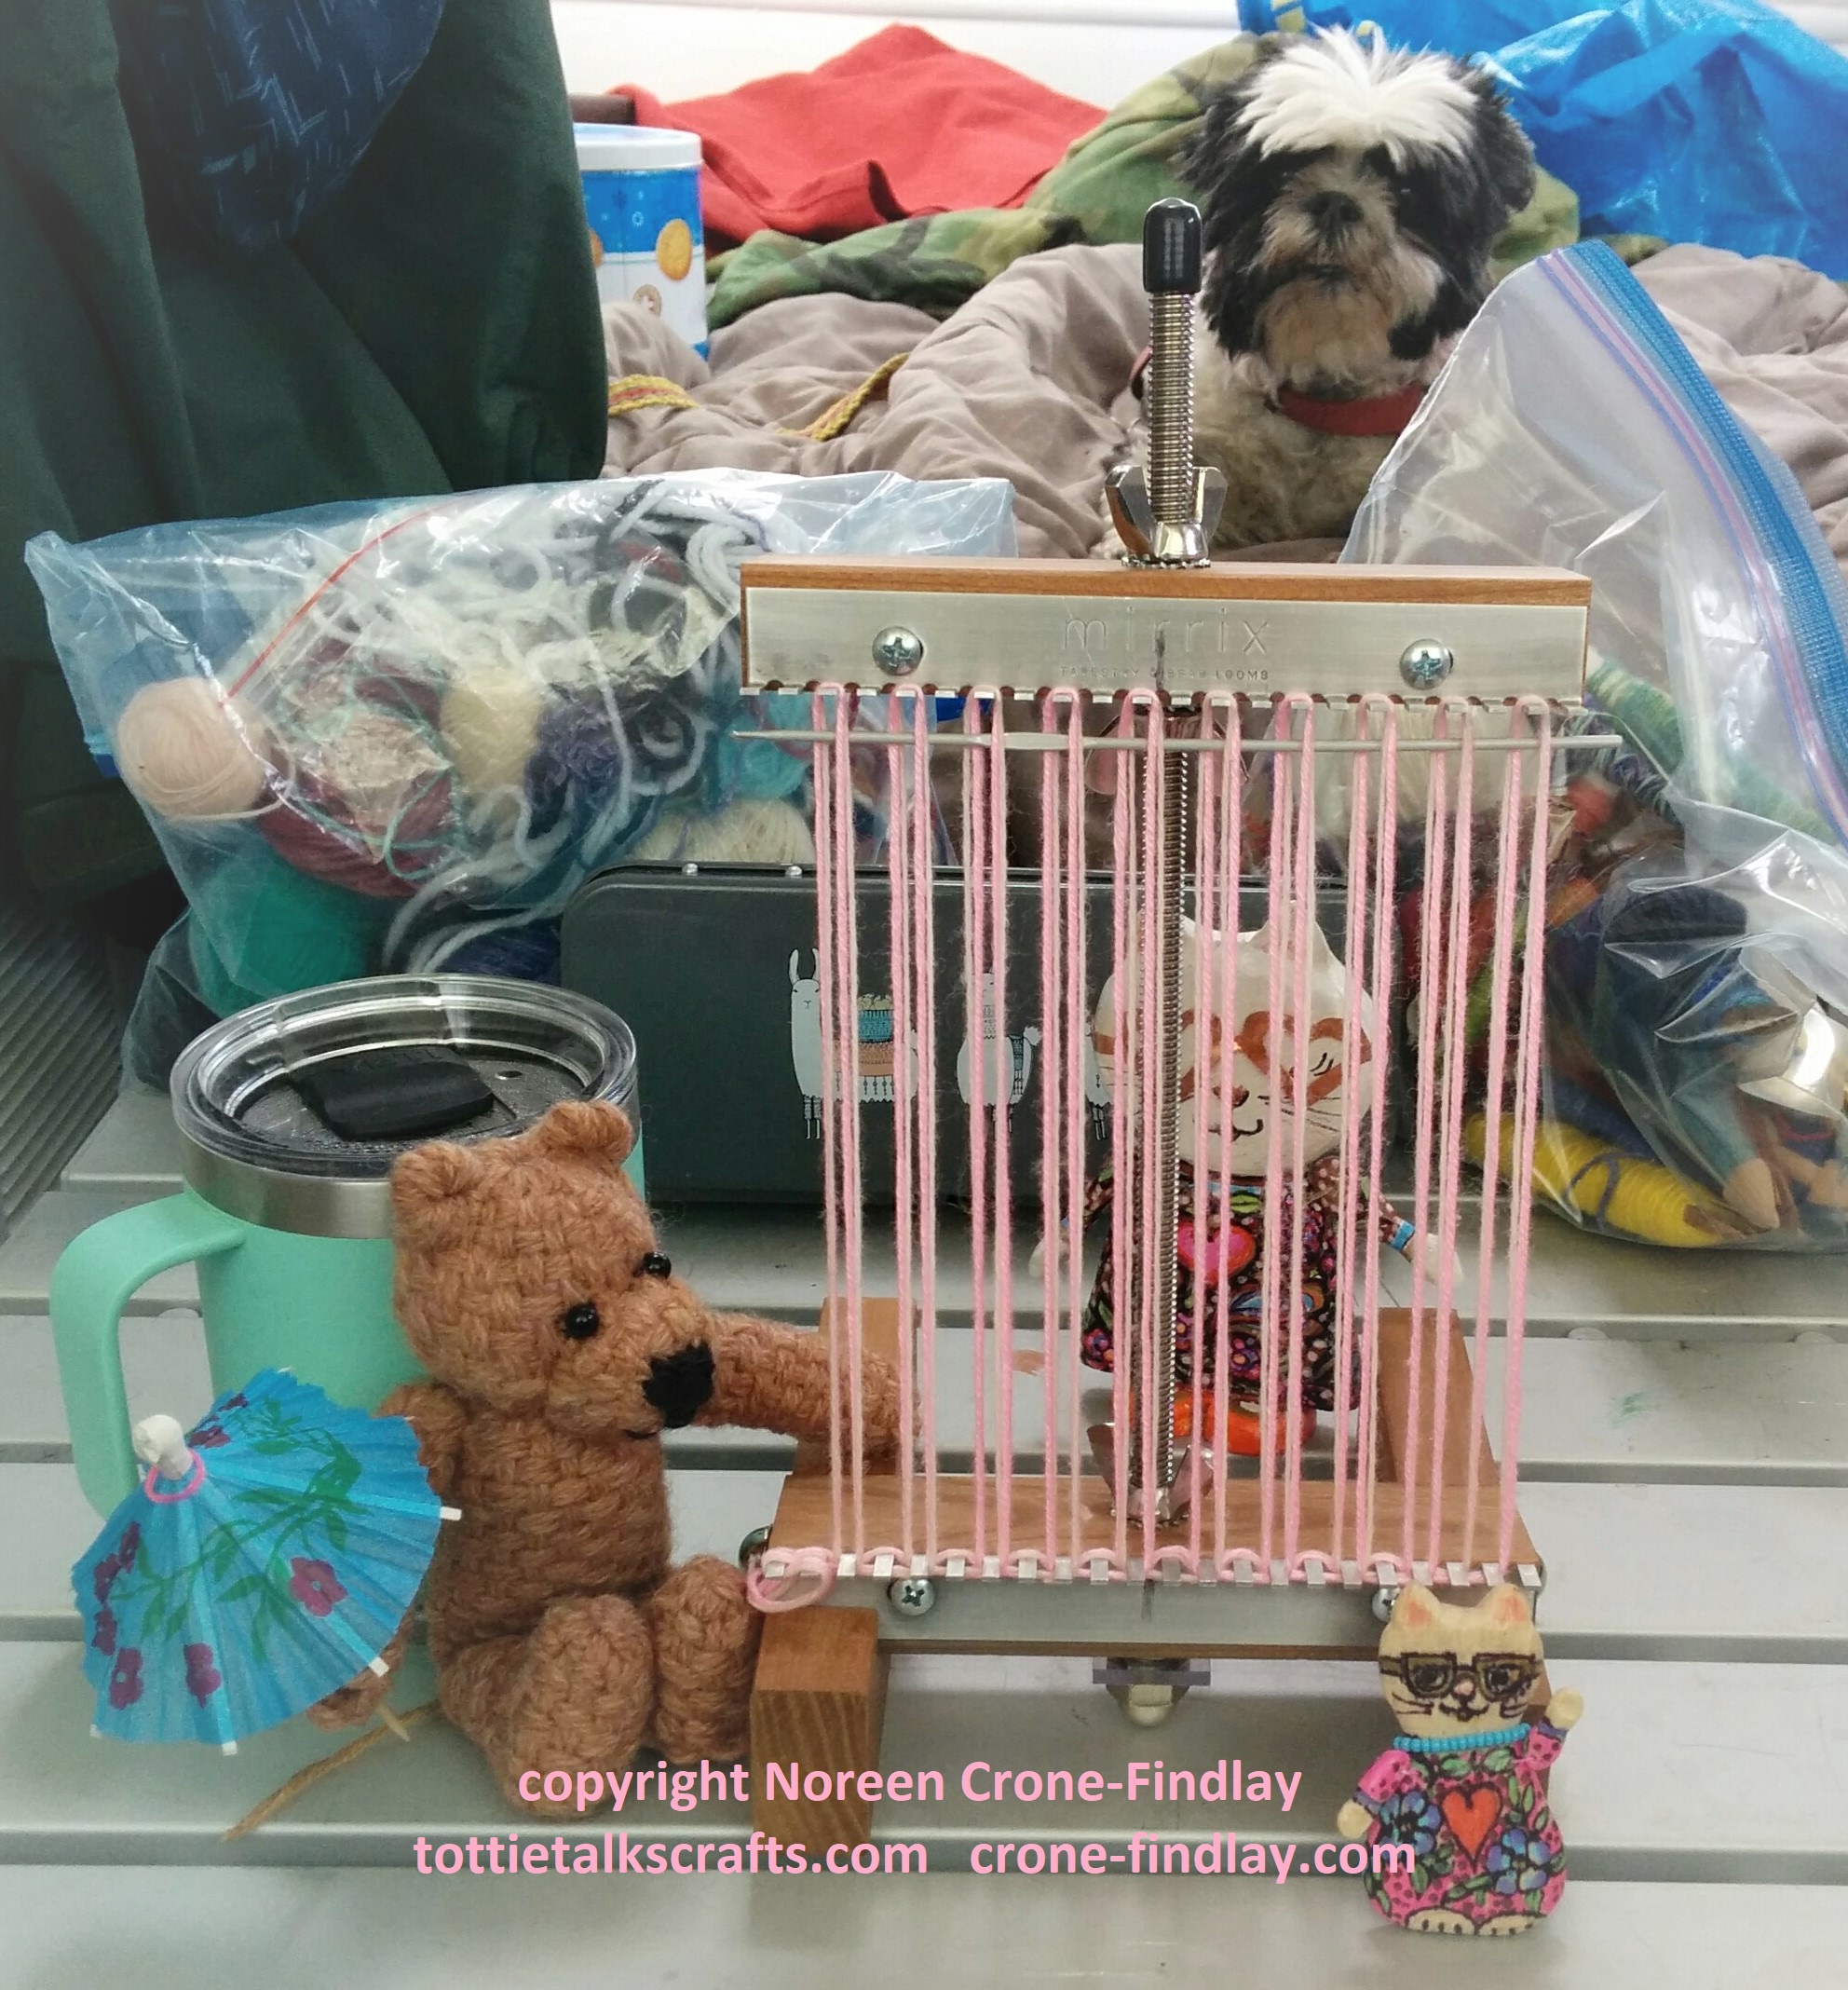
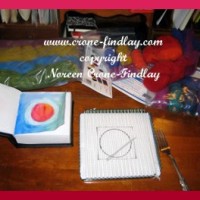
For this month’s project for the Lily Doll woven on the Mirrix Chloe loom, I designed a teeny tiny book, because after all…. books are treasures, right?
Lily Doll, Millie, Lally, Teddy Bear and Sam Dog The Brave decided that they needed to investigate the flowers in the trees. The flowers smelles so delicious and inviting!
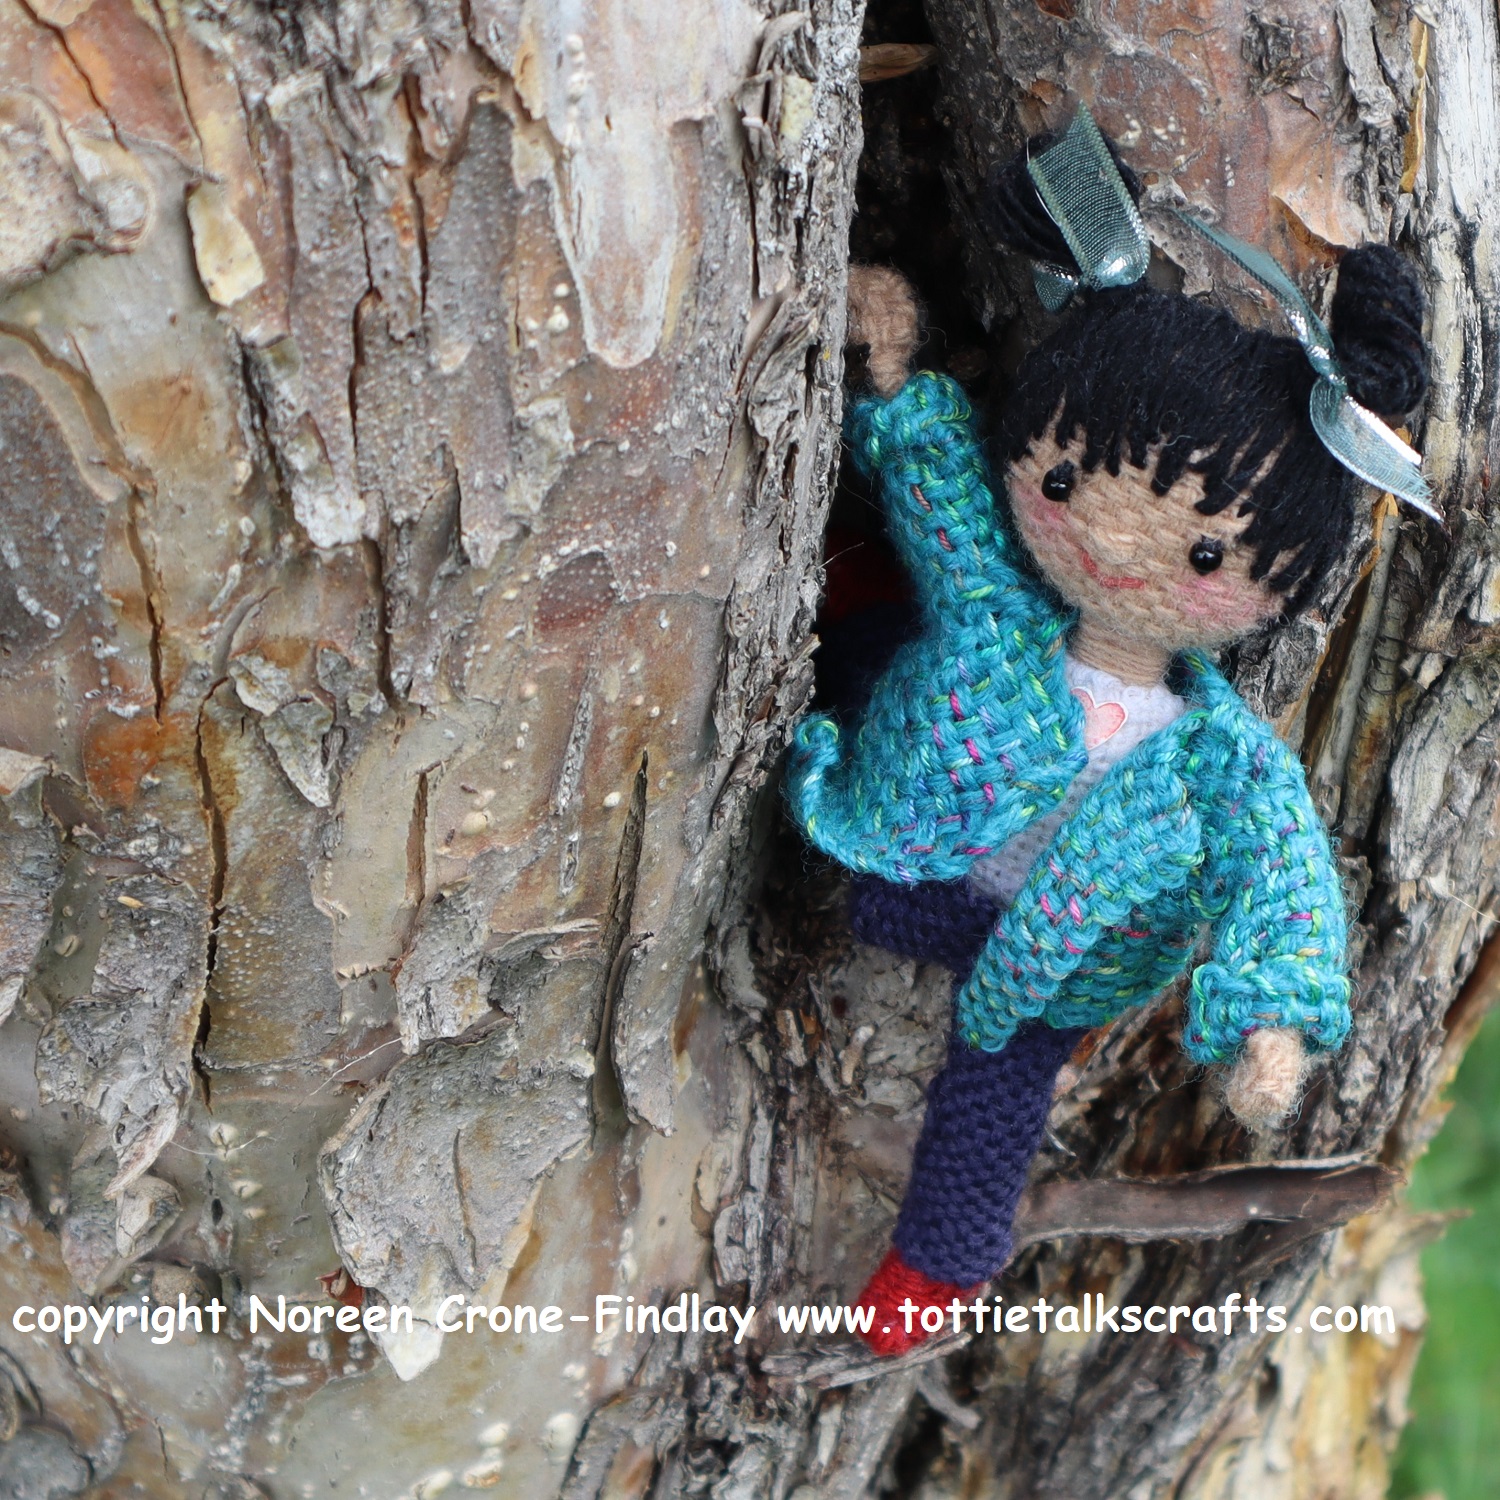
Lily Doll and Millie Doll have new jeans, which made them feel extra adventurous.
Lally doesn’t have jeans yet, but she wasn’t going to let that slow her down!
Lily and Millie scrambled up the pear tree to snip the sweet smelling blossoms. They didn’t notice that Teddy Bear and Lally weren’t with them.
They heard a little ‘Squeak’ and Millie climbed down to see what it was…. oh no!
Teddy Bear thought that he might find some honey in an inviting looking tree cave…. but, nope.
No honey, but suddenly, he felt that everyone had climbed too high and he didn’t like it at all.
Millie called Lily….
And, Lily talked kindly to Teddy Bear
And they both rescued him.
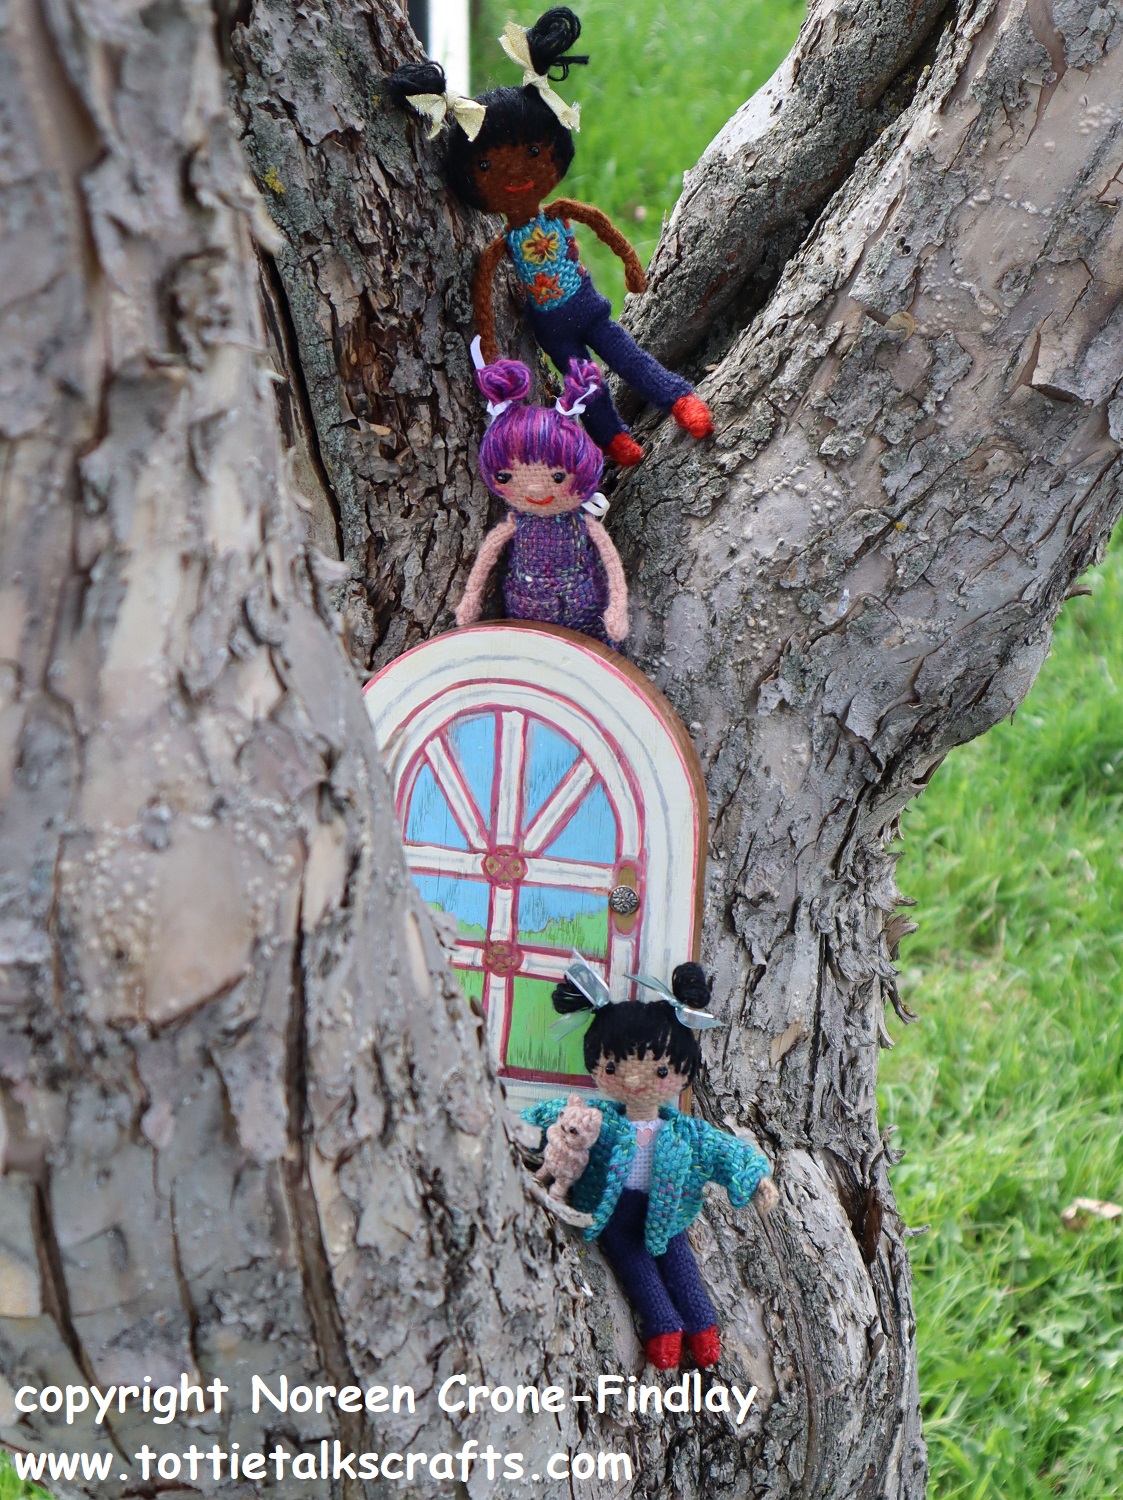
Lally called to them to see what she had found…. so while Lily comforted Teddy Bear, Millie scrambled higher up the tree.
A Faerie window!!!!
Teddy Bear said he was tired and hungry and that he really didn’t want to open the Faerie Window, Just in Case…. (it could be scary, after all).
Brave Sam The Wonder Dog hadn’t bothered with climbing trees.
He was much more interested in the Faerie Door at the base of the tree!
He called them down and they took a selfie and decided that it was time to go inside.
Lally thinks that it’s unfair that she doesn’t have jeans, so I have promised her a pair.
(But in a different color, she said…. to go with her hair).
The pattern for the jeans as well as all the other patterns and kits are all available at:
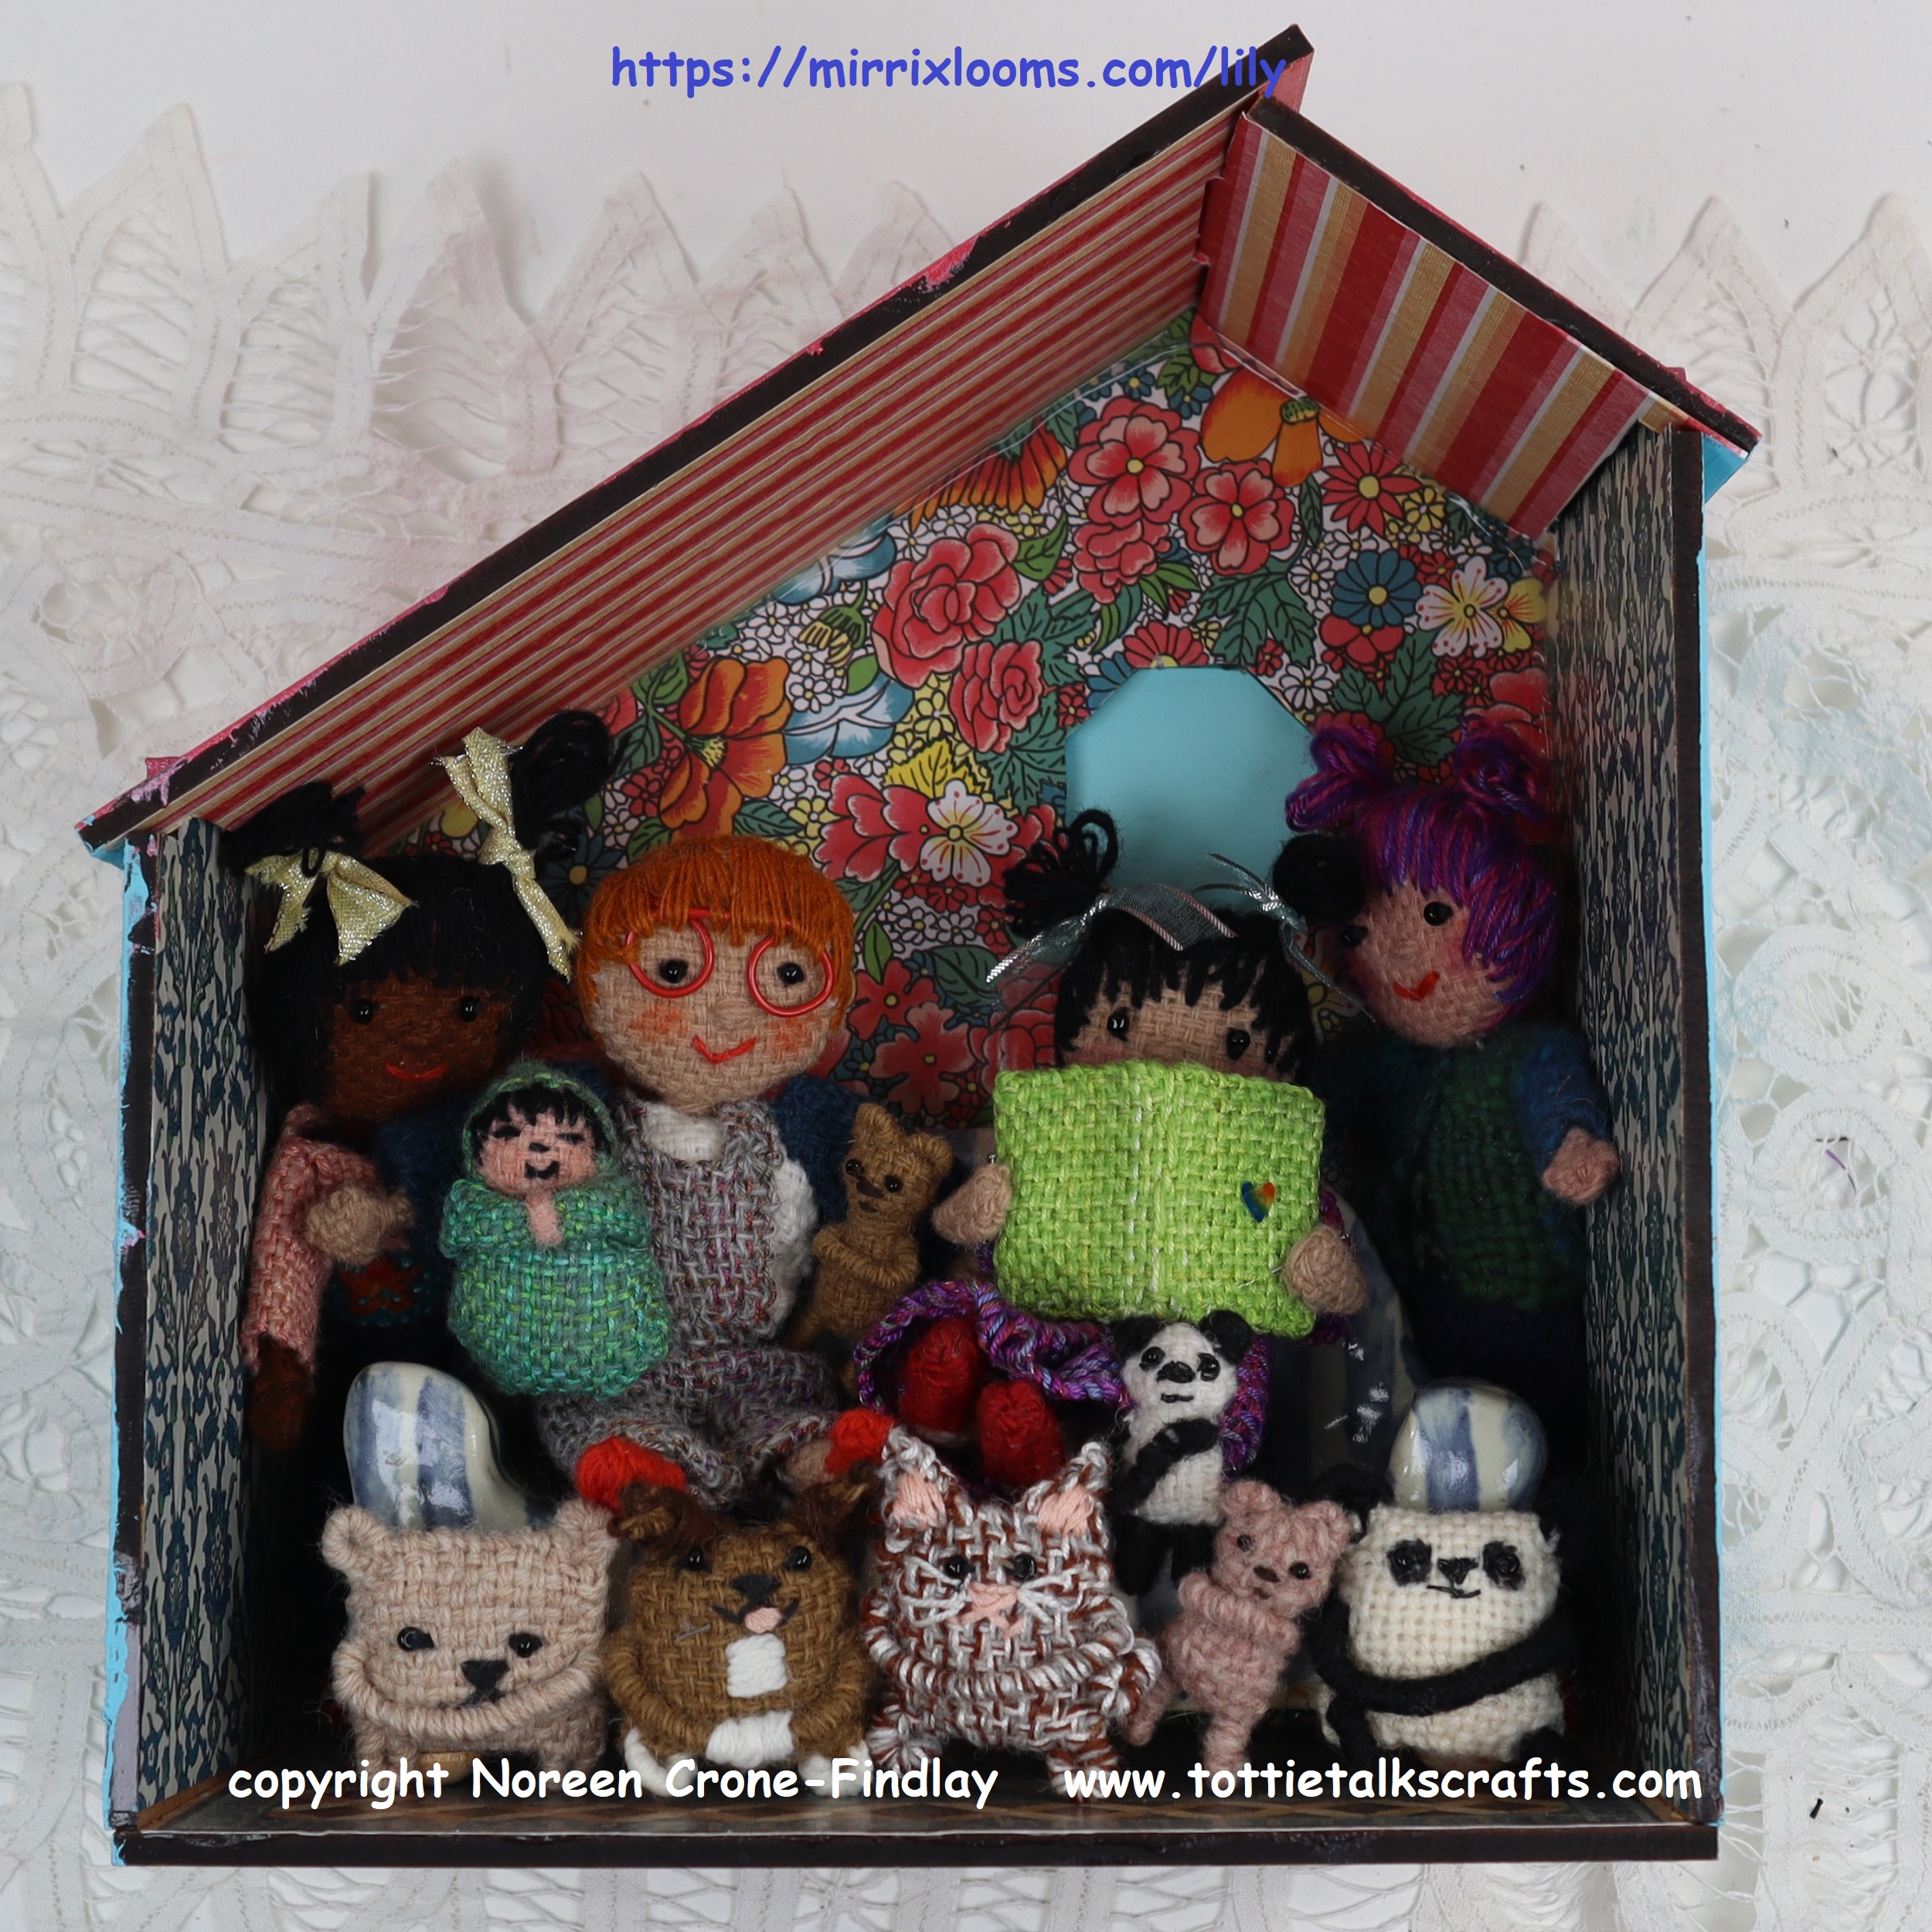
I love weaving these Small Square ‘Comfort’ Teddy Bears!
They have ‘huggy arms’ that hold onto a thumb or finger so hugs are always near.
To make a Small Square ‘Comfort’ Teddy Bear that is a Panda, weave the body in white and work the ears, arms and legs in black or any color that you prefer.
Weave them in just one color or with 2 shades to make them ‘tweedie’.
They have lucky pennies and good wishes hearts inside, so they have very good energy.
Because they are so small, they easily fit in your pocket. It’s so good to always have a couple of them with you, because you never know who you will meet that needs a little bit of comfort!
These charming and whimsical Small Square Comfort Teddy Bears fit in an envelope so you can send them to friends who need a little hug.
They are quick and easy to make and are a lovely way to share love, kindness and all good things!
I have been weaving up a delightful basket of bears for the week of Aug 8- 14, 2022.
That’s the week that I will be leading the Summer Weaving Challenge that is hosted by Mirrix looms.
The Teddy Bears will be revealed in their full adorableness and by then, I will have finished editing the heap of ‘how to’ videos that I have been obsessively filming about the making of the teddy bears.
The Teddy Bears will be having a wonderful picnic, and I will show how each of them (and those that are still in the works) are in fact, samplers of techniques in my book: Innovative Weaving on the Frame Loom.
I’ll be posting links for the videos for the Saffron Teddy Bears here LINK on my blog beginning Aug 2, 2022.
If you don’t have my book, you can order it from Mirrix, and yup, you’ll want a Saffron loom, too (it’s one of my most favorite looms ever- so adaptable!).
A couple of weeks ago, we went camping and my much loved little Mirrix Saffron loom came with us.
I was weaving away while we were camping (and I still am, but I have advanced to the video filming and editing stage) for the week that I will be leading the Summer Weaving Challenge (August 8 to 15, 2022).
Here’s the link to join in the fun (and you can buy my book: Innovative Weaving on the Frame Loom on the Mirrix website, too on the Starter Kit page 😊 or at any of the online book selling websites.
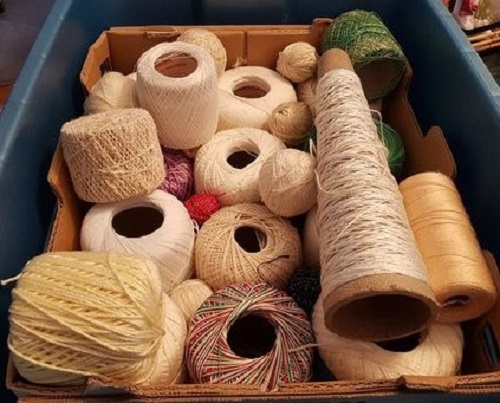
Last summer, loved relatives gave me 2 boxes of crochet cotton that they had adopted from the ReUse Centre in their town.
This is the smaller of the 2 boxes.
I immediately used some of the cotton to tat butterflies, and thought about what to use the generous and unexpected treasure that remained.
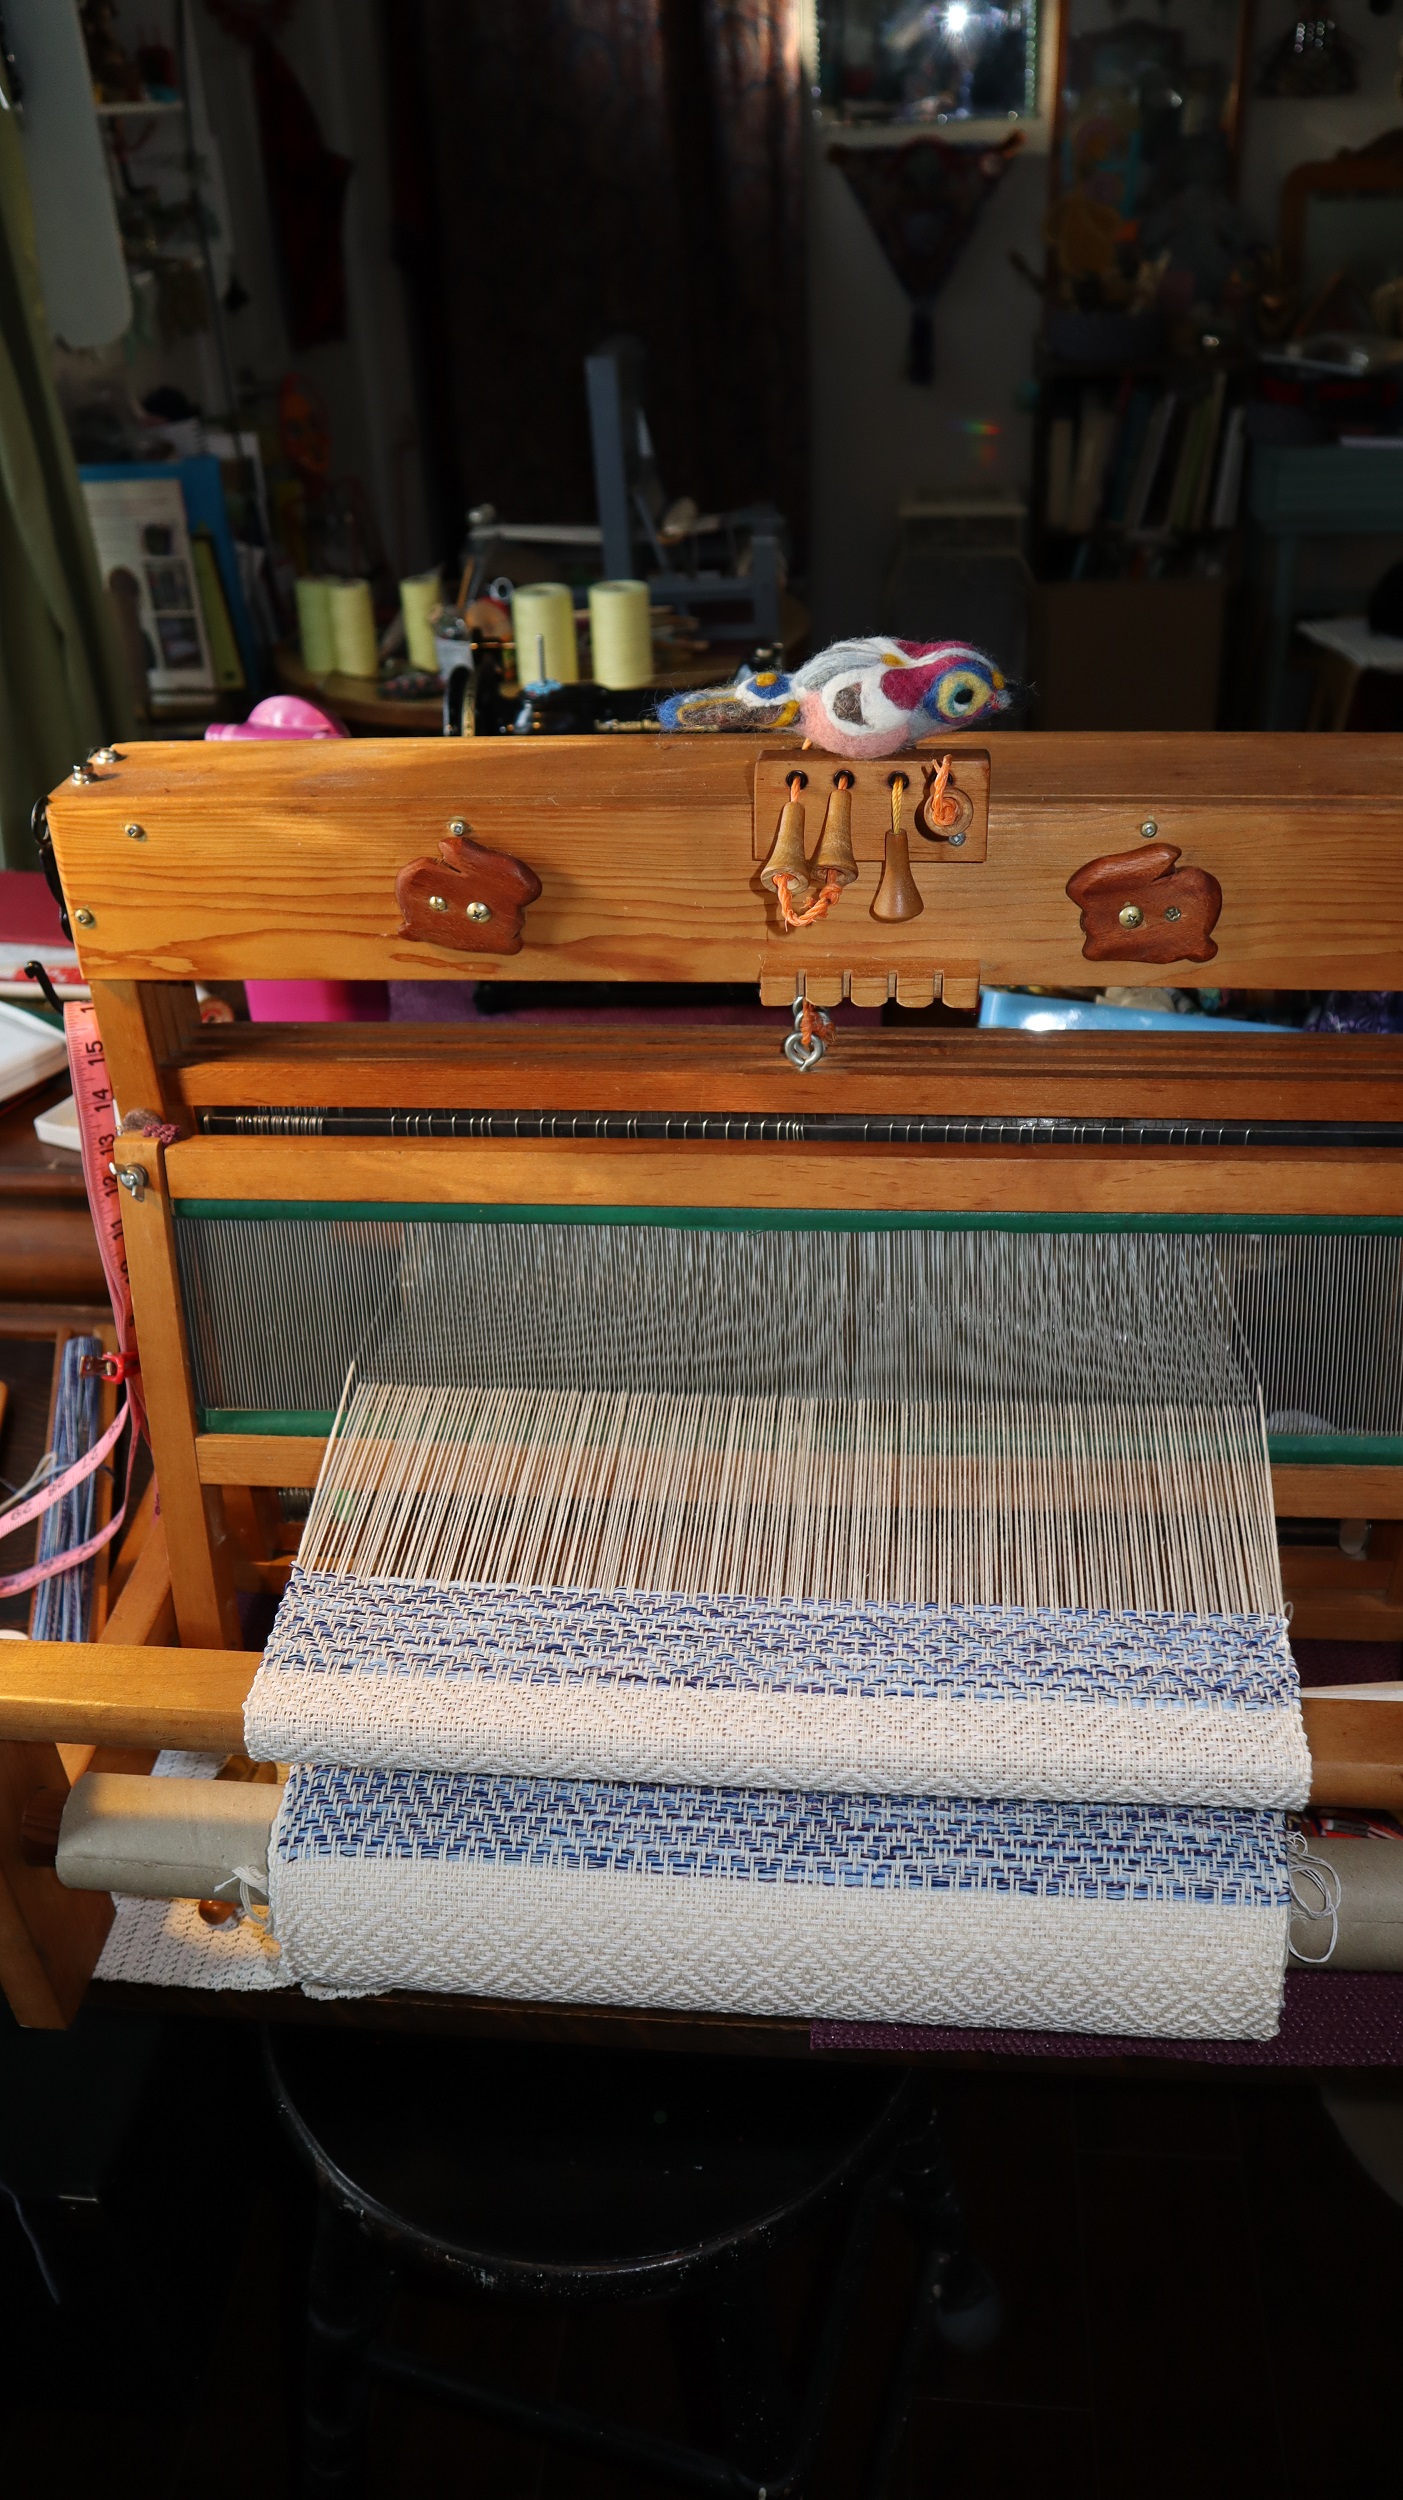
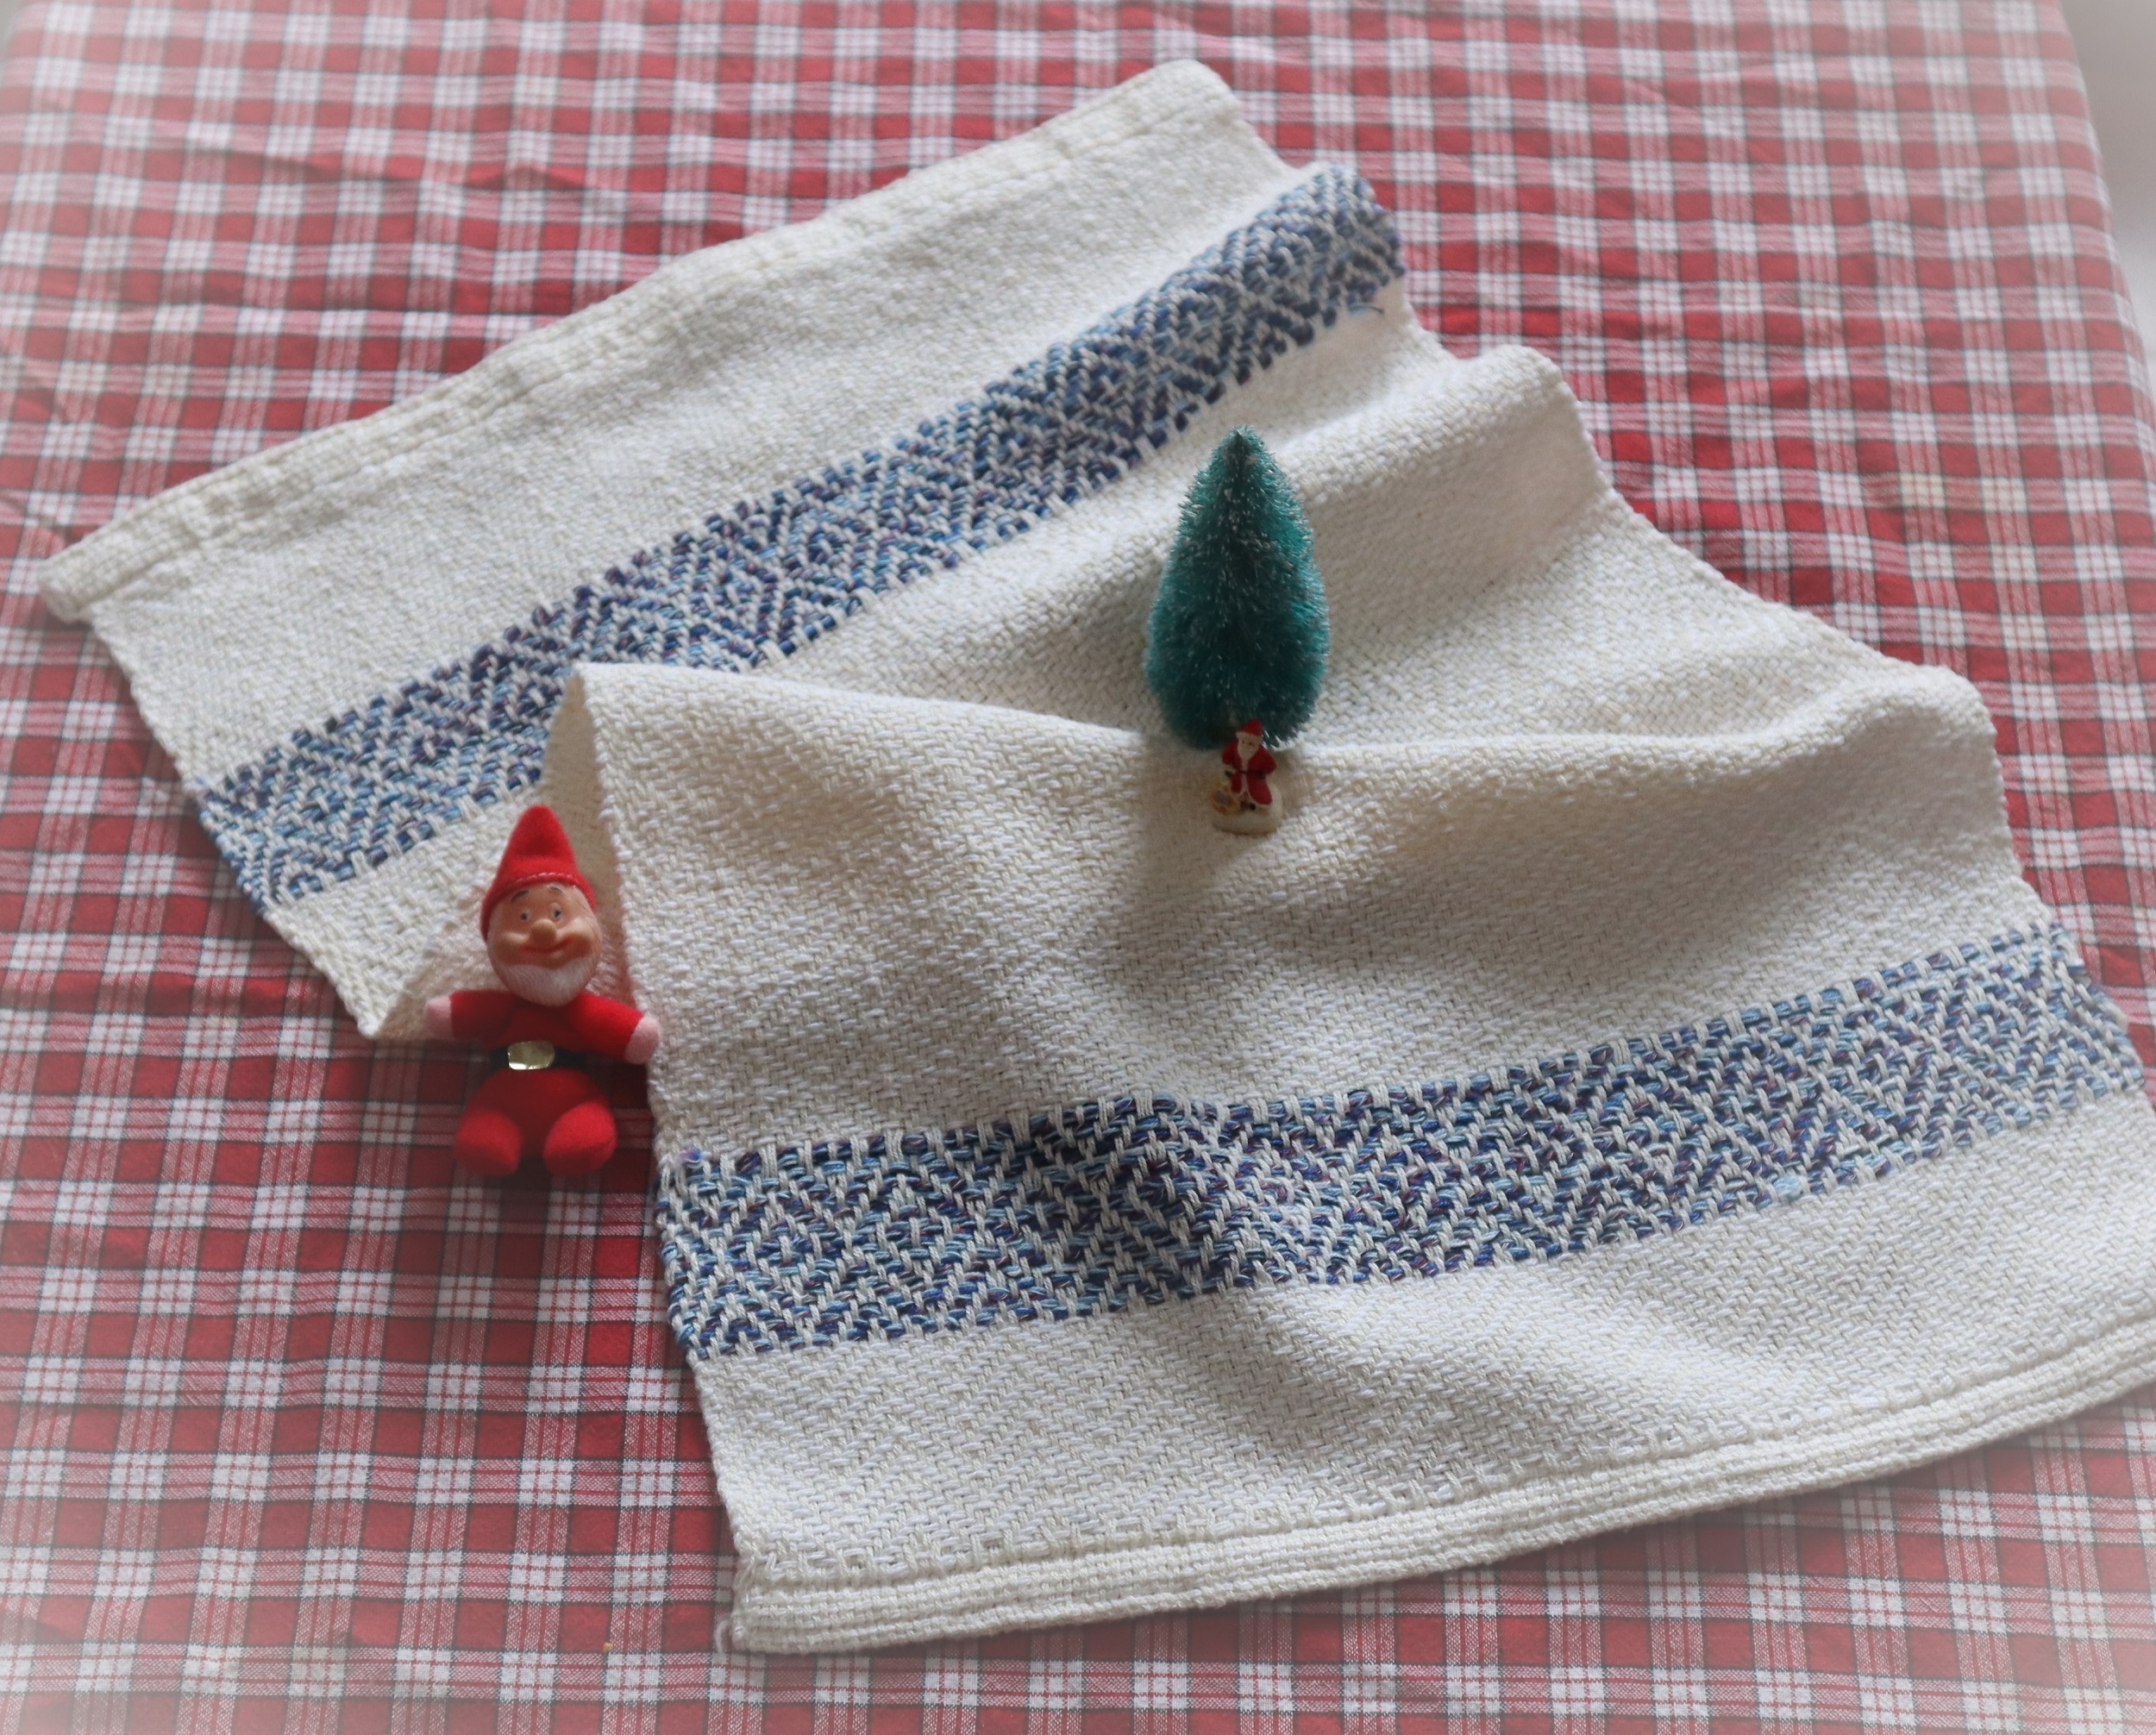
I decided to weave Tea Towels for my family – I wanted the cotton to become something useful, rather than just languishing as ‘stash’.
I had no idea, when I began, just how much I would love weaving the Tea Towels!
It was so meditative and contemplative- and watching the play of shadow and light on the various shades of cream and white cotton was deeply pleasing.
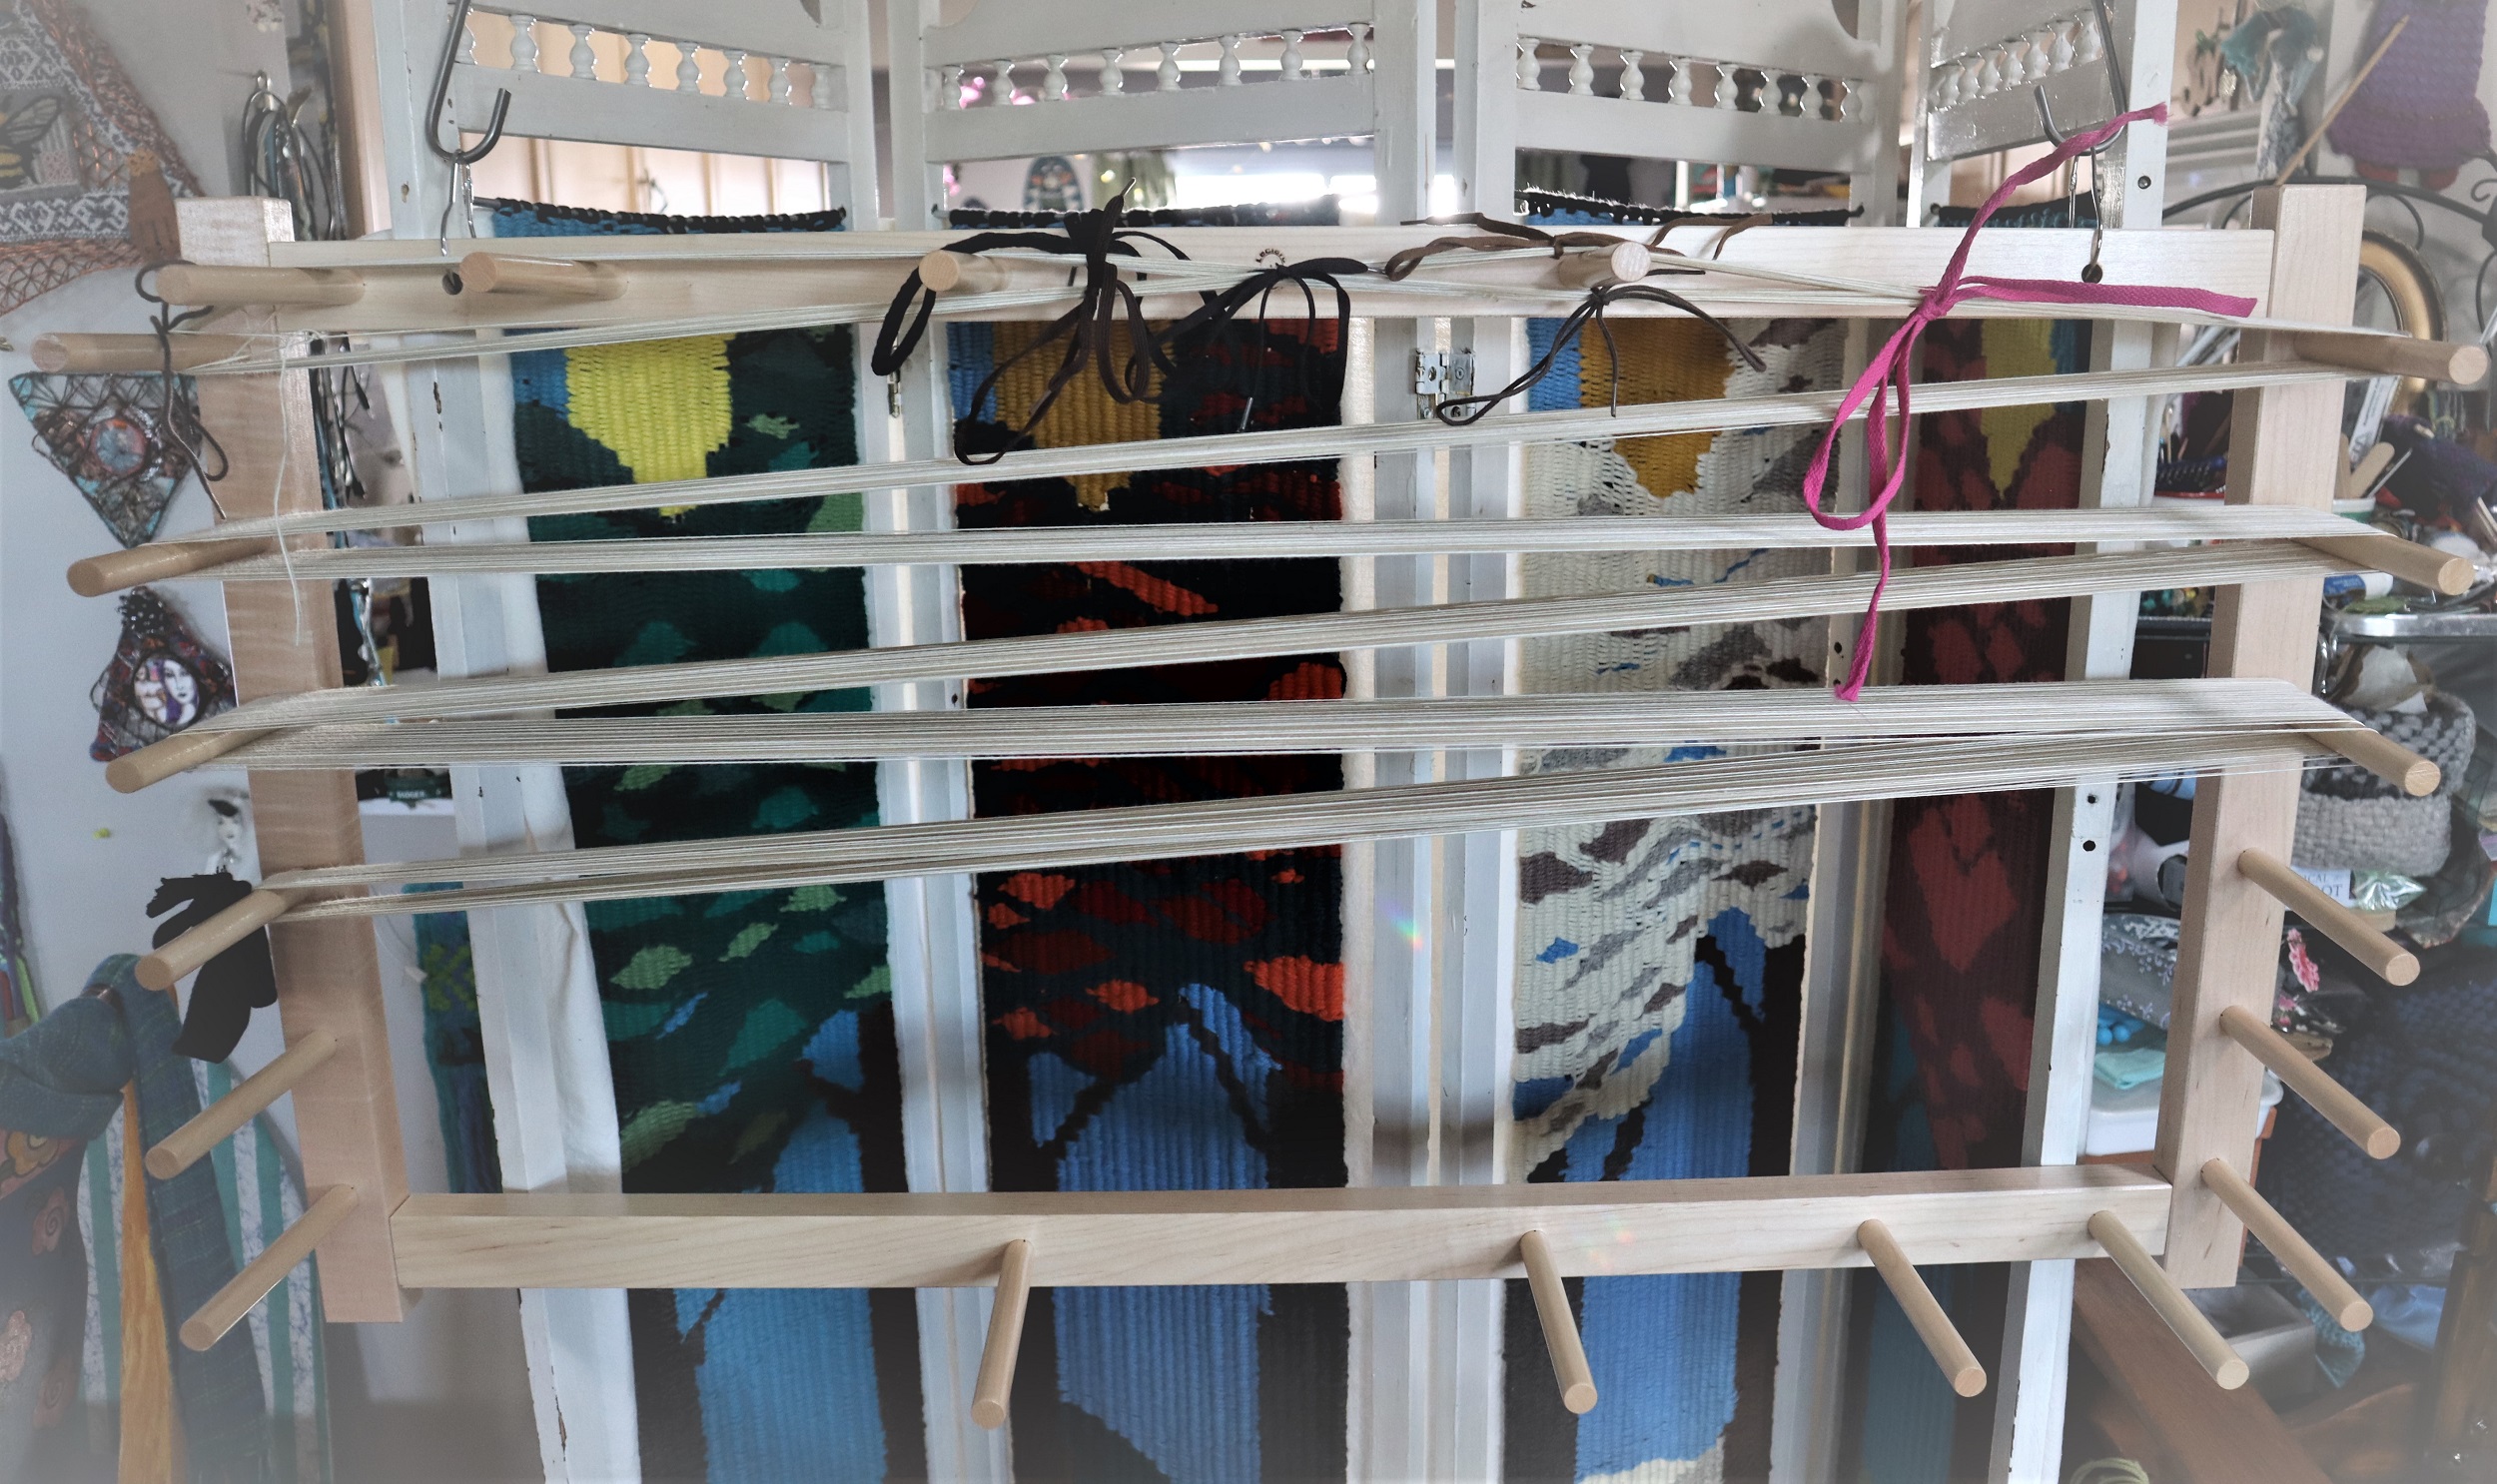
To begin the journey, I warped up several warp chains.
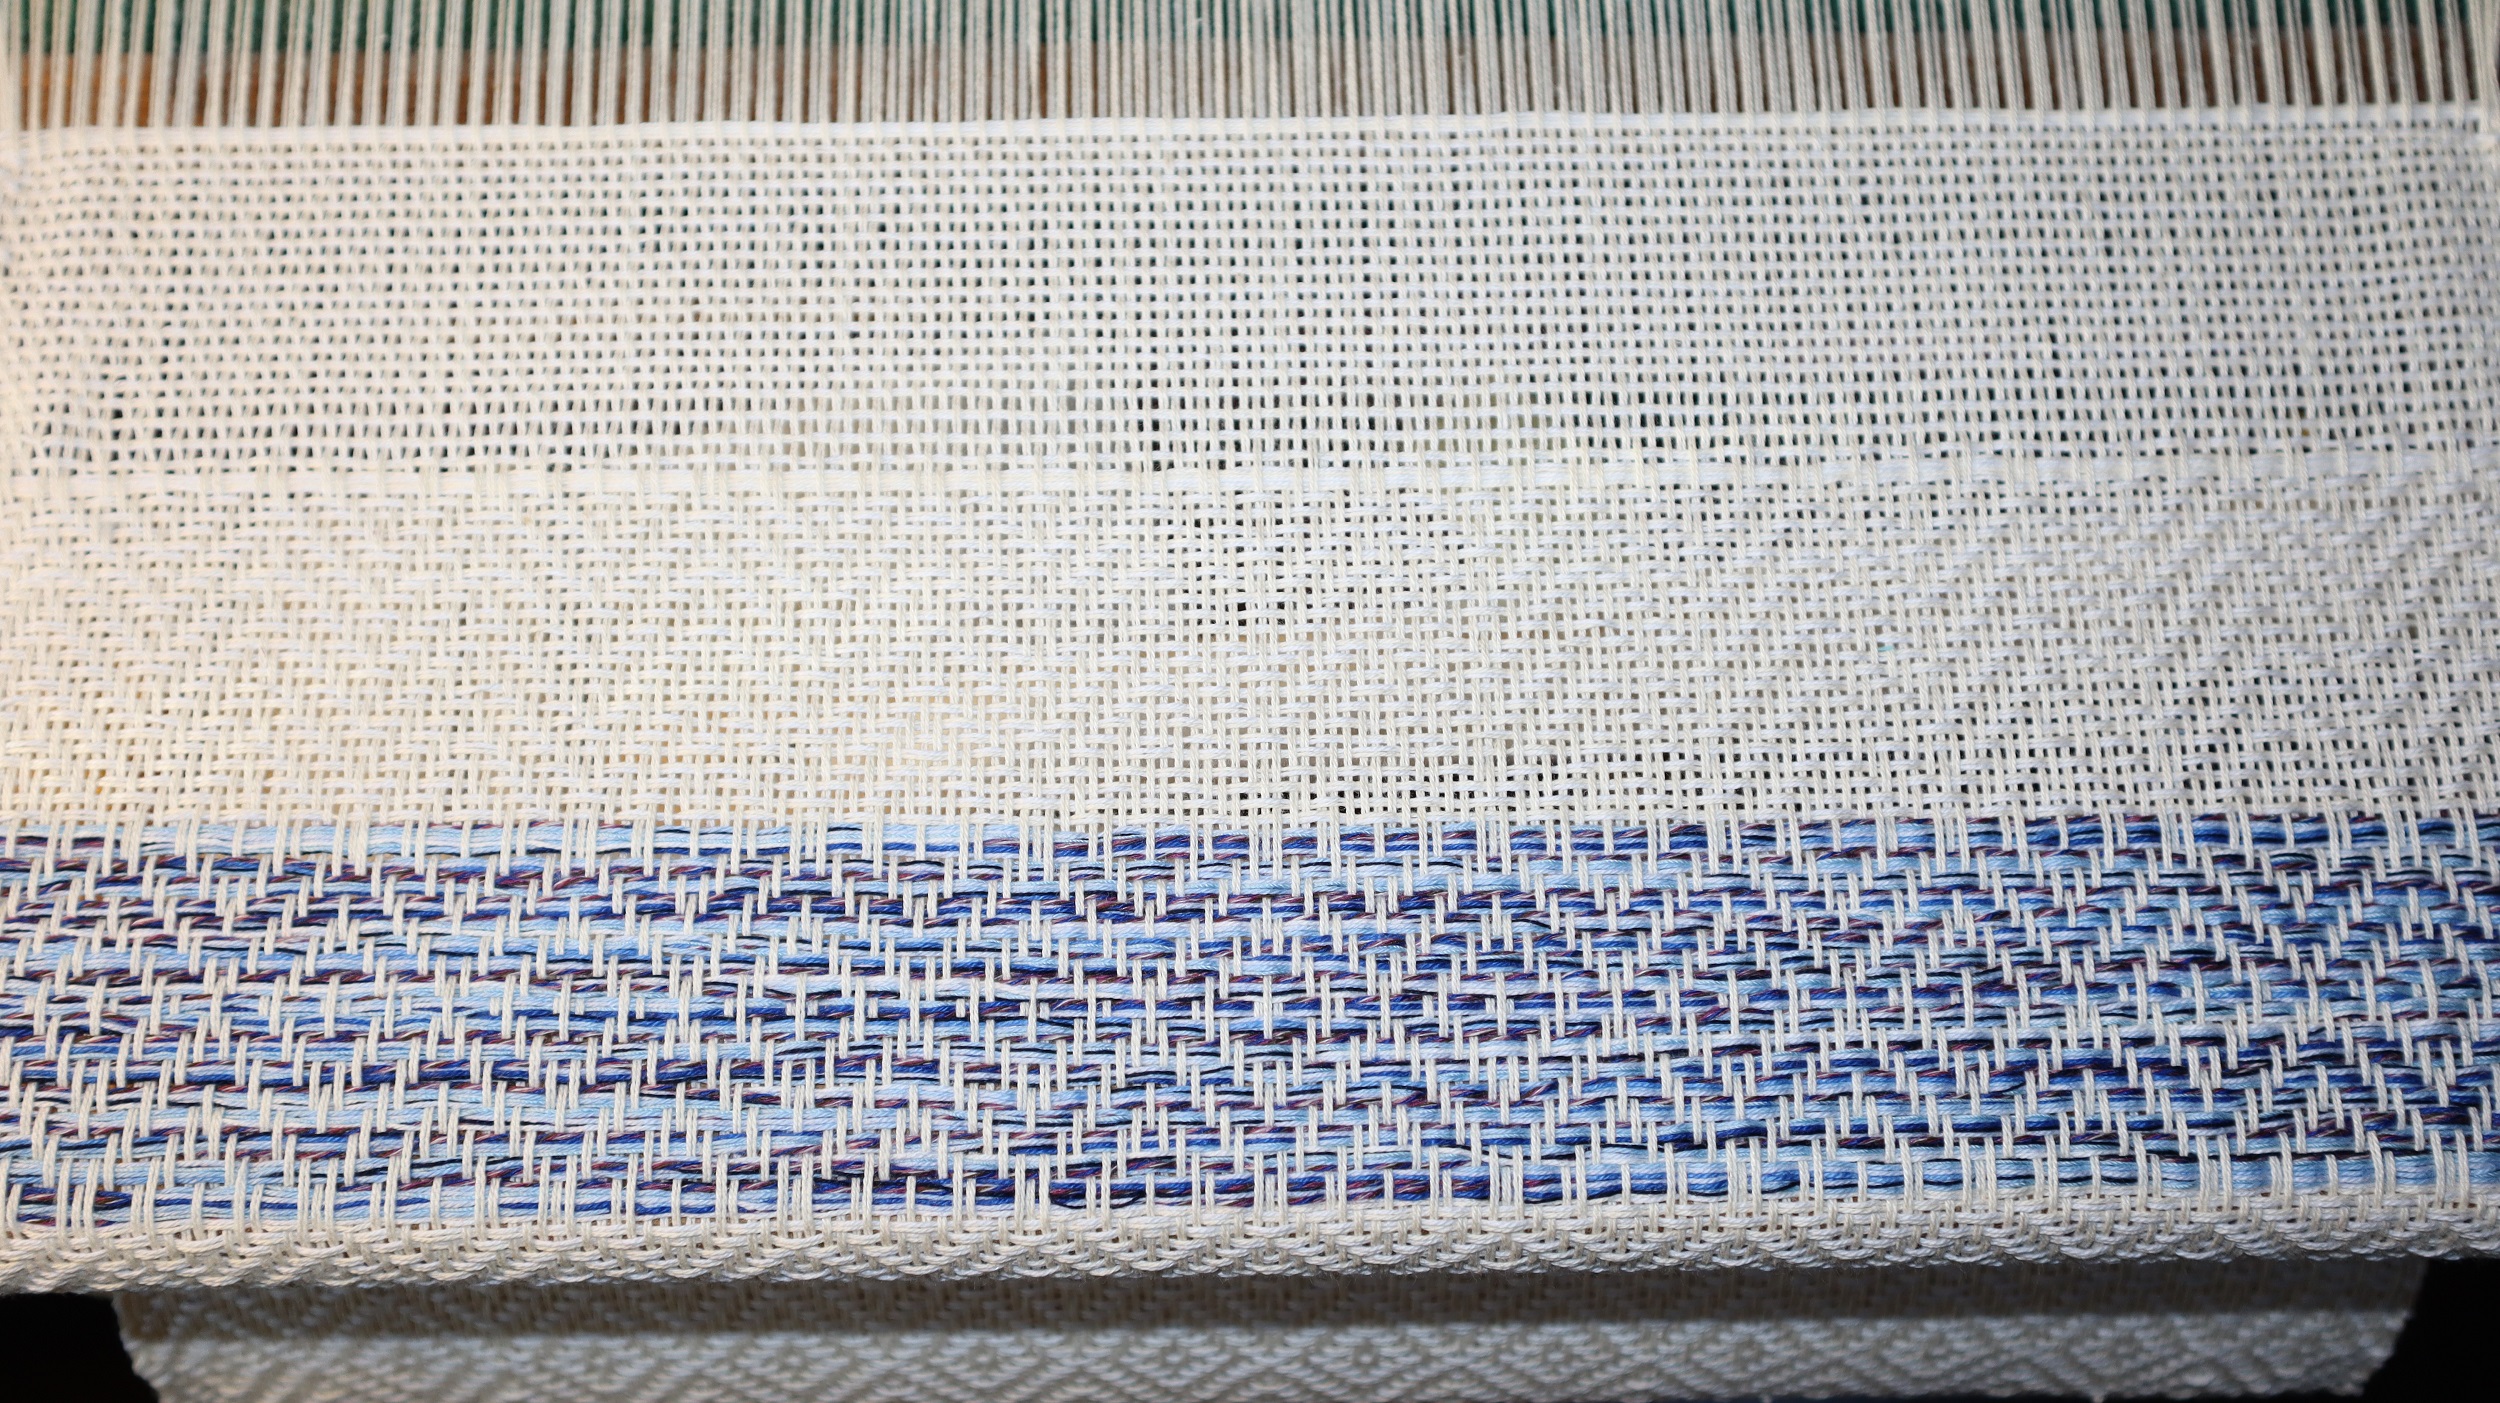
And wove
and wove and wove….
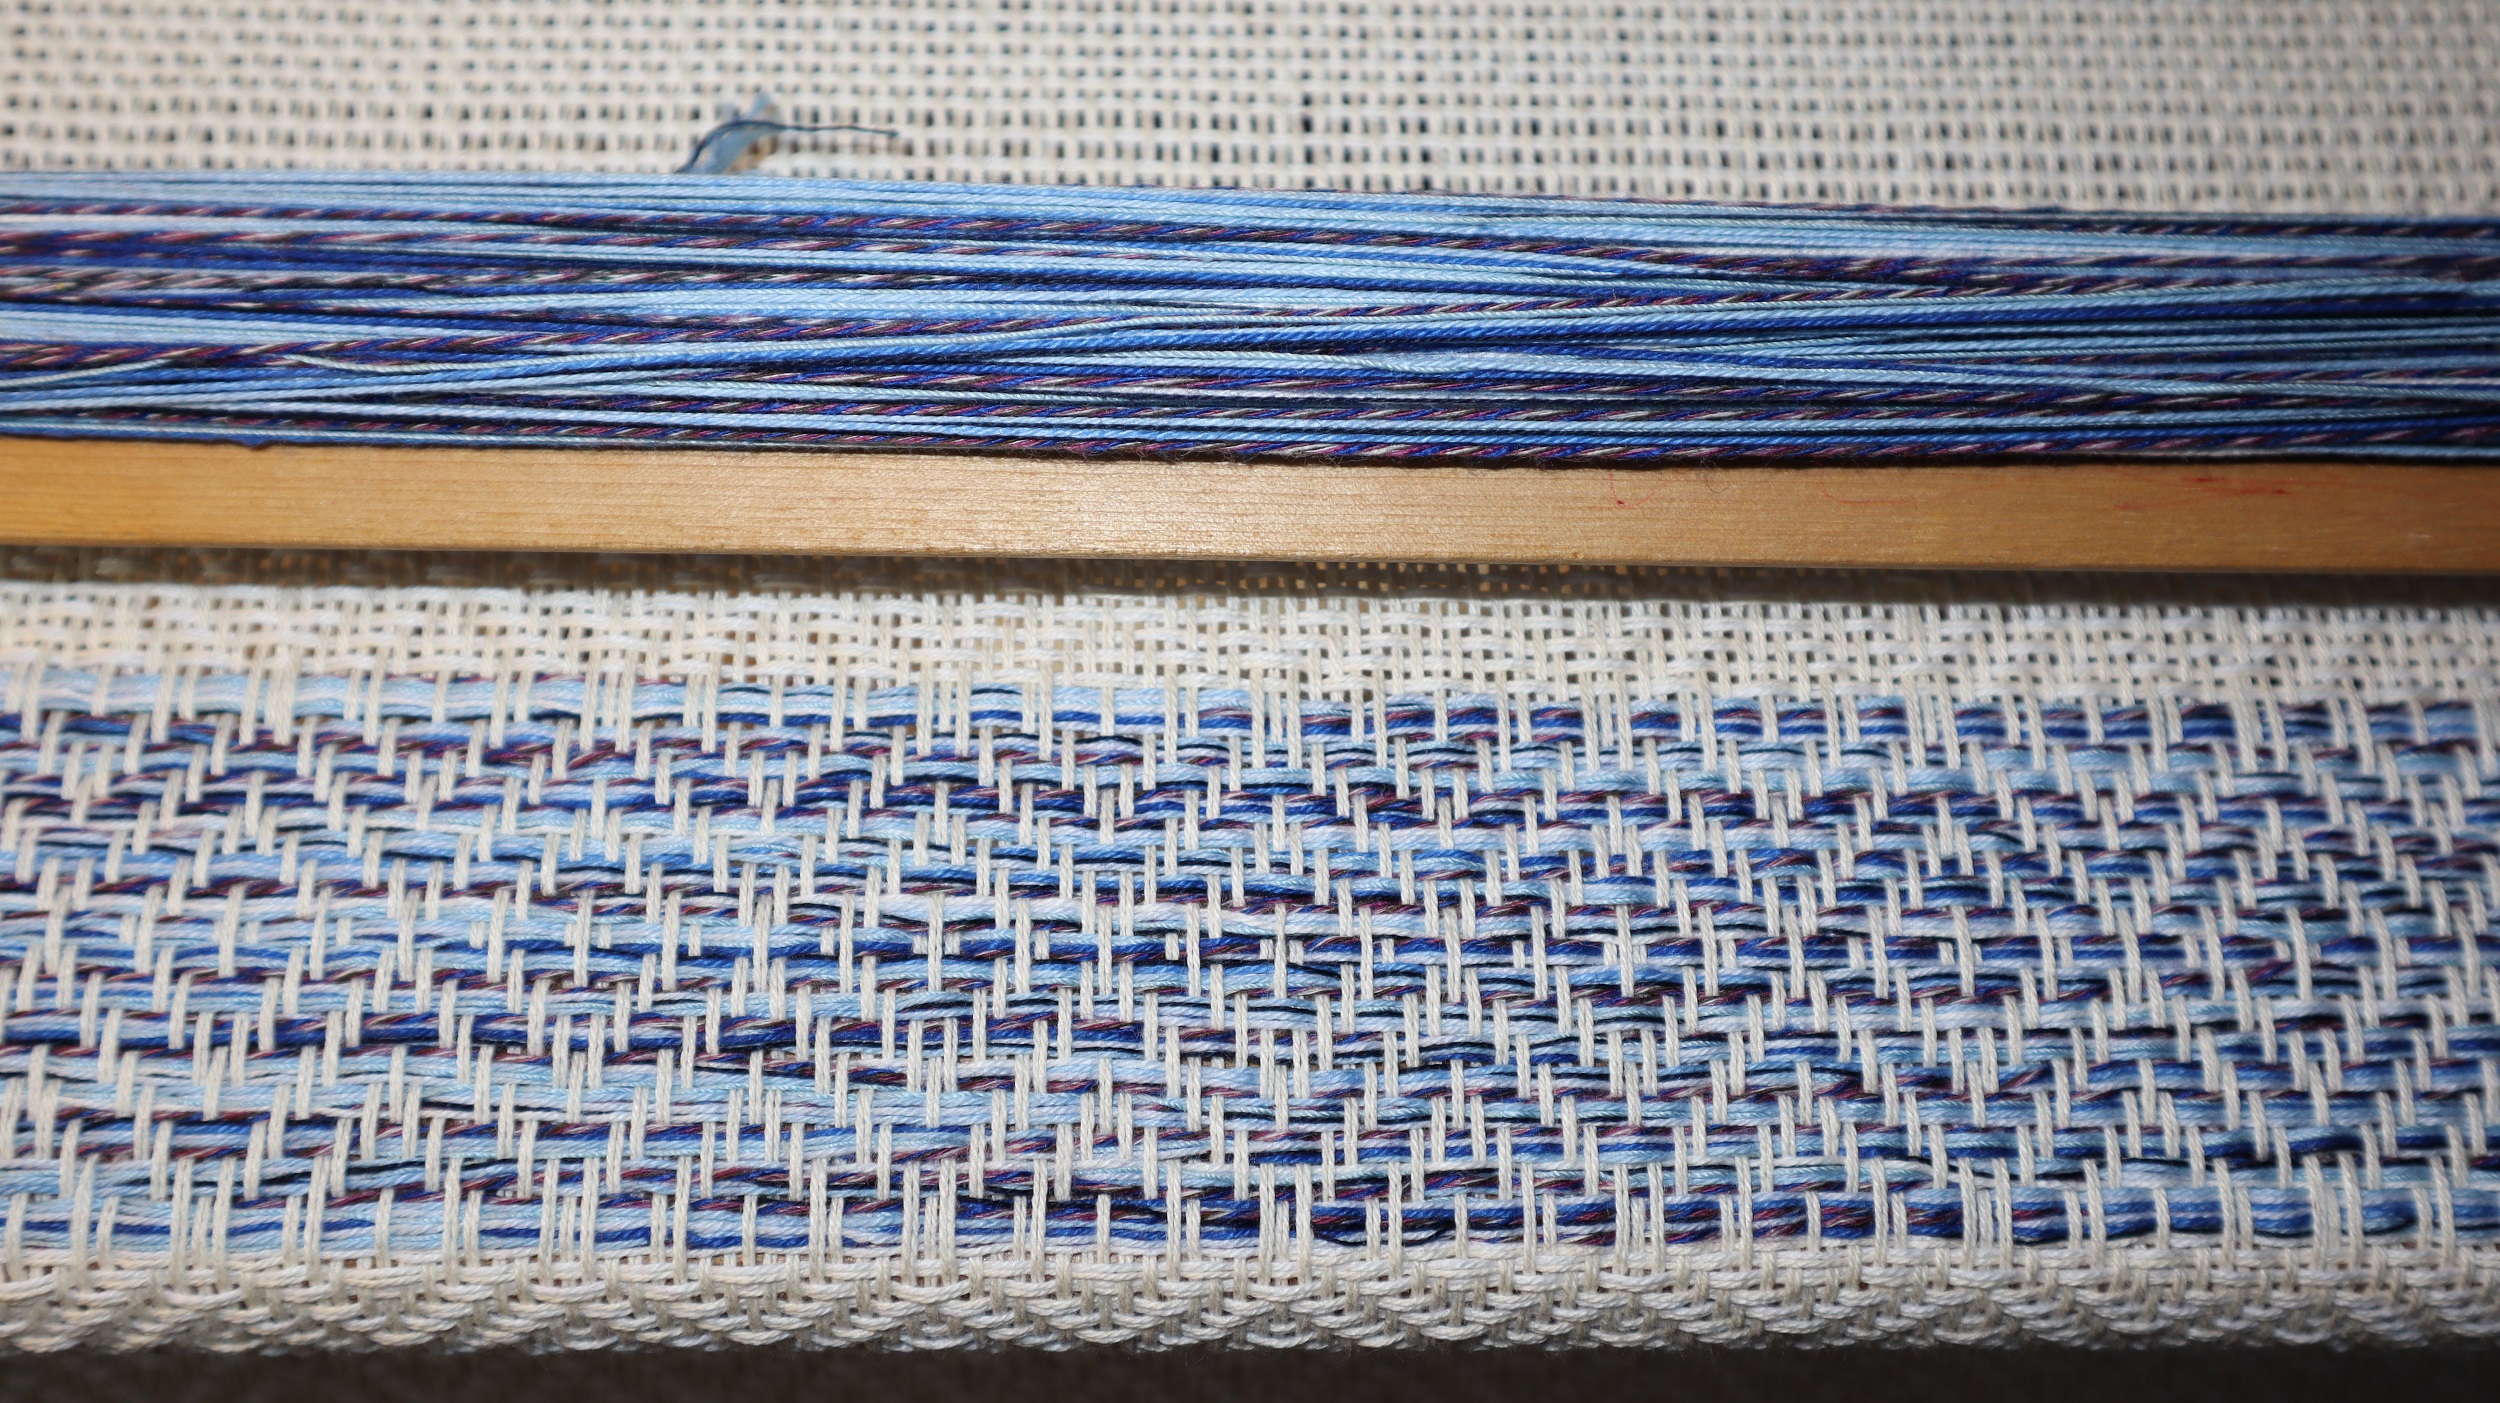
The blue bands look odd, because I used several strands of variegated blue thread held together…
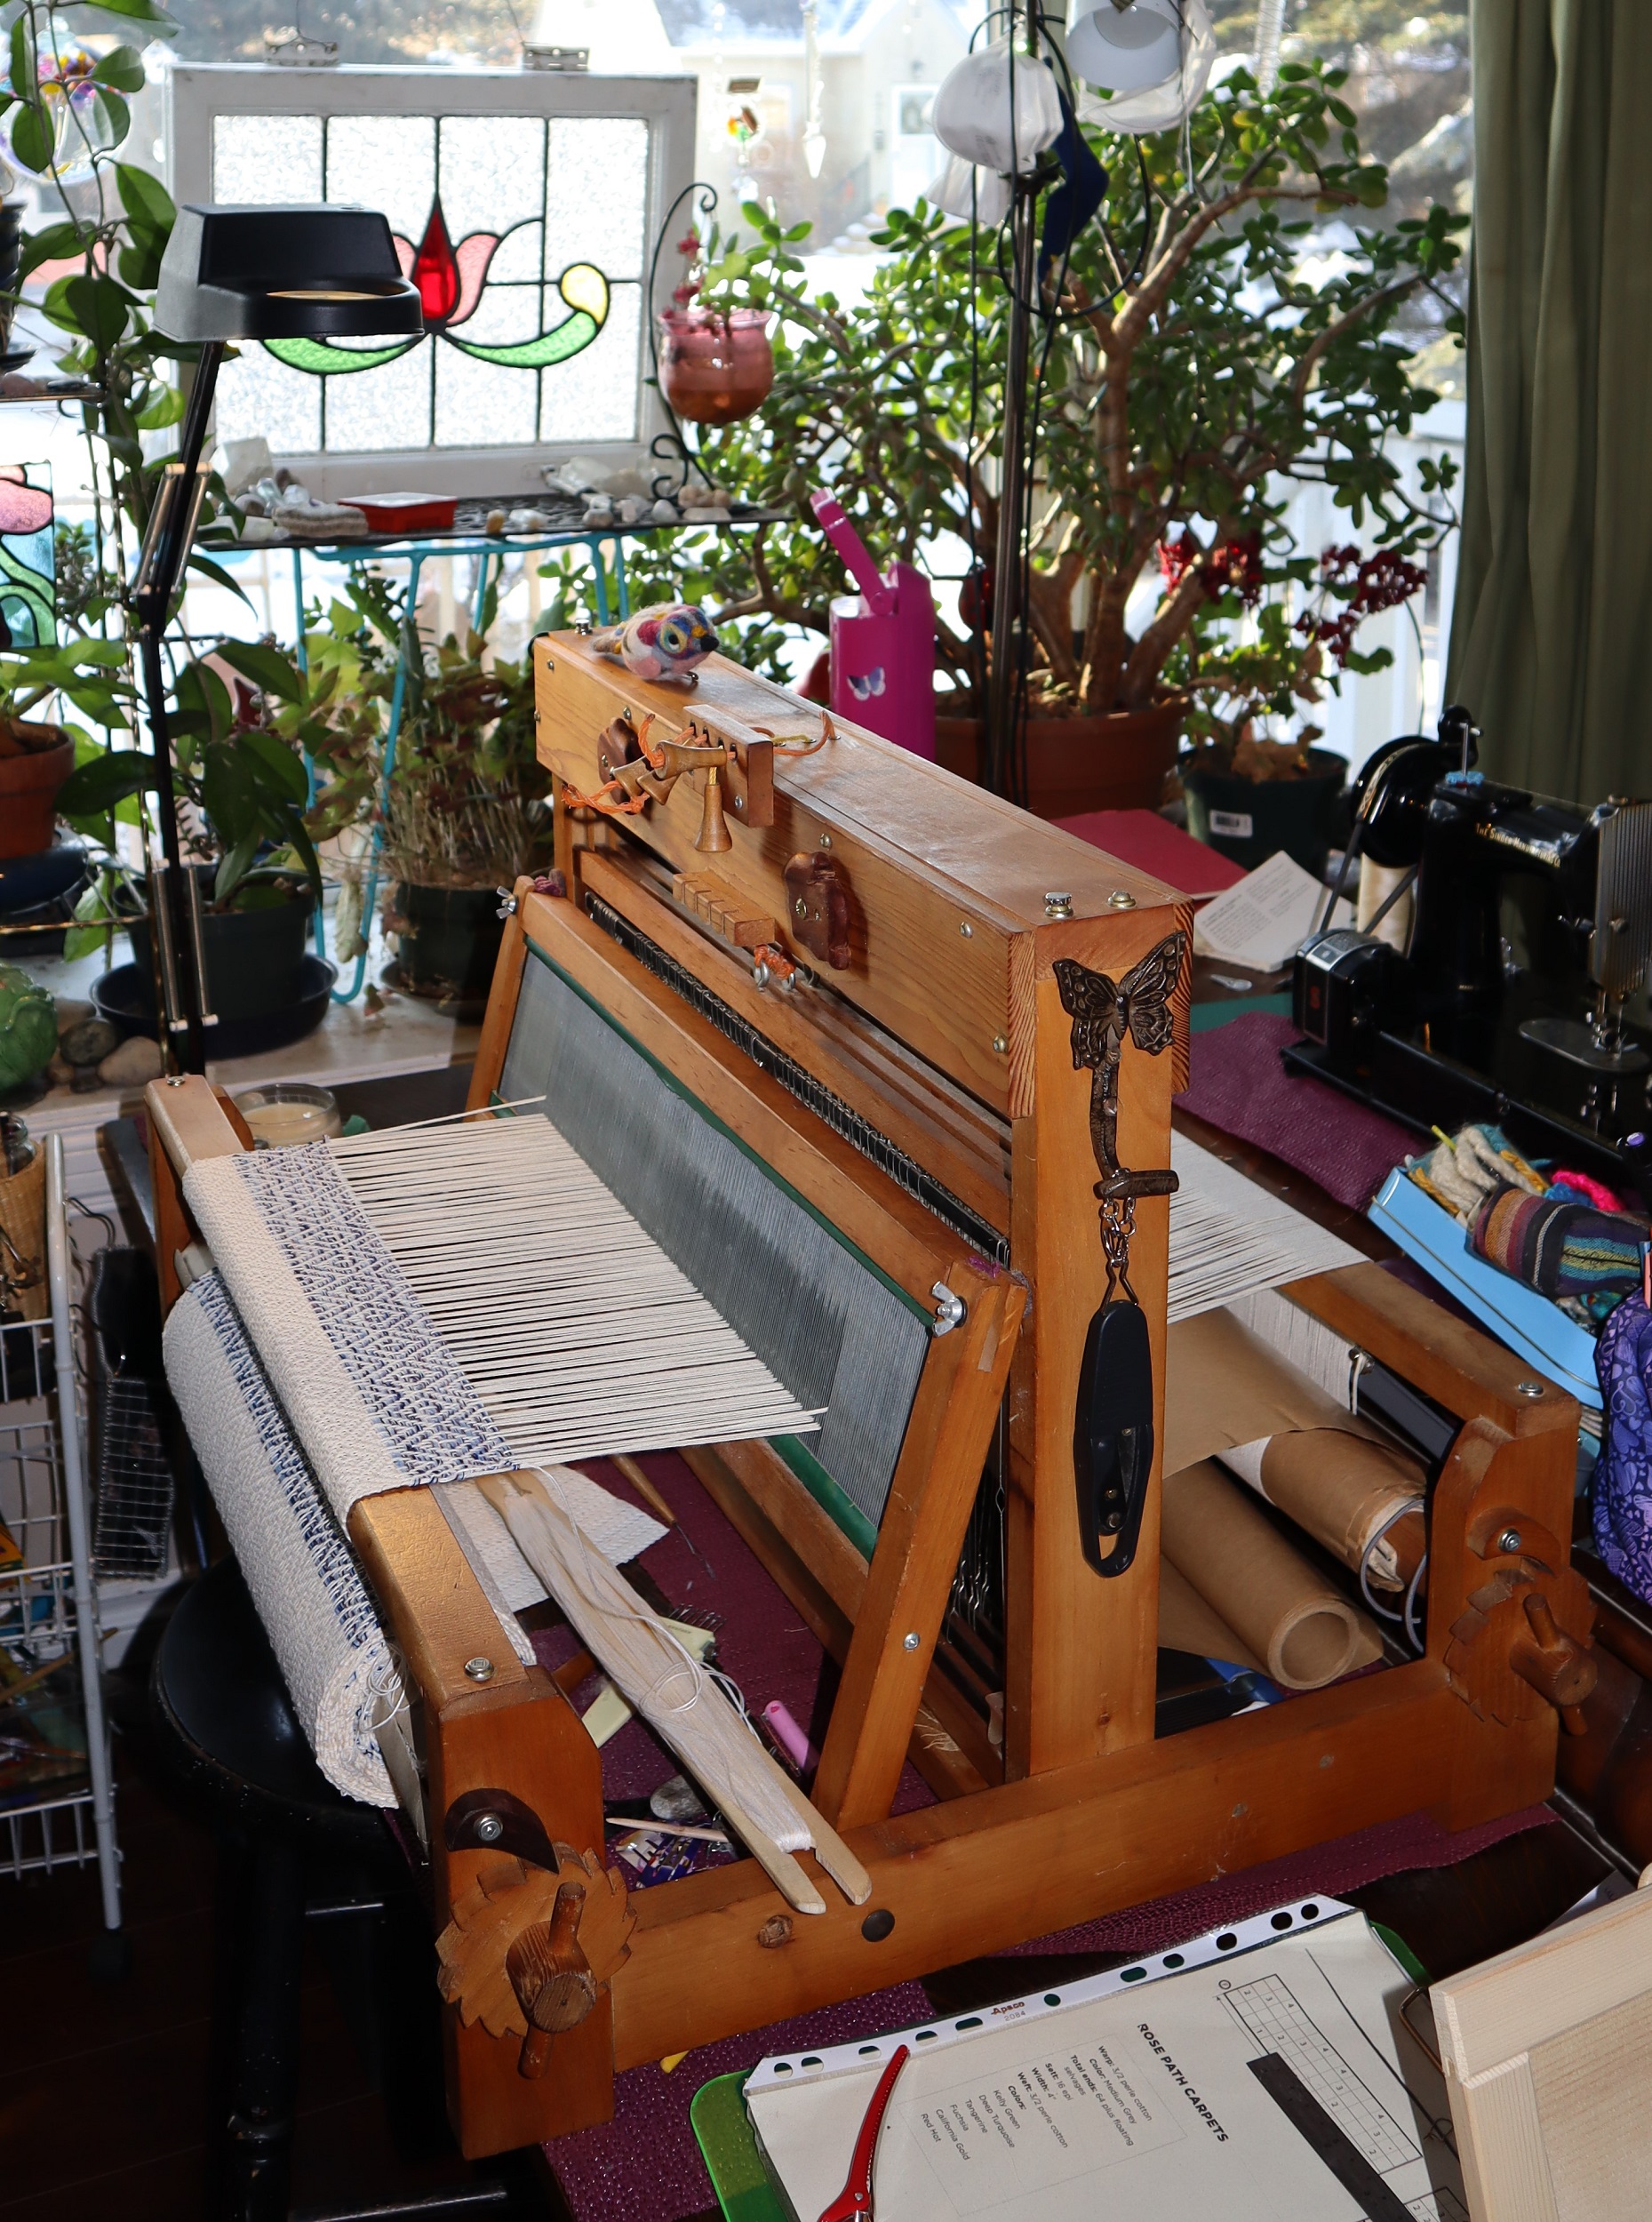
I used one of my favorite weaving drafts, ‘Rosepath’, which gives the diamond effect when woven to the ‘correct’ treadling, but also a pleasing zig zag twill and of course, plain weave tabby.
This was perfect for me, as it allowed me to add definition to the hems, the cream colored borders, the blue bands and the body of the tea towels.
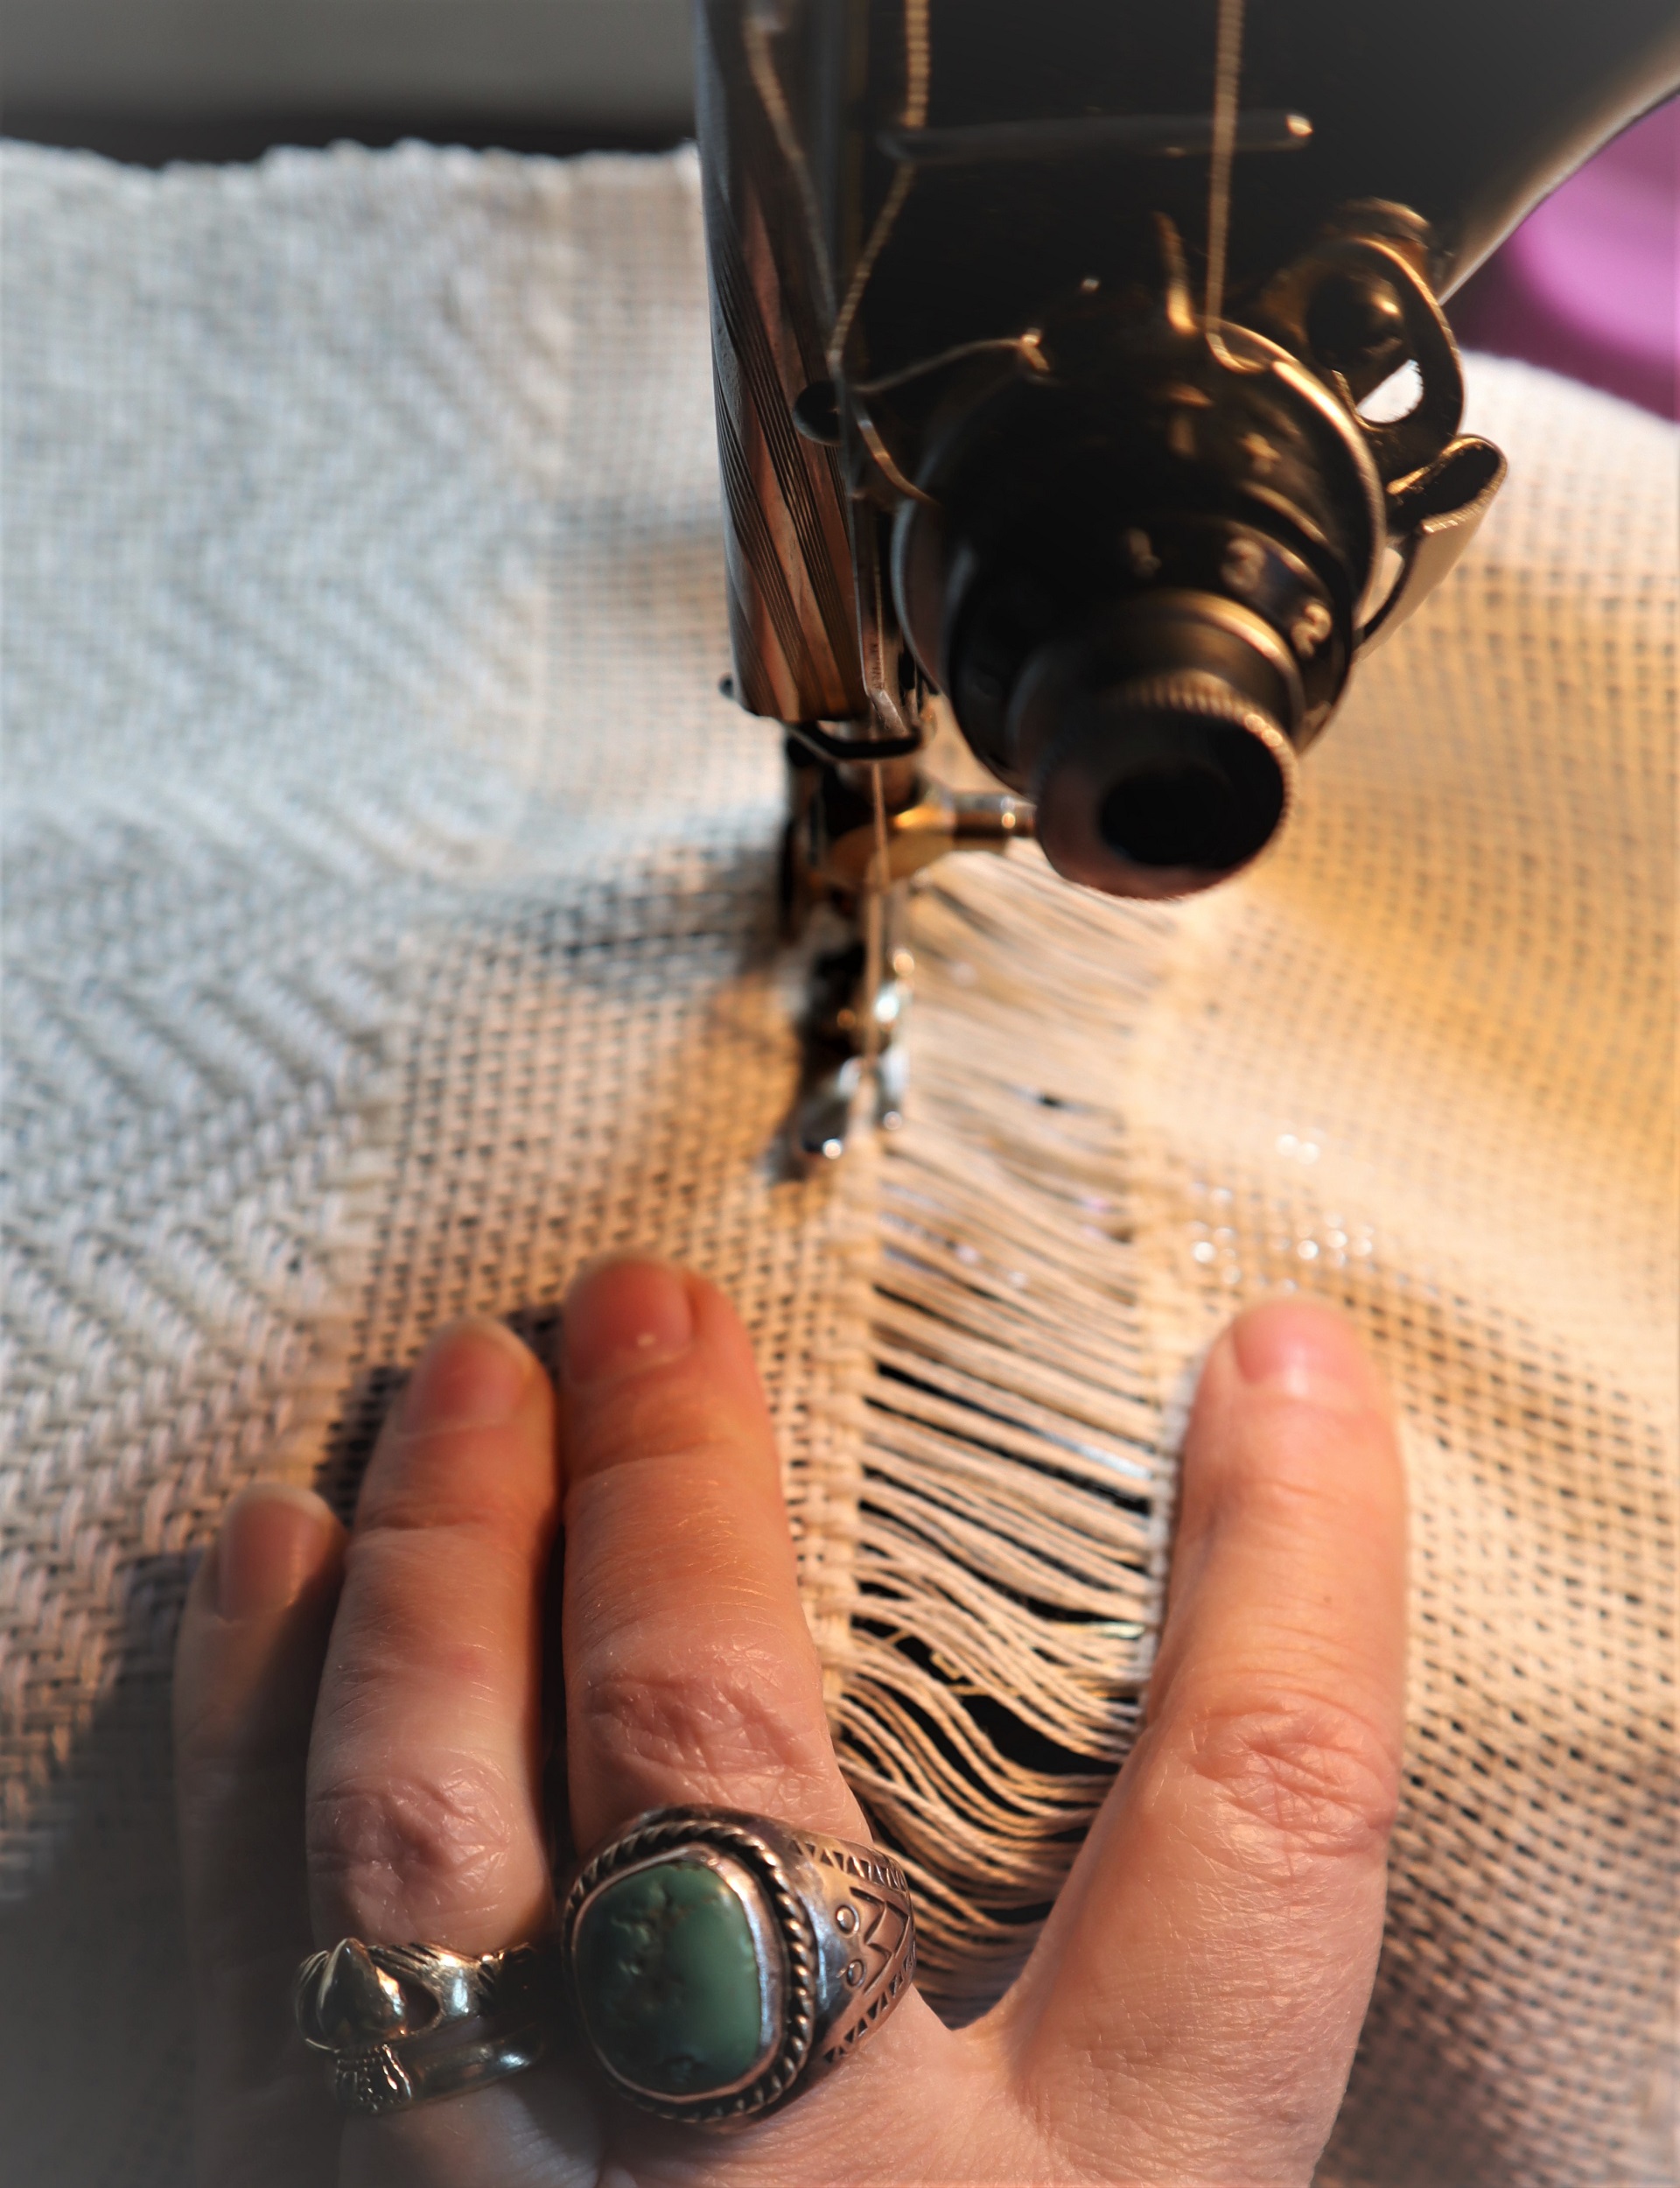
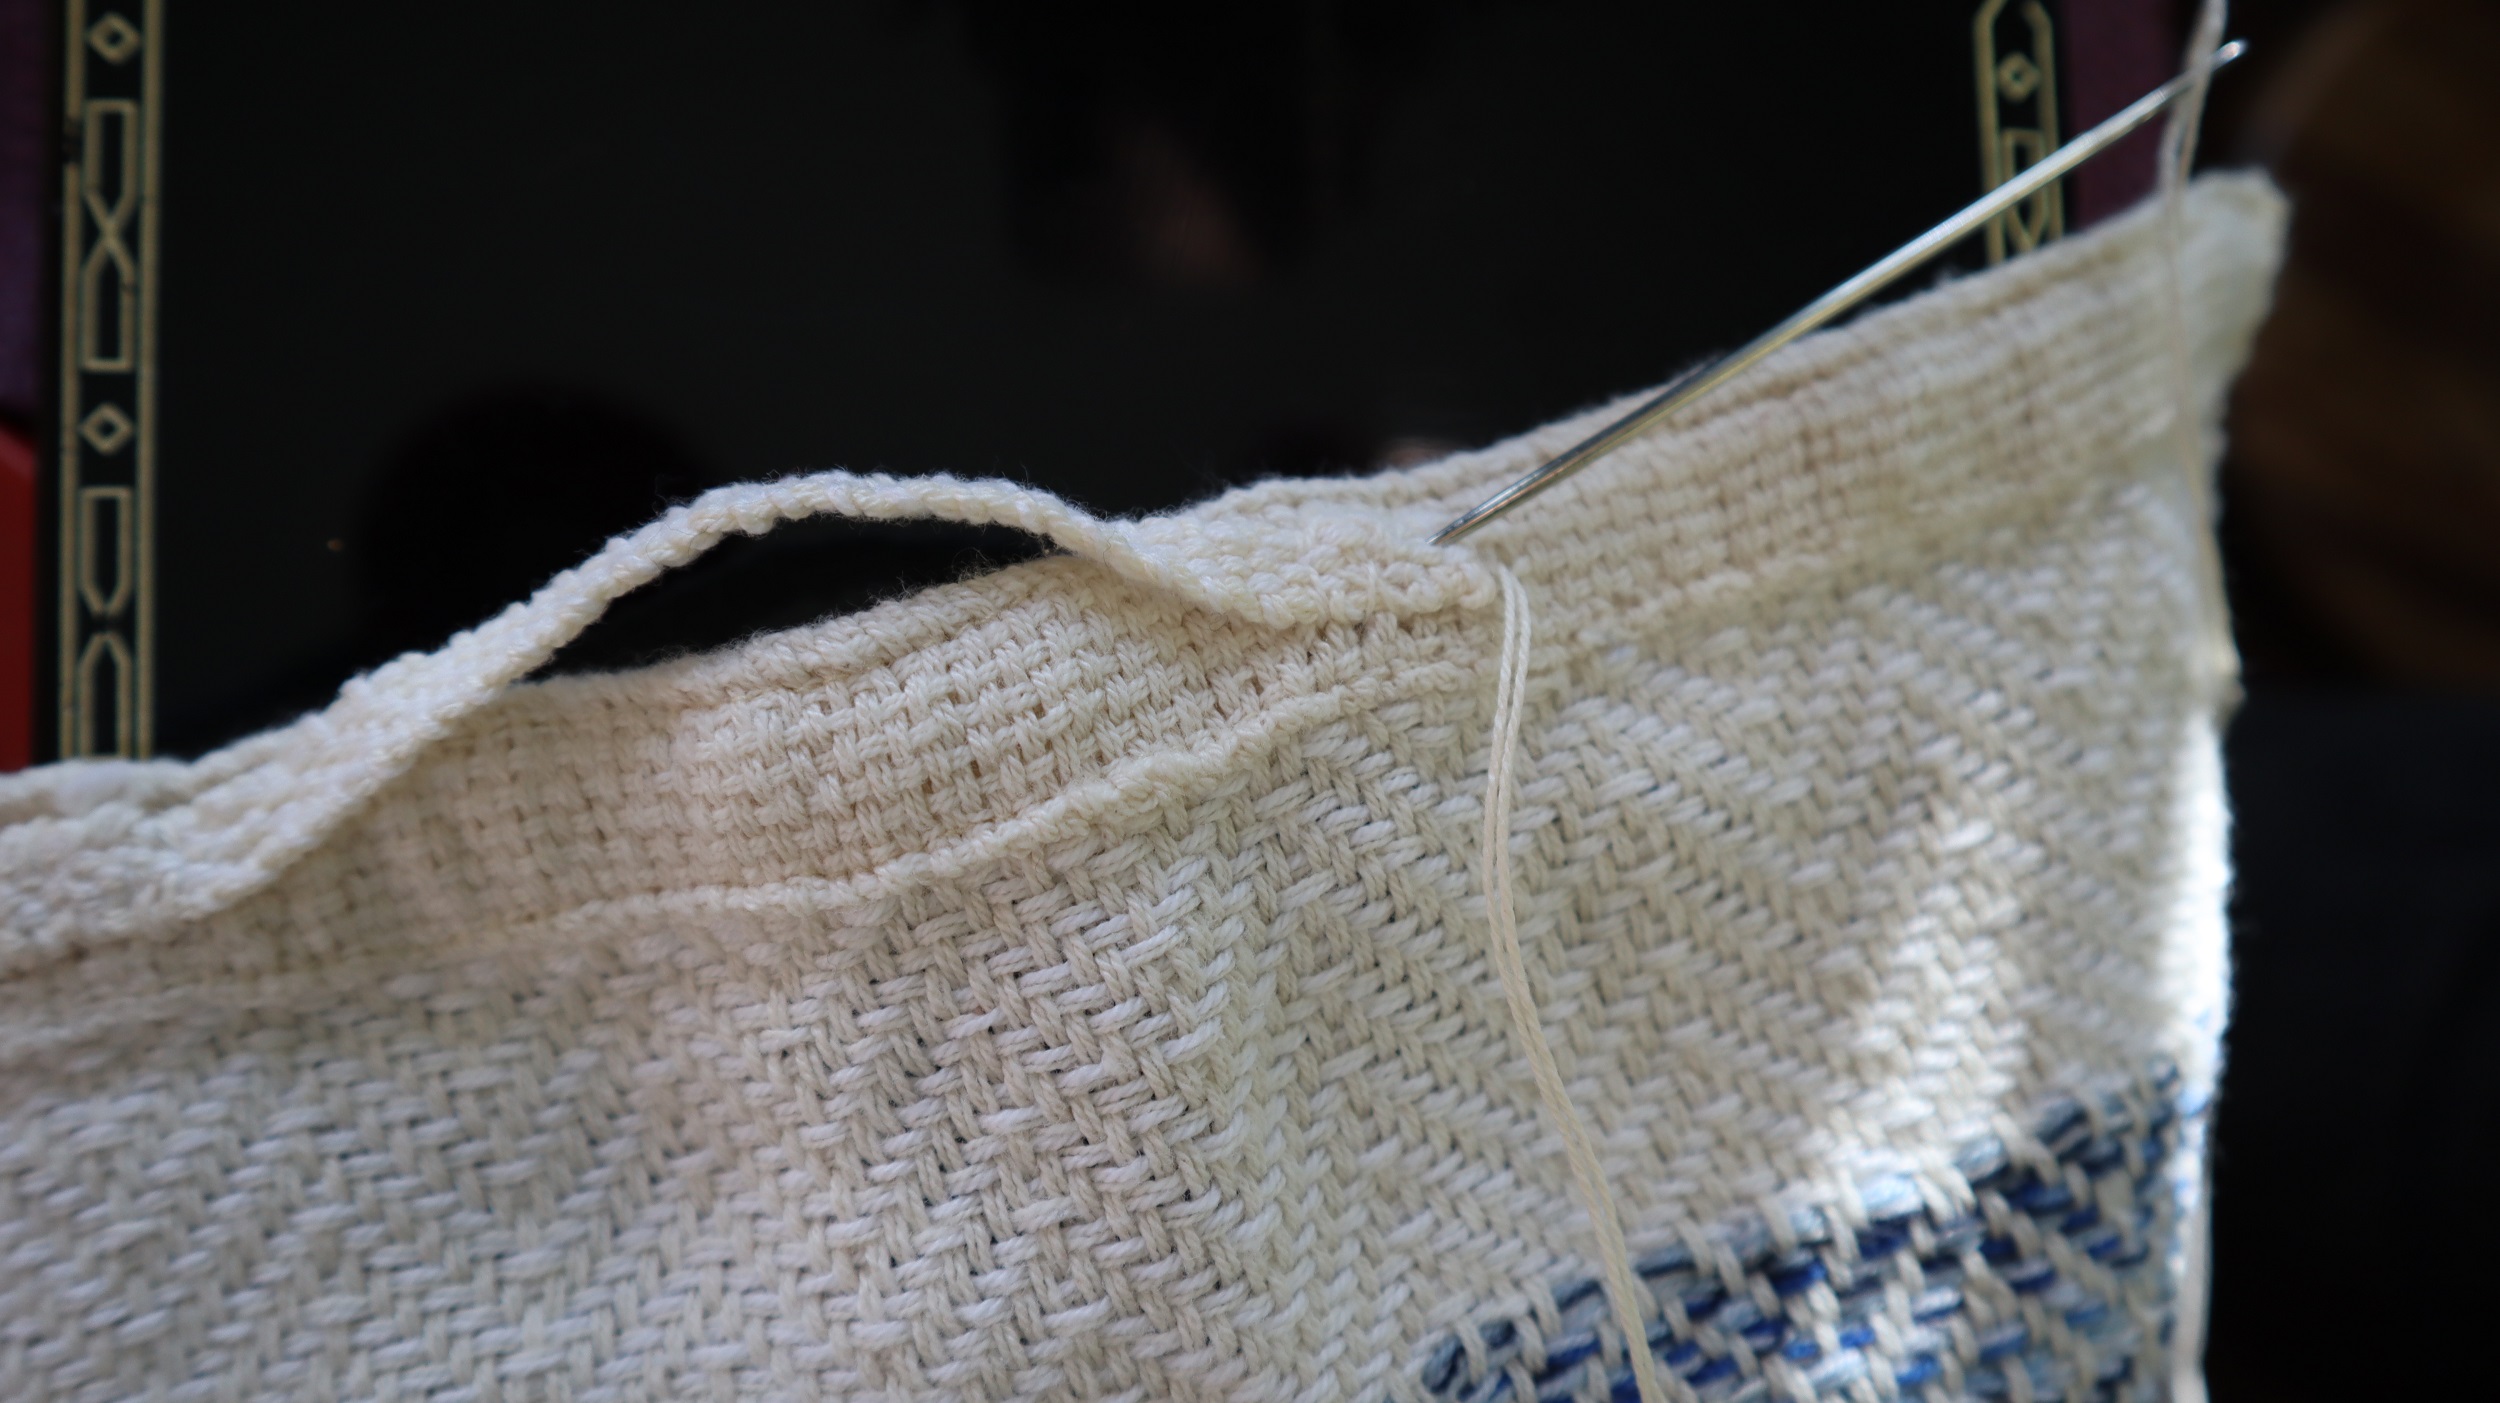
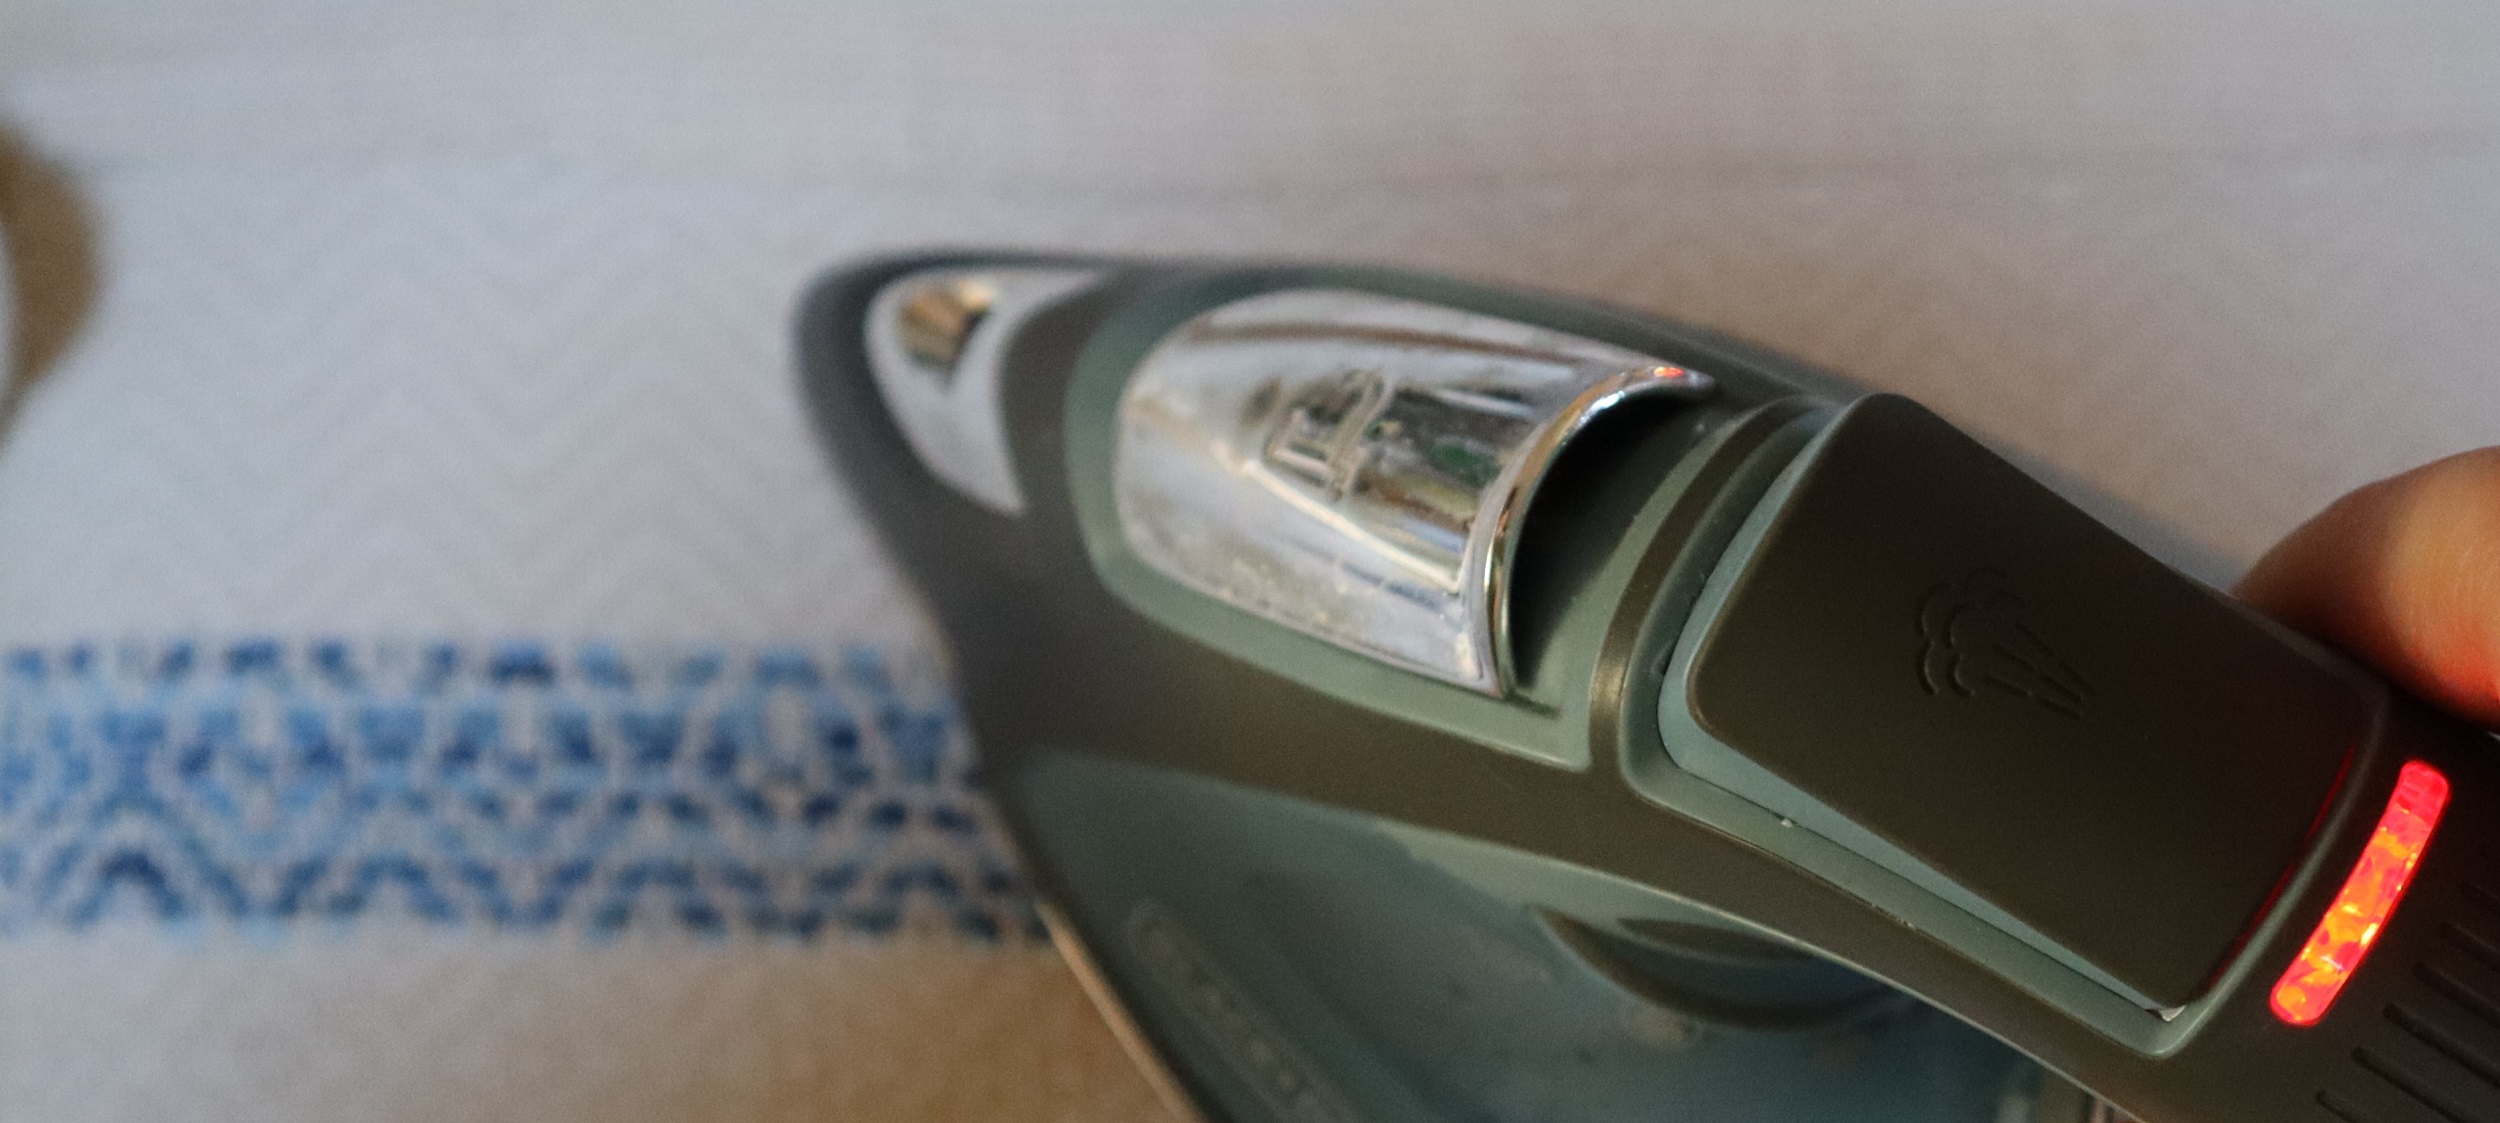
Once the tea towels were all woven, washed them and then ironed them and hemmed them.
I had hand stitched the hems between each of the towels while they were on the loom, but then stitched the hand stitched edges again by machine before cutting them apart.
I then rolled and pinned the hems and stitched them by machine.
I had hand stitched the hems on some of the prototype tea towels, but wasn’t happy with the way they looked, so opted for the machine.
Ooops… at one point, my grandson, who has been taught how to sew on the machine by his mother, chastized me for sewing over a pin. Oops!
He has the family ability to raise one eyebrow very high and fix you with a baleful gaze.
This is also a family trait. We pass along such interesting legacies, don’t we?
My father could transmit a world of ‘ahem’ with his eyebrow. Ahem.
I didn’t sew over any more pins after I was given ‘the eyebrow’!
Earlier in the process, I wove miles of tape on my narrow band loom.
But, I forgot to take a picture of the weaving process for the tape.
I cut lengths of tape from the miles of narrow band.
Then I sewed the hanging loops with it onto the tea towels by hand.
Then, off to the washing machine for the towels….
It was so exciting to see how washing the towels snugged them up and made them all soft and inviting.
And then ironed the living daylights out of the tea towels again.
Most of them have been designated as gifts.
Generous gifts of boxes of abandoned crochet cotton by our relatives turned out to be such a lovely gift for me.
I loved the process of bringing the cotton to life again and I hope that the towels will be a pleasure in some small, quiet way for years to come.