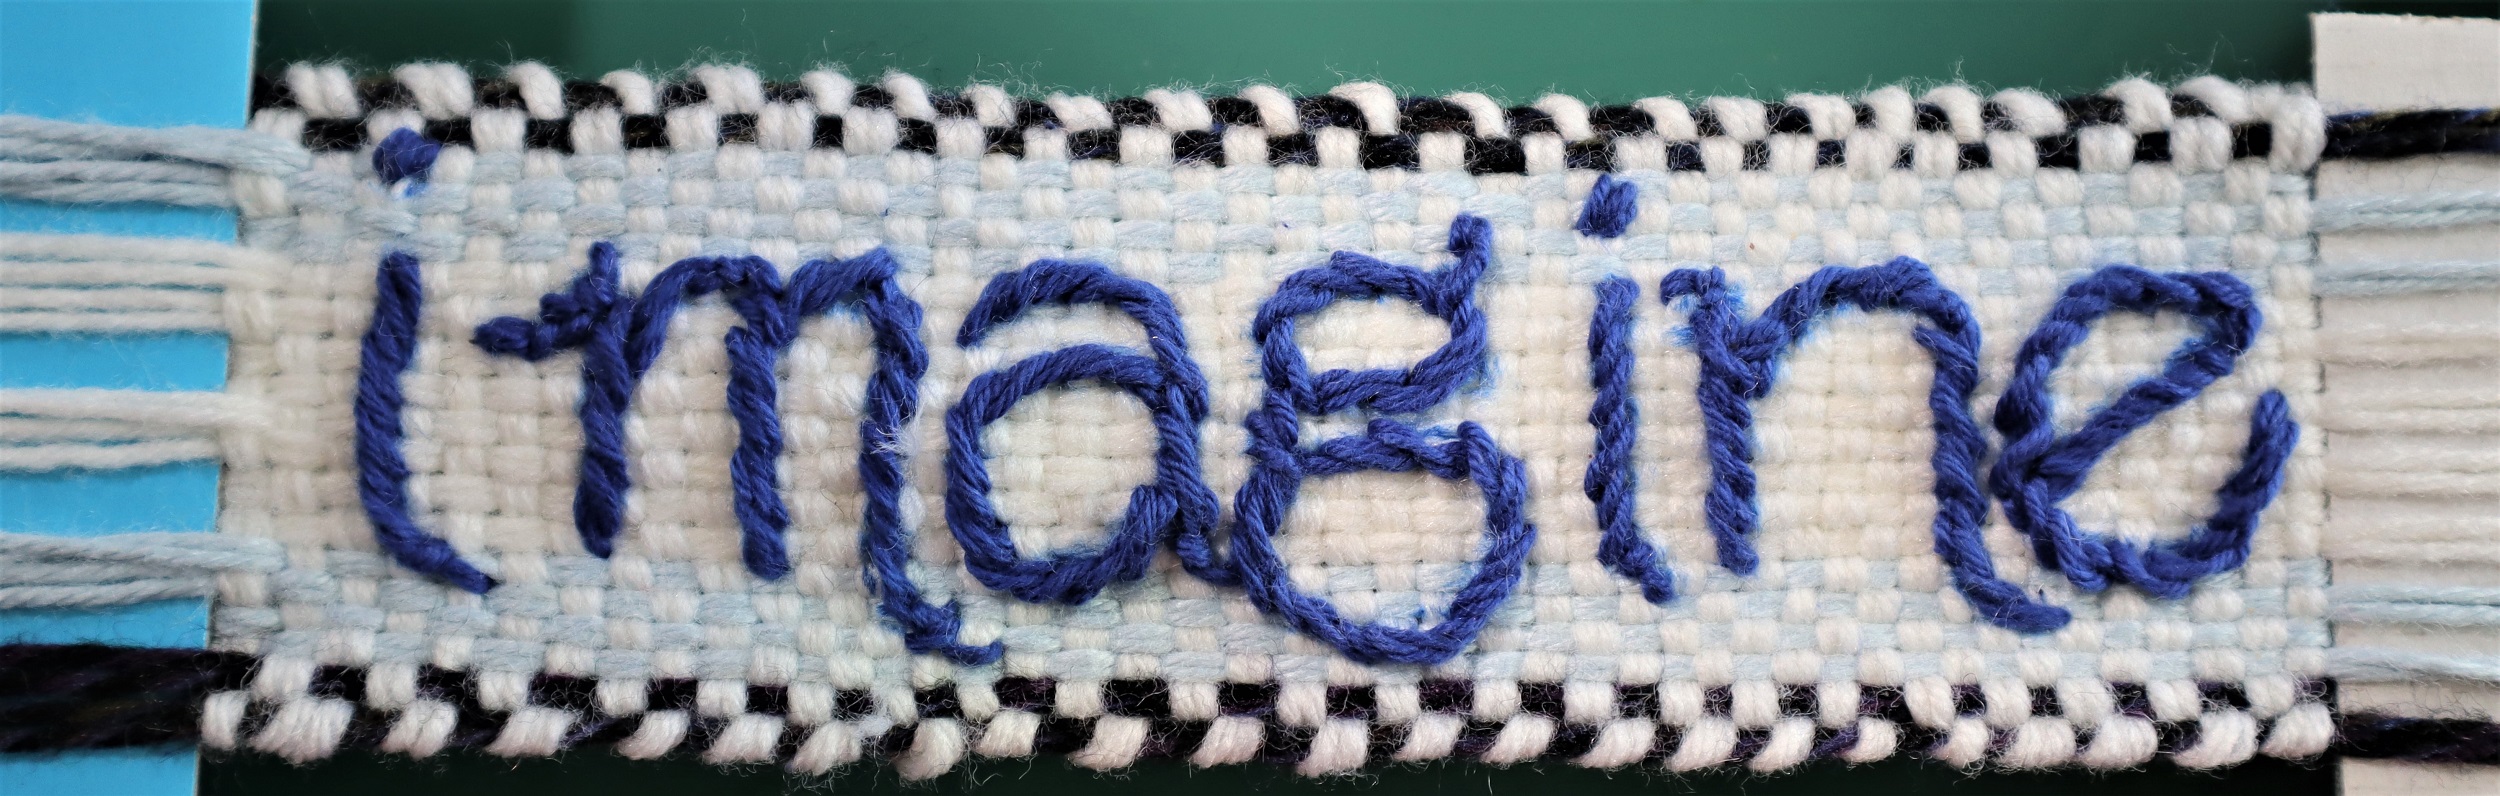
Yesterday, I took a tapestry off my 16 inch Mirrix loom- it’s nowhere near being finished as I am going to be doing embroidery on it.
I thought that I would give an update on the tapestries that I am weaving for my solo show next summer.
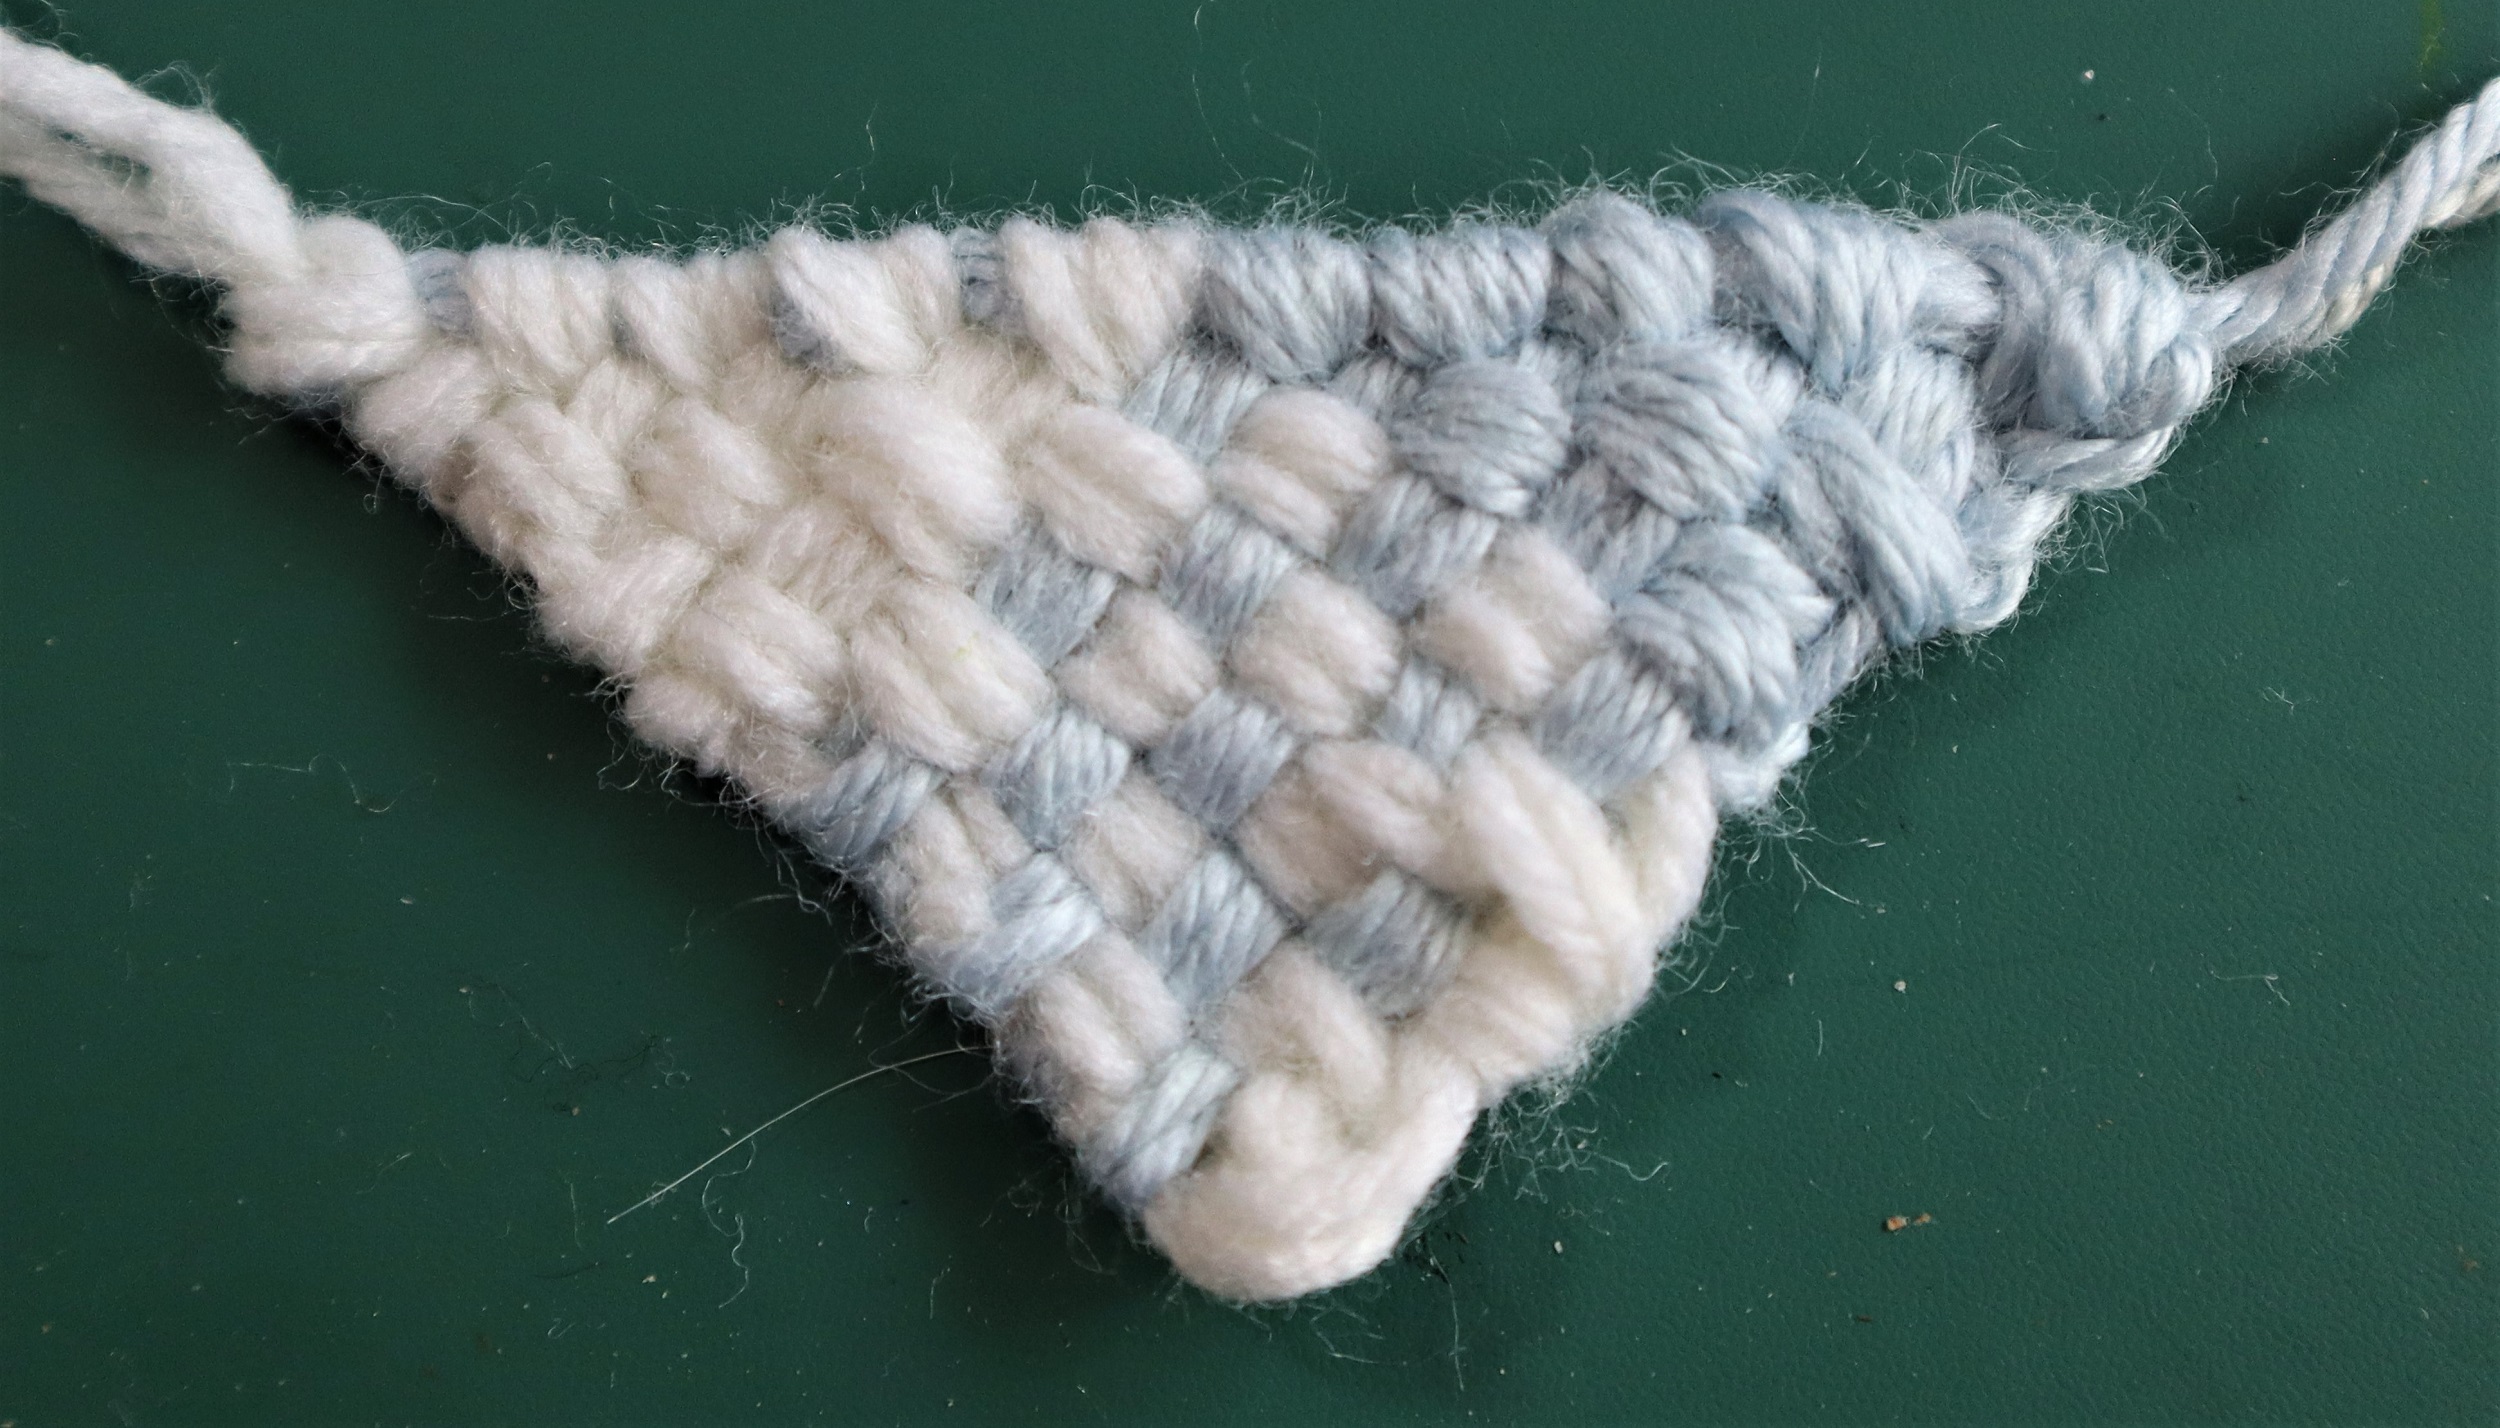
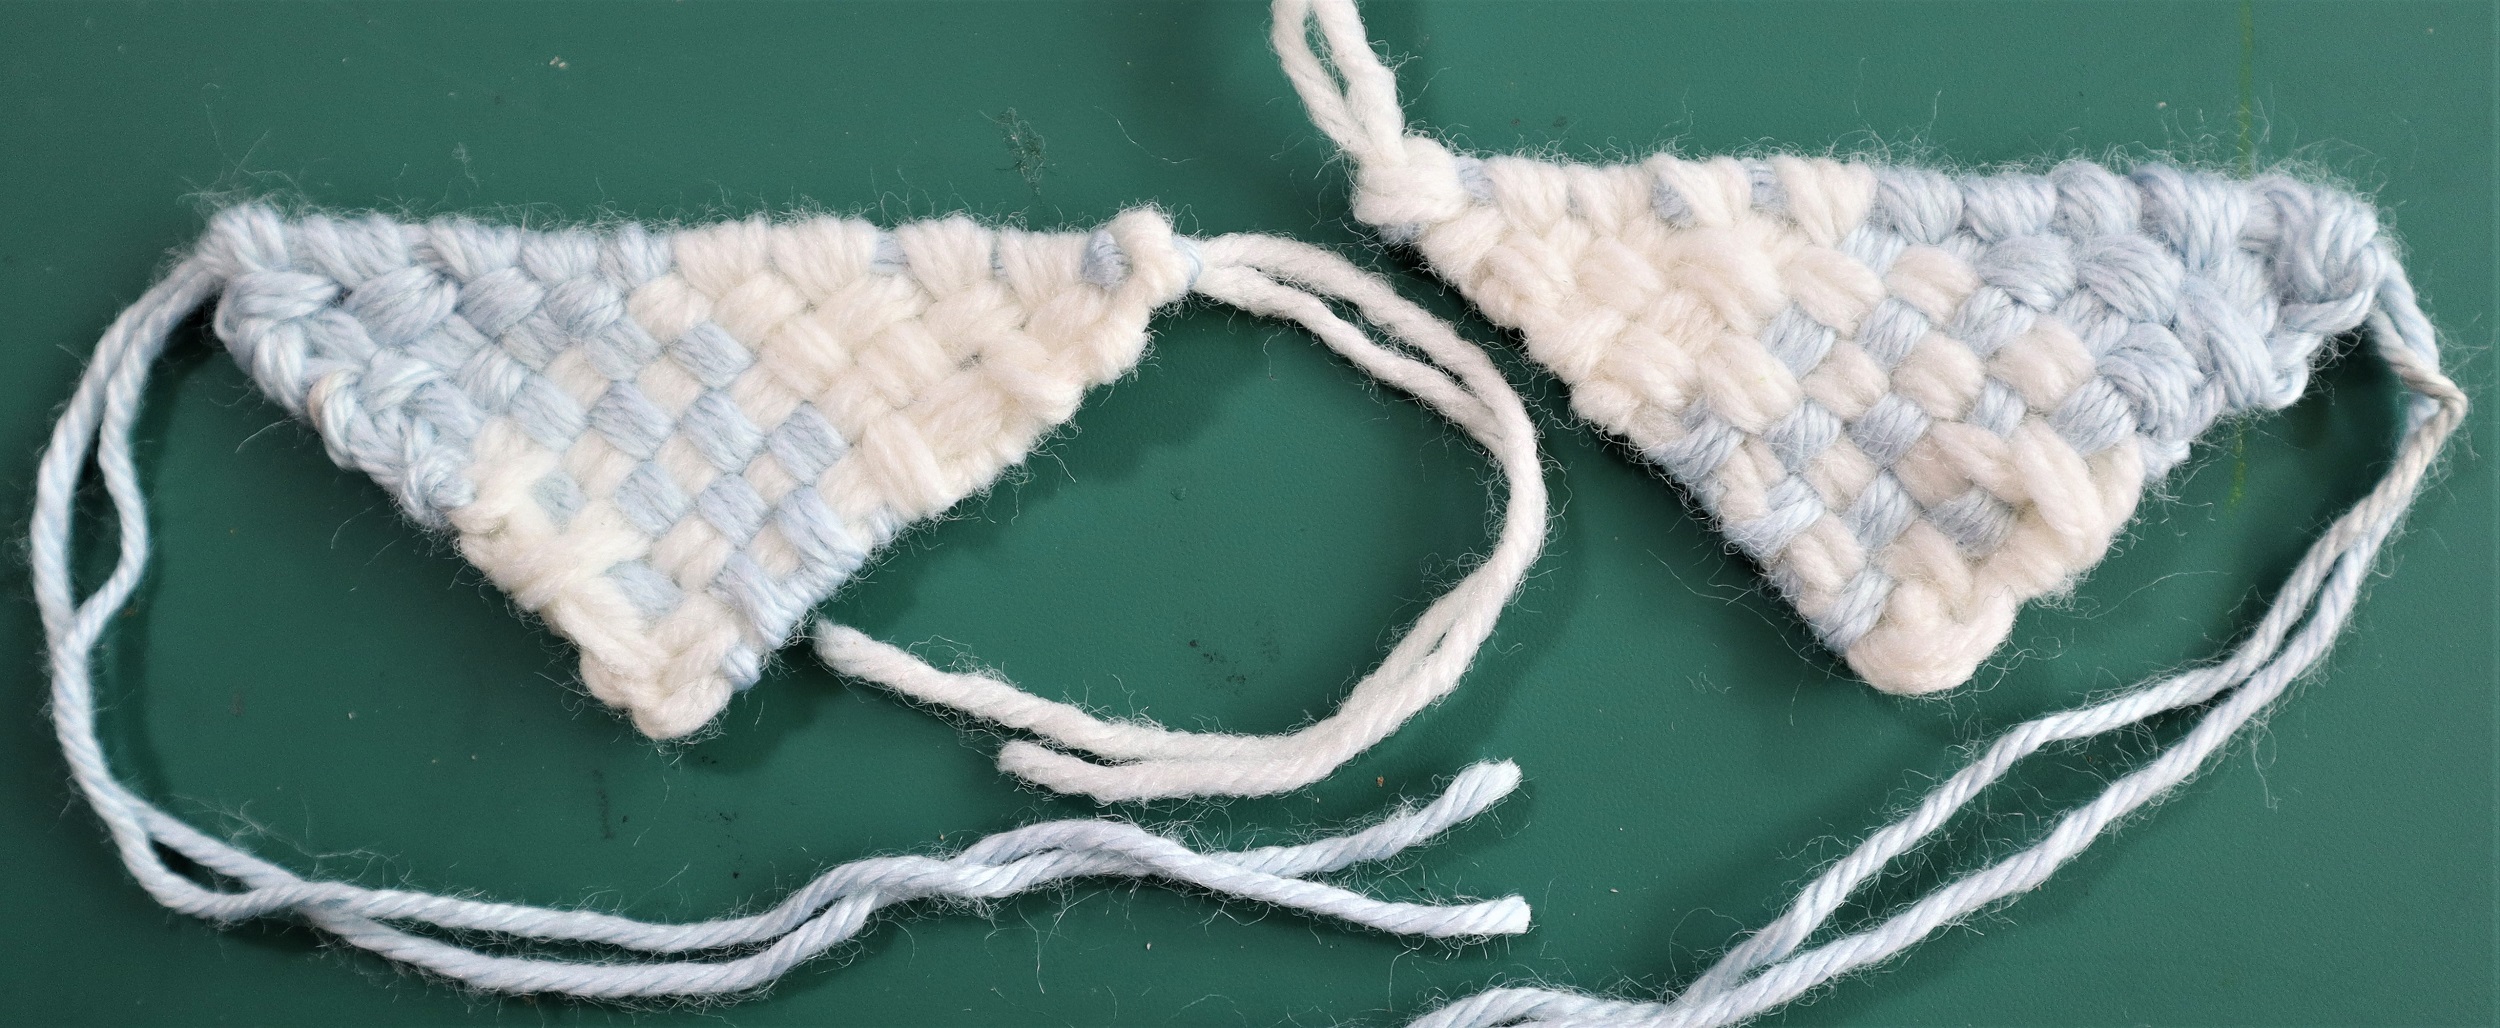
So, even though NONE of these pieces are anywhere close to being done, here’s a quick little glimpse at the works in progress:
")
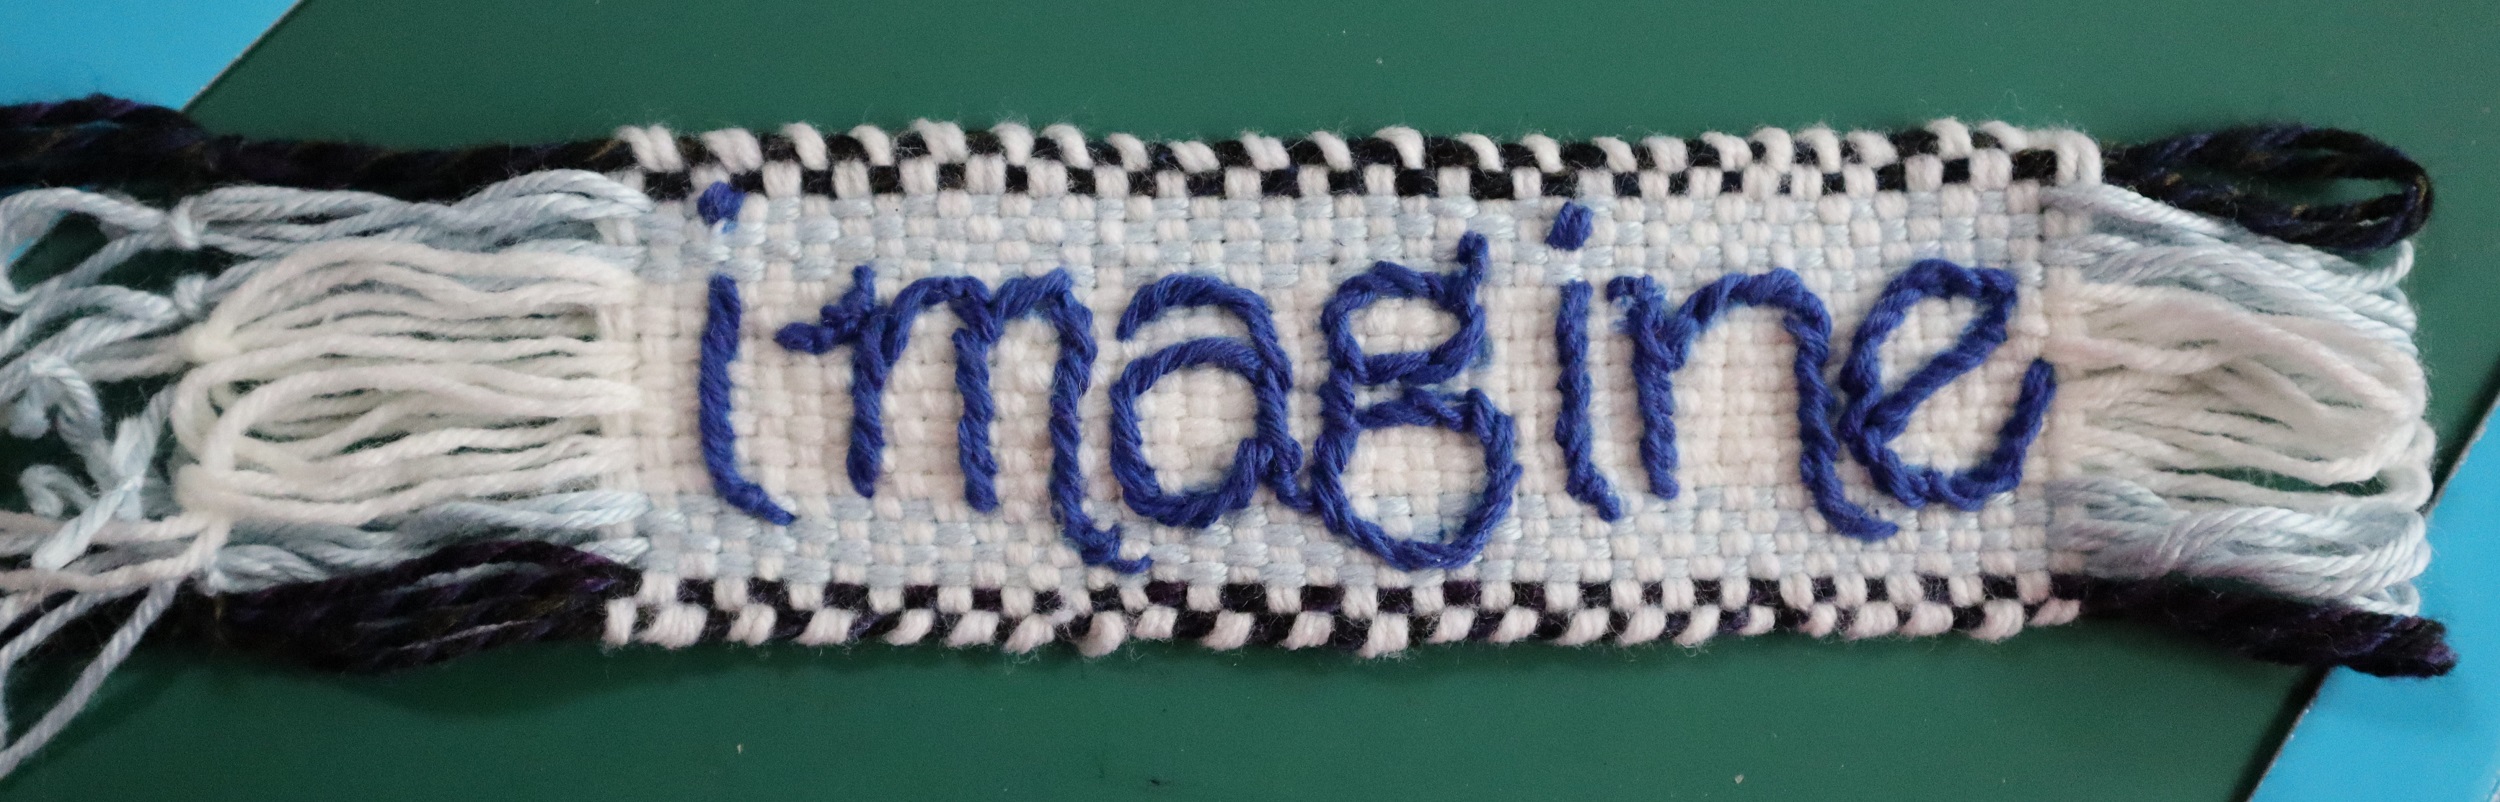
copyright Noreen Crone-Findlay
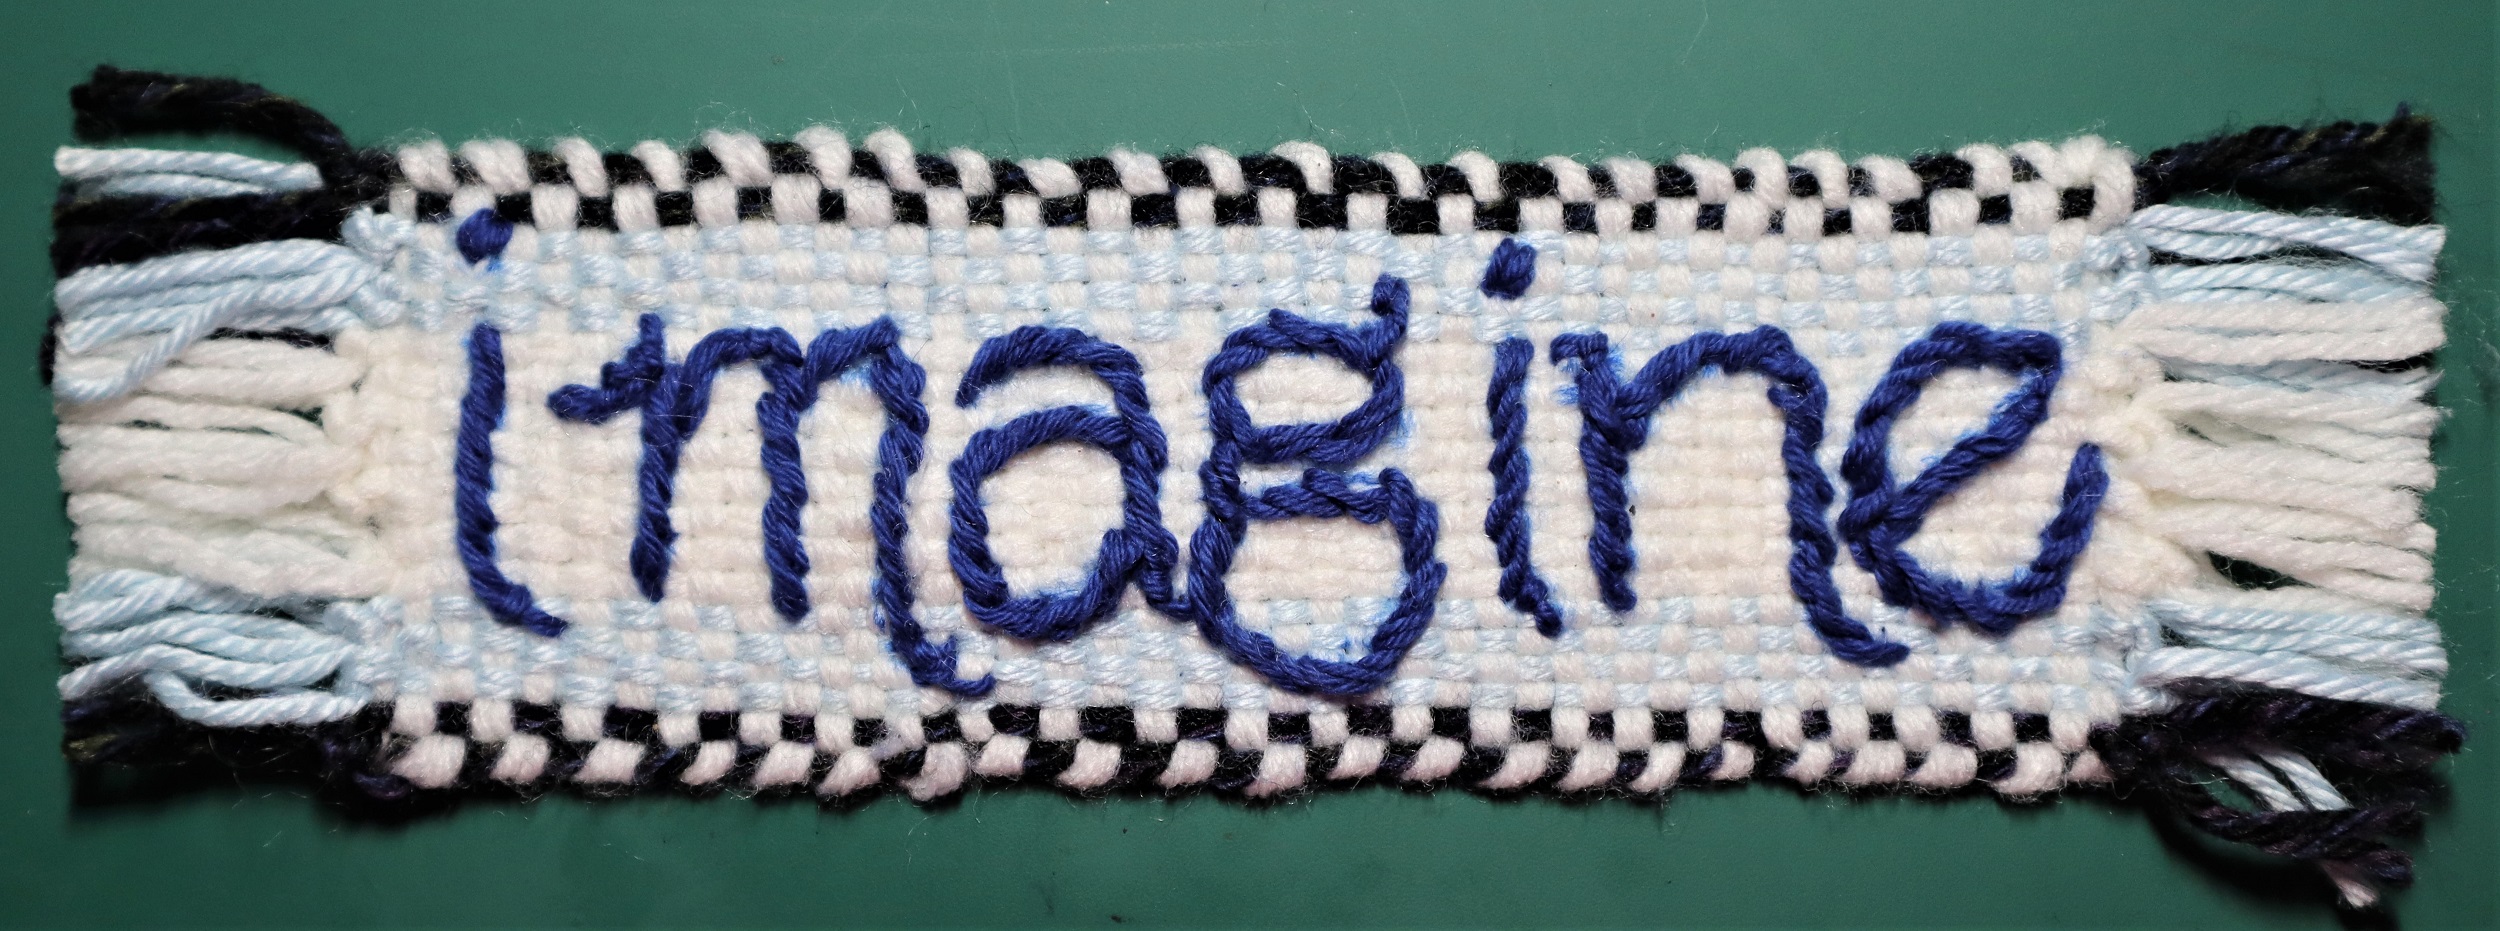
And yes, I did plaster copyright notices all over them, as I have found that images have a way of getting away from you, so I want people to be able to follow them home!
The large tapestry is about a meter long – when you use extenders on the 16 inch loom, you can weave very long pieces.
On the music stand are 2 tapestries that I am just getting started on.
The 12 inch tapestry has gobbled up all my ‘s’ hooks, so I need to go buy some more.
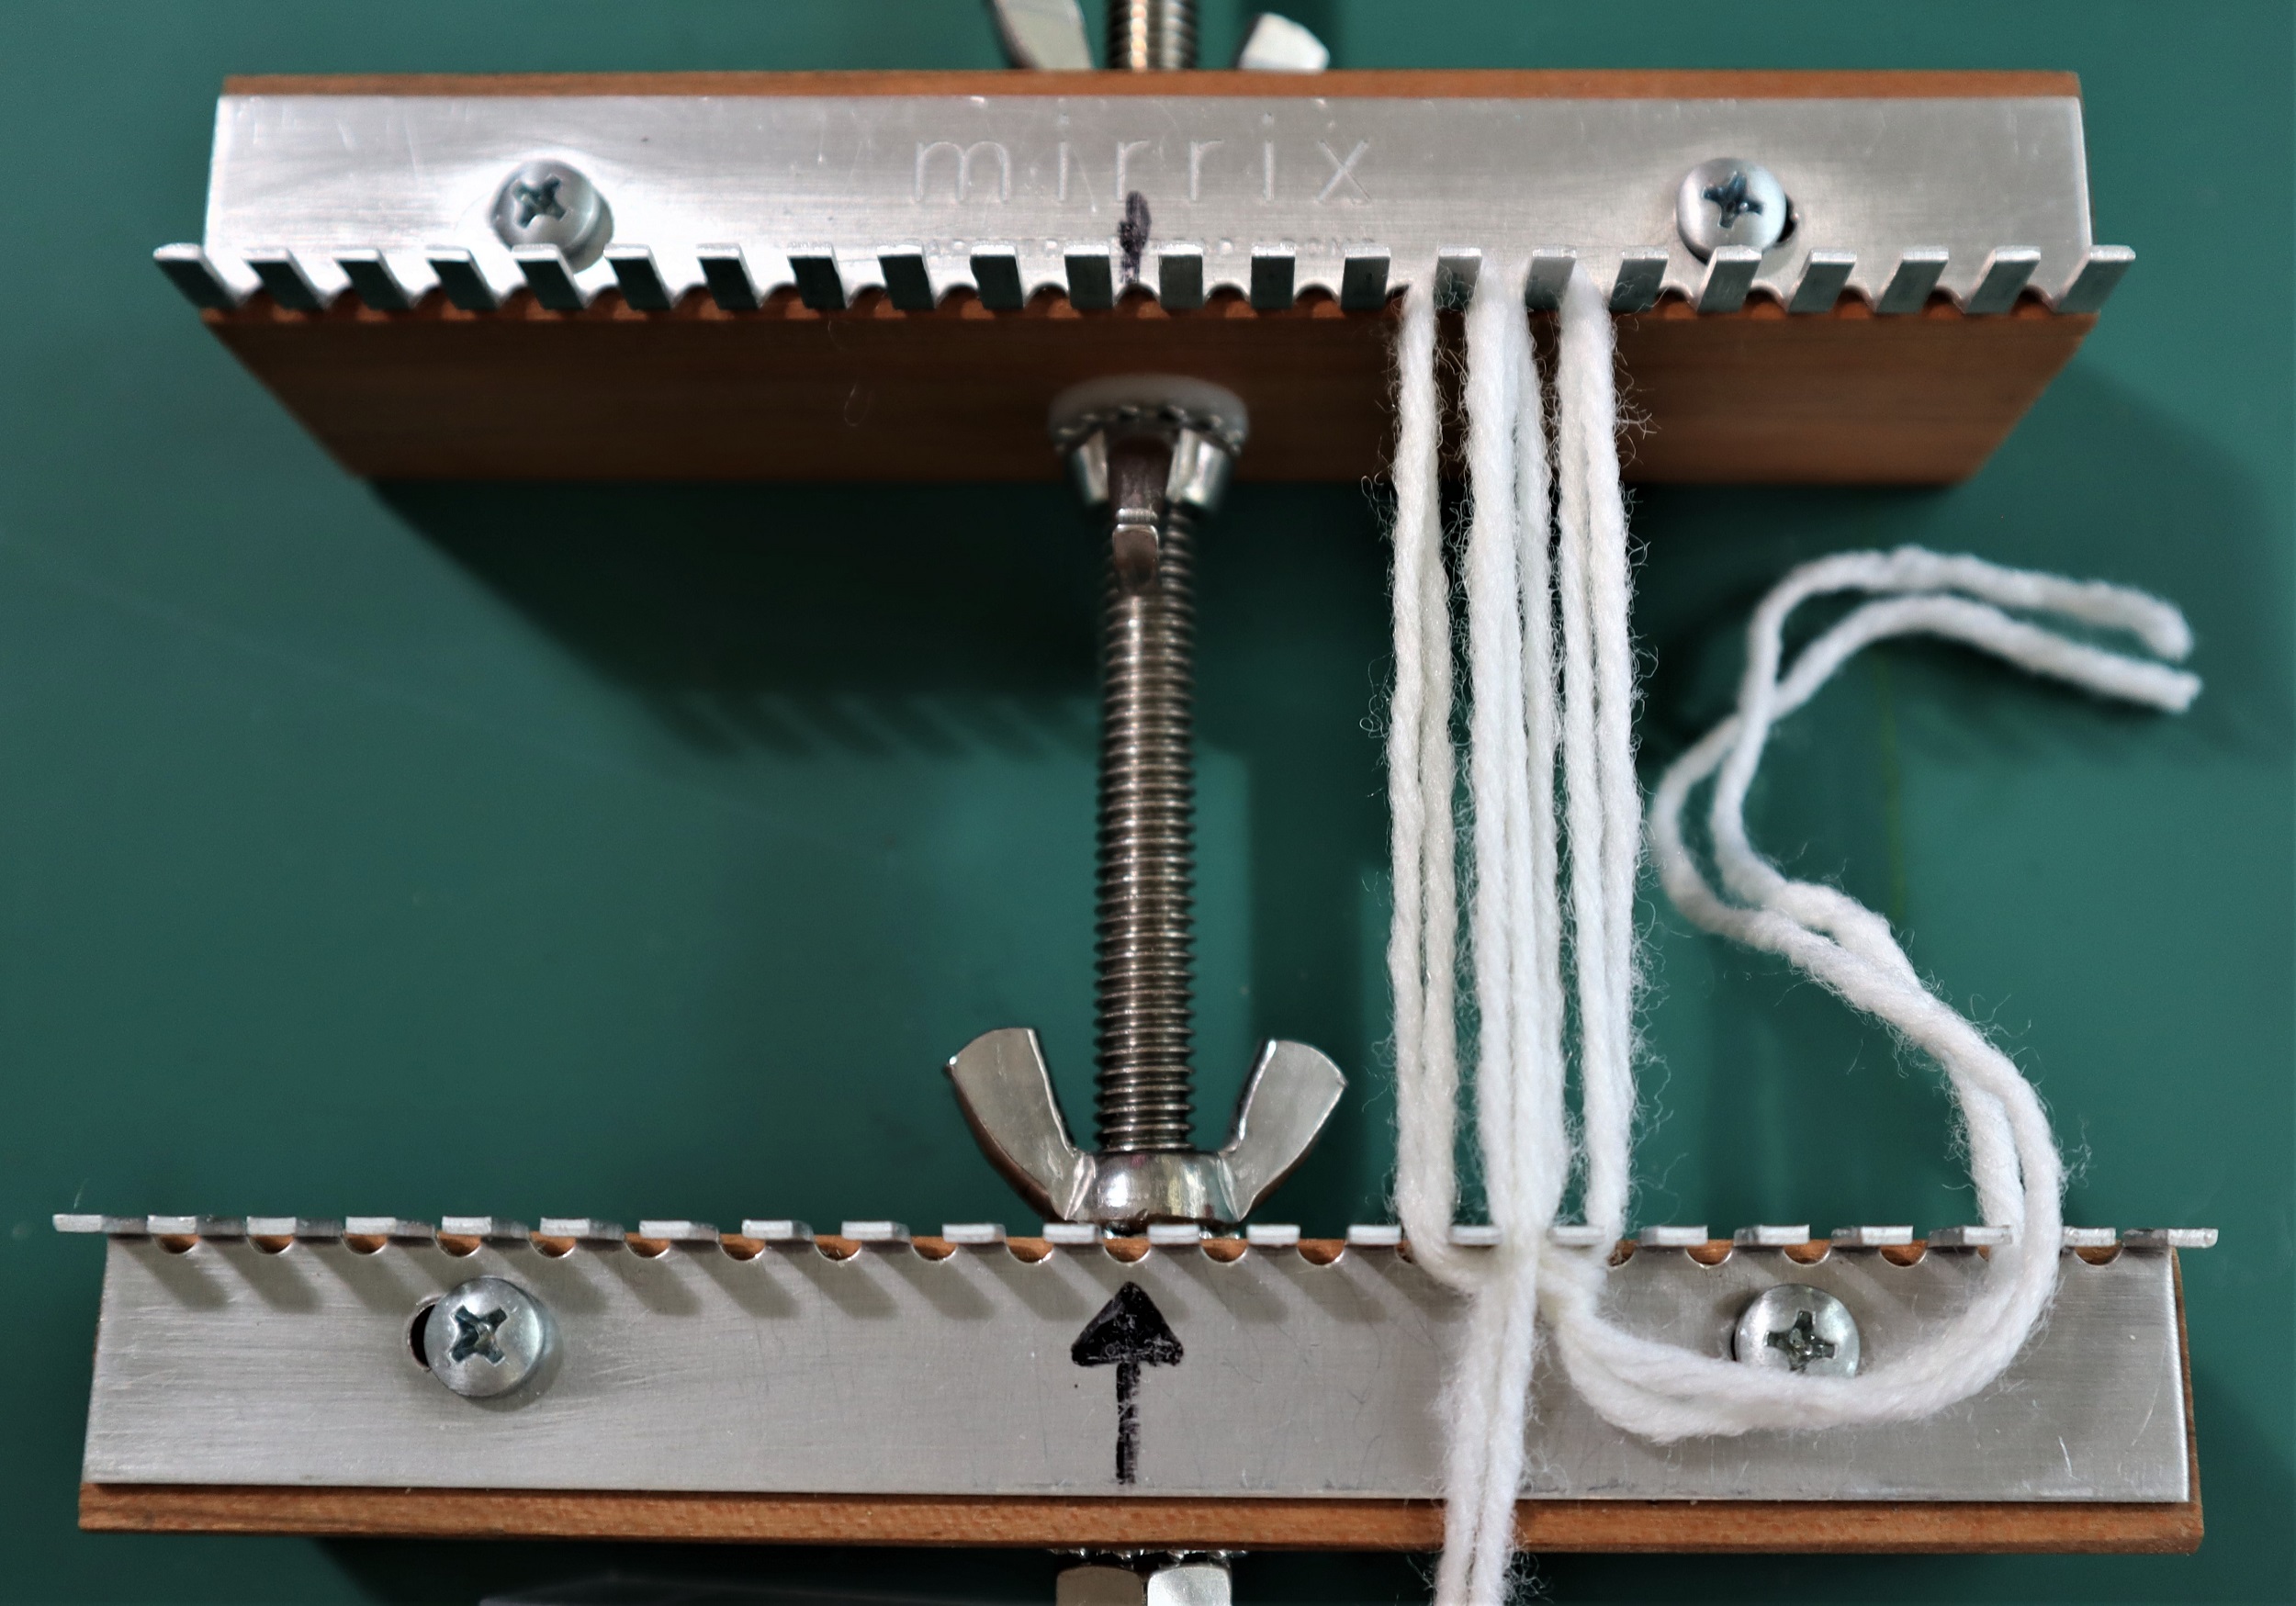
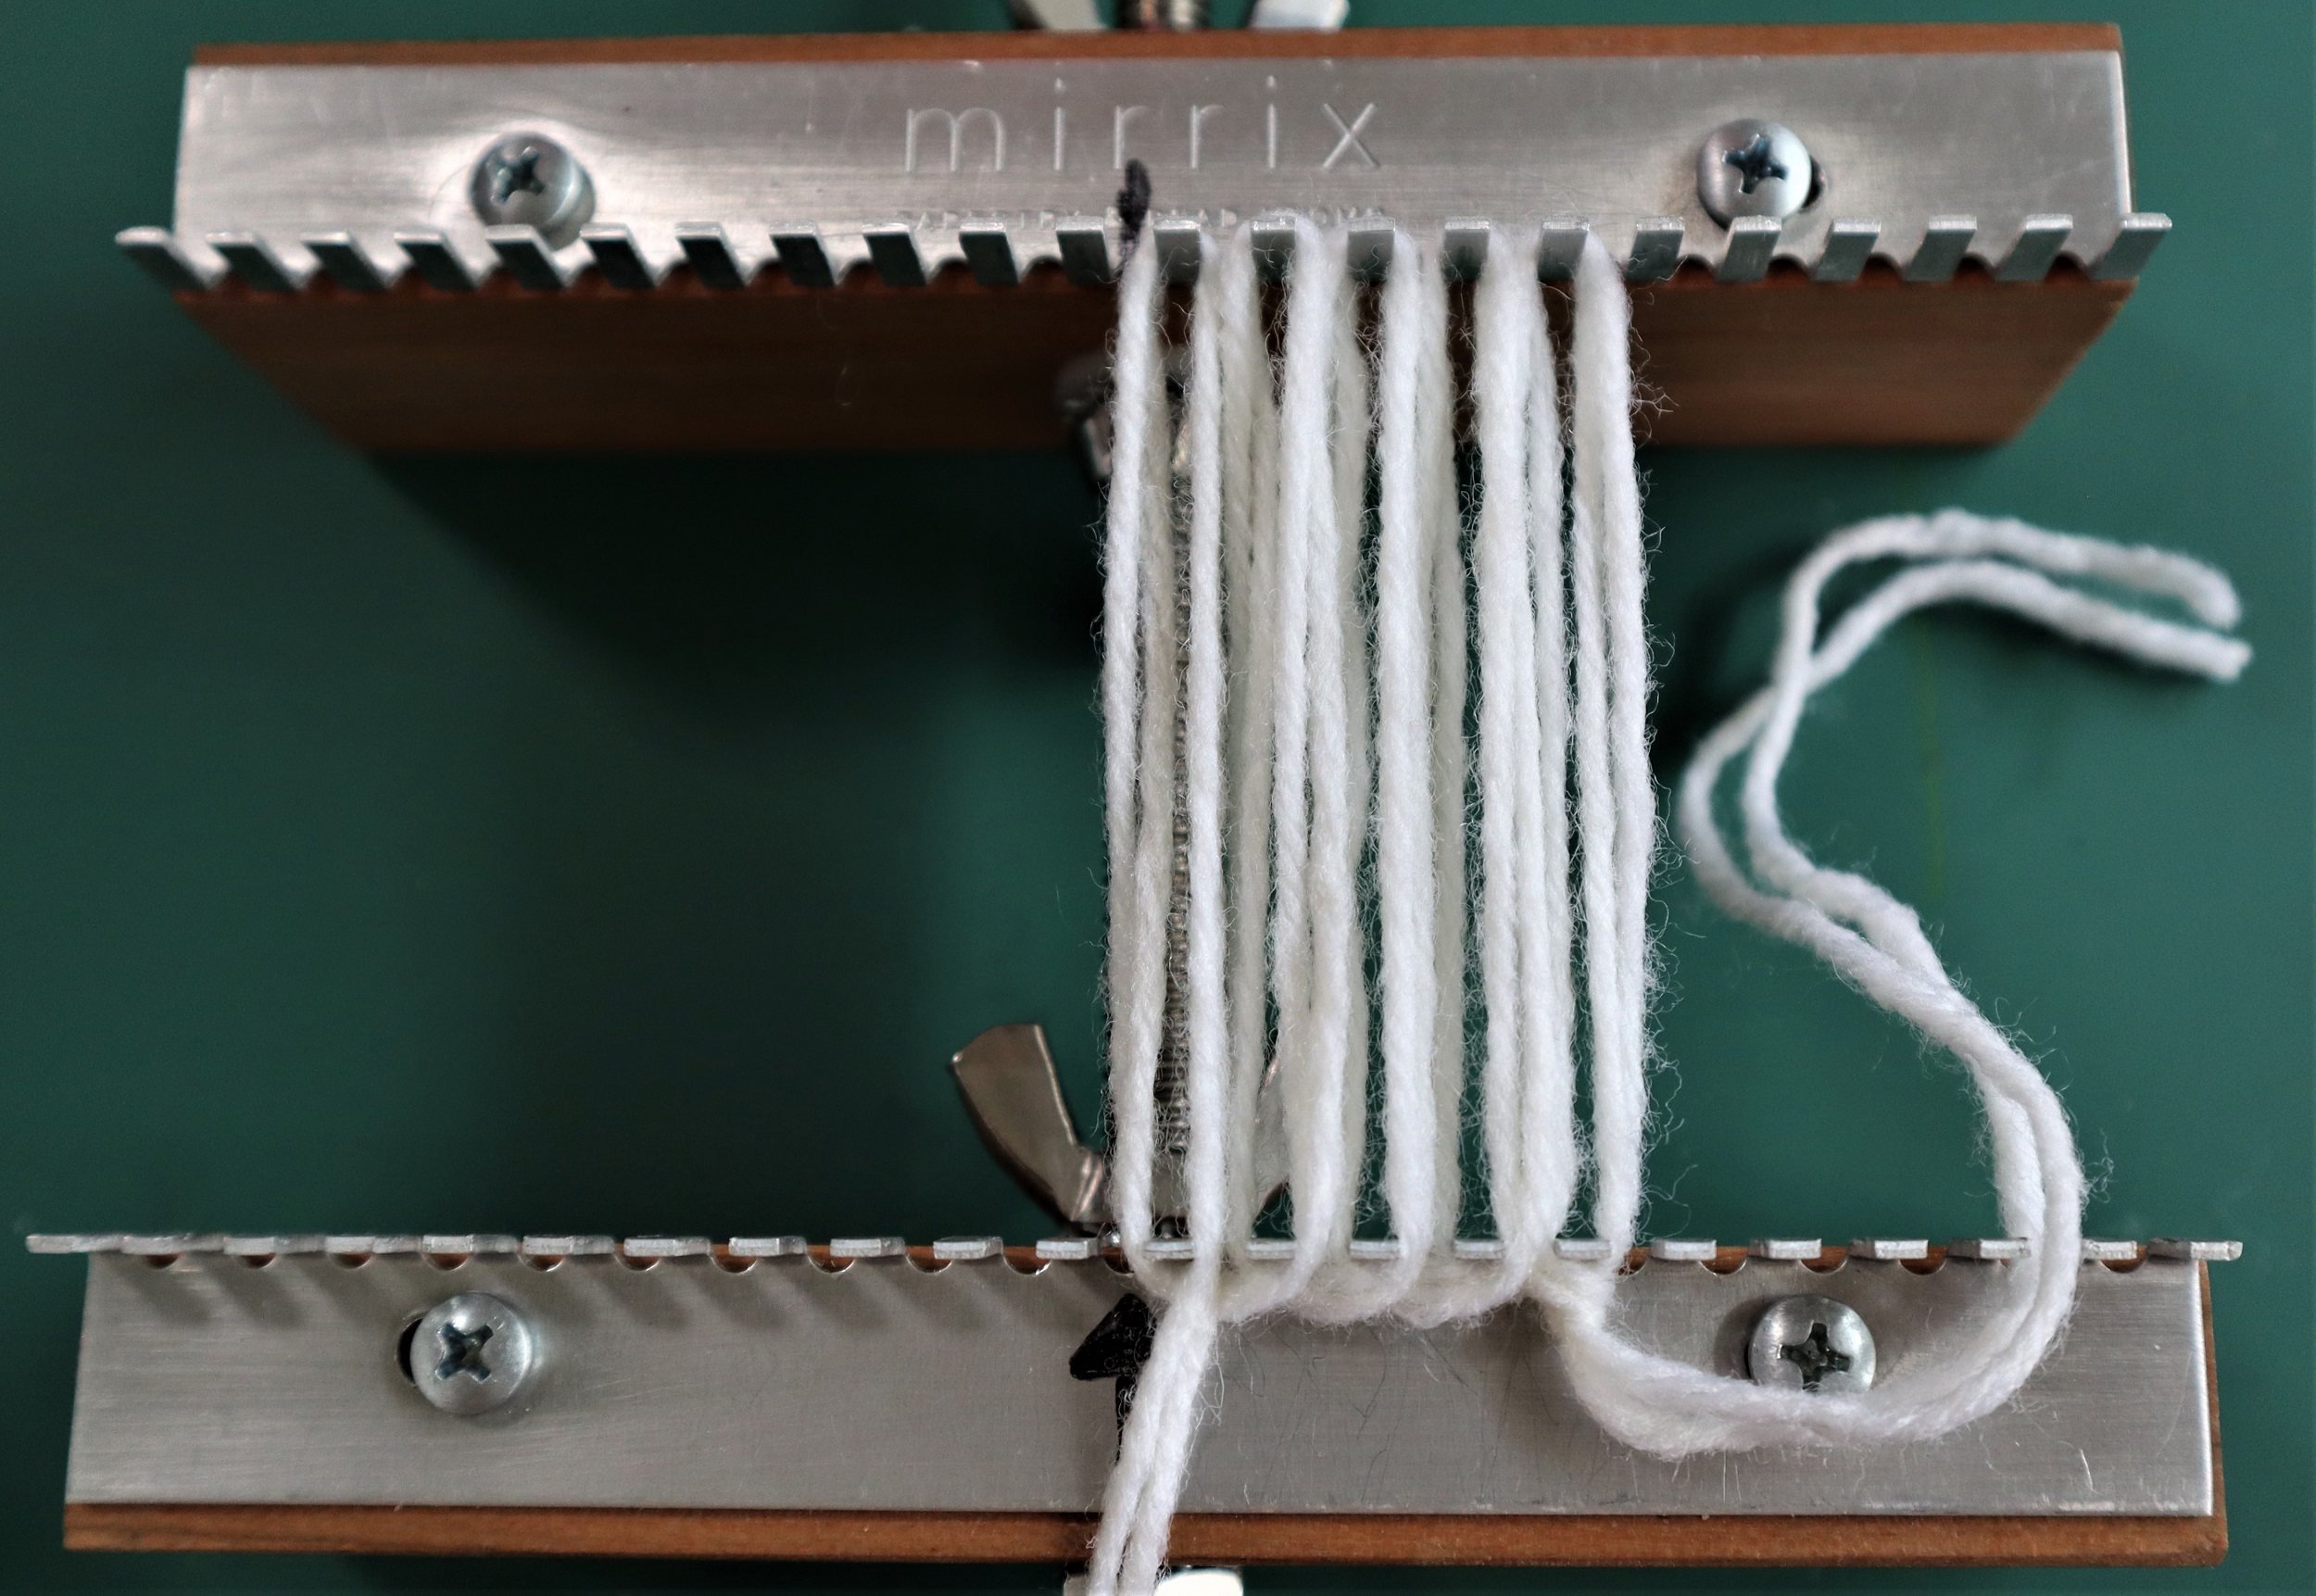
I warped up my 5 inch Mini in a totally outside the box way….. totally outside the Scrabble box, that is!
I bought a couple of extra Scrabble games from the thrift shop so I could use the letters for my titles of my video tutorials.
I plunked the tile holders into a drawer and occasionally, I wonder what I will do with them.
Well… the other day, when I was puzzling over how I could warp the Mini when all my ‘s’ hooks are in use elsewhere, I had a flash of inspiration-
")
copyright Noreen Crone-Findlay
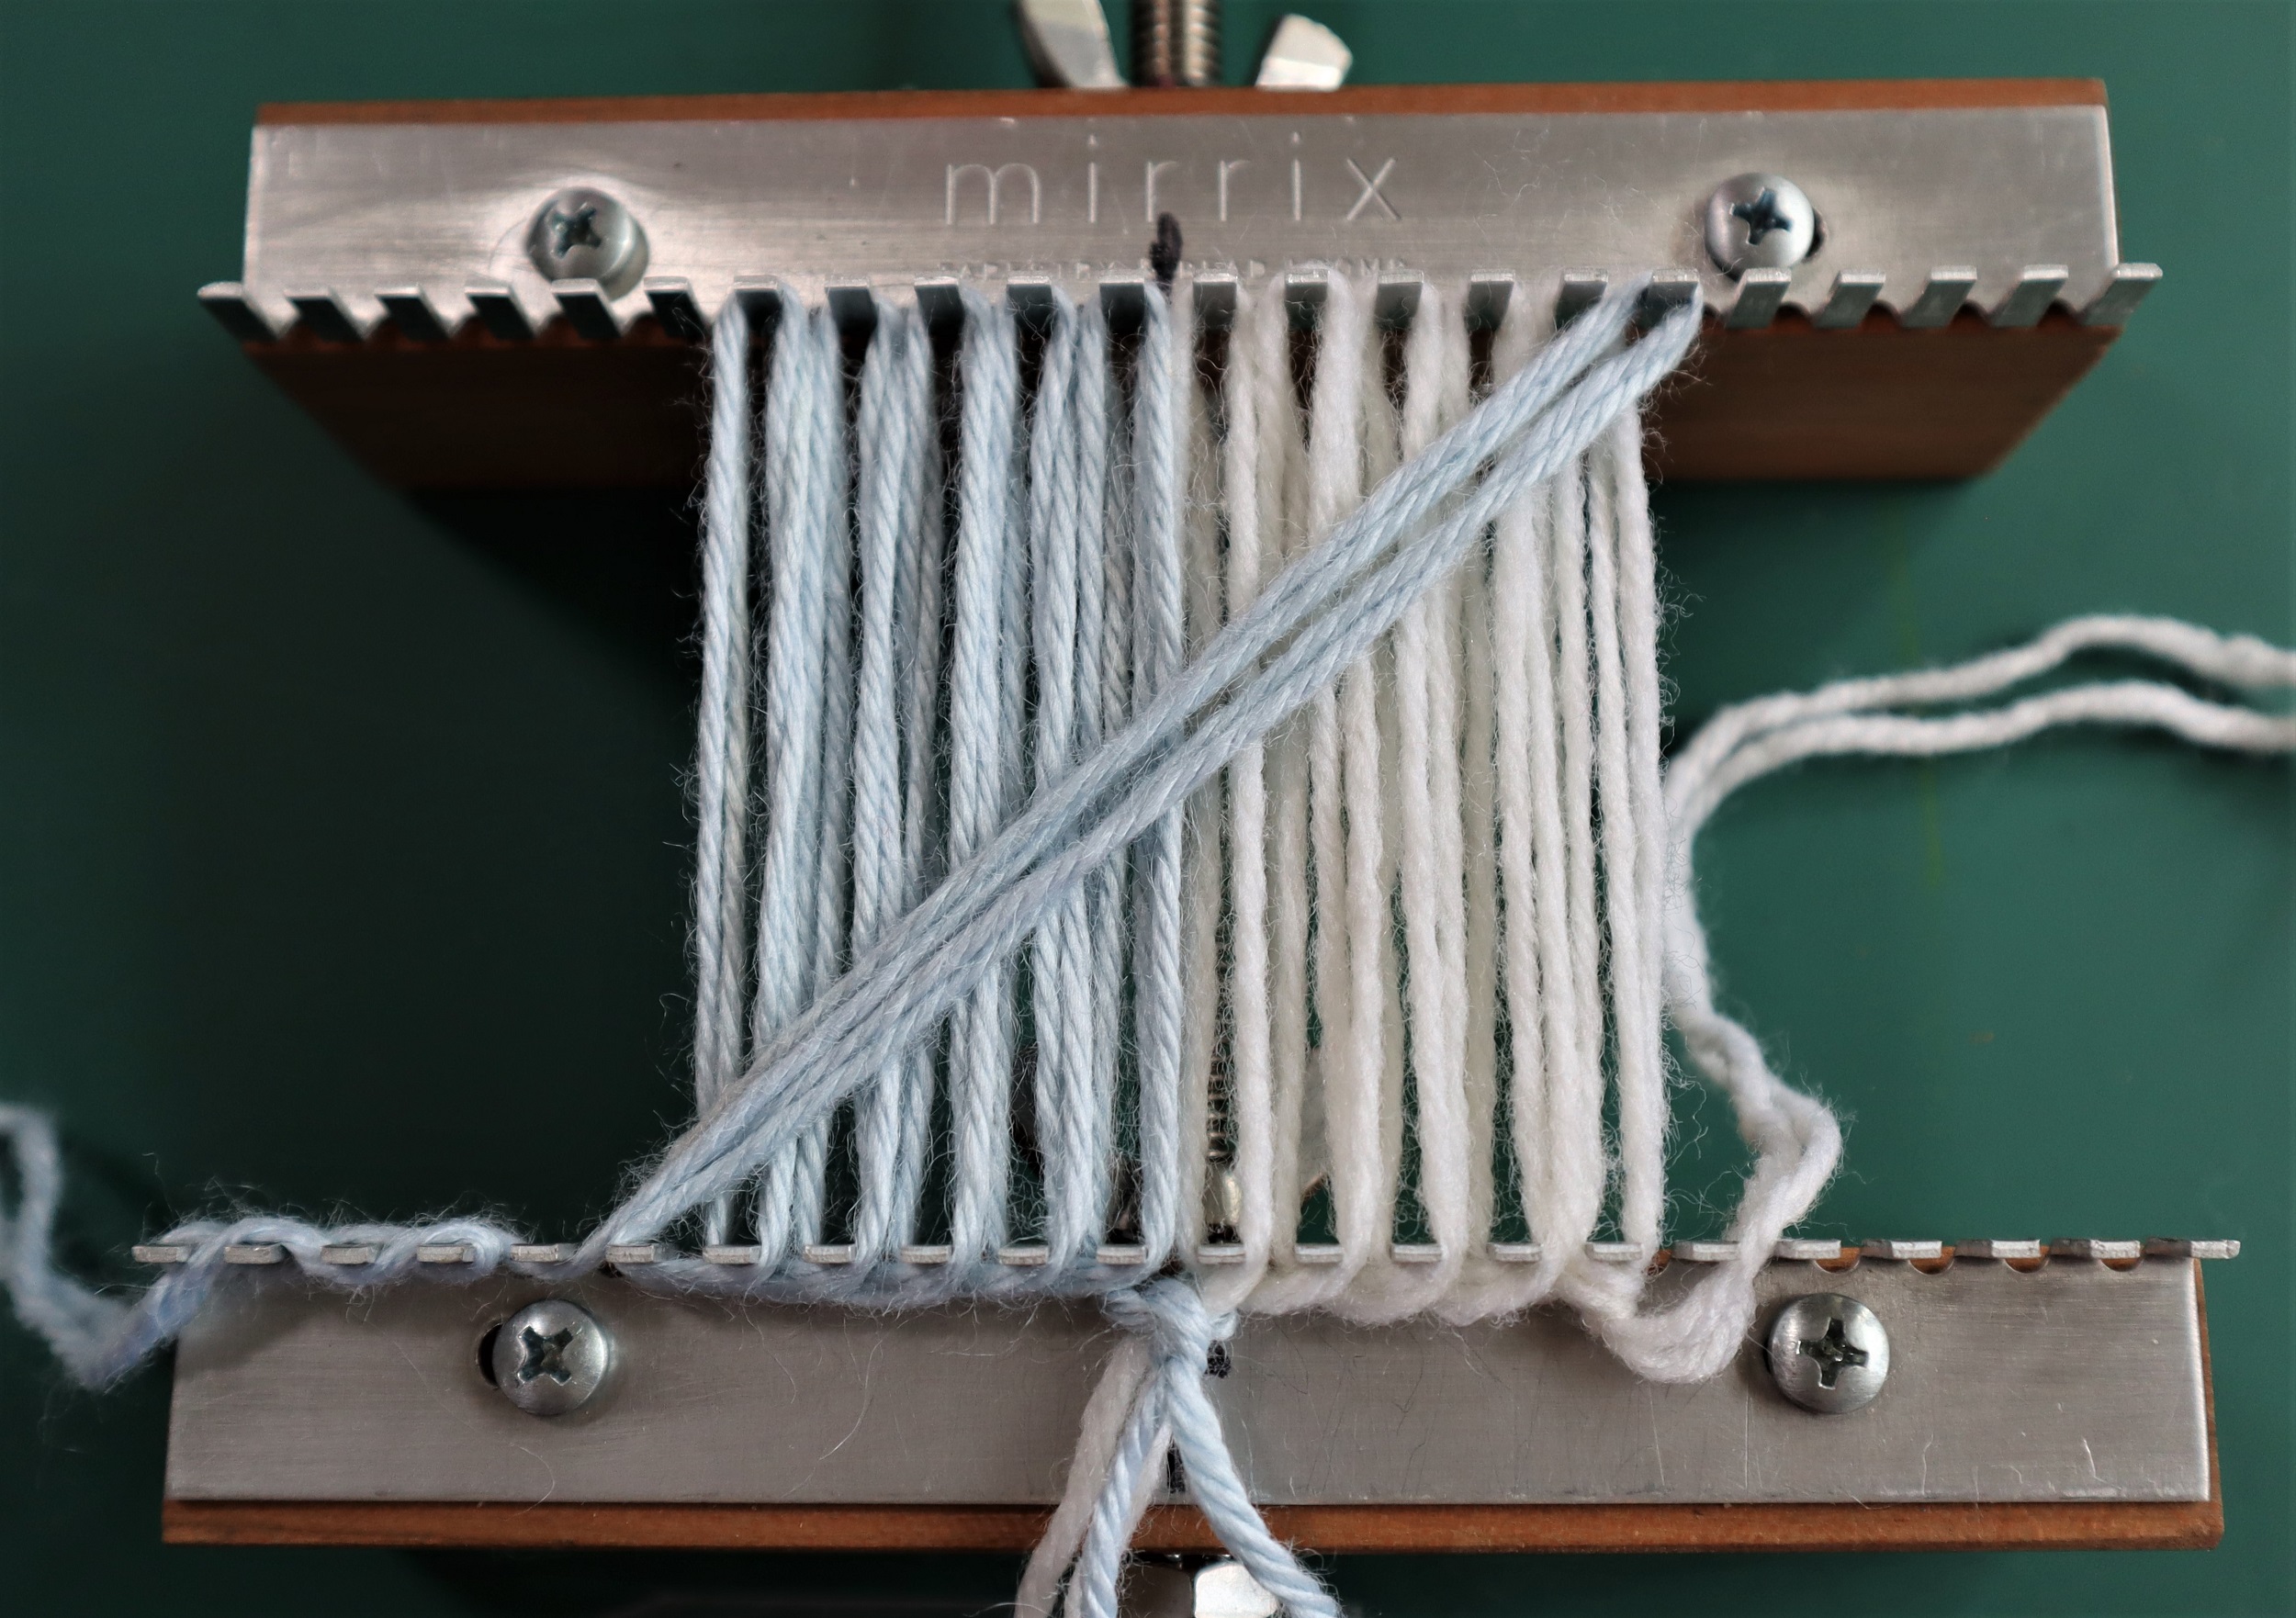
I duct taped 2 of them together to make a cap to go over the Mini’s knobs at the top of the loom!
")
copyright Noreen Crone-Findlay
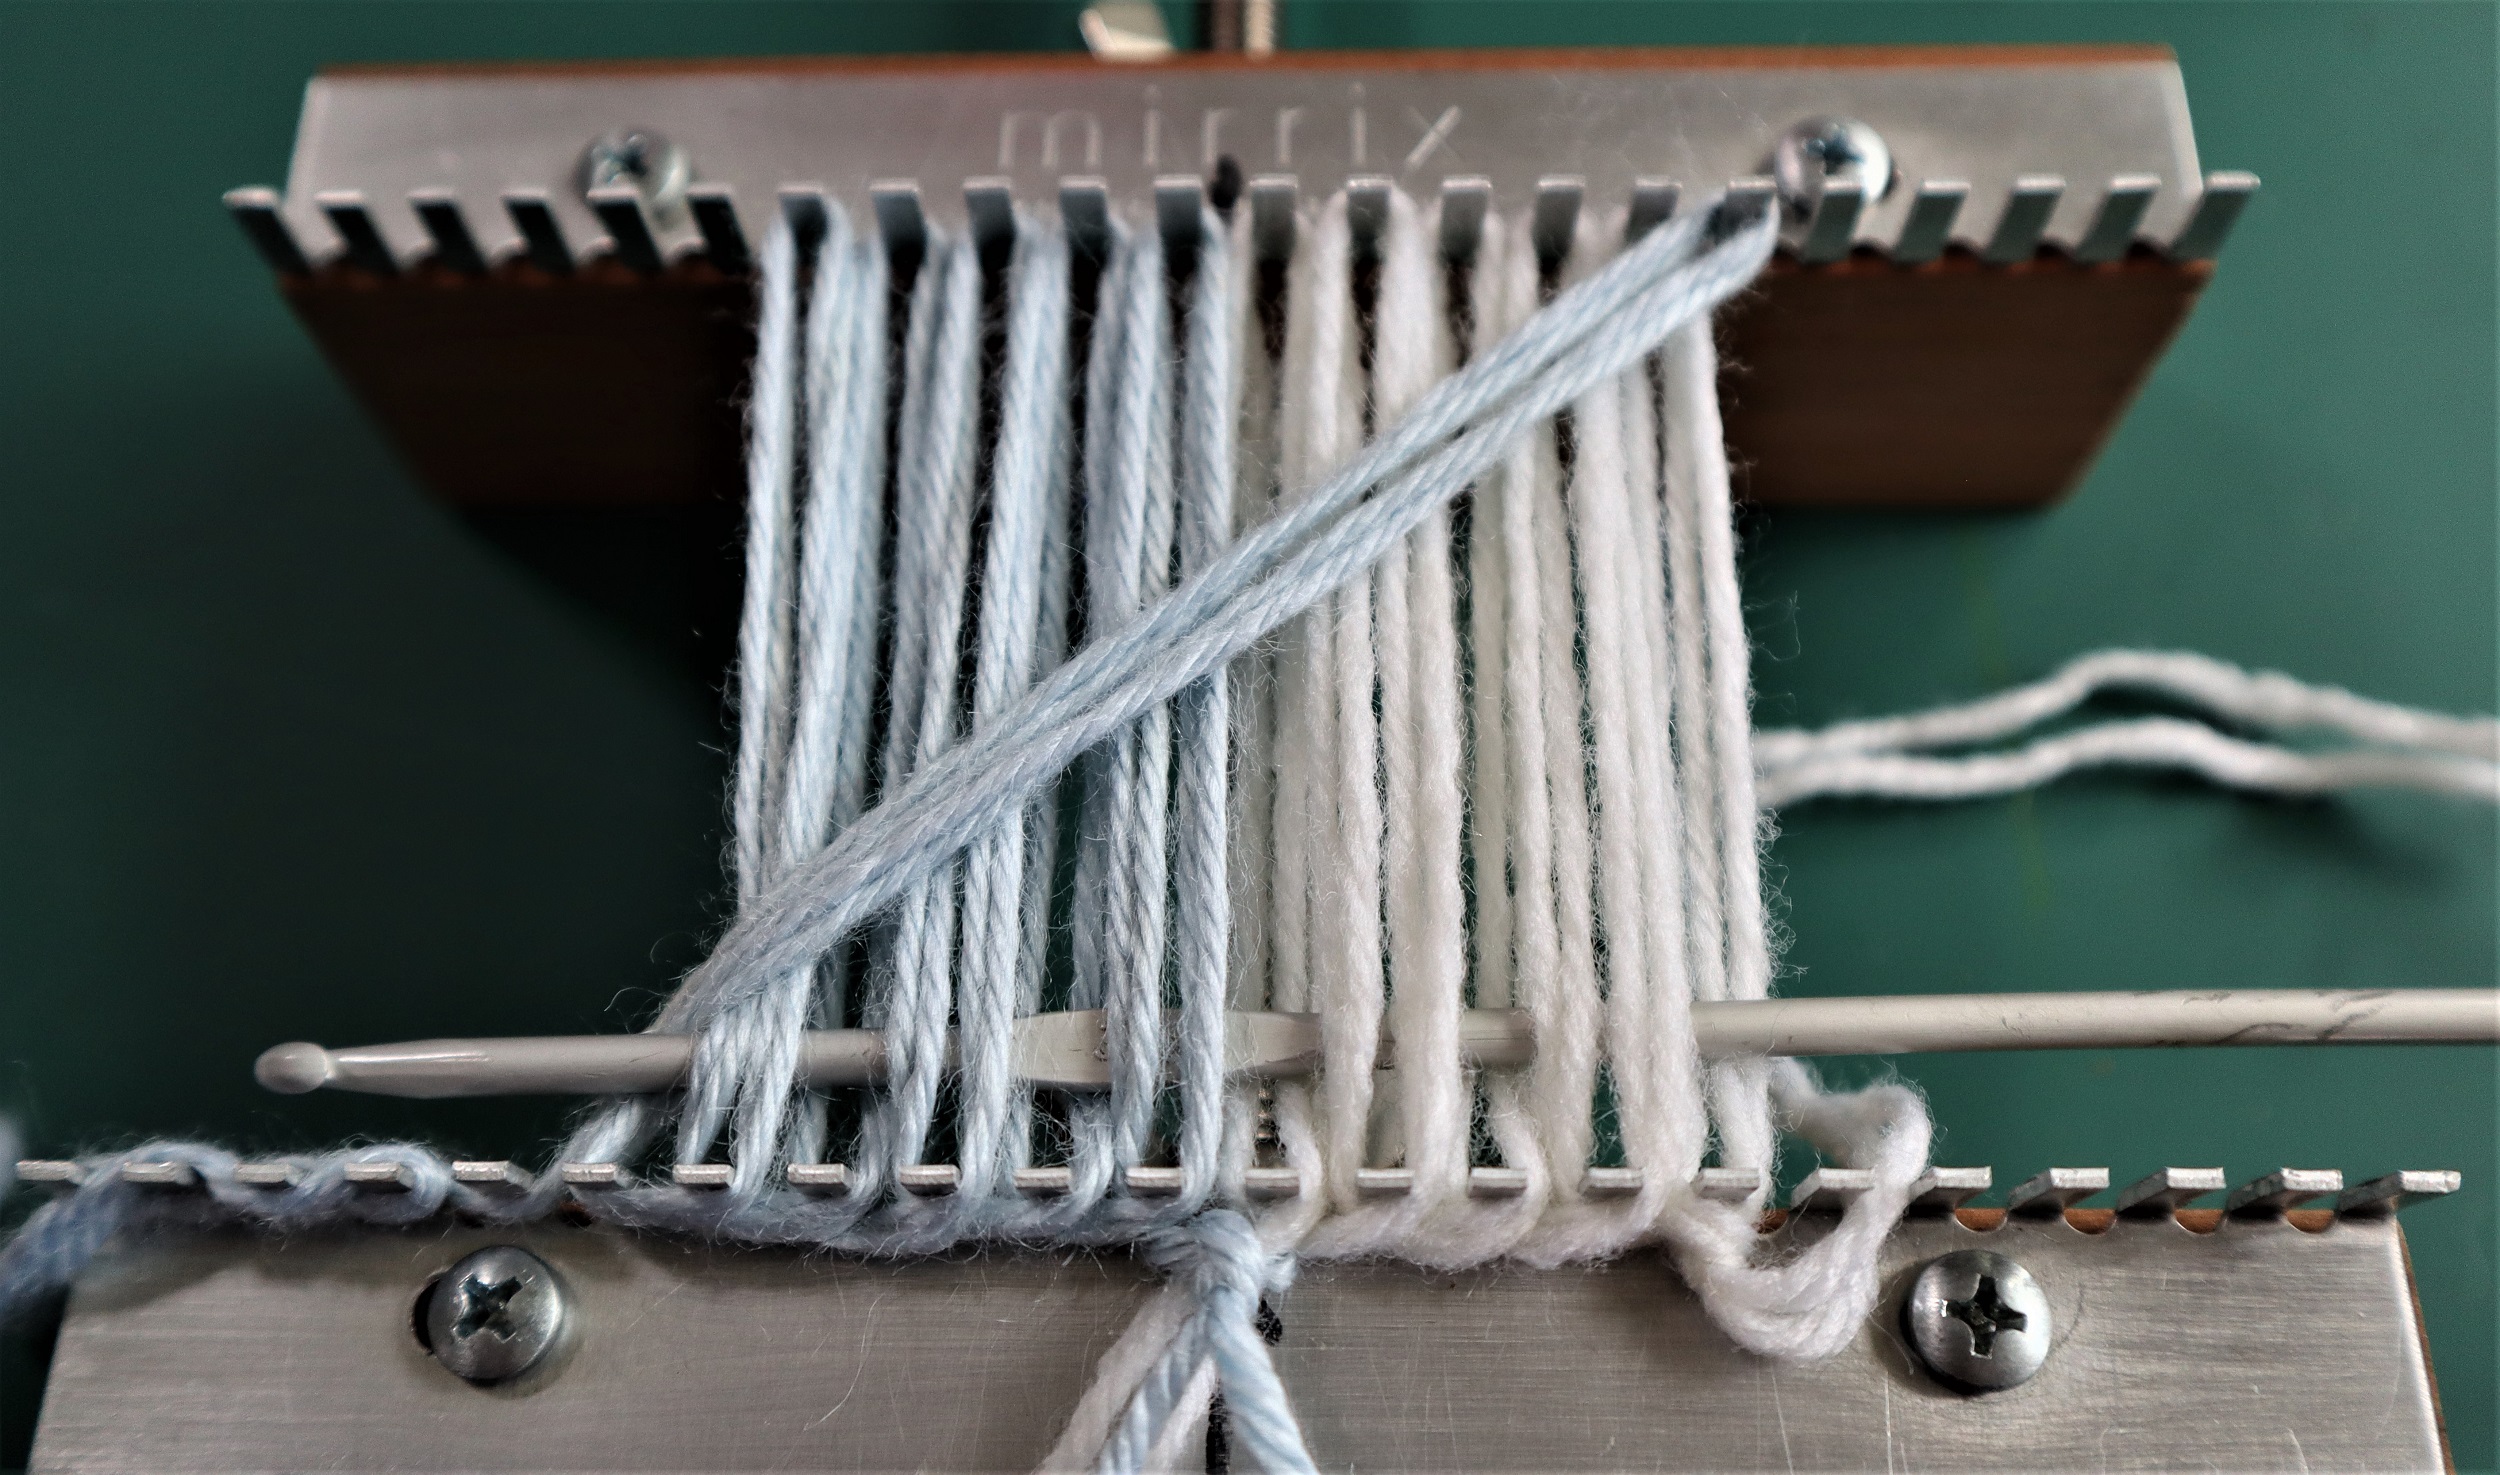
This is the back of the loom, showing how I warped it continuously, going over the ‘Scrabble Cap’.
It works brilliantly!
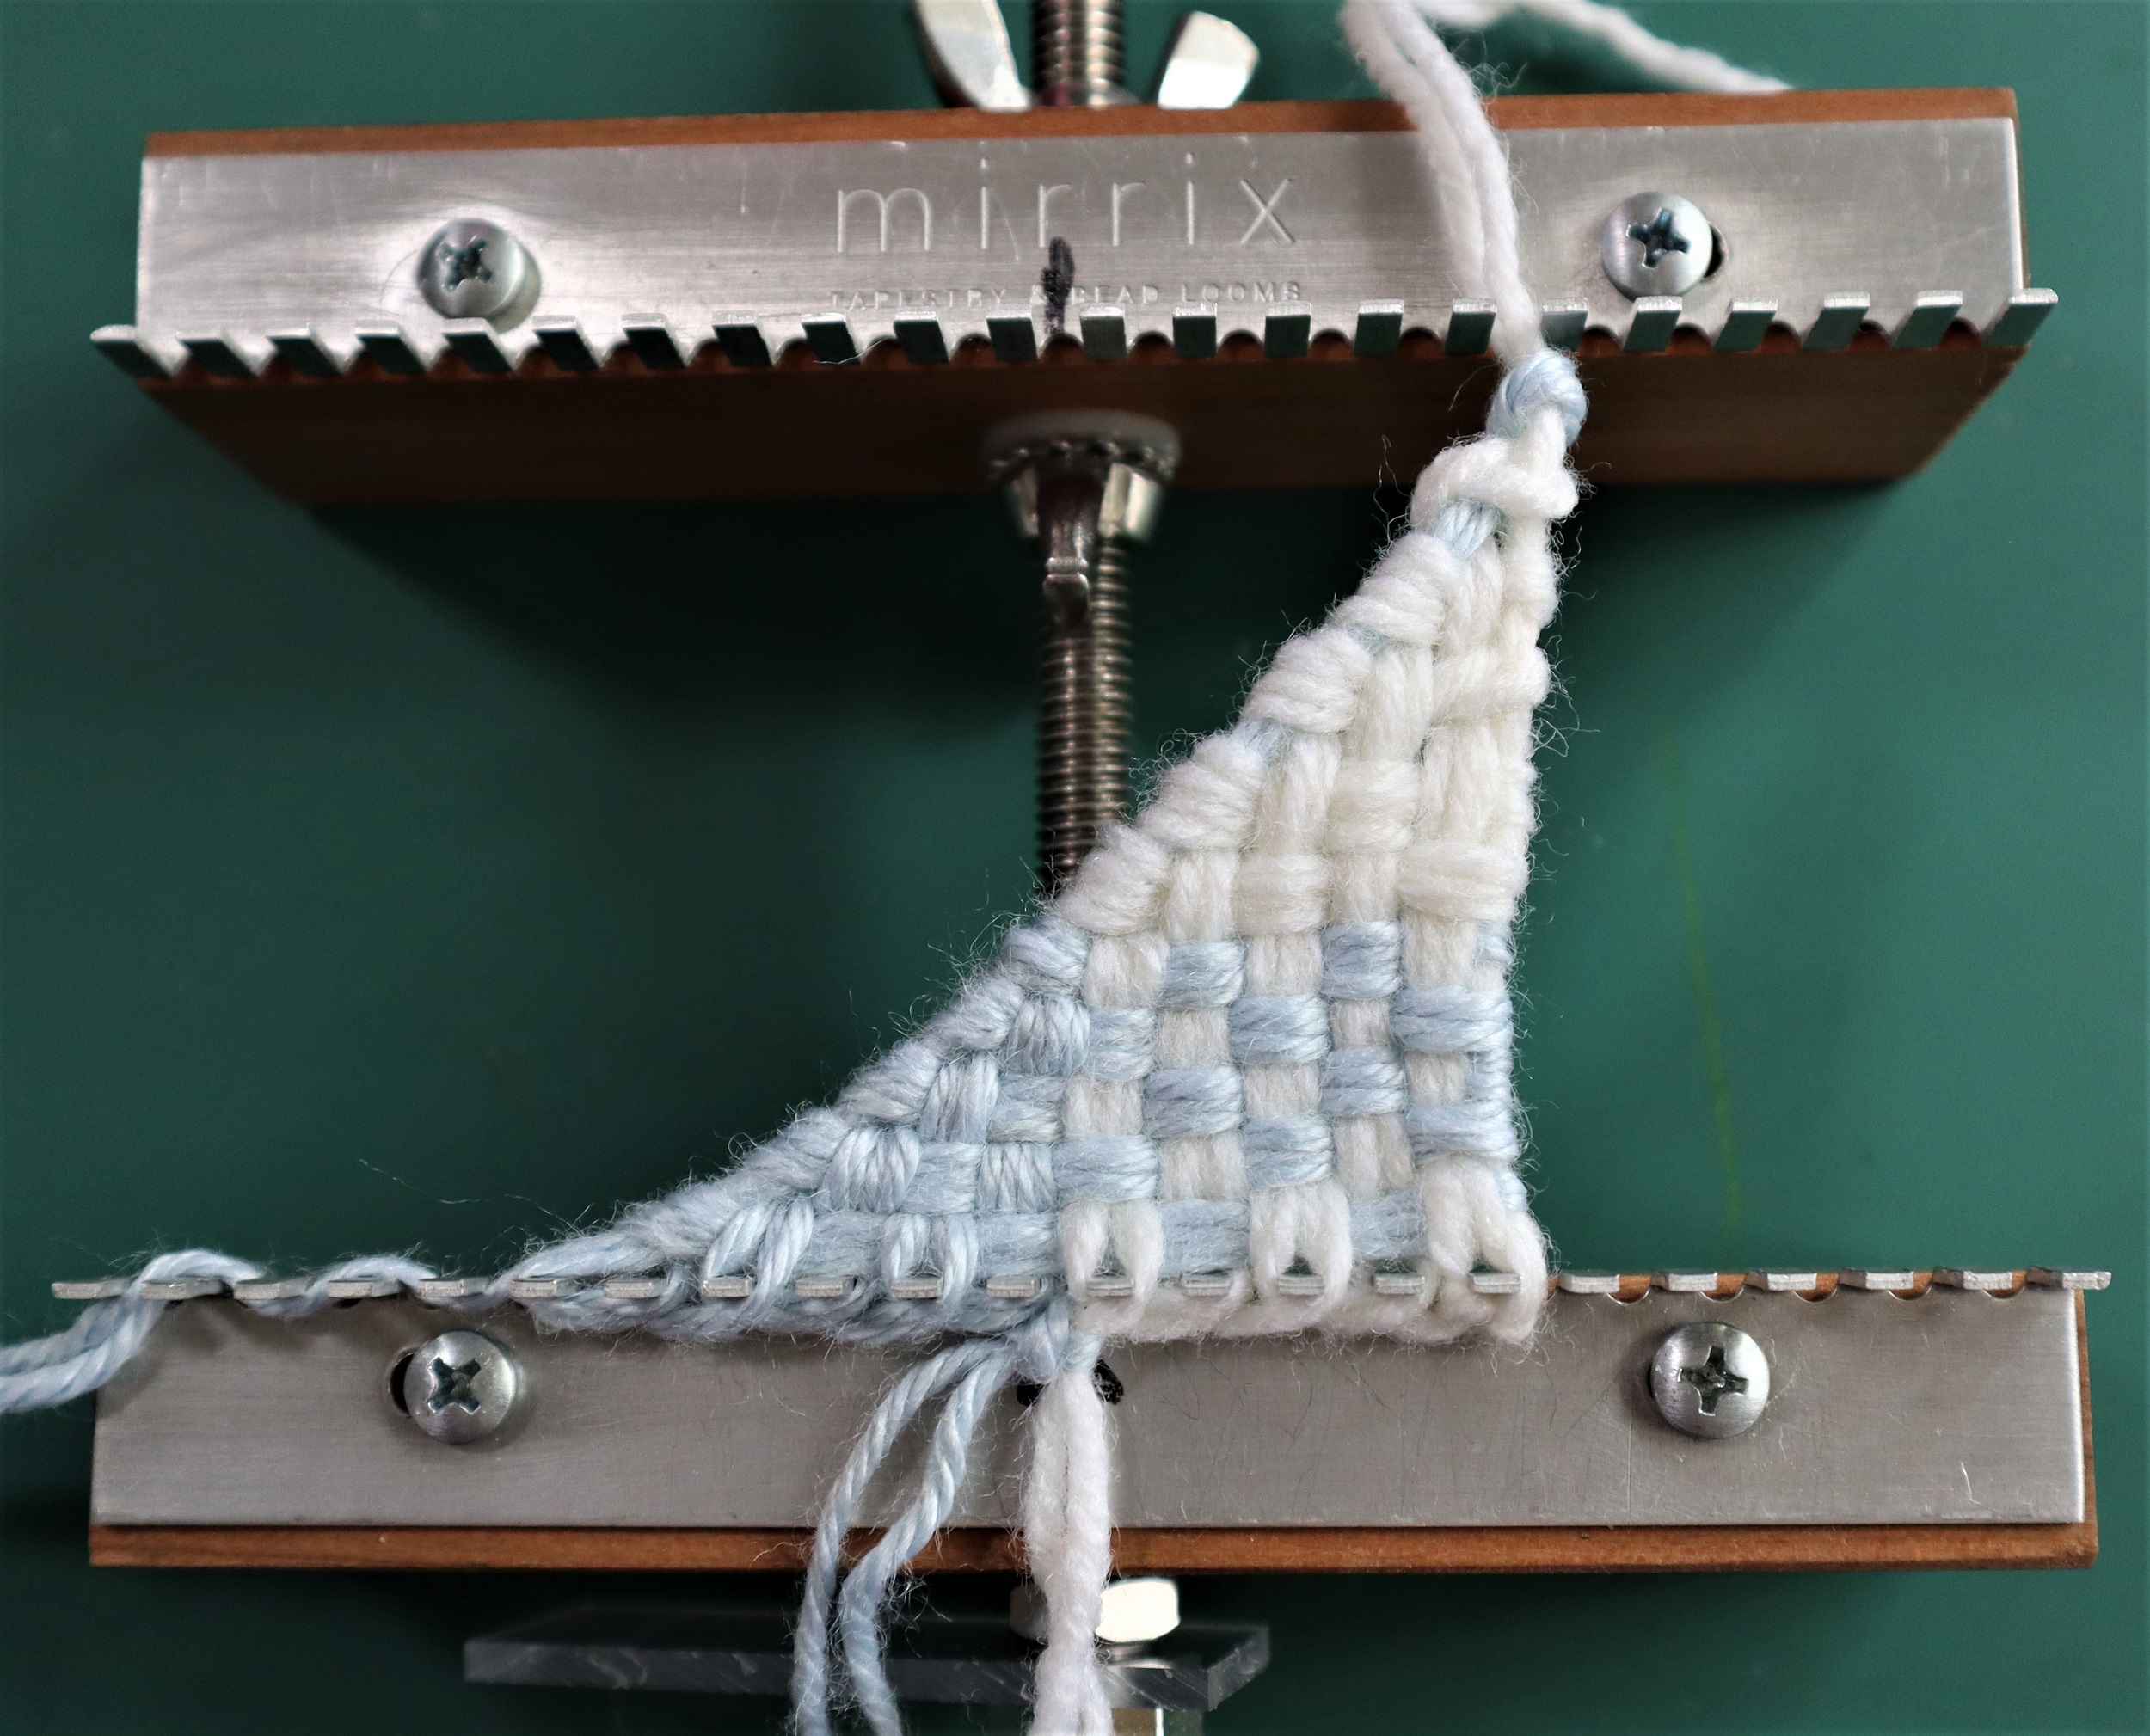
I don’t like showing a piece before I have made some progress on it.
In November, I’ll do another update, and hopefully, I’ll have lots more to show you! 🙂