
Last Sunday morning, I had an inspiring dream.
I dreamt that I was invited to visit the workroom of a friend who passed on awhile ago.
She and I had written back and forth for several years before her death.
I still hold her dear in my heart, even though we never got to meet, face to face, in this world.
Anyhow, in the dream, I was invited into 2 gorgeous little rooms that were full, floor to ceiling, with antique drawers and shelves, full of exquisite handmade lace and yarn, and thread and weaving and embroidery.
It gave me a whole new view of heaven! 😀
I was particularly moved by the colors of one jacket and 2 bags that were woven with a range of reds and blues and then embroidered with yellow silk thread.
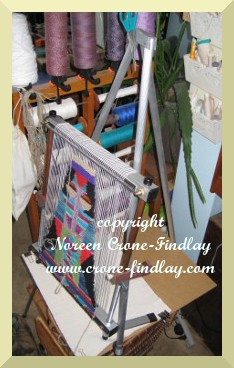
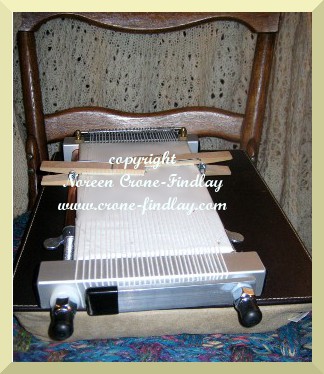
For the rest of this week, I have been glued to my loom, and then my sewing machine, weaving a vest that was inspired by the dream.
It has been such an interesting voyage of discovery, as it took me places that I didn’t expect to go, and it had it’s own rules and requirements.
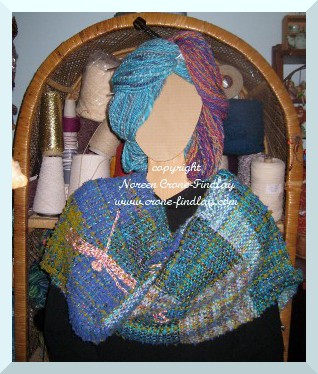
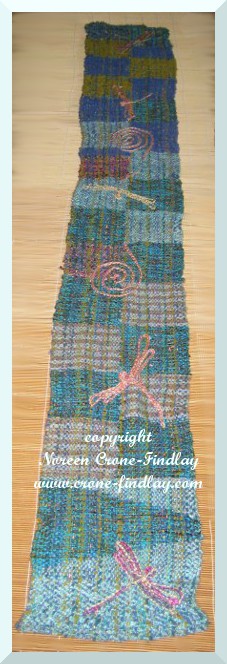
Here it is:
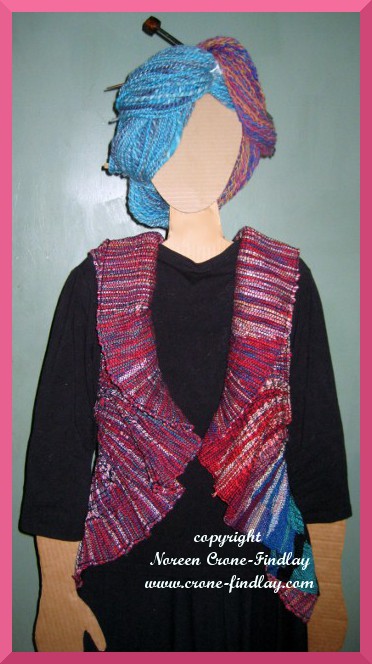
copyright Noreen Crone-Findlay
I wove it on my Saori loom, blending the yarns on the bobbin, and adding and picking up strands of weft as I wove.
copyright Noreen Crone-Findlay
I knew that I was going to be shaping the vest by pulling on warp strands to add the curves that would build the vest, so I worked at making the shapes of the clasped weft be conducive to the warp pulling process.
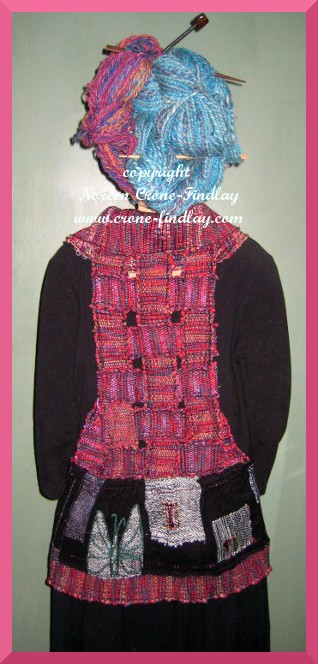
I had thought that I would use the narrow band to add another ruffle to the outside edge, but I decided instead, to use it to weave the back of the vest.
This is one of the things I love about Saori weaving- being able to do freeform work that takes off in a different direction than I had originally planned!
I like to shape the garment after I have woven it, so I do my warp pulling after the weaving is off the loom, and don’t do any shaping on the loom.
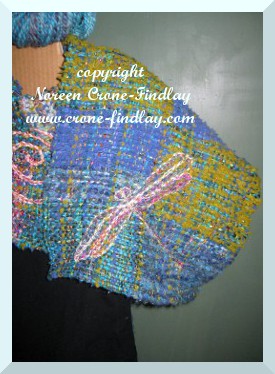
The butterfly was woven while it was still on the loom.
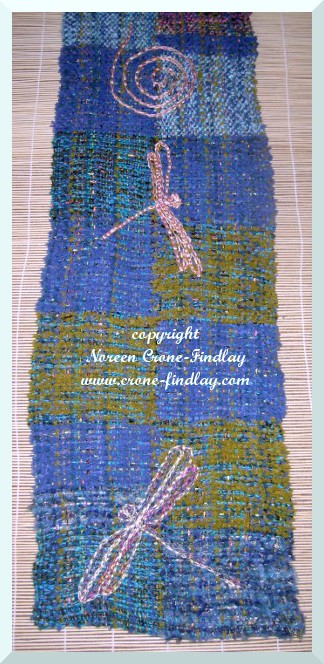
I had thought that I would embroider lots of dragonflies onto the vest.
I didn’t embroider the dragonflies while it was on the loom, as I wasn’t sure where I would be placing the pulled warp sections, and didn’t want the embroidery to be distorted or to interfere with the pulling process.
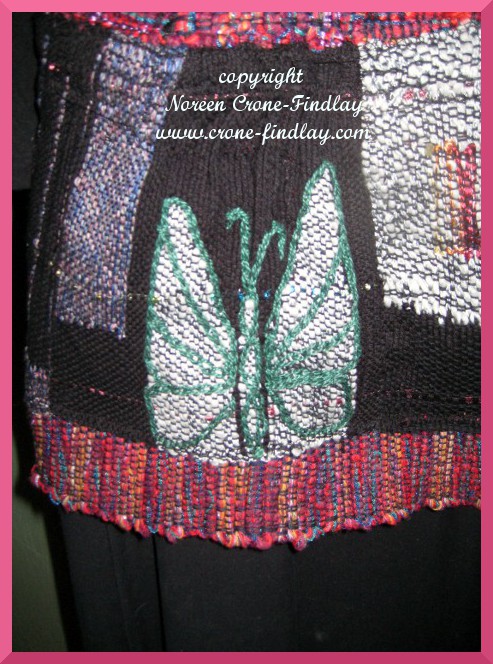
copyright Noreen Crone-Findlay
I had woven the butterfly a couple of weeks ago, and set it aside, as the piece that it had originally been part of felt like it was a ‘fail’.
How wrong I was! The butterfly and another section of the ‘fail’, fitted into the back of the vest just perfectly.

copyright Noreen Crone-Findlay
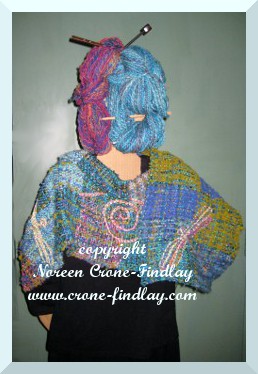
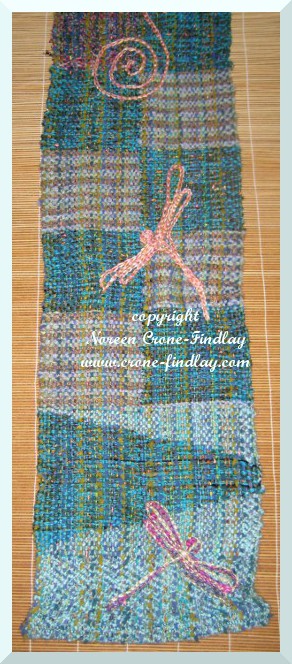
I thought that I would tat some dragonflies and stitch them on, but they just didn’t work.
It’s a wonderfully comfortable vest, and every time I wear it, I will think of a dear friend, and how she still inspires me!
So, my friends, here’s to life, to color, to love, and to the creative process!
May you weave sweet, colorful dreams! 😀
And, here is a video on how to shape fabric by pulling warp strands:


")
")
")
")
")
")
")
")
")
")

")
")
")
")
")
")
")
")
")
")
")
")
")
")
")
")
")
")
")
")
")
")
")
")
")
")


