To see all the links for the ‘How To’ posts for the “Imagine” Banner Weave along, please go to L I N K S
To order the loom, book and extras kit for the Weave Along from Mirrix, please go K I T
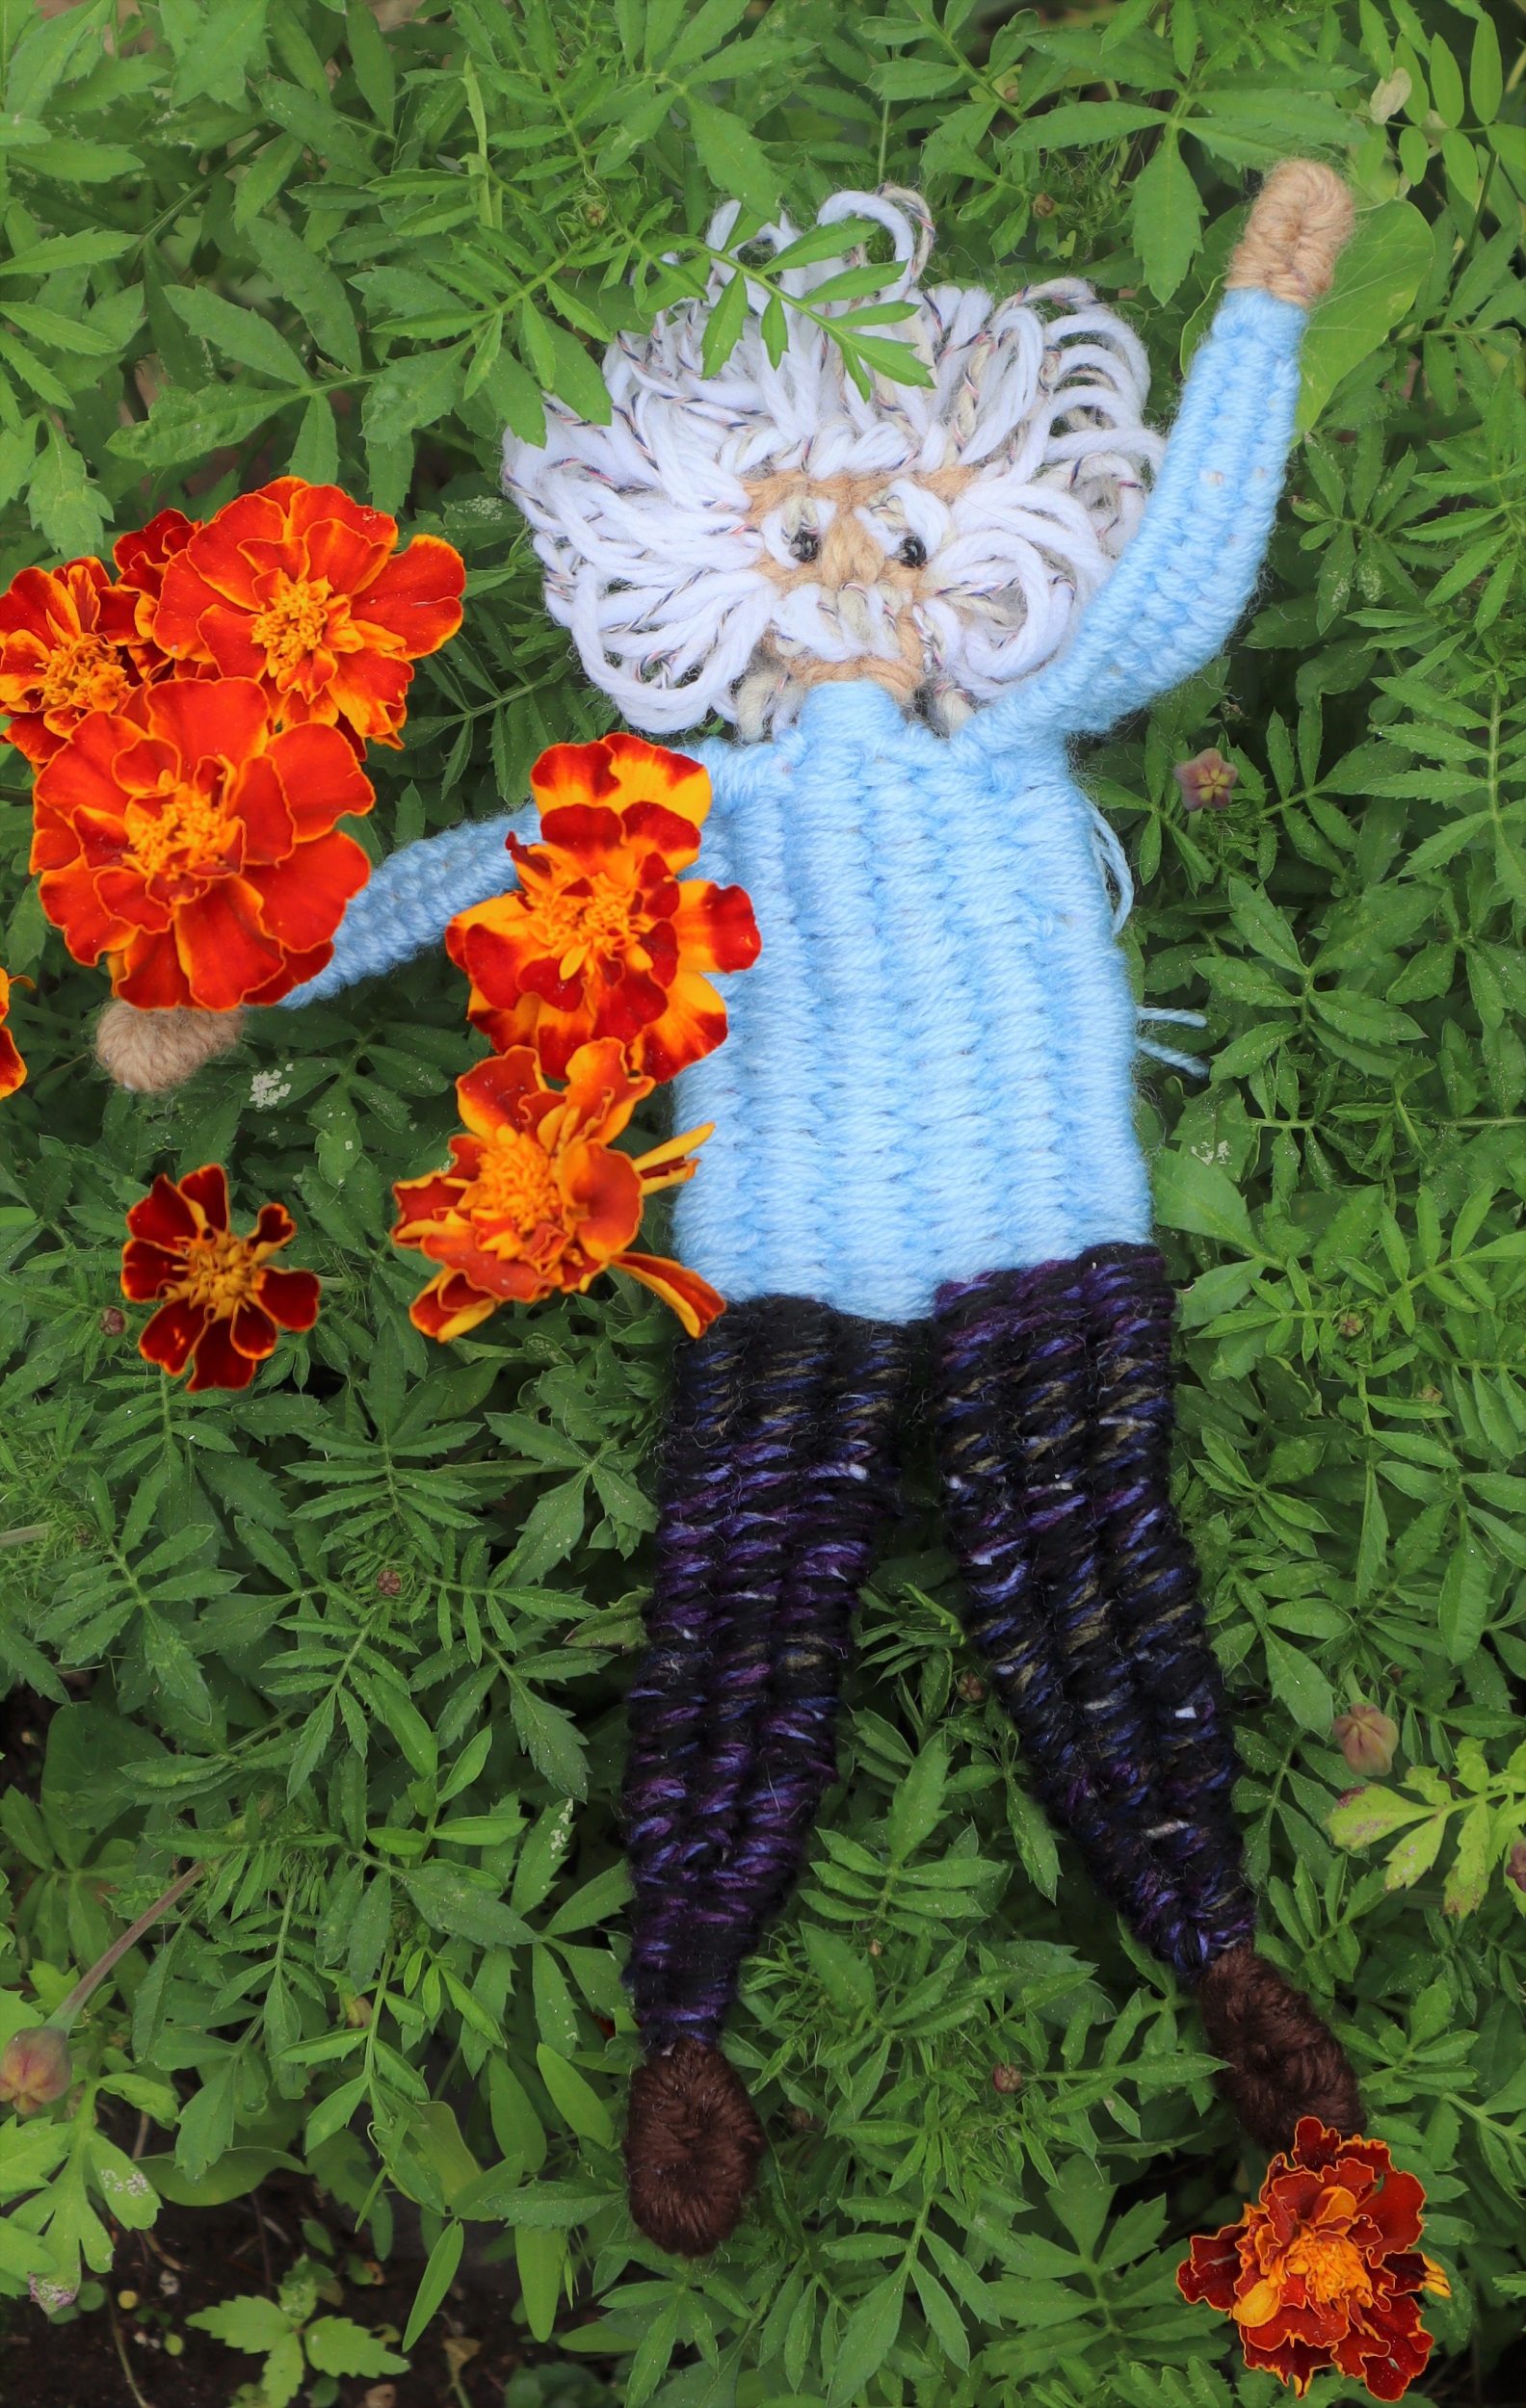
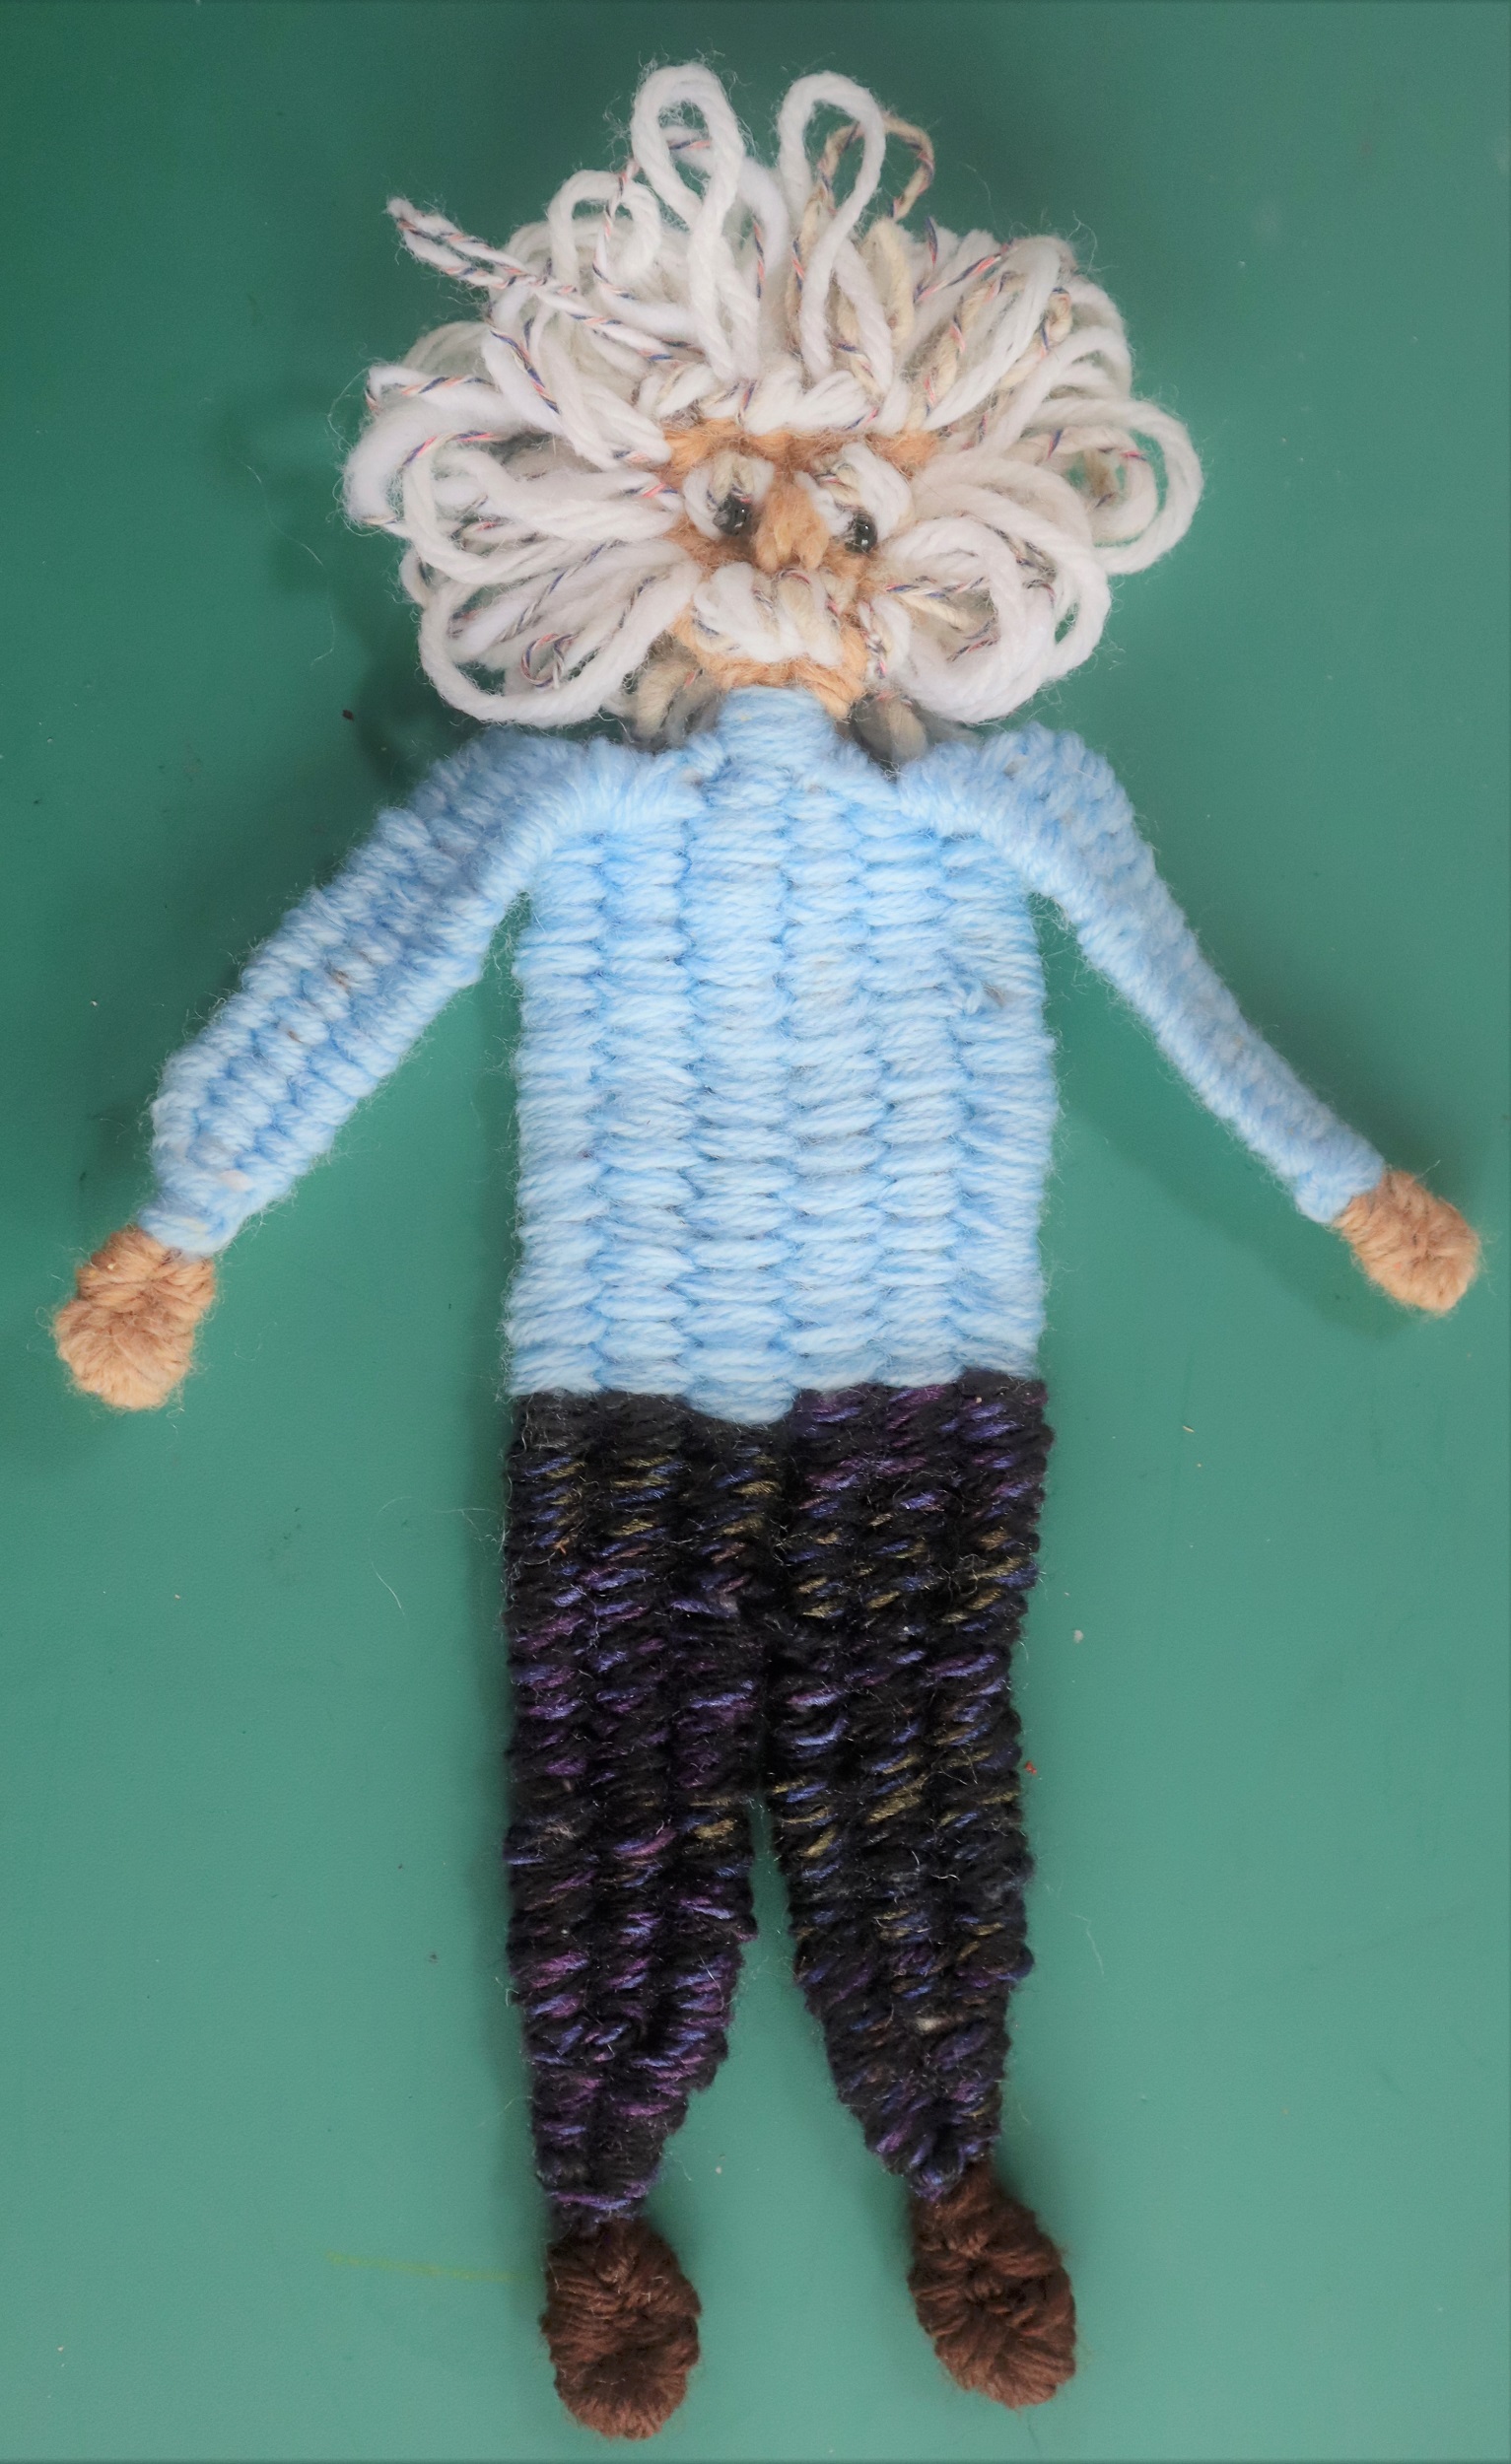
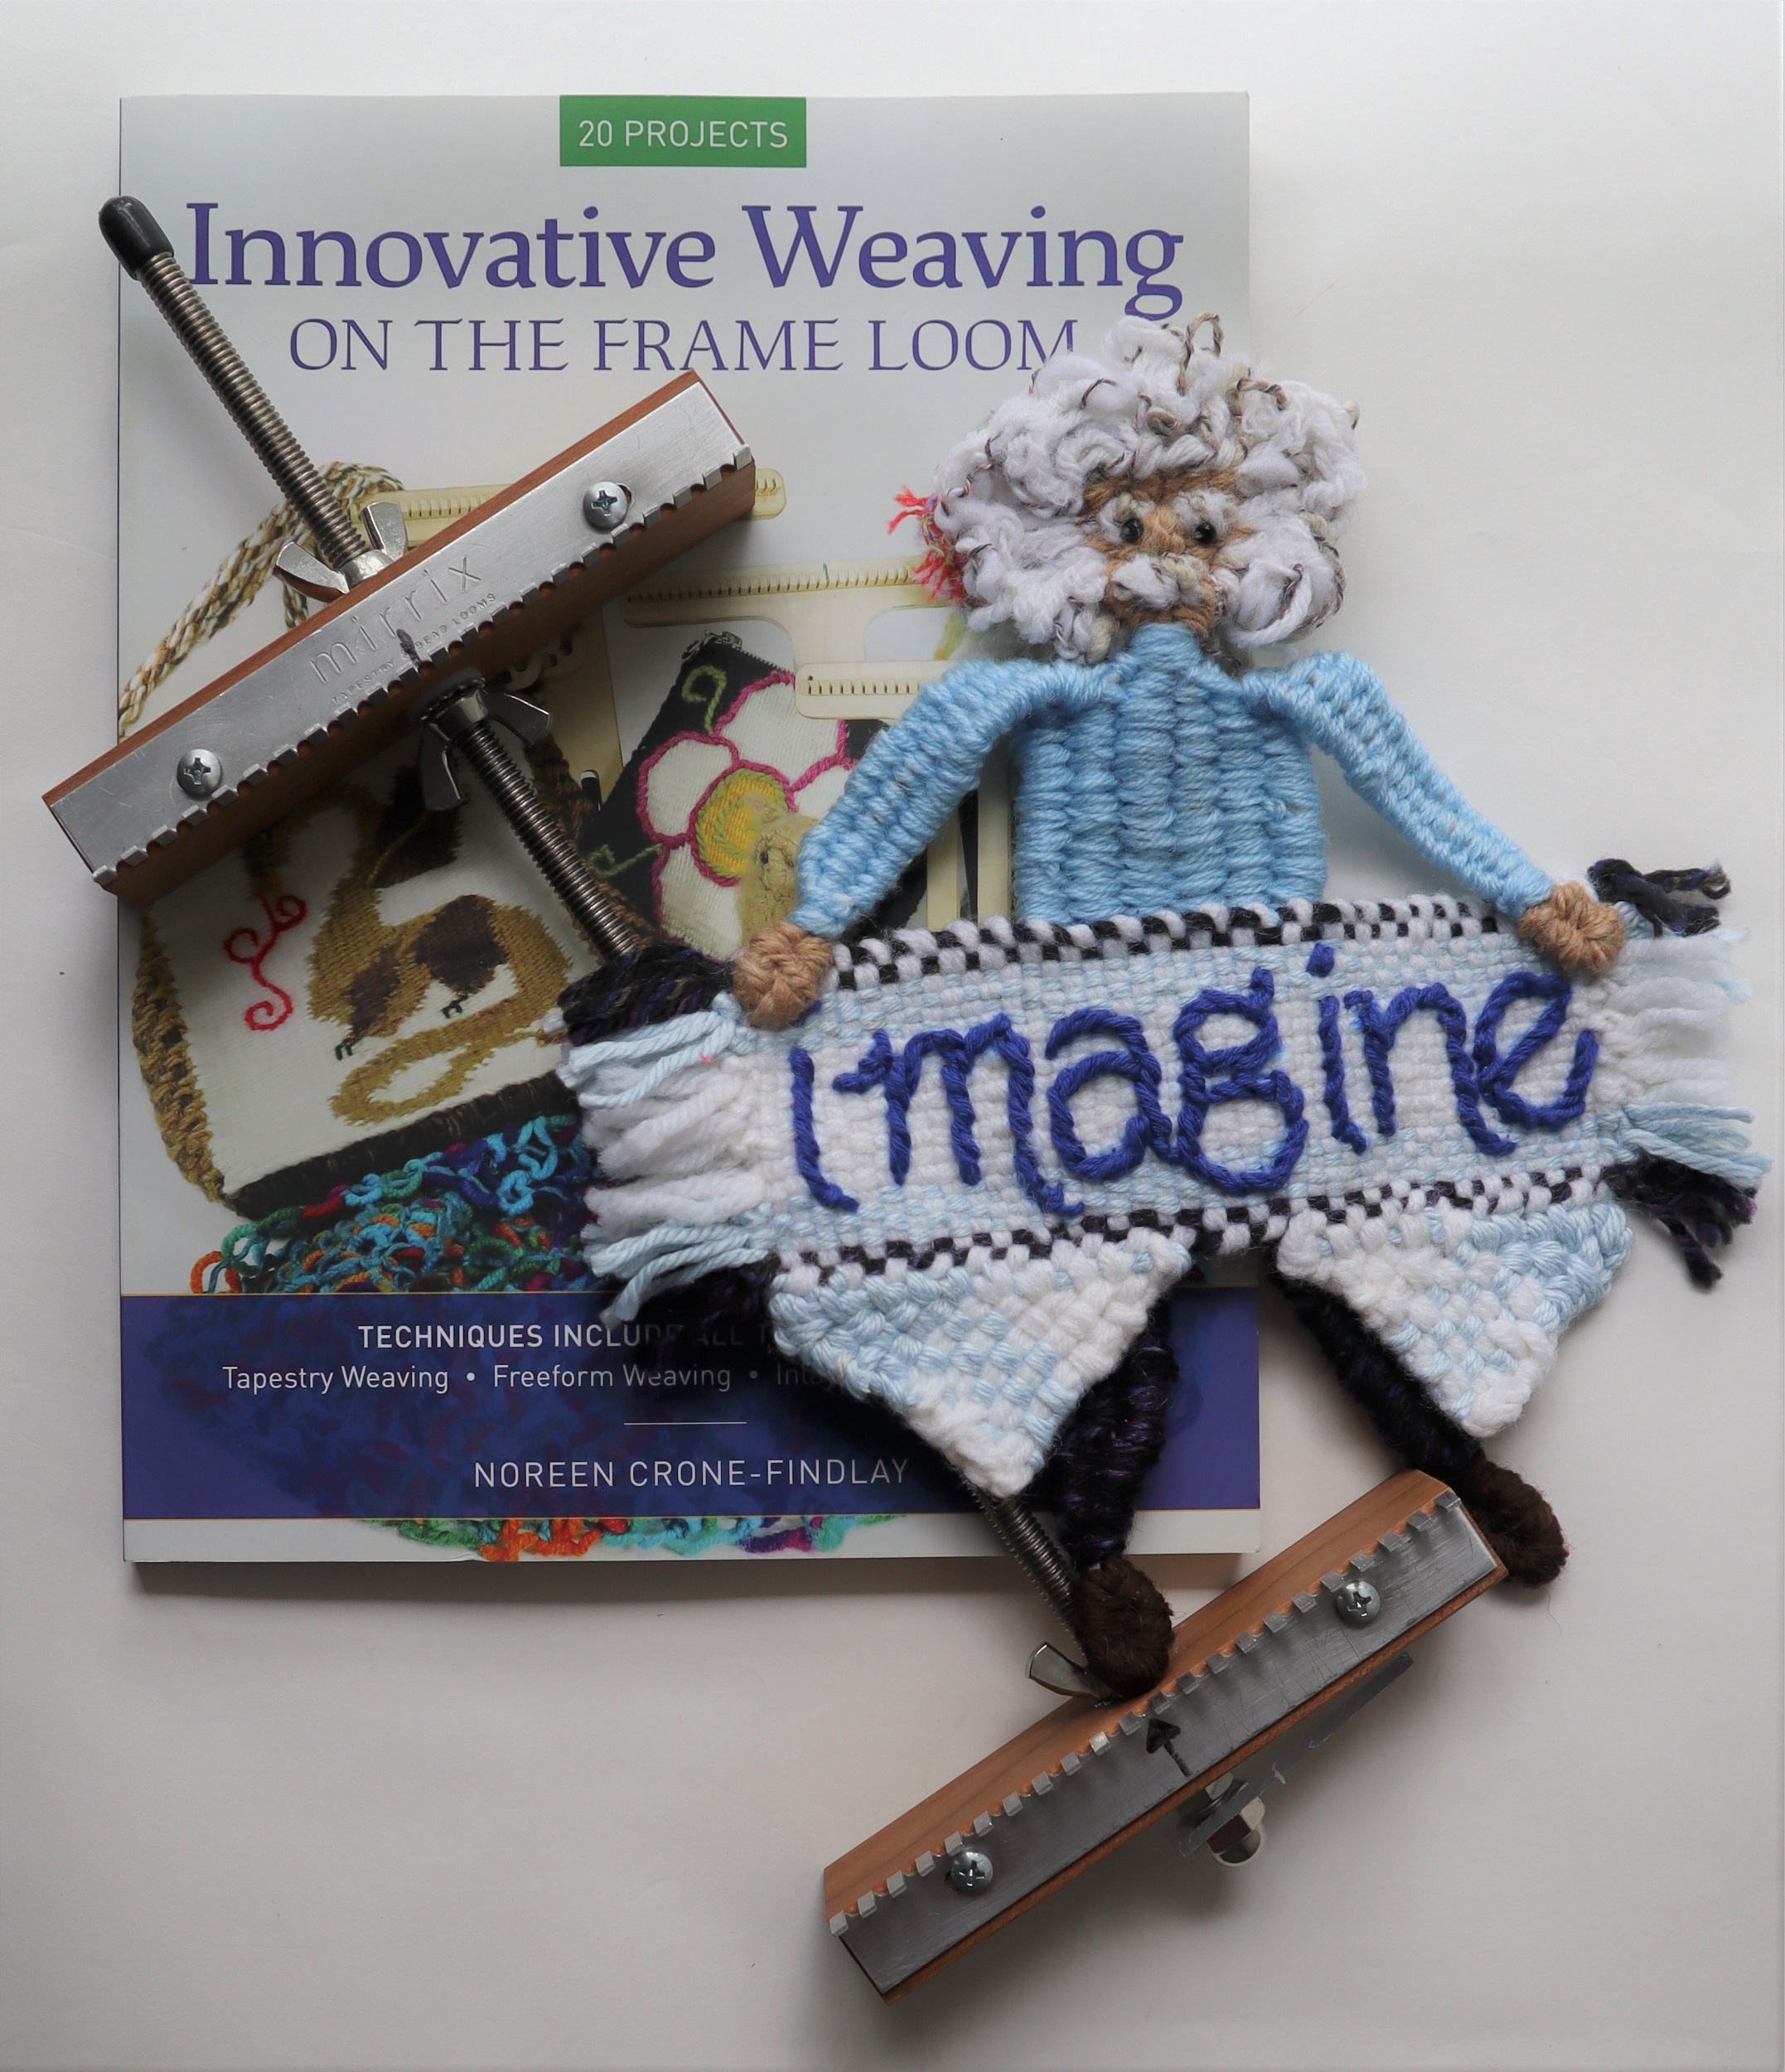
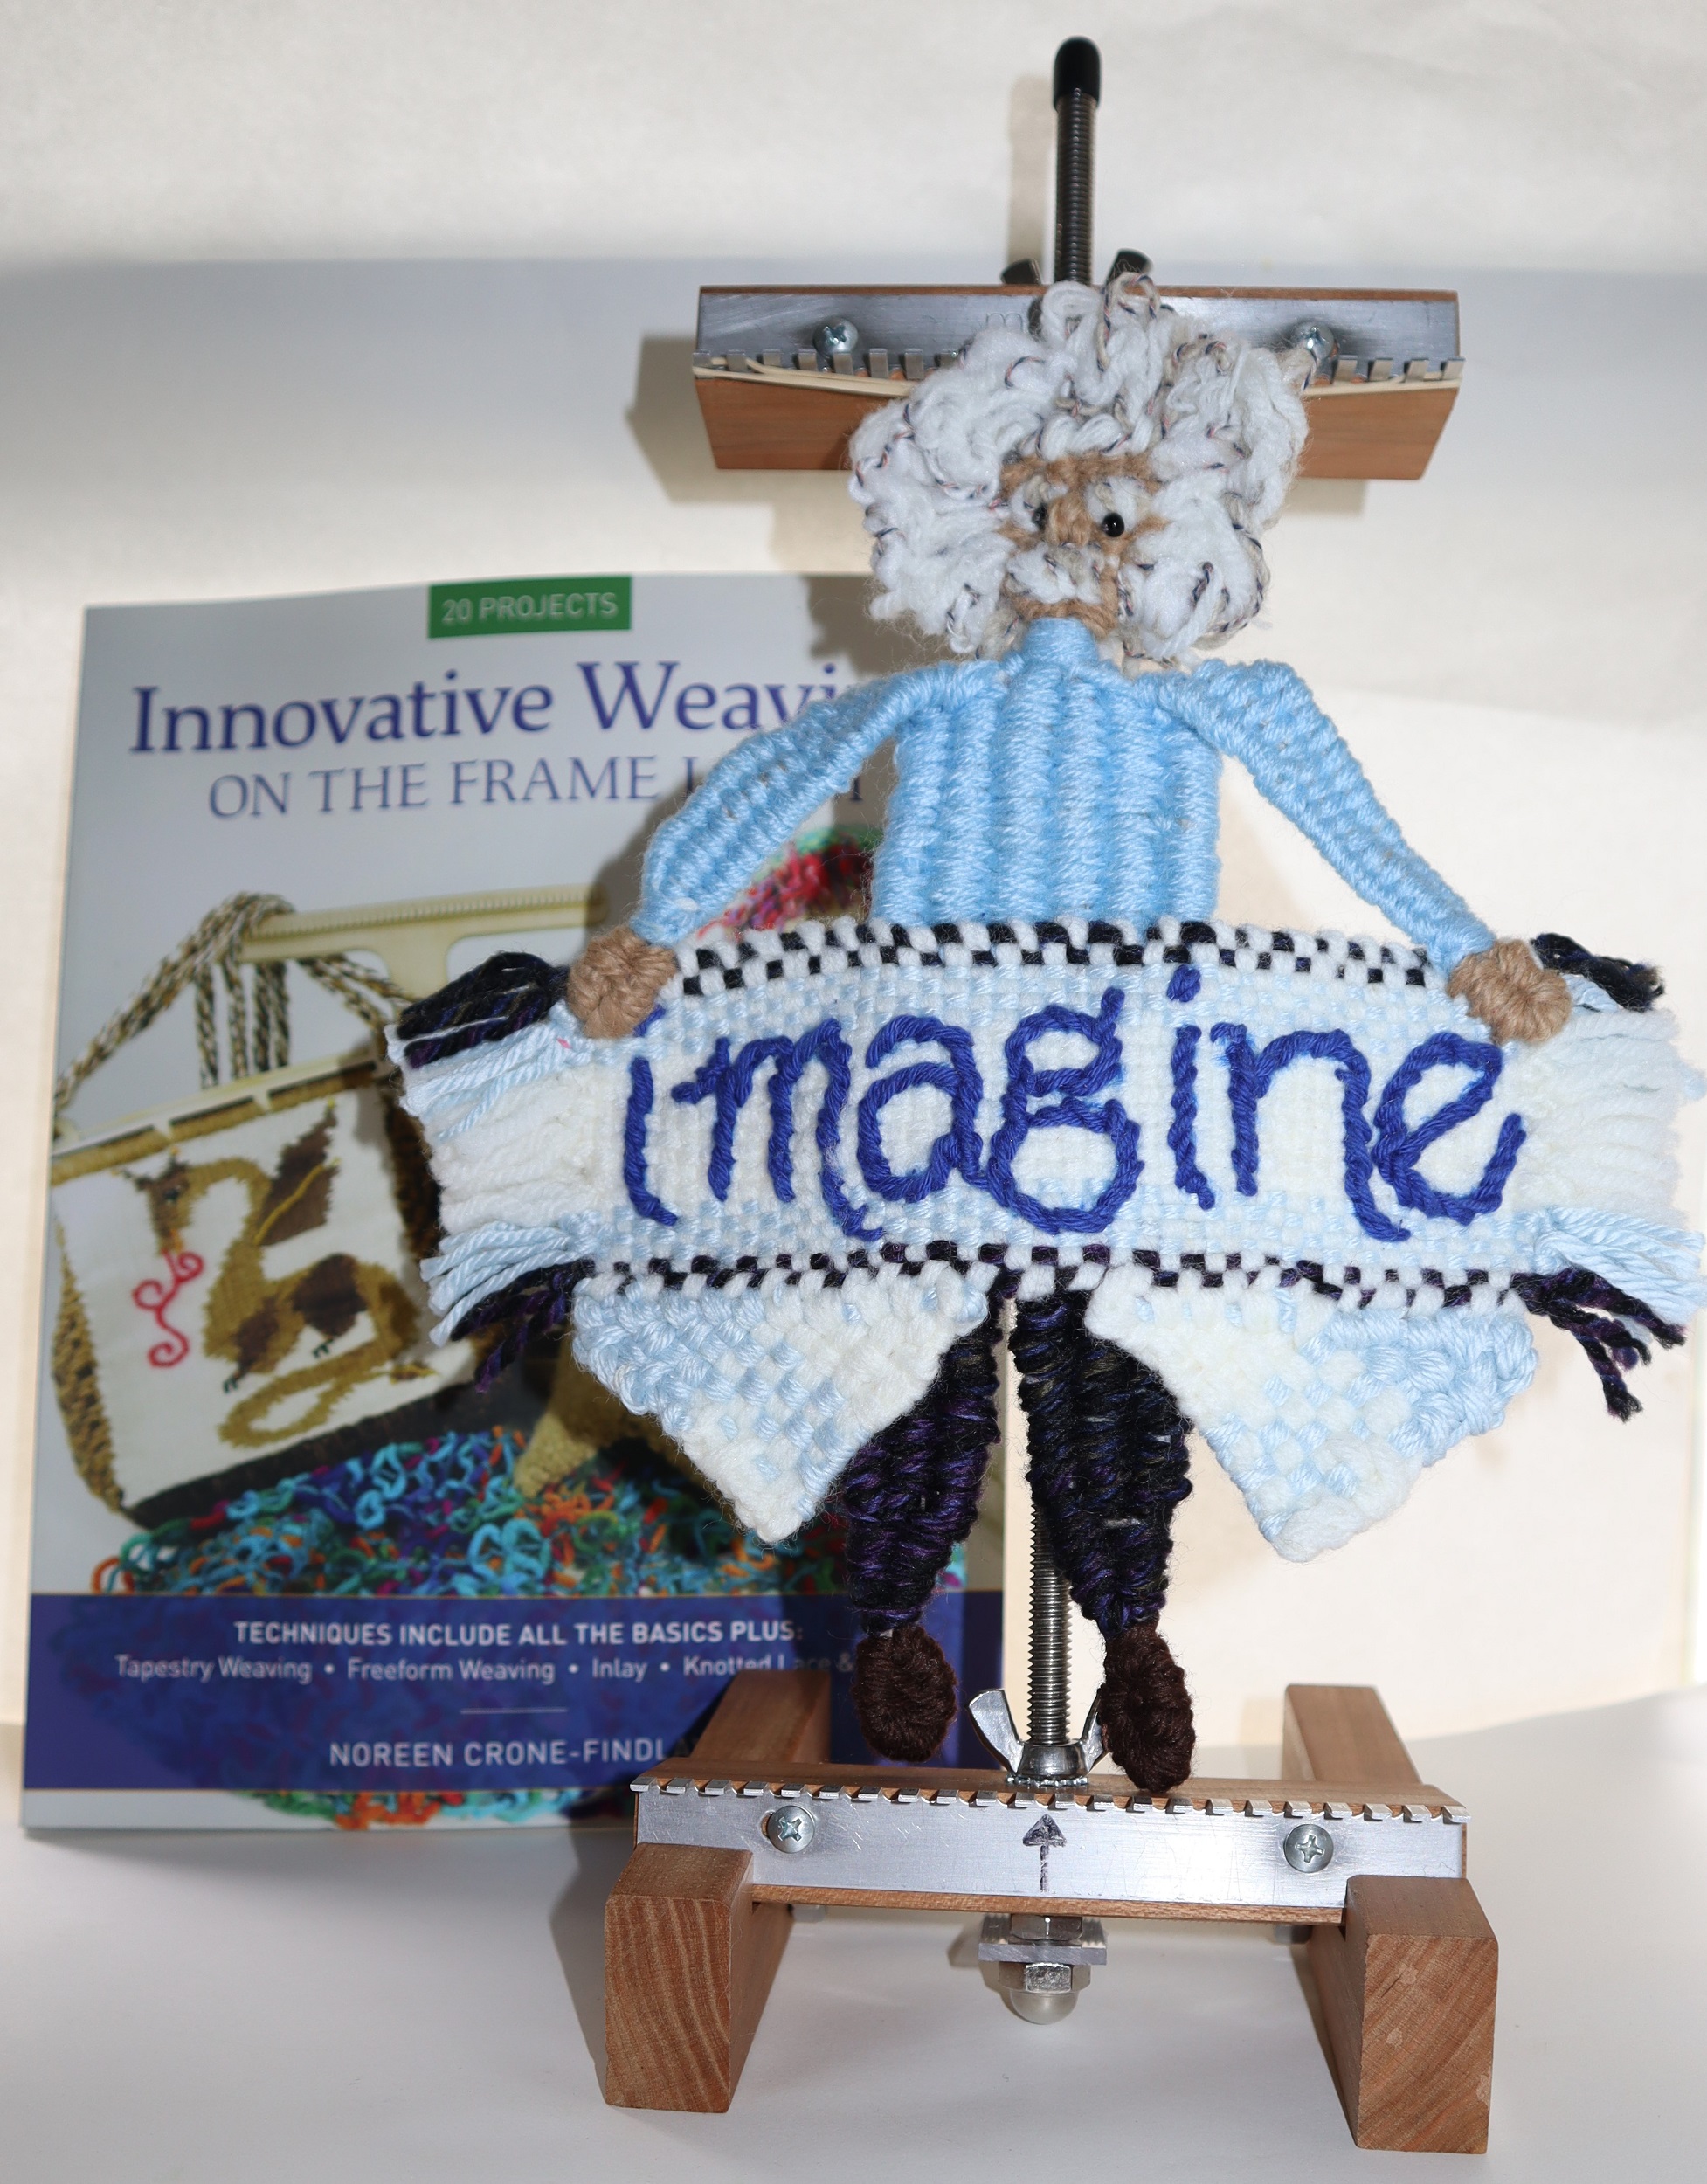
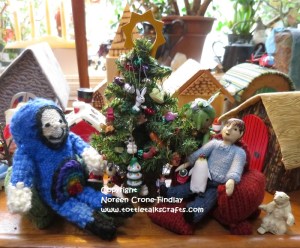
FREE FORM WEAVING: HOMAGE TO ALBERT EINSTEIN:
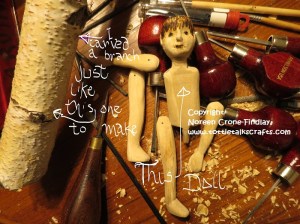
Albert Einstein is woven (with a few extrapolations and a slight adjustment to the waistline) following the instructions for the Woven Dancer on page 30 of “Innovative Weaving on the Frame Loom”.
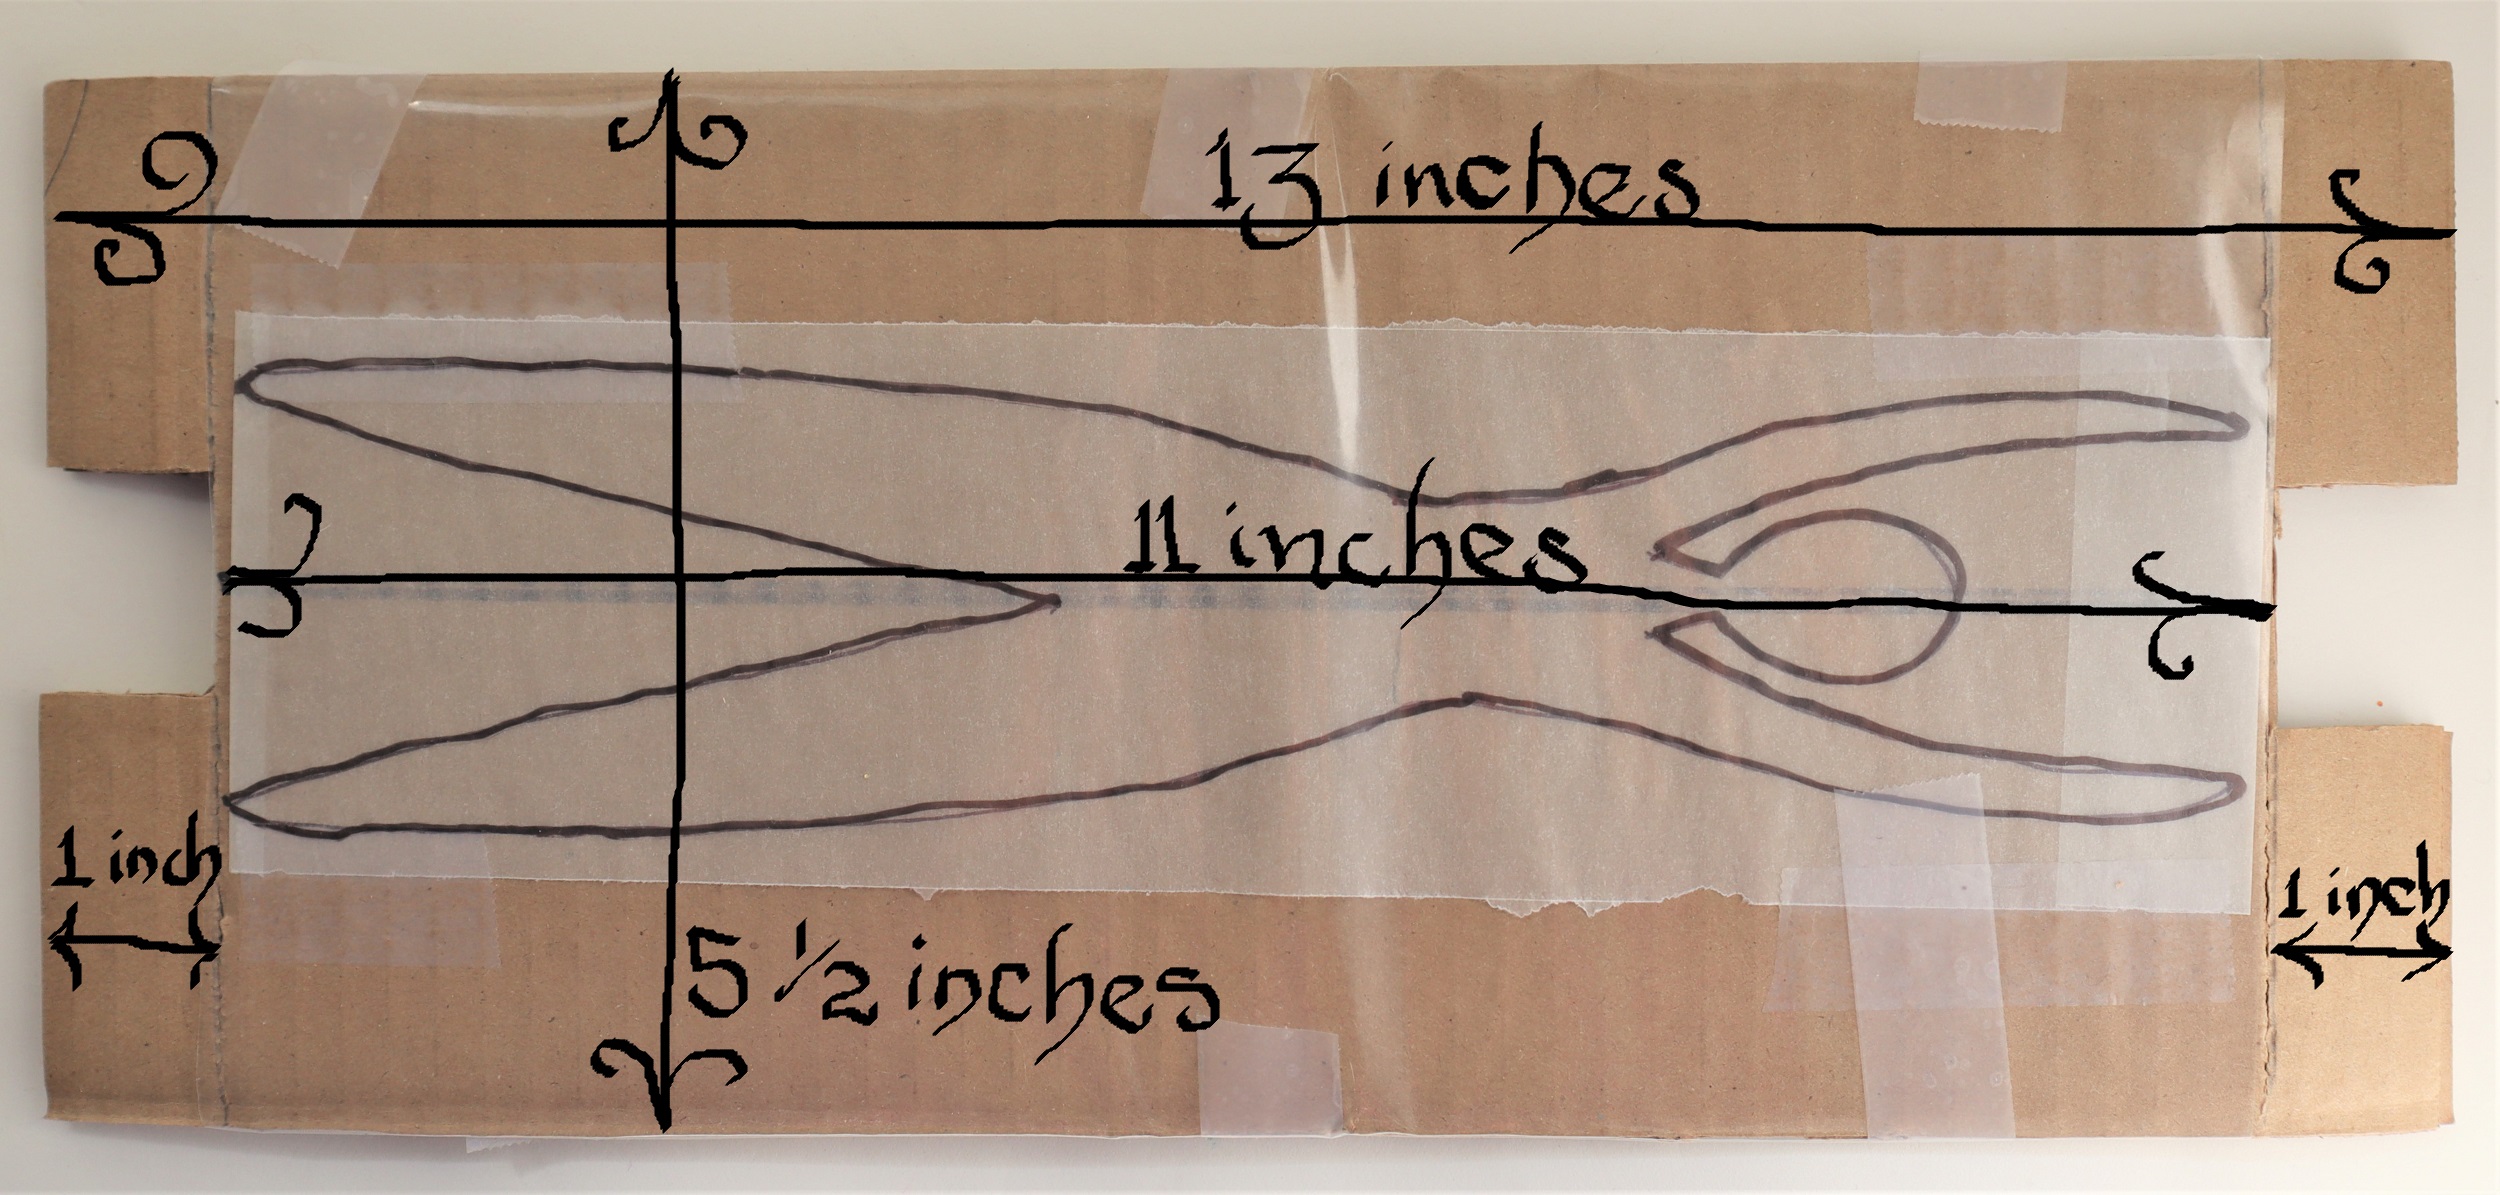
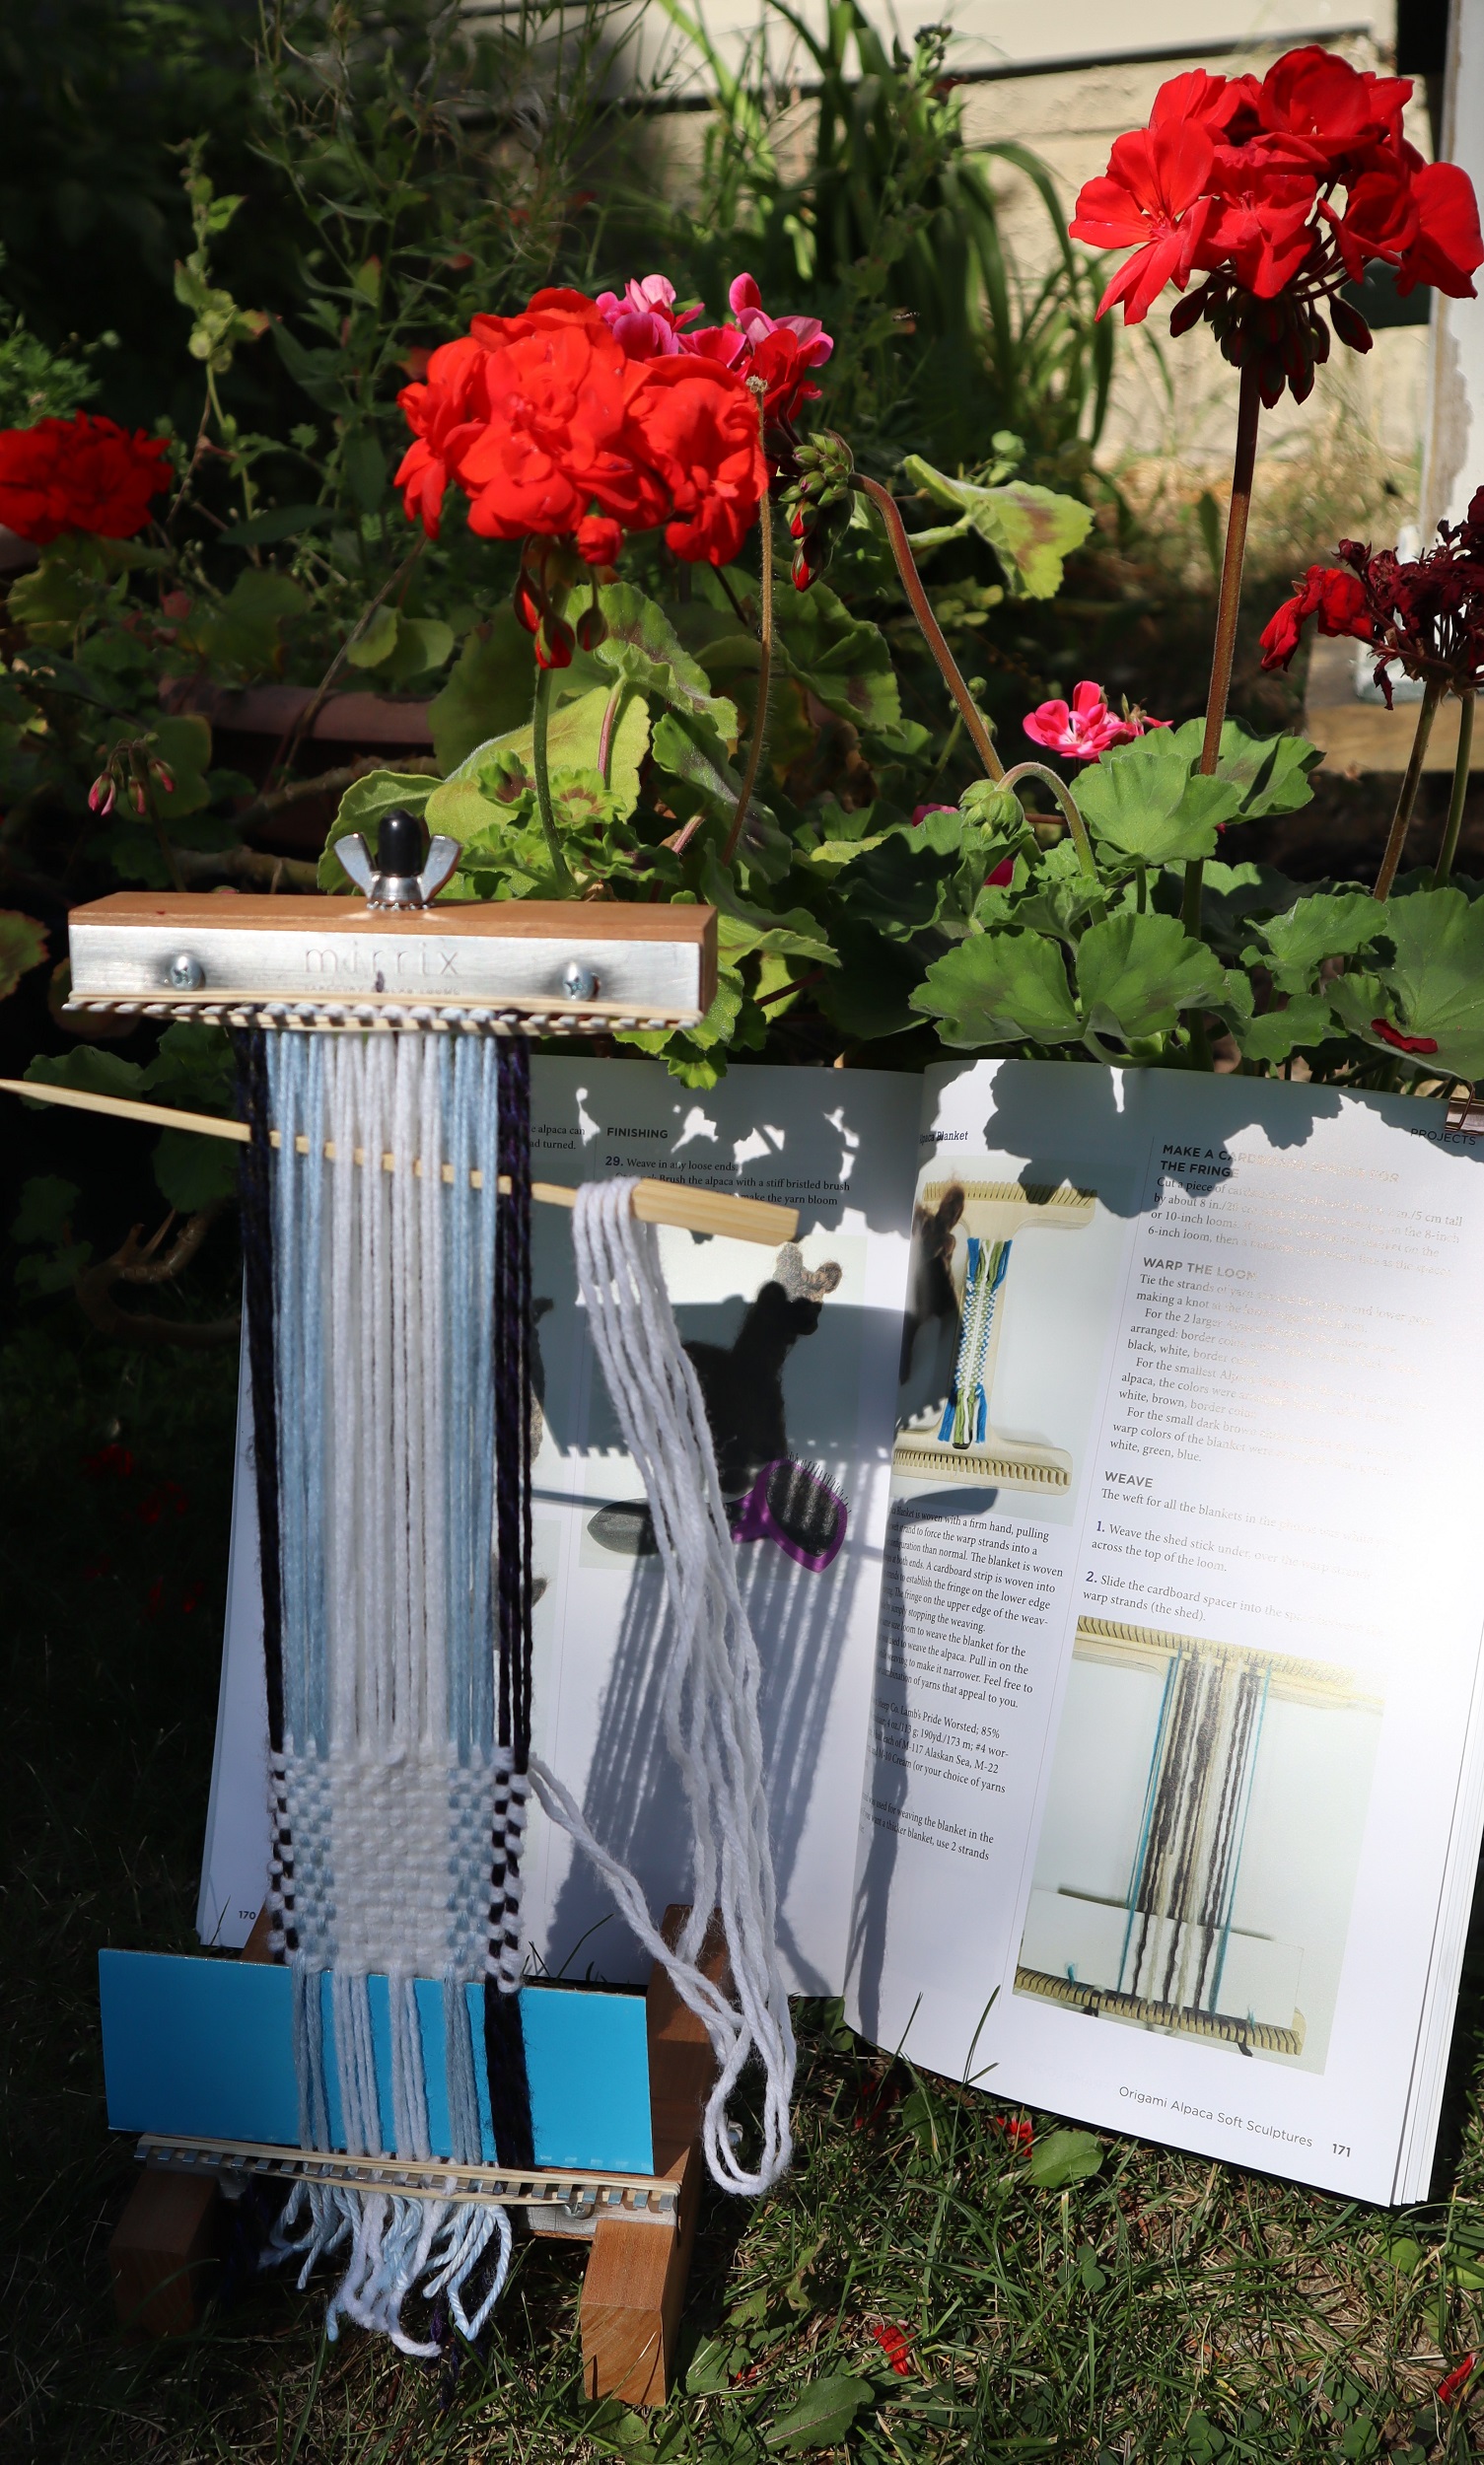
In order to hold the pattern onto the loom, a backing board is needed. See: LINK
INSTRUCTIONS:
HOW TO WEAVE THE ALBERT EINSTEIN FIGURE:
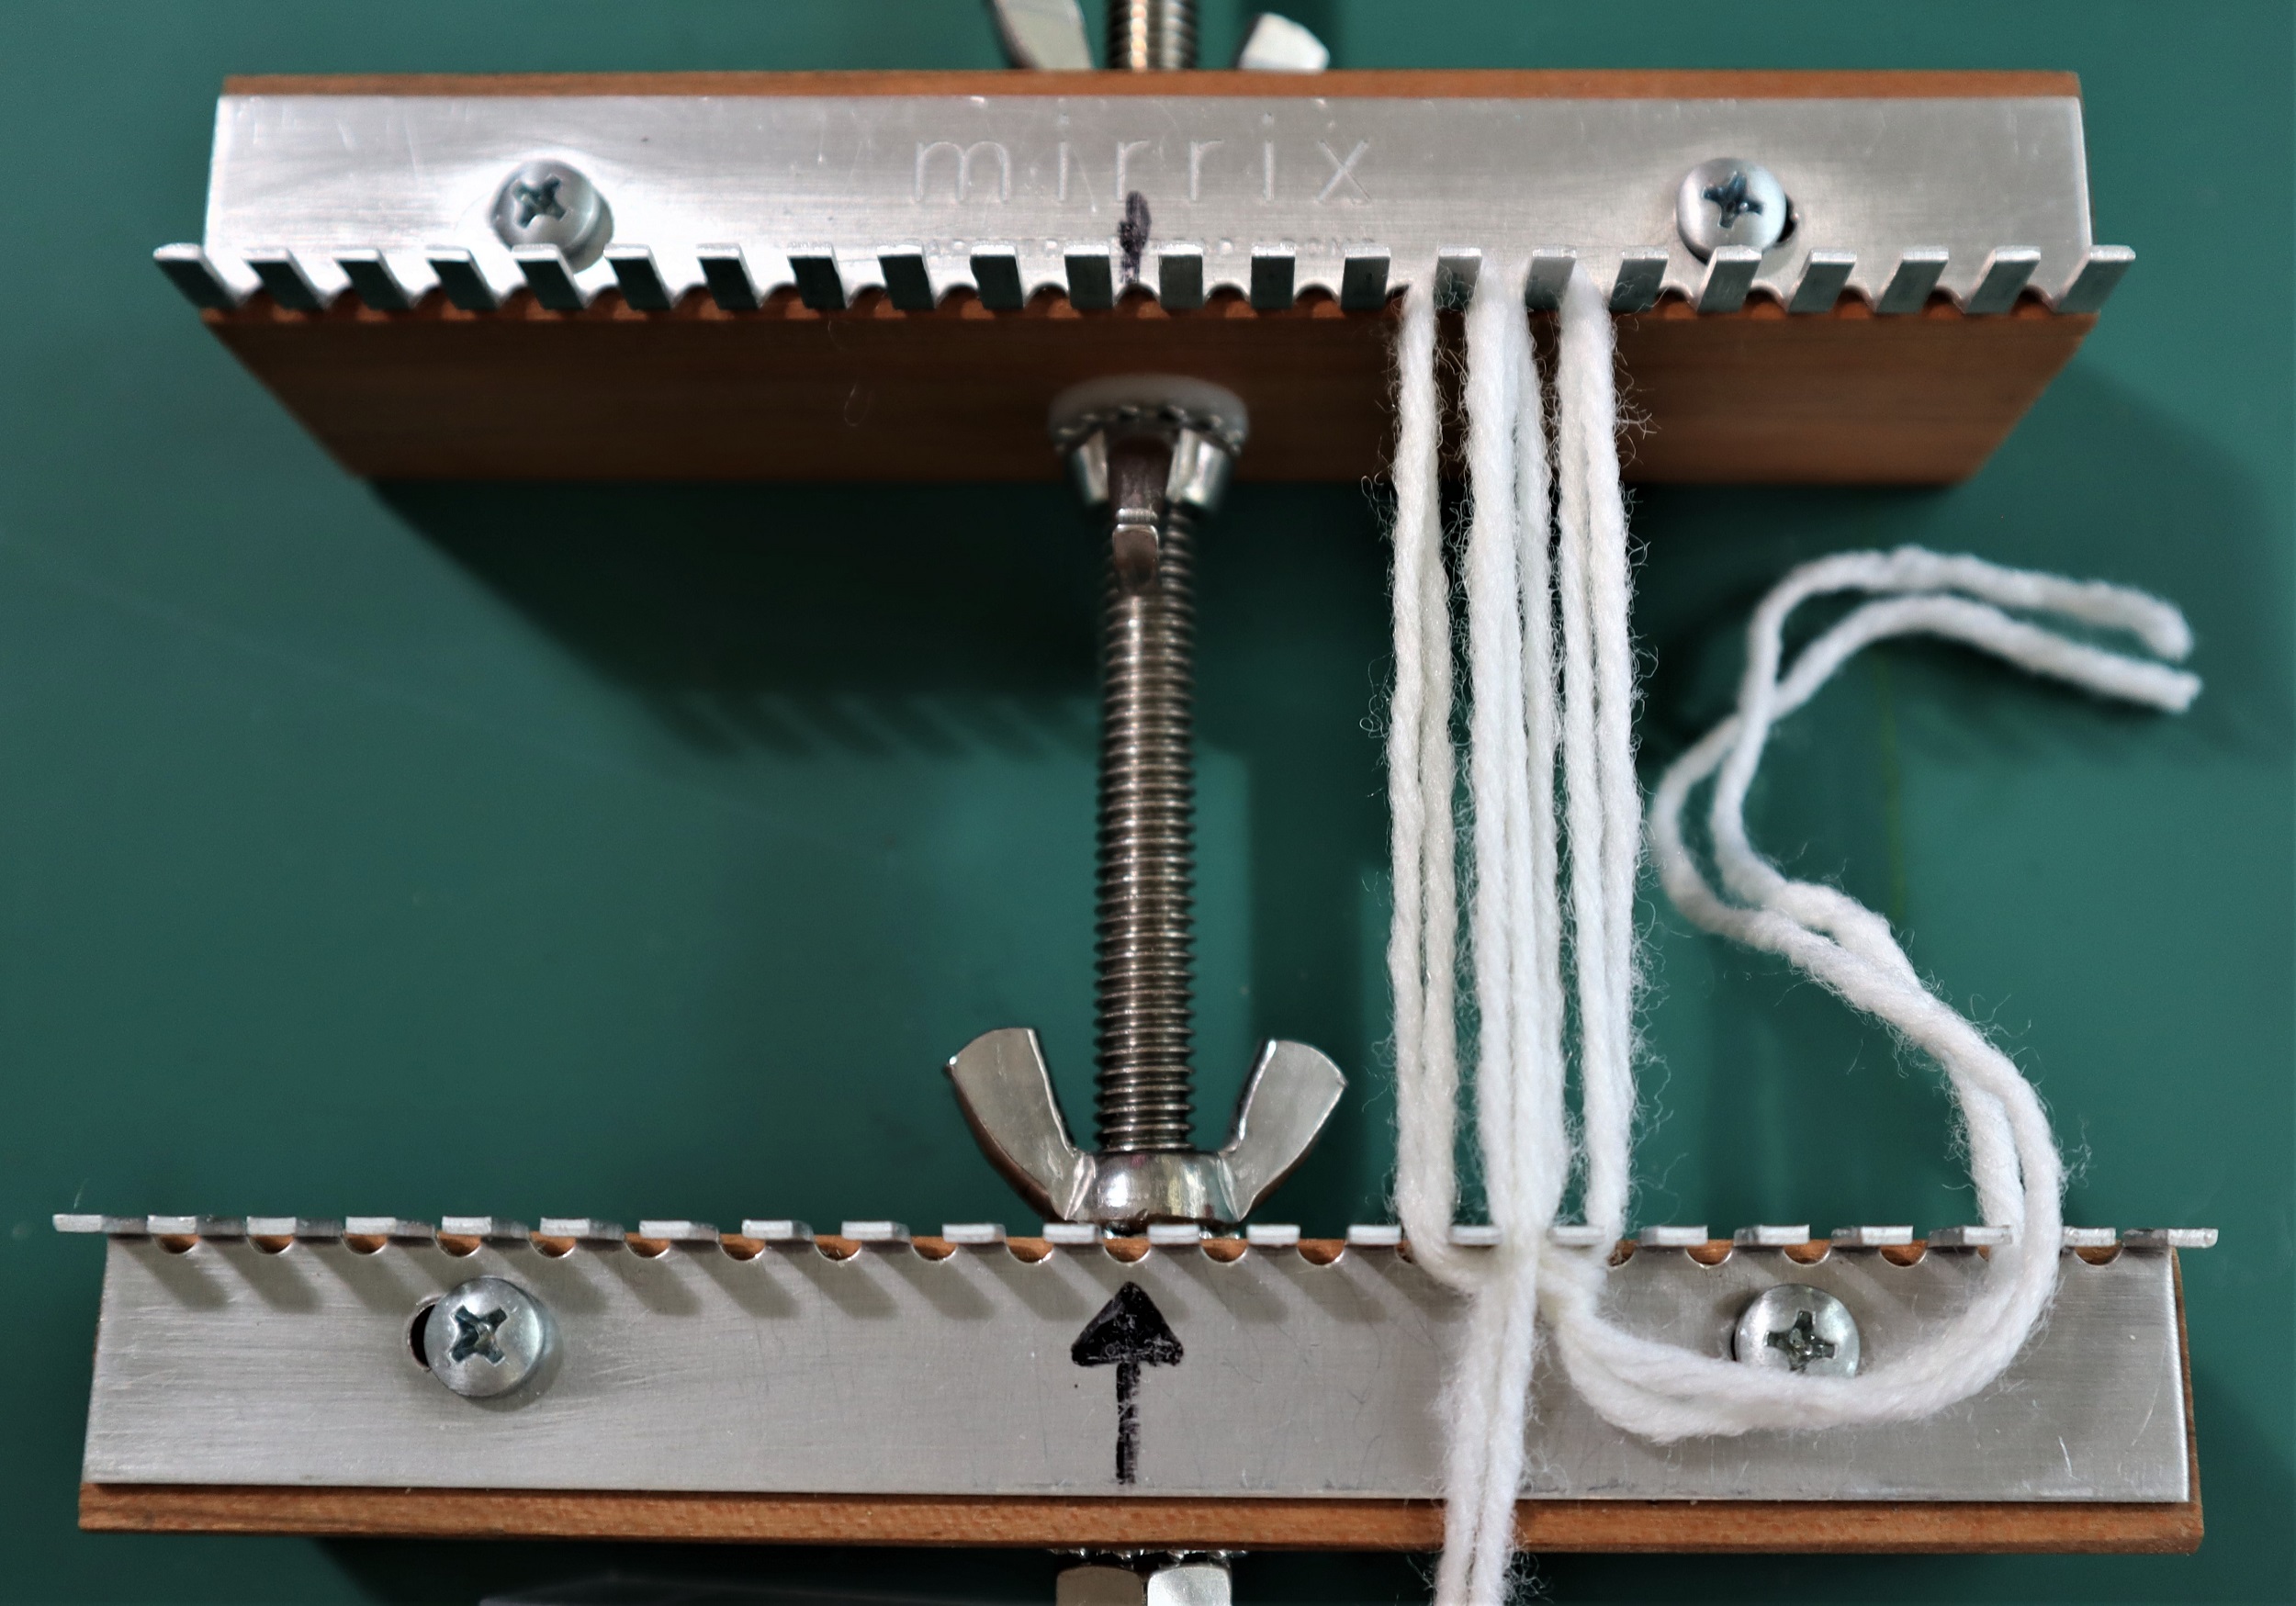
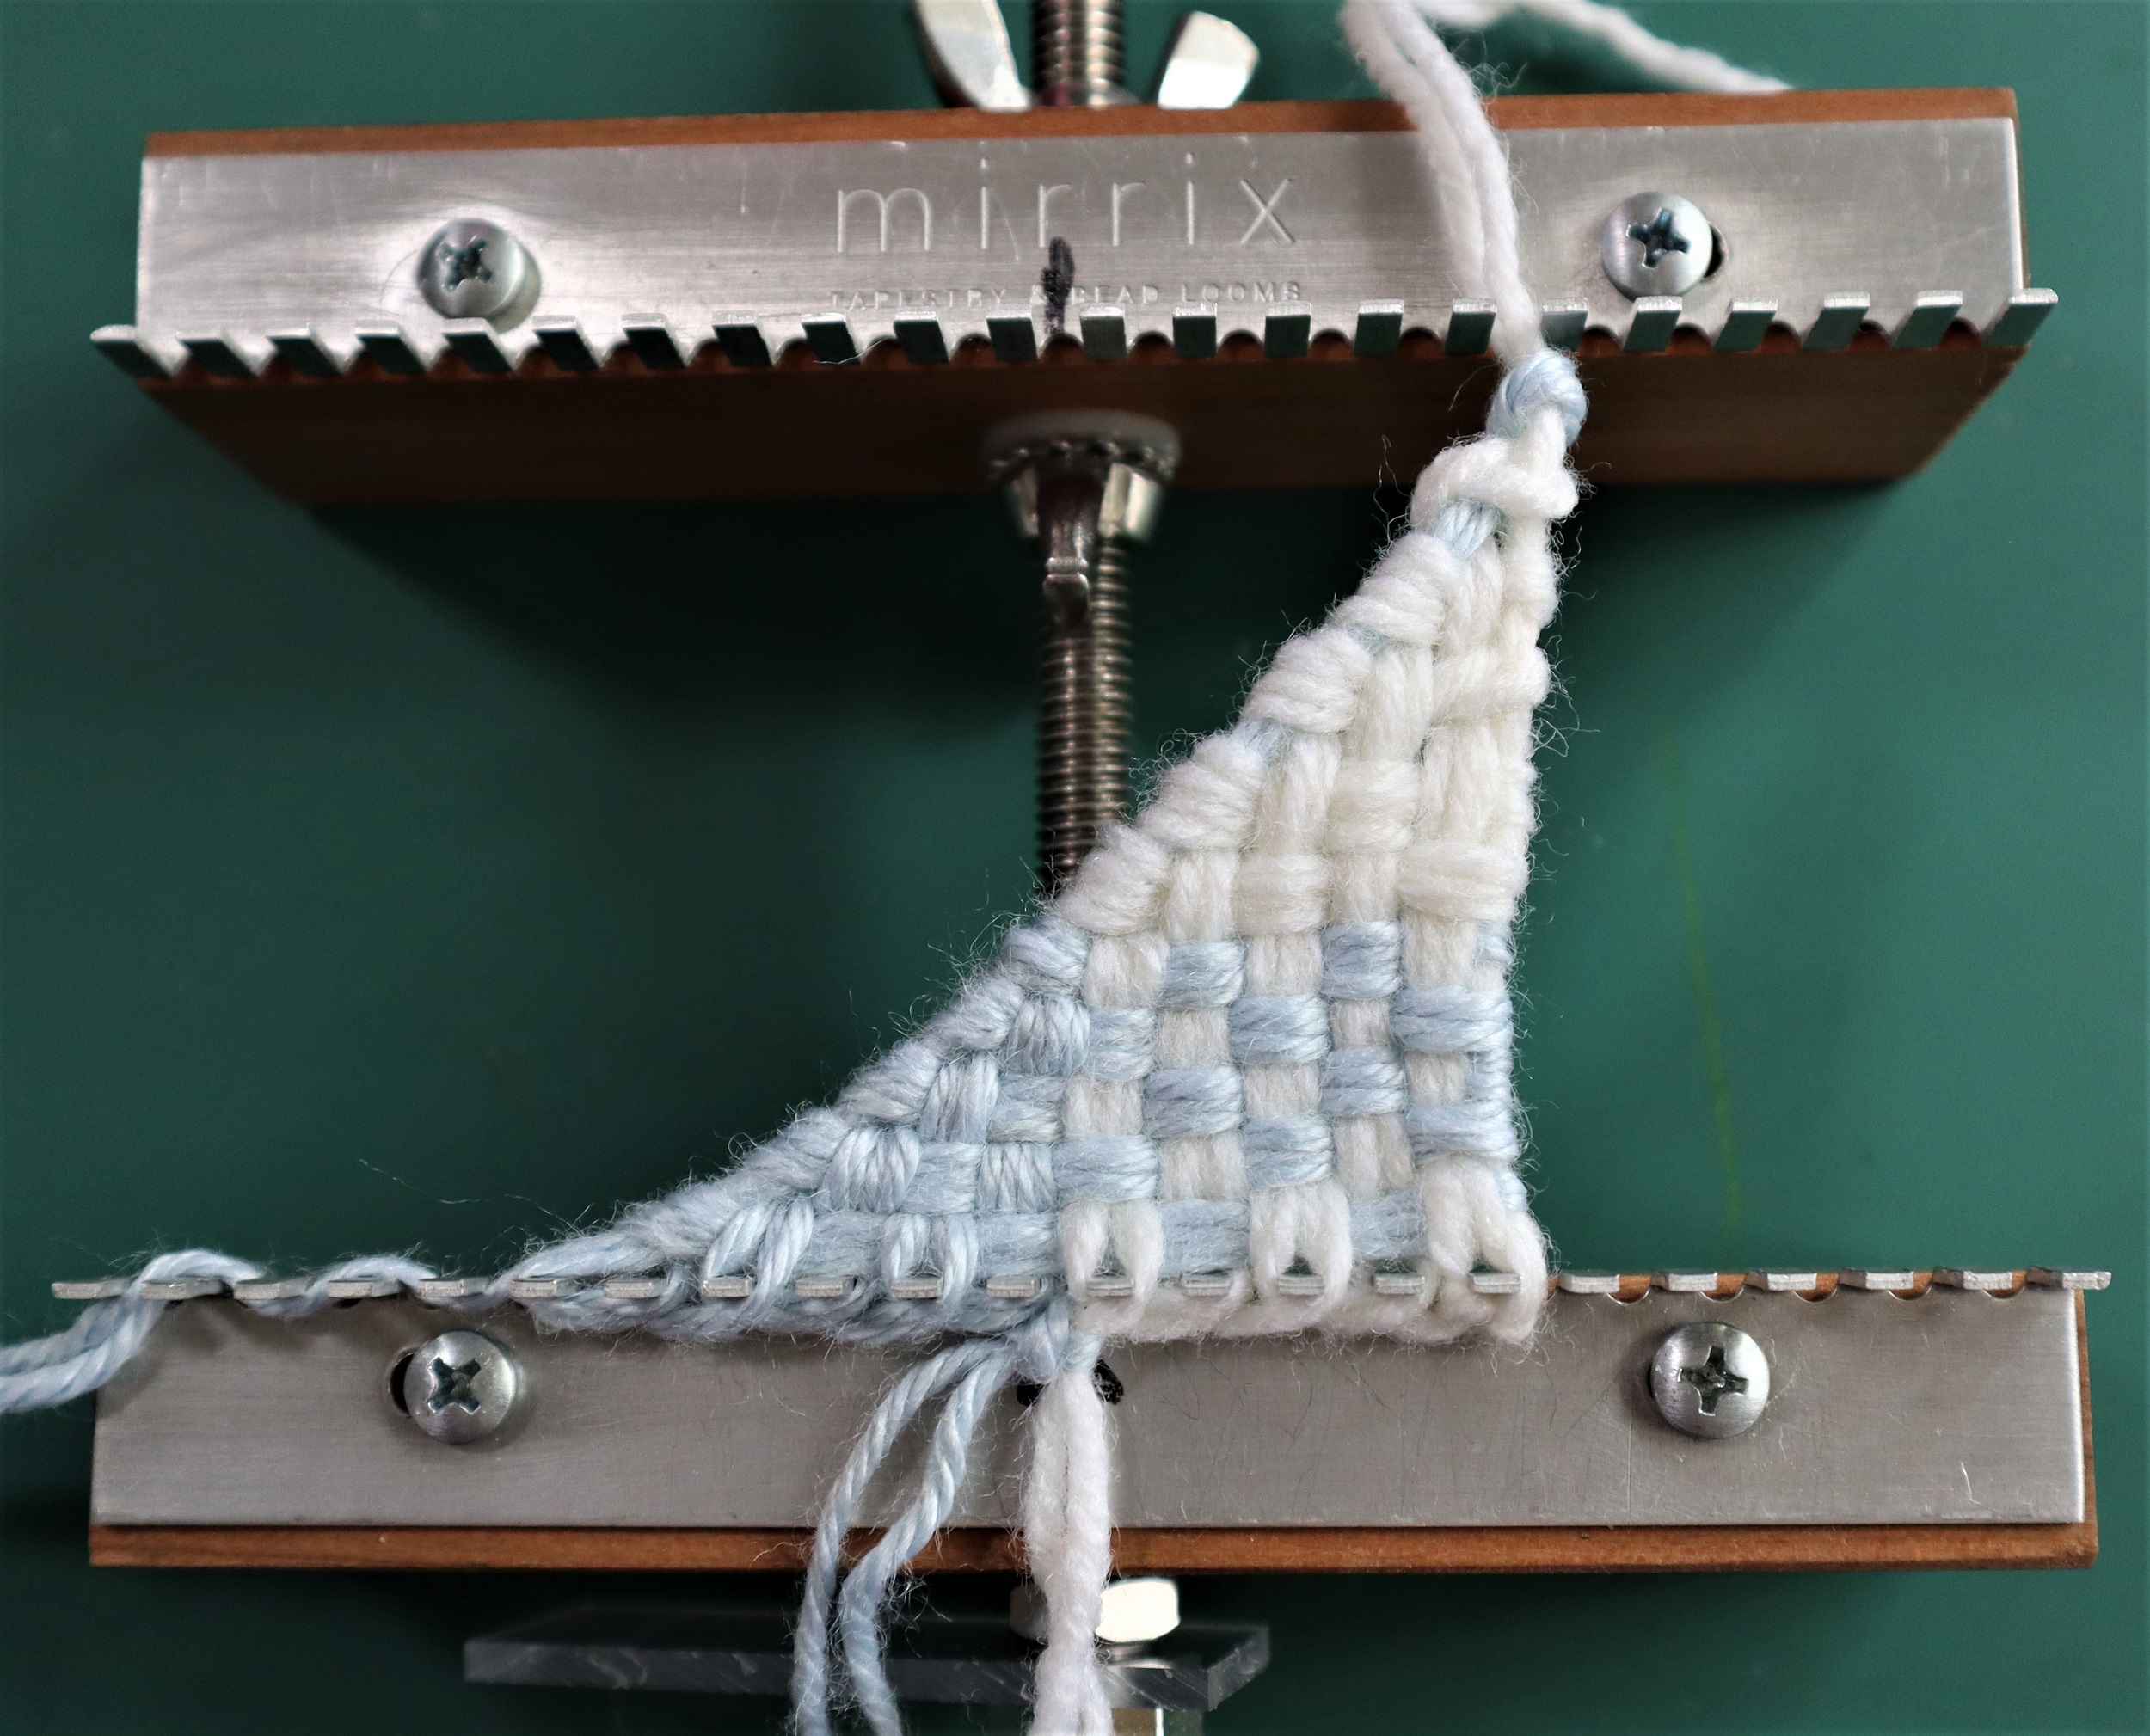
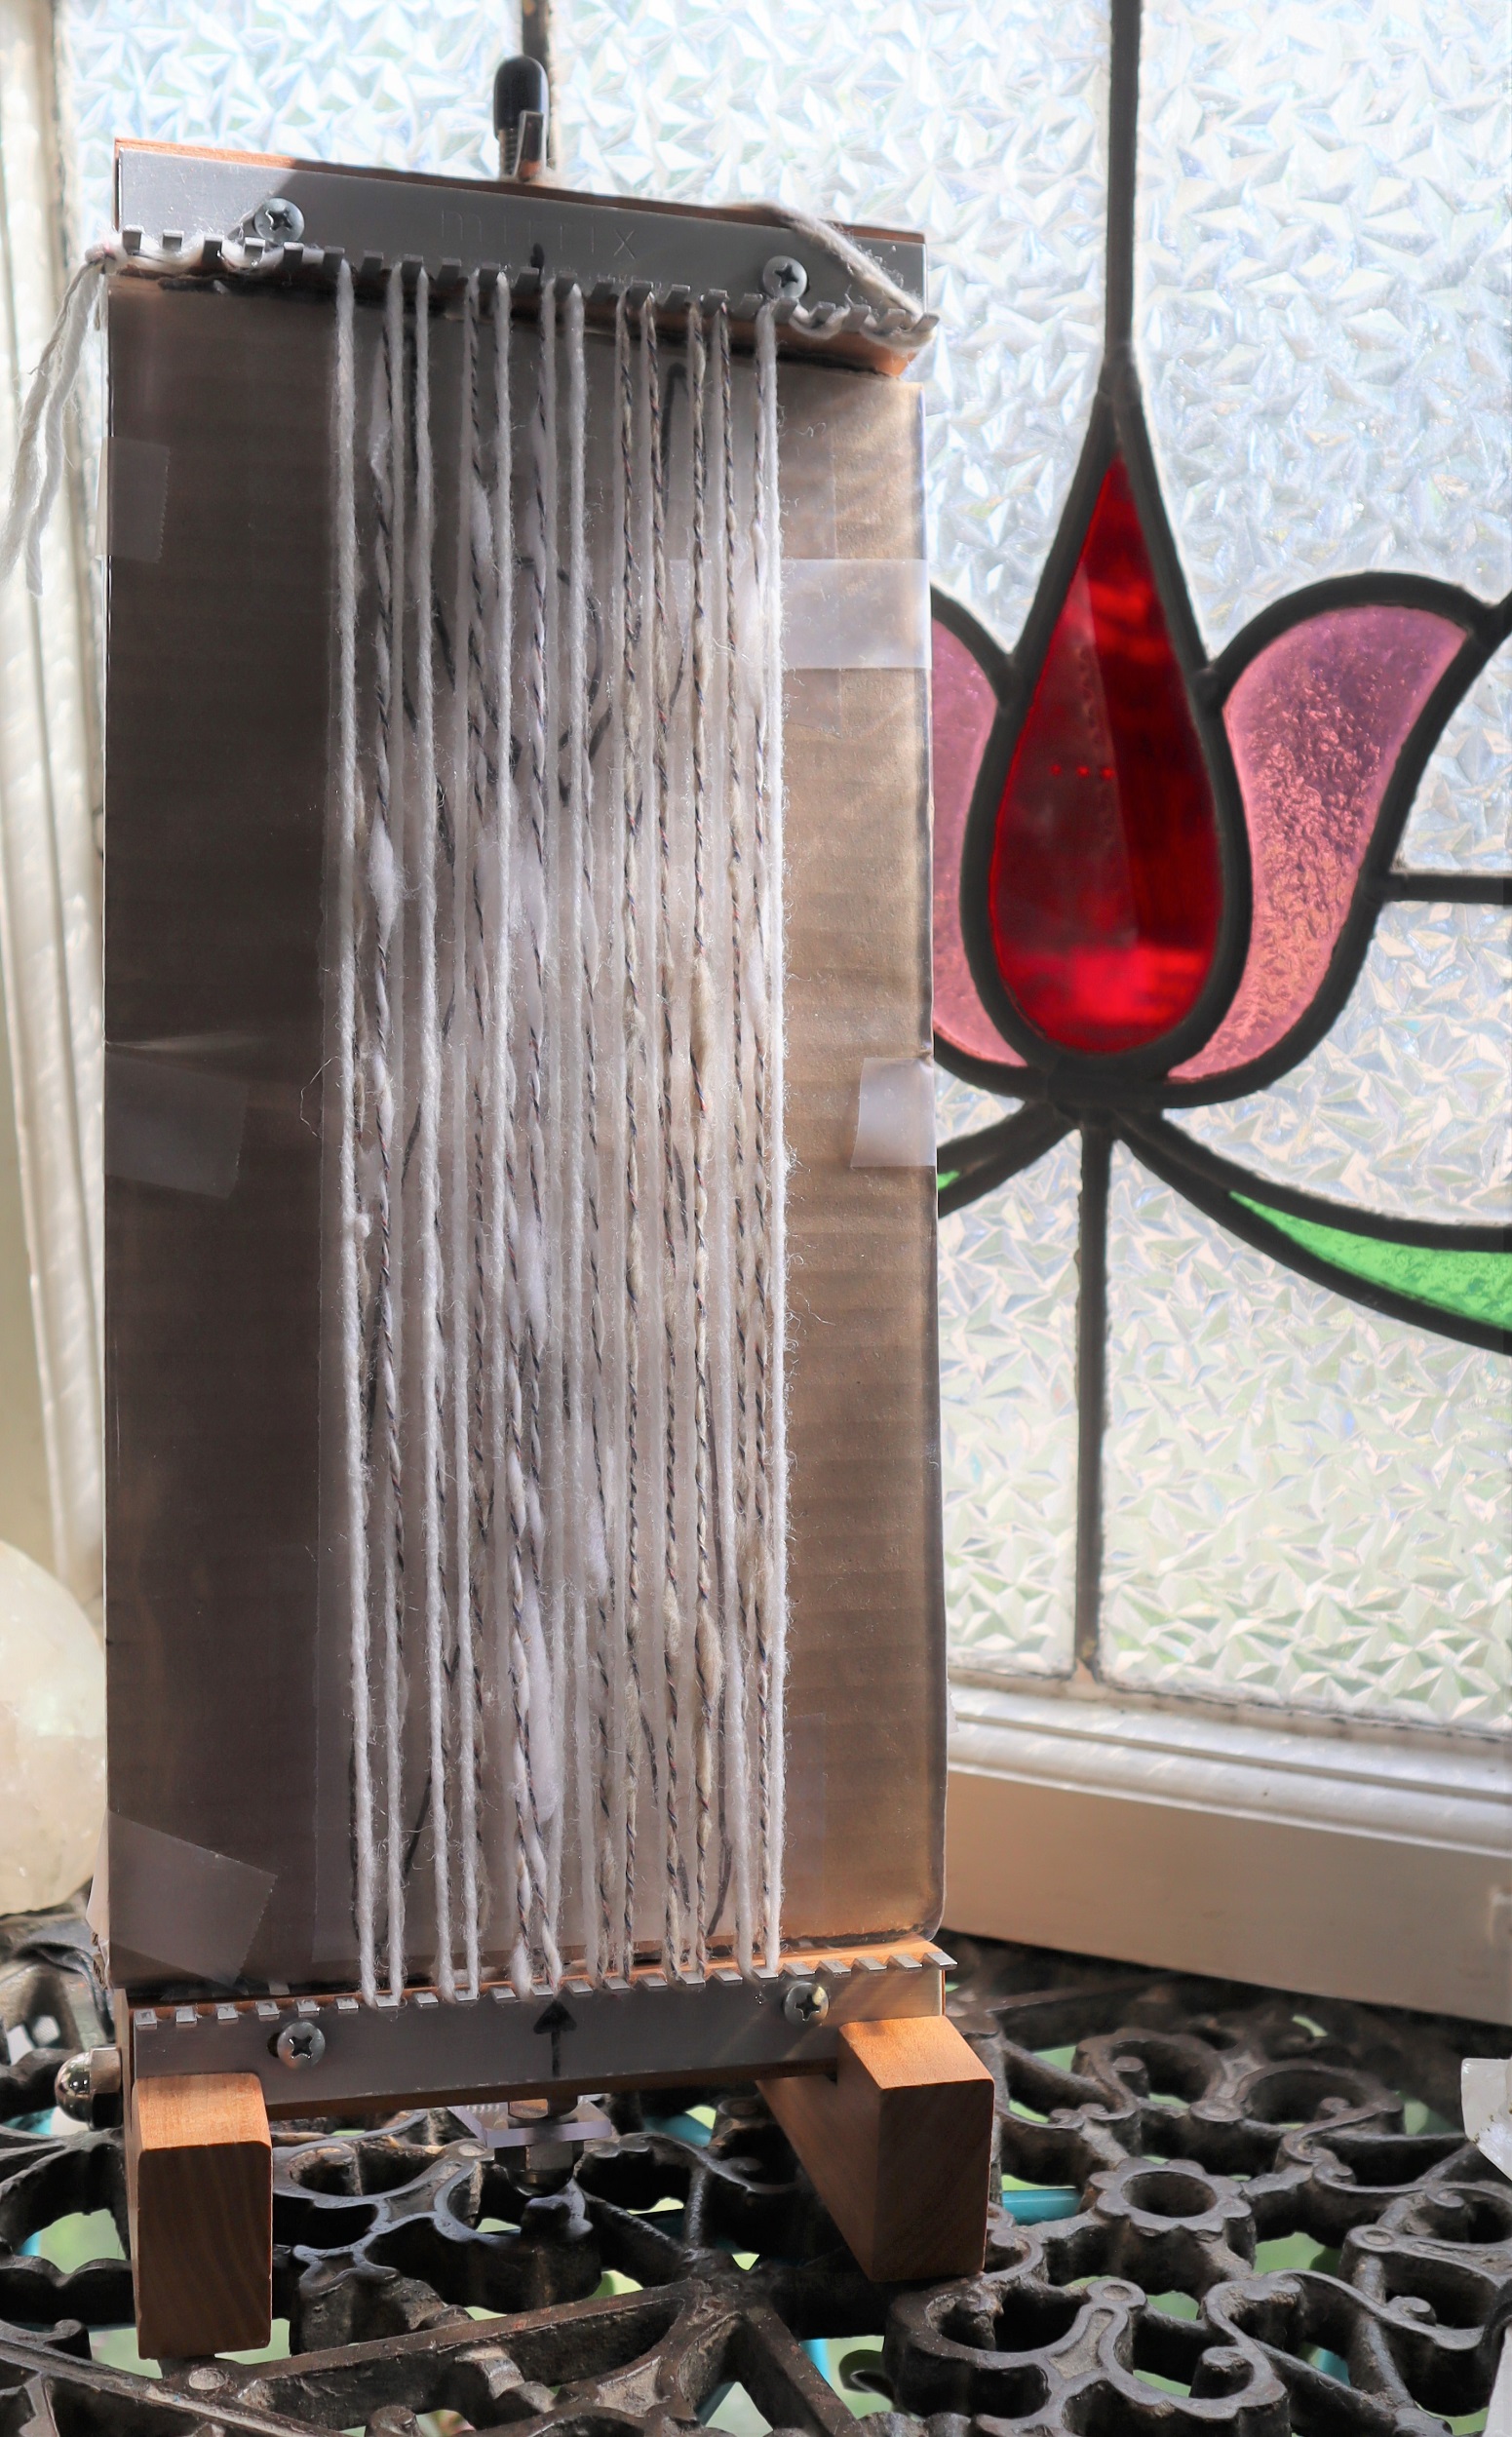
1: SET UP THE LOOM so it is 11 inches/27.5 cm) from the lower set of pegs to the upper set. Lock it into the ‘Sandy Stand’.
Fold the ends of the backing board to the back and slide it in place on the loom.
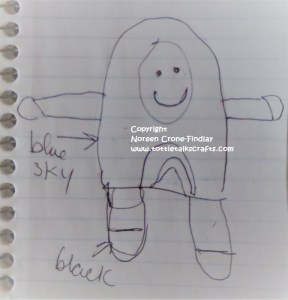
2: WARP THE LOOM: Following the instructions for the Woven Dancer on page 30 of ‘Innovative Weaving on the Frame Loom’, with 1 strand of #4 Medium weight (Worsted or Sport weight) yarn white and 1 strand grey held together as if they are a single strand:
Skip 6 pegs at each side of the loom and warp the loom, following the instructions in the book closely.
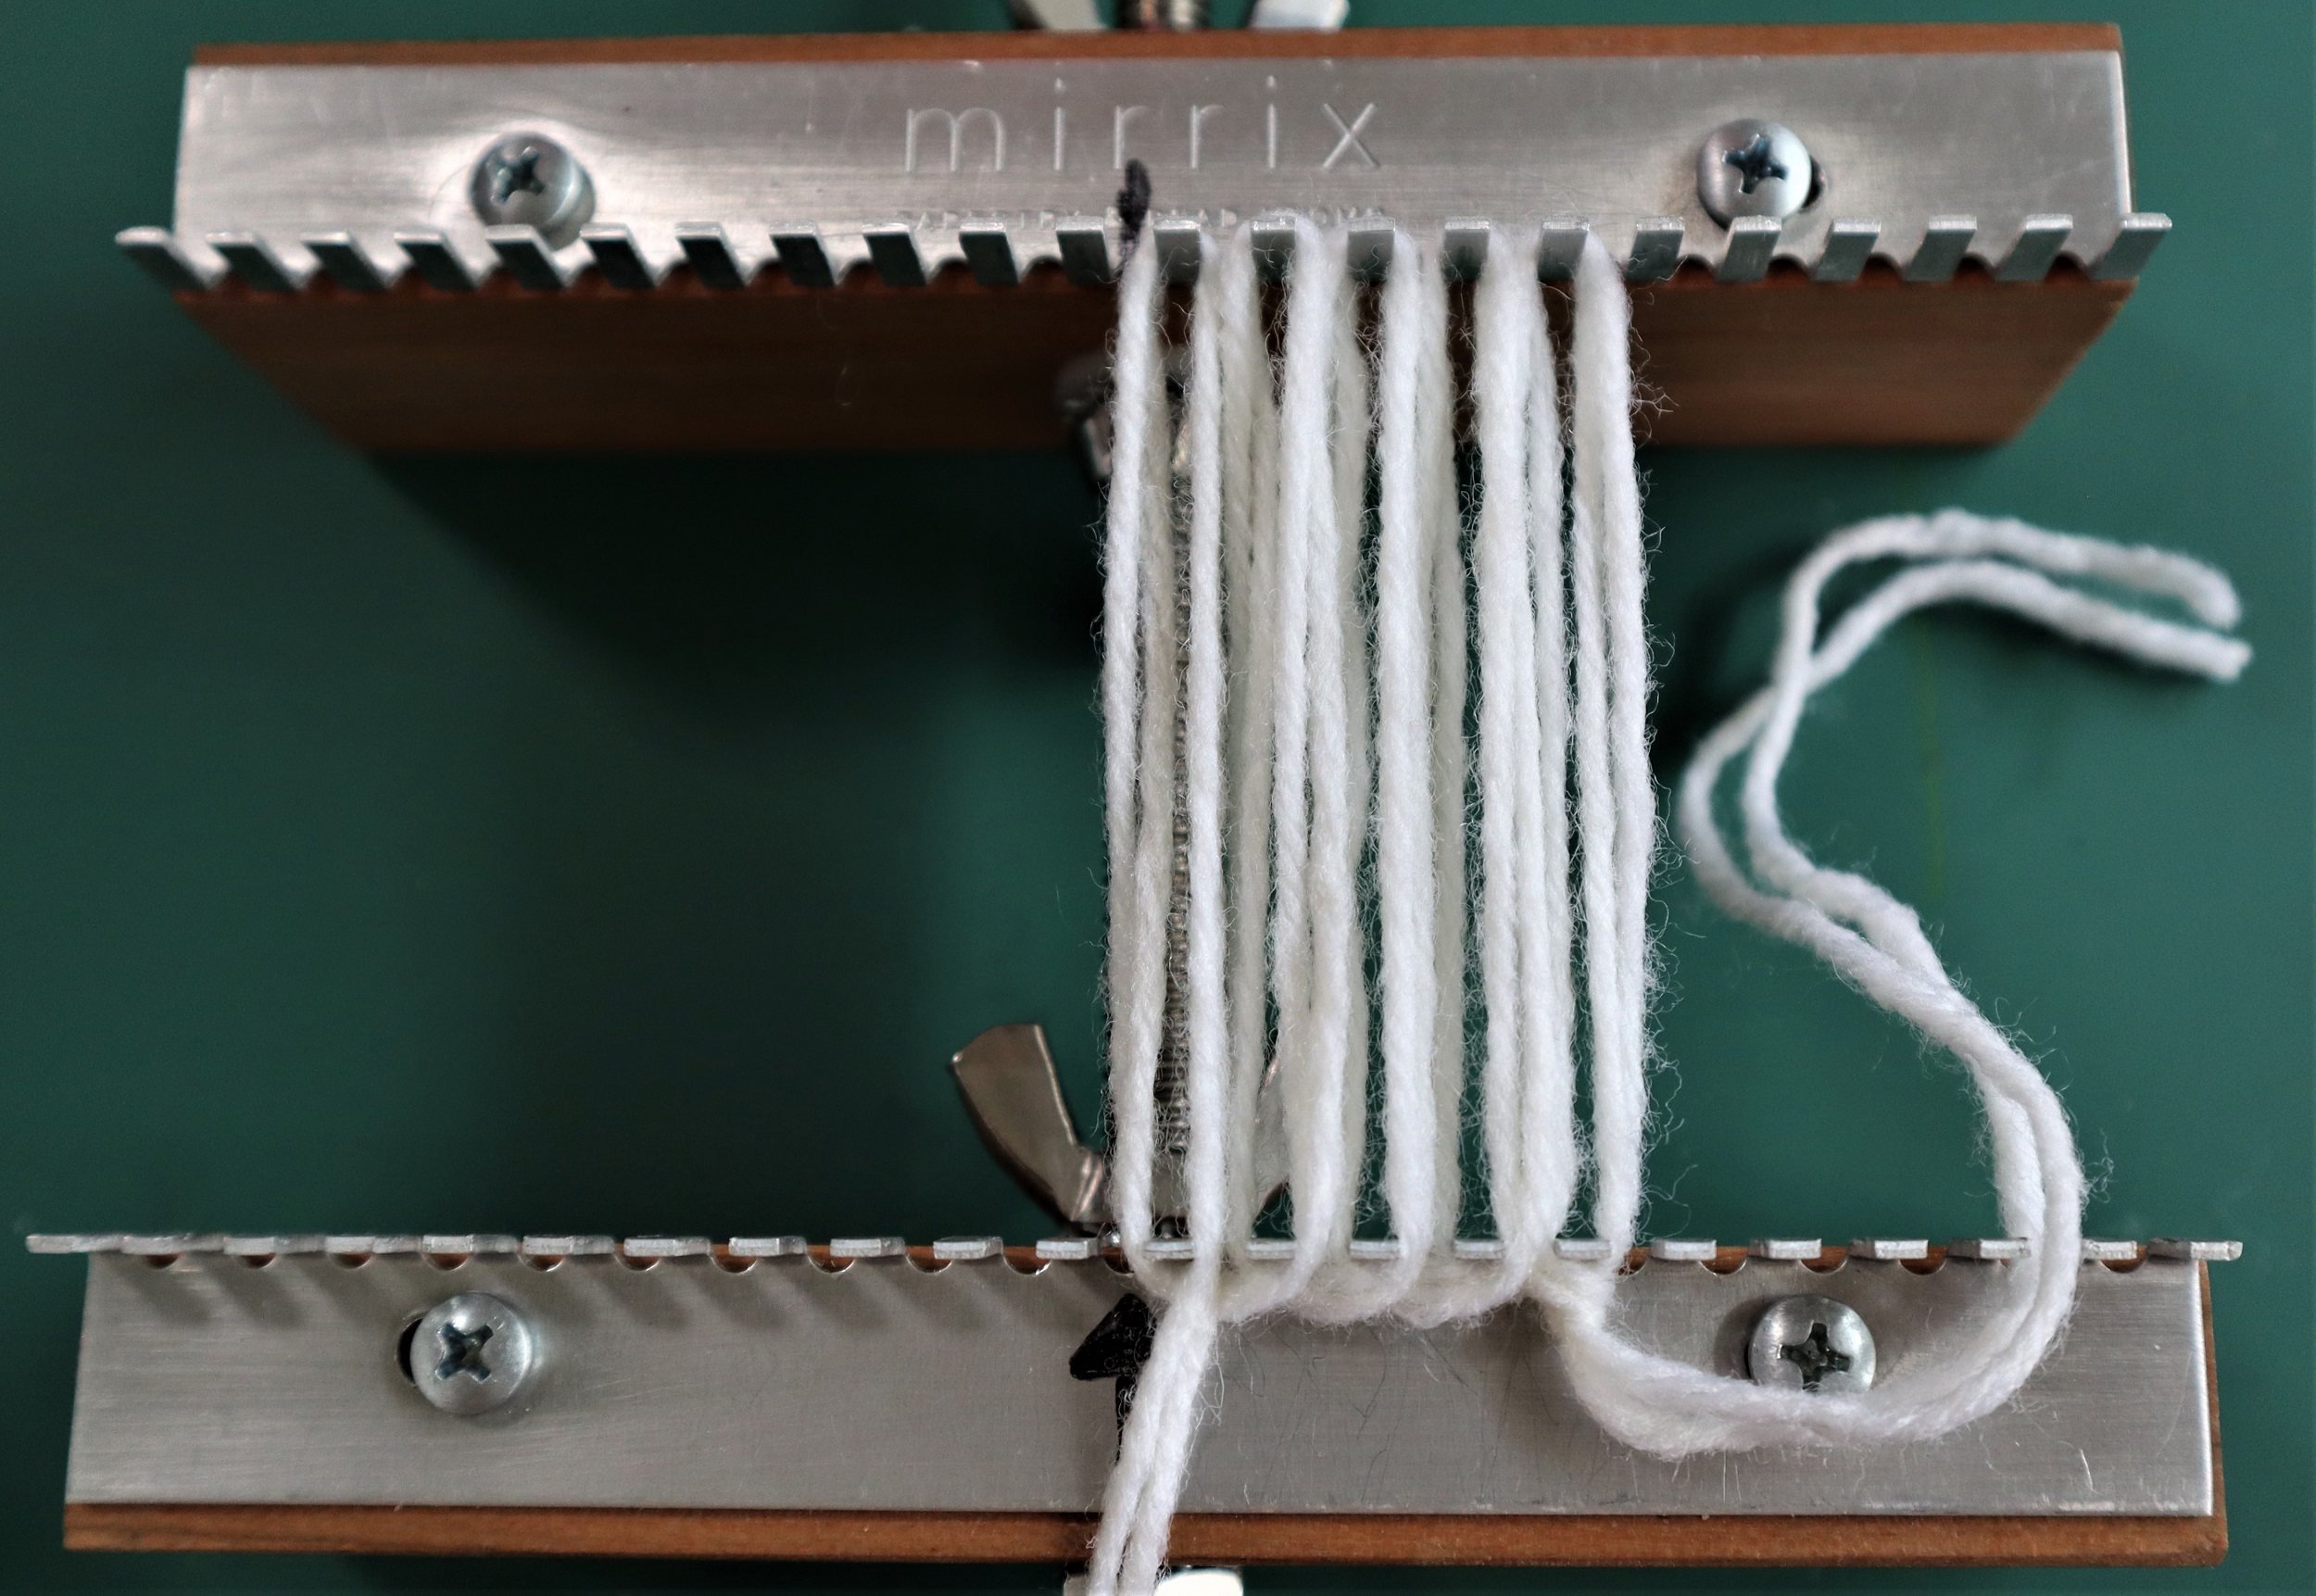
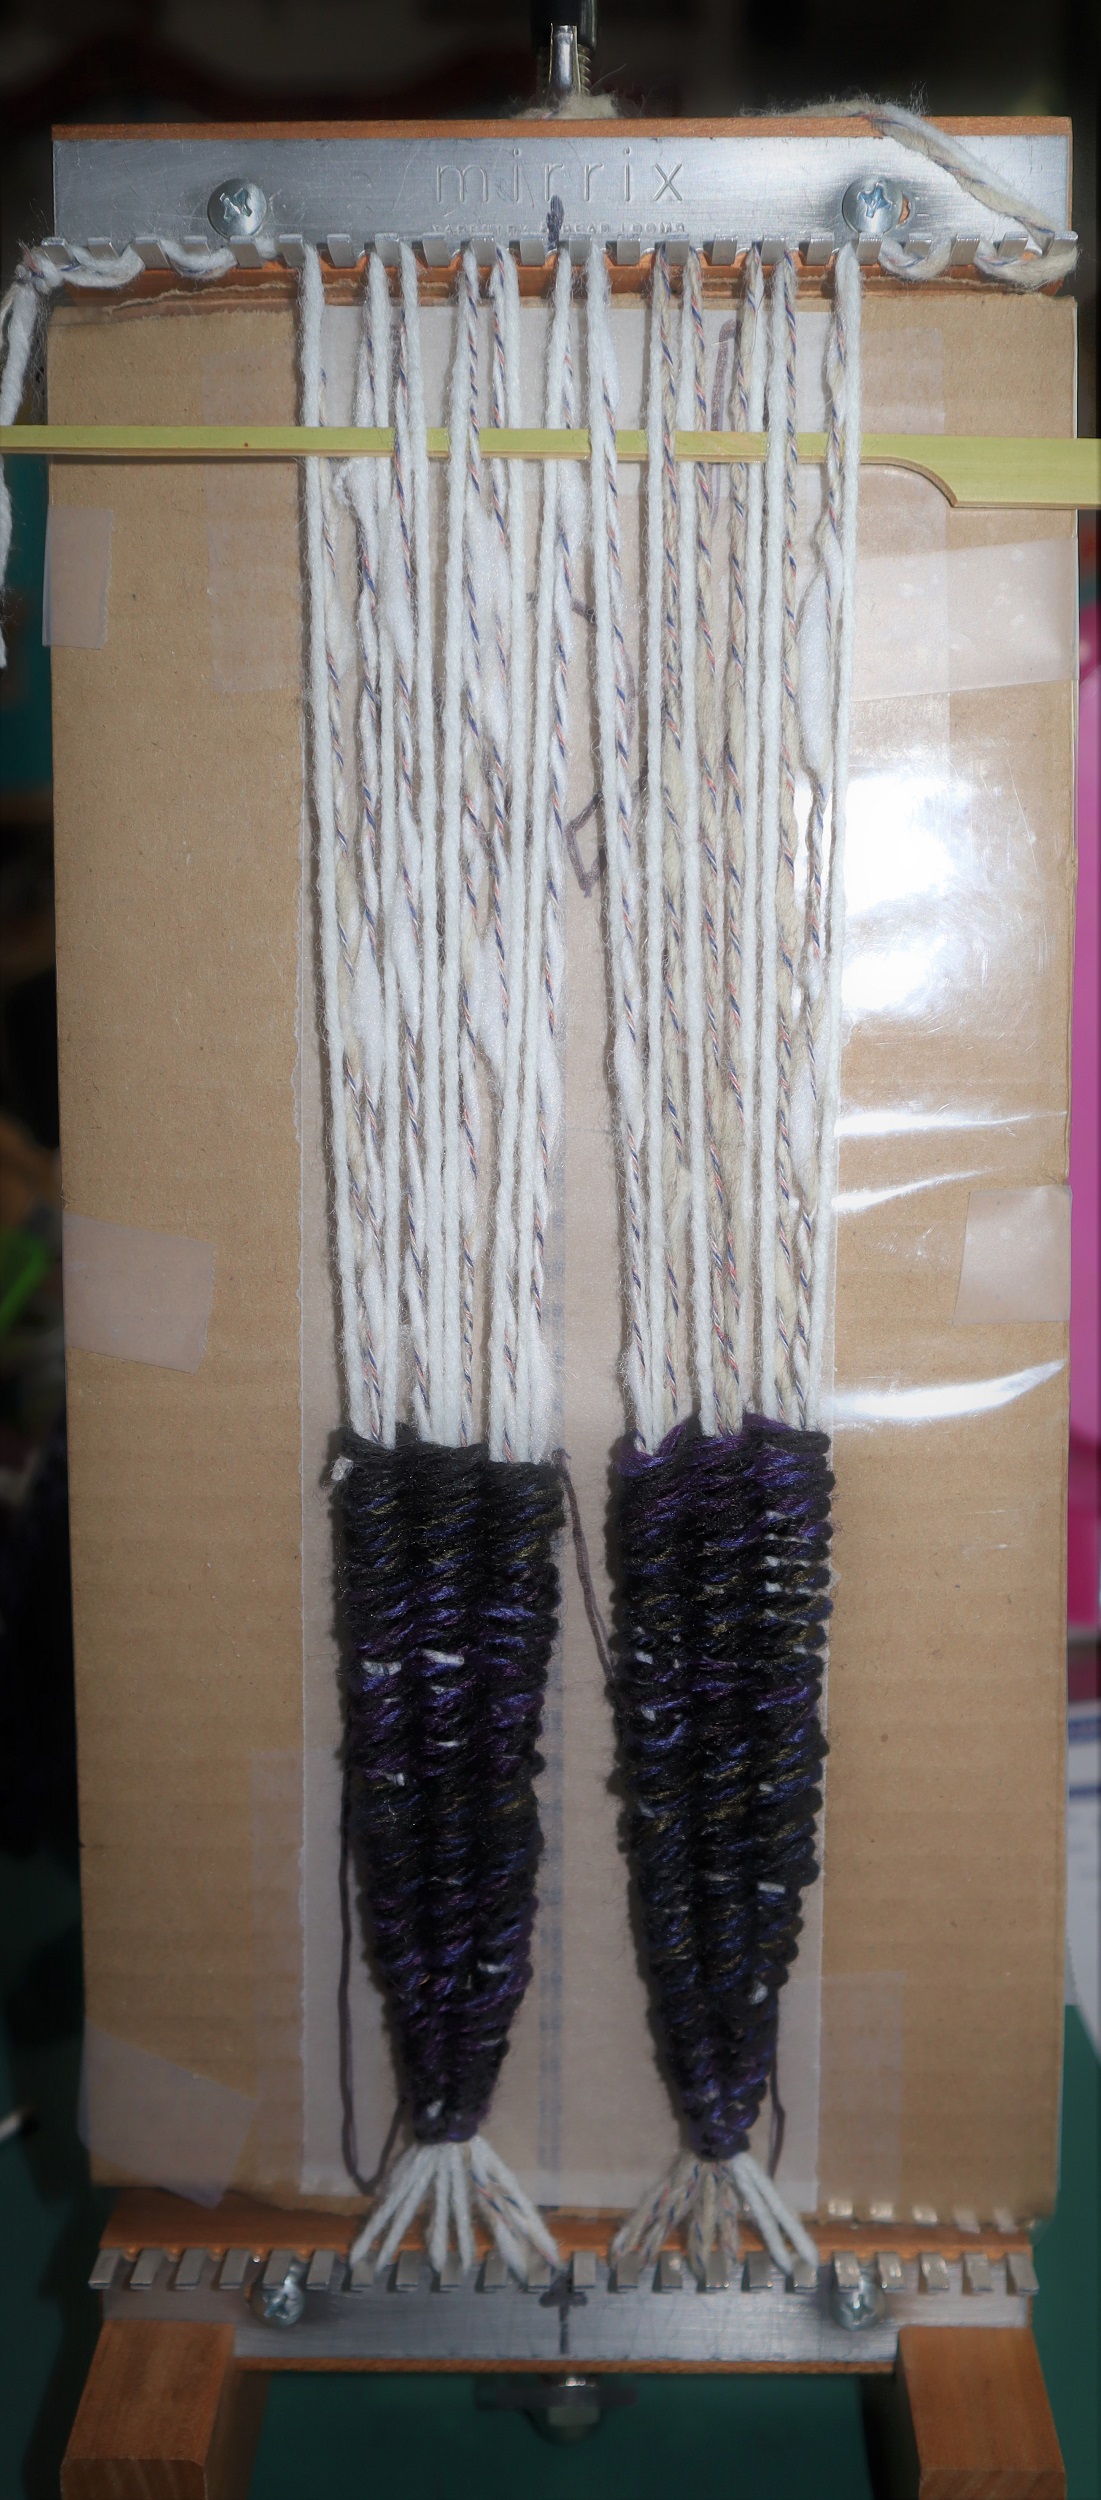
3: WEAVING:
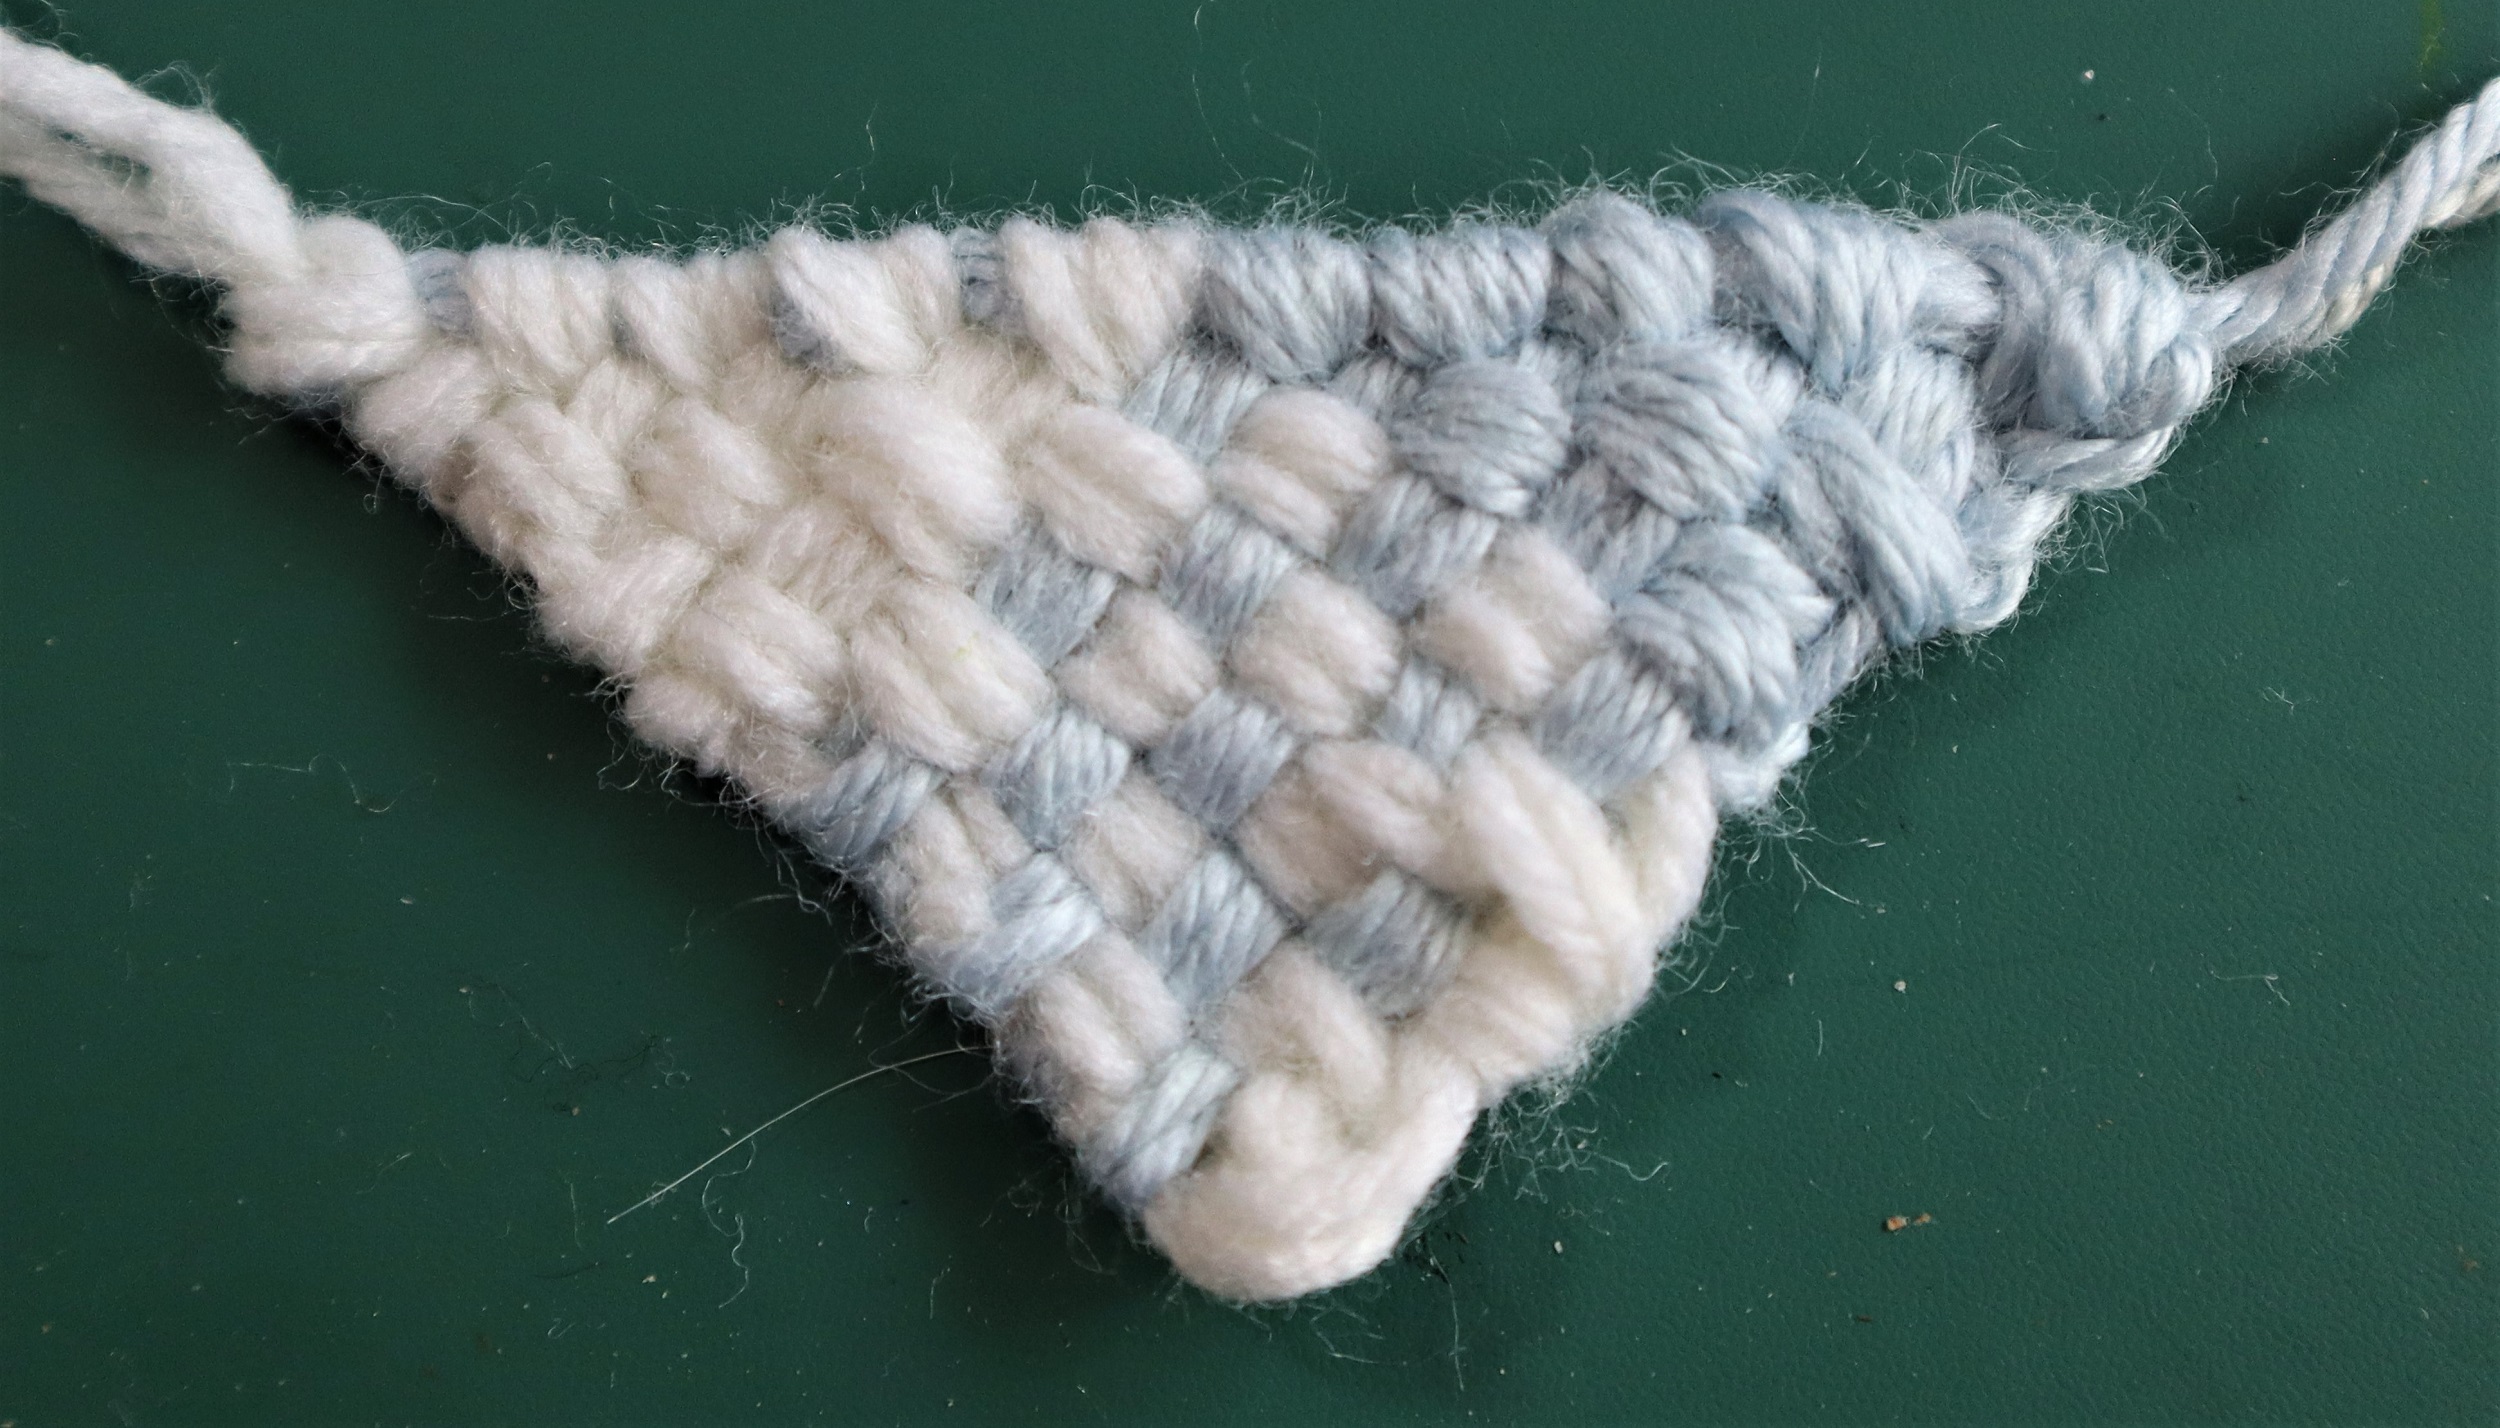
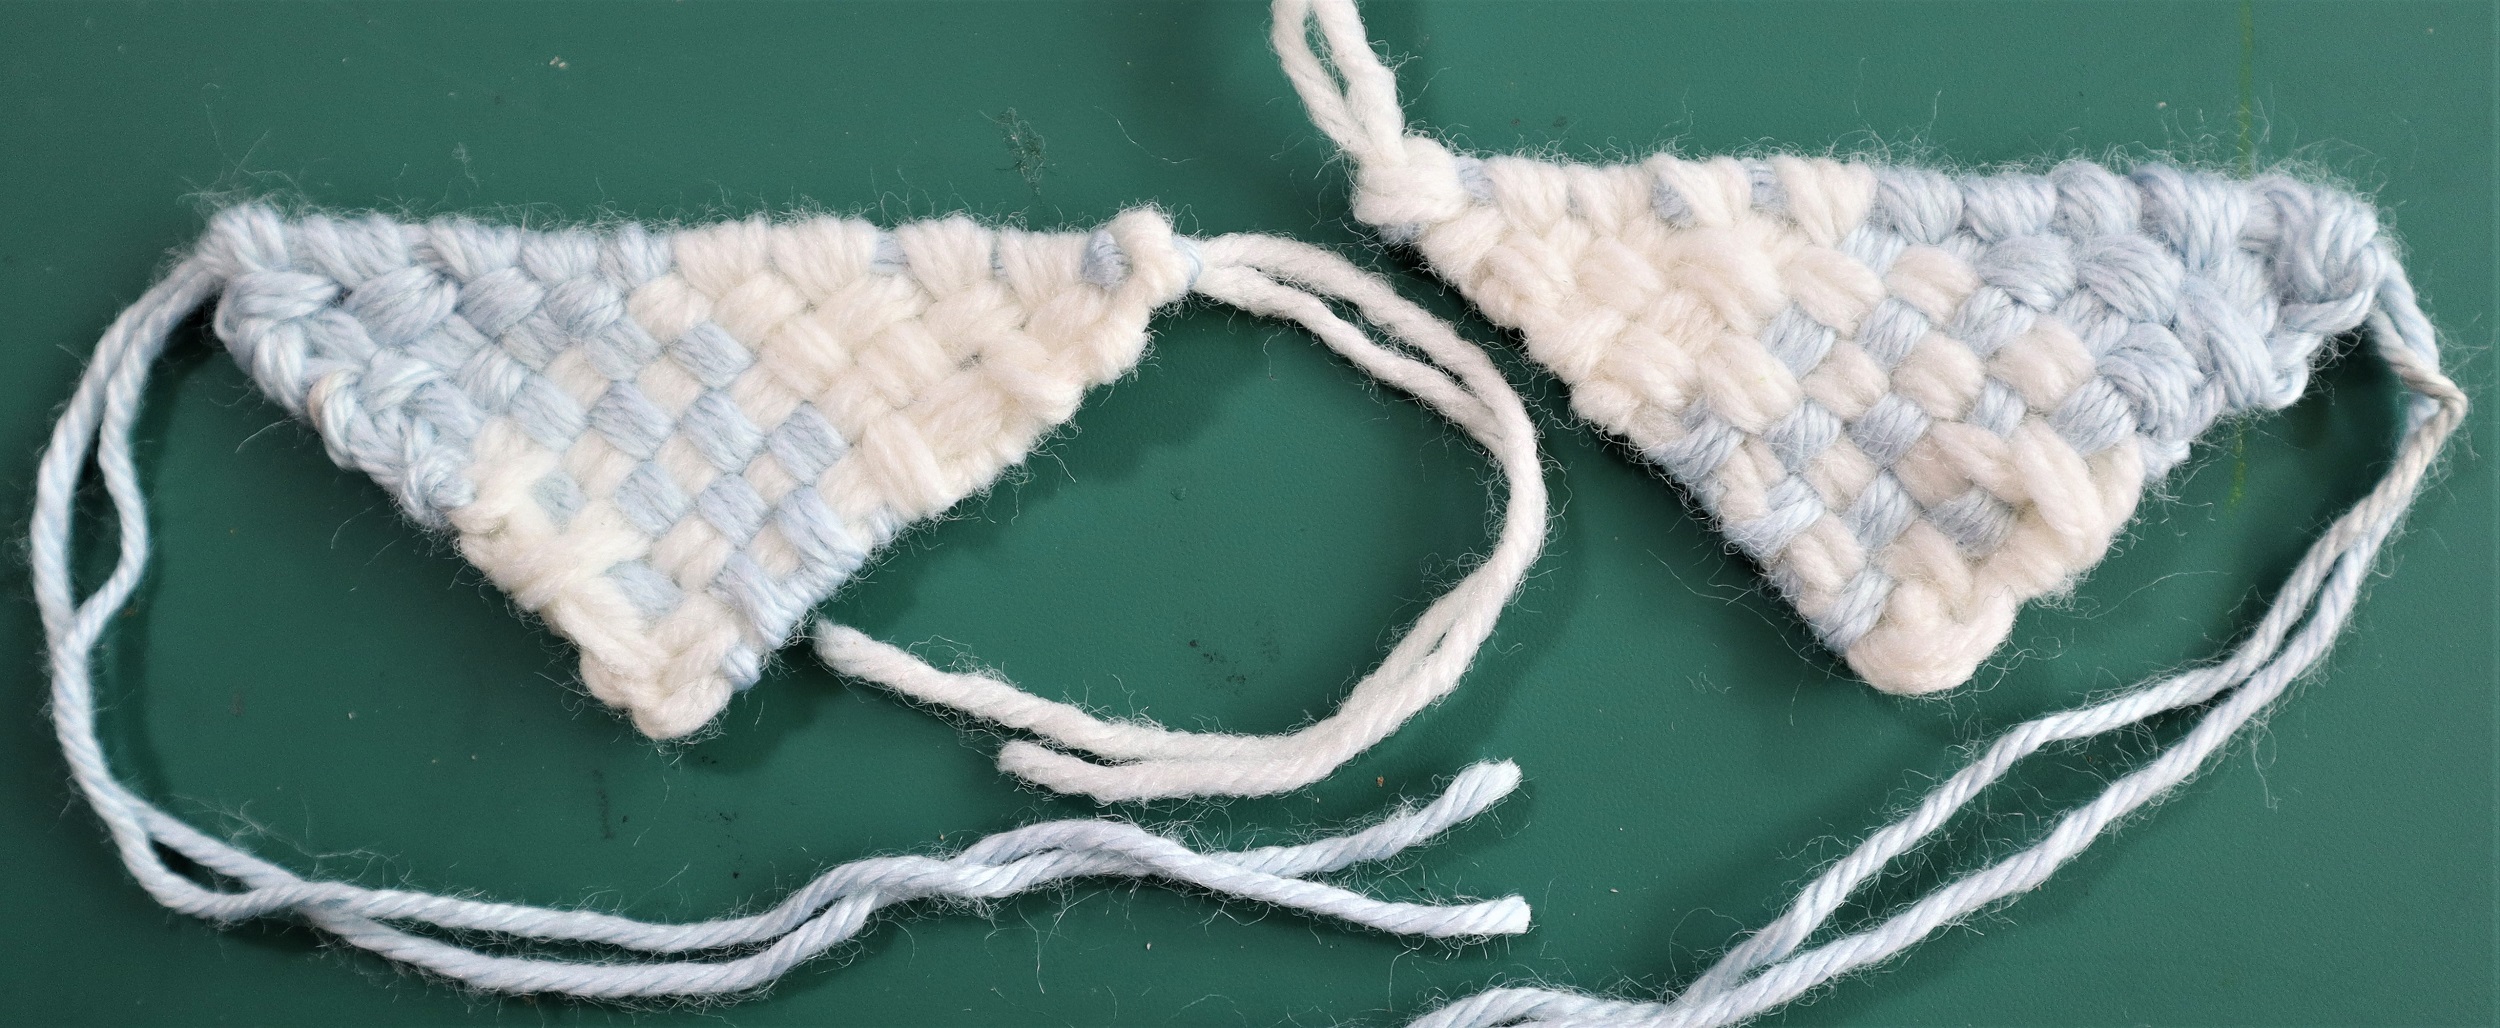
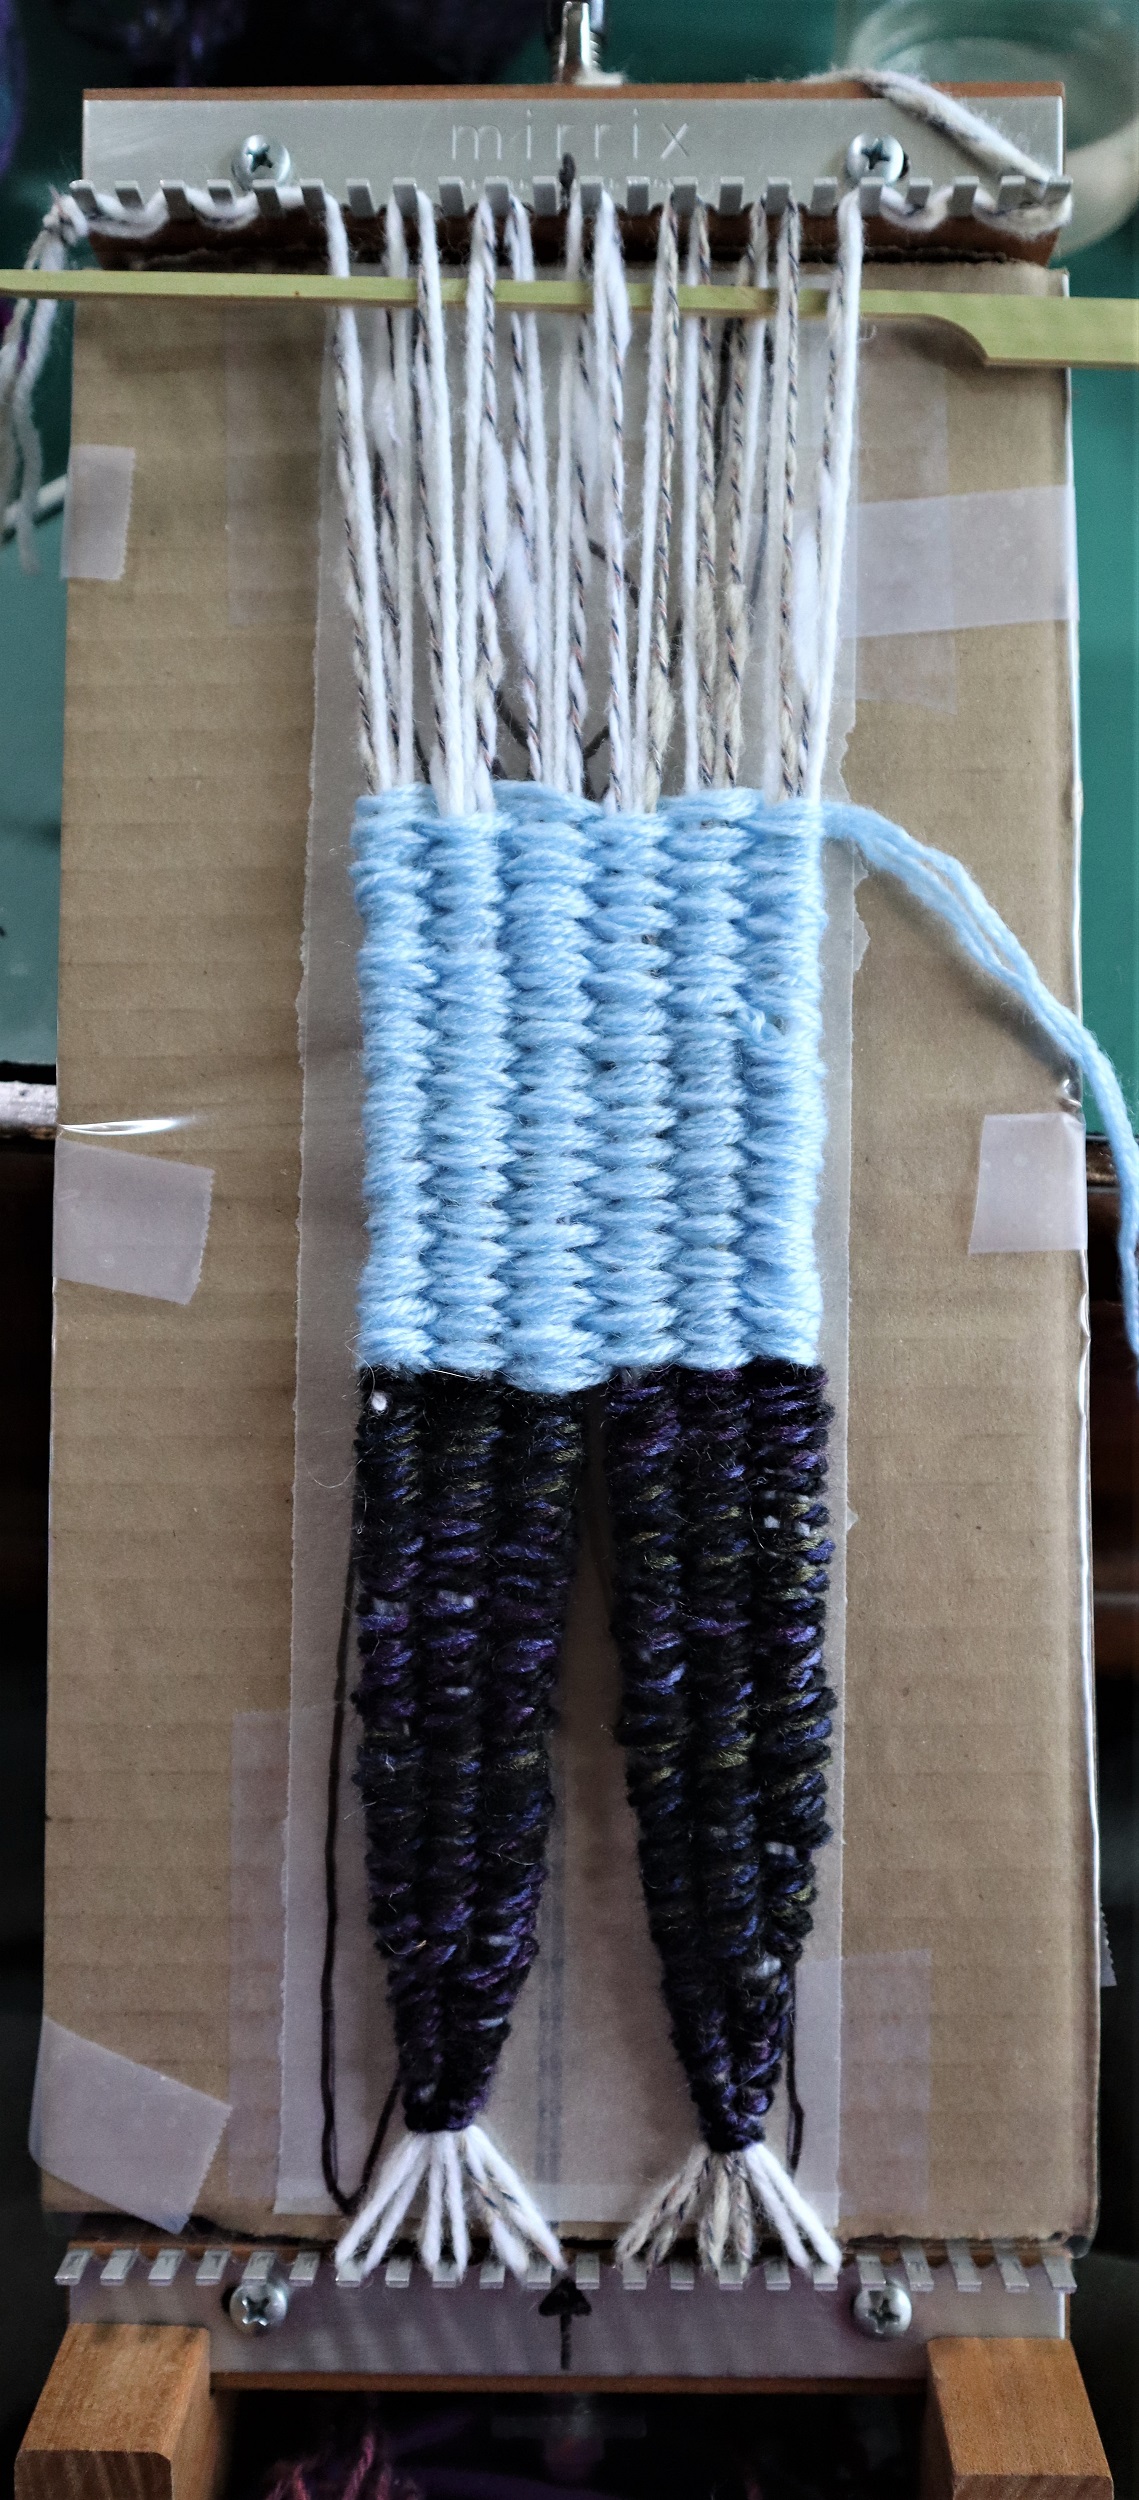
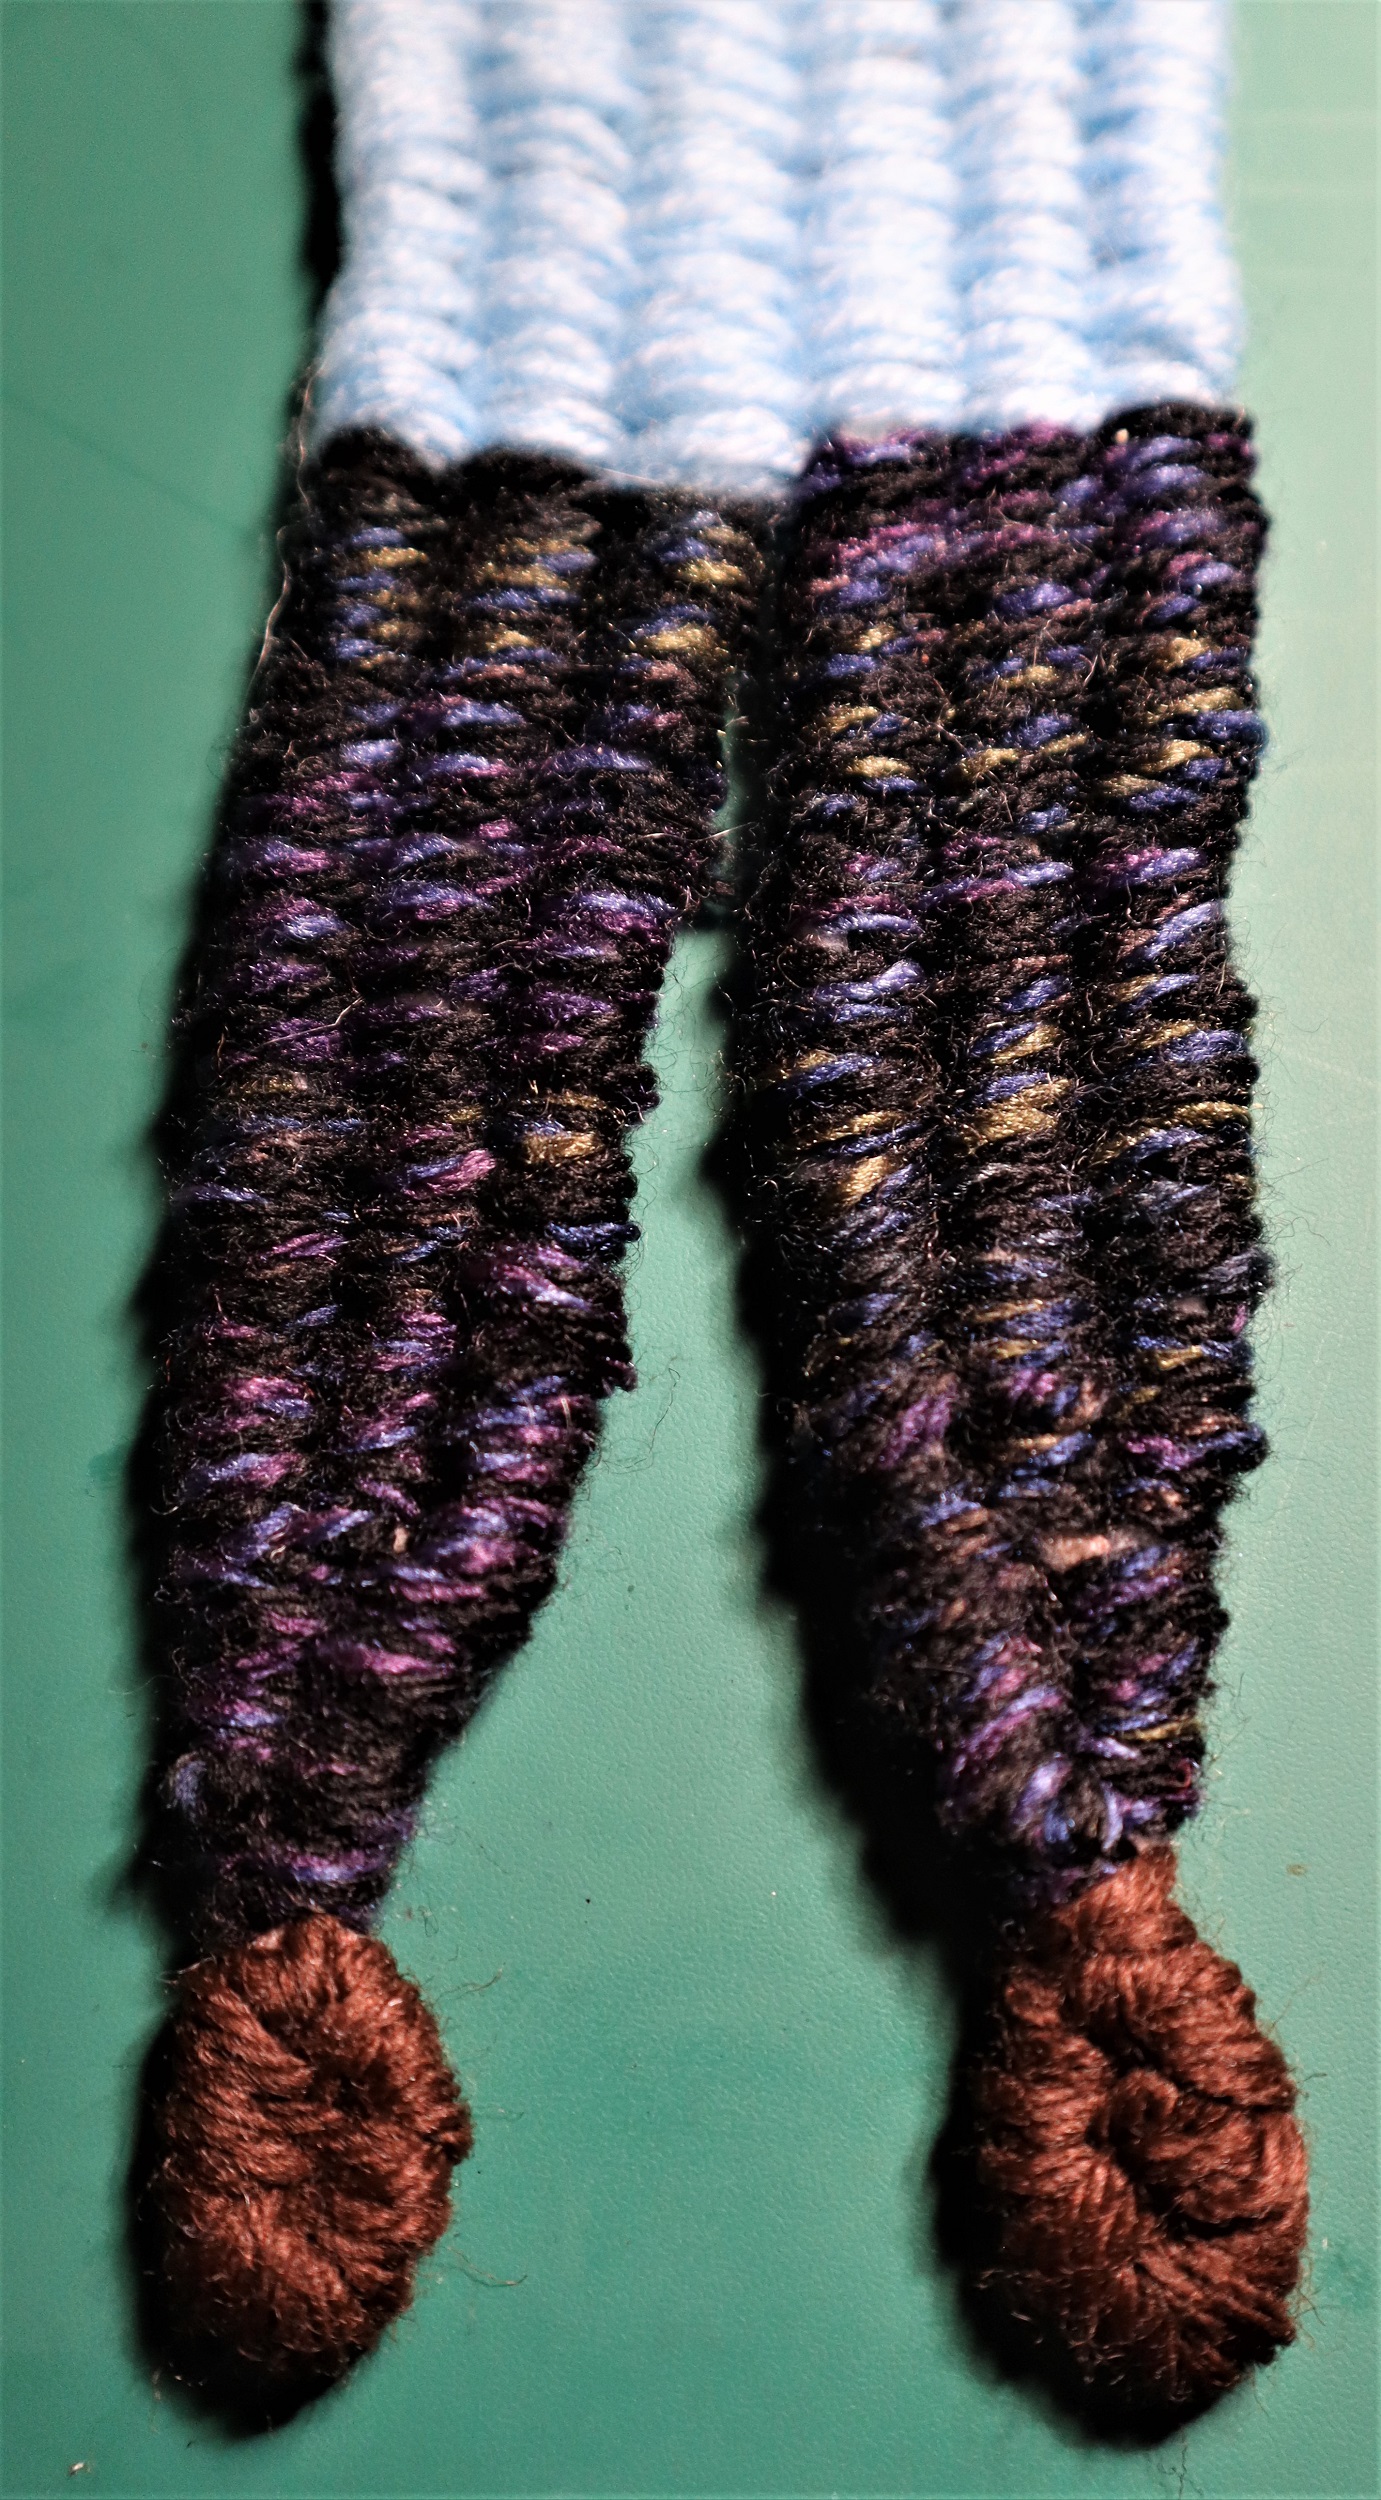
LEGS:
Leaving only an inch or of a tail end rather than the long tail end listed in the instructions in the book, weave the legs with 2 strands of black yarn held together as if they are a single strand, and packing the weaving down closely to completely cover the warp strands. Follow the instructions in the book for weaving the legs, but noting that you will be beating the weft yarn in more densely than in the book.
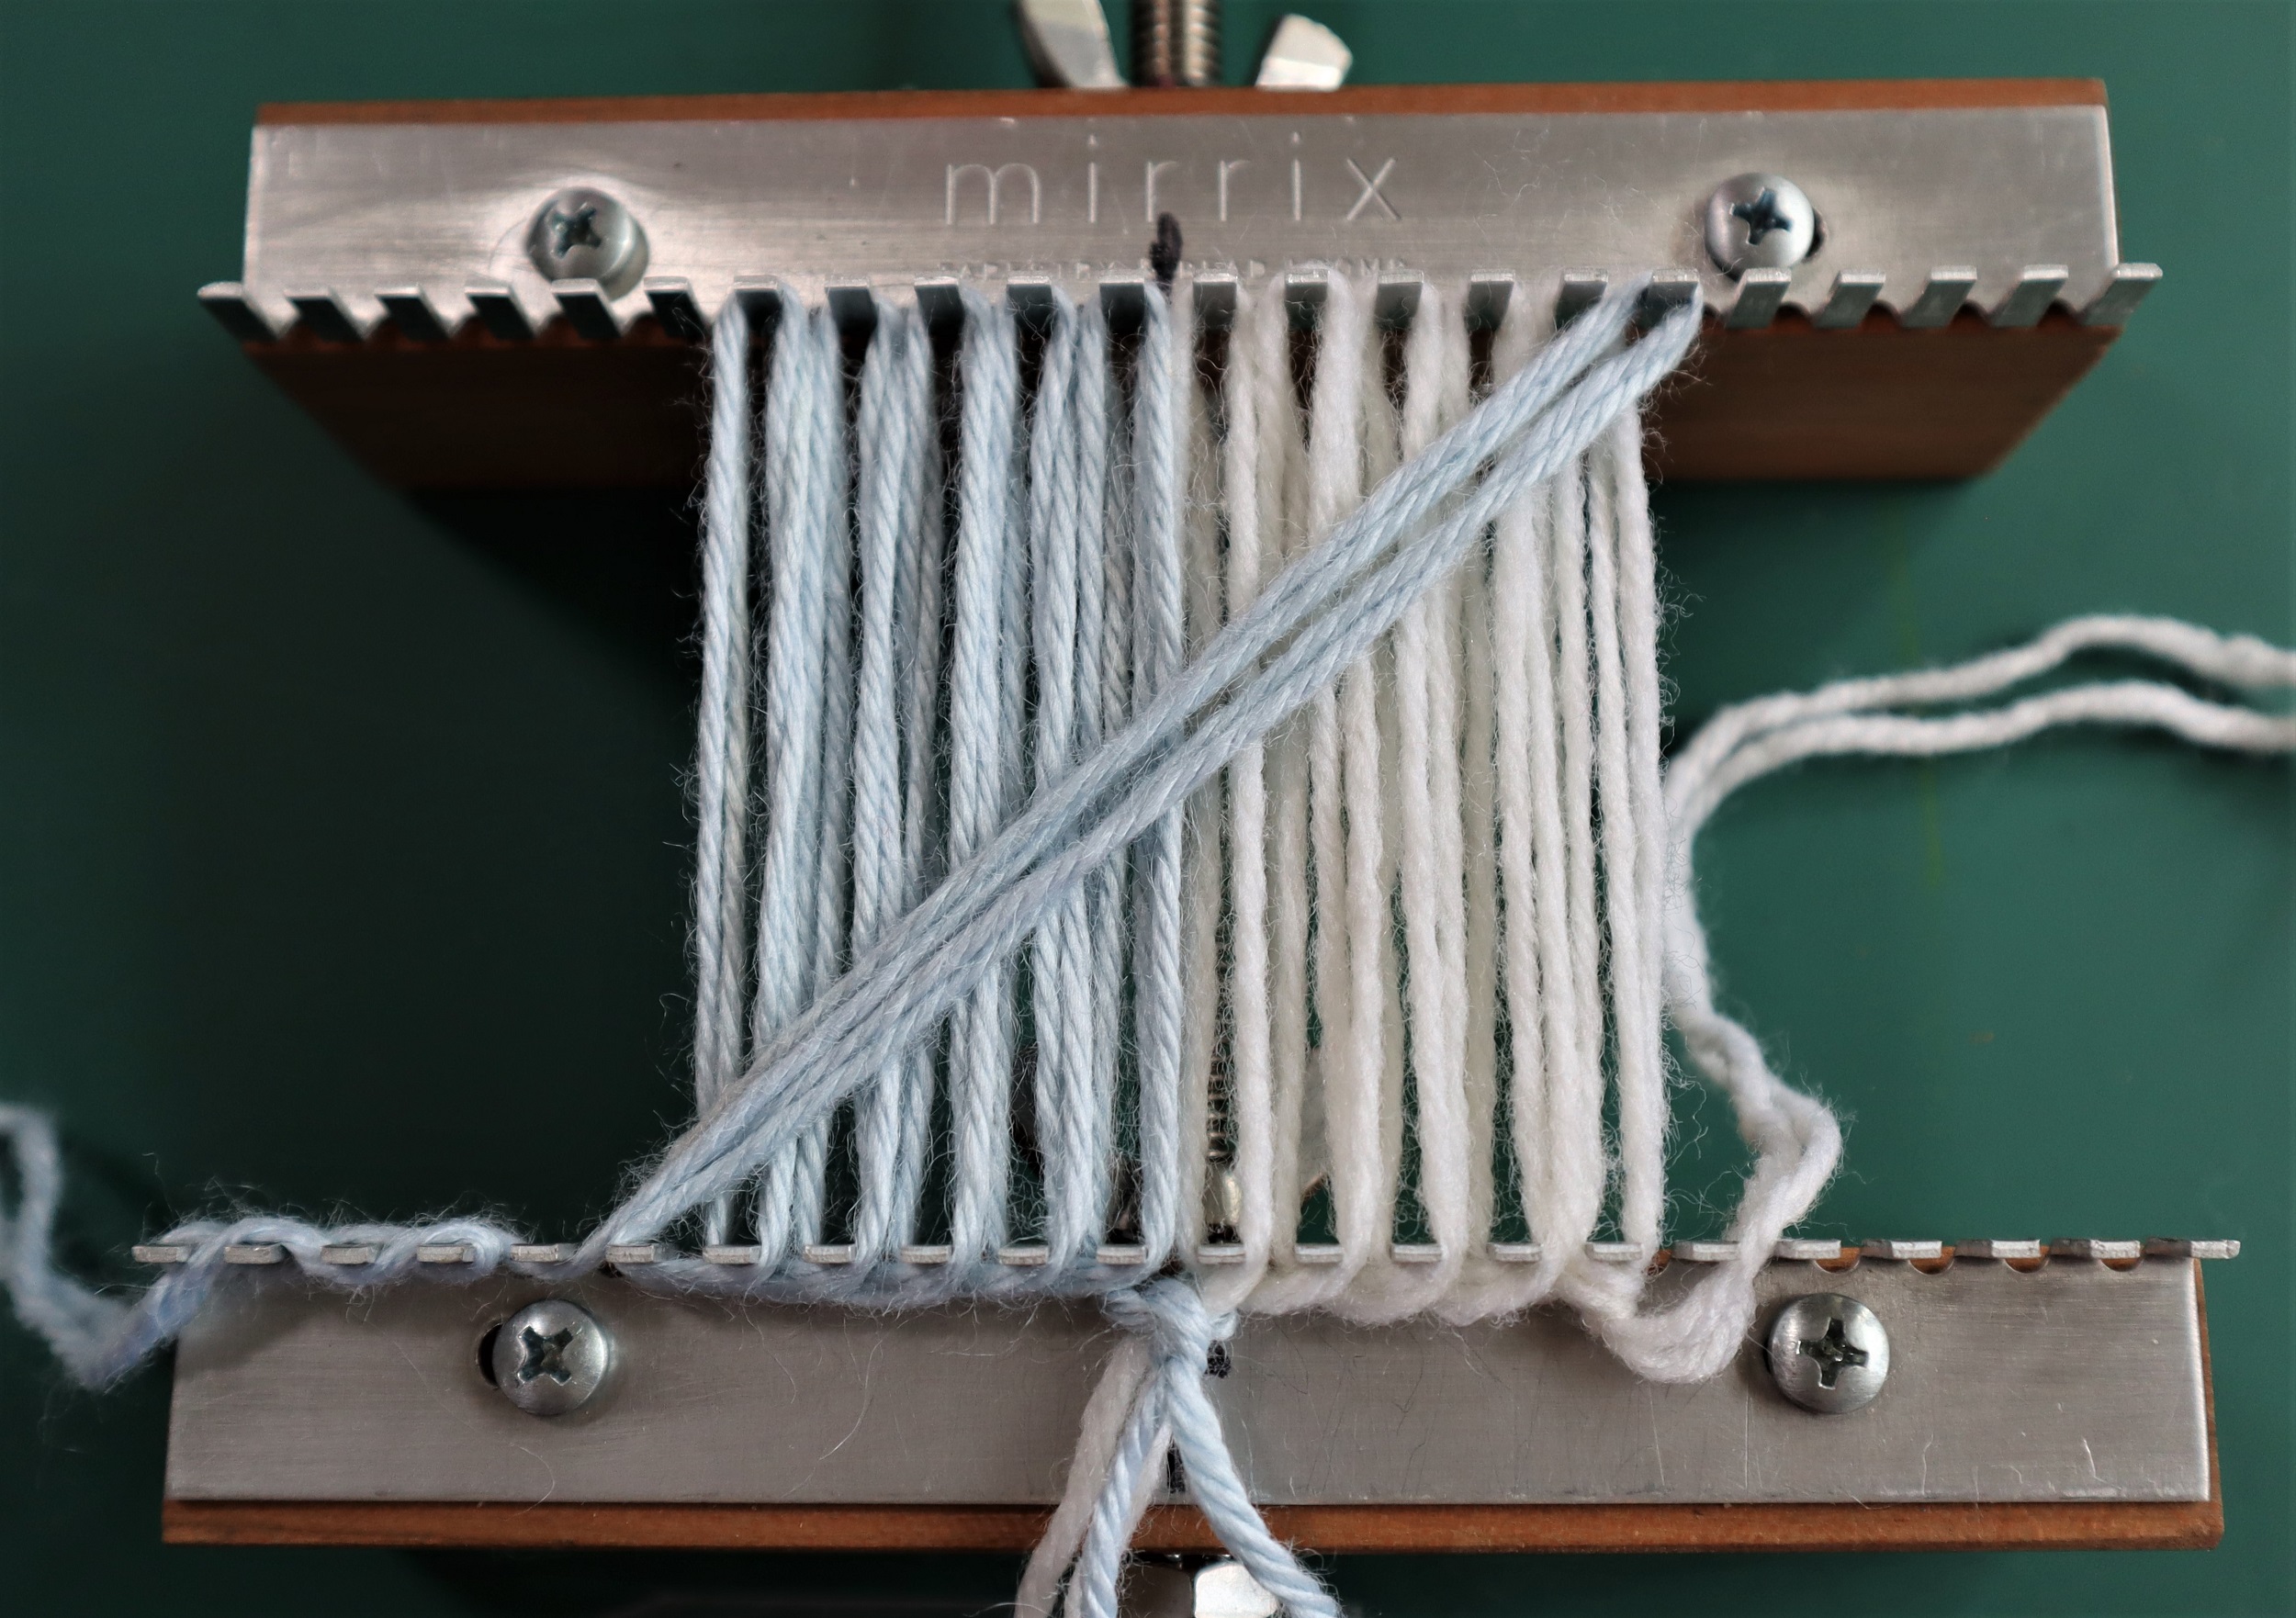
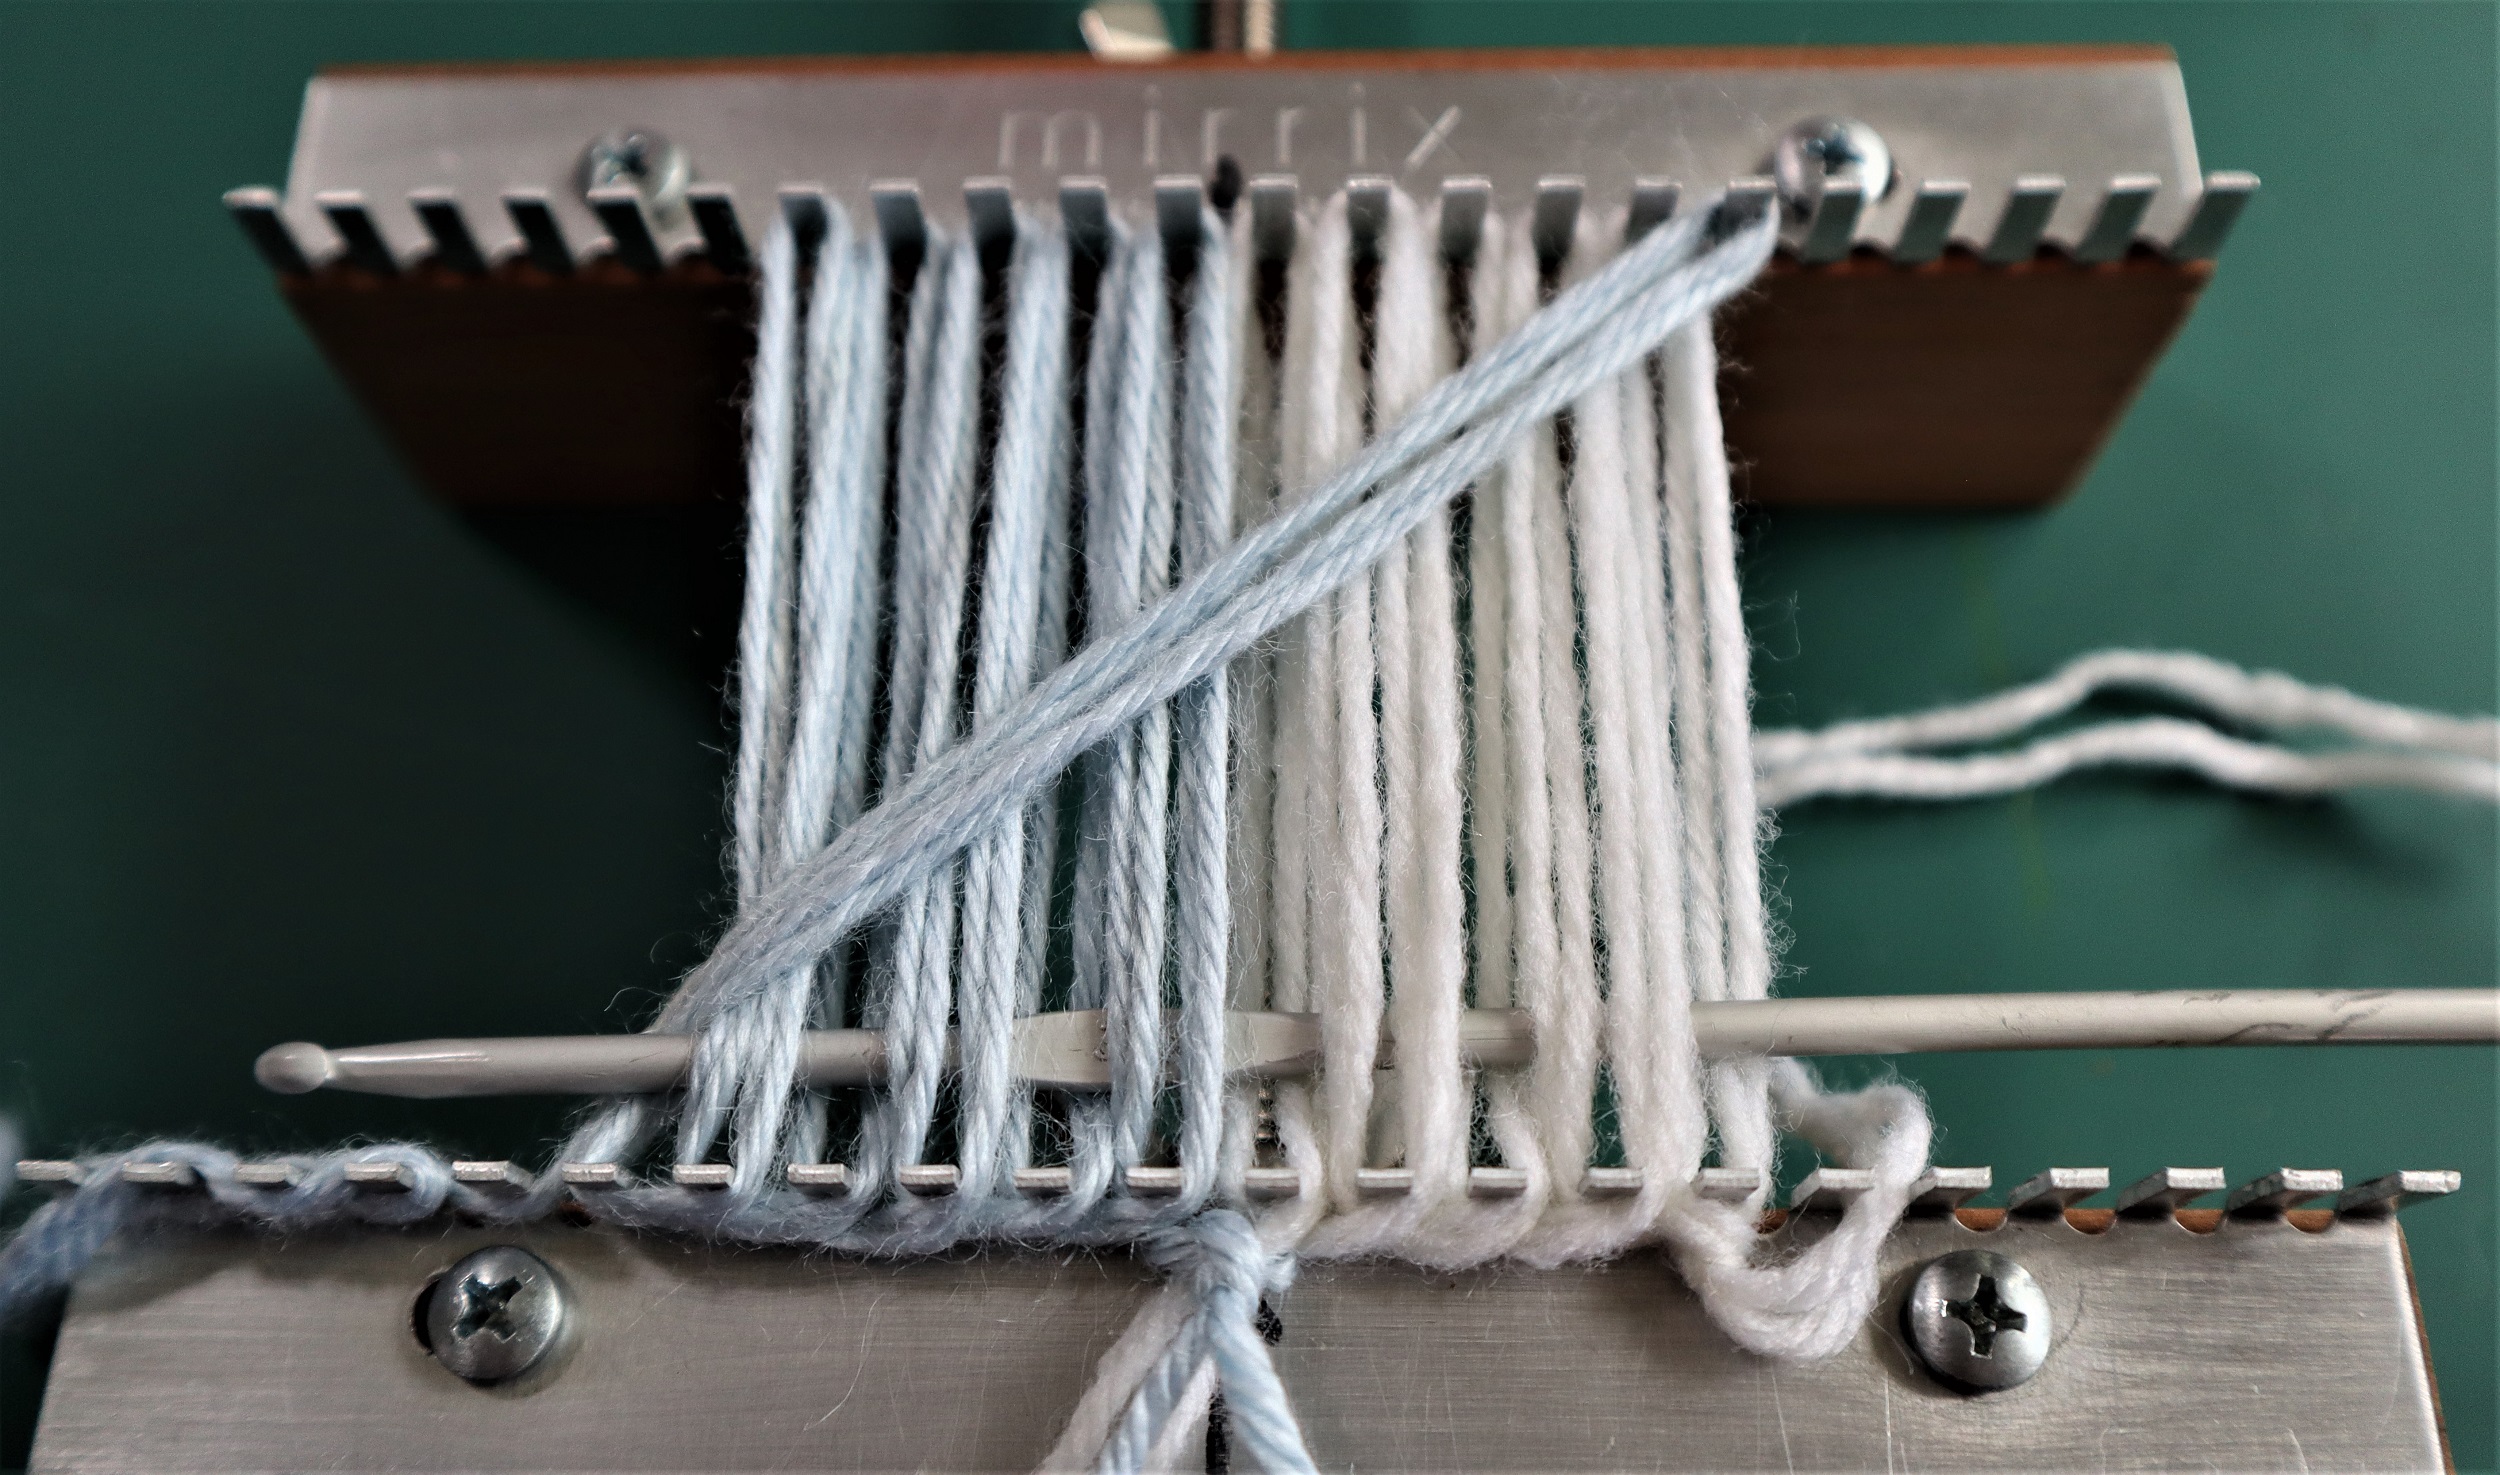
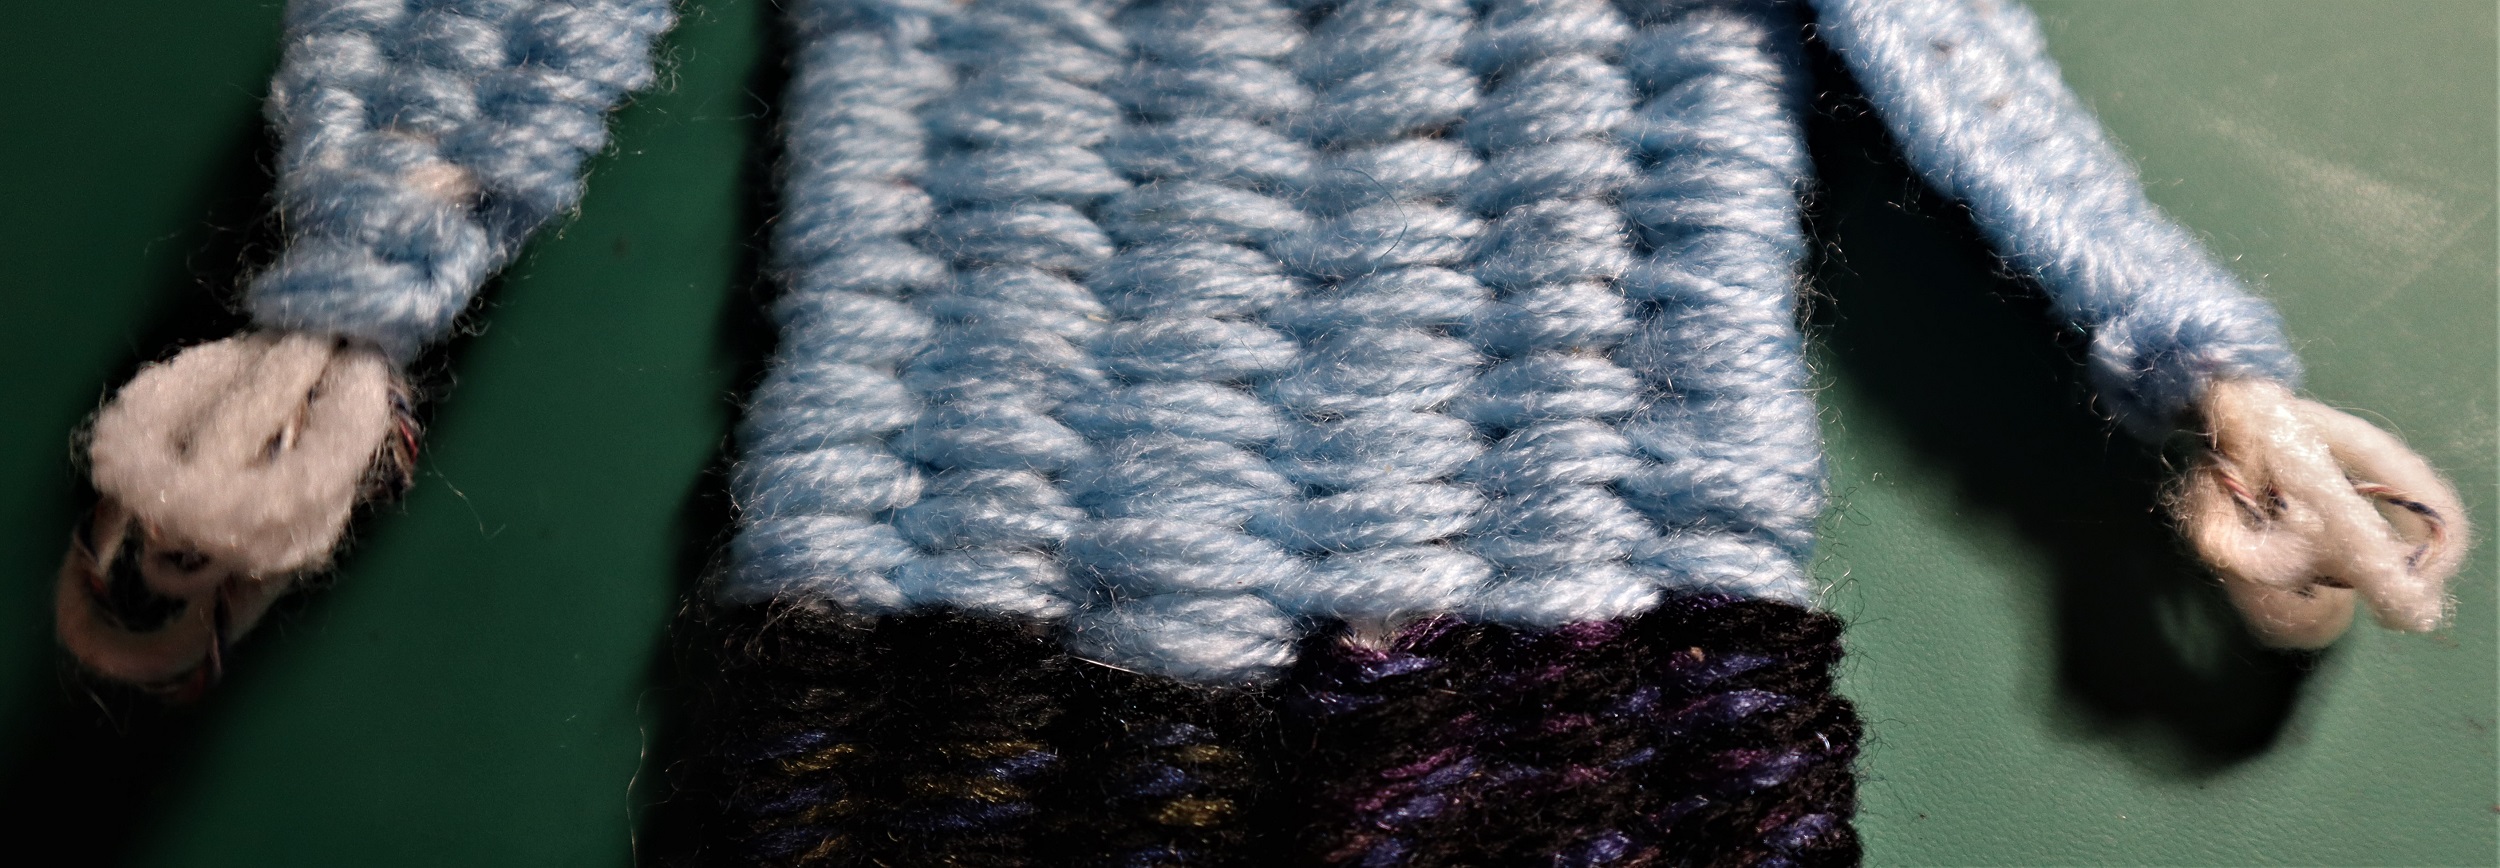
SWEATER:
With 2 strands of light blue yarn held together as if they are a single strand, weave up to the neck. Beat the weft so it completely covers the warp strands.
DO NOT pull in the waistline as it is drawn in the book. Weave the sweater straight up to the shoulders.
Wrap the neck with the blue yarn and weave in the ends.
SLEEVES:
Weave the sleeves following the instructions for the arms, but, once again, beat the weft so it completely covers the warp strands.
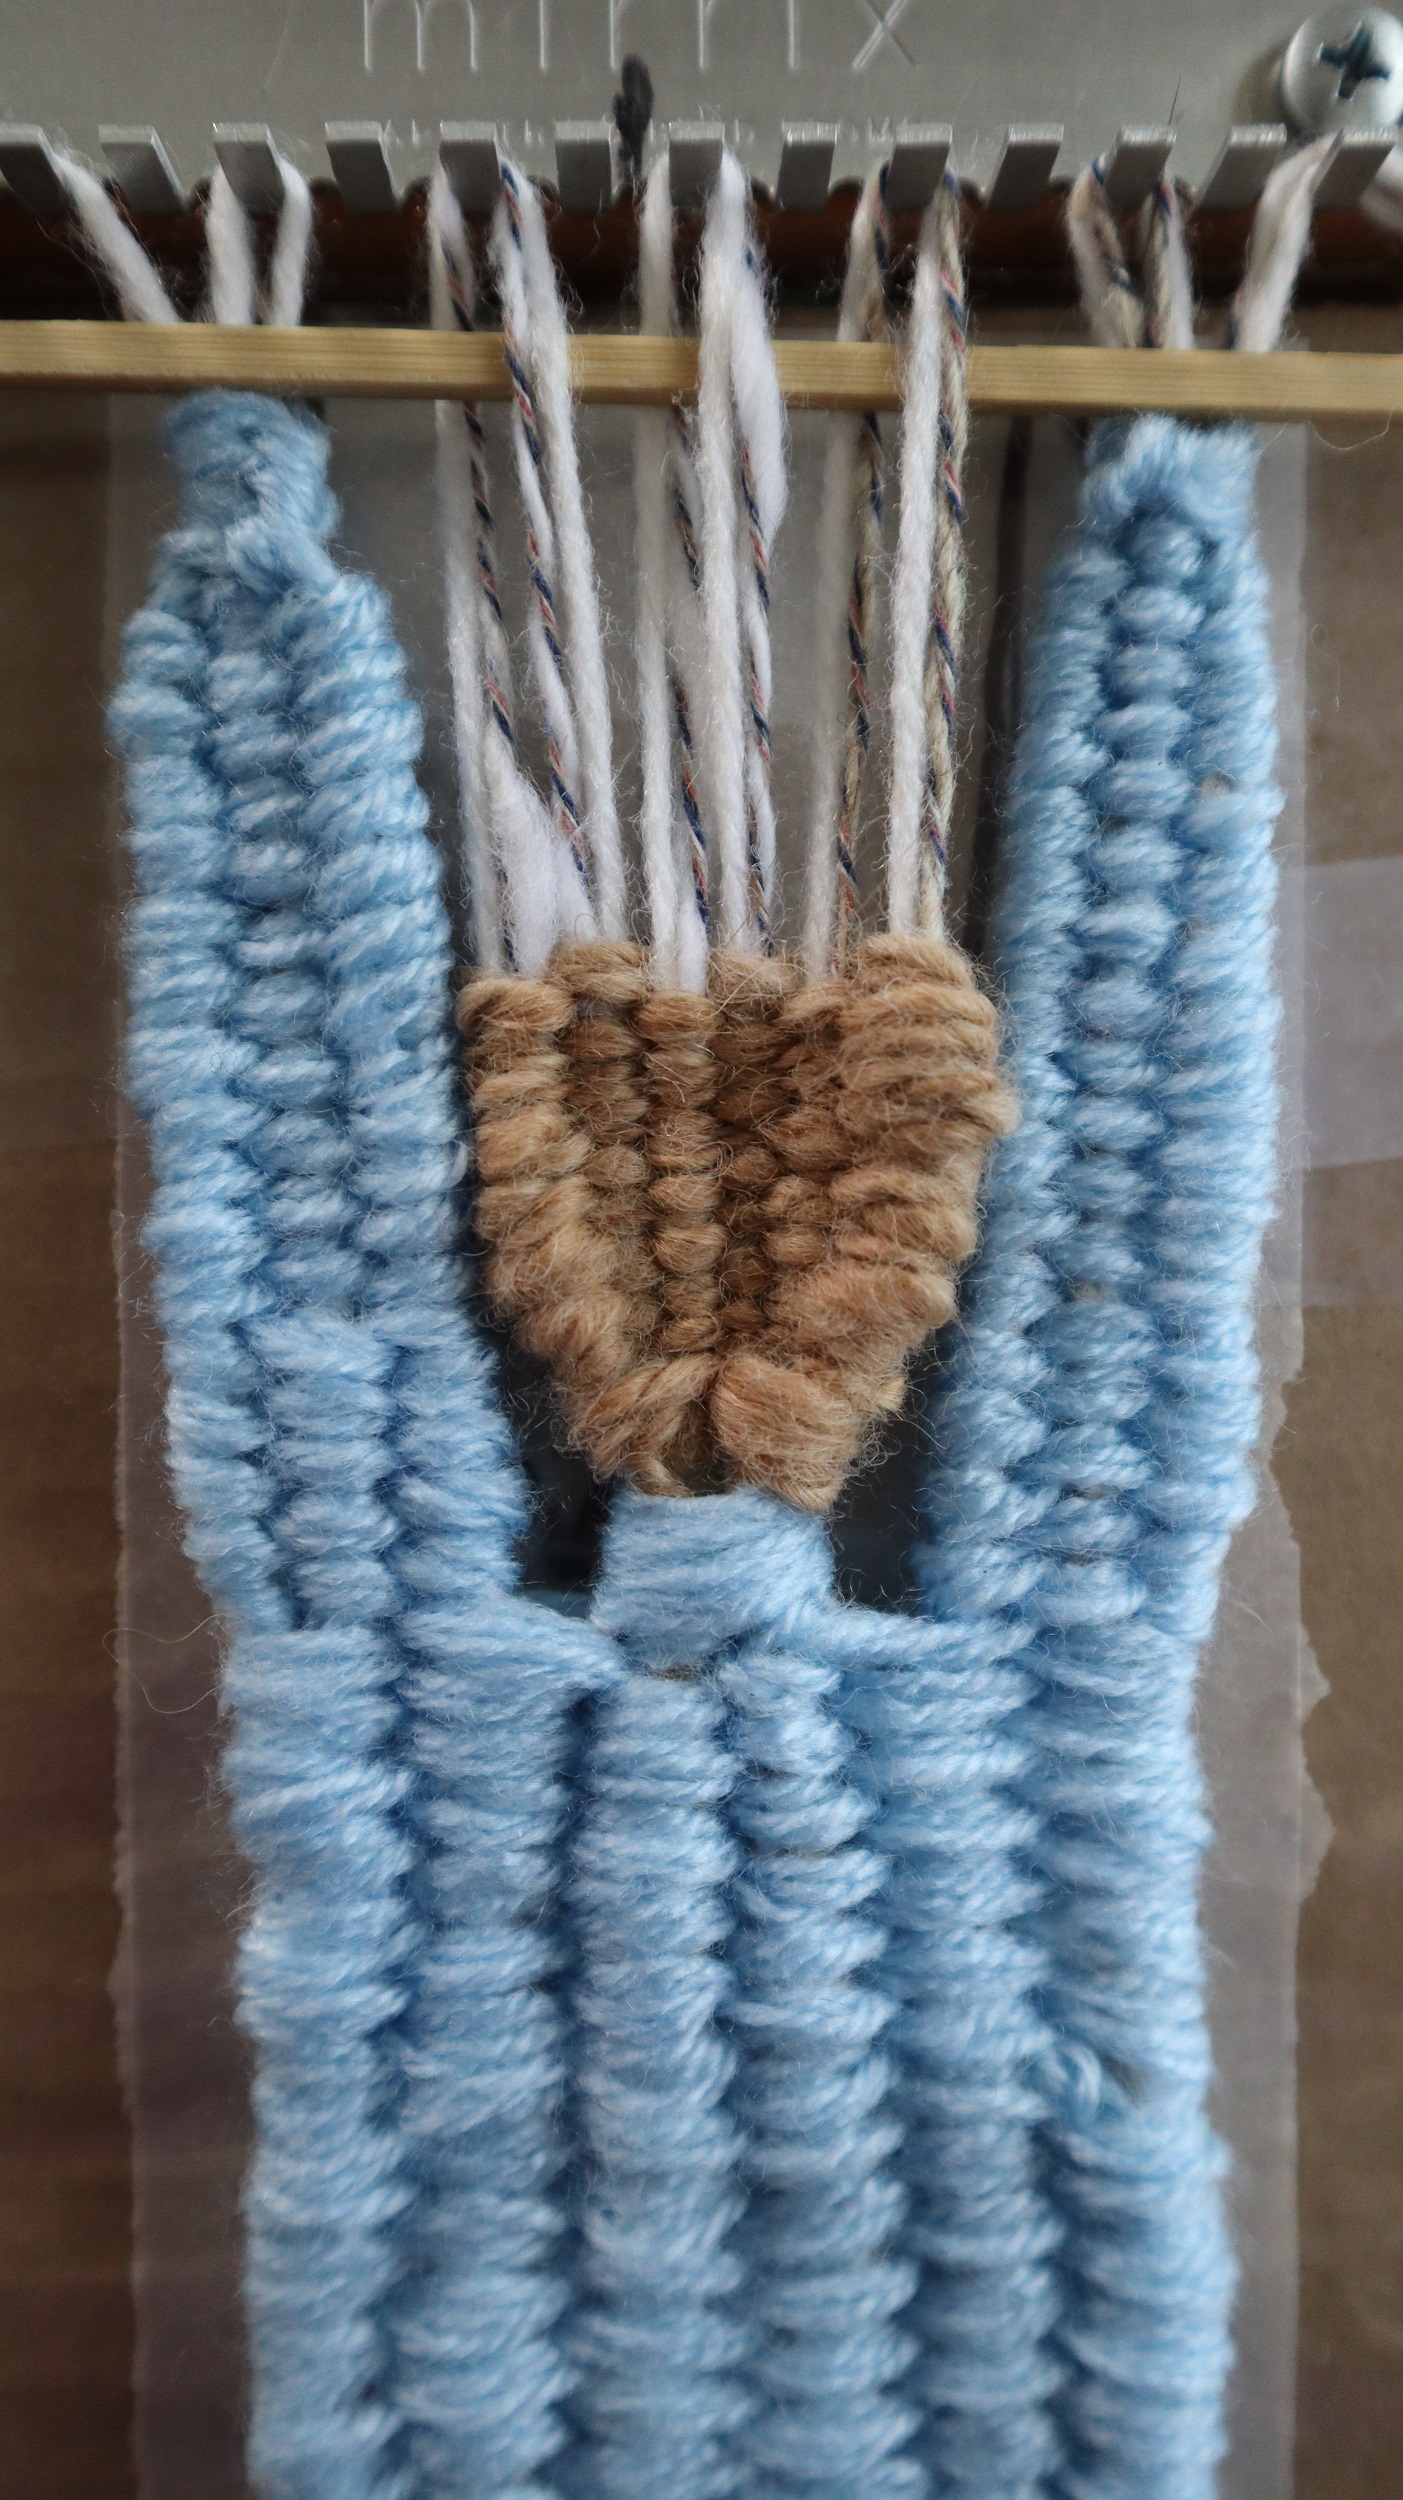
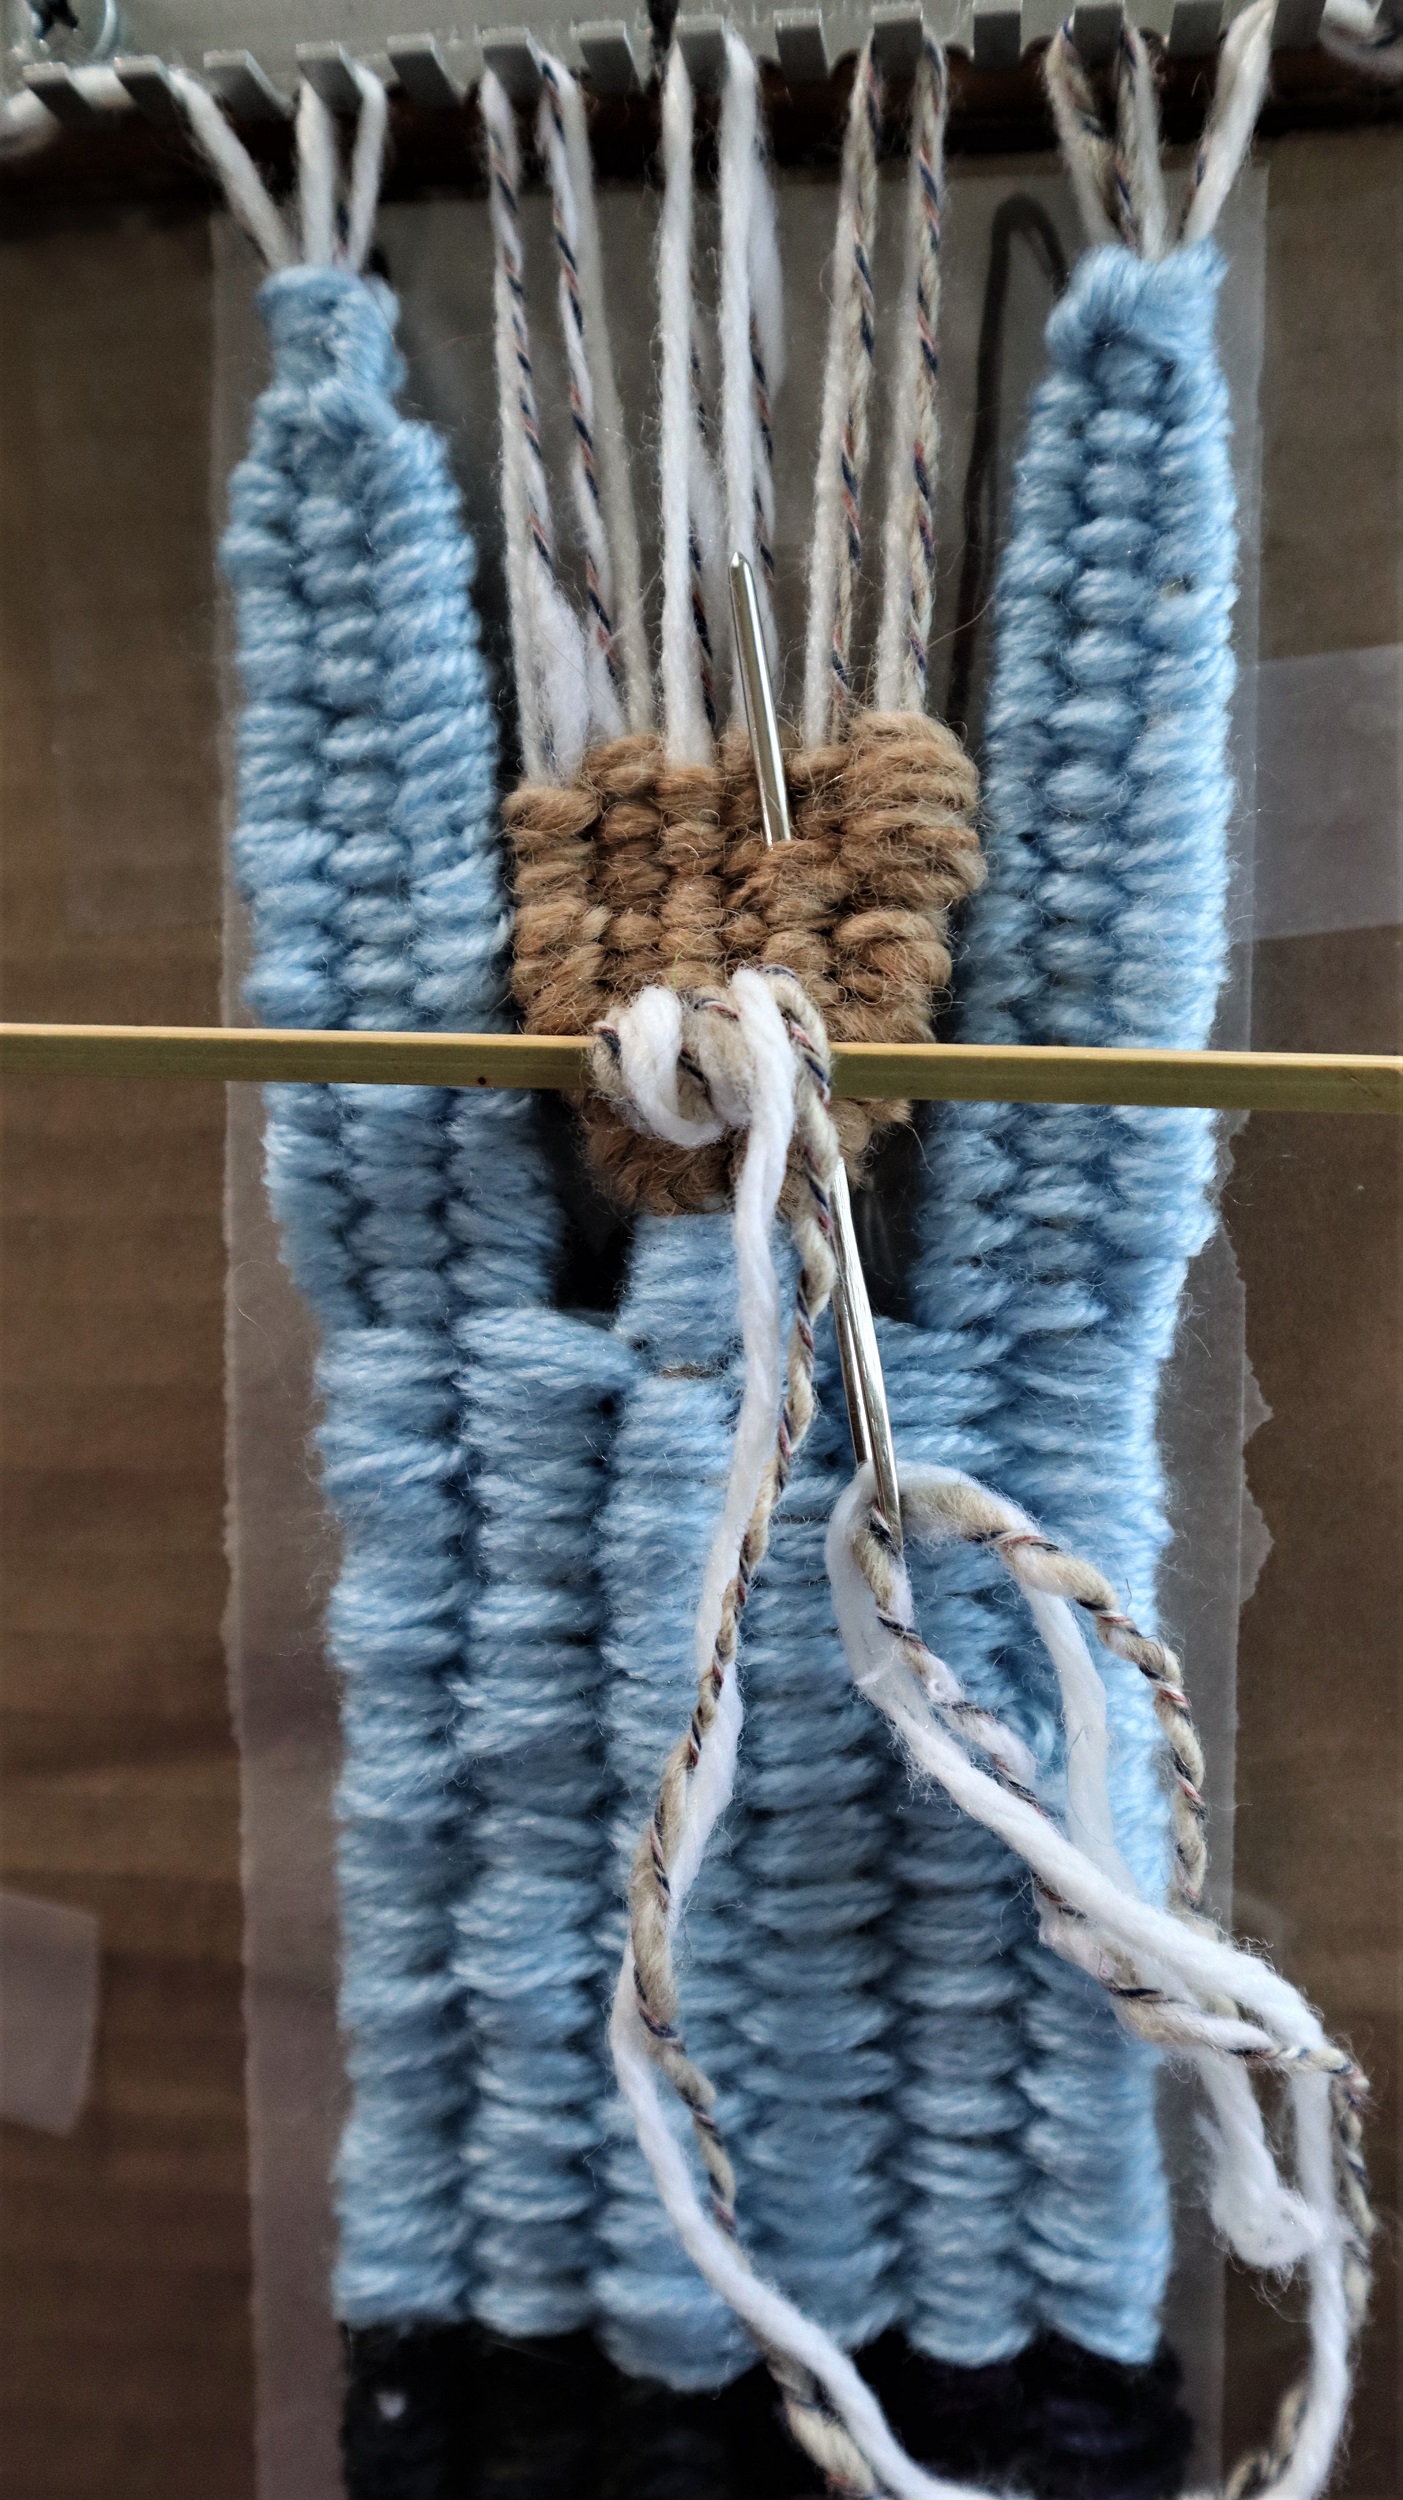
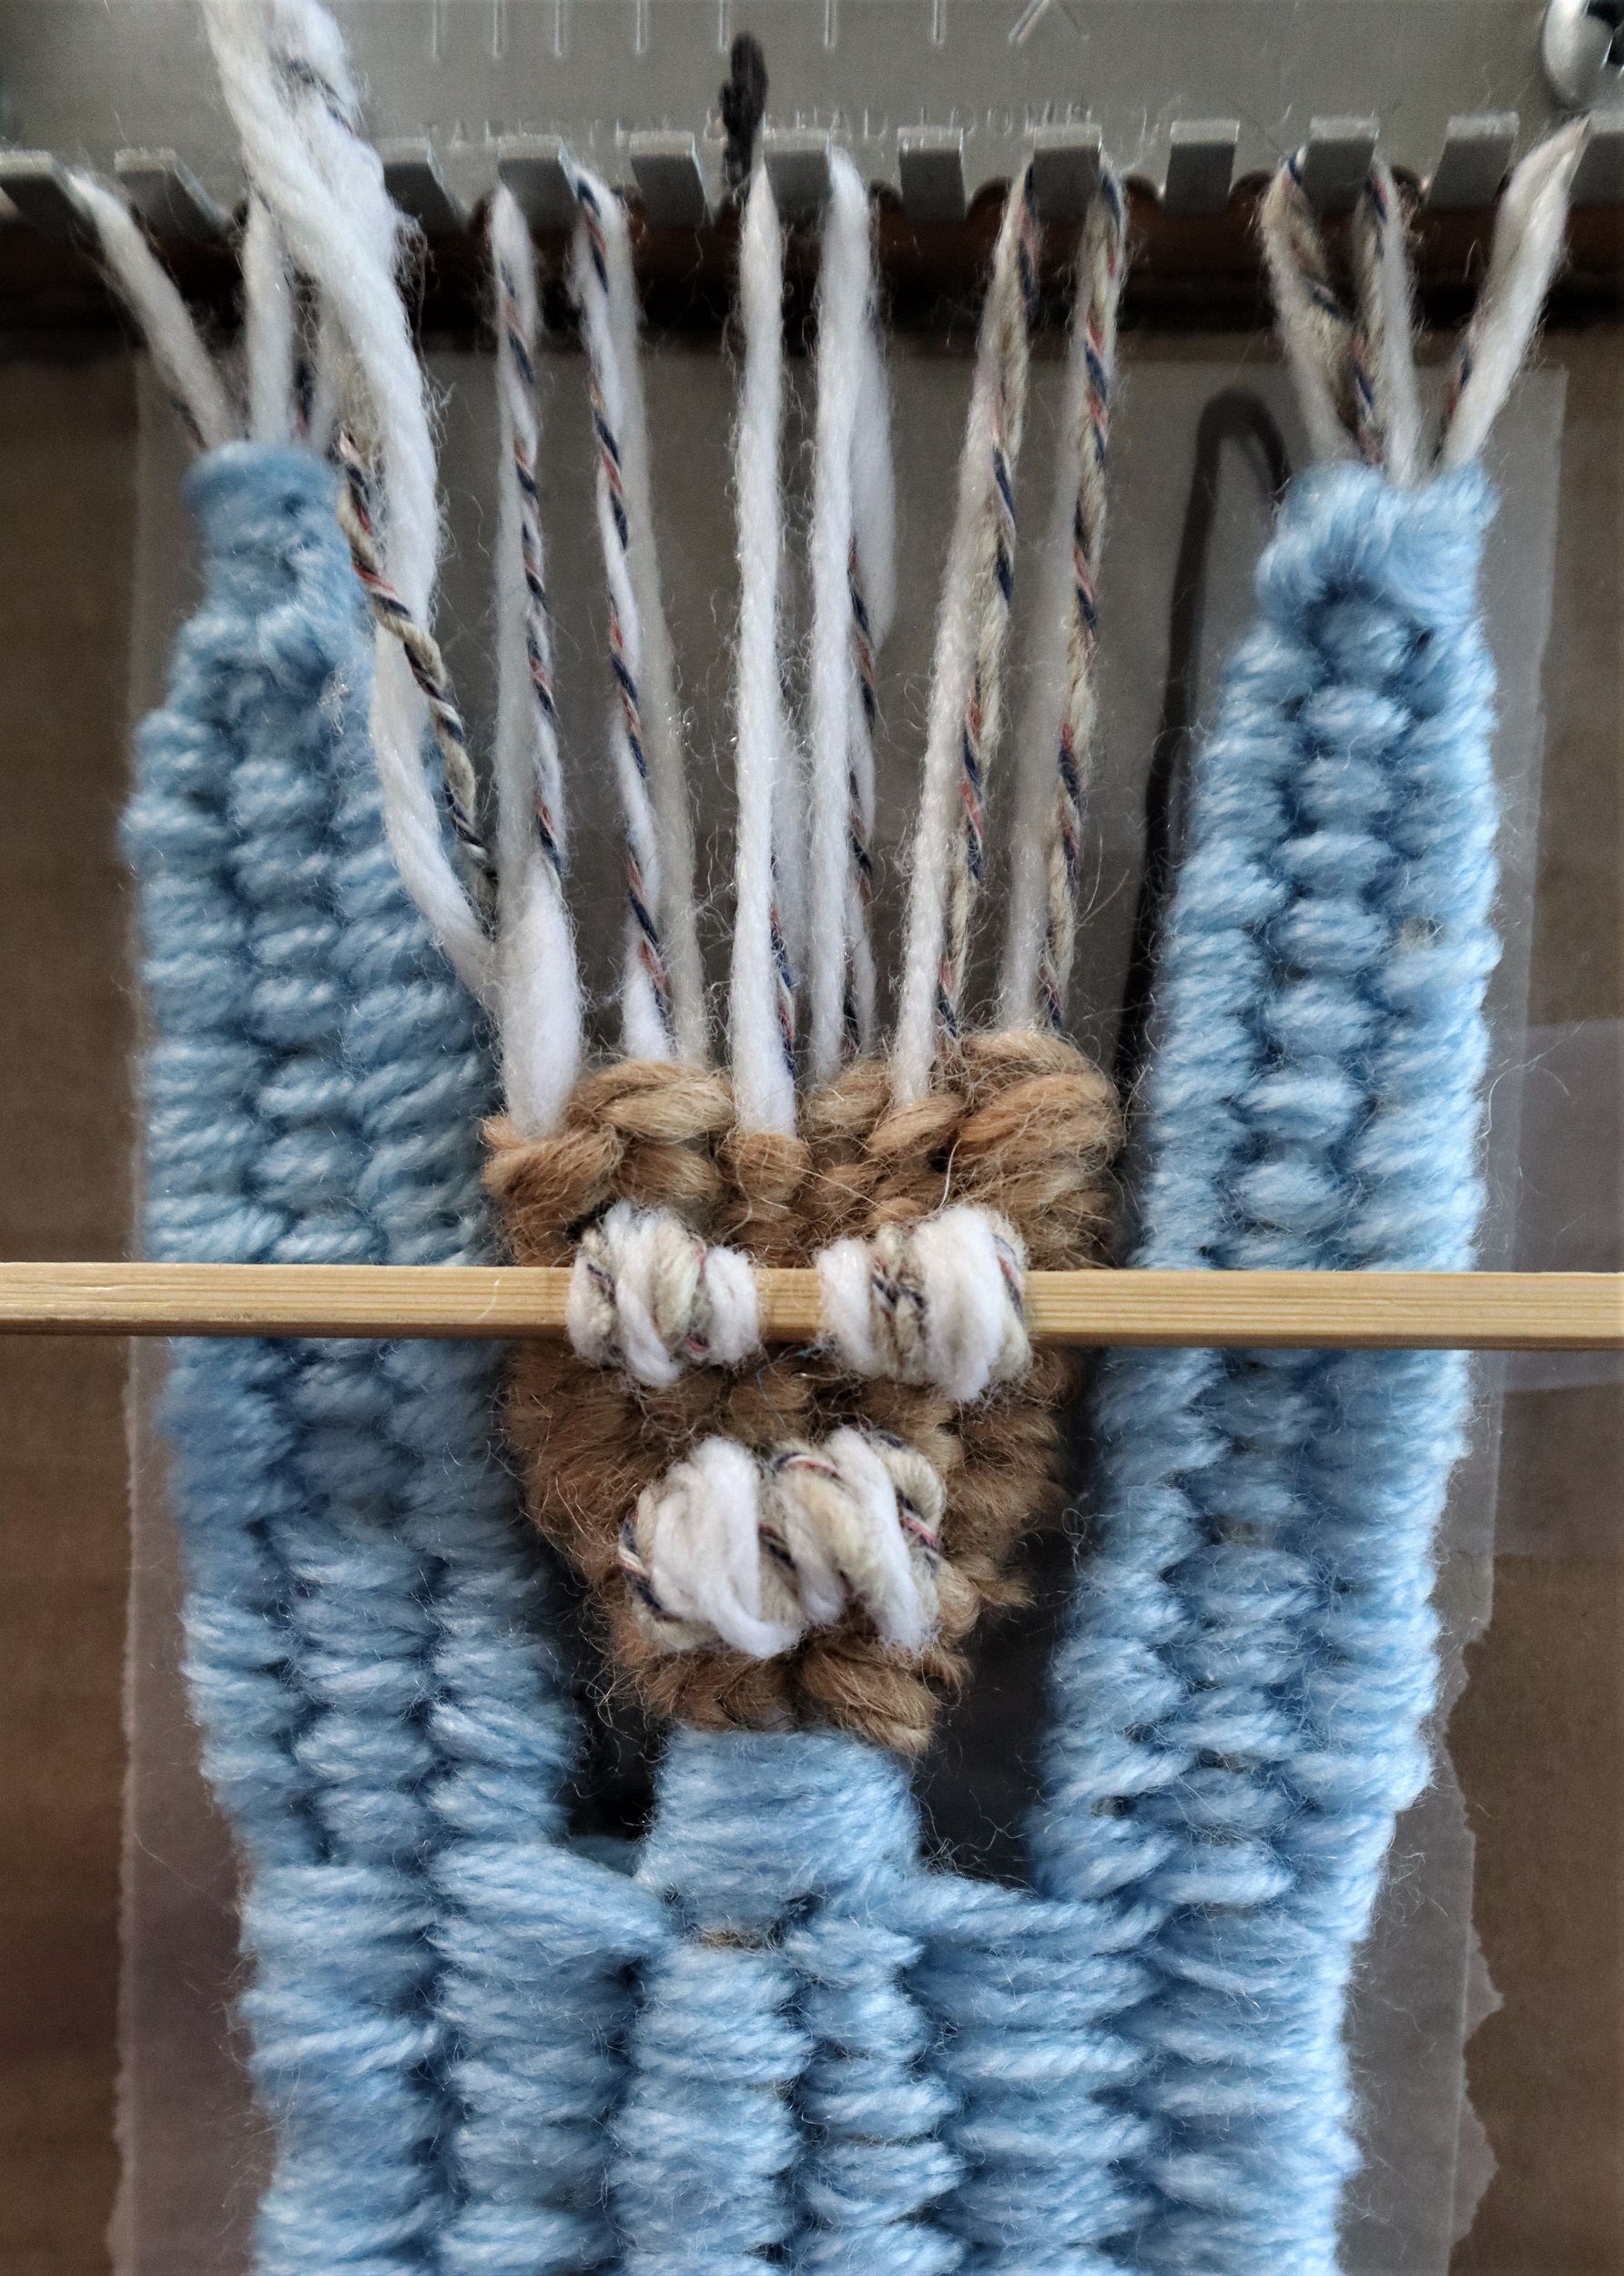
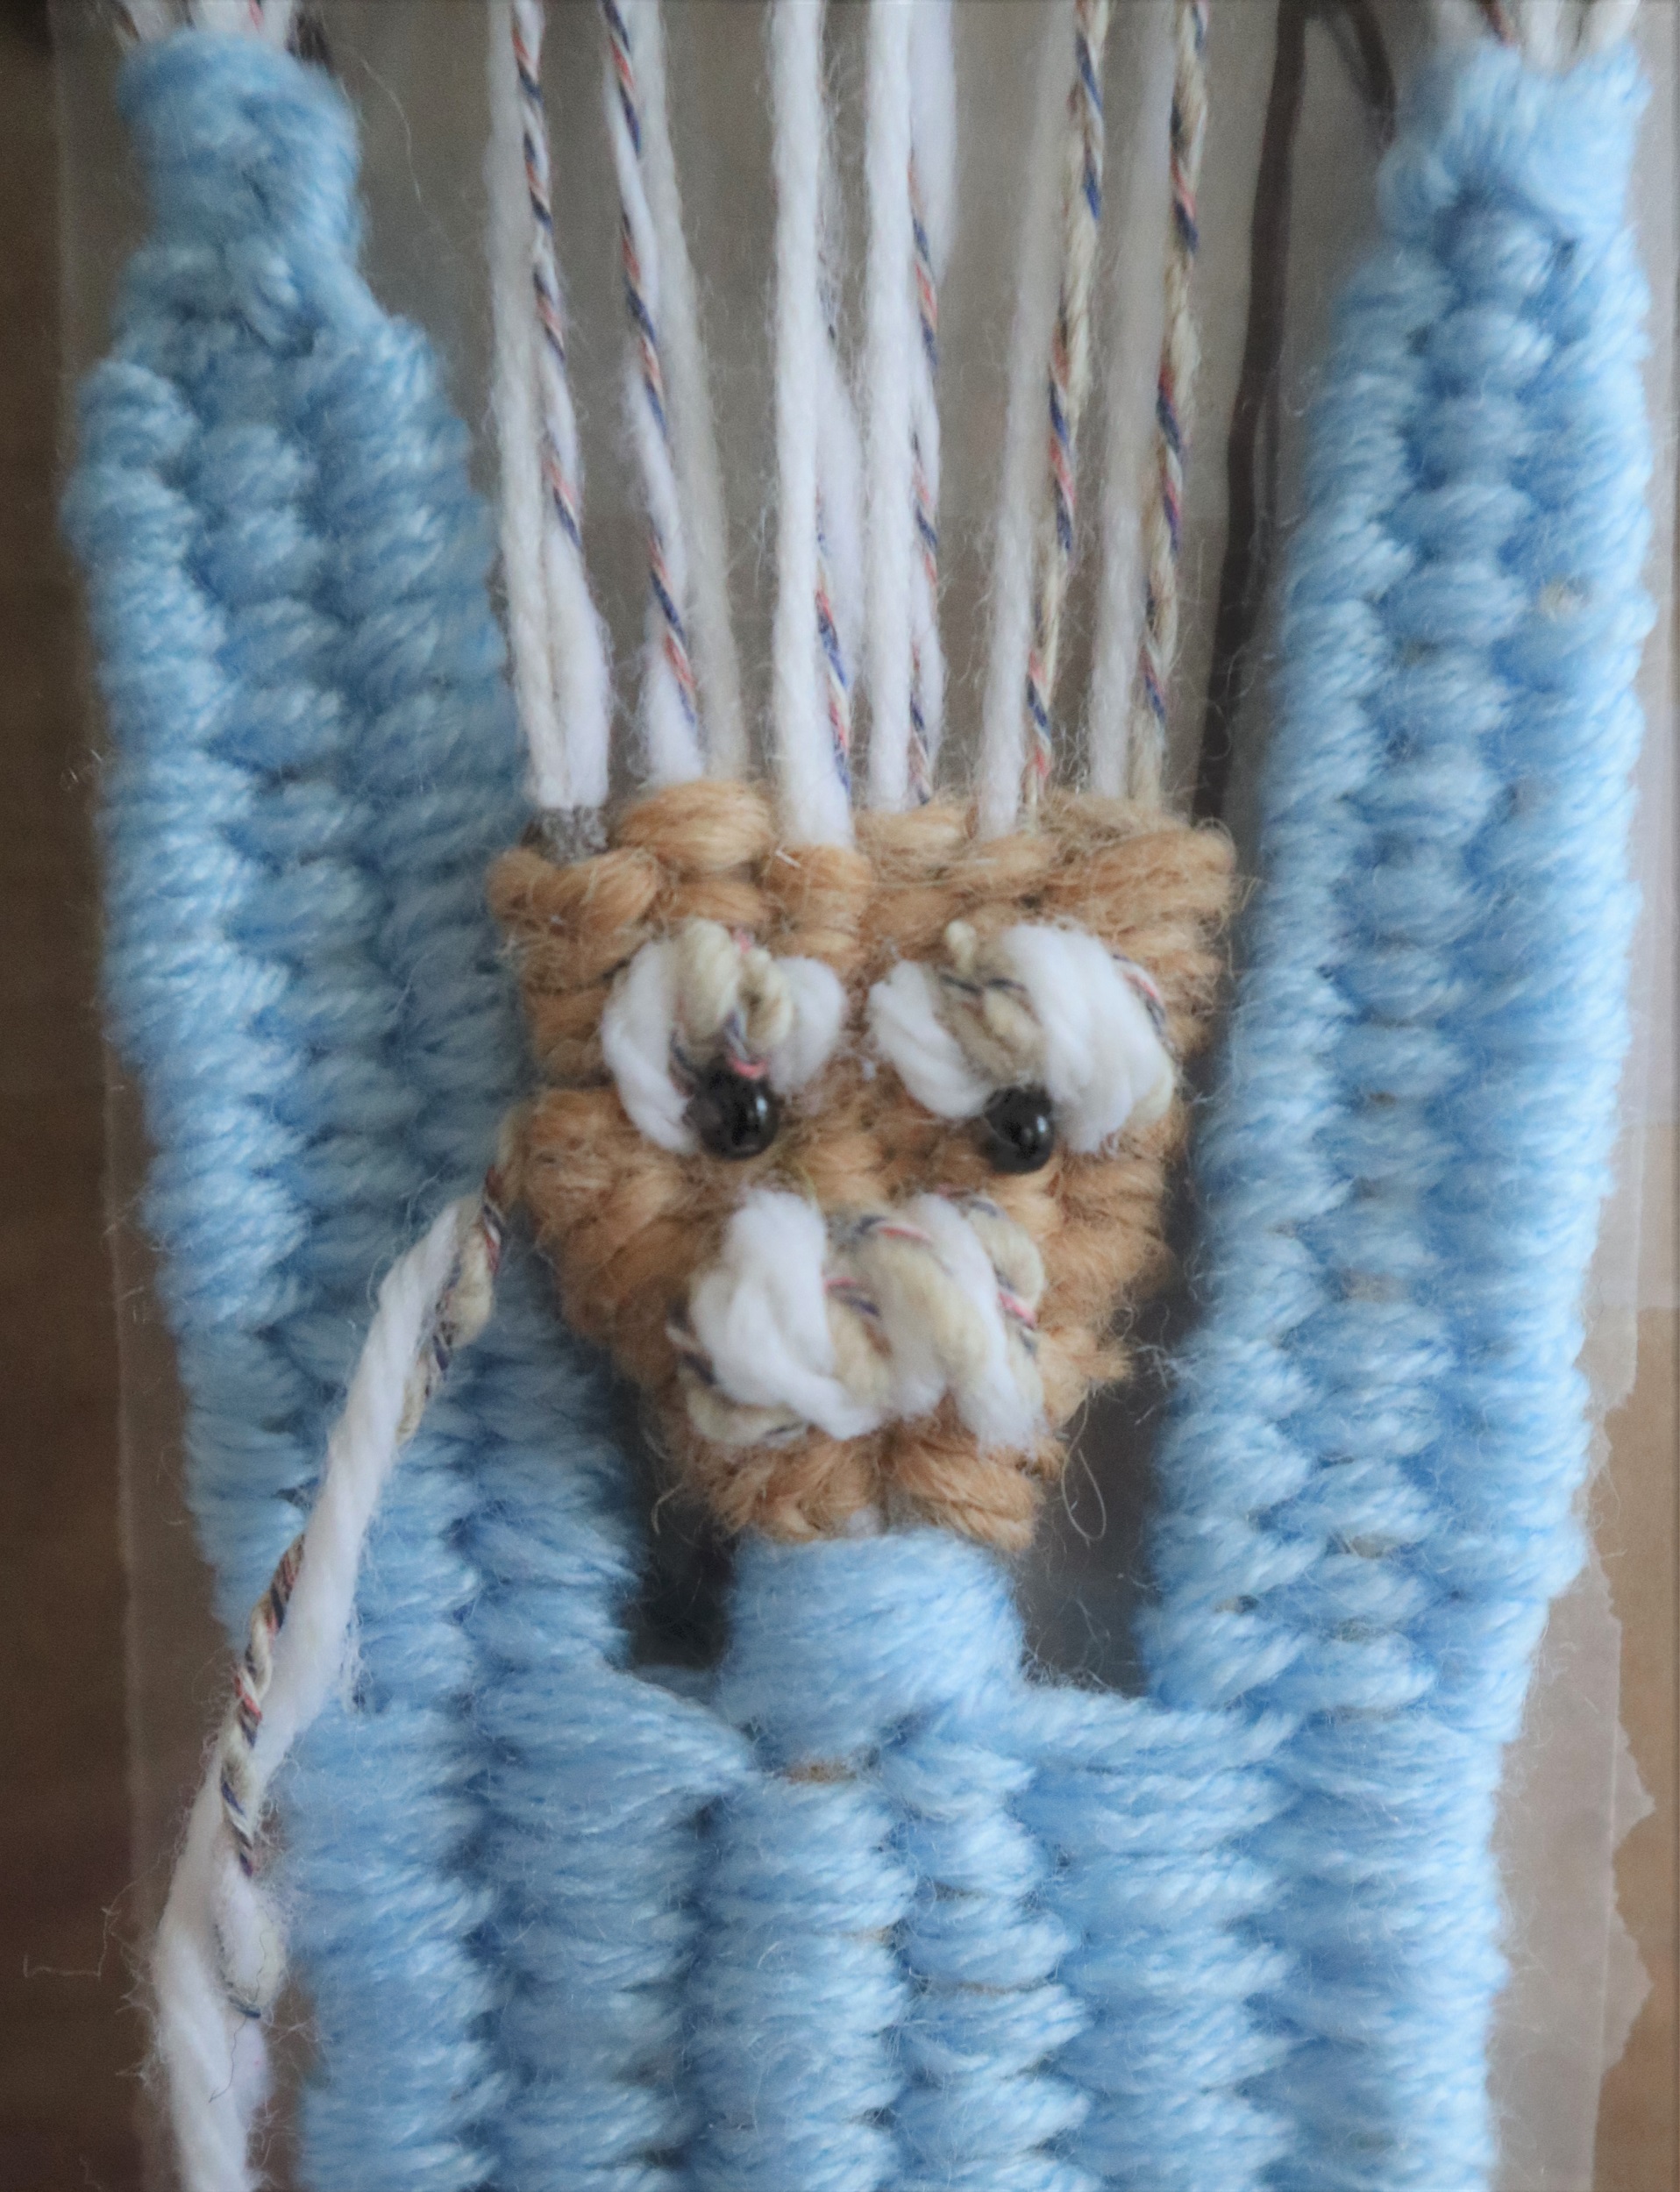
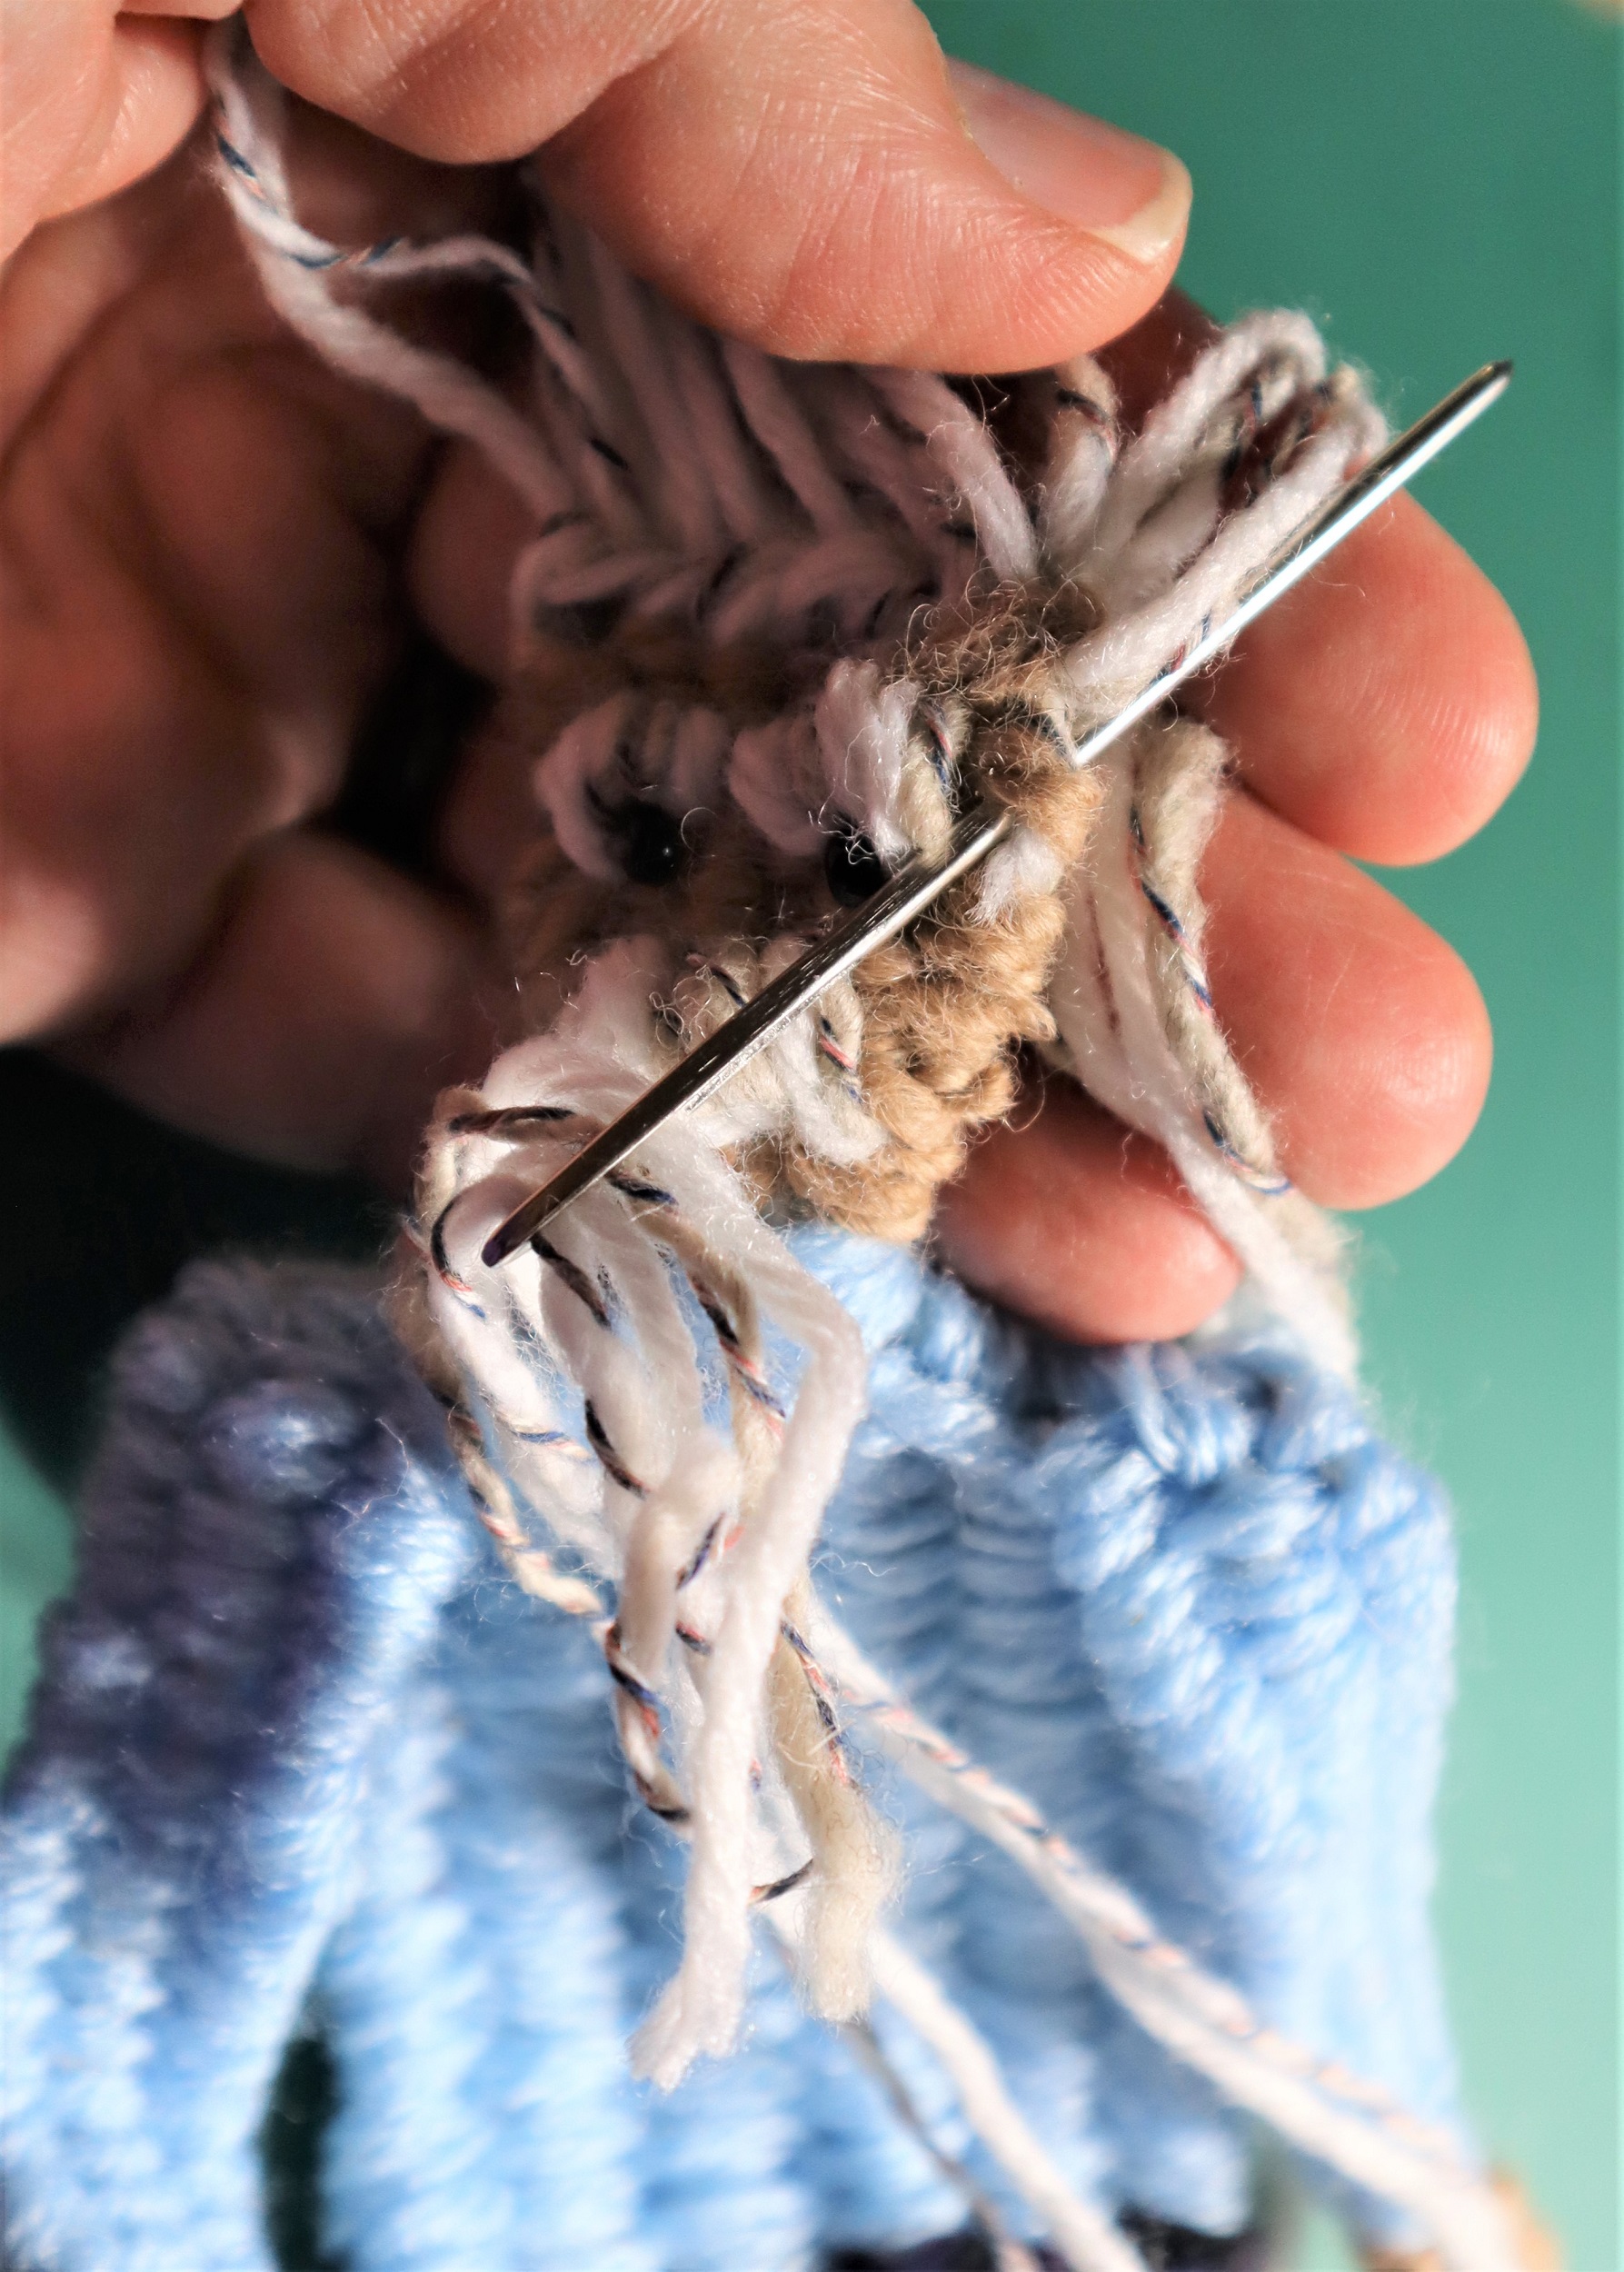
FACE:
With skin tone yarn, weave the face, weaving under 1/over 1 and over 1/under 1.
MOUSTACHE:
Stitch loosely over the shed stick with 1 strand of white yarn and 1 strand grey yarn held together as if they are a single strand at least 3 times. Take the ends to the back of the head.
EYEBROWS:
Take 2 slightly tighter stitches over the shed stick for each eyebrow.
EYES:
Stitch 2 small black ‘e’ size beads on for eyes.
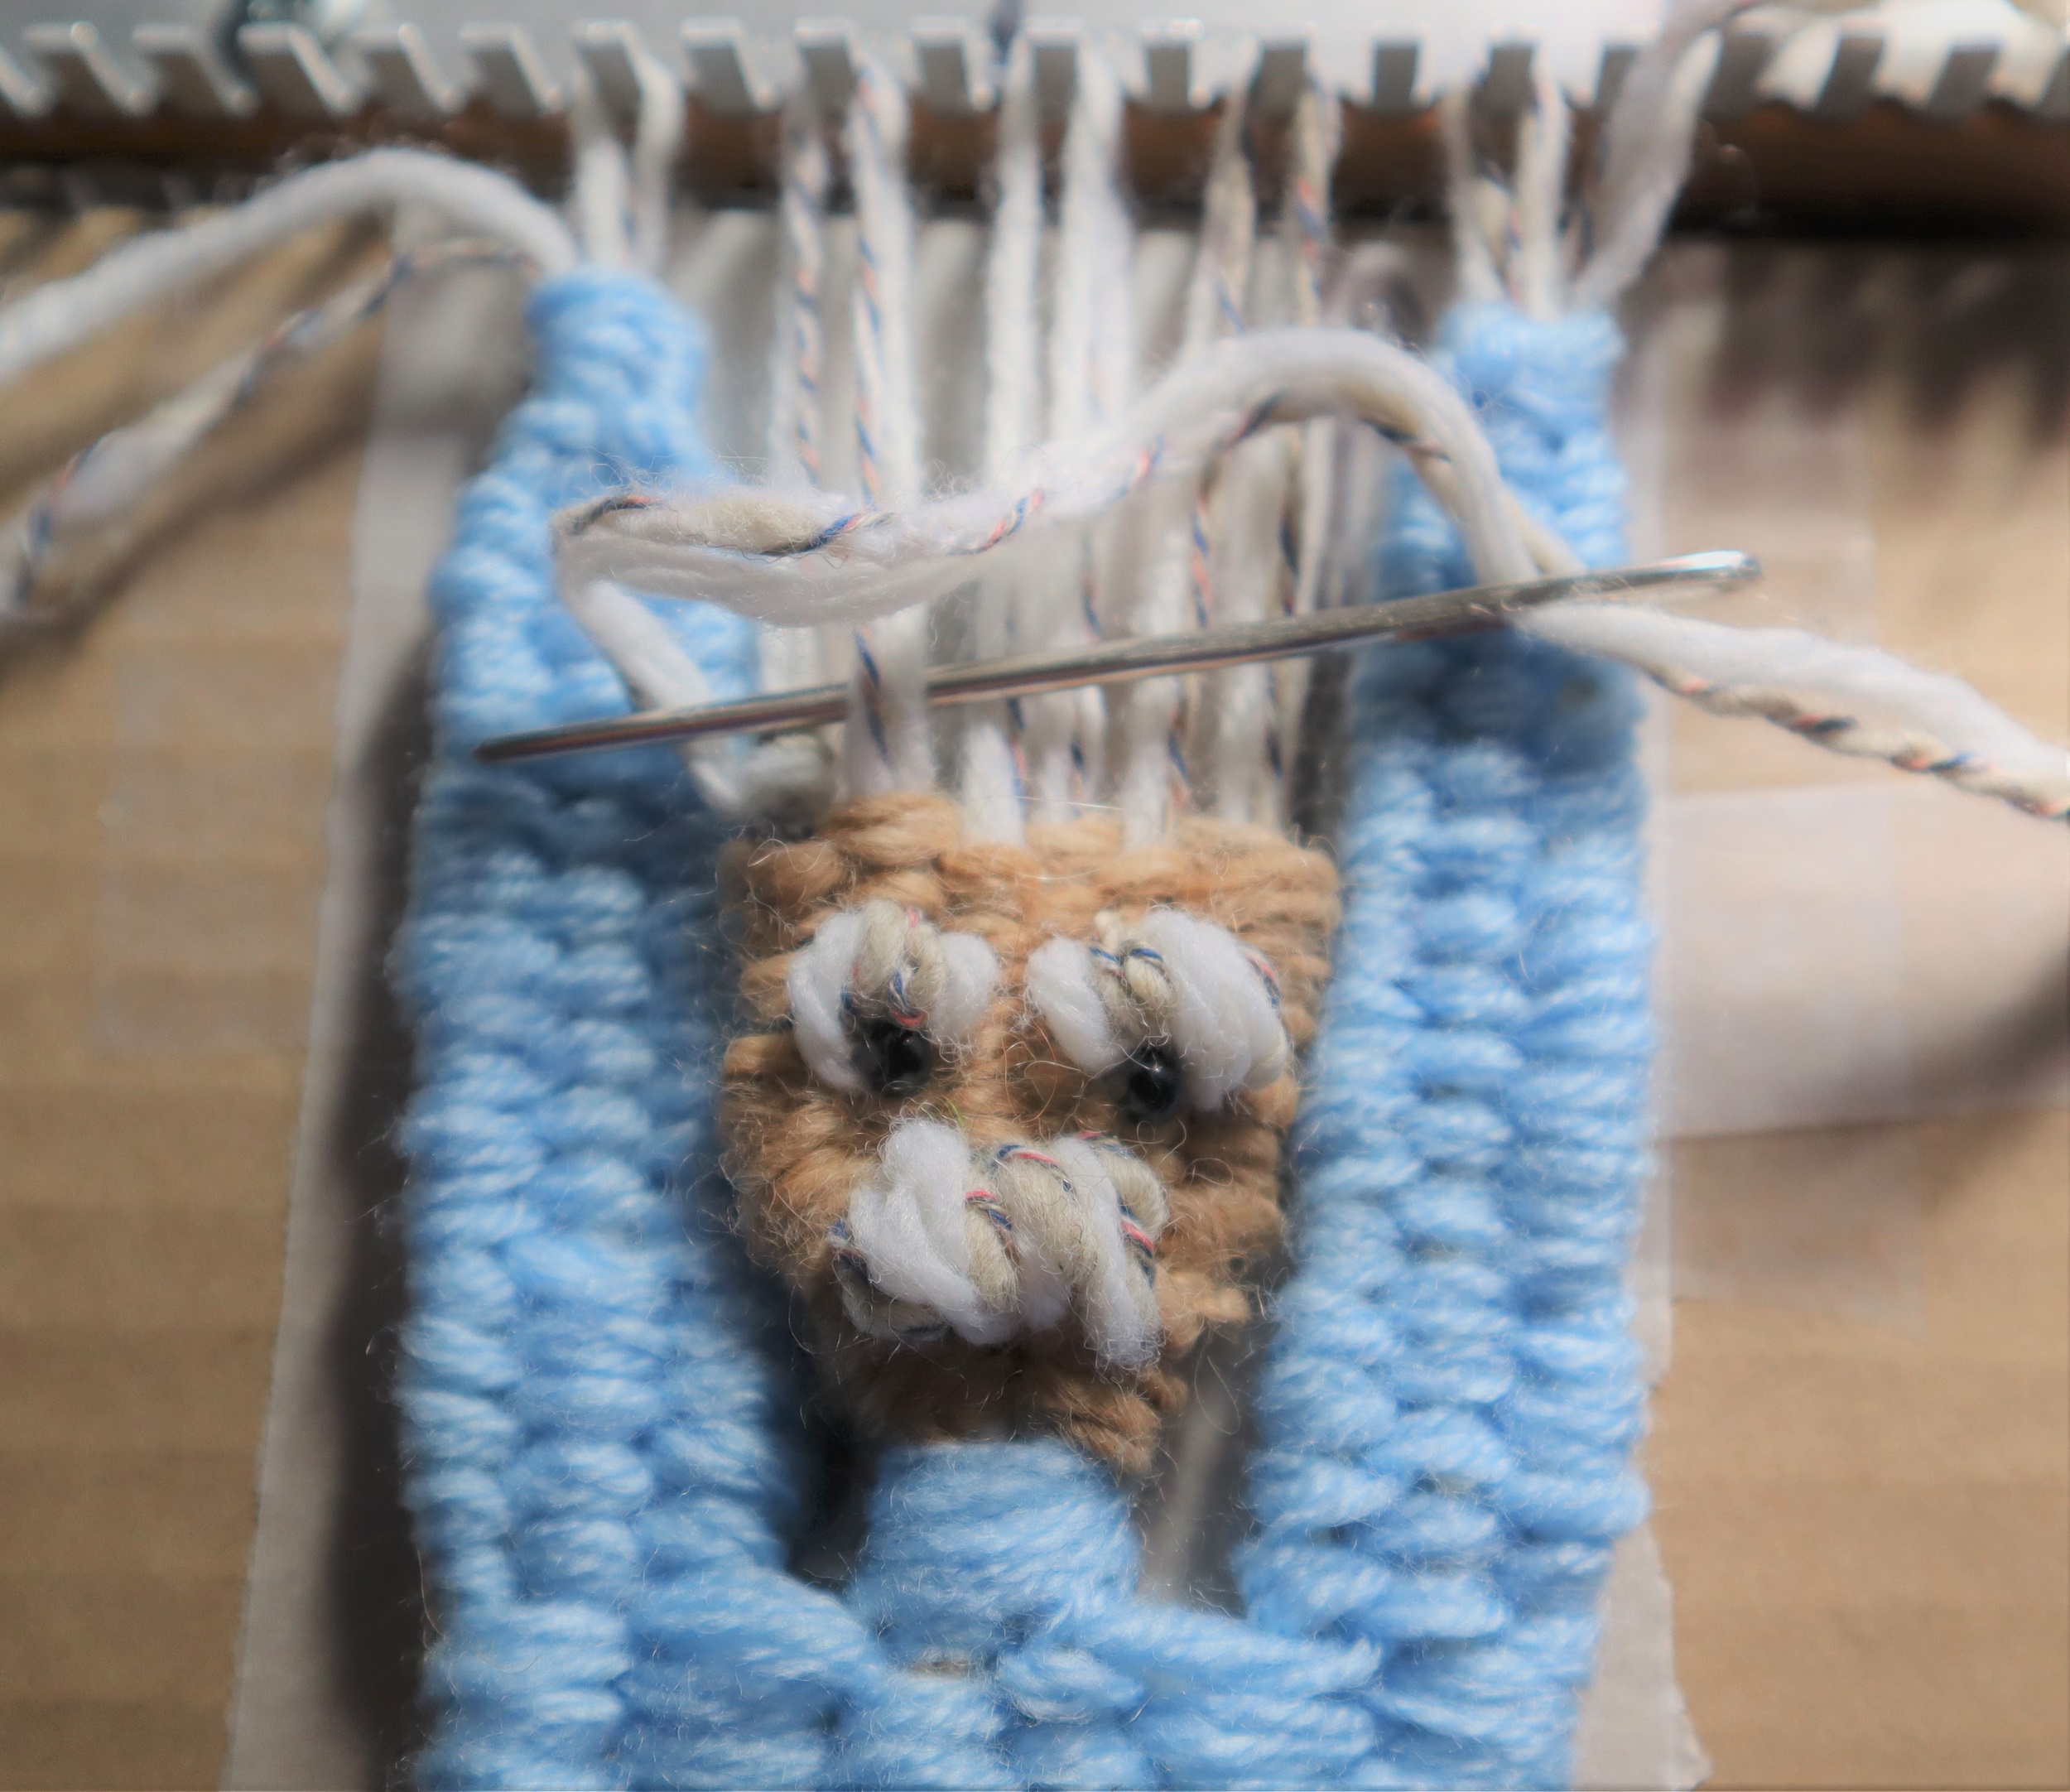
HAIRLINE:
Lock the top of the head in place by stitching around each warp strand at the top of the forehead.
Lift Einstein off the loom.
NOSE:
Stitch 2 vertical stitches with skin tone yarn.
SHOES:
With Brown yarn follow the instructions for the feet on page 36. Weave the yarn ends into the legs.
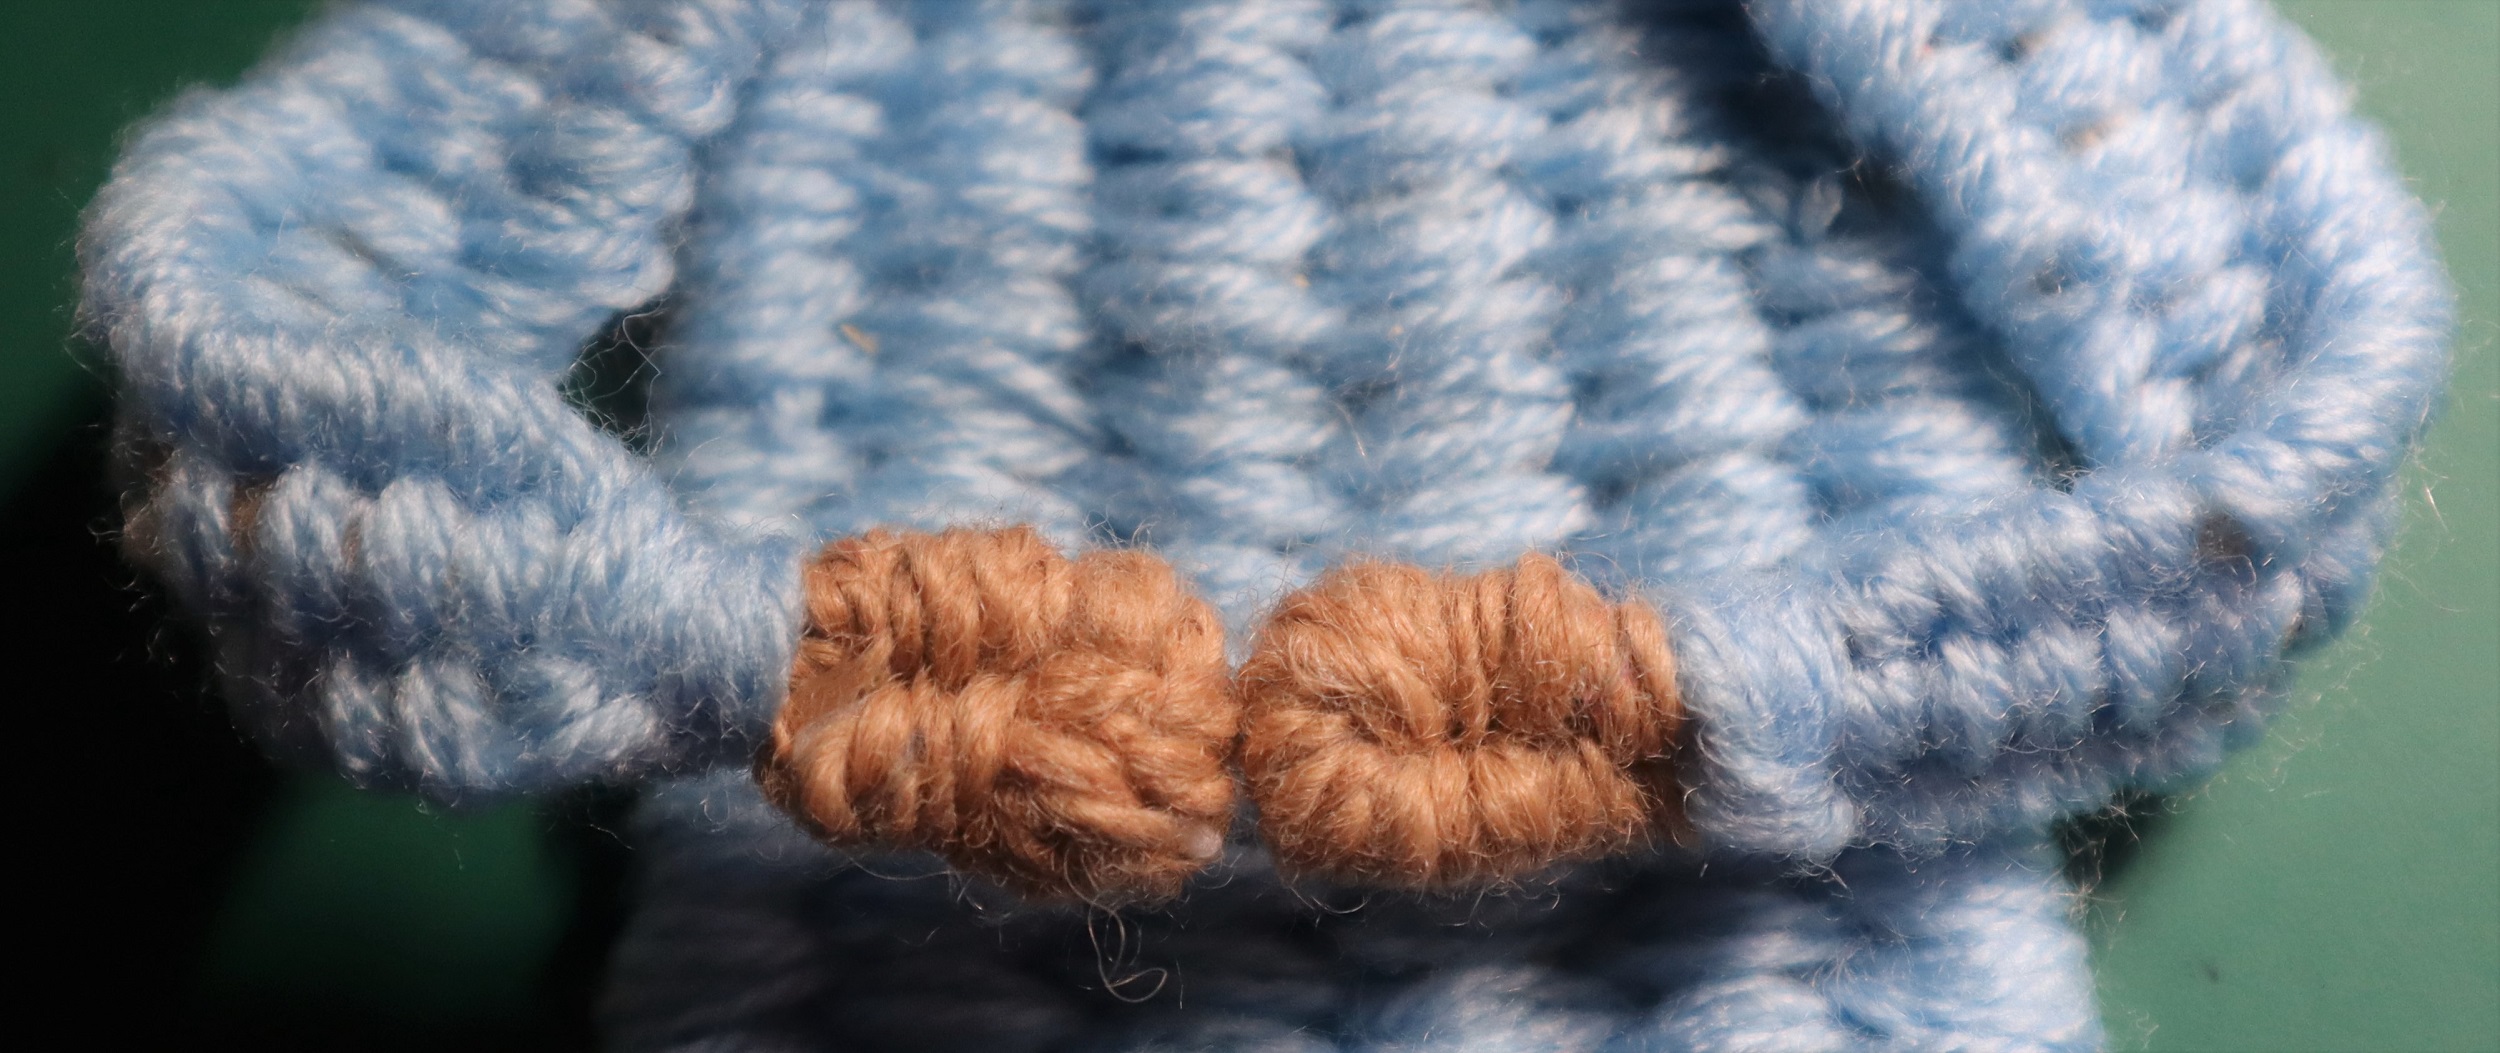
HANDS:
Weave in the single strand at the side of each hand into the arm so that it is the same size as the loop of the hand.
With skin tone yarn make hands the same way as the feet. Weave the yarn ends into the arms.
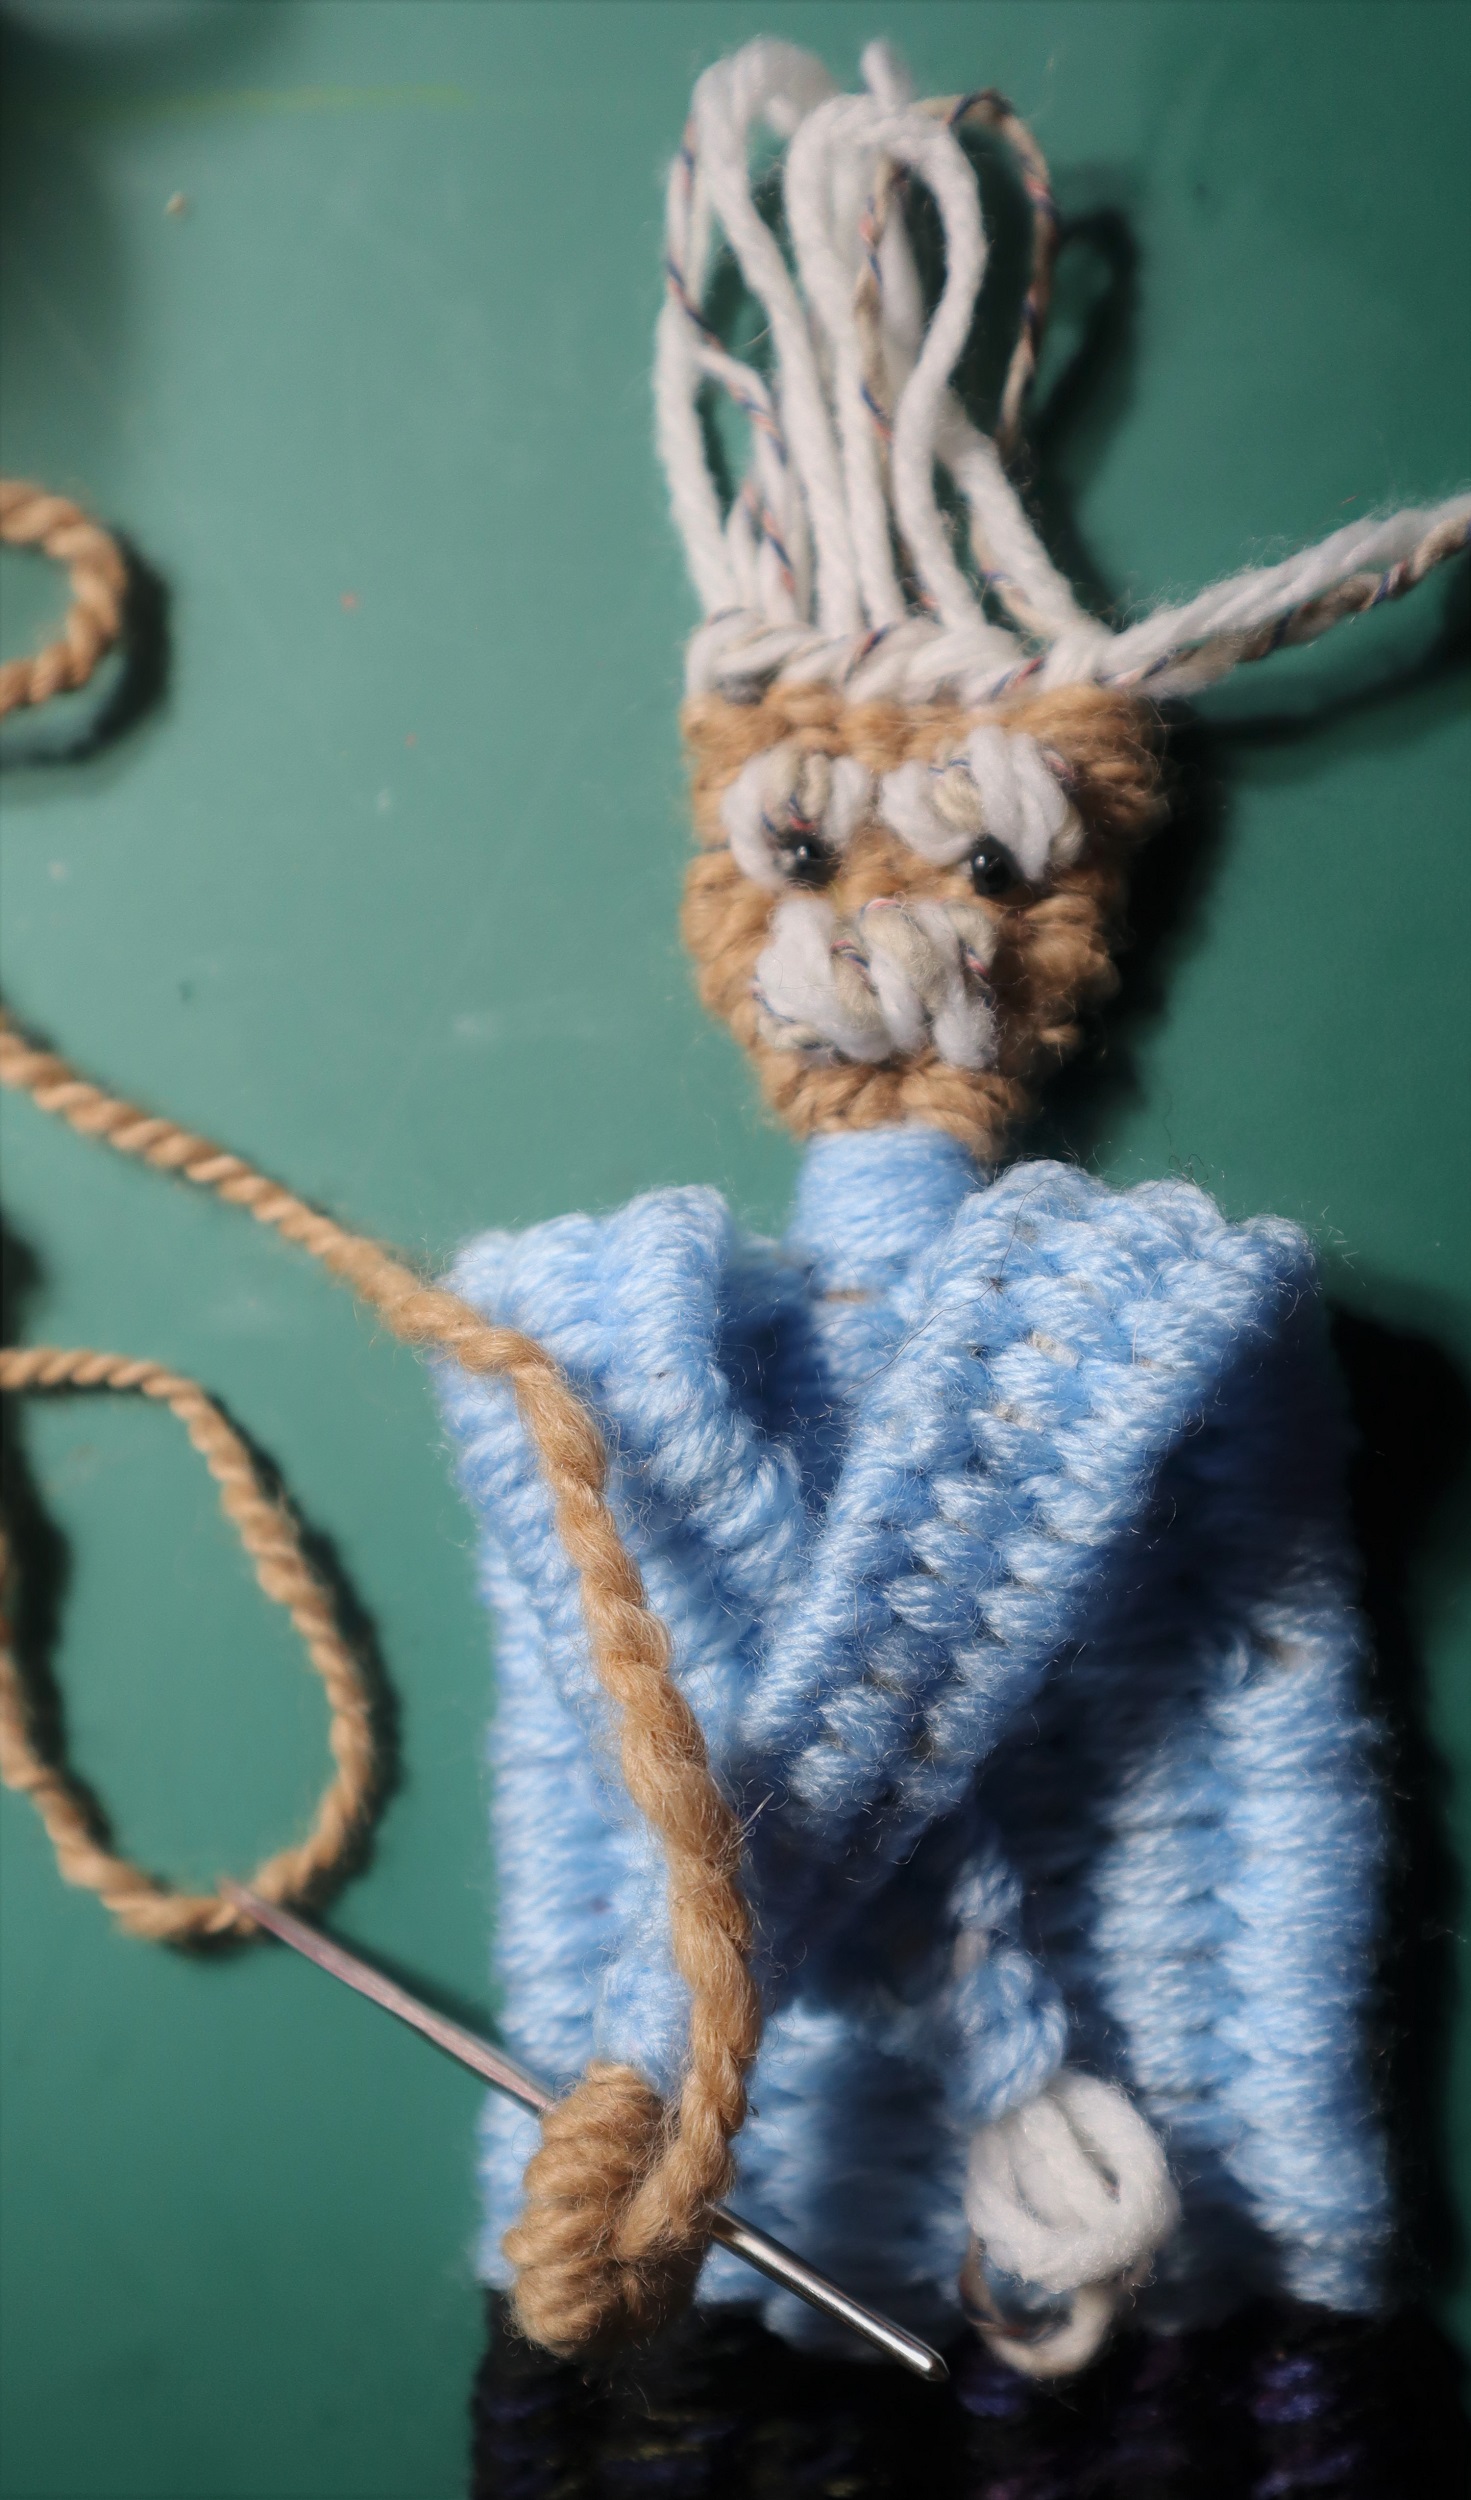
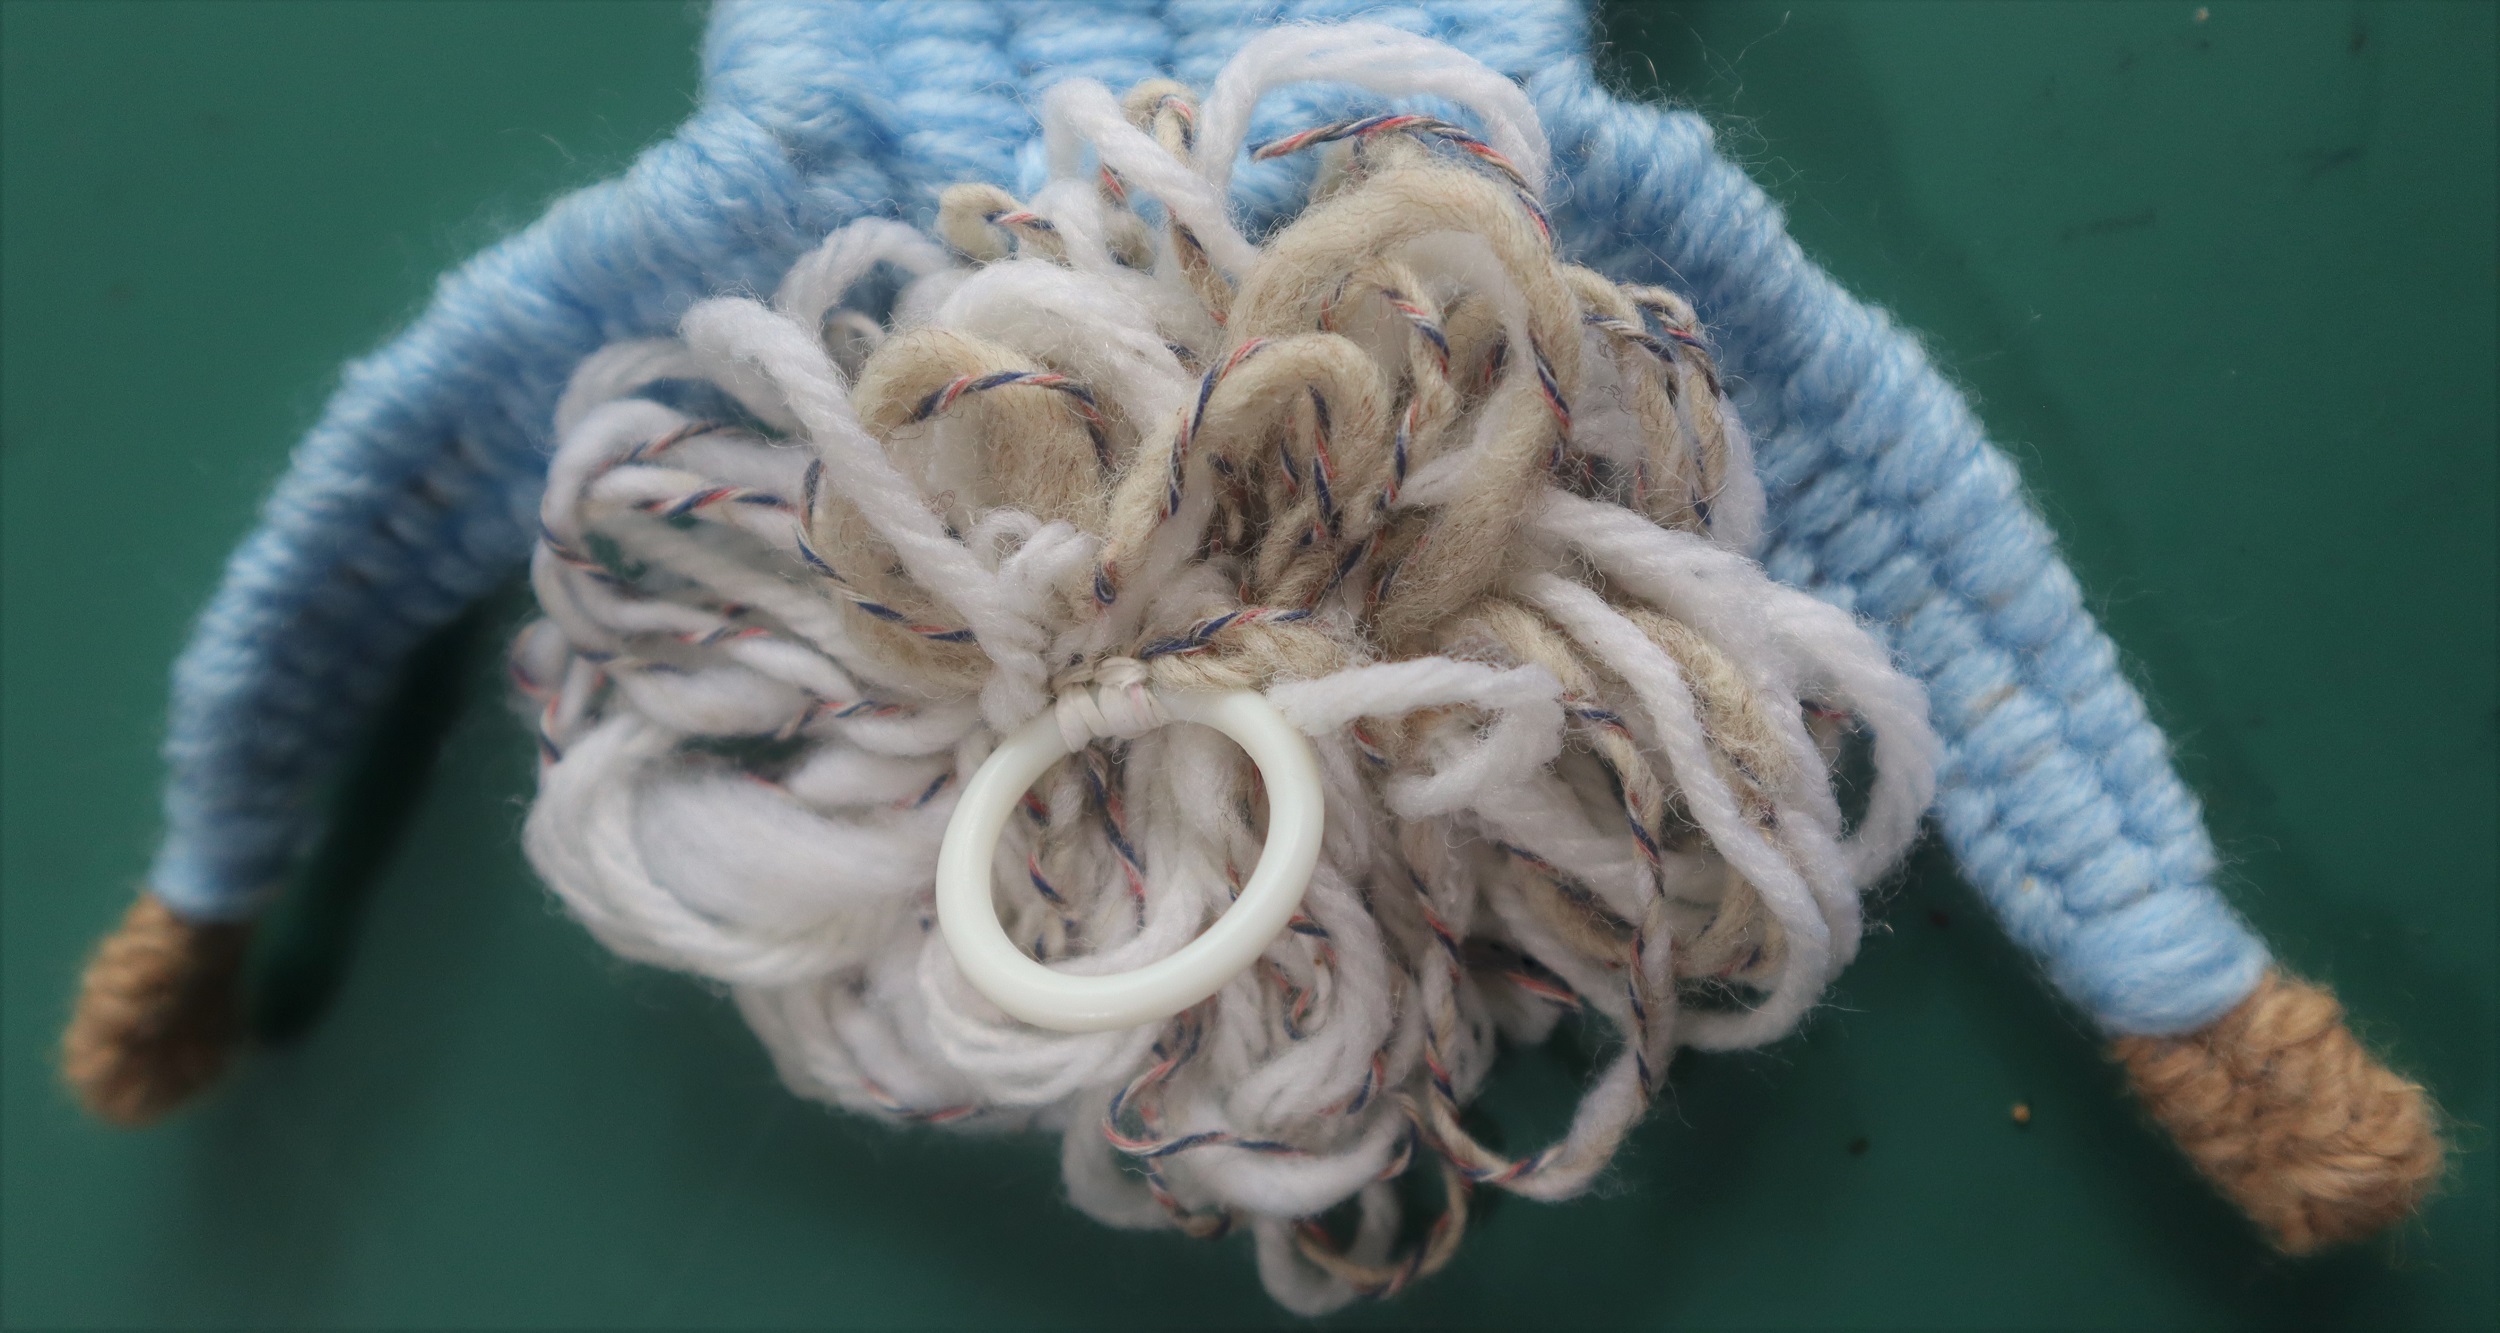
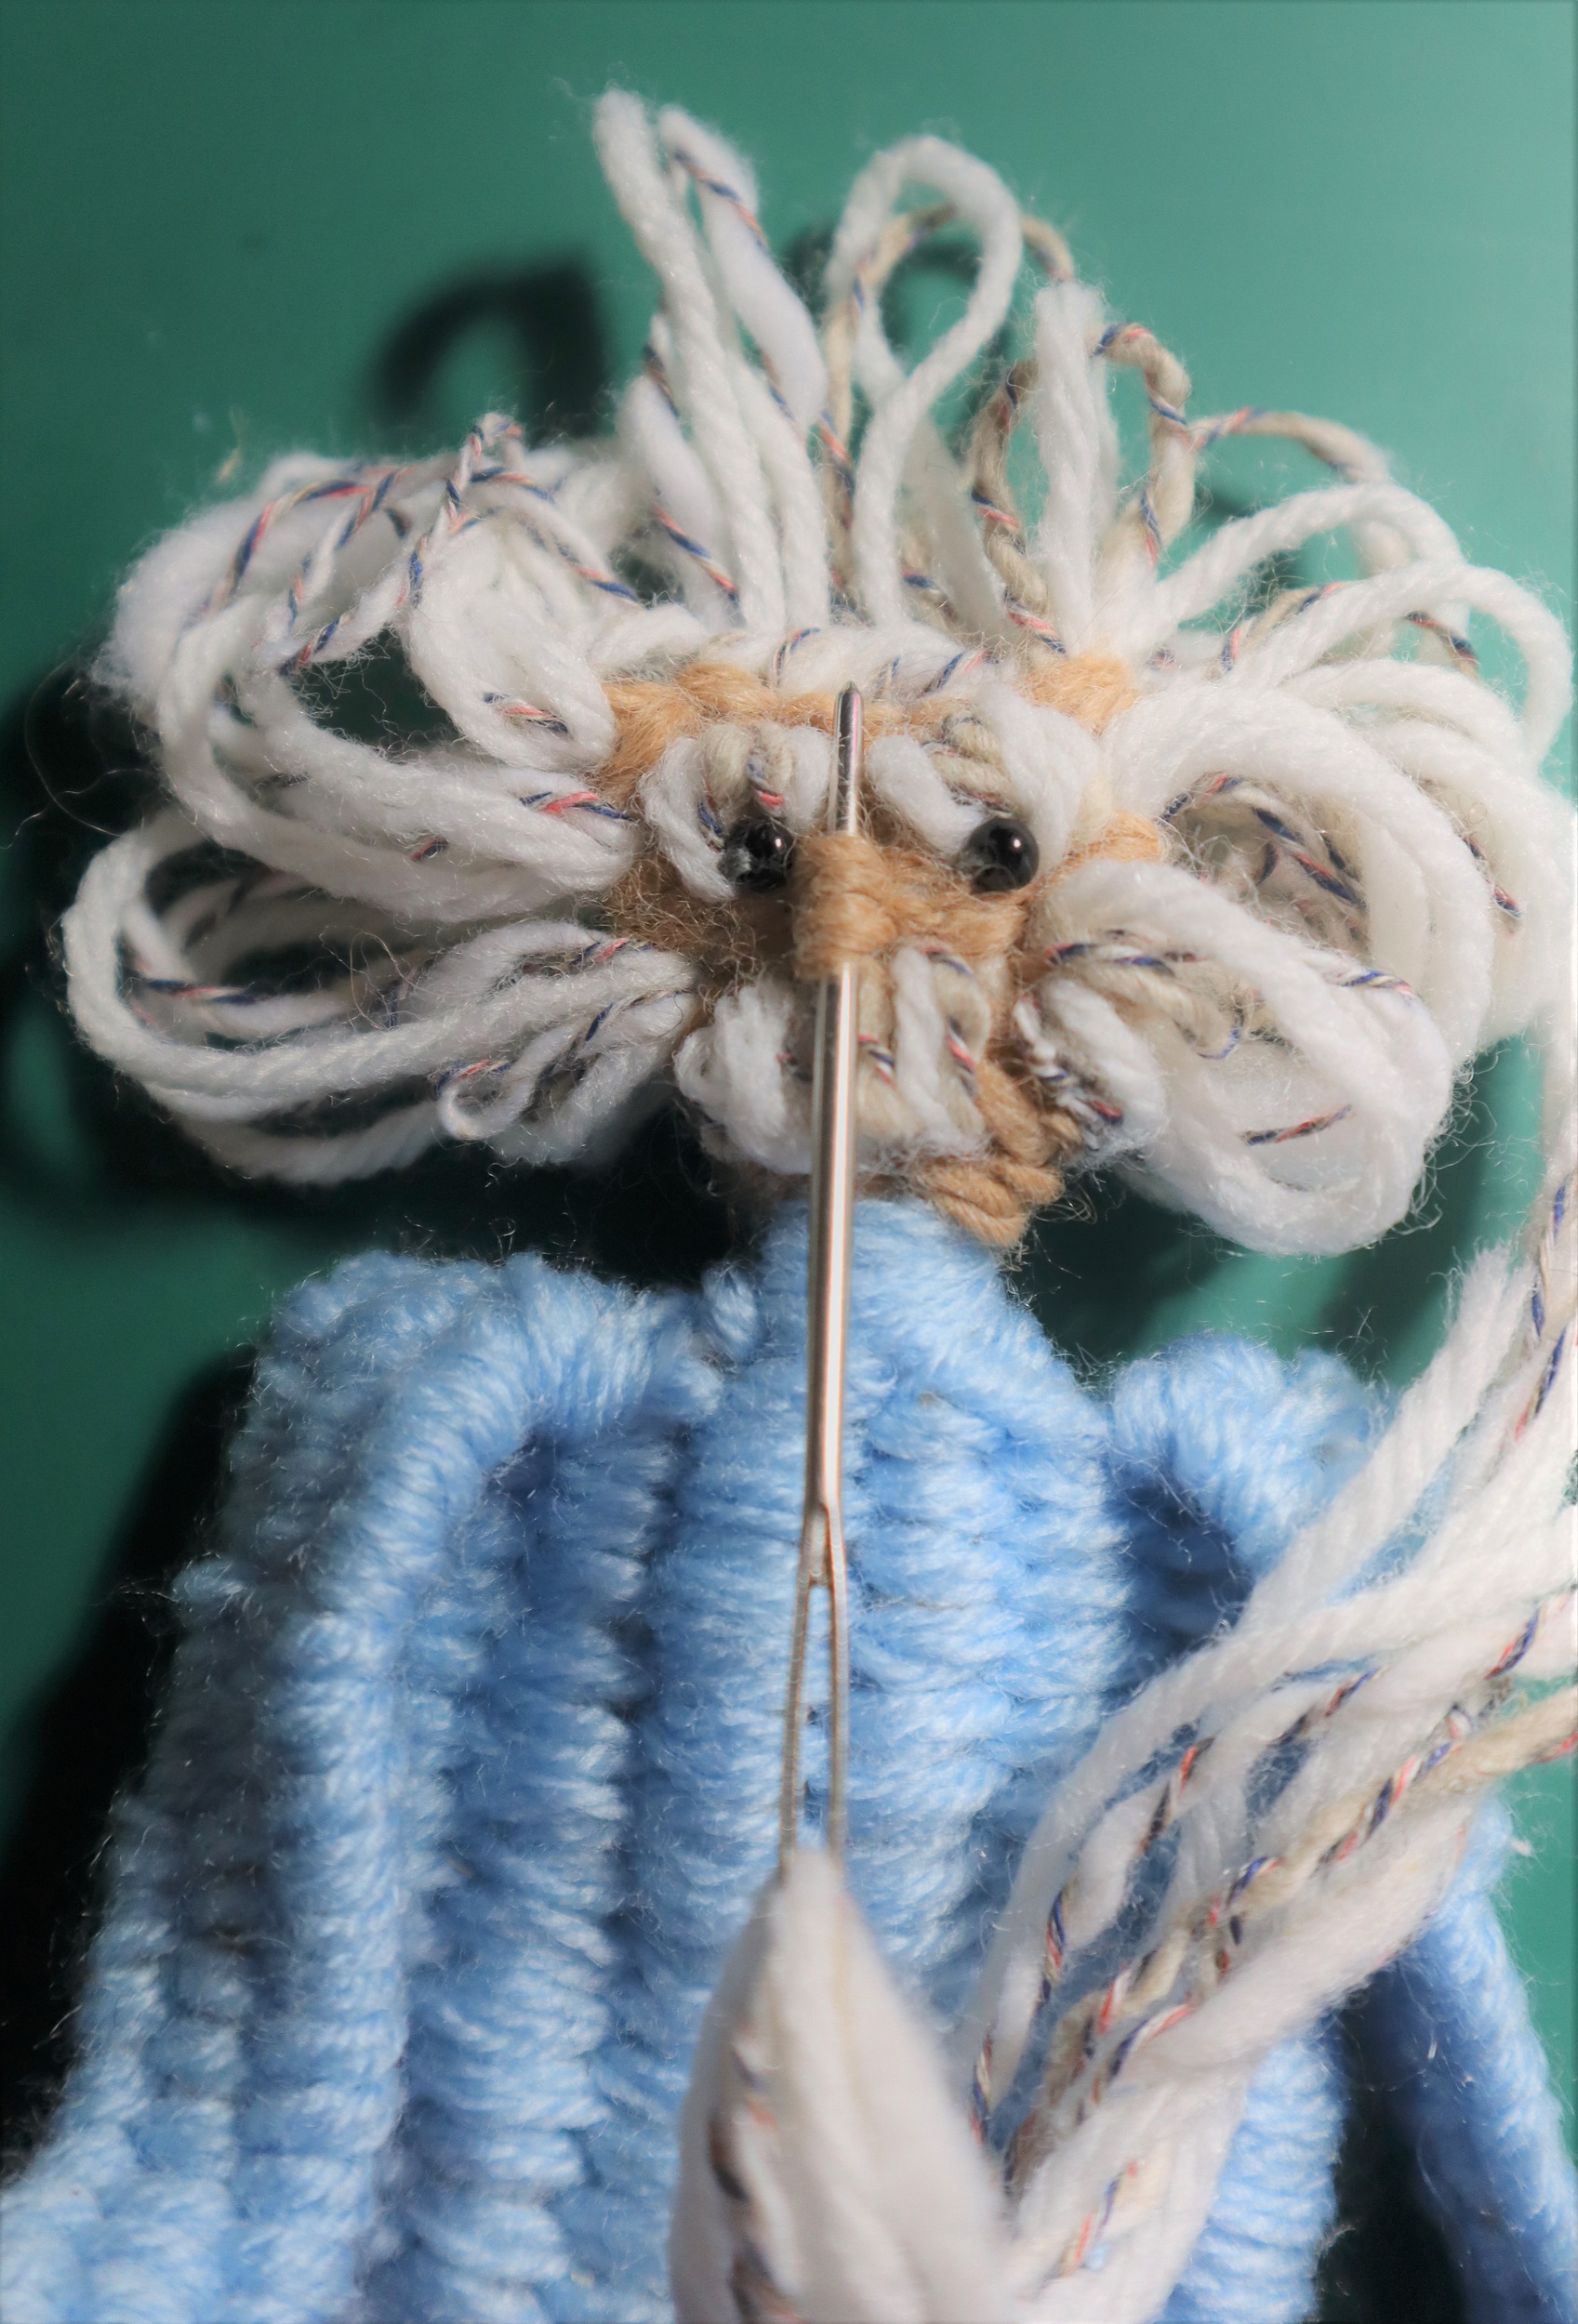
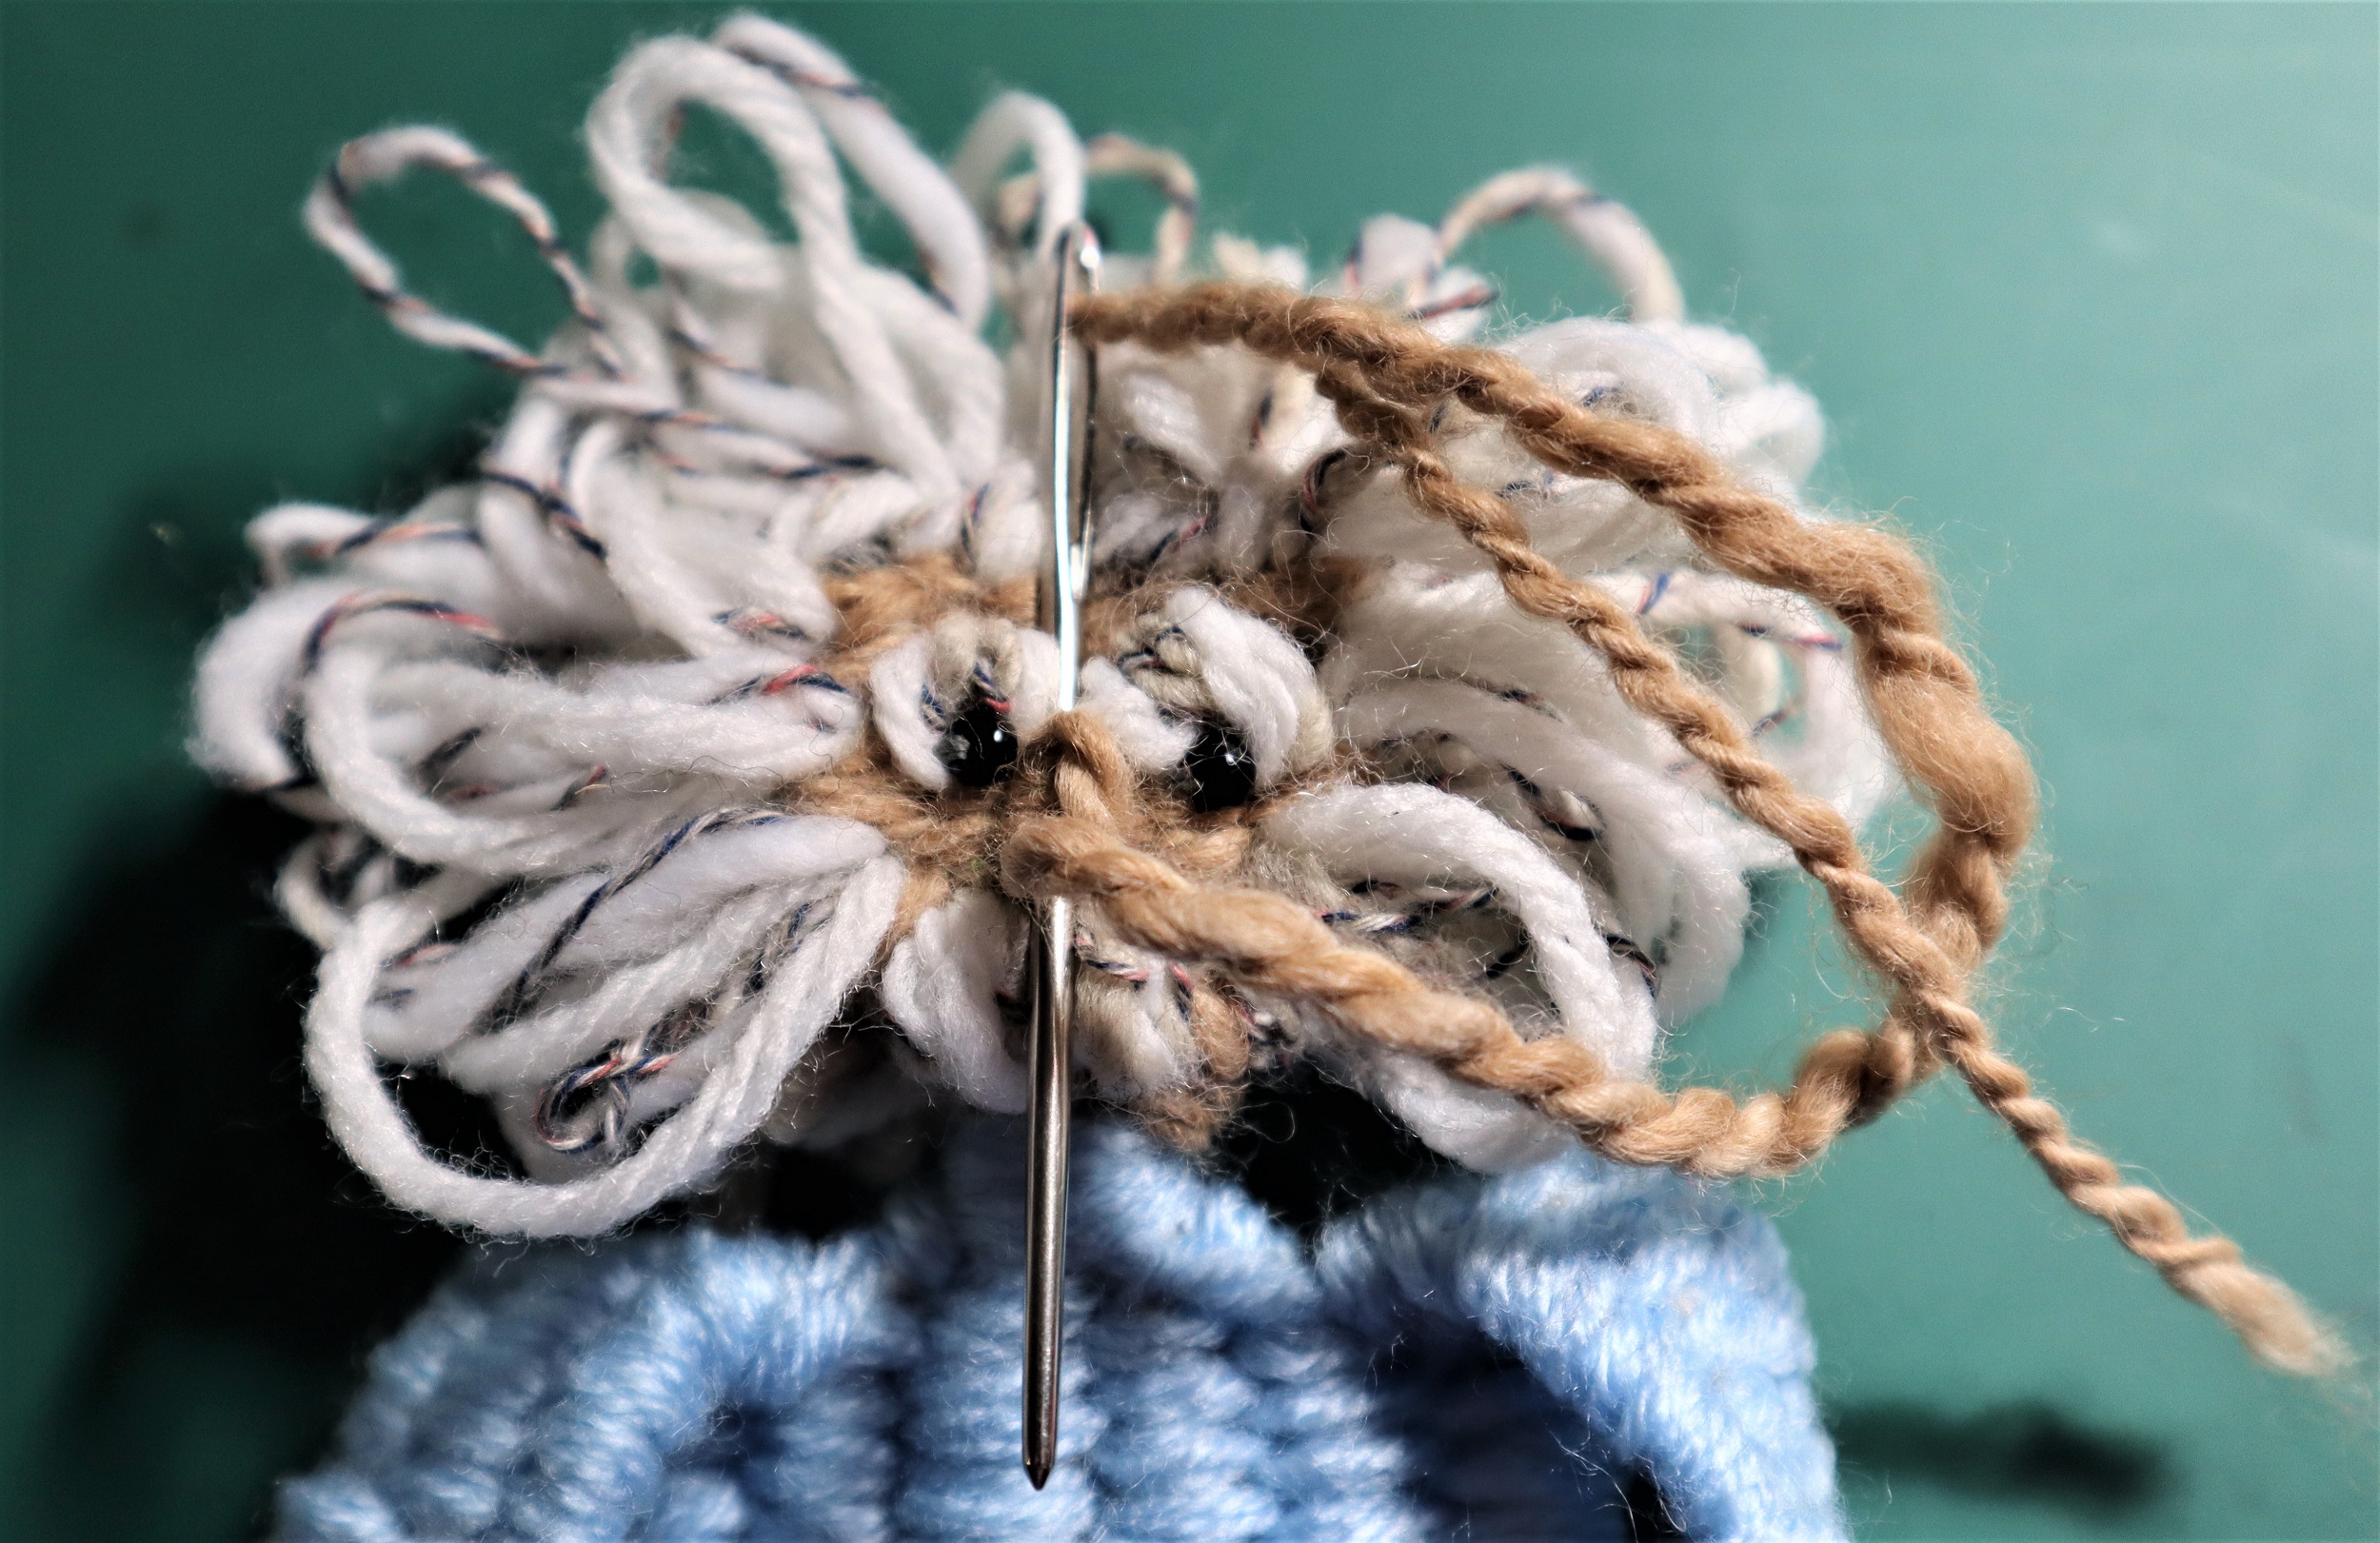
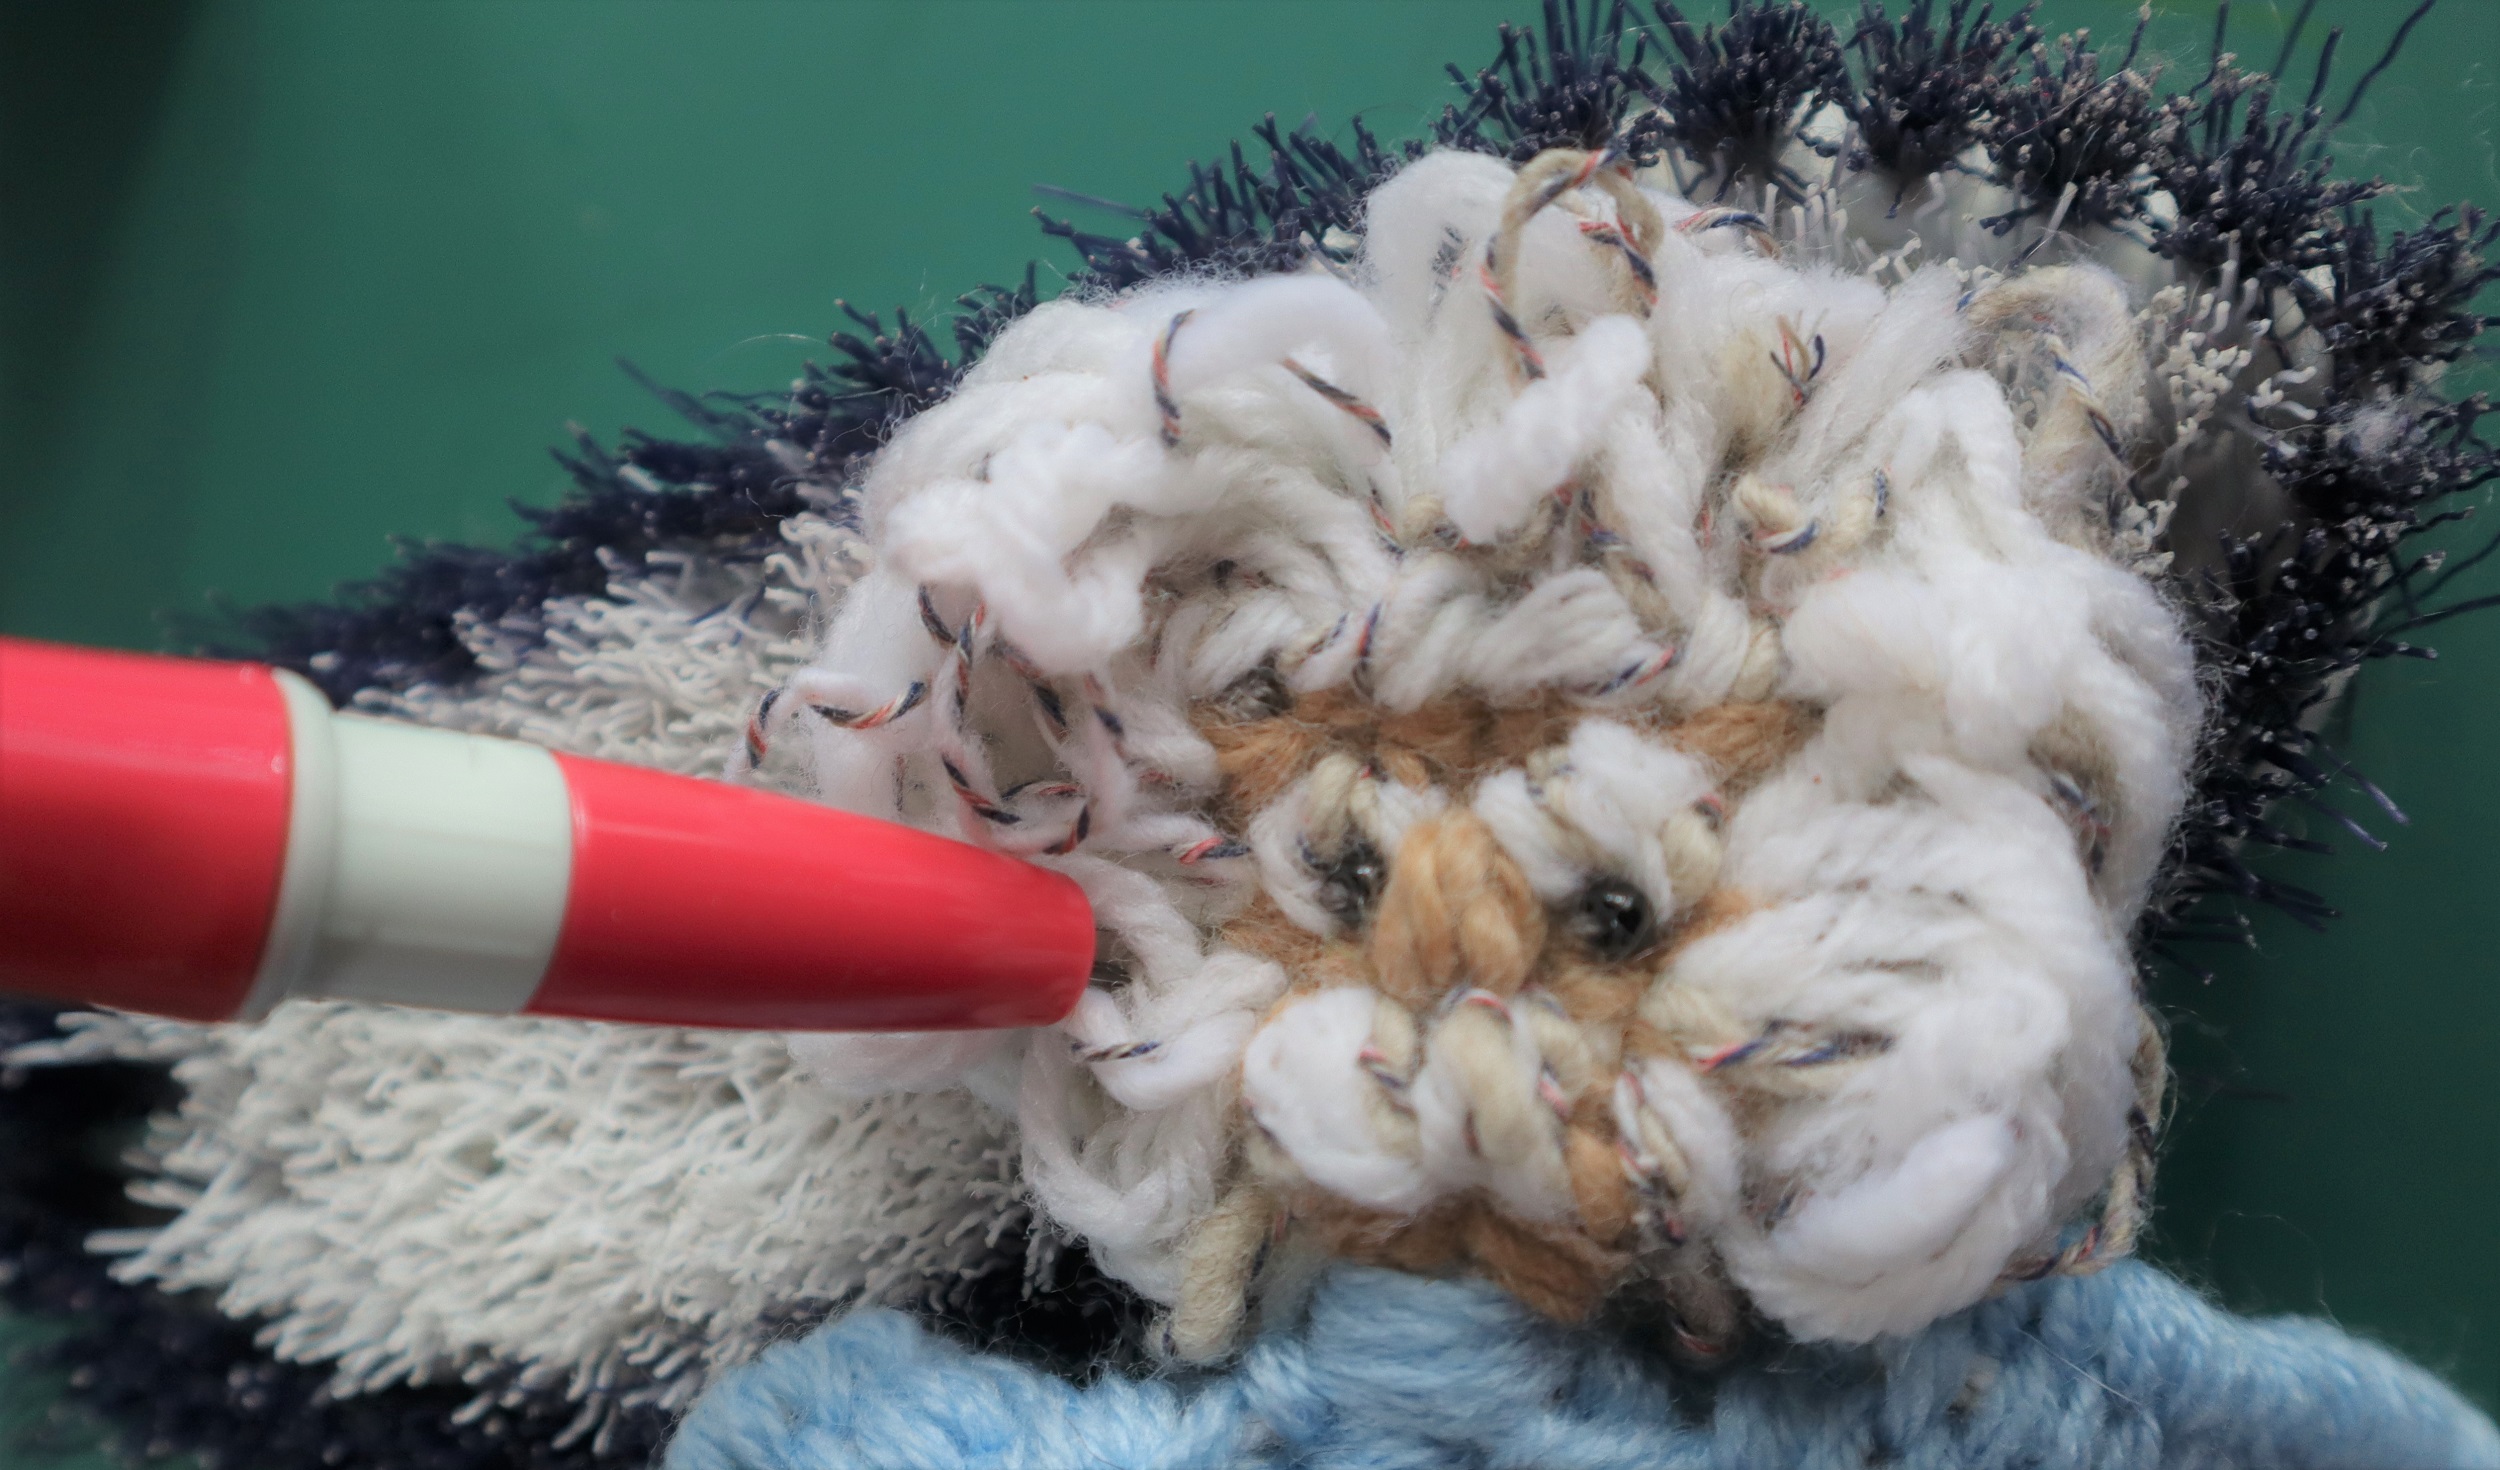
HAIR:
Stitch loops of hair yarn around the edges of the face and on the back of the head.
Use felting needles to finalize the loops into the ‘dandelion’ shape of his classic signature hairstyle.
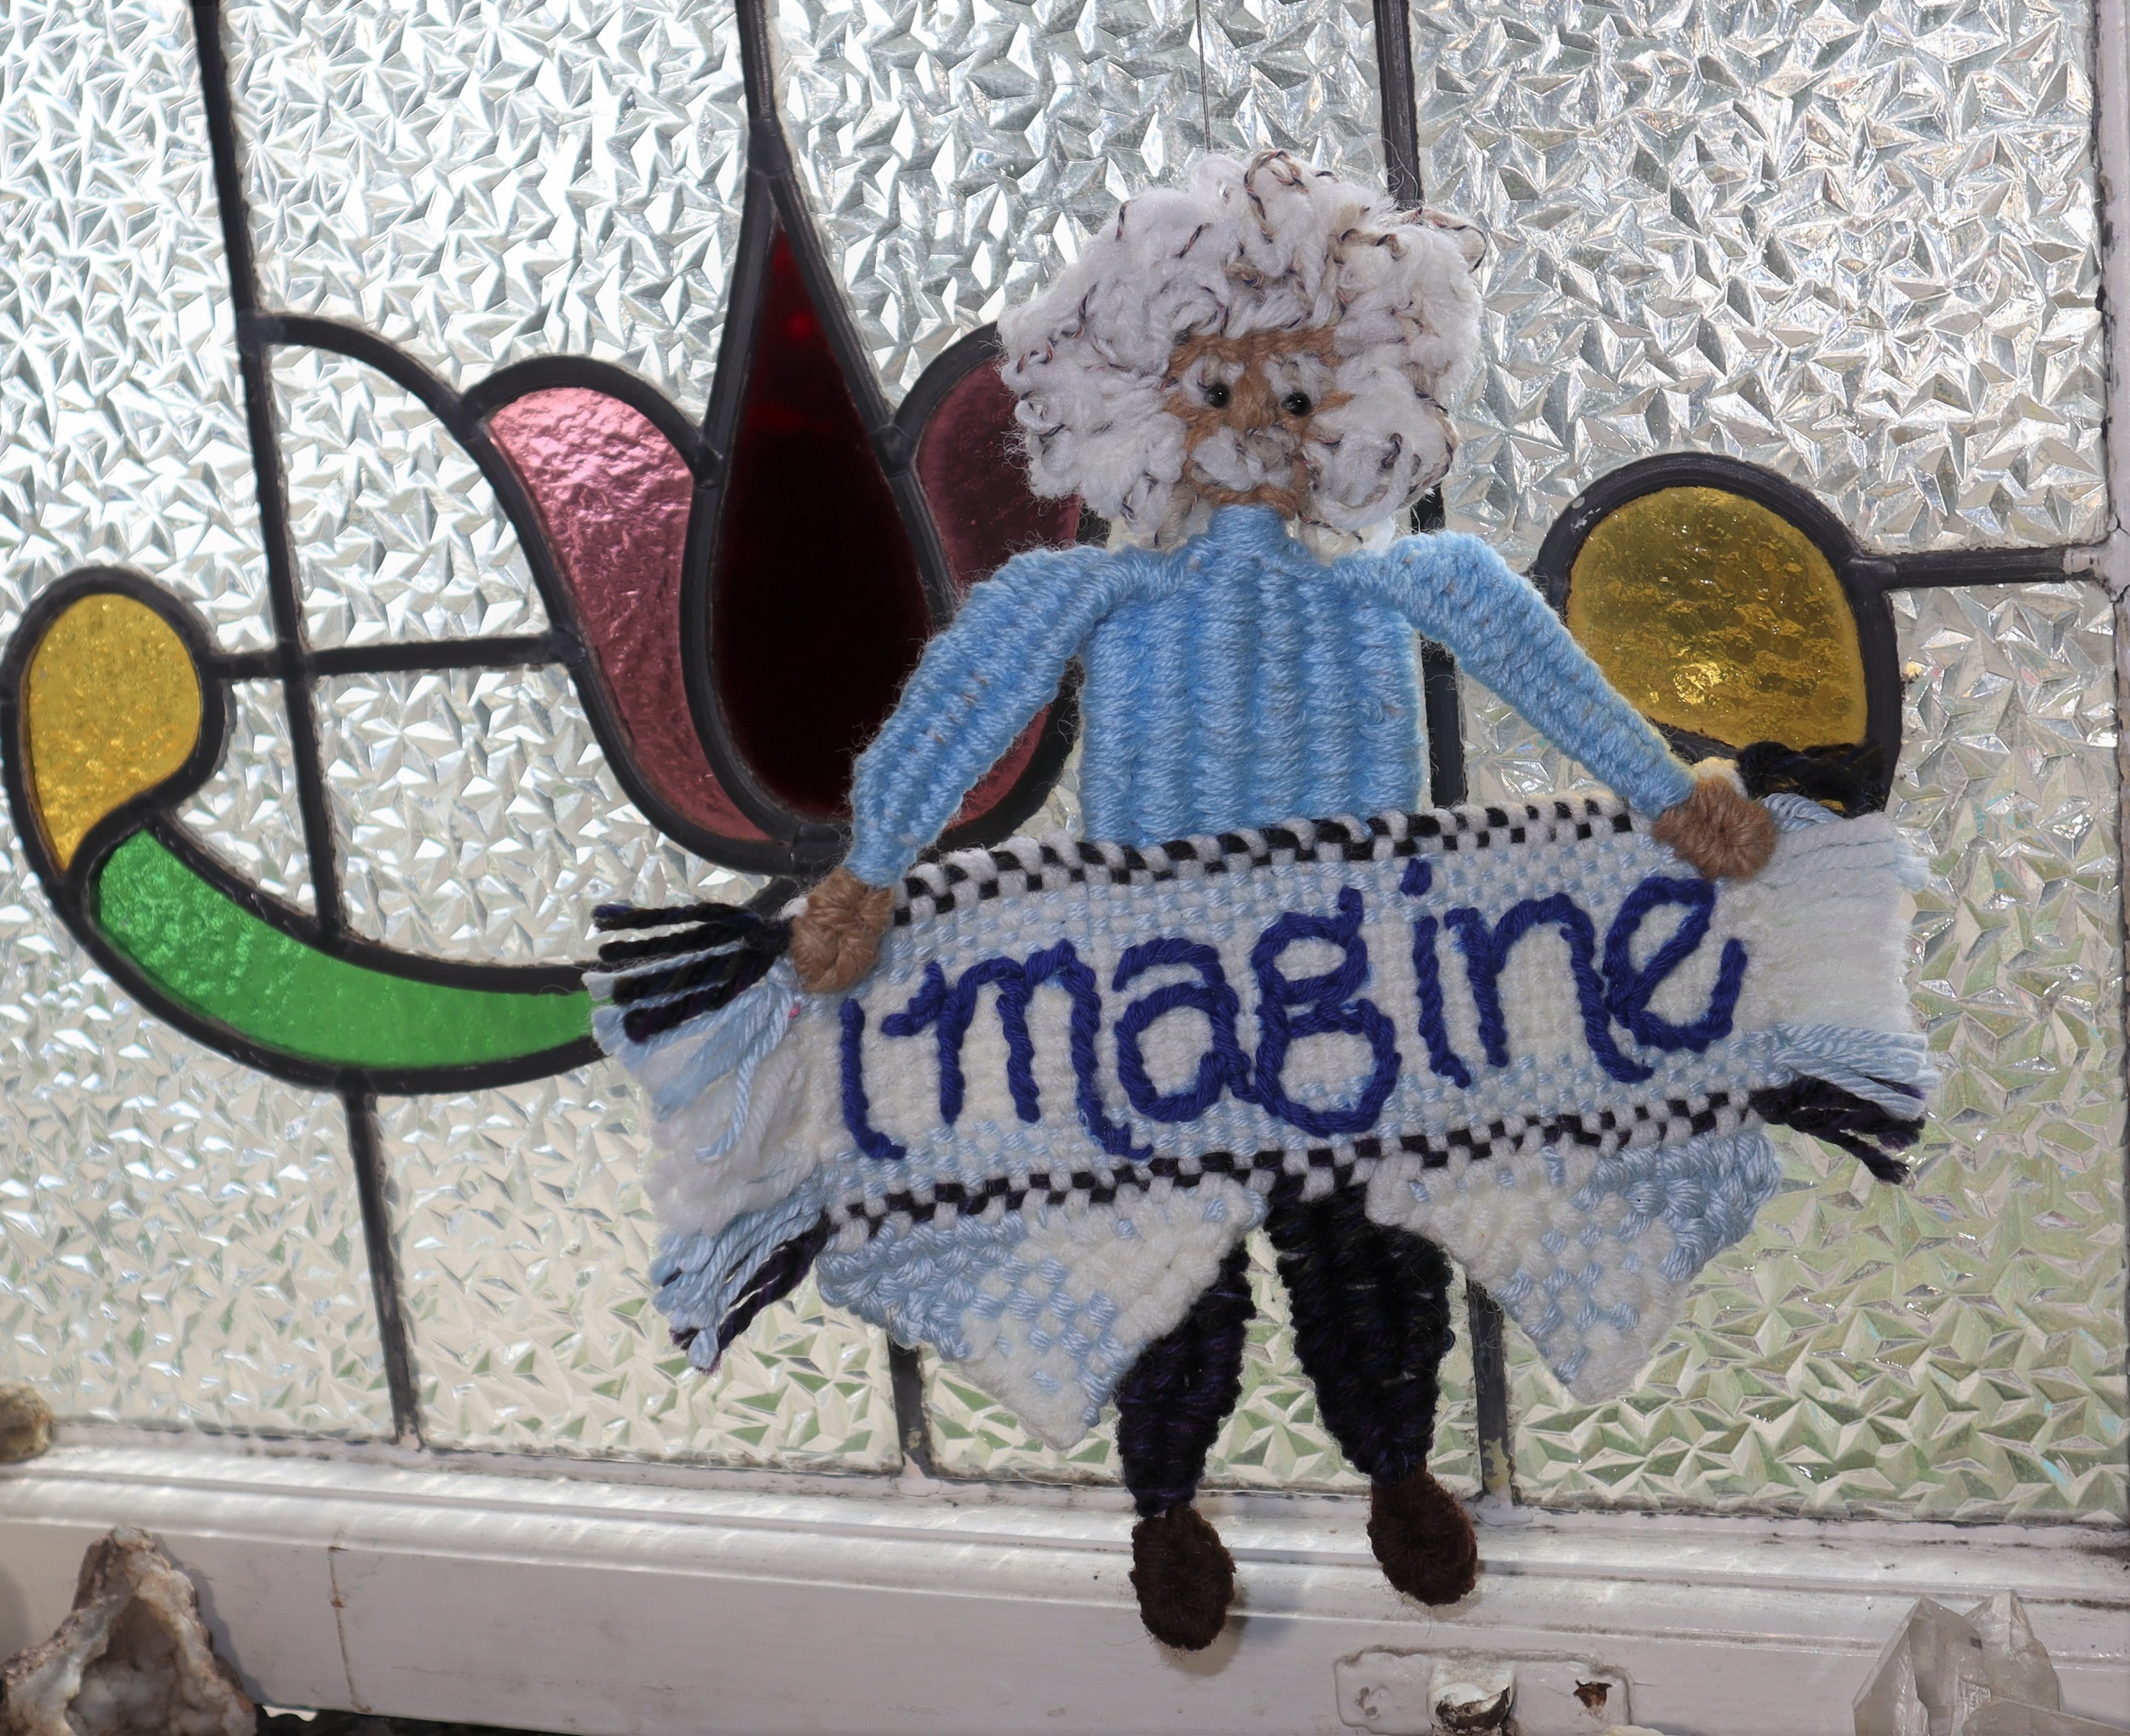
FINISHING:
1: Steam the woven figure on the wrong side with a steam iron, being sure to not touch the iron to the weaving.
Finger press the arms down and the hair into place.
Weave in the ends.
Trim any ends.
2: Sew a plastic or metal ring to the back of the head for hanging the banner.