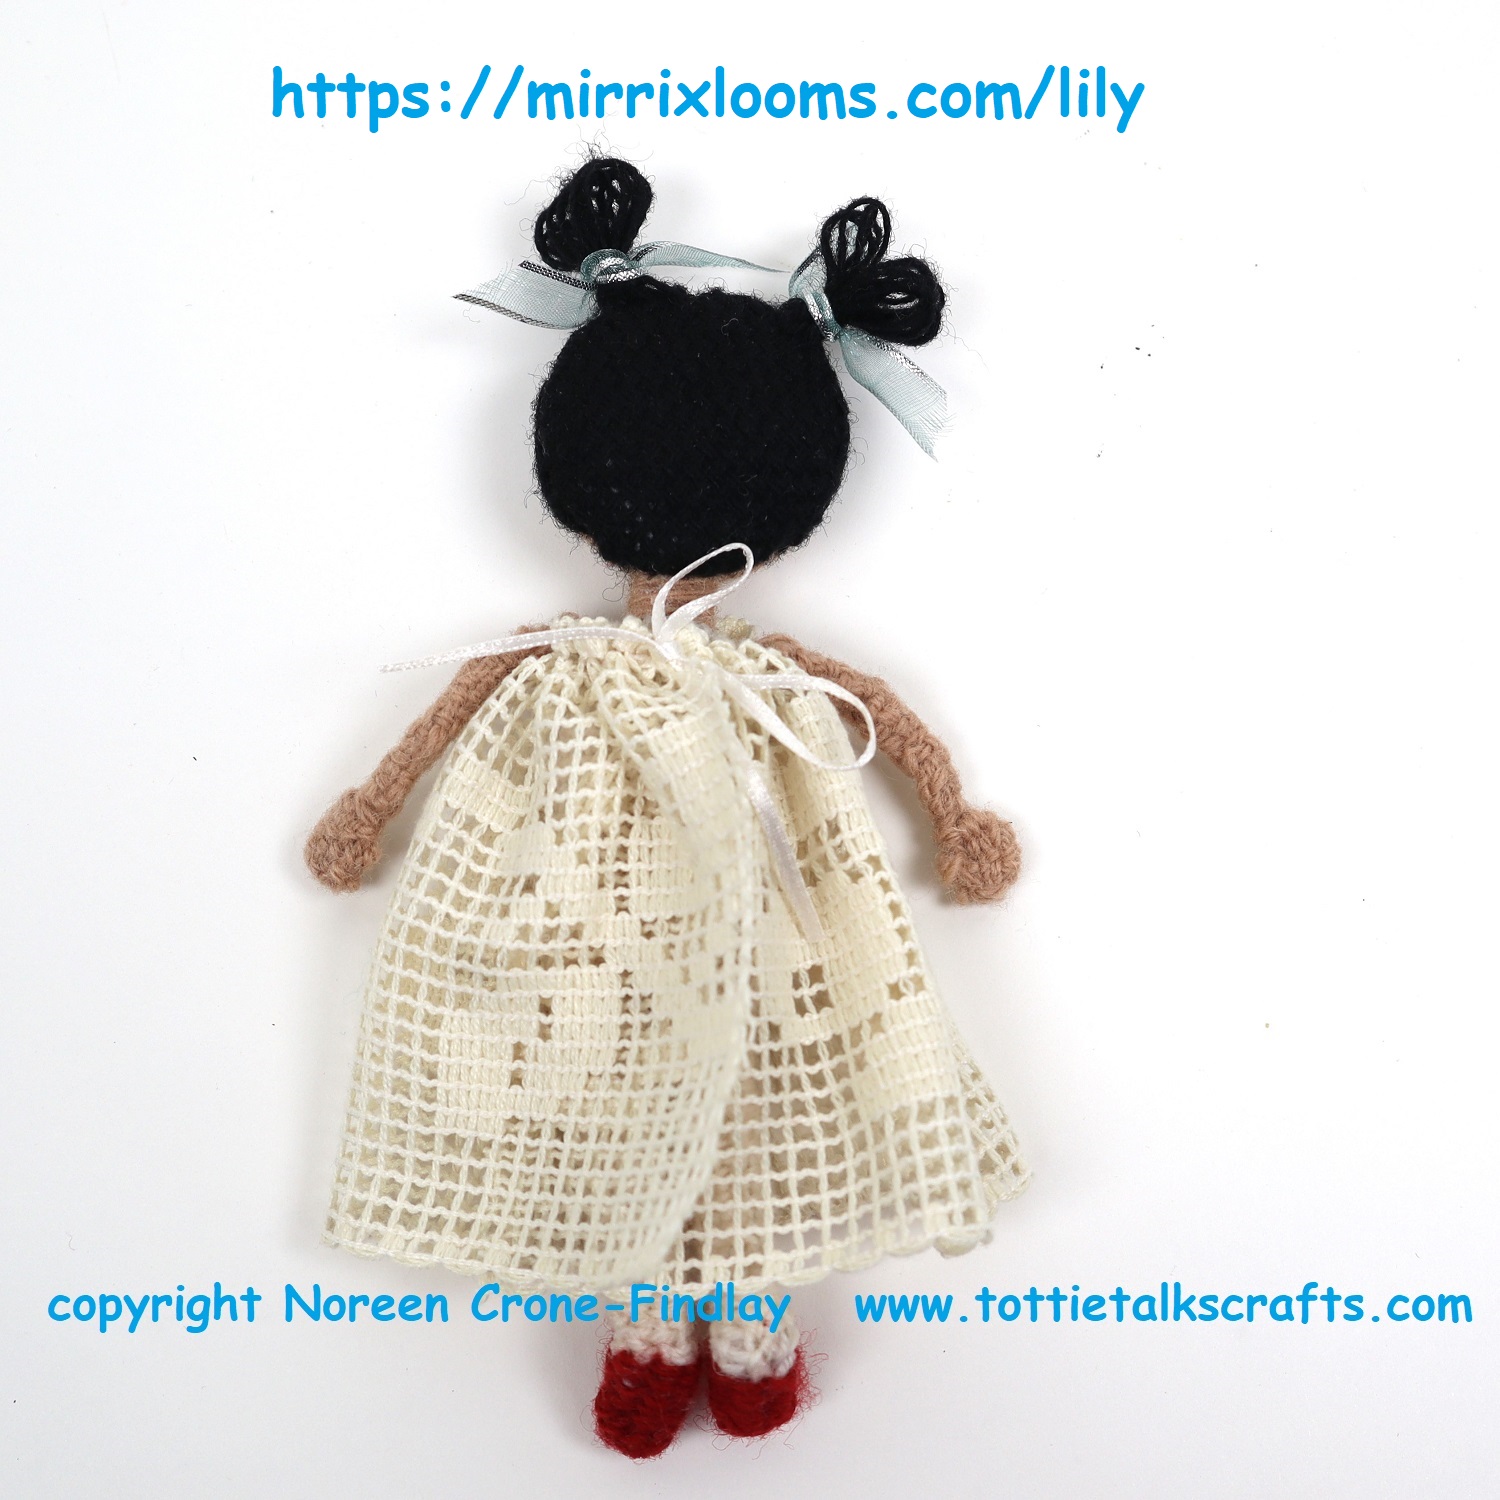
It’ s the festive season, so I designed a party dress for Lily Doll:
And, then I discovered that there is enough yarn in the Party Doll kit to be able to weave the Pinafore Dress (with a pocket!), so, I asked Elena and Claudia at Mirrix if we could add the Pinafore Dress to the Party Dress kit. They thought that that was a great idea. 😀
It struck me that people might want to weave the Lily Doll in a way that is unique to them. I love exploring creative and imaginative options, so I decided to weave a doll using the Lily Doll Pattern, but to change things up a little.
Well, LOL…. I ended up having to weave her arms twice, because I managed to (HUH?!?!) mess them up on the first go. Okay, so I un-picked them and wove them again. Got it right this time. Whew.
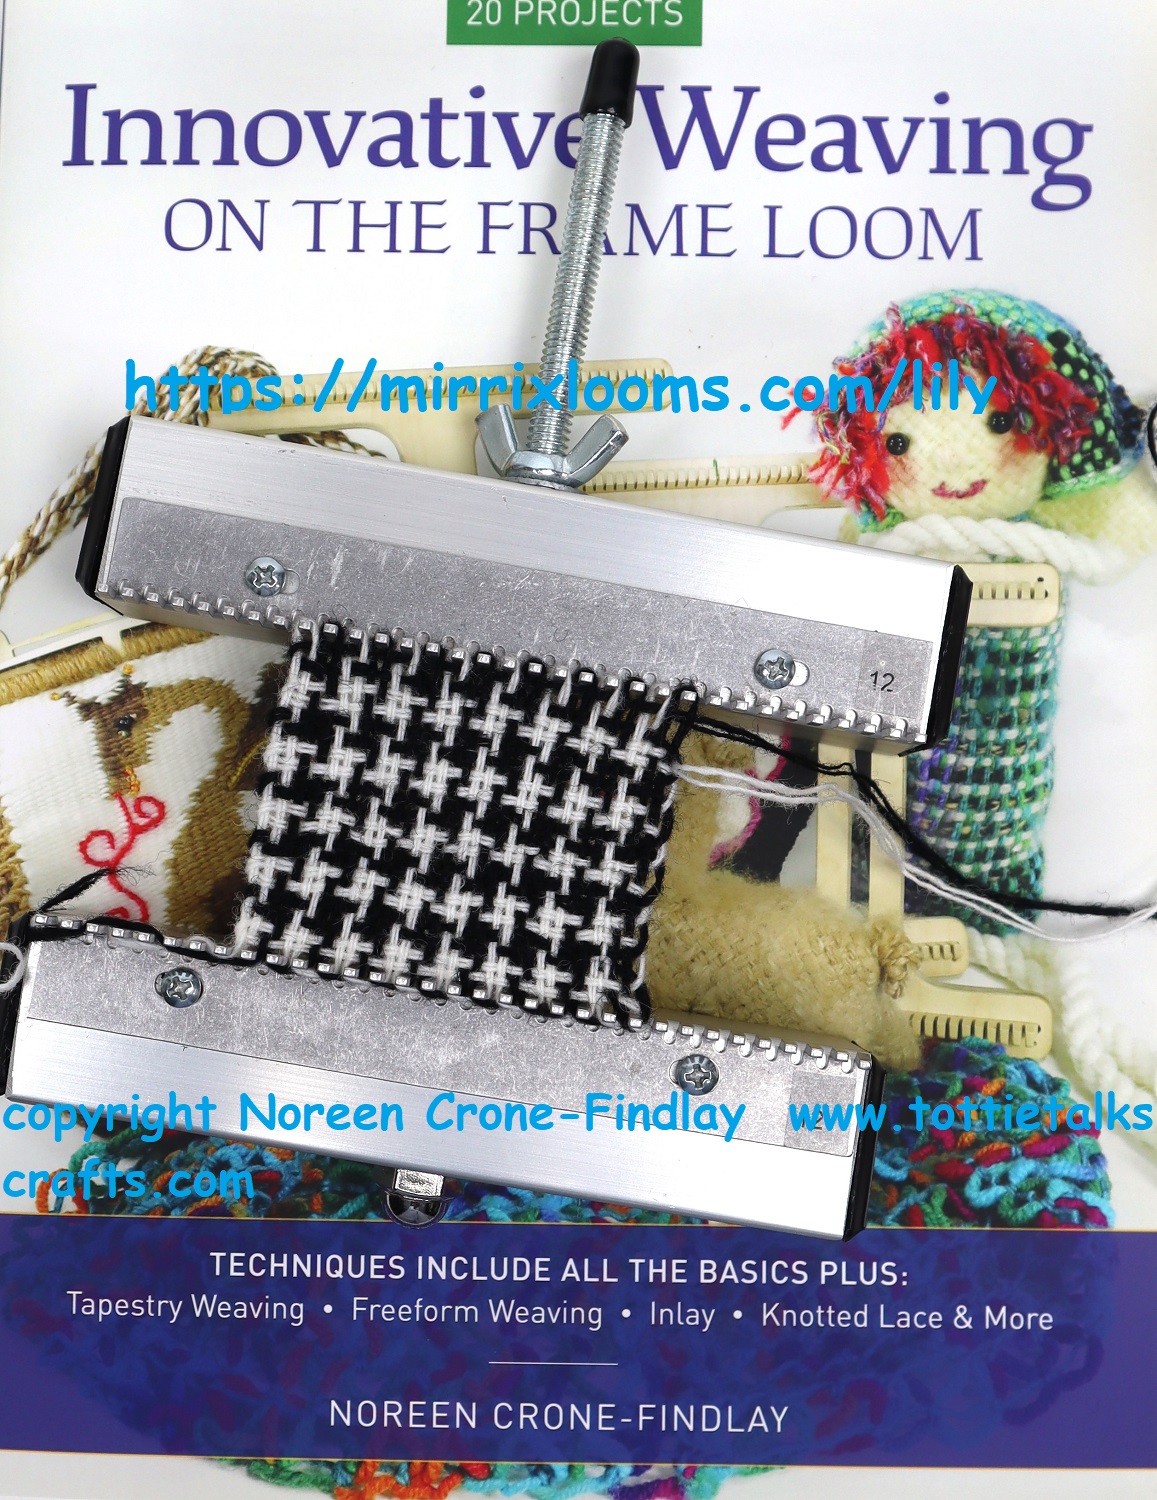
Then, I was weaving too late at night, when, thanks to Long Covid, my cognitive function isn’t always at the top of the loop- oops… and I wove the body in plain white, which I hadn’t meant to do. Went to bed shaking my head. Got up the next morning and wove the body using Herringbone technique. (I’ll do another post about weaving Herringbone on the Chloe loom). YAY! Got it right!
Next, I merrily wove her legs using pick and pick in tapestry technique which mysteriously gave her very out of proportion legs. Sigh. Un-wove them and wove them in pick and pick, but THIS time, I used the tabby technique. AND YAY! The legs are totally tickety boo…. whew…..
And, luckily, her dear little head (using the pink and purple yarn and hand dyed silk left over from the Party and Pinafore Dresses kit) turned out perfect the first time round…. so…. here she is!
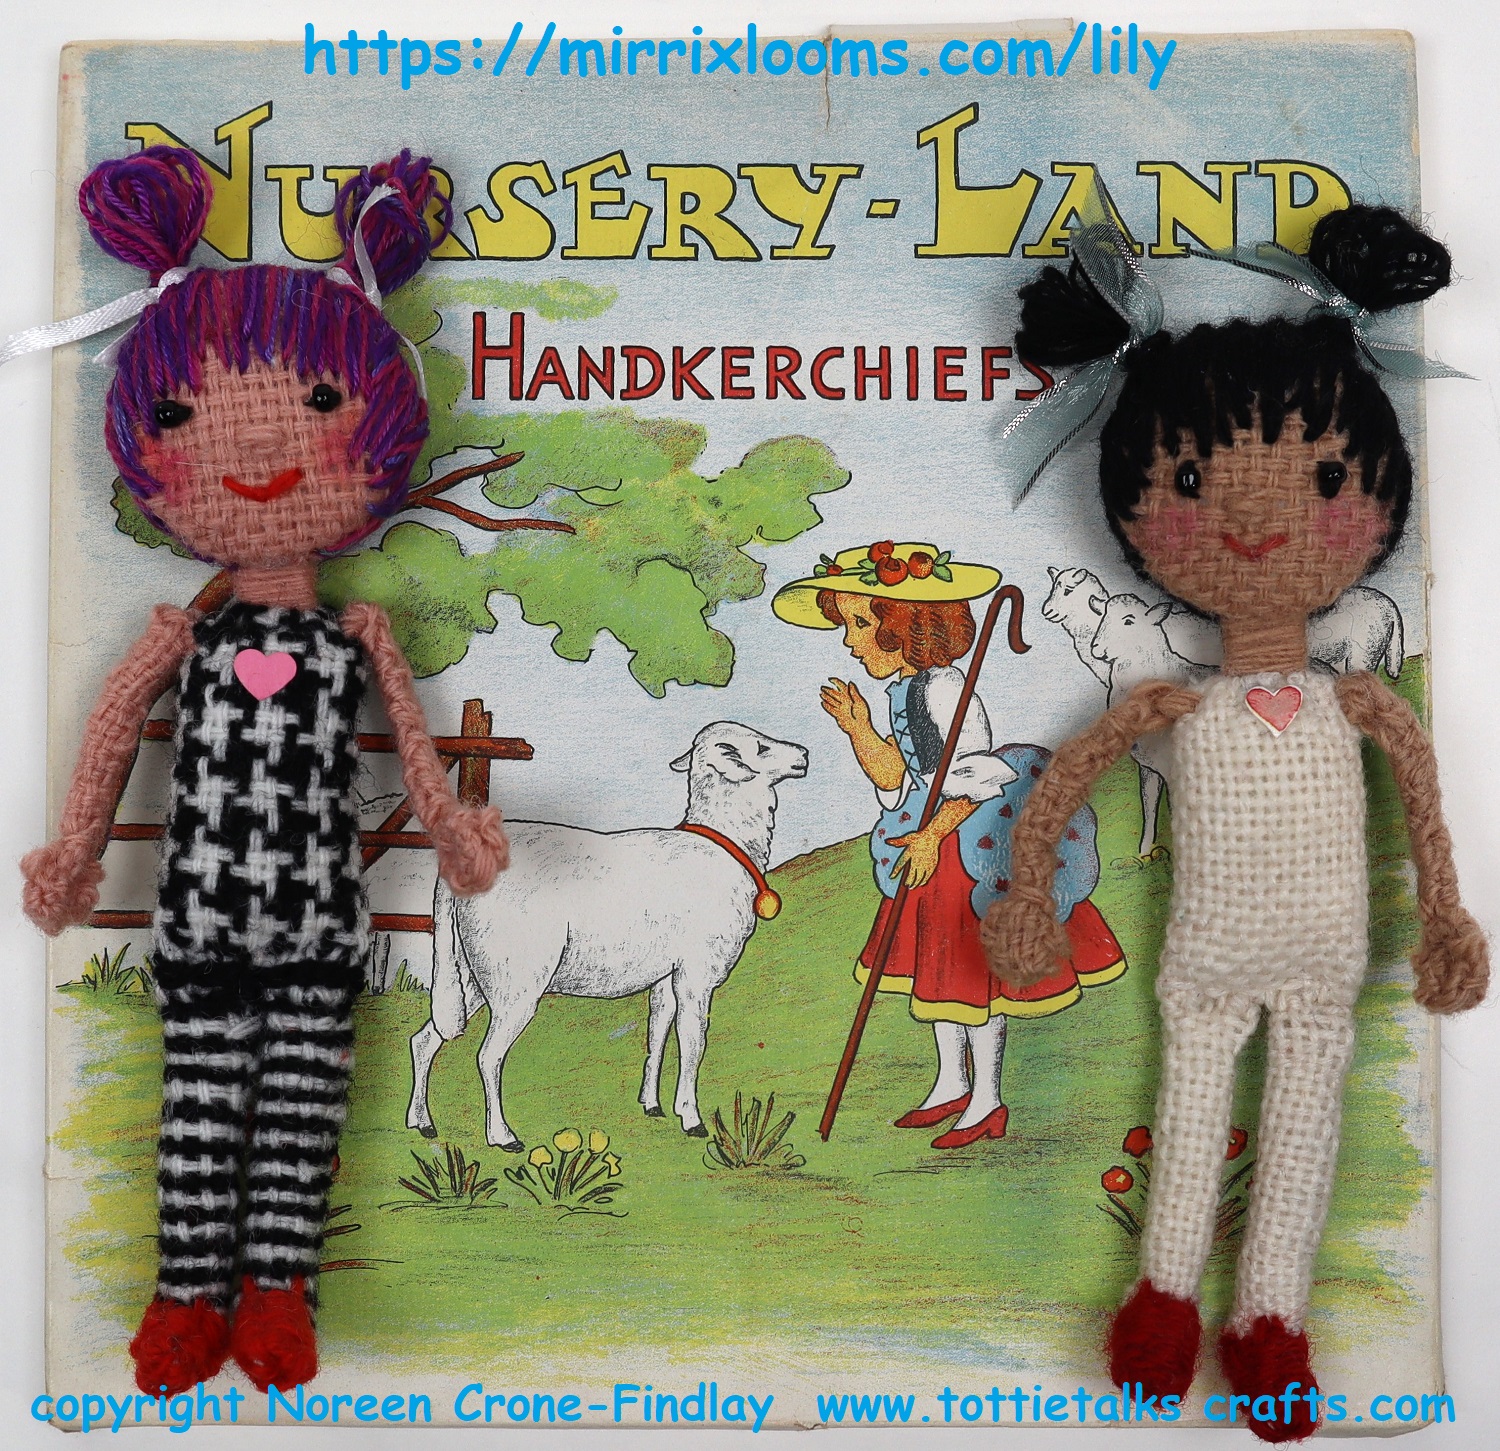
Lily Doll would like to introduce her cousin, Lally Doll!
and here they are, wearing the Party Dress and the Pinafore with a Pocket Dress:
Ooh, I am so delighted with them! Even though I seemed to get so much wrong on the way to getting Lally Doll right, she was totally worth the effort.
The Herringbone technique is explained in step by step photos in my book: Innovative Weaving on the Frame loom. It, and the kits and patterns for the Lily doll project are all available at: LINK
Last week I was given two little gifts that made me feel all hippetty skippety and happy….
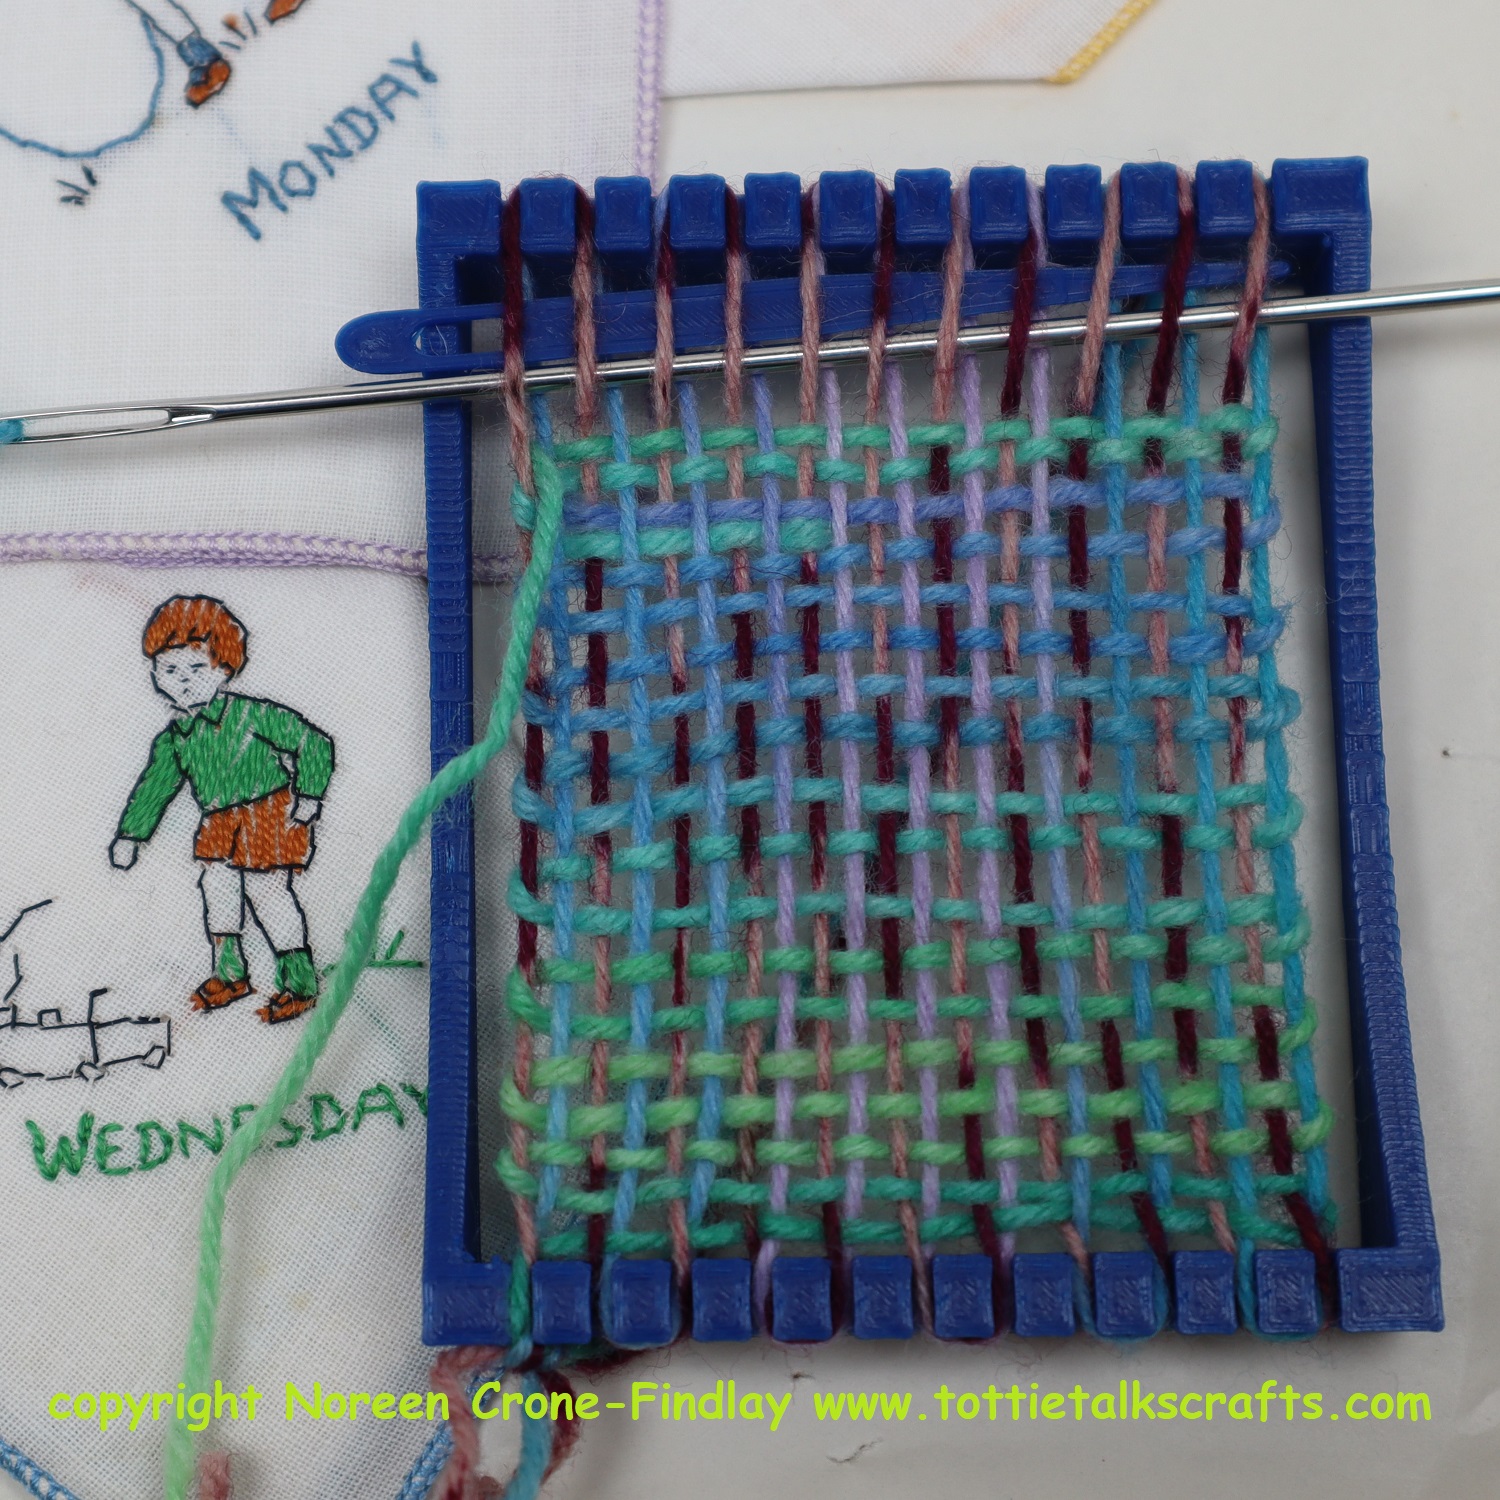
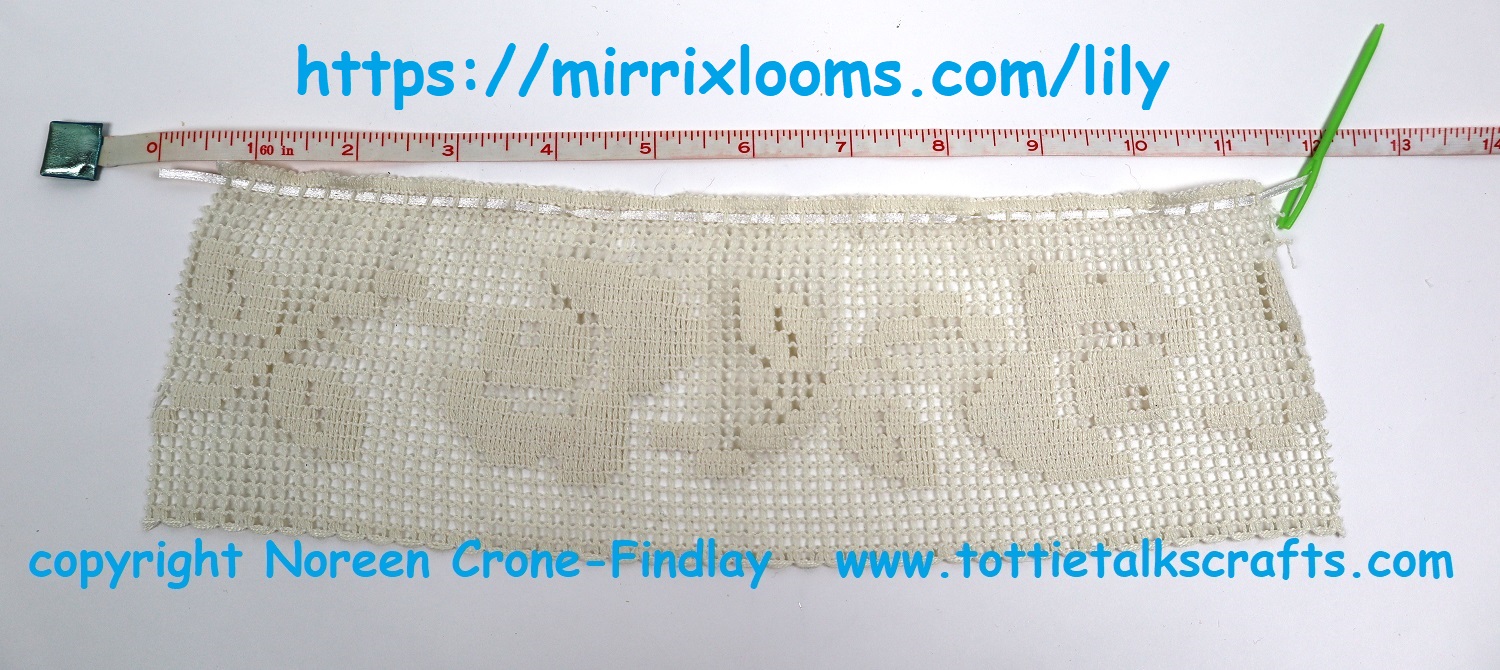
The first gift was from a dear friend of ours who has just moved and is downsizing. She’s been treasuring a collection of vintage hankies and some linens from her grandmother for years. She asked if I would like to have them and I am so thrilled to have them ❤
The second gift is from my grandson. He’s been learning the ins and outs of 3D printing and decided to print himself a tiny loom. This was so exciting for me, as he’s been weaving with me, on and off all his life. Having him decide to print himself a little loom made me feel all ‘wheee!’. And, then, when he presented me with this tiny loom, joy simply bubbled up all over! It was such a delight to sit with him and do a little weaving together. Sigh…. happy….
Simple little gifts can be such a source of joy….. ❤ and I hope that little treasures and delights will find their way into your life, too! ❤
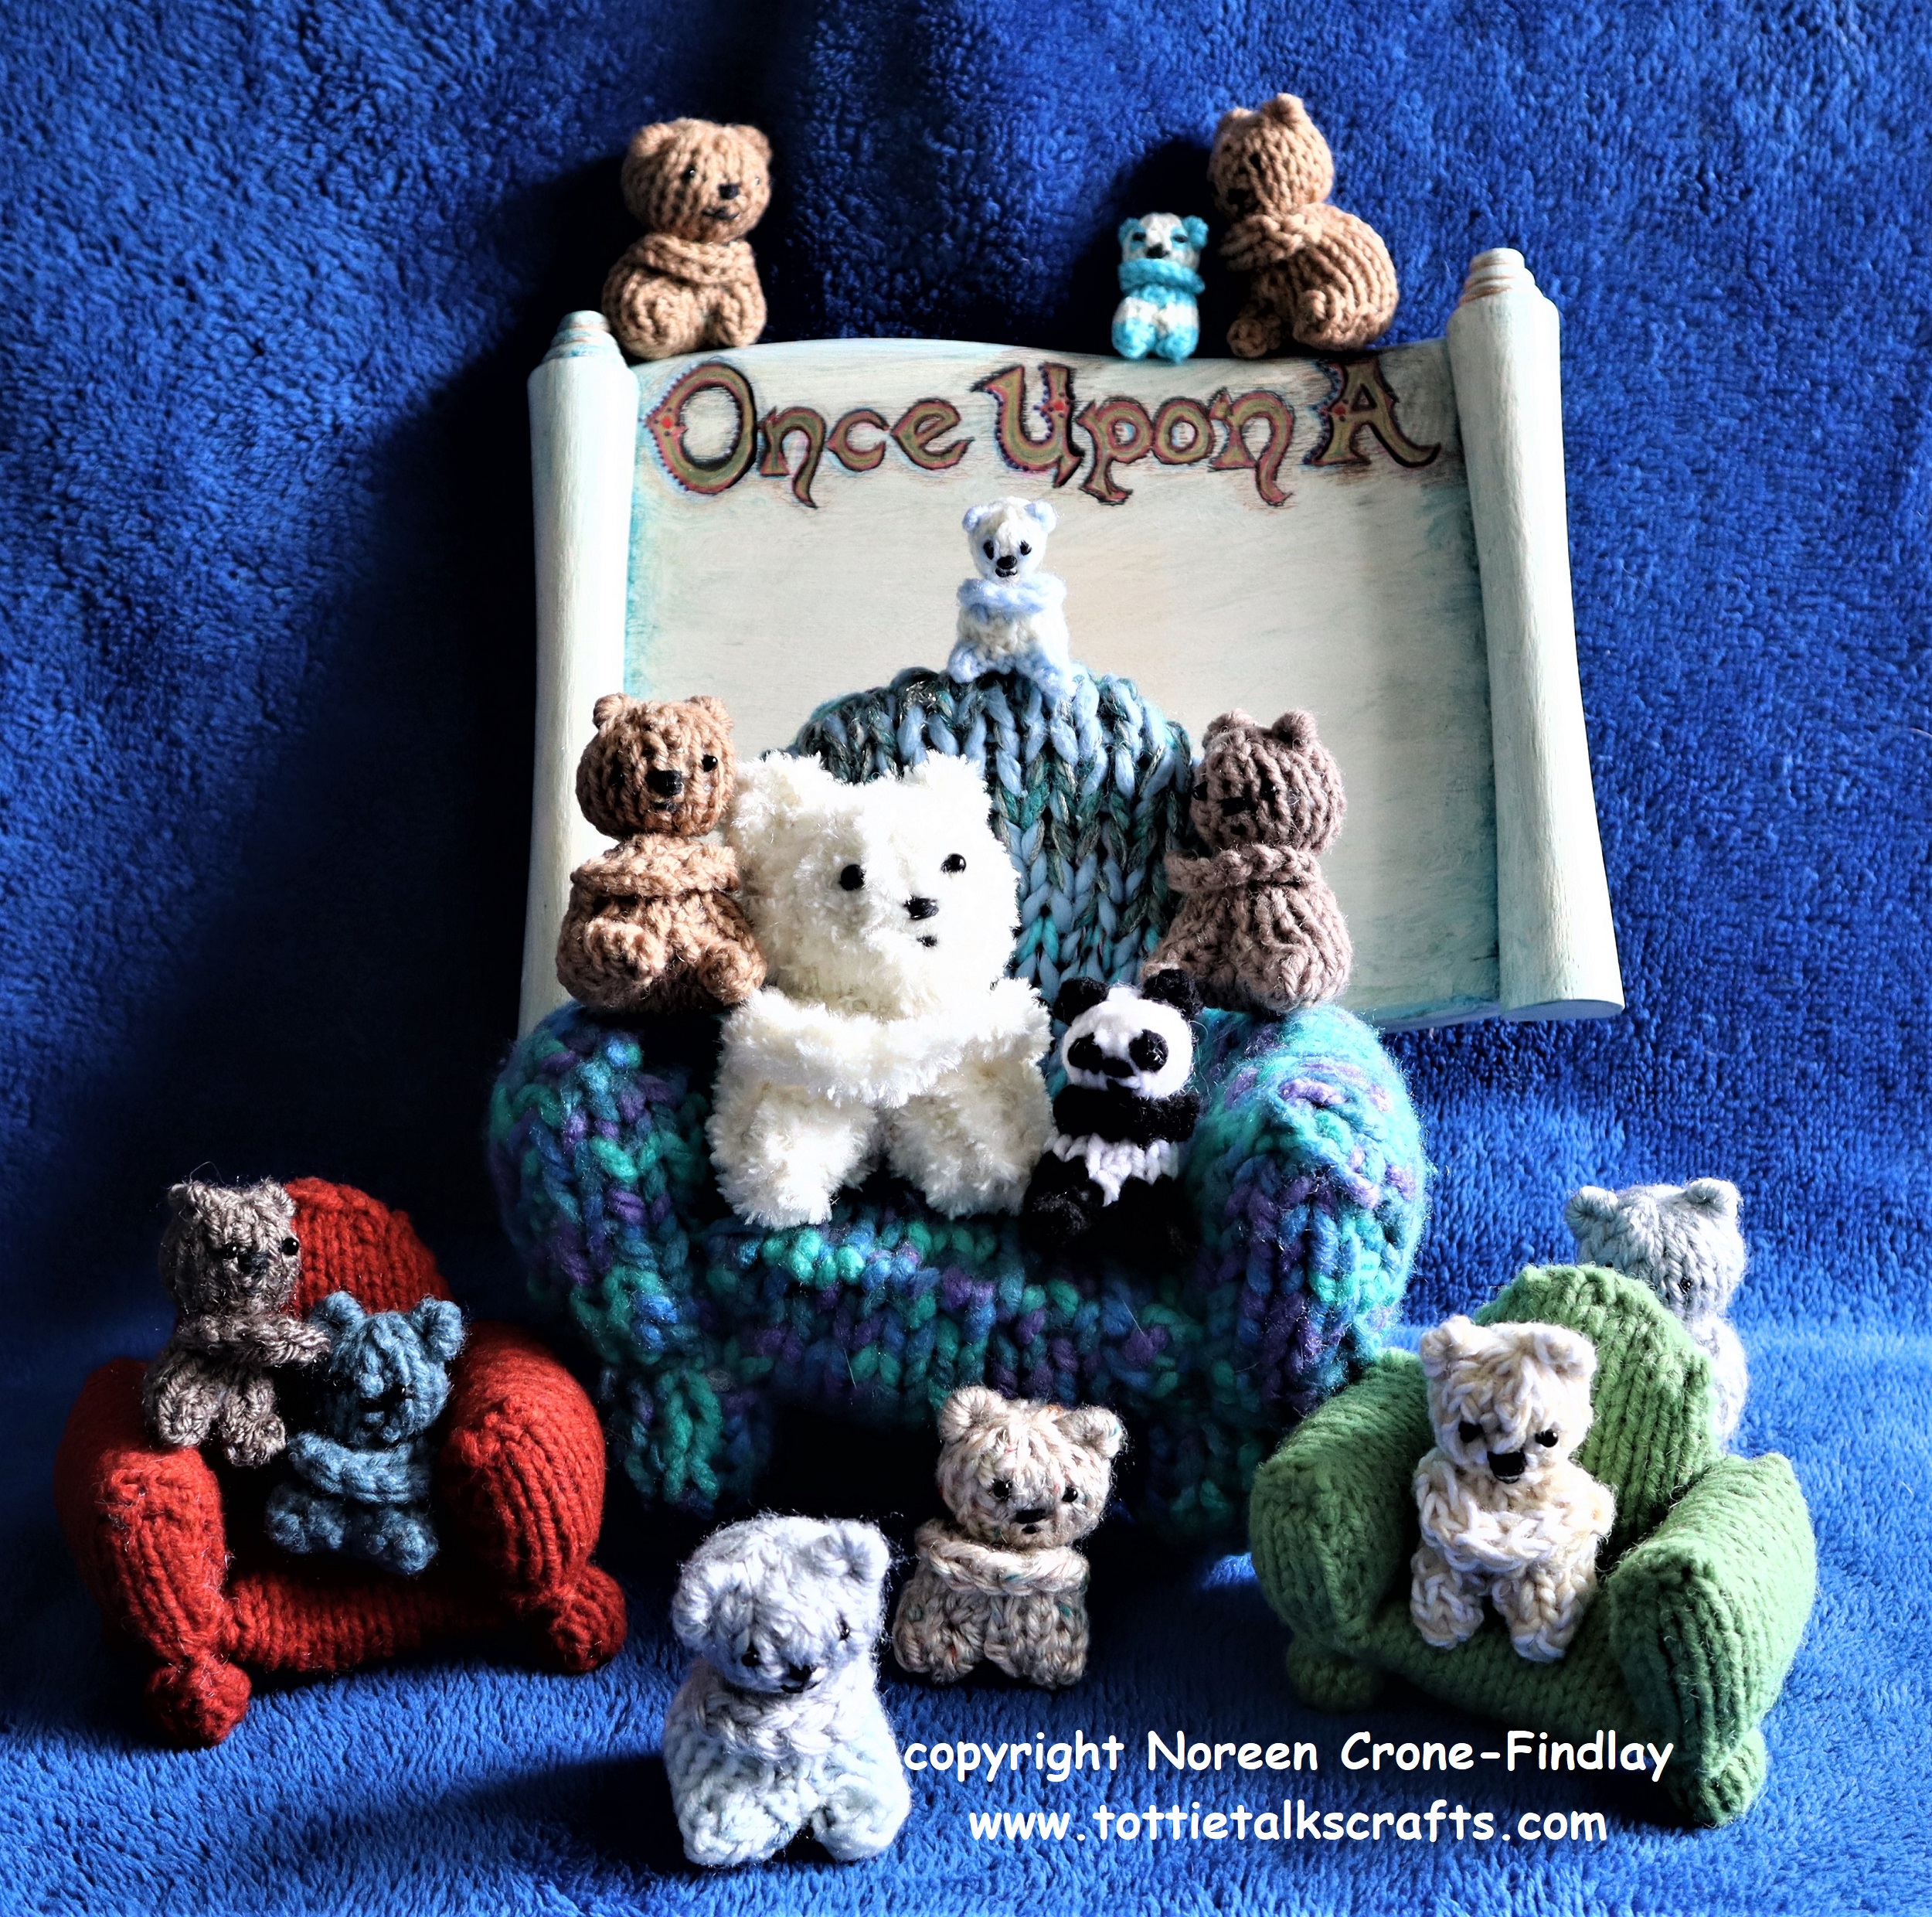
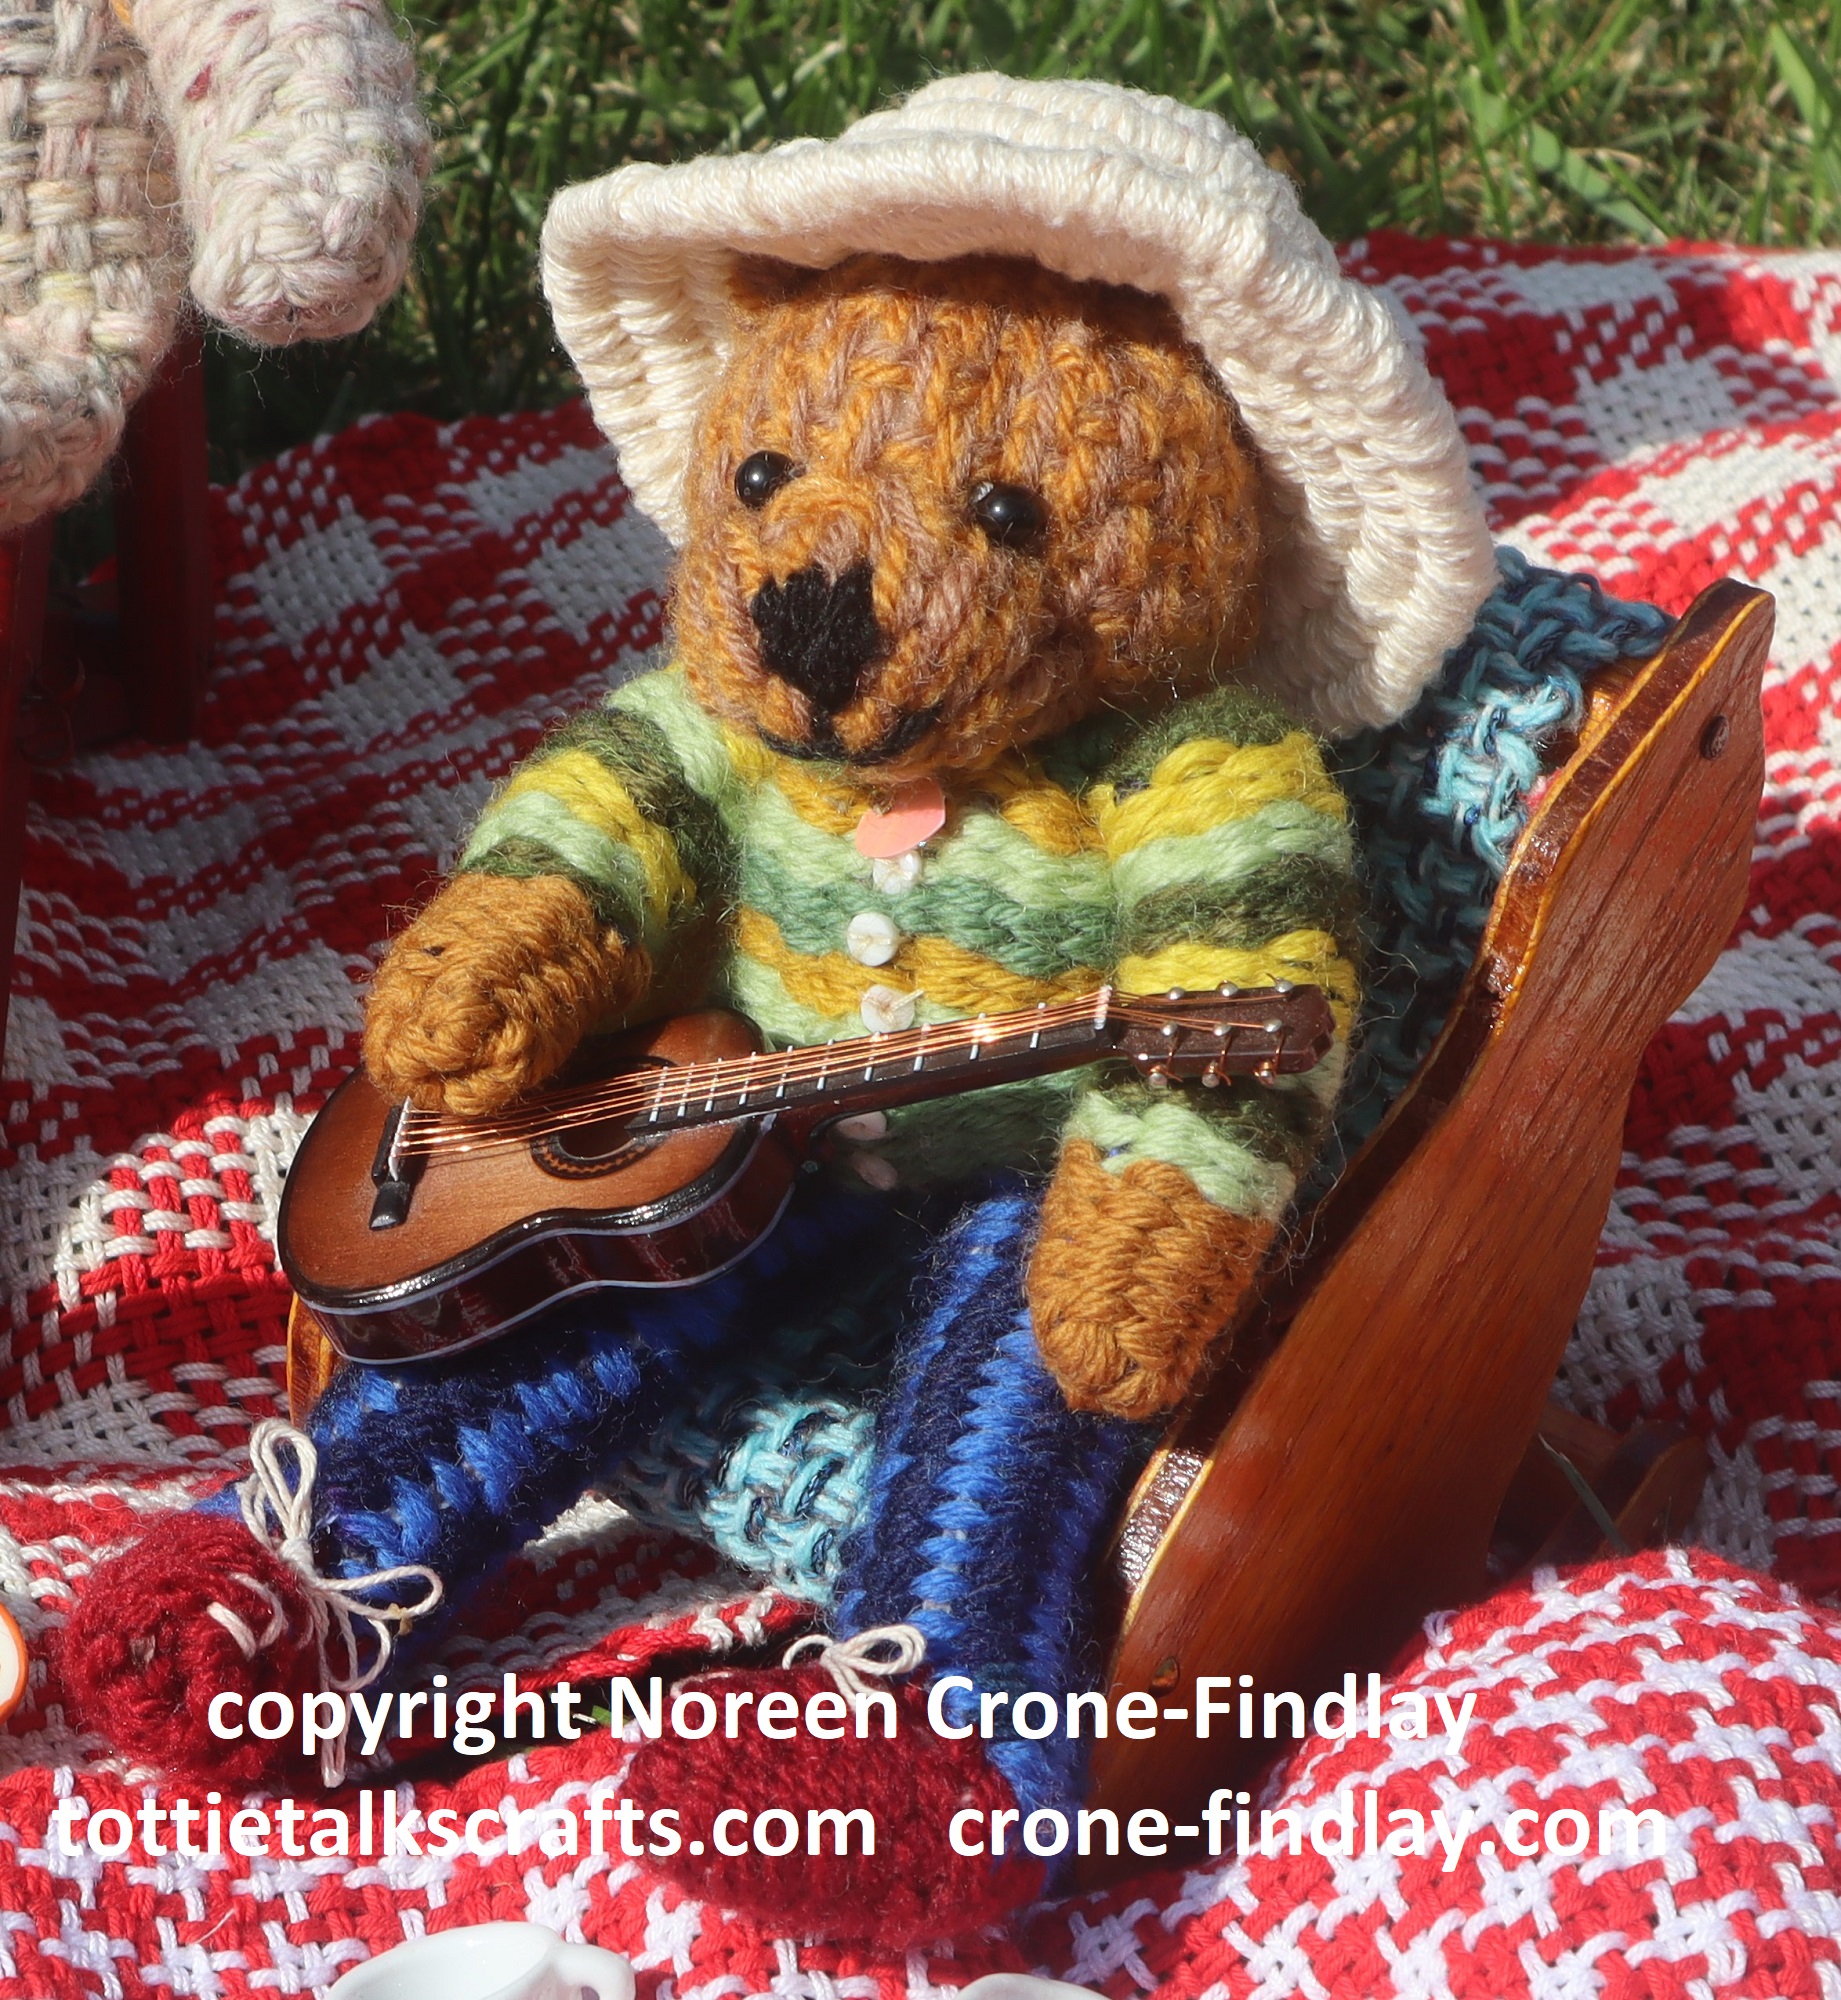
I am a dyed in the wool Teddy Bear fanatic. I especially like very very small bears.
So, of course, when I was designing for the Lily Doll Project, the first friend I designed for her is an absolutely tiny Teddy Bear.
These tiny Teddy Bears have my ‘signature’ hugging arms so they can hug back and also hold onto things.
Because they are so little, they are fairly quick and easy to make, so they are a great choice as Pocket Bears, and as Comfort Bears to give to other people.
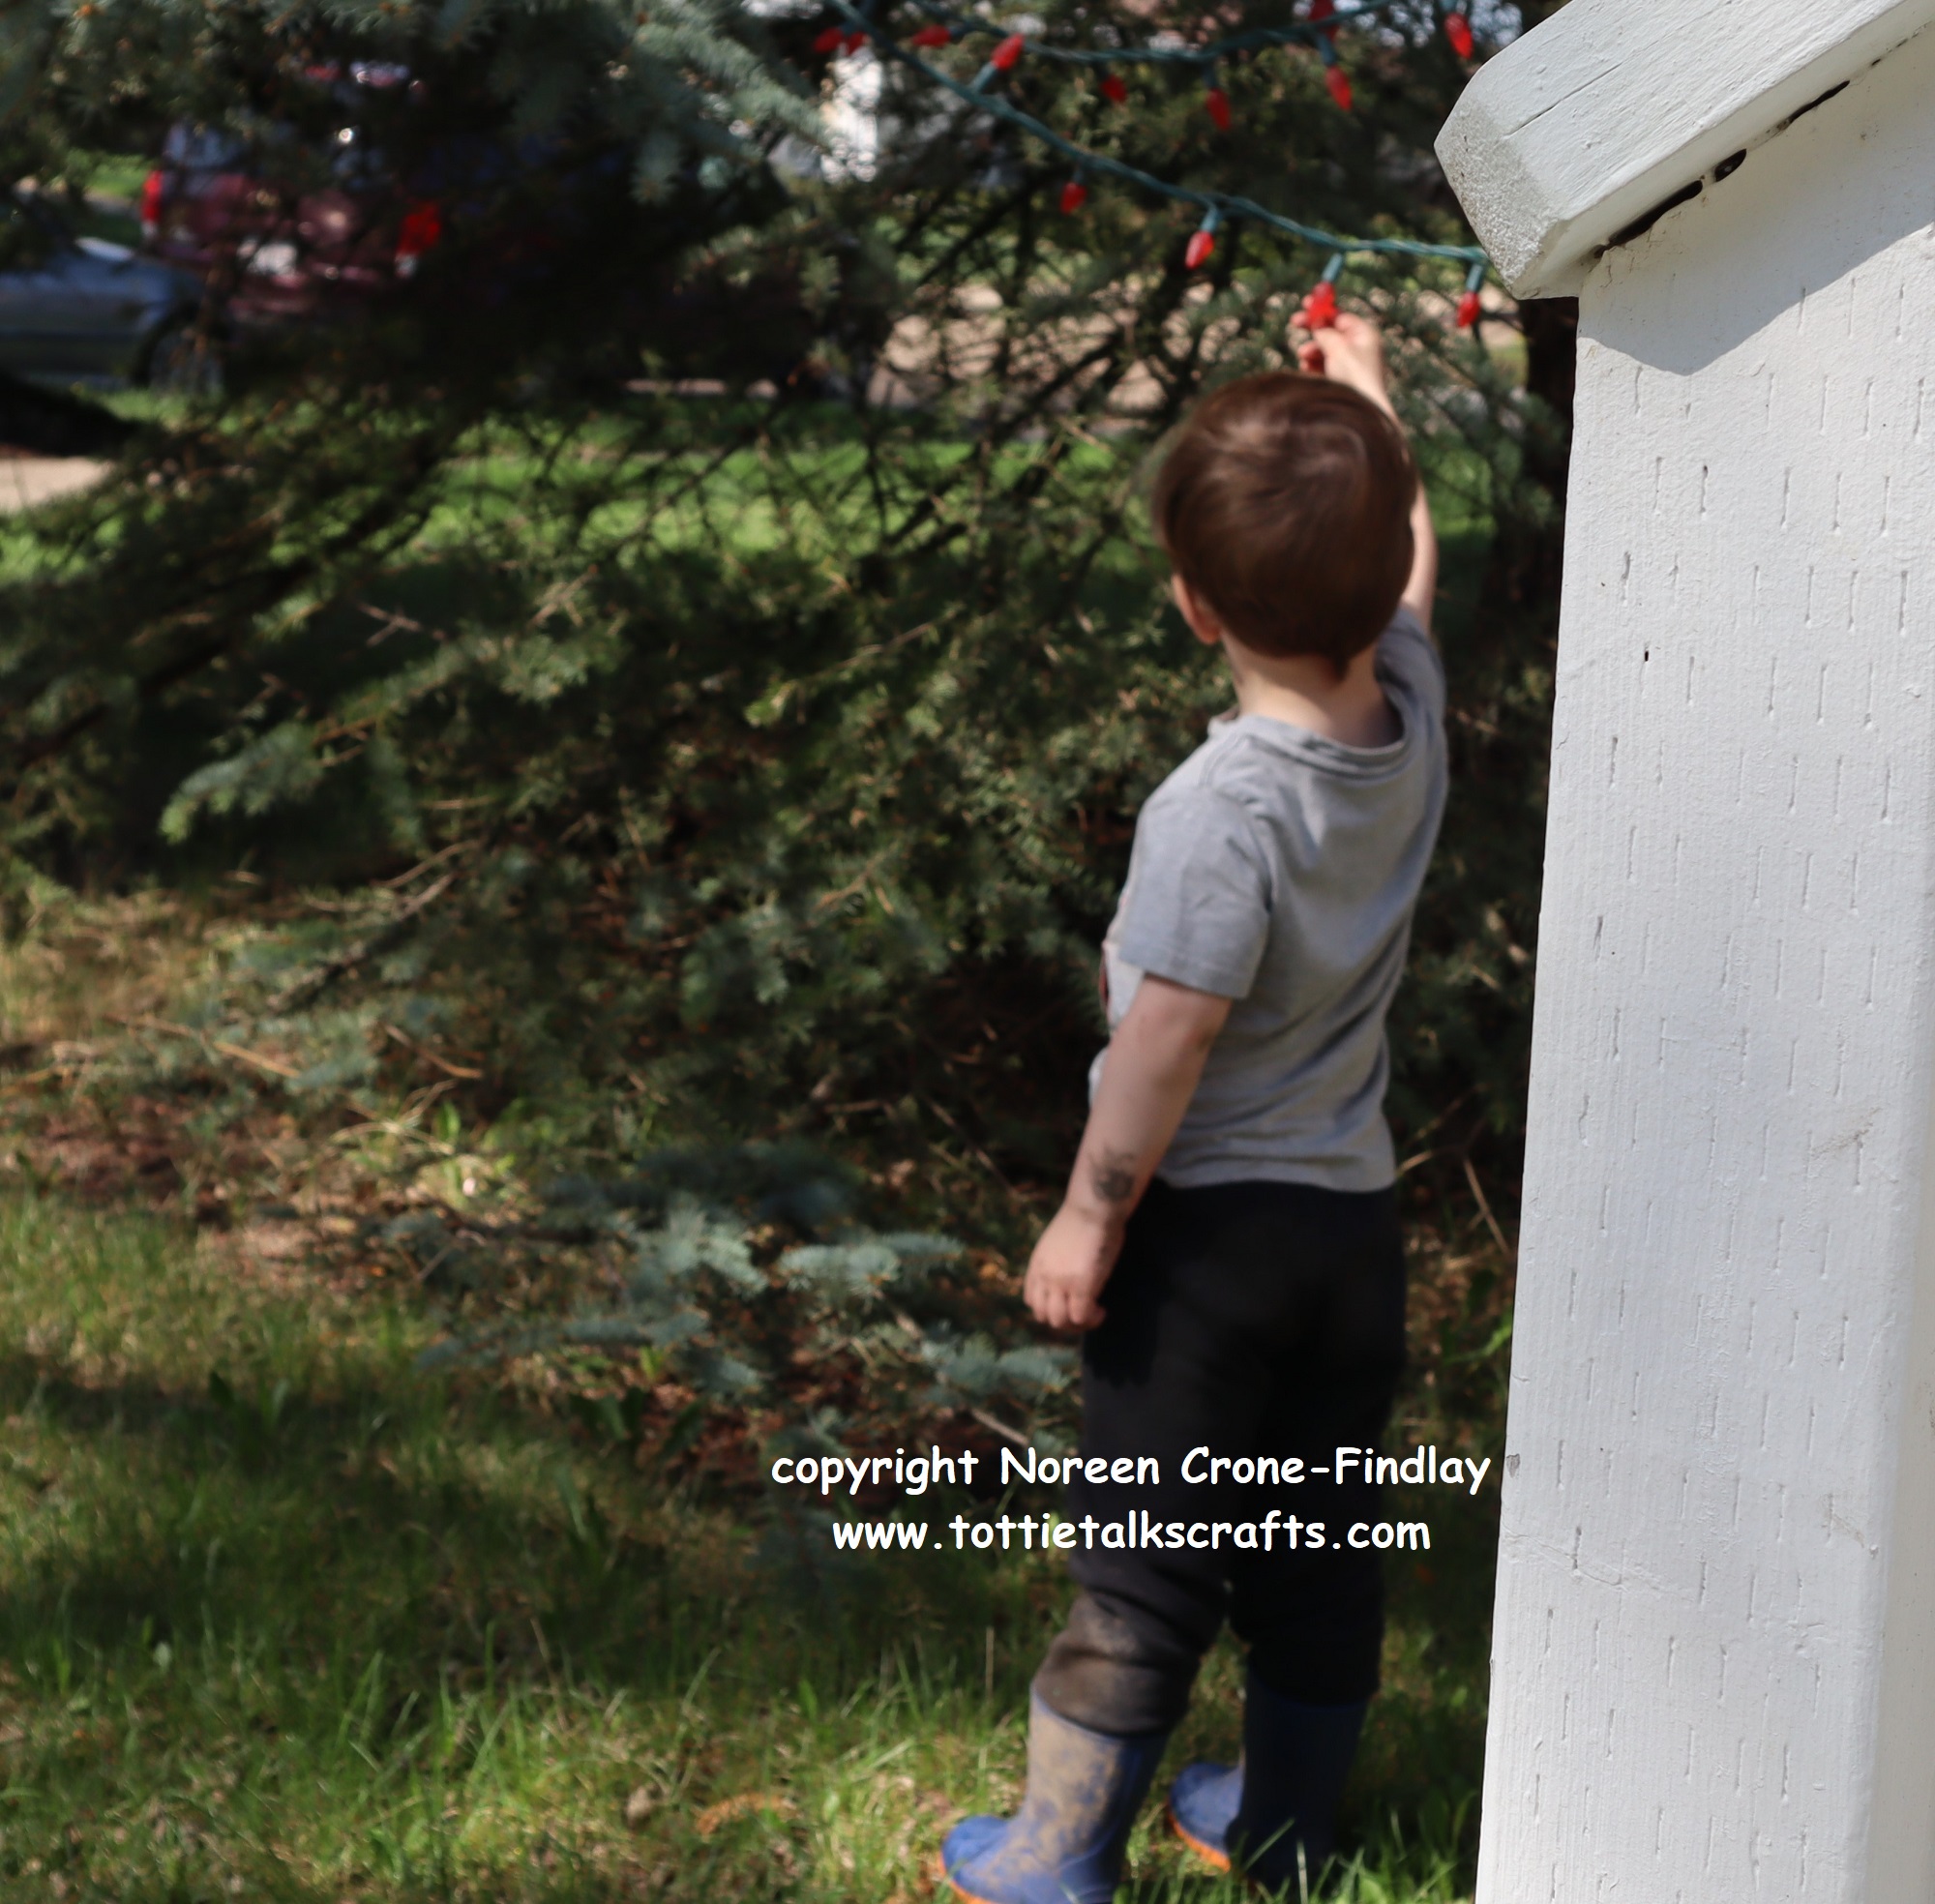
I am very fond of the little kiddo that lives next door. He and his Mamma are good friends of mine.
The doorbell will ring and my little friend will announce that it has been 50 years since we talked, so we will sit together on the porch and have a chat. His Mamma sits on the grass and we all enjoy the moment.
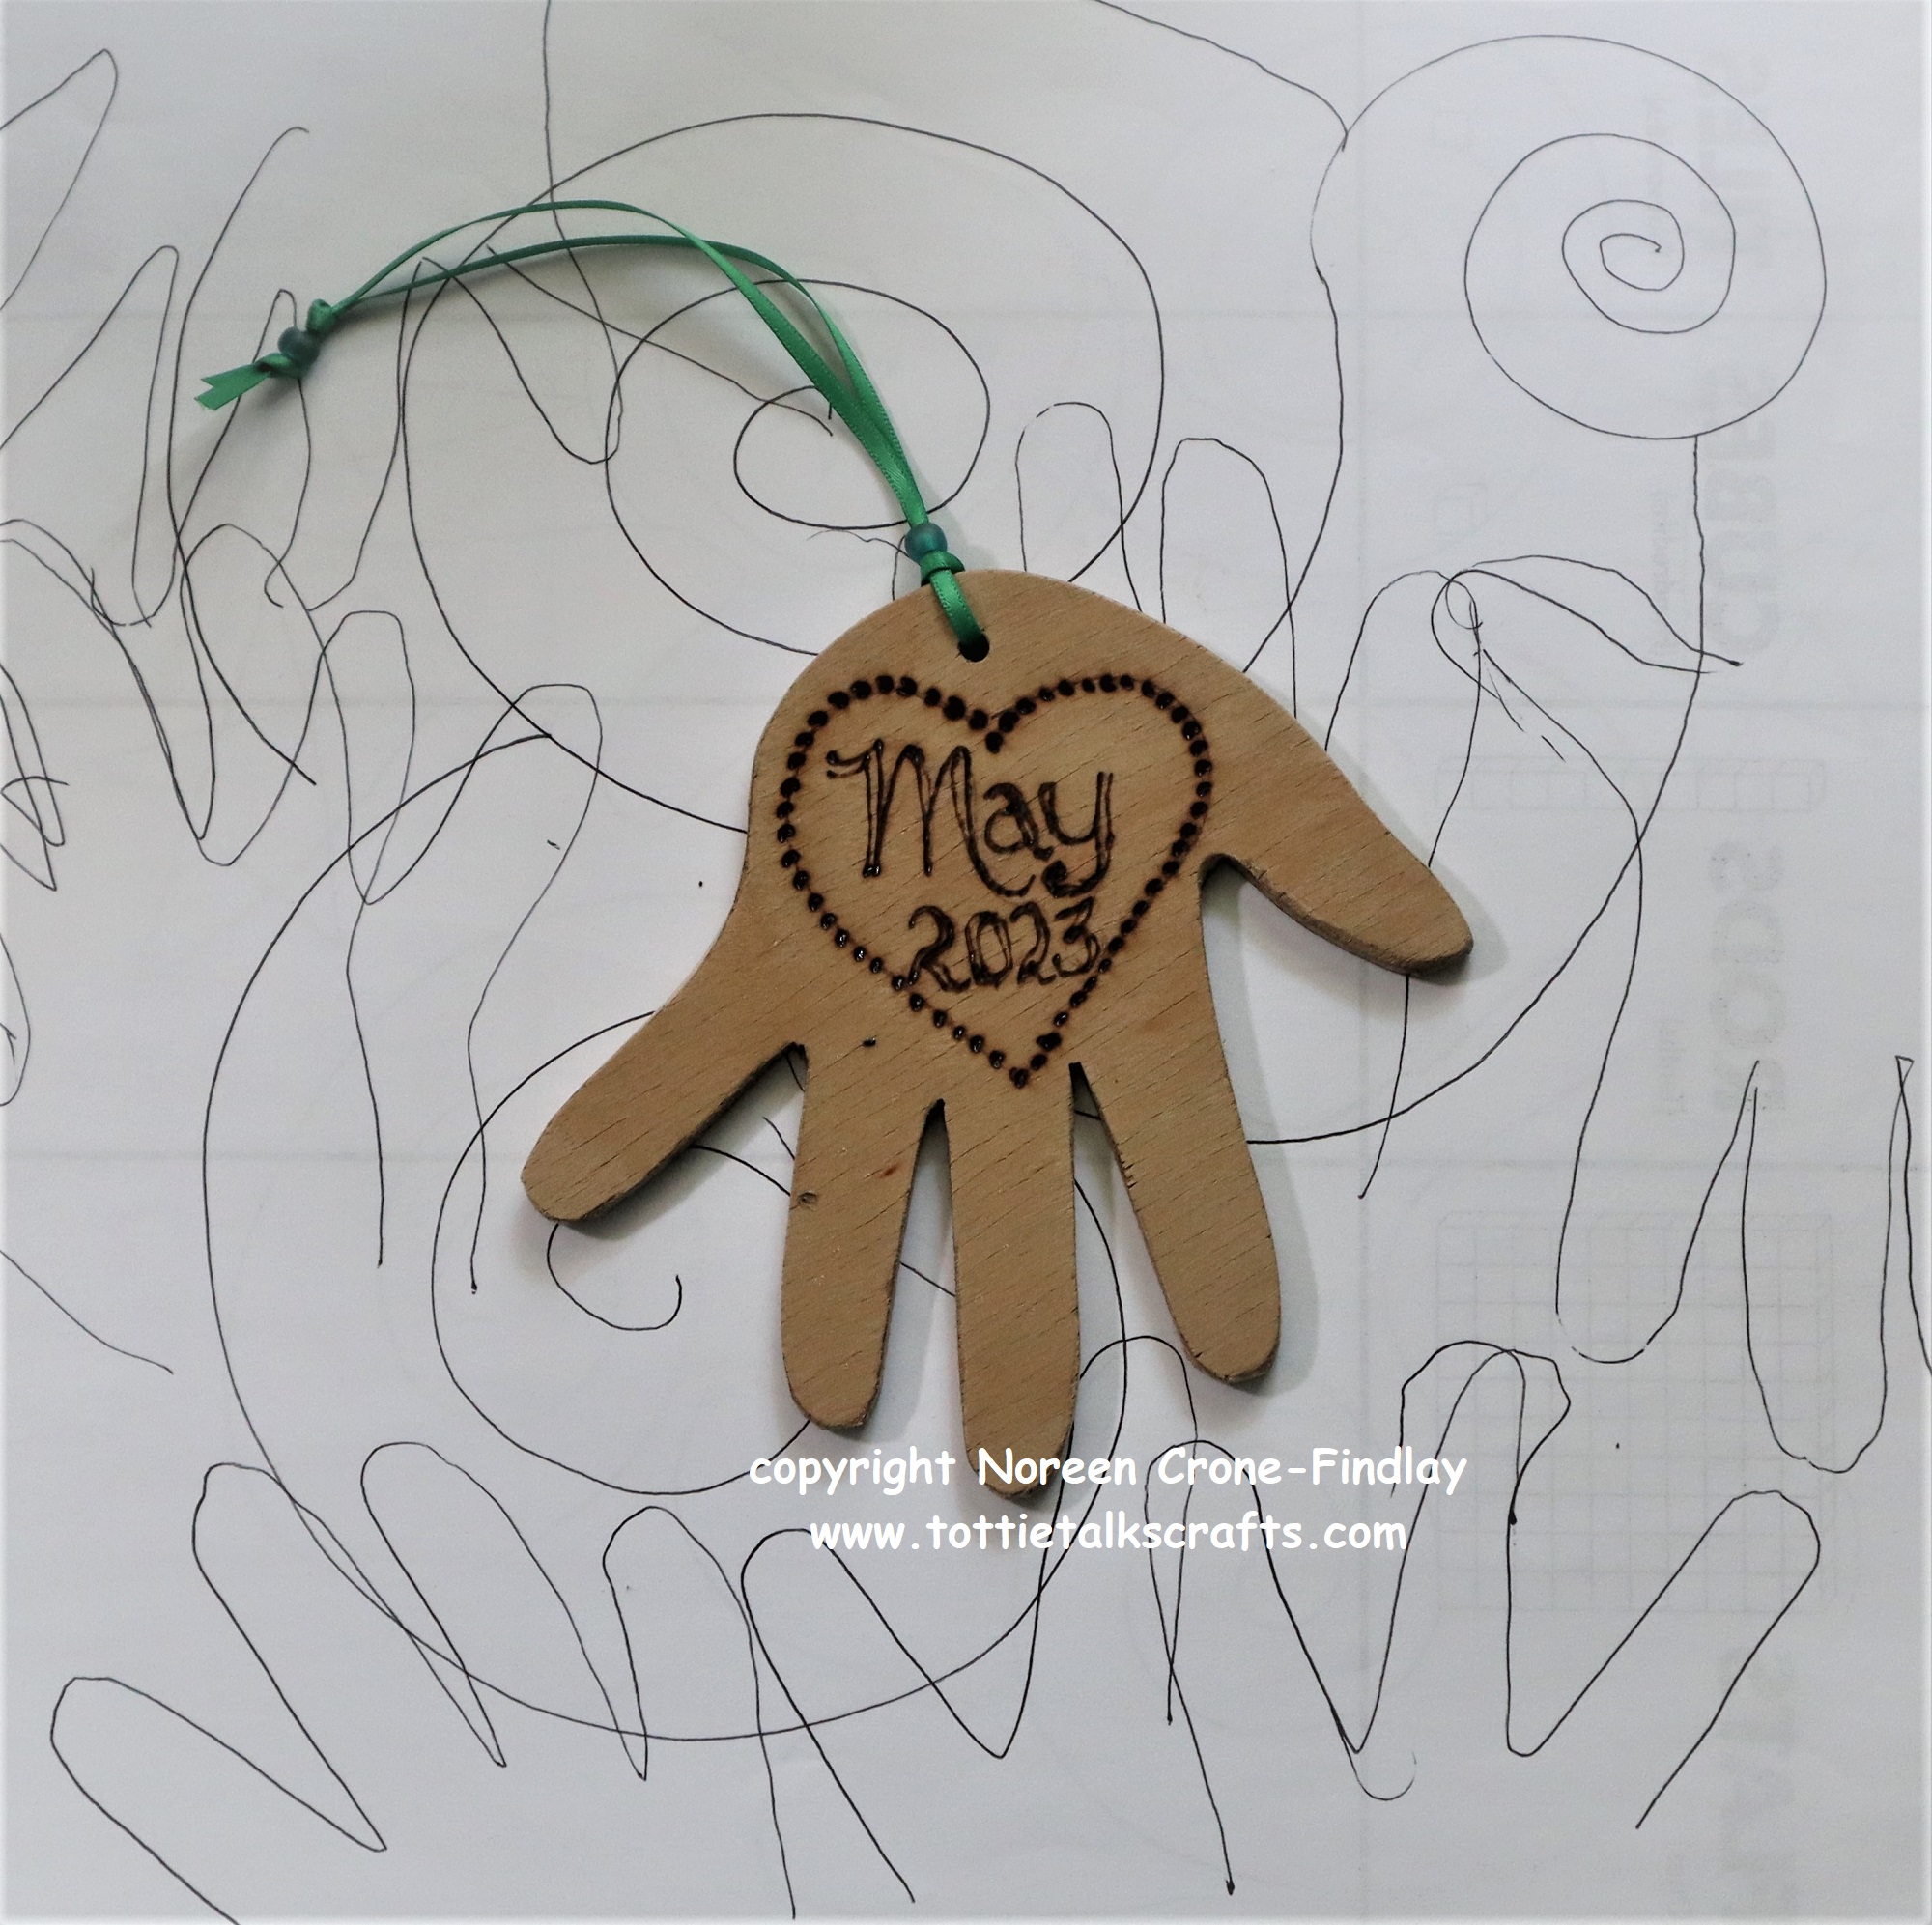
Yesterday, I took paper and pen outside and drew around his hand and he astounded me with his mathematical abilities. Three years old and doing some pretty clever addition! wow….
We had a lovely time drawing lots of handprints.
Then I cut one of them out, traced it on wood and cut it out. I burned the date on it and am going to give it to my friend for Mother’s Day.
I haven’t felt up to doing any wood work for more than 6 months, so it felt sweet to say hello to my saw and sander again.
I made wooden handprints of my children’s hands when they were little, and still treasure them.
The knitted Clancy Comfort Bear is my latest design for comfort bears.
I designed it in honor of my beloved son in law who died last year.
Clancy was kindness incarnate and always kept several Comfort Bears in his pocket to offer to people who were having a difficult time. So, the Clancy Bear is a living legacy to keep his kindness unfolding in the world. With love in every stitch……
THE ‘HOW TO’ VIDEO FOR THE CLANCY COMFORT BEAR IS AT:
NOTE: The finished size of the Clancy Bear is determined by the thickness of yarn and size of knitting needles that you use.
WHAT YOU NEED:
Knitting Needles in a size that is appropriate for the thickness of your yarn,
Yarn: Less than an ounce for each Clancy Comfort Bear
A crochet hook that is appropriate for the thickness of your yarn.
Black 6/0 glass beads for eyes, Stuffing,
Black sewing thread and a needle that is small enough to sew on the beads, Tapestry or darning needle
Sewing machine thread in a color that matches your yarn (optional)
Felting needle, Tape measure, Row Counter, 4 small safety pins, Scissors or thread snip
INSTRUCTIONS: Beginning at the feet:
Cast on 11 stitches.
Rows 1- 16: Work in st st (knit one row, purl the next)
Place one of the little safety pins at each end of Row 6 and then 1 more pin at each end of Row 10.
At the end of Row 16, cut the yarn, leaving a 42 inch/105 cm long tail
Thread the tail end into a darning or tapestry needle and lift all the stitches off the needle.
Pull up to gather the top of the head.
Take the needle through the stitches one more time to secure them.
HEAD:
Sew the centre front seam using the Baseball stitch to the first set of safety pins. (see video for how to).
Take a couple stitches to secure the head. Remove the 2 safety pins.
Stuff the head.
Wrap the yarn tightly around the neck 2 times then stitch over the wraps to secure them.
EARS:
Take the yarn up to the side of the head at the top of the head and stitch over the knitting needle or crochet hook twice.
Stitch over these loops several times to make the first ear.
Repeat for the 2nd ear.
Take the needle back down and out at the ‘shoulder’ to be used to make the arms.
TUMMY SEAM:
Thread another strand of yarn or the sewing machine thread into a needle and stitch the center front down to the next set of safety pins.
Stuff the body.
LEGS:
Fold the cast on edge in half to find the midpoint.
Take the needle through it and stitch it to the end of the tummy seam.
Stitch in place a couple of times to secure it.
Squeeze and fold the edges of the front to meet the cast on edge, forming the leg with the corner point becoming the toe. It’s a bit like origami.
Stitch the leg inseam together, pulling up tightly.
Stitch the second leg inseam.
Secure at the middle.
Take the needle through the body to the back, and snip.
ARMS:
Take the crochet hook through the stitch at the shoulder where the yarn came out.
Yarn over, pull up a loop through the stitch on the body.
Chain by taking the yarn over the hook and pulling it through the loop on the hook.
Do this 7 to 9 times, depending on the thickness of your yarn.
Take the crochet hook through the shoulder on the other side of the body and pull up a loop.
Thread the yarn end into the tapestry needle and stitch the loop to the body.
Take the hook through the first chain stitch at the shoulder, and make a slip stitch in it by pulling up a loop through the chain stitch.
Repeat this for all the chain stitches, ending at the first shoulder.
Stitch the end into the body and use the felting needle to secure the arms to the shoulders and to bury the yarn end.
NOSE:
Take the black thread through the head, coming out at the center of the face.
Secure it with a couple of tiny stitches.
Make several horizontal stitches for the nose.
MOUTH:
Move down and take a couple of shorter horizontal stitches for the mouth.
EYES:
Take the needle up slightly above and to one side of the nose and sew on the bead for one eye,
then the other.
Secure the stitches by going back down to the nose and taking a couple of tiny stitches at the corner of the nose, then taking the needle back through the head. Snip the ends.
PANDA:
INSTRUCTIONS: Beginning at the feet:
Cast on 11 stitches with black yarn.
Rows 1- 6: Work in st st (knit one row, purl the next)
Place one of the little safety pins at each end of Row 6
Rows 7 & 8: Join white yarn and work in st st
Rows 9 & 10: Drop white yarn and work in black yarn.
Place 1 more pin at each end of Row 10.
Cut the black yarn, leaving a tail of 42 inches/105 cm.
Rows 11- 16: Work in white yarn.
At the end of Row 16, cut the yarn, leaving a 20 inch/50 cm long tail
Thread the white yarn end into a darning or tapestry needle and lift all the stitches off the needle.
Pull up to gather the top of the head.
Take the needle through the stitches one more time to secure them.
Stitch the center front seam of the head with the white yarn.
Stuff the head and wrap and secure the neck.
Take the black tail end out through to the shoulder and leave it there for now.
Work the rest of the Panda body, legs and arms the same way as the Basic Clancy Bear.
EARS:
After working the Arms, take the black yarn up to the top of the head and make the ears.
EYE PATCHES:
Take 3 small vertical stitches for each eye patch.
NOSE:
Take 2 horizontal stitches for the nose.
MOUTH:
Take 1 smaller horizontal stitch for the mouth. Secure the yarn by stitching through to the back of the neck and stitching in place the burying the yarn in the body.
EYES:
Sew the eye beads to the center of the patches. Secure the thread ends in the eye patches.