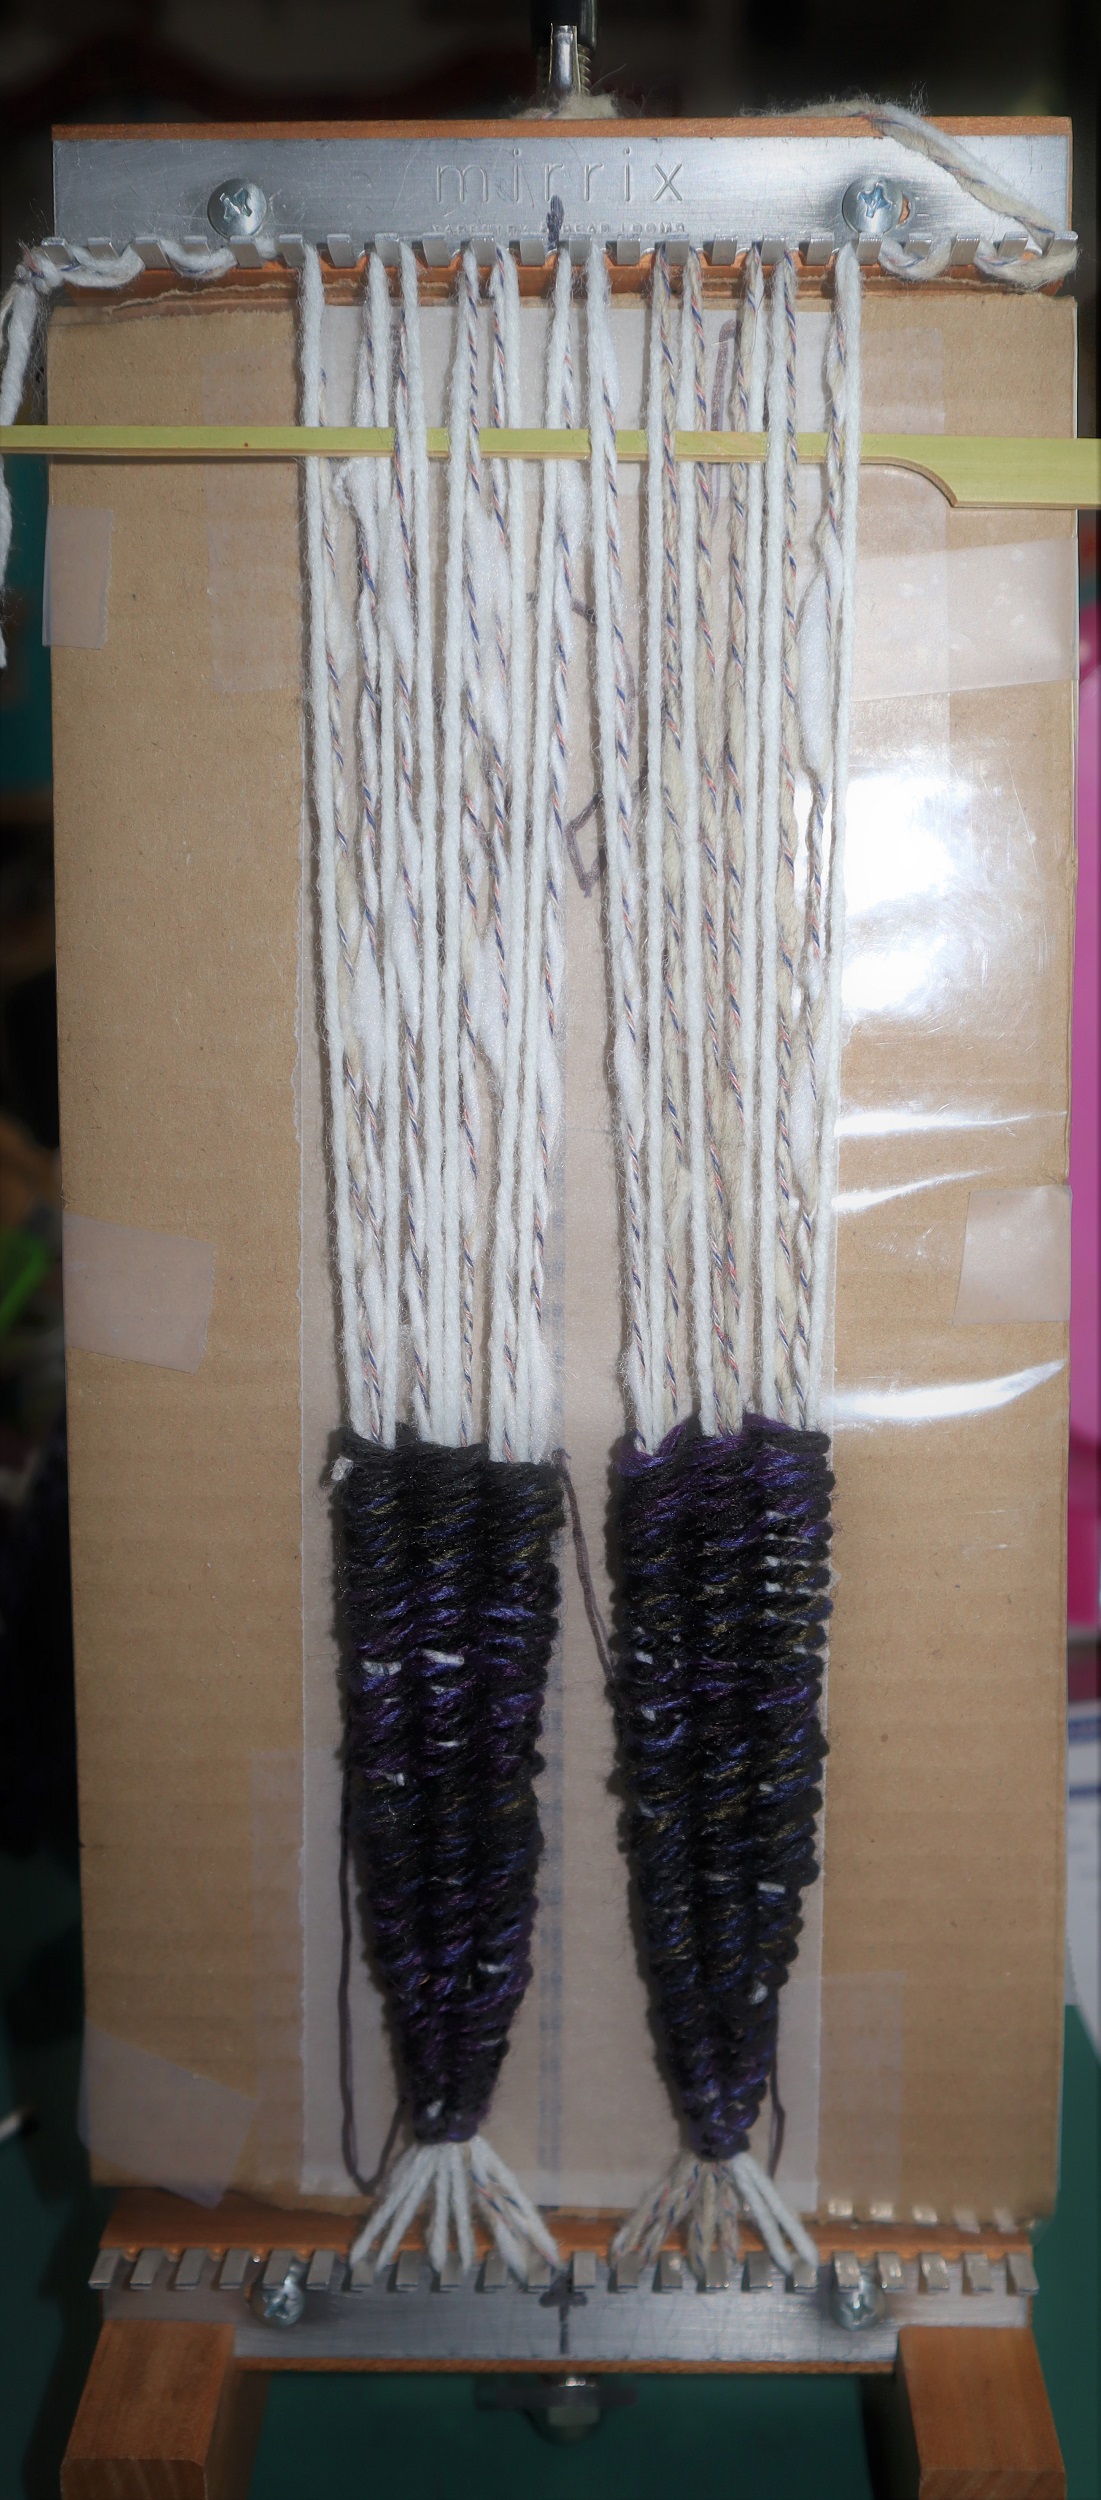
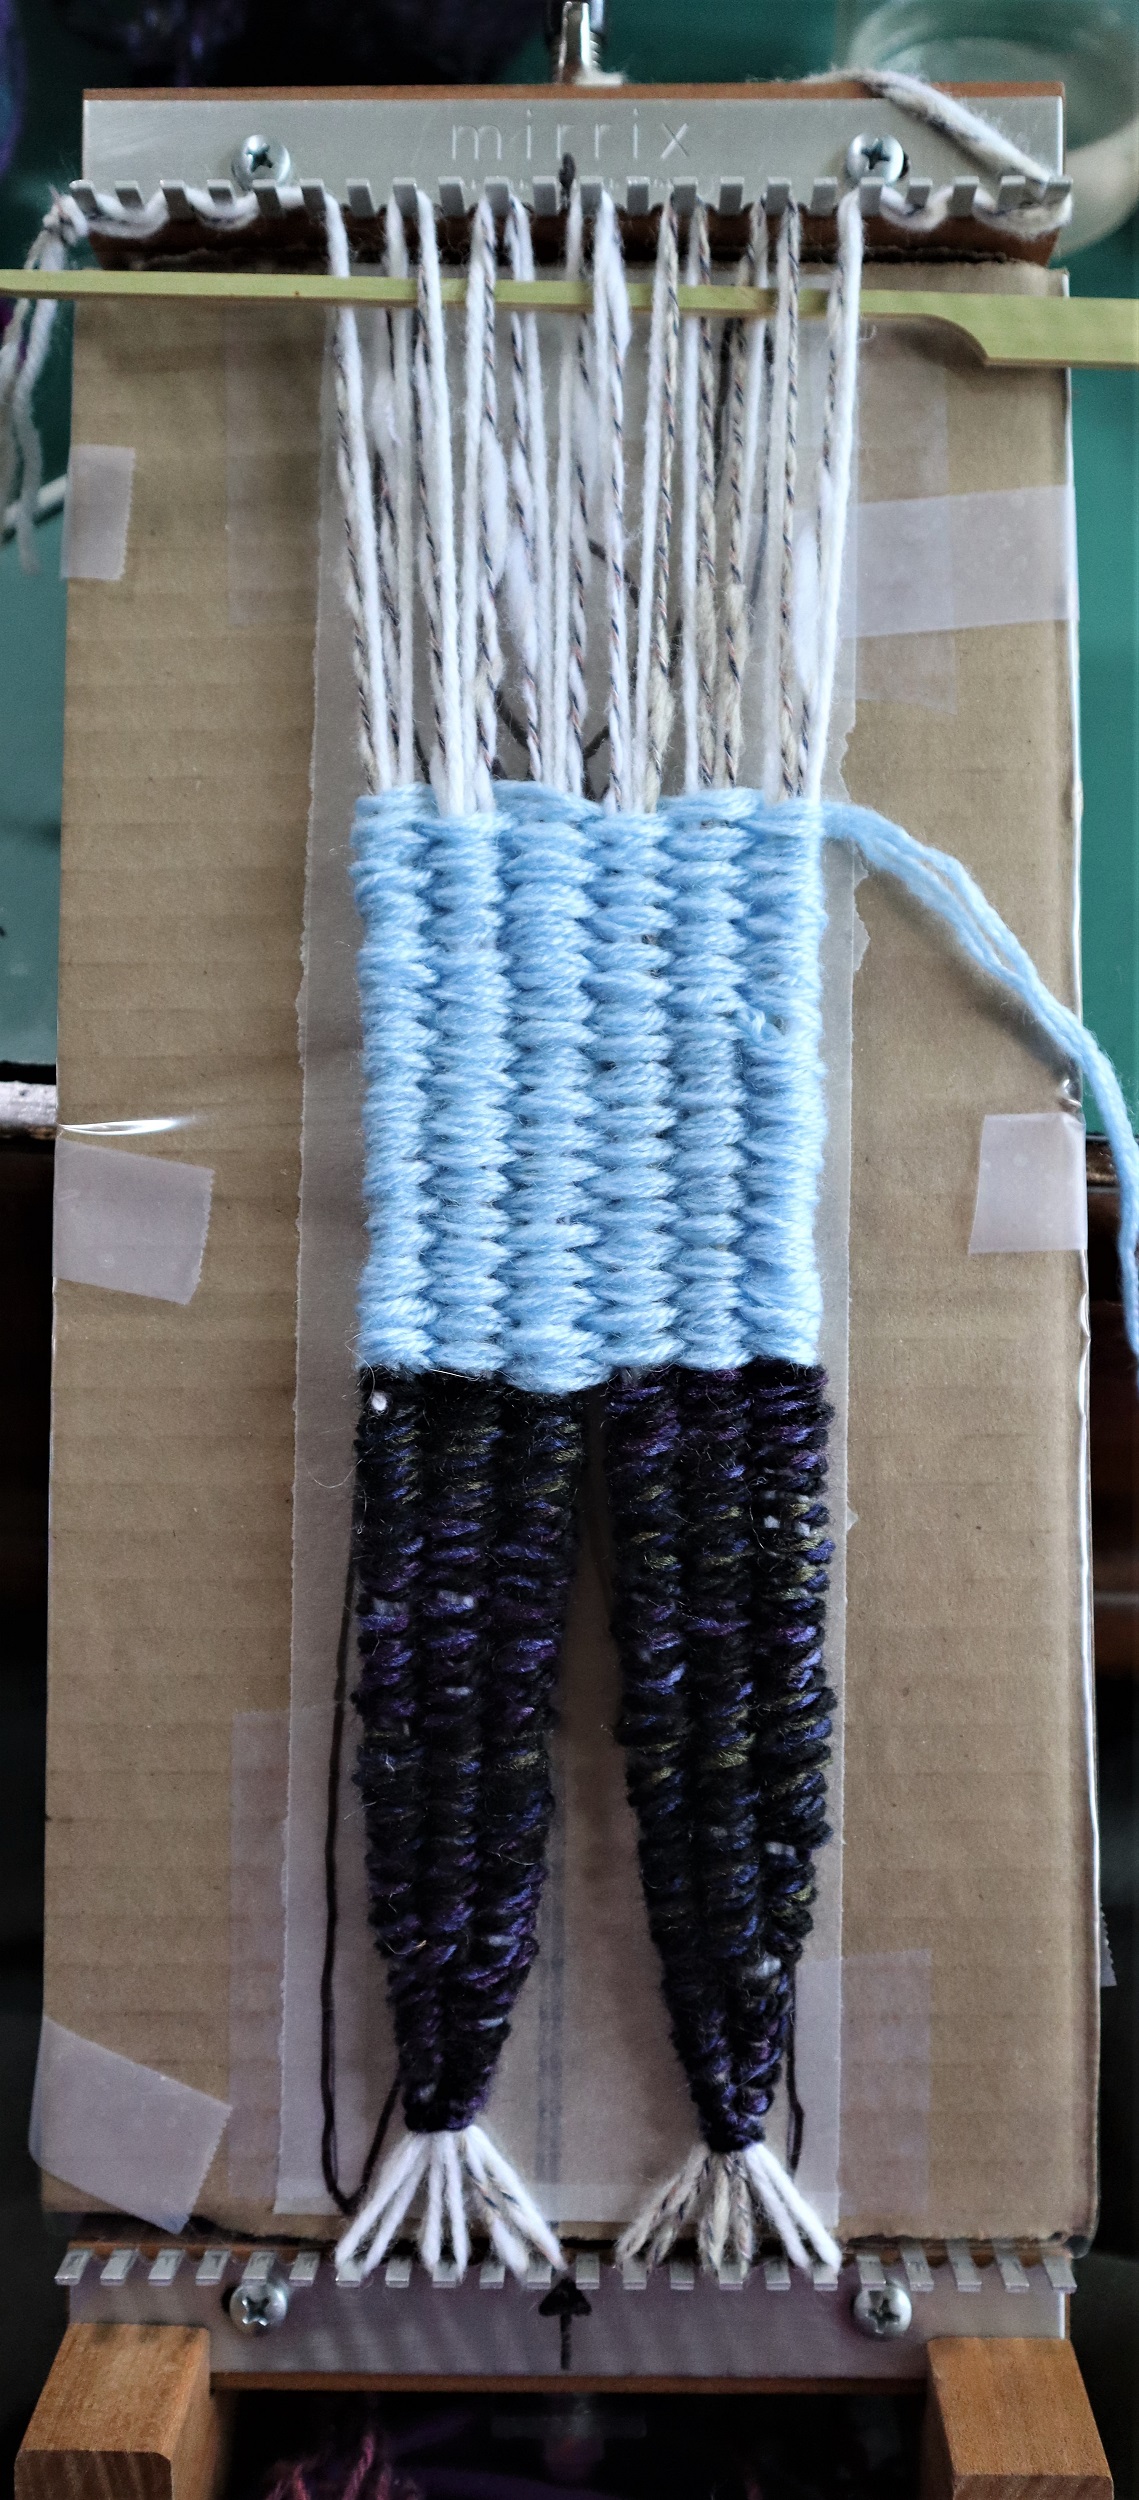
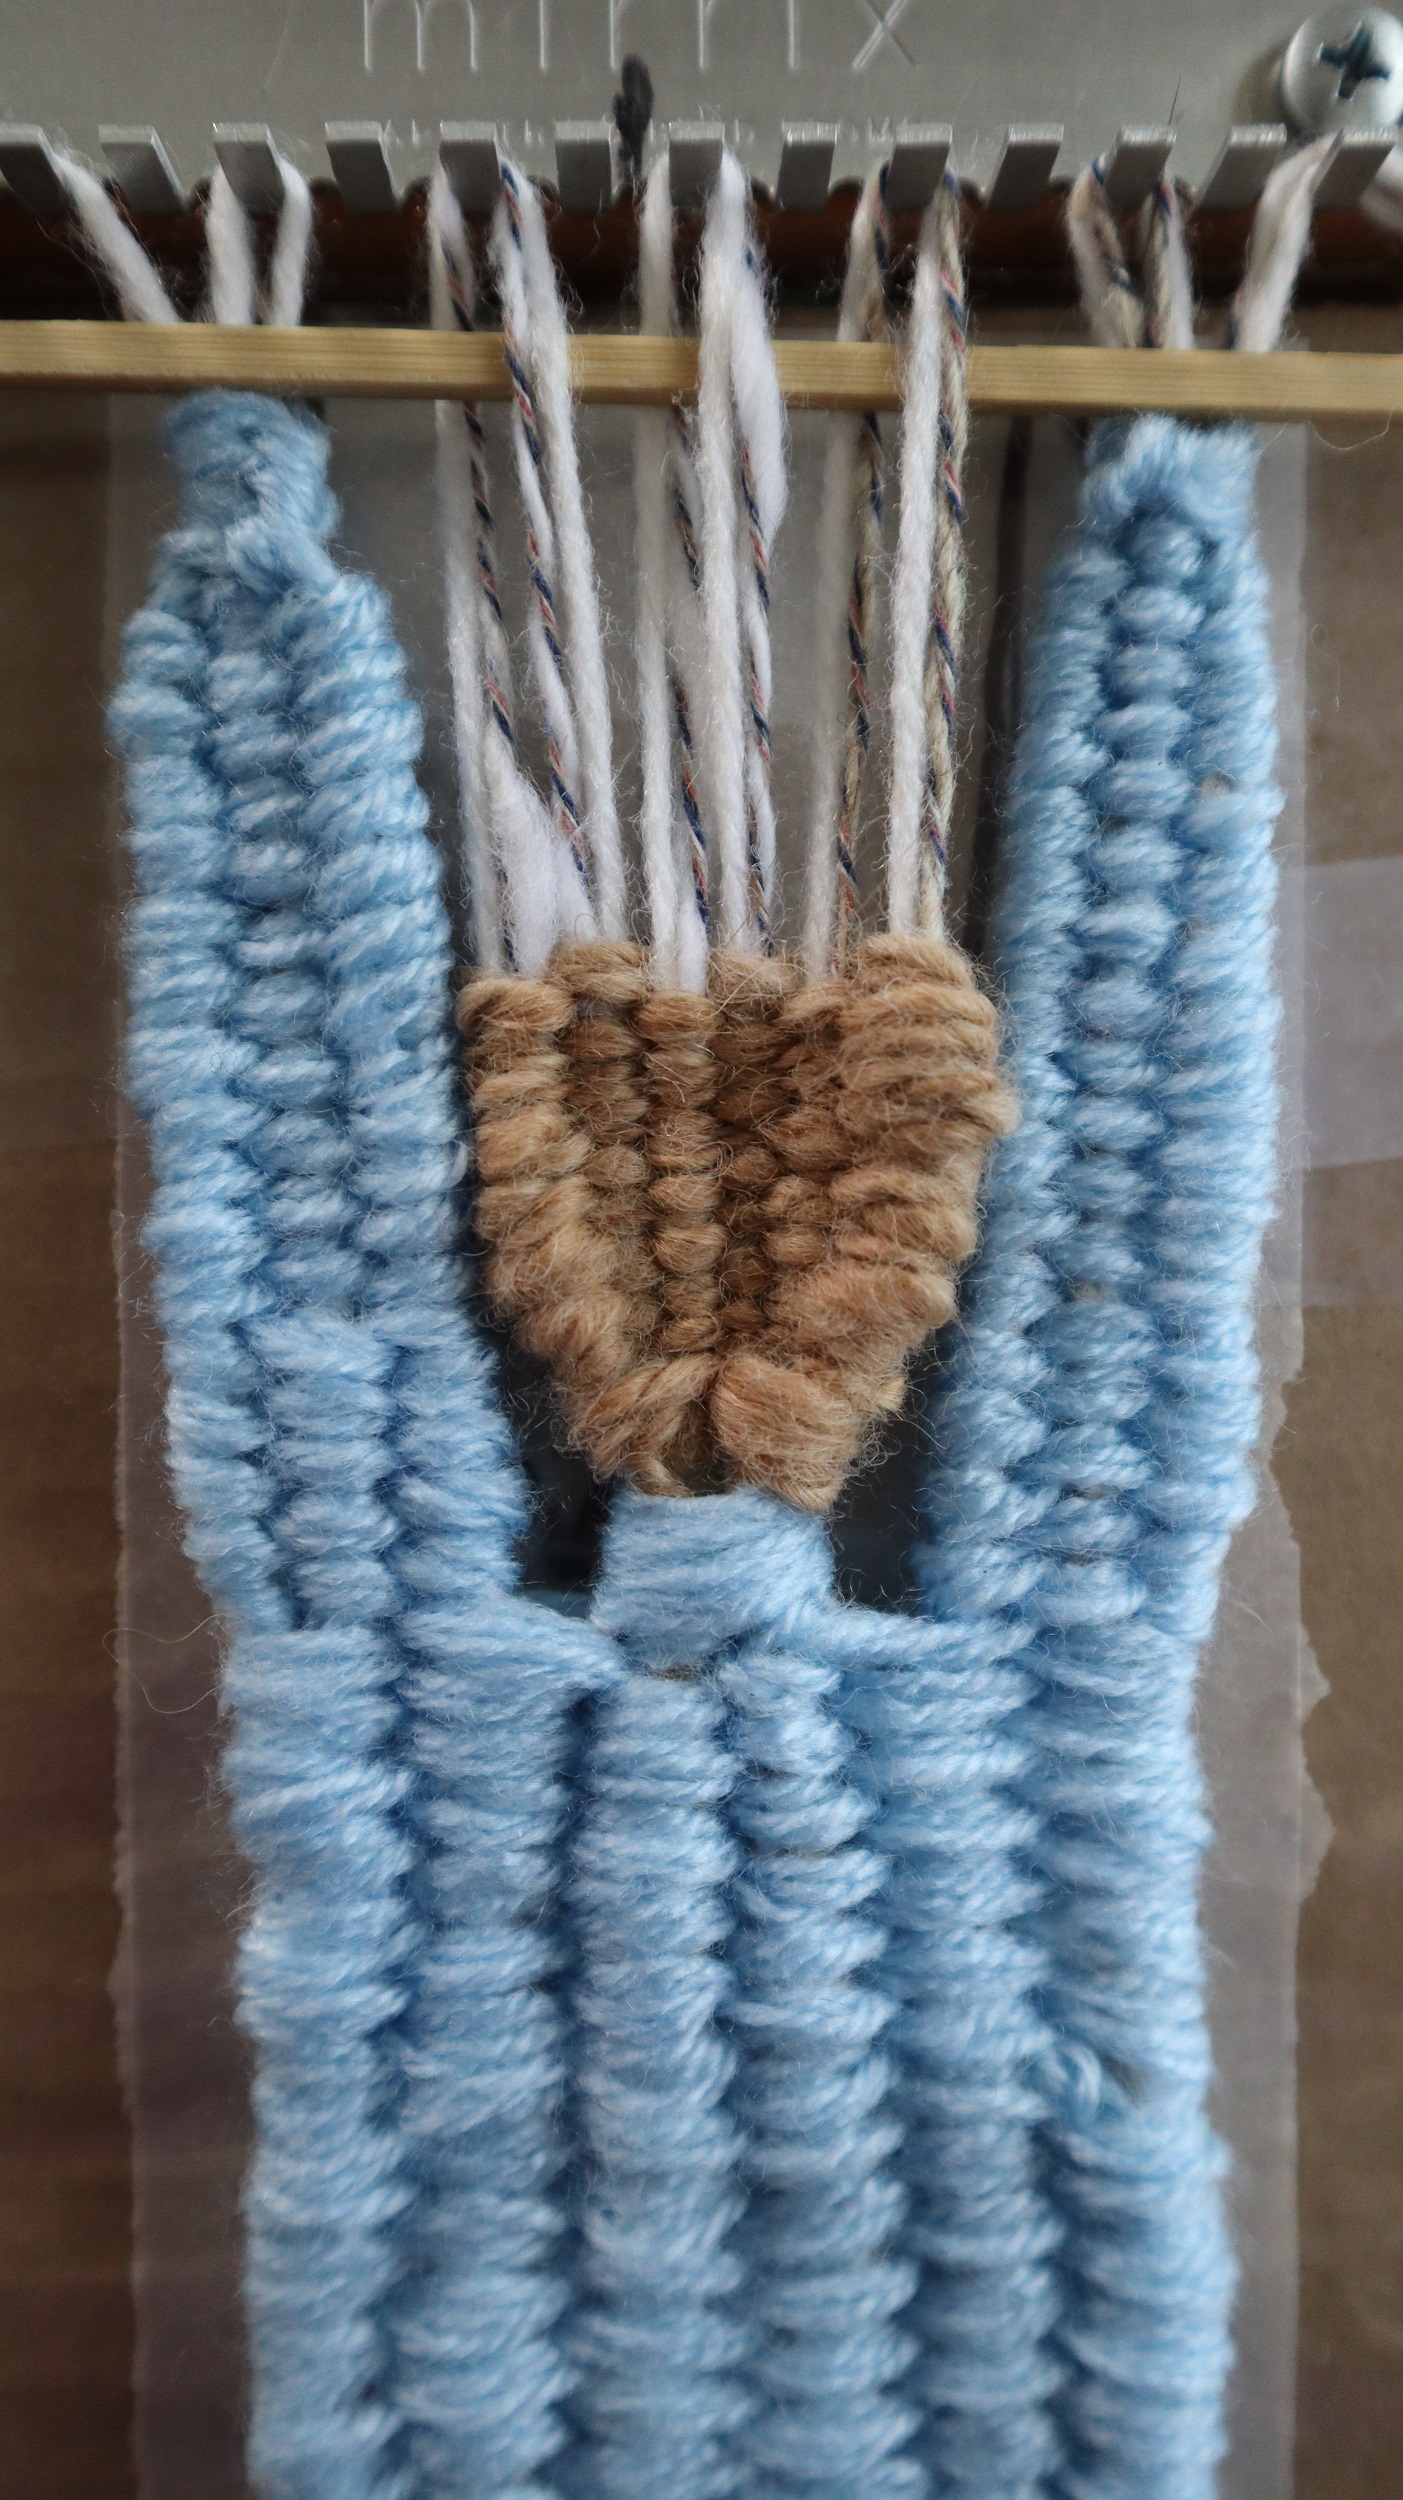
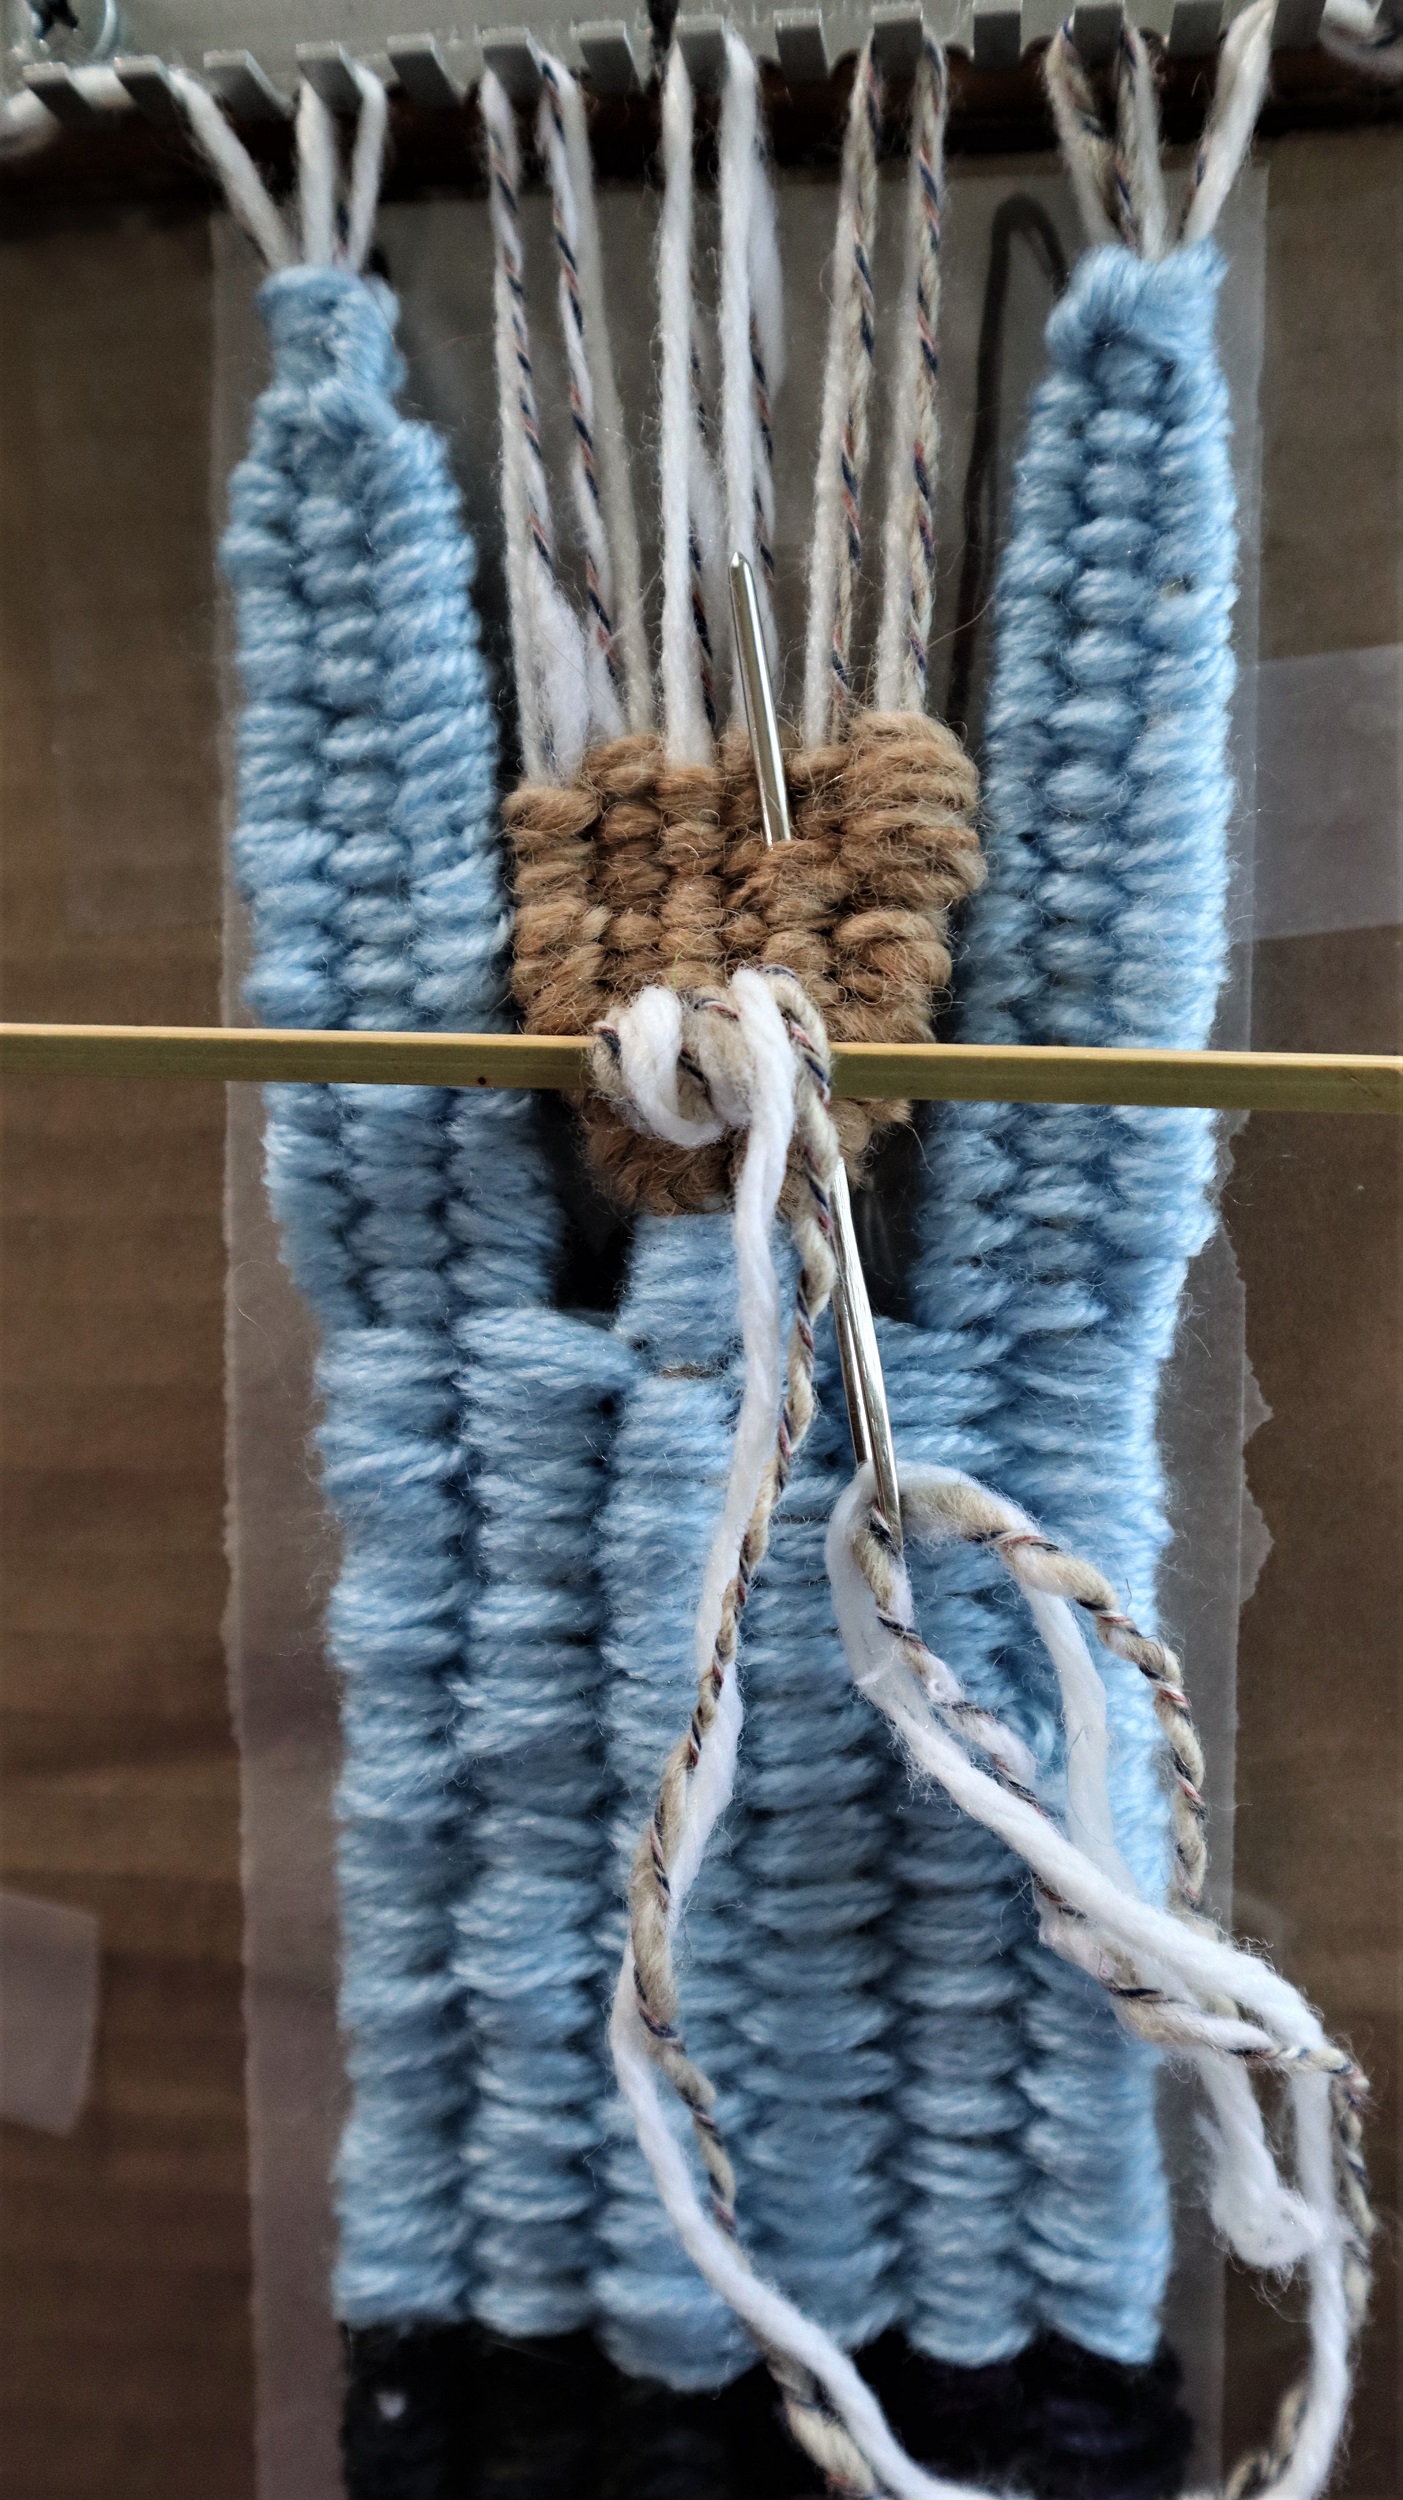
Sampling for a weaving project is a really good idea that most weavers often avoid doing.
But, weaving a small sample can give so much information to the weaver that it is a huge benefit.
Weaving the arms for the Saffron Teddy Bears is a win/win in the sampling department 🙂
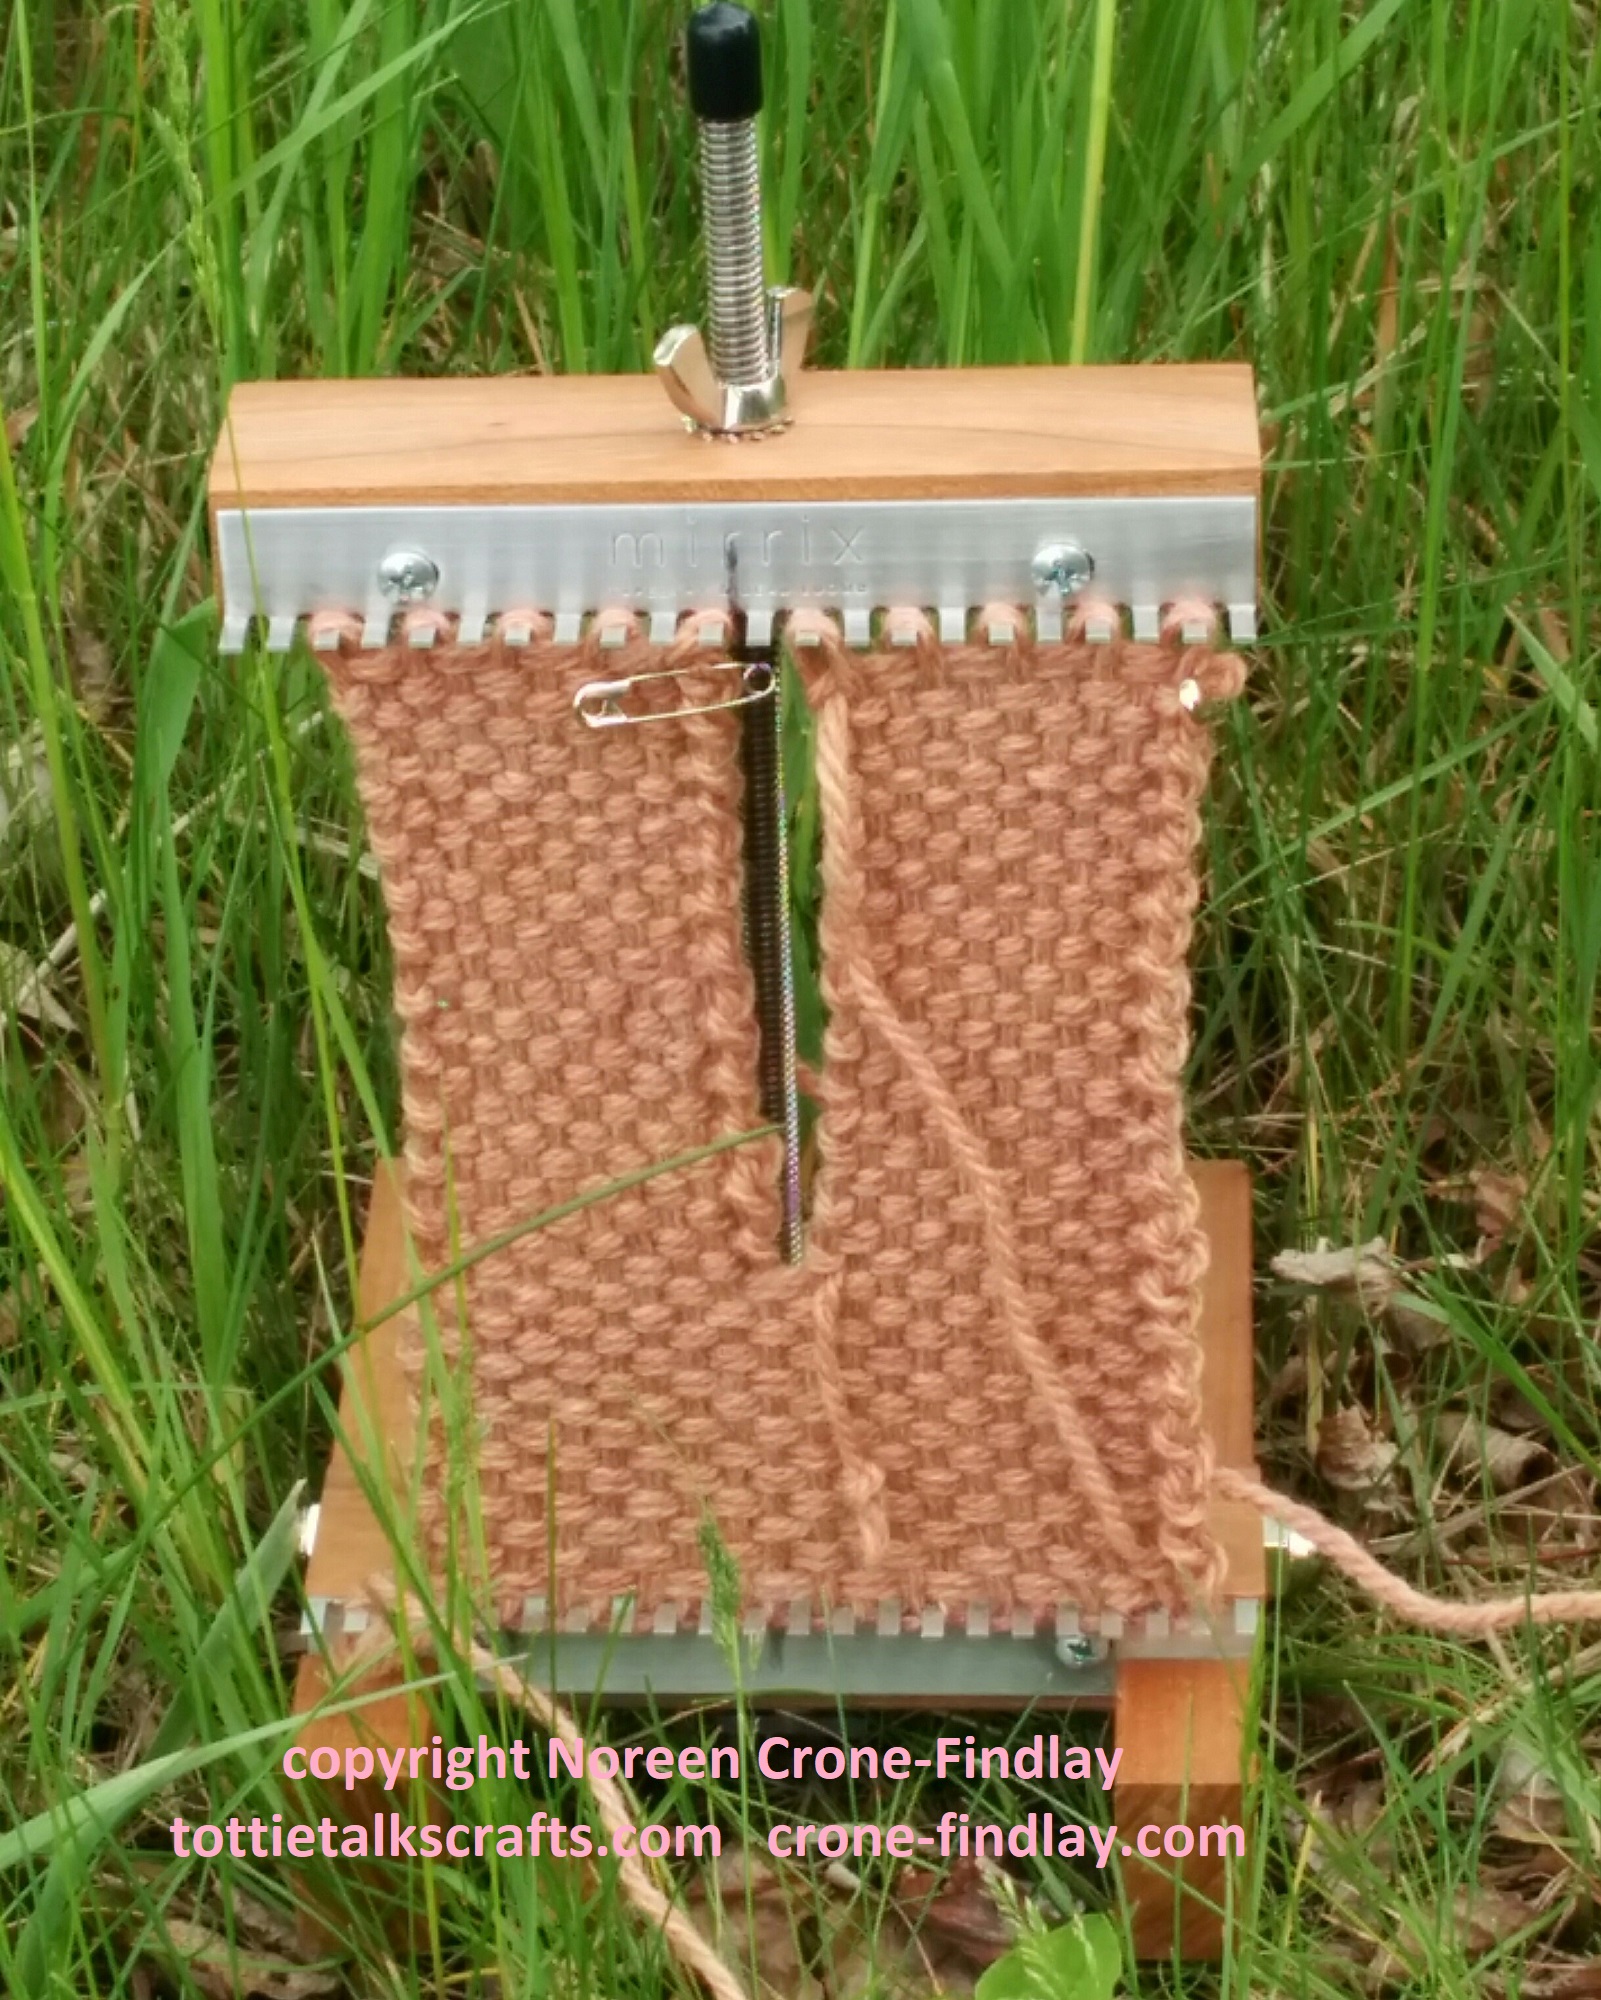
The arms are small, but will quickly show you if your yarn is going to make a pleasing fabric for your teddy bear.
If not, then it’s better to make adjustments and weave it over again, rather than committing to weaving the whole body and then finding that the yarn doesn’t work.
So, start your bear by weaving an arm first.
You’ll be glad you did!
The link for all the video tutorials for the Saffron Teddy Bears for the 2022 Summer Weaving Challenge is:
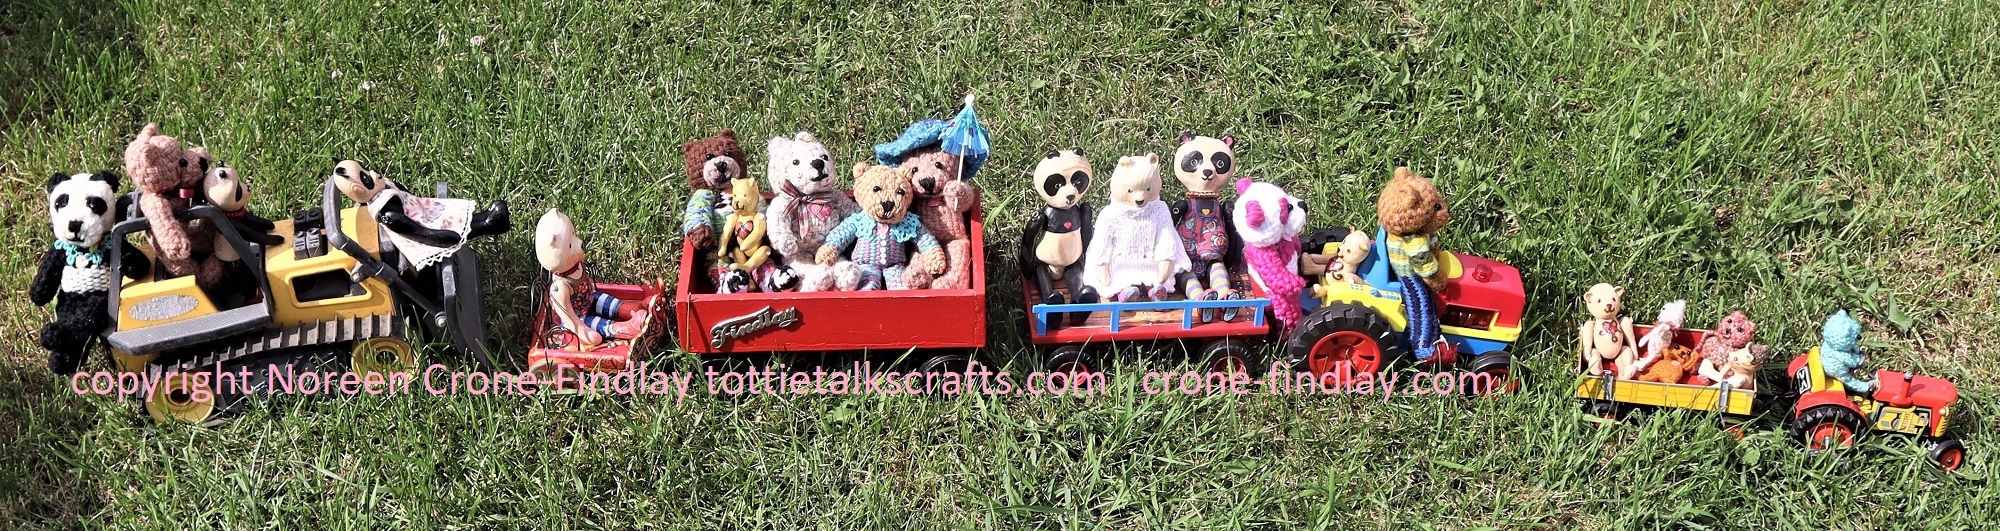
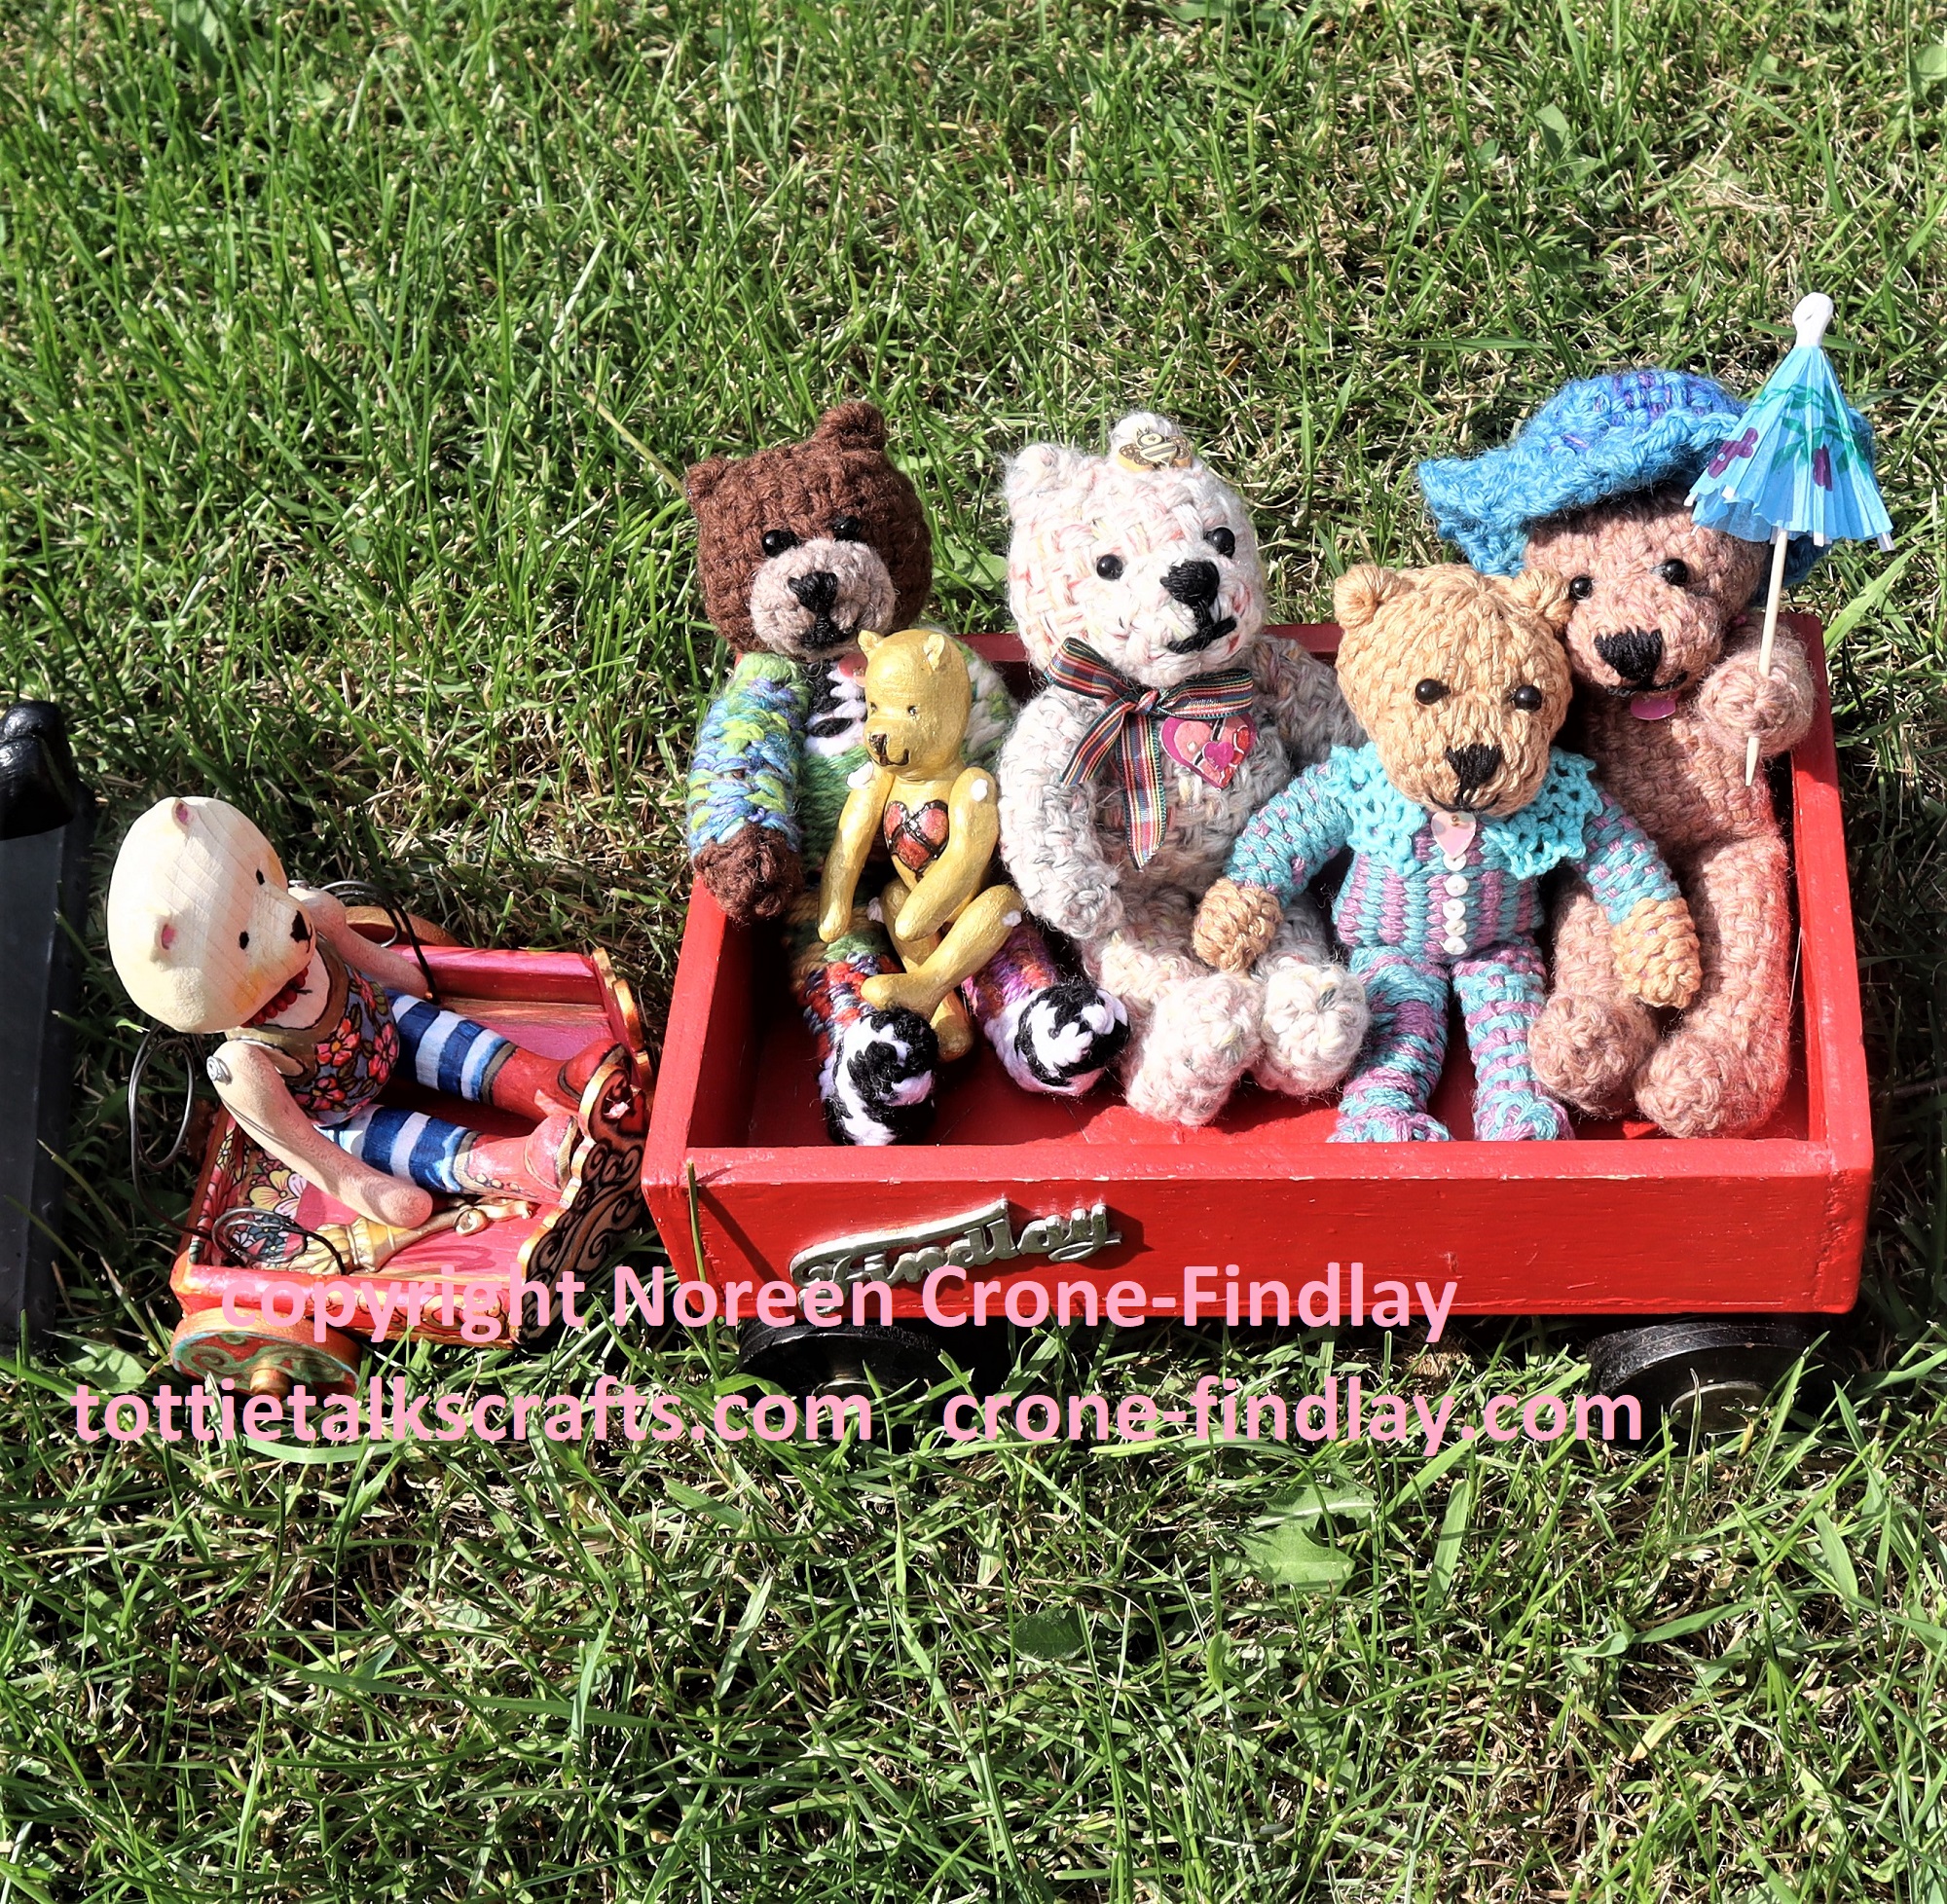
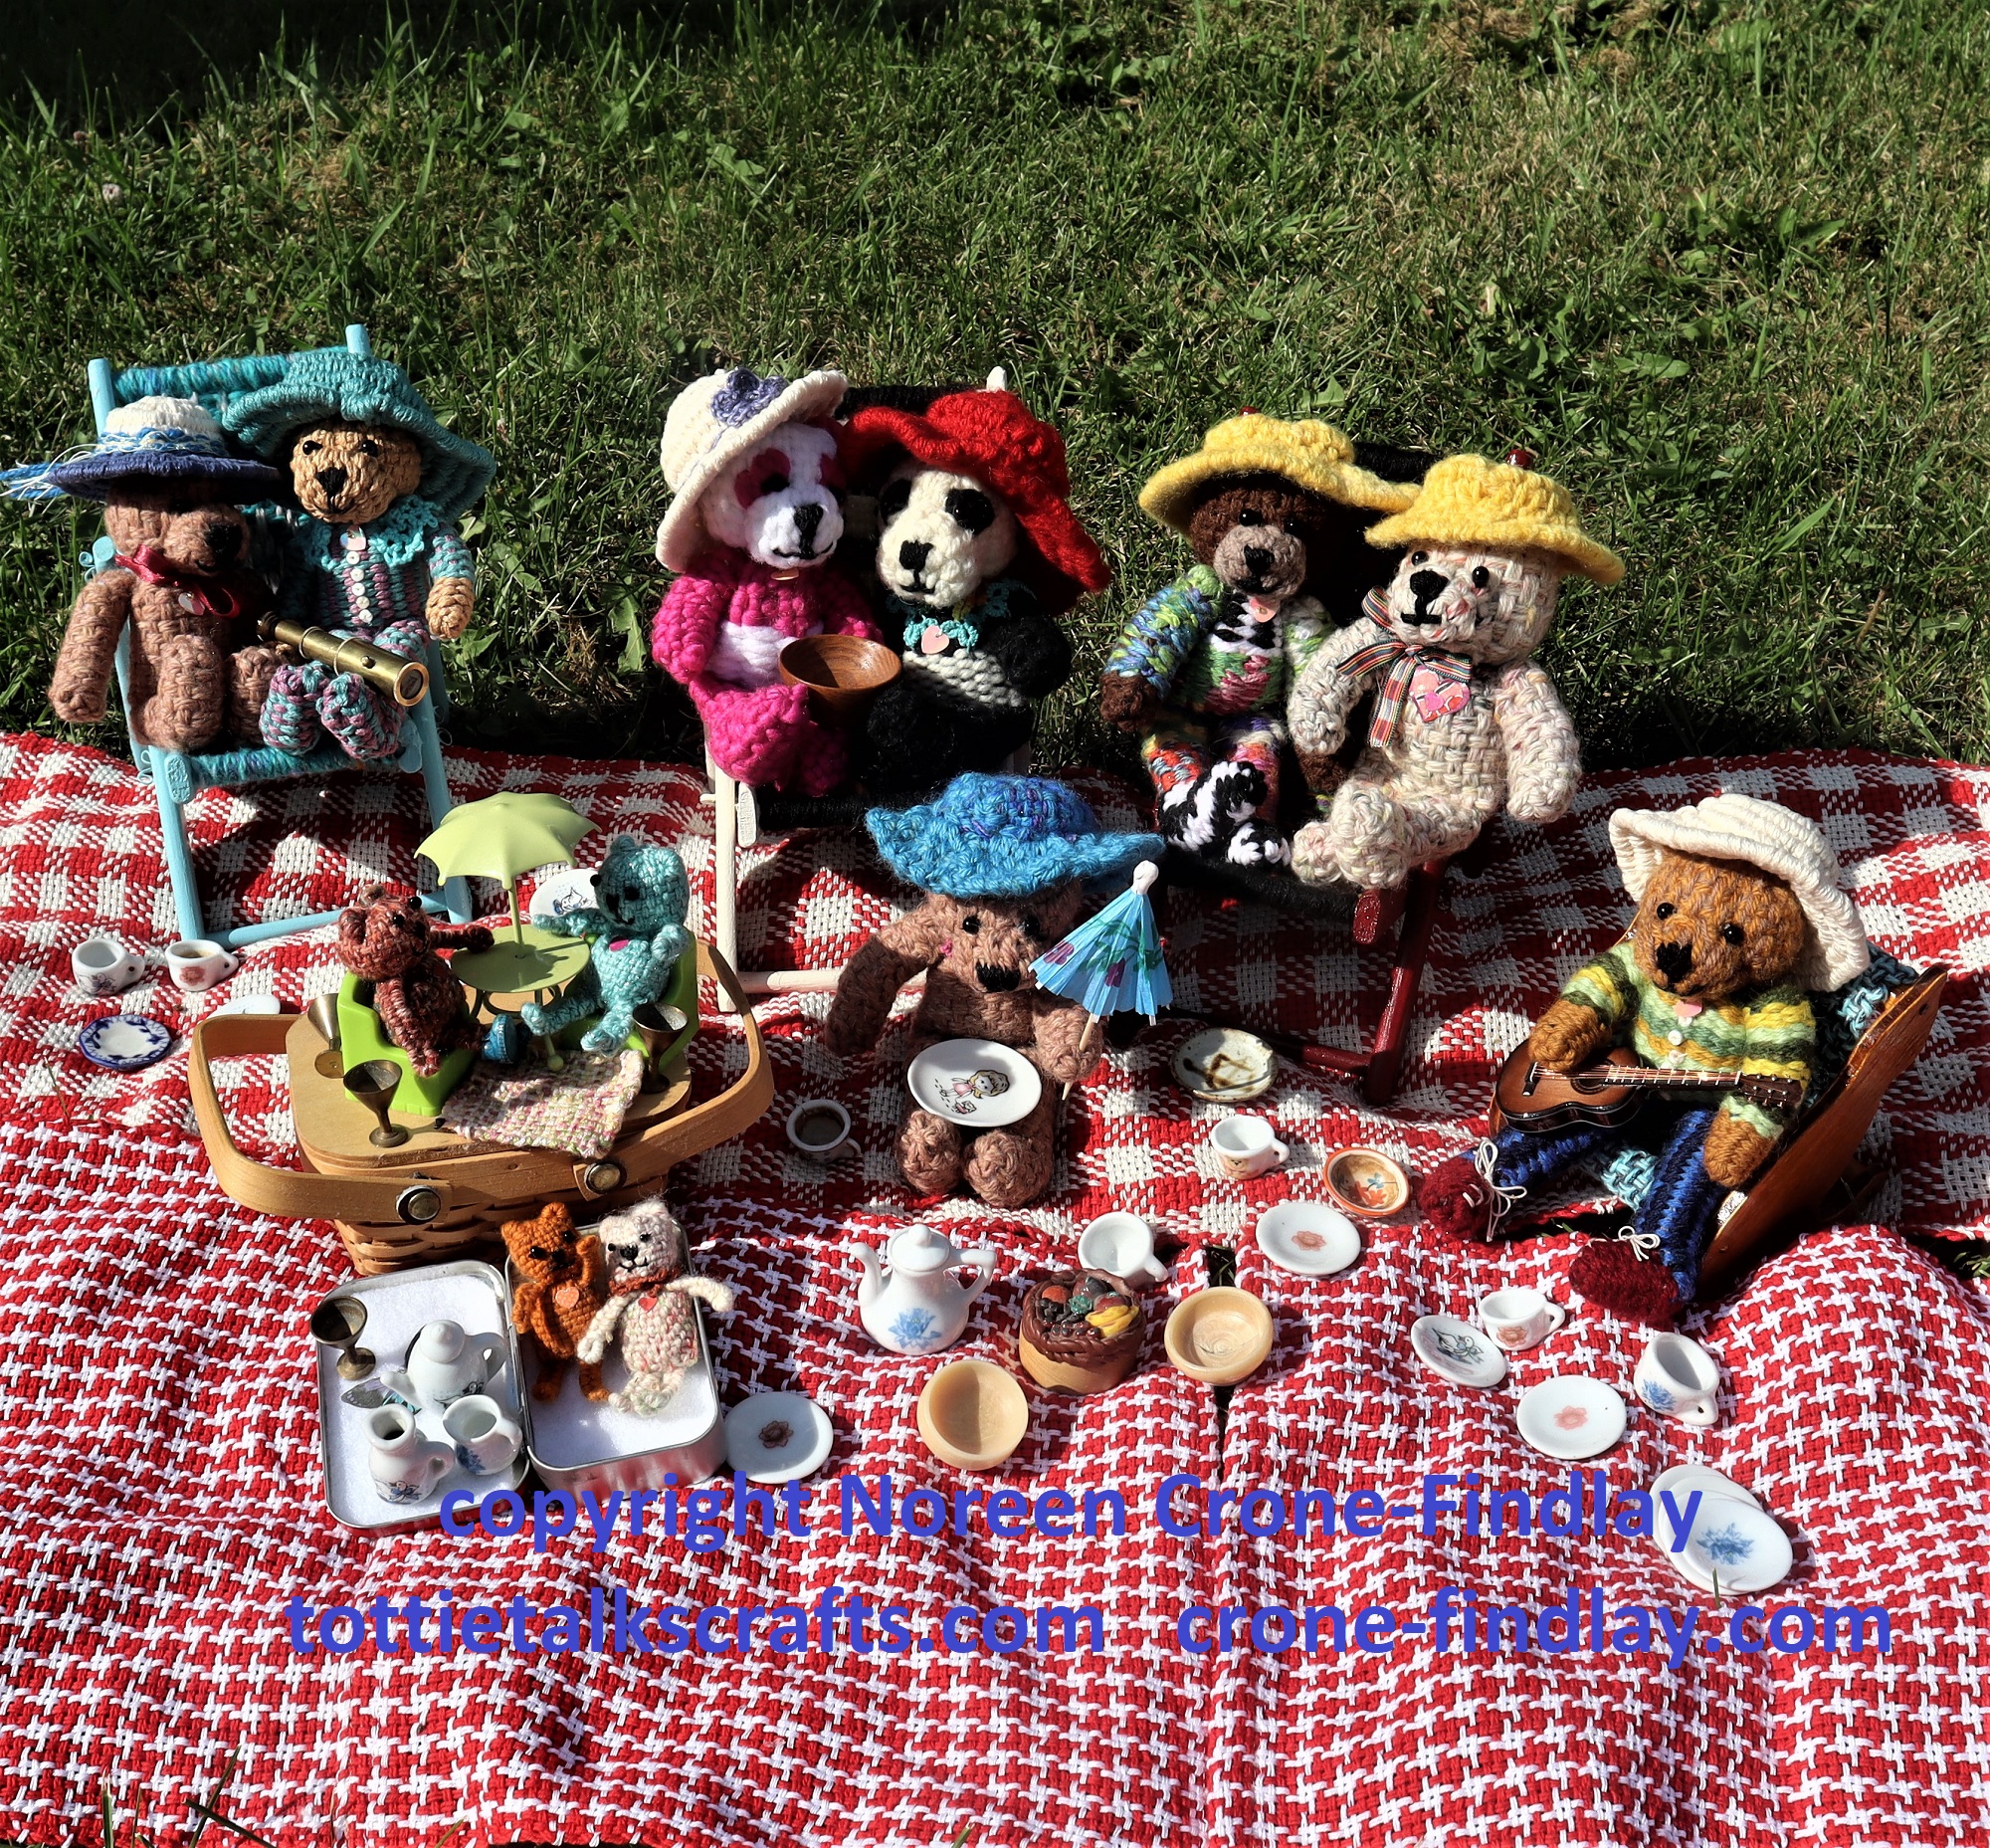
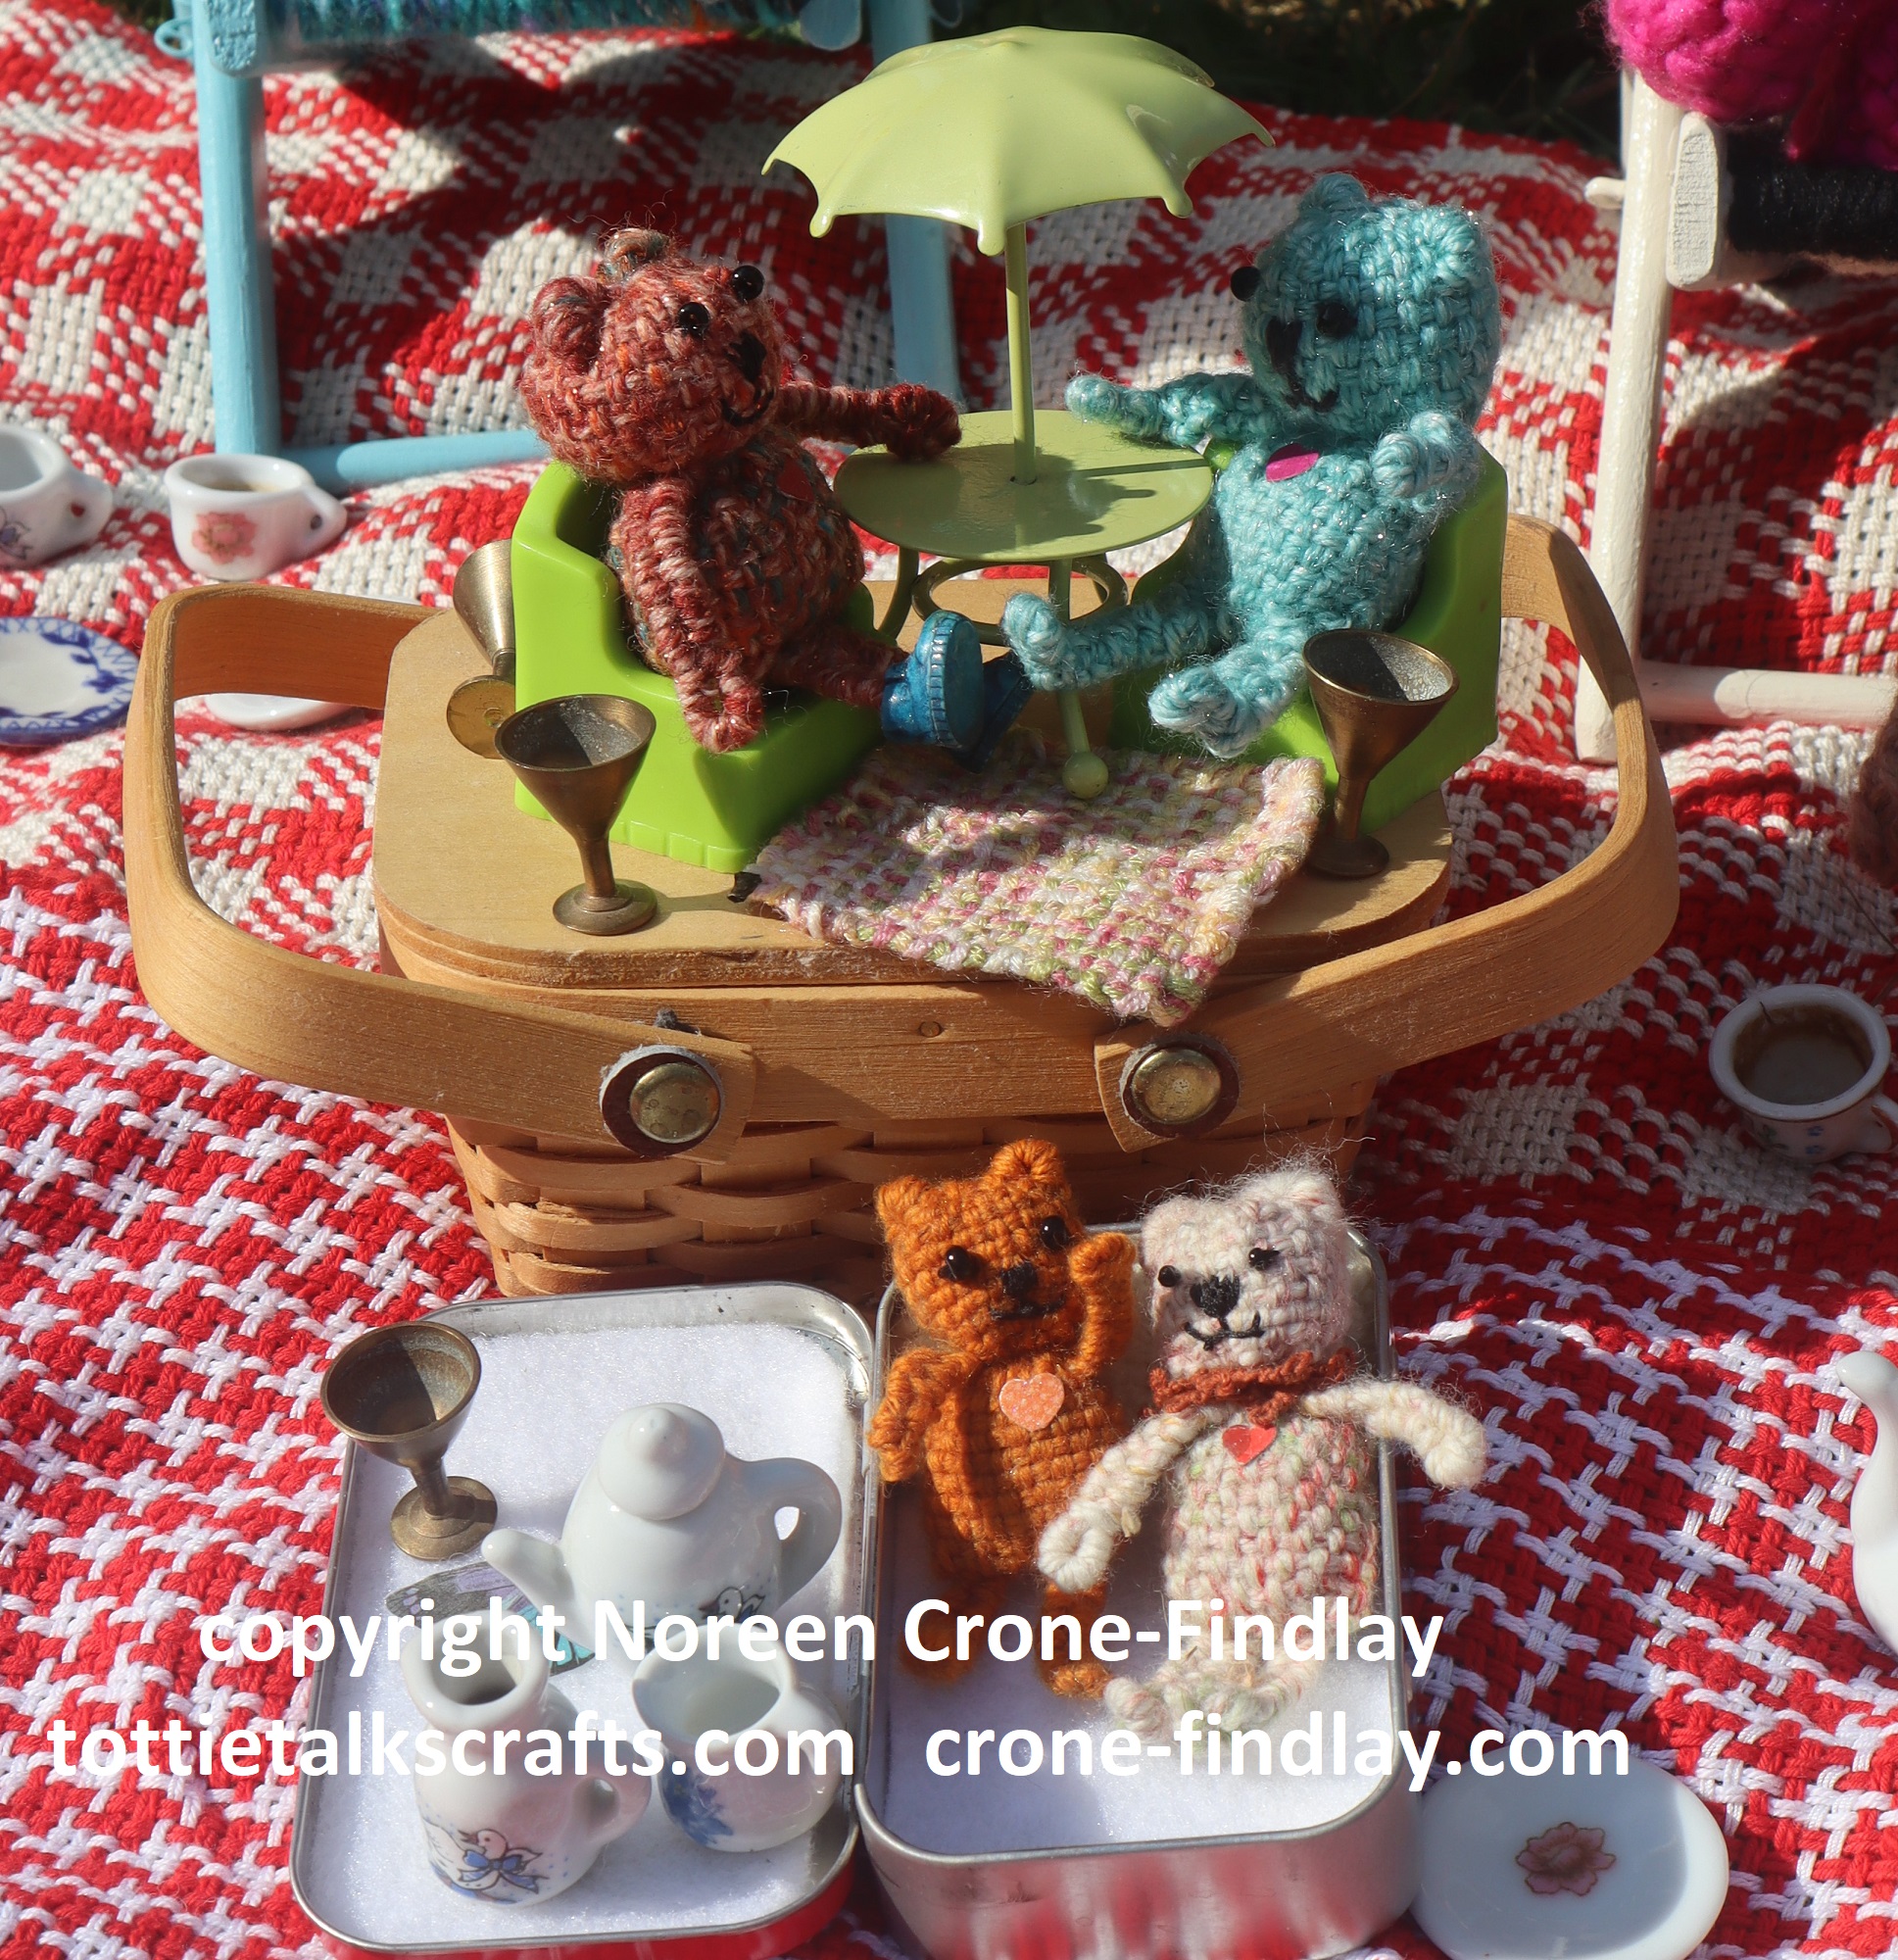
The Saffron Woven Teddy Bears invited some wooden teddy bears and tiny woven bears to have an adventure with them, and then to join them for a picnic.
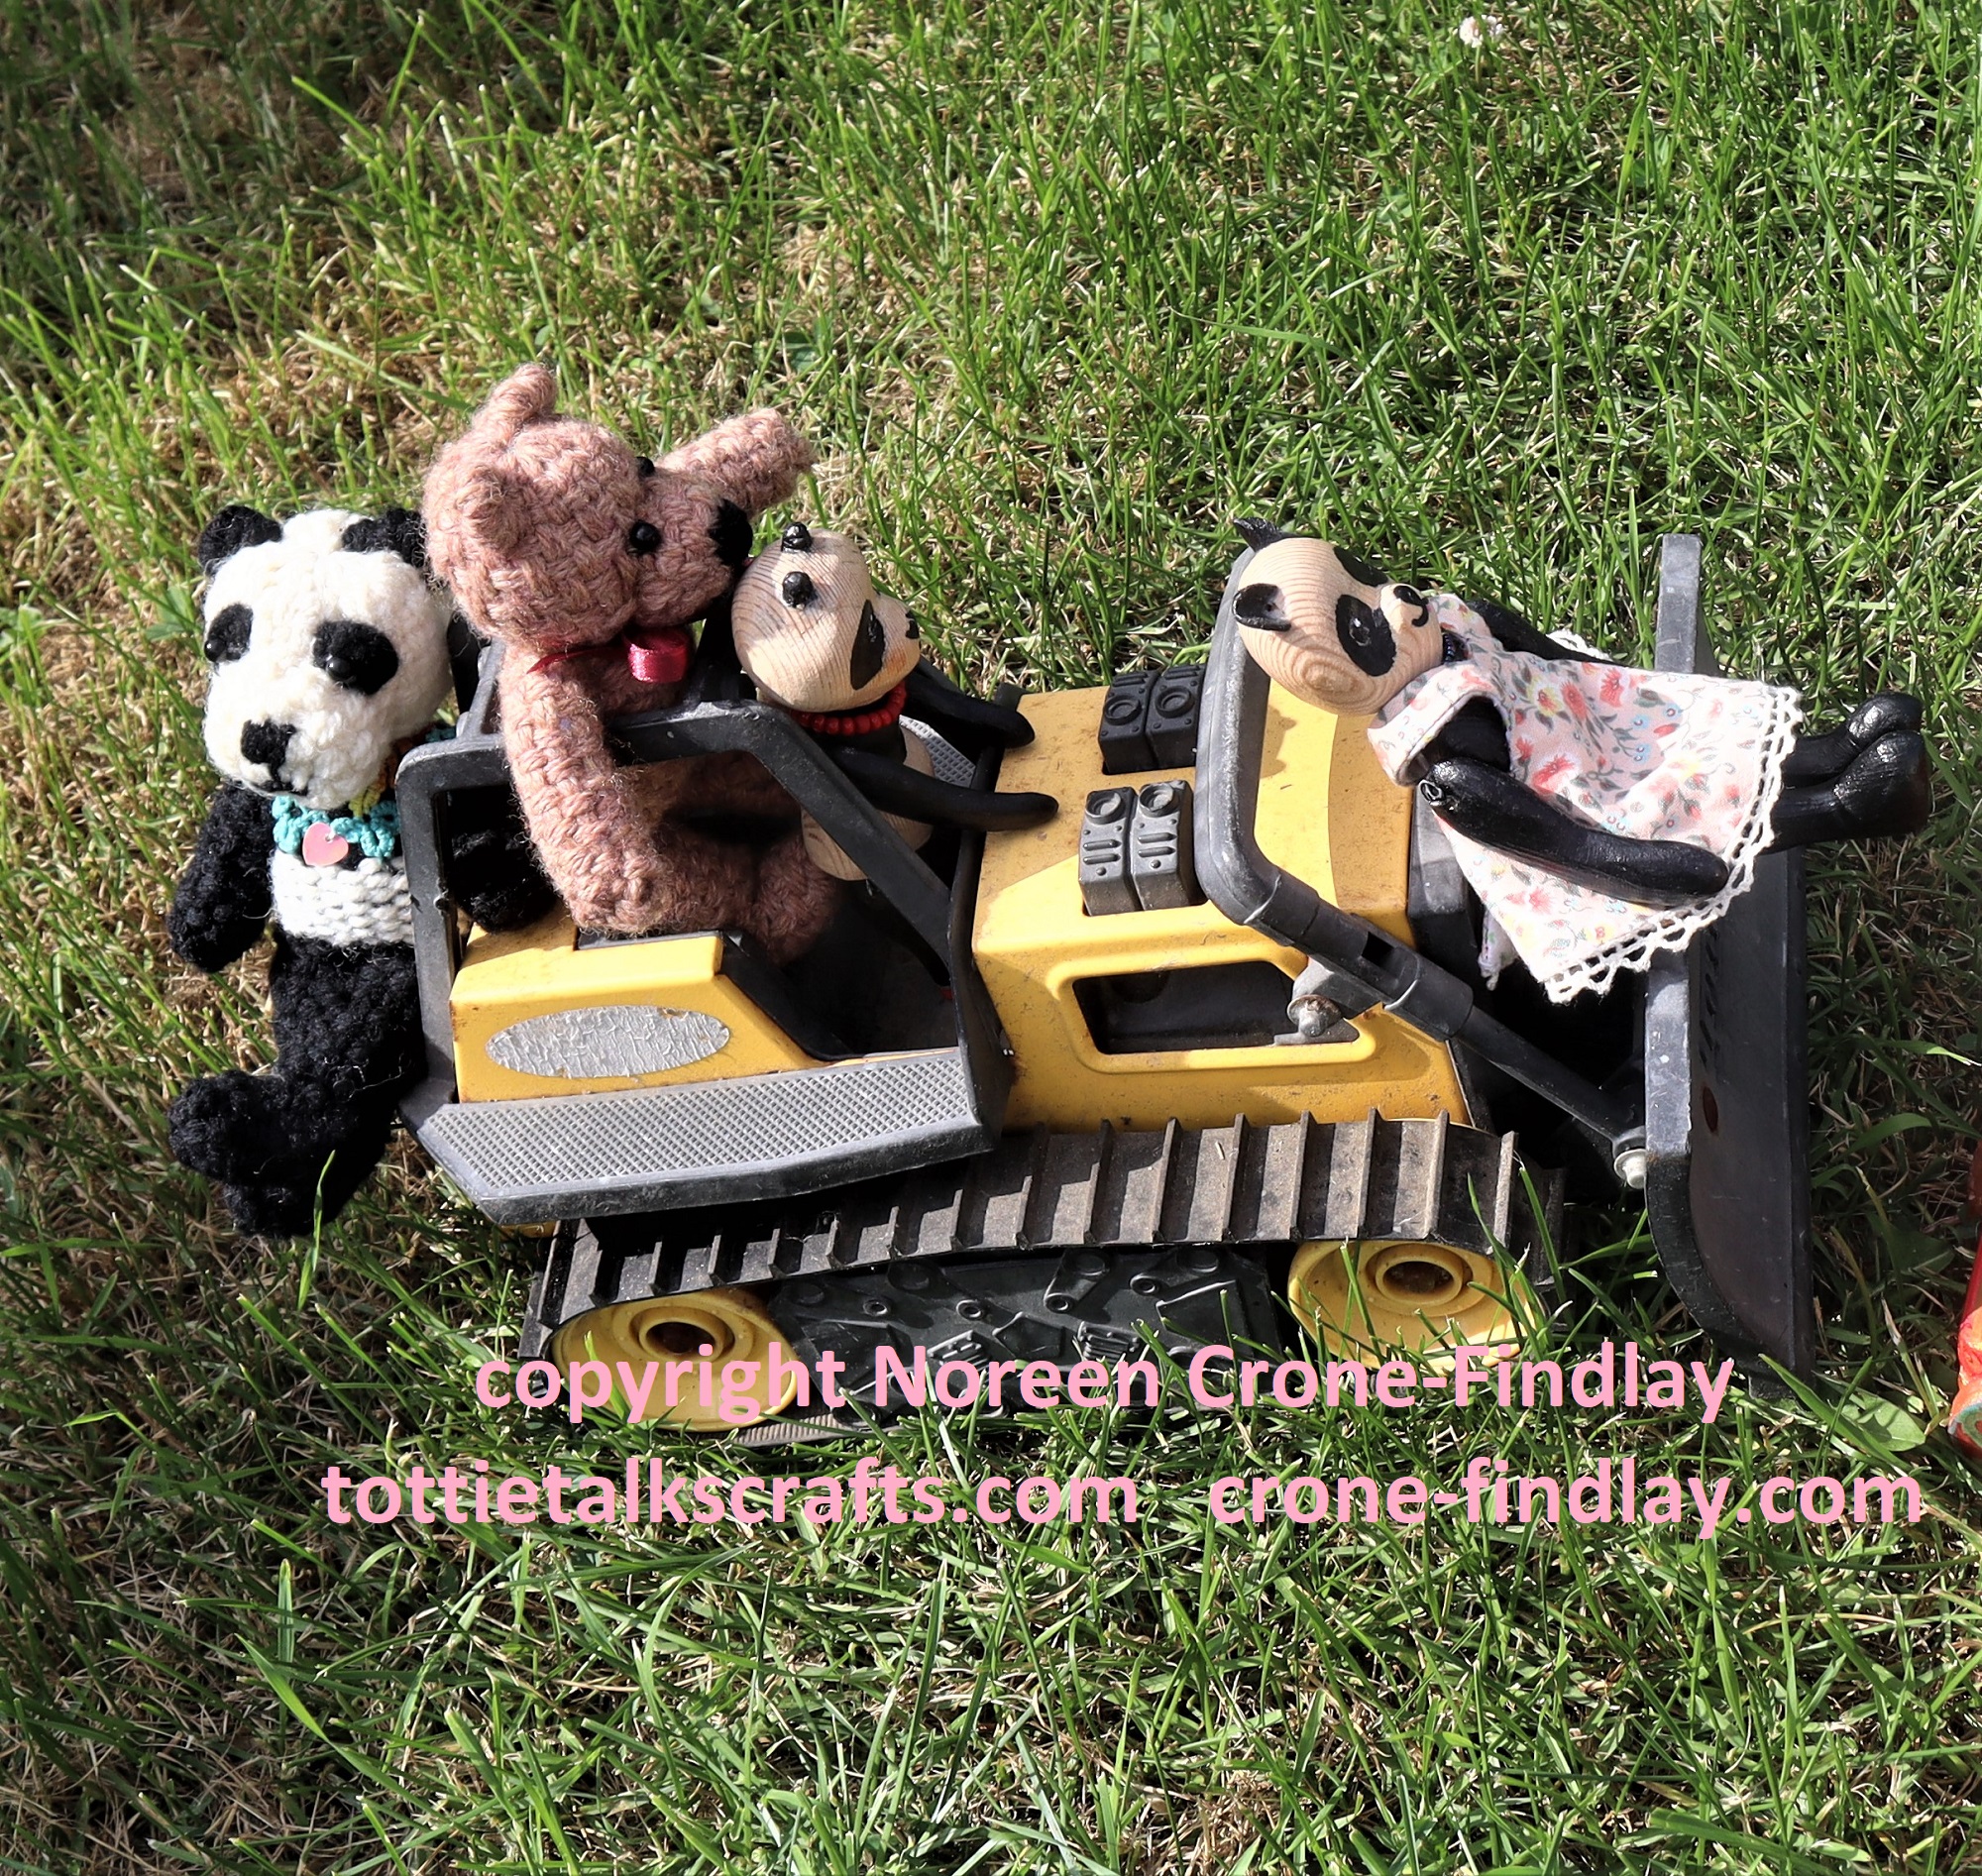
They climbed onto some tractors and into some wagons and even a bulldozer to ramble off to the picnic place.
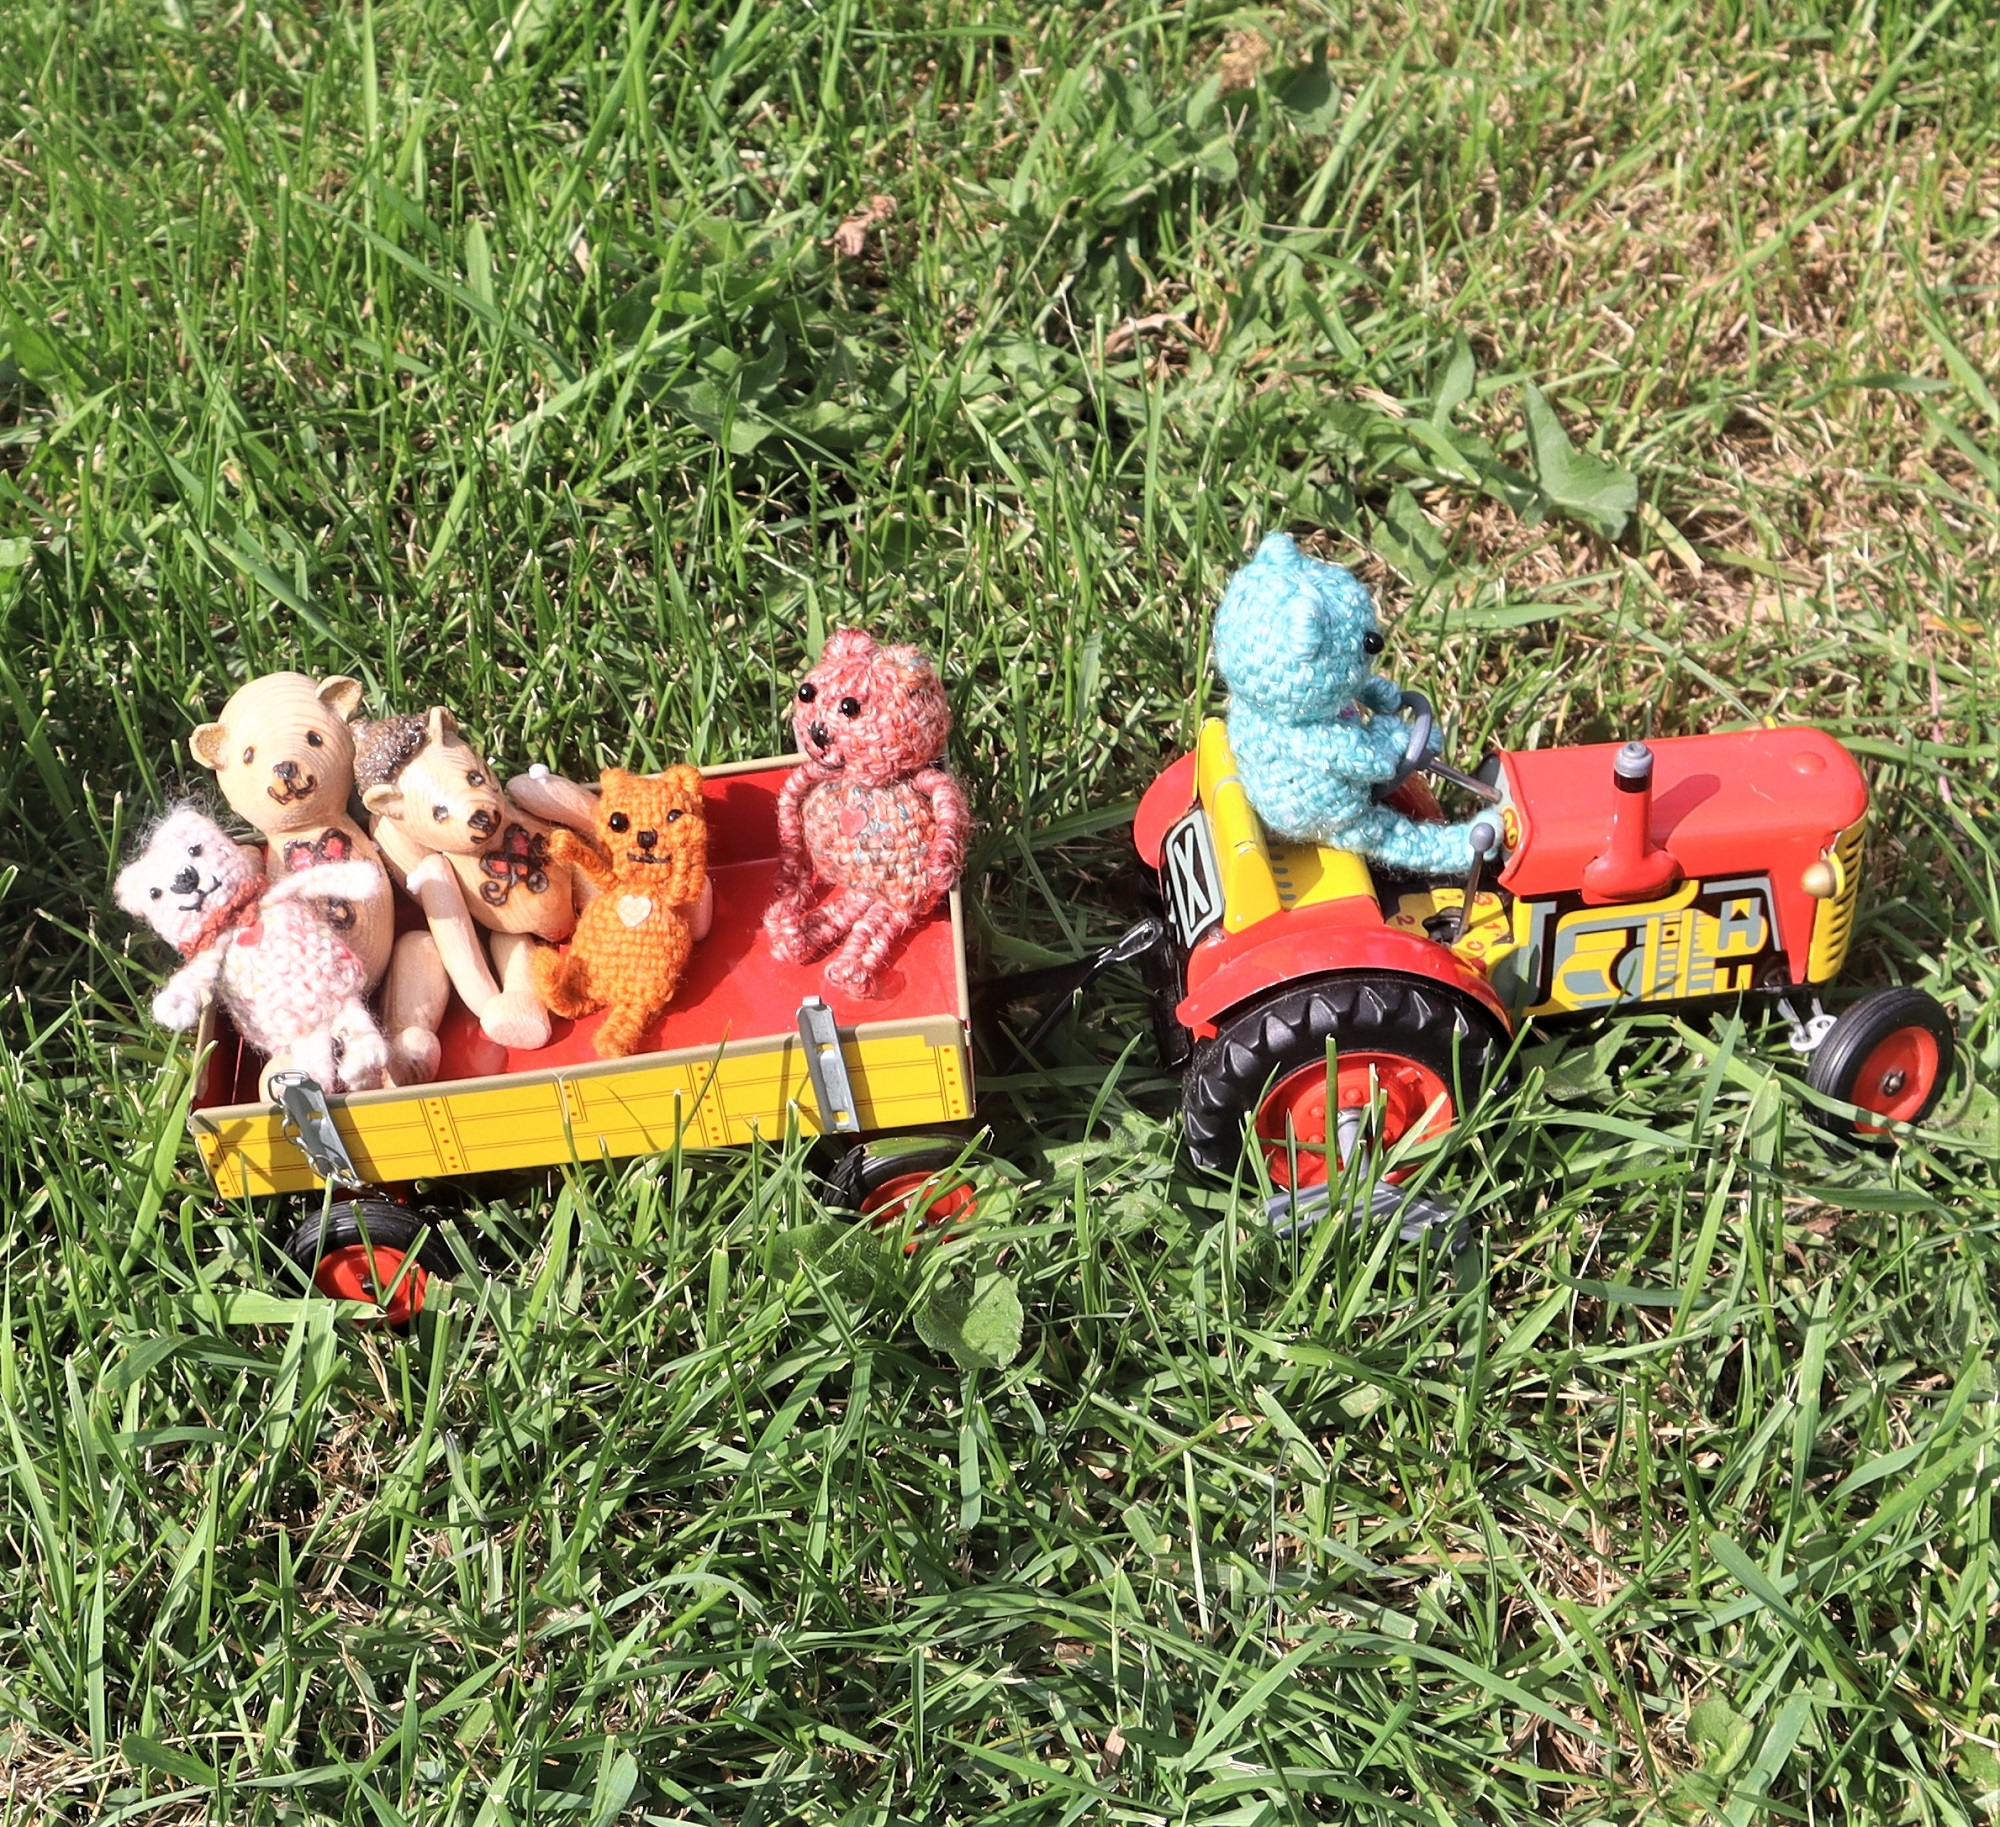
The tiny Blue Bear of Happiness was thrilled to drive the clockwork tractor, but found changing the gears was challenging and sent the passengers tumbling a few times.
They didn’t mind, in fact it was kind of fun.
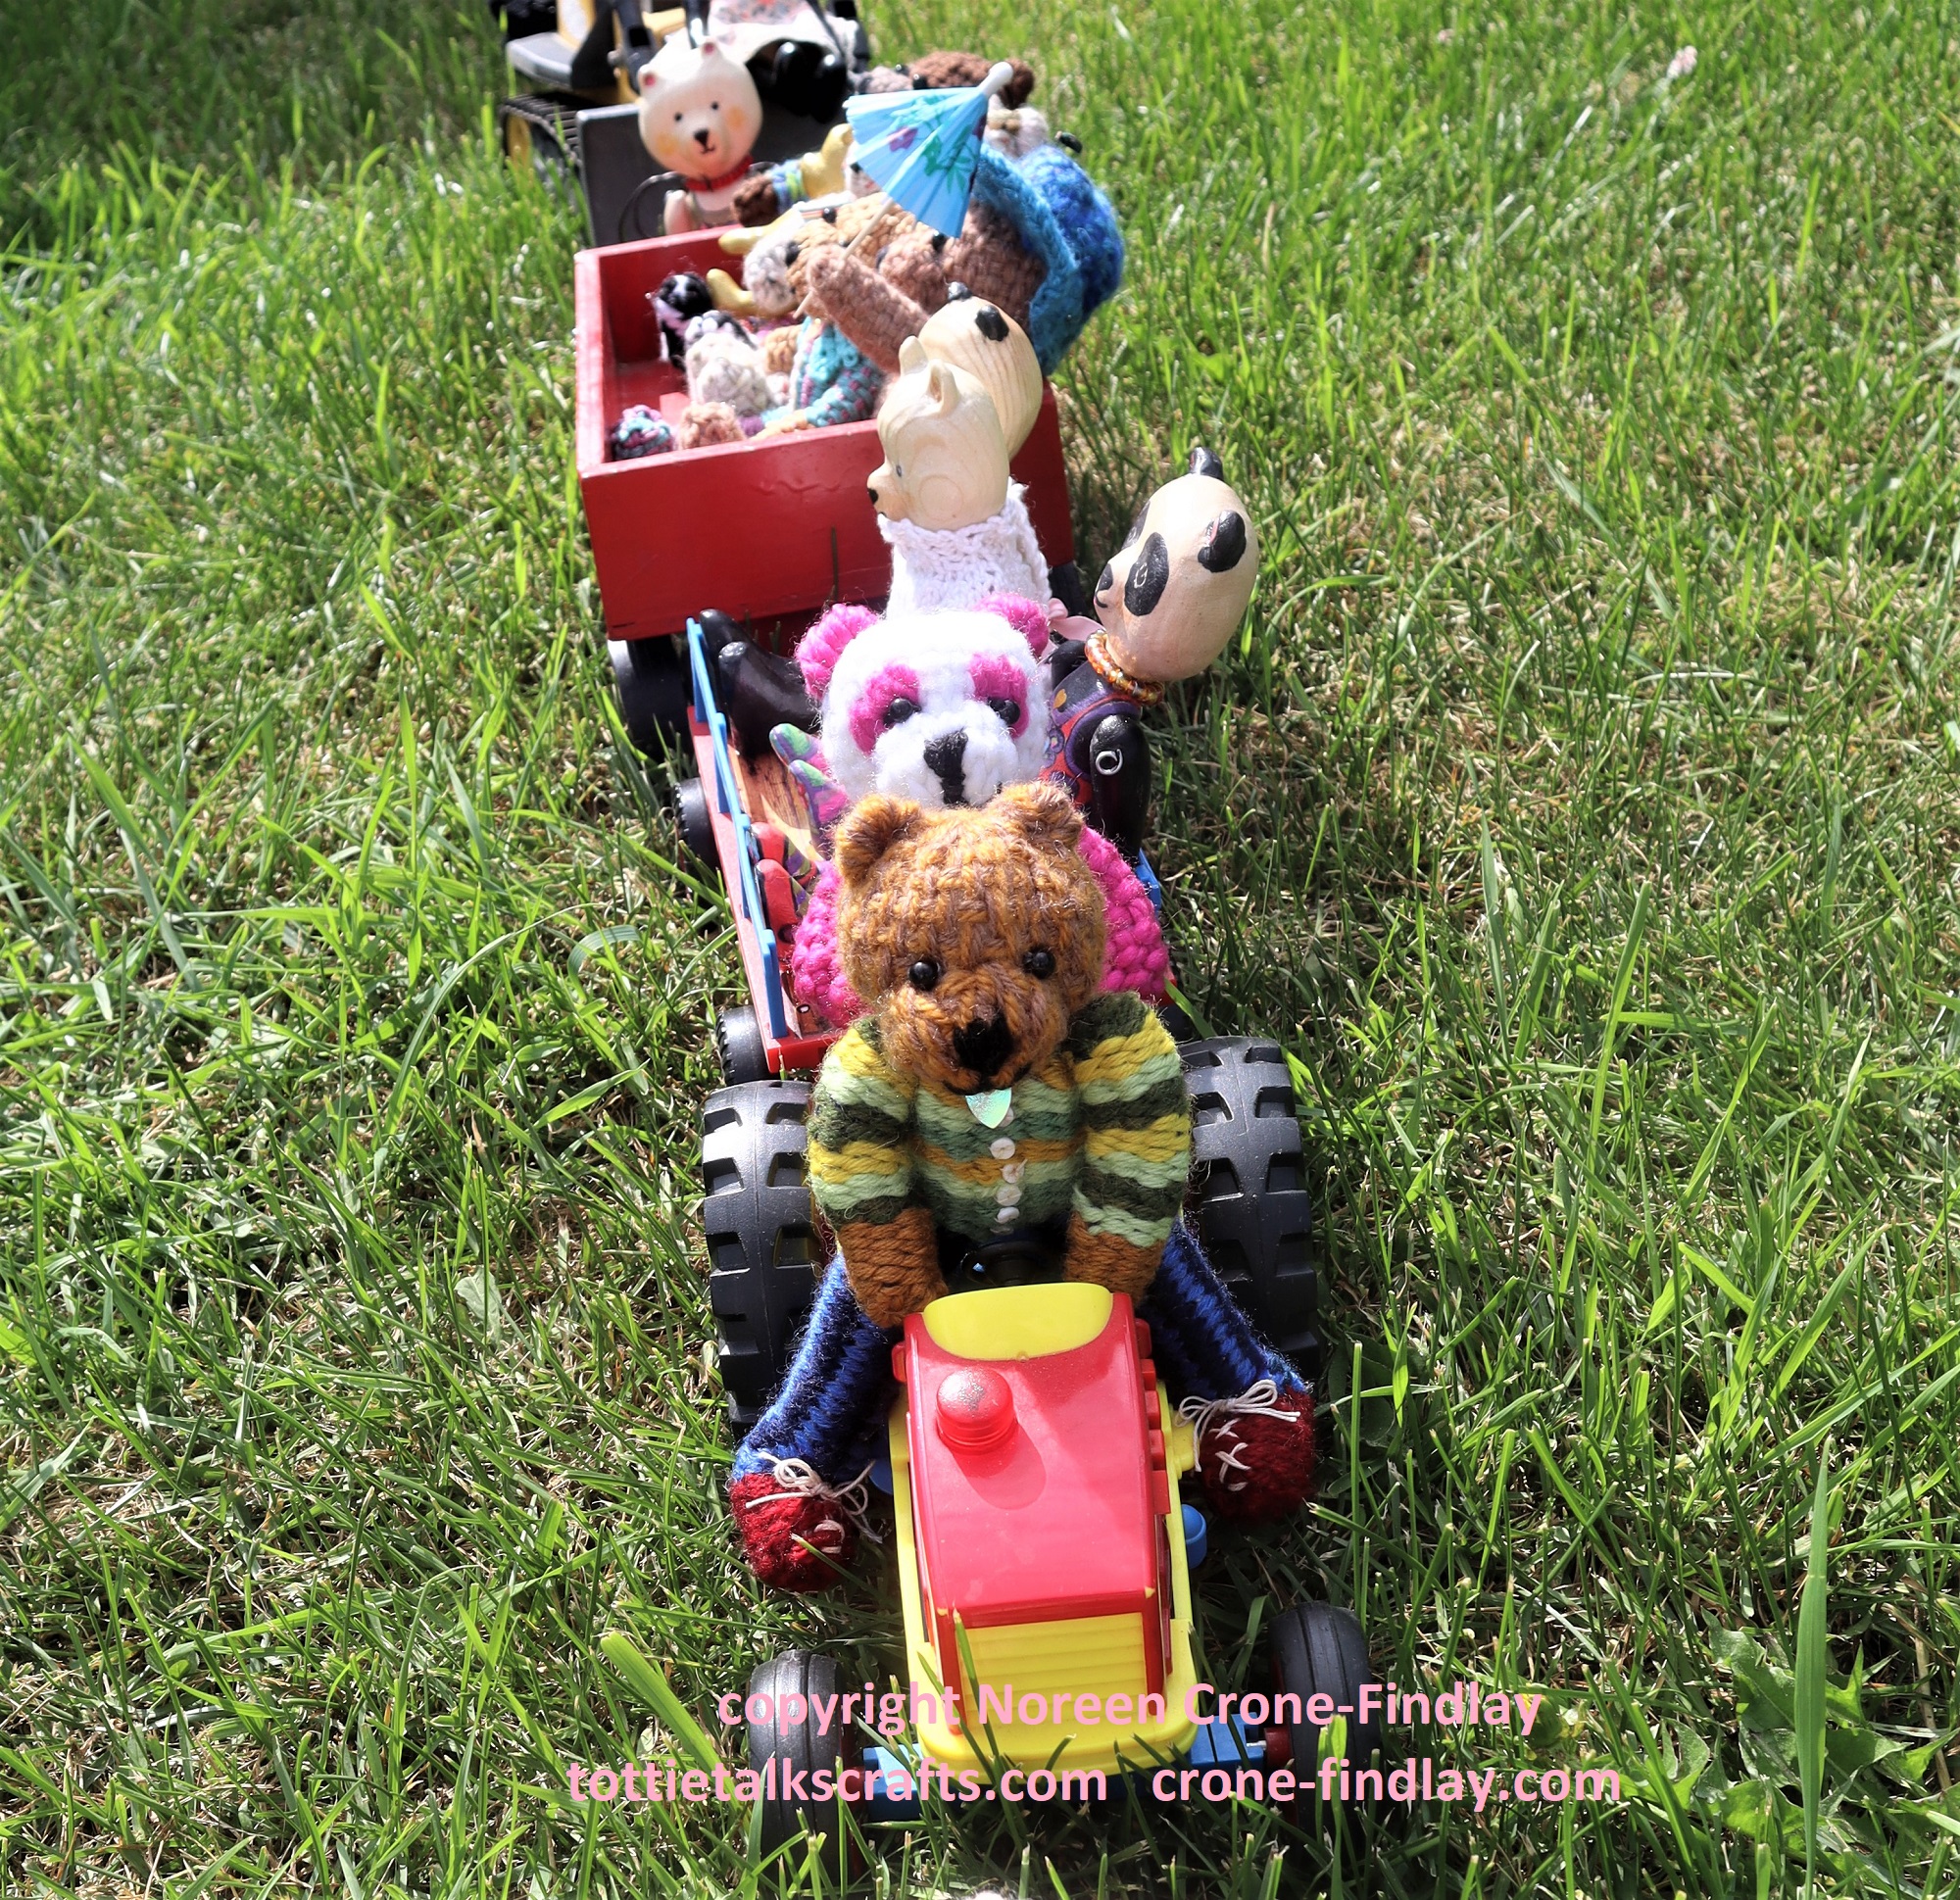
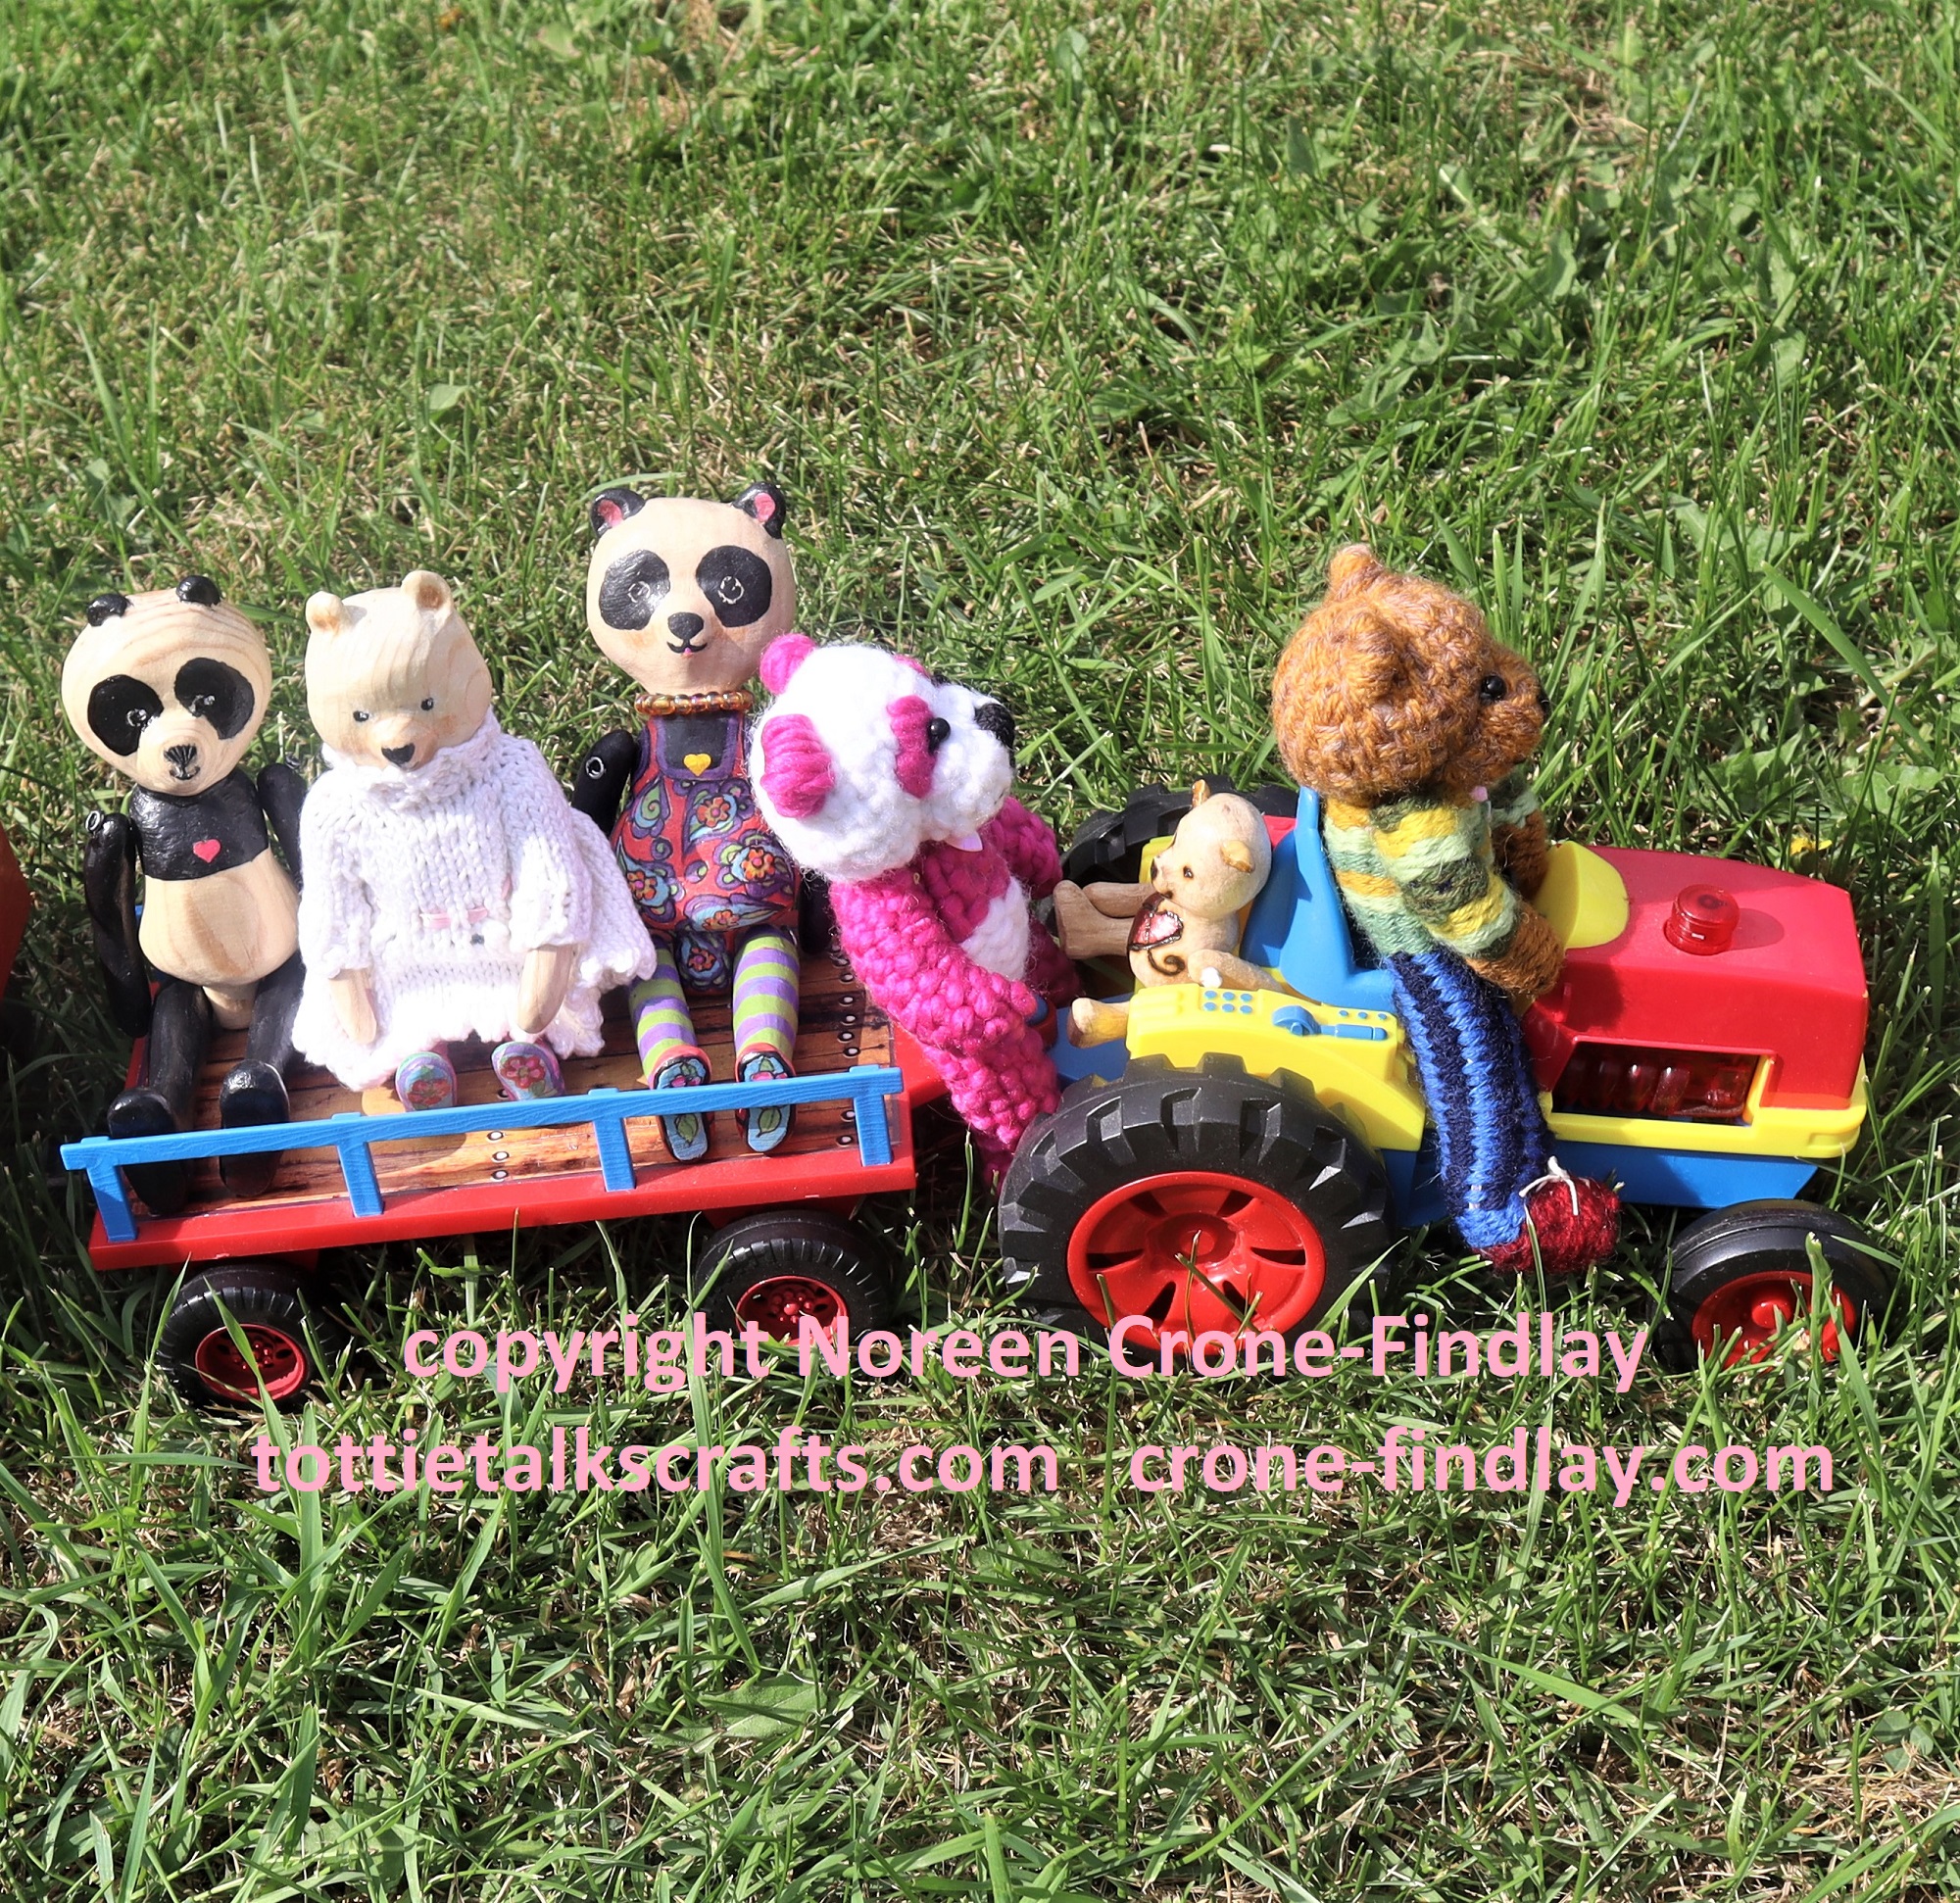
Jimmy Bear drove the larger tractor with style and his passengers enjoyed the ride in the various trailers, carts and chariots, but did find the heat to be rather intense. (It was blisteringly hot!)
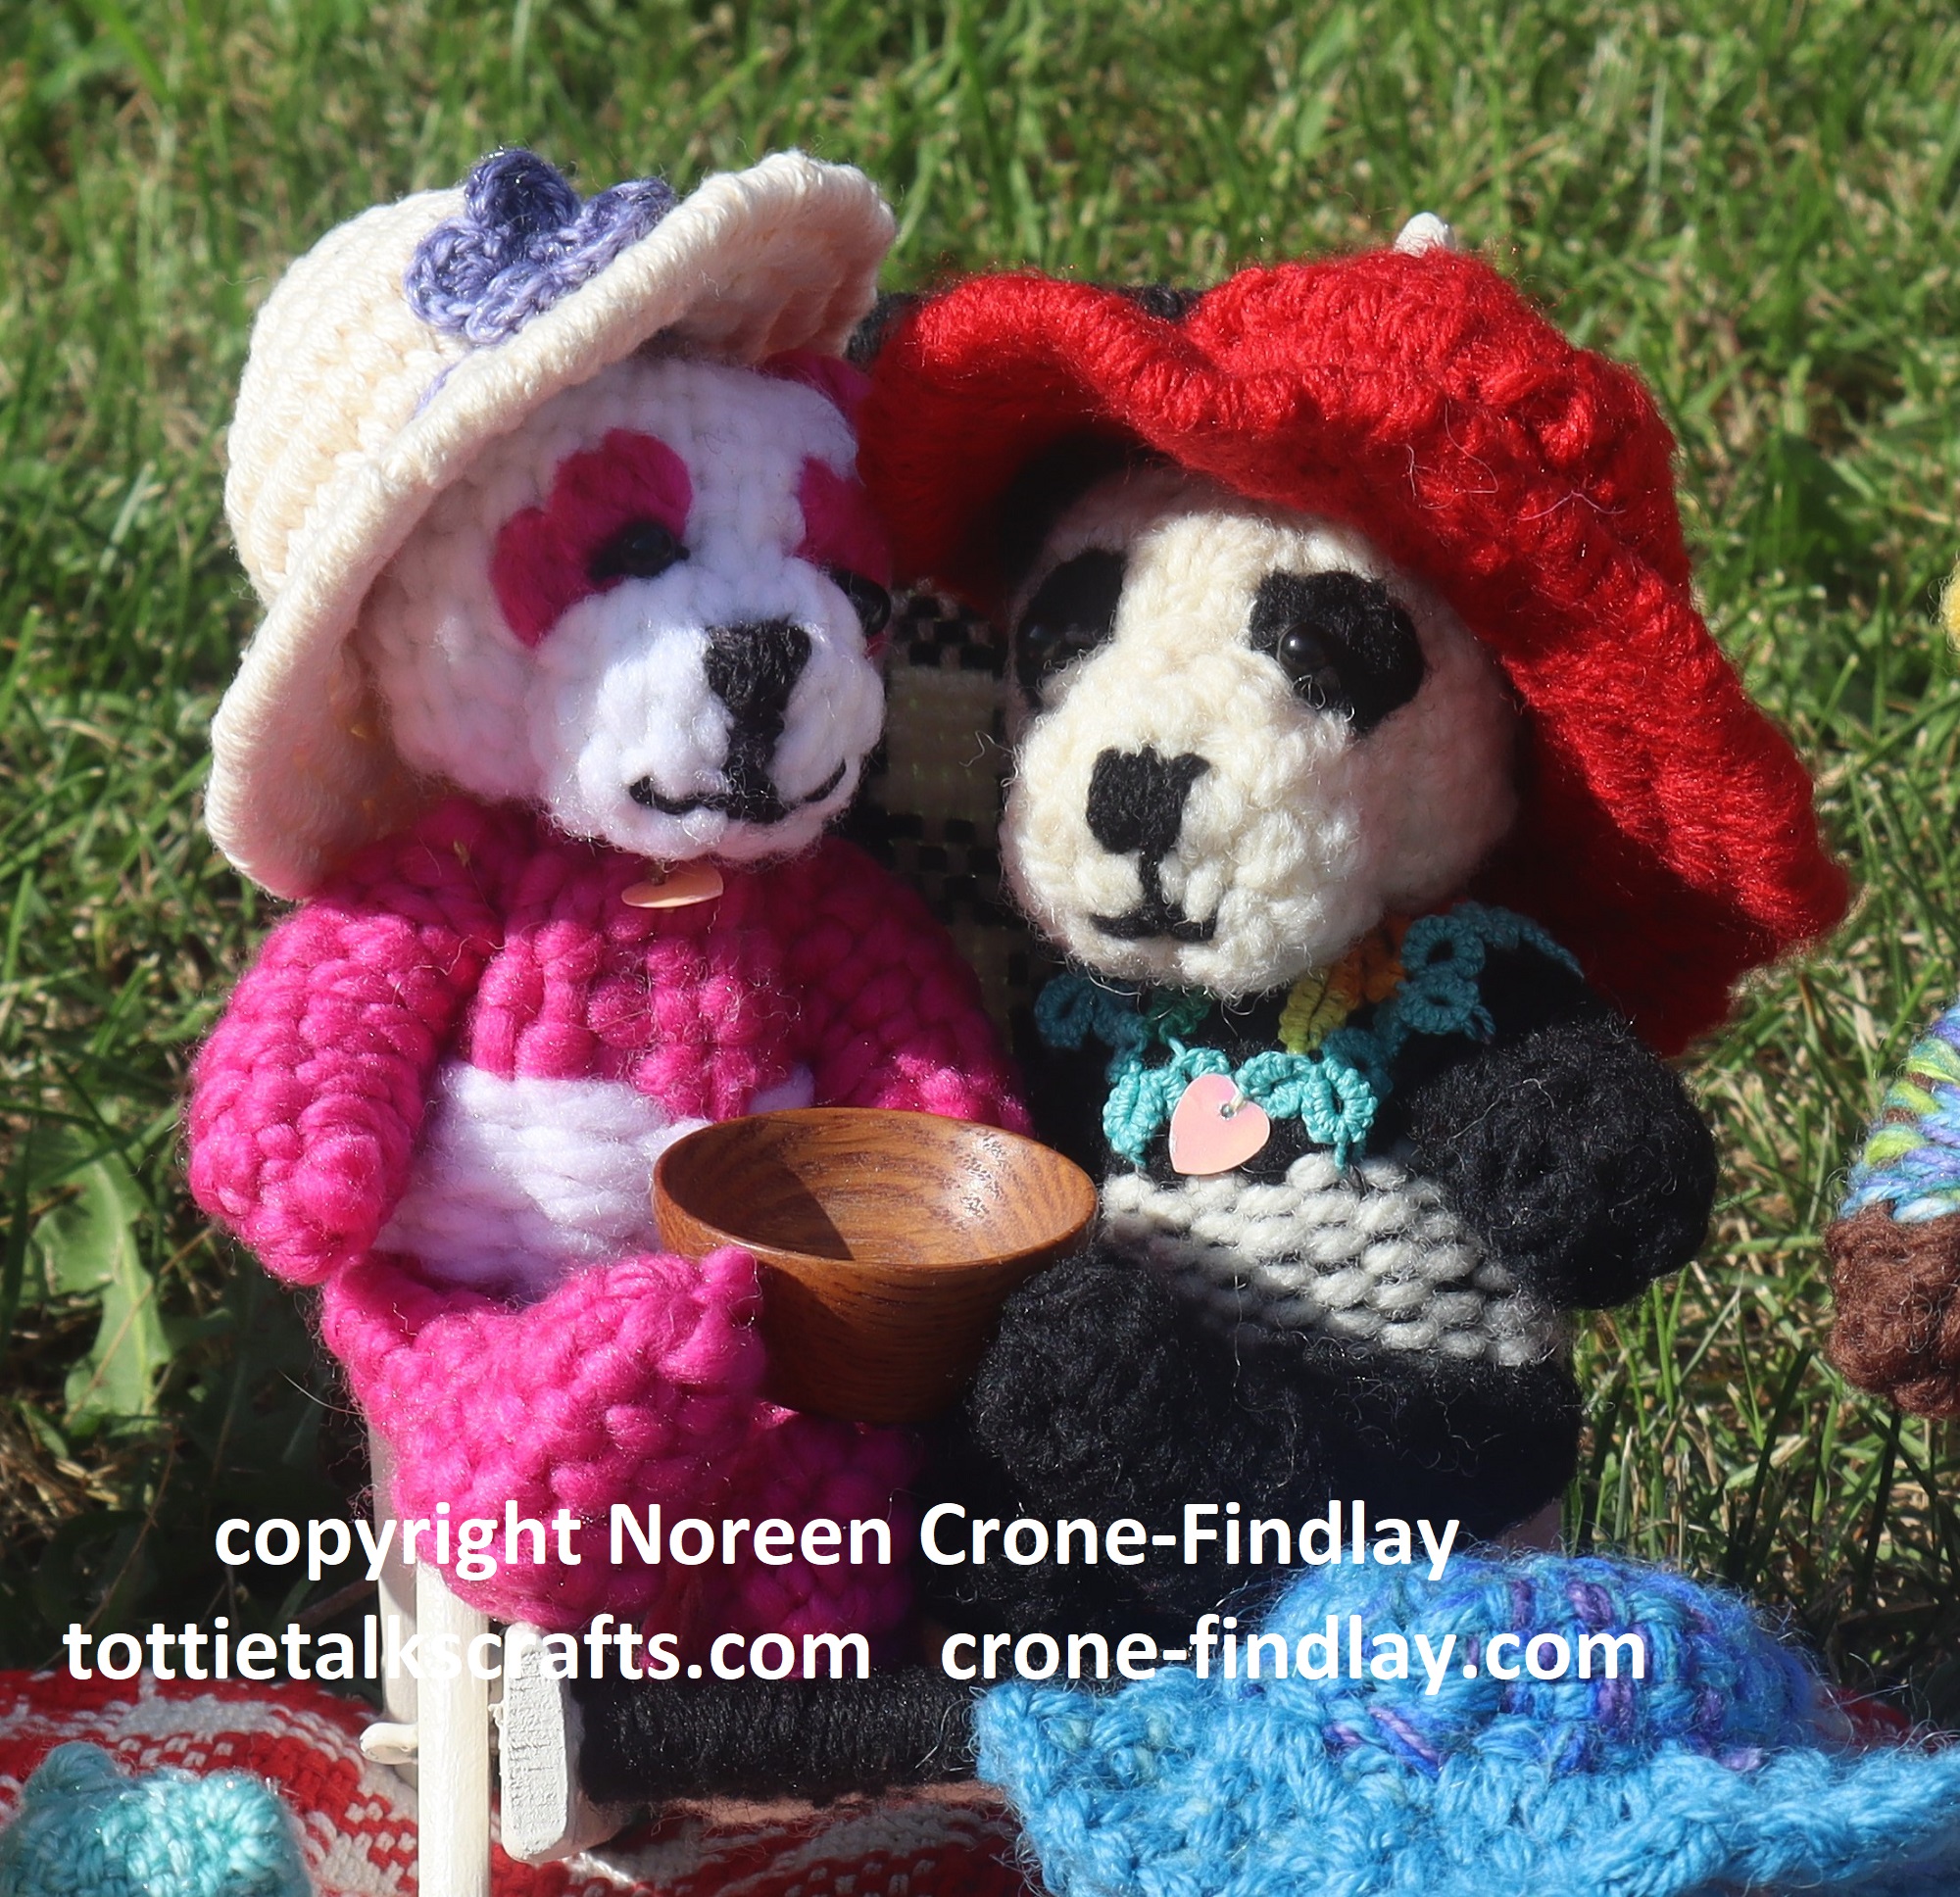
A bulldozer was the ride of choice for a few of the Pandas and their friend….
All the bears sang ‘The Teddy Bear’s Picnic’ at the top of their lungs.
Sadly, the carved wooden teddys found the heat to be un-bearable, so they scampered back into the studio and sat in front of the fan to cool off.
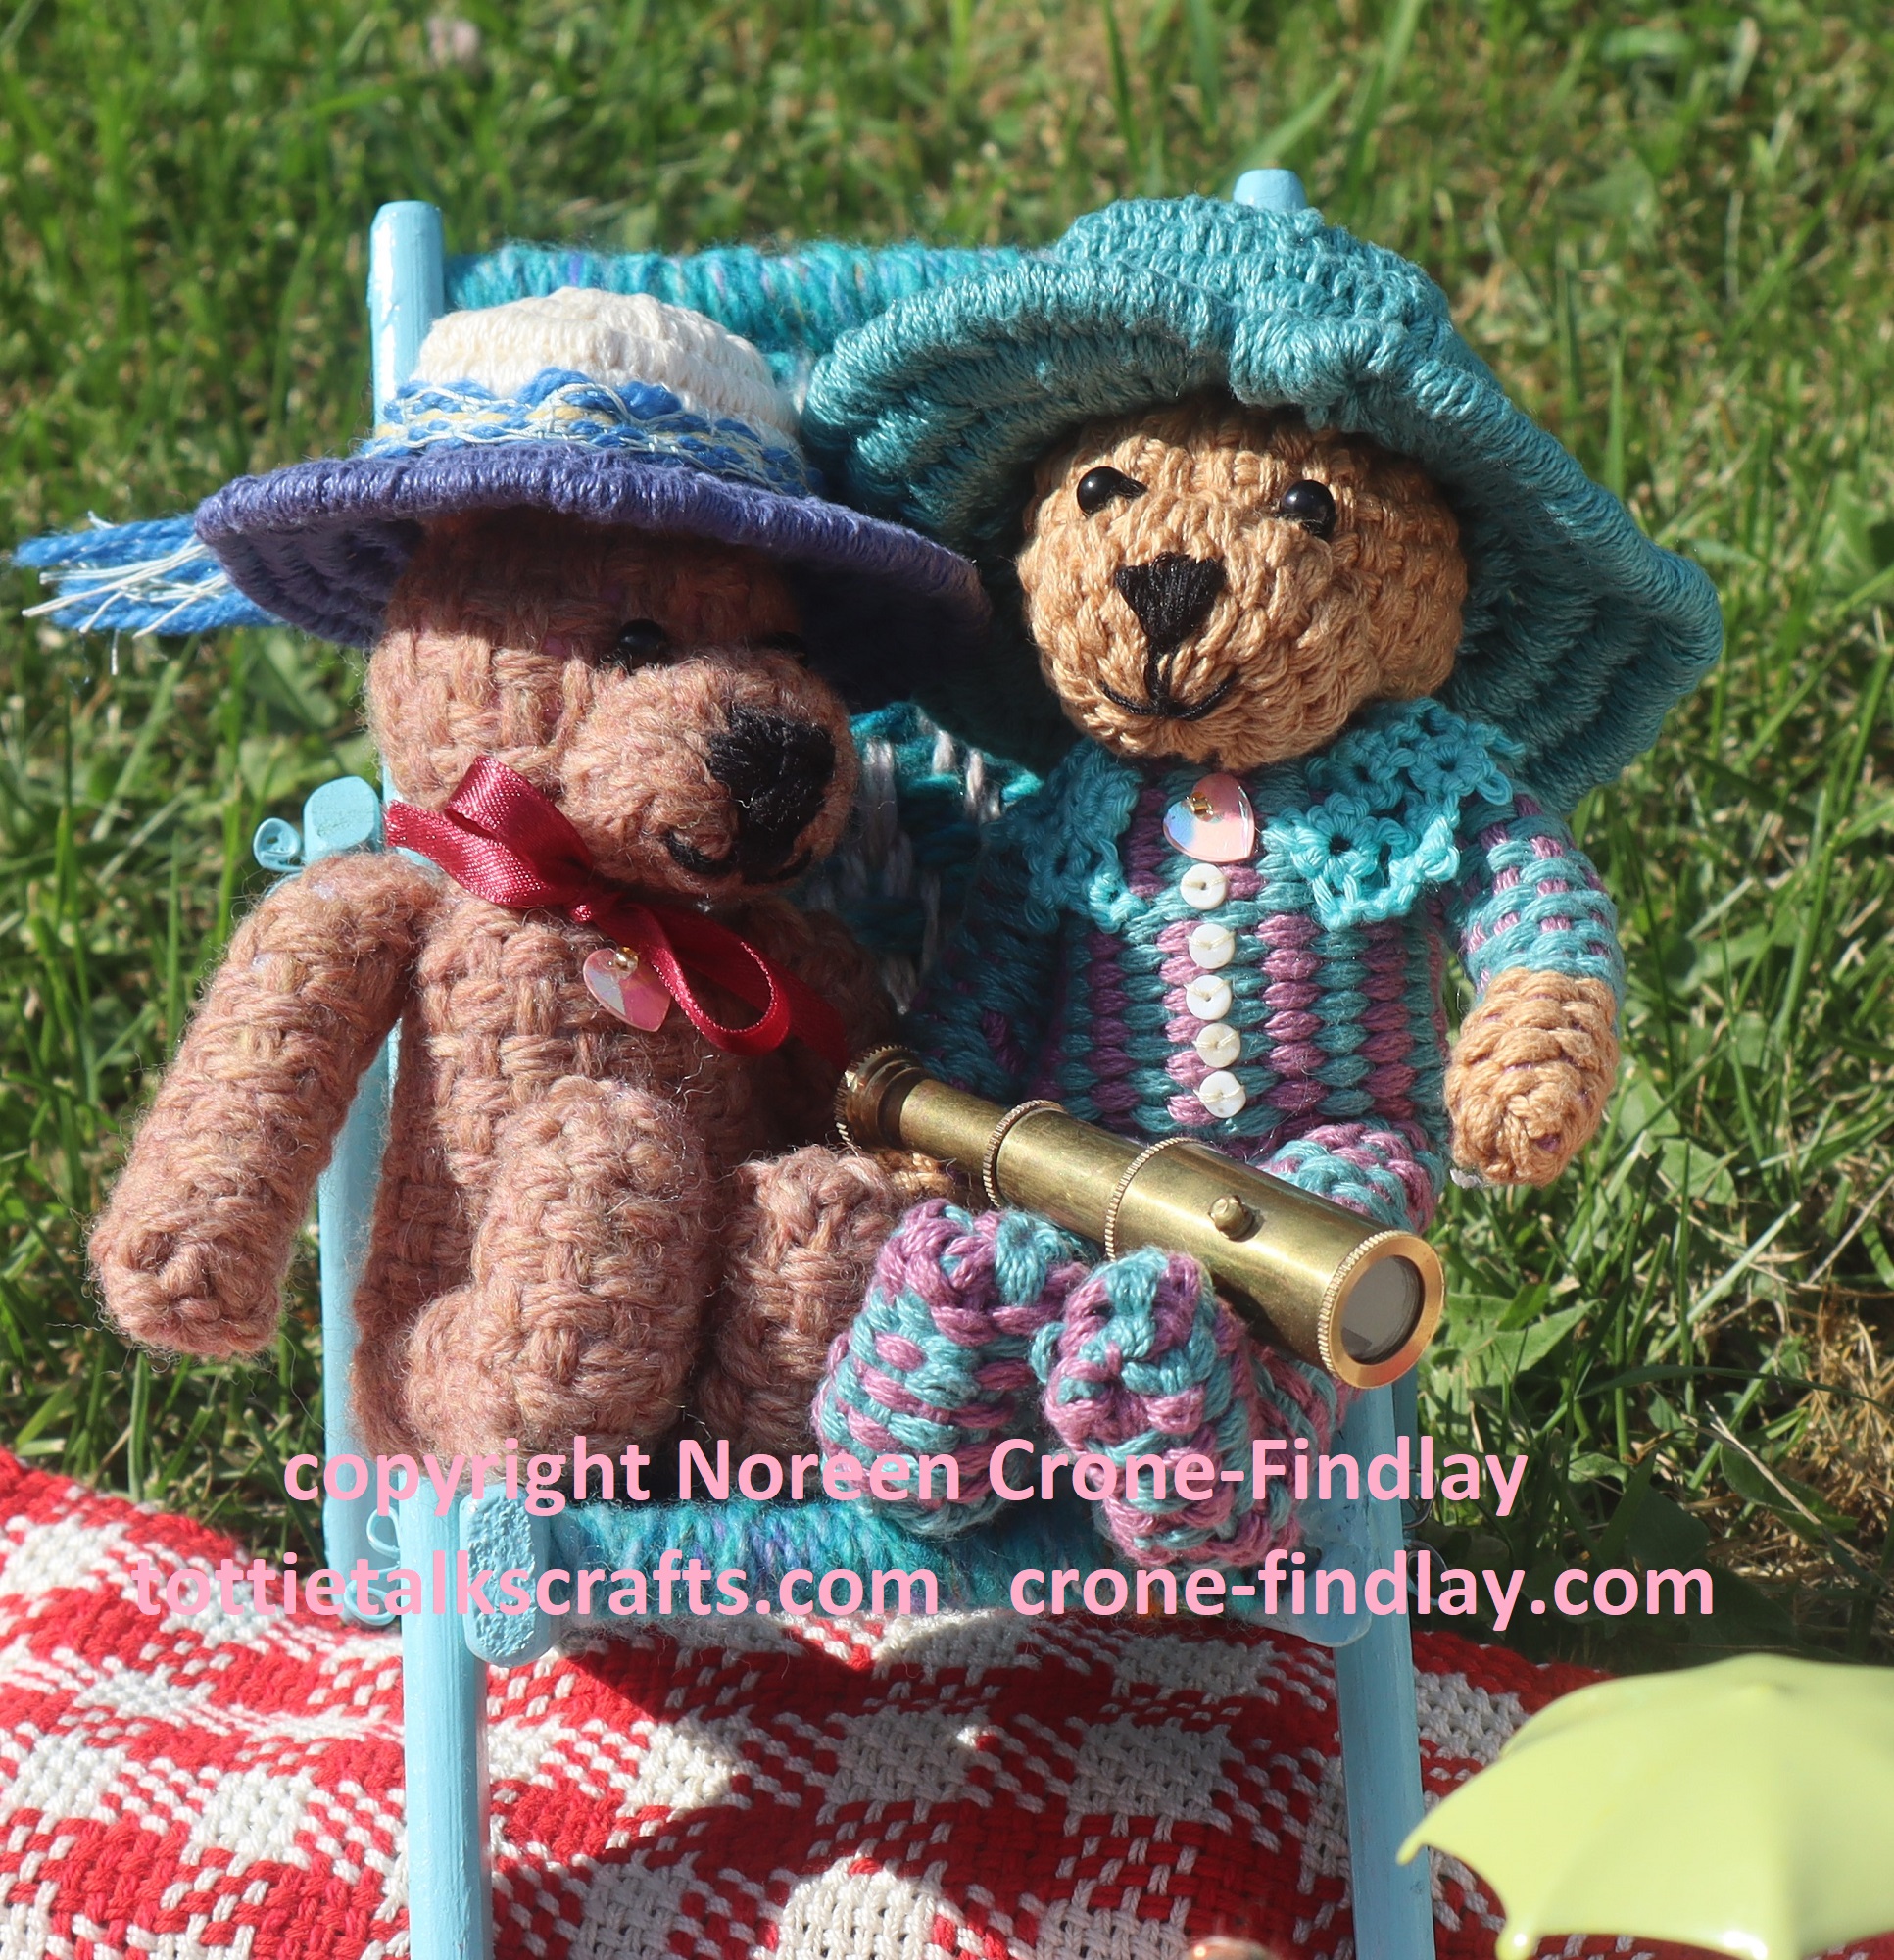
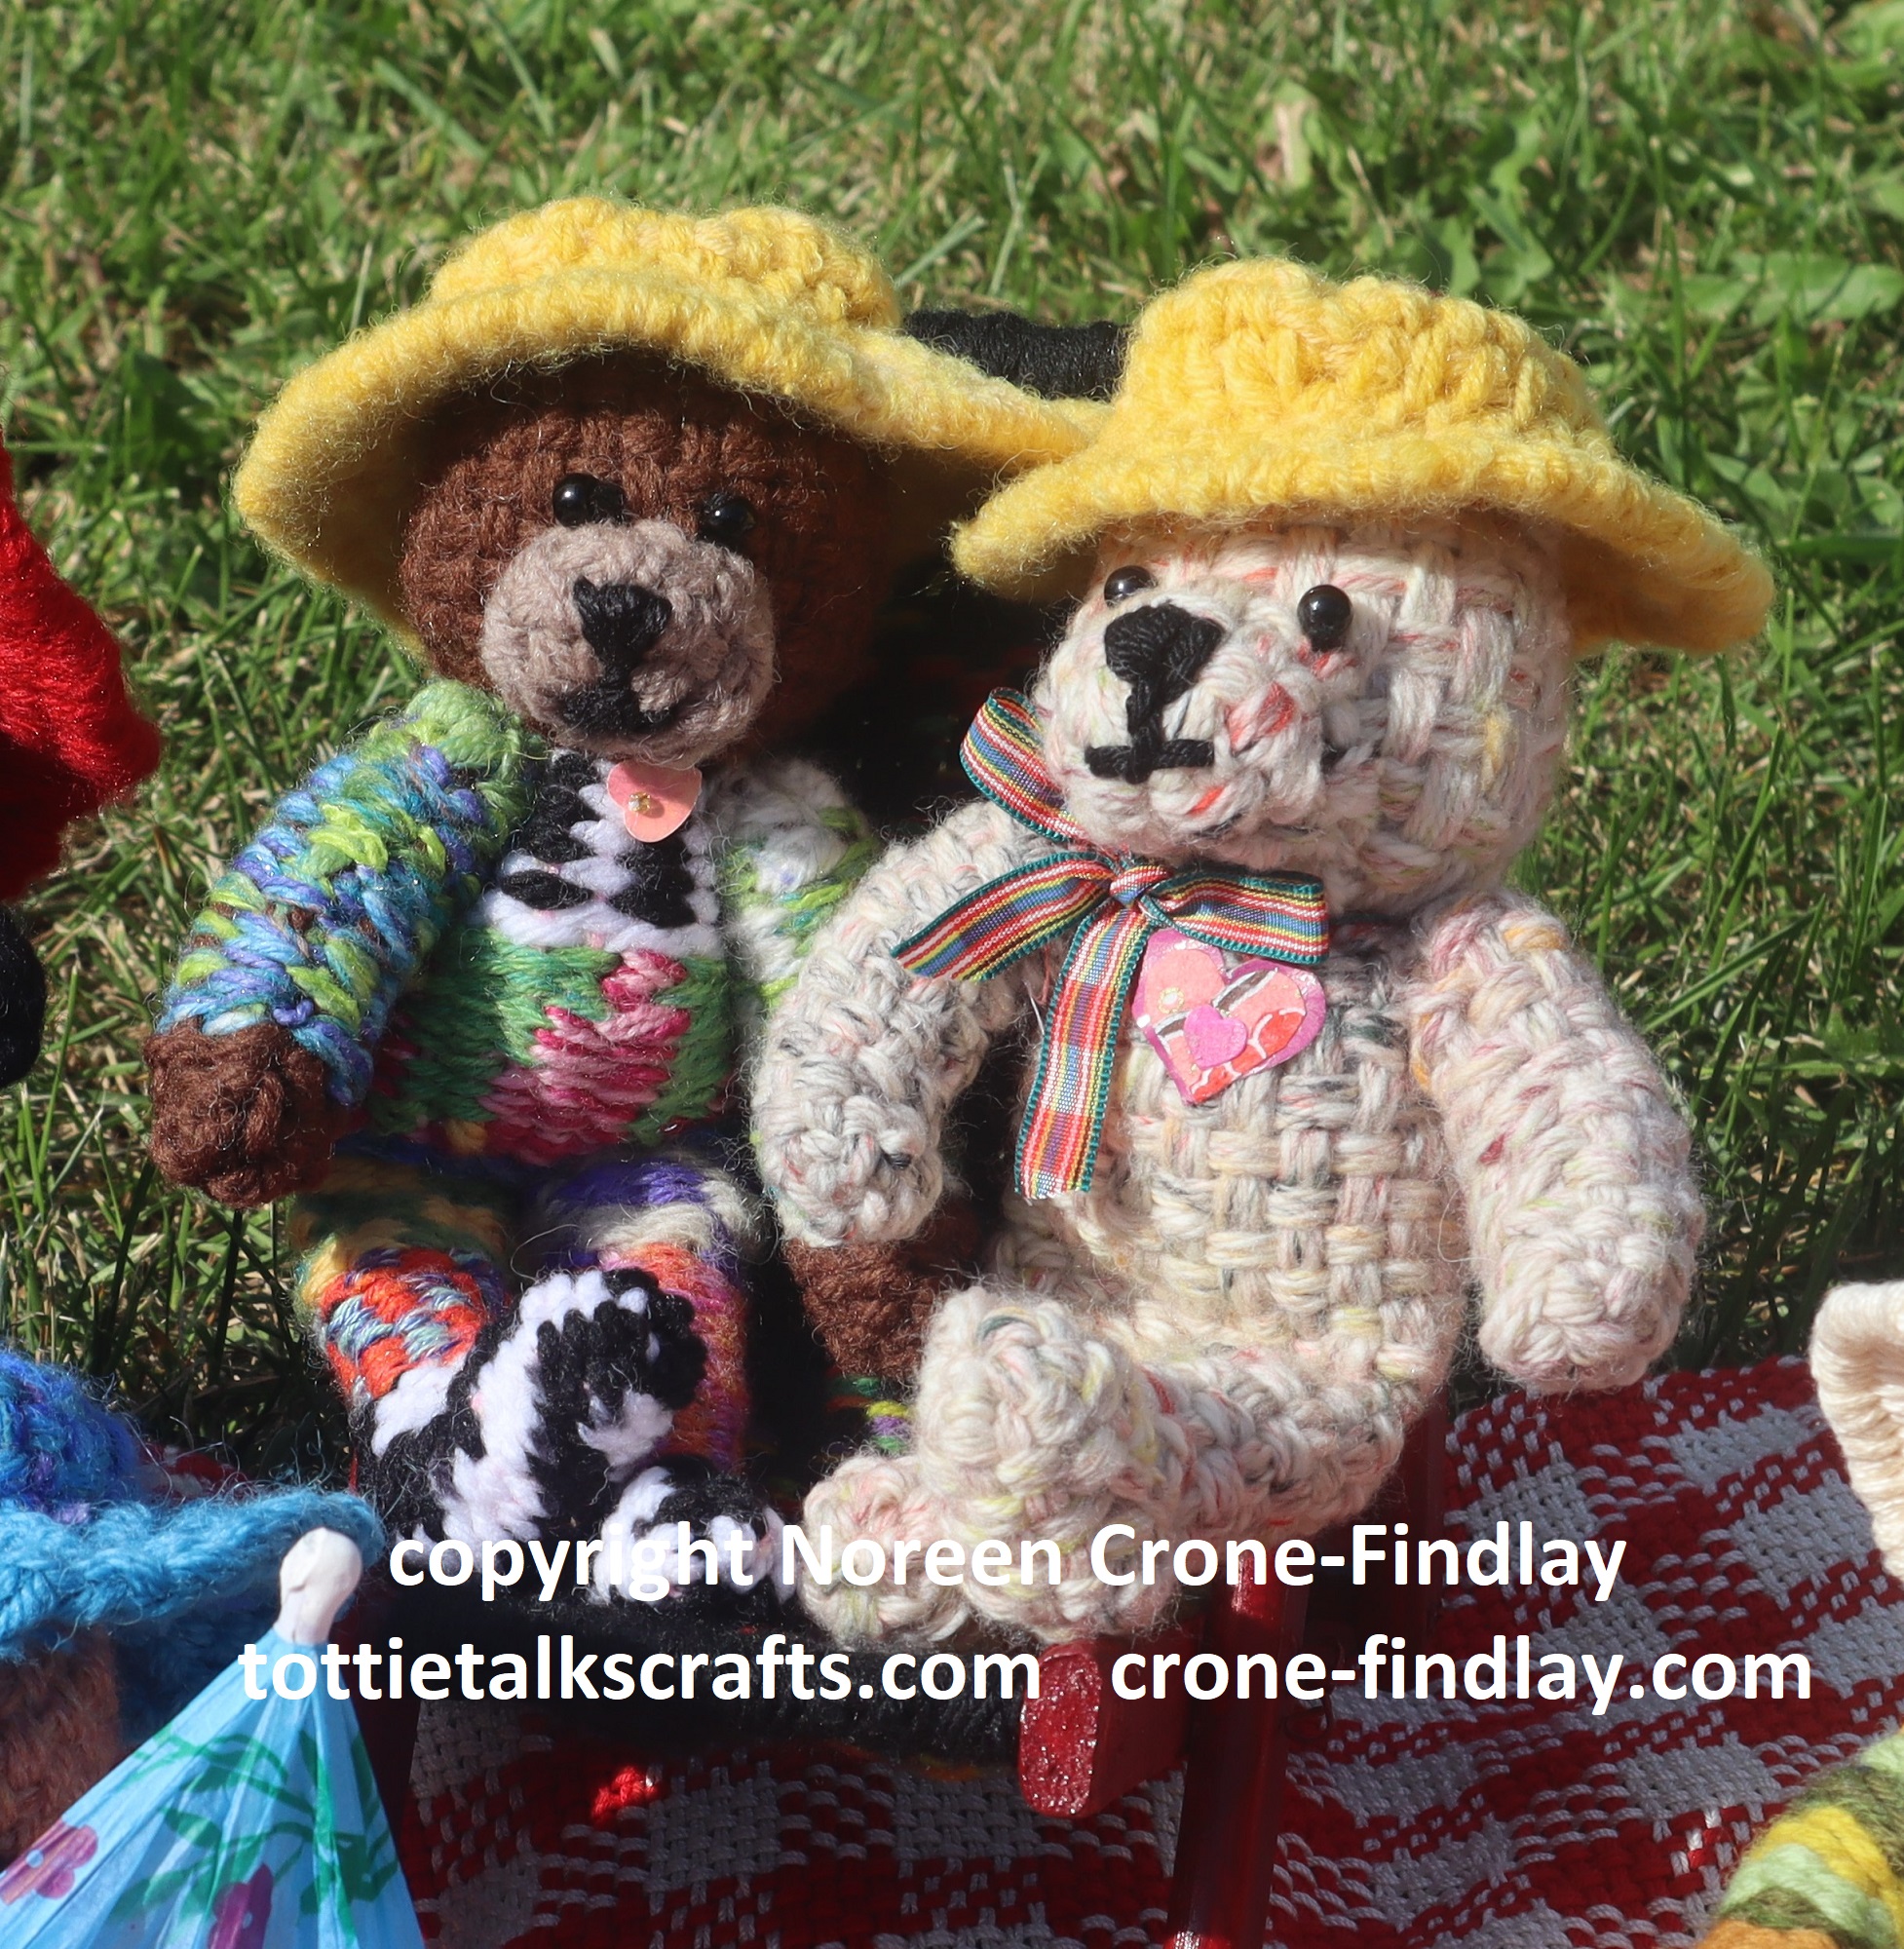
The woven Saffron Bears were perfectly happy in their sun hats, so the sun didn’t bother them.
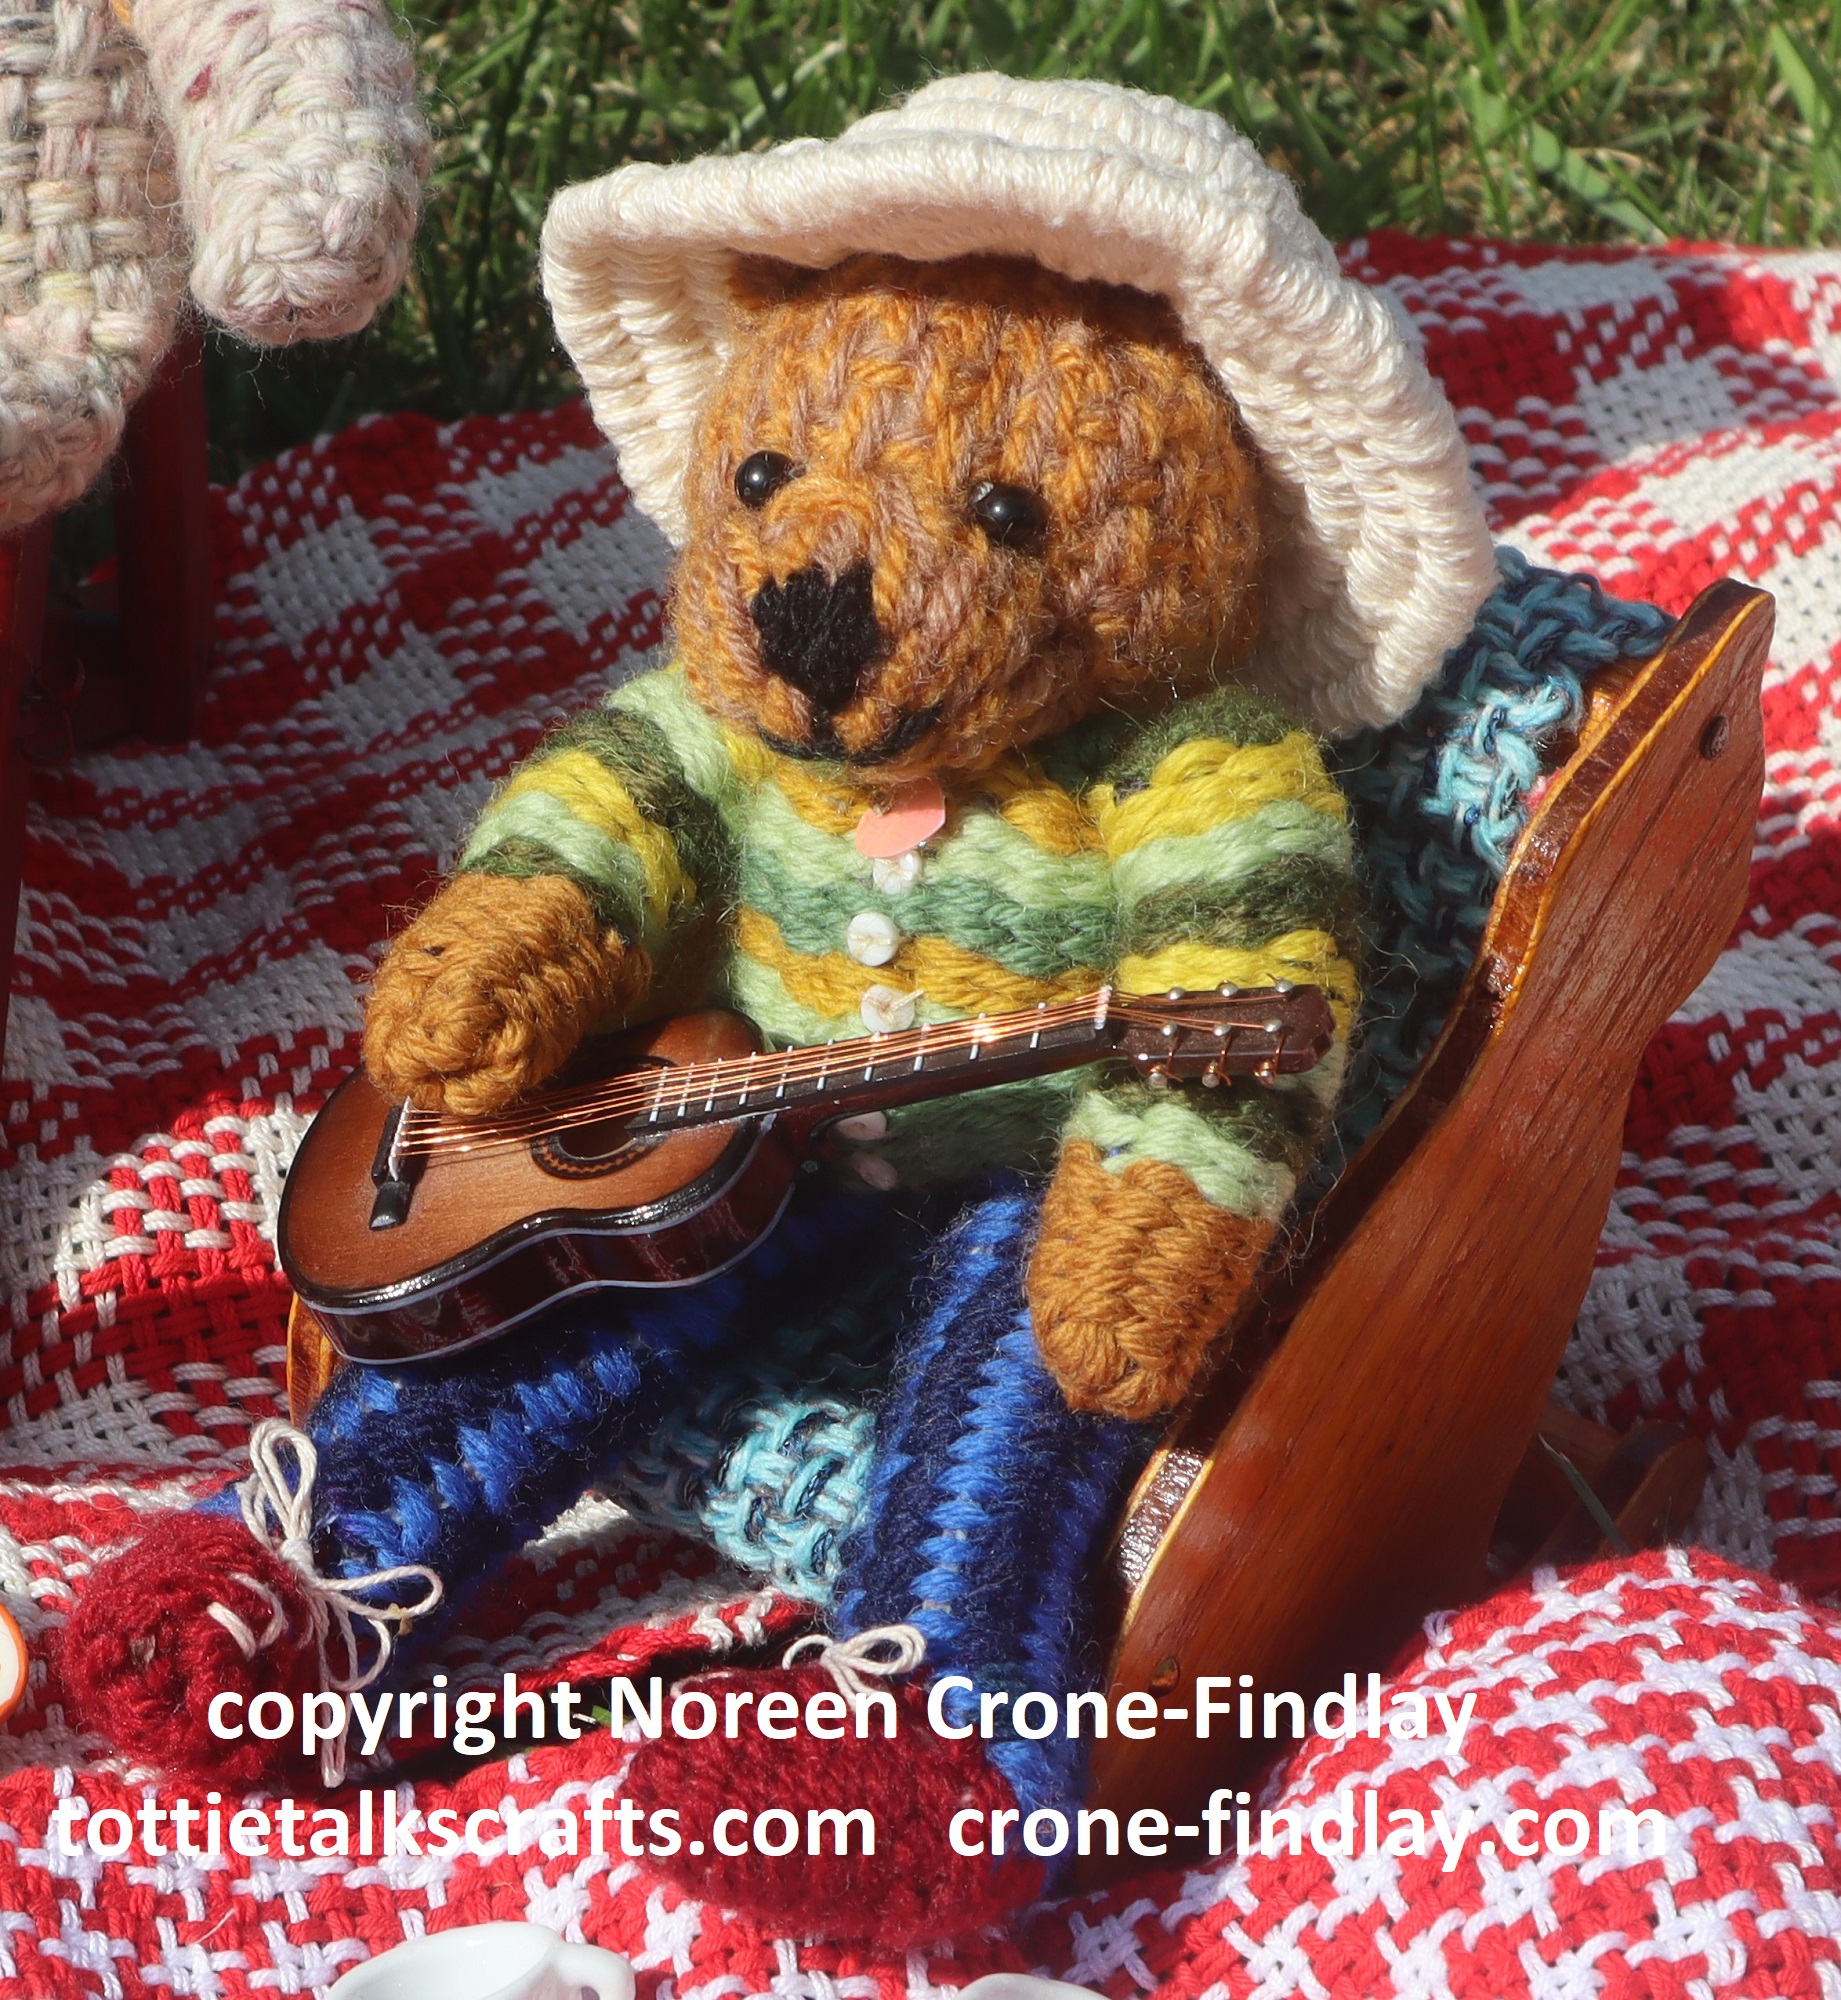
Jimmy Bear played his guitar and all the other bears loved it.
Two of the bears had brought along a telescope to watch birds, but were able to keep an eye on their carved wooden friends to make sure they made it safely back to the studio.
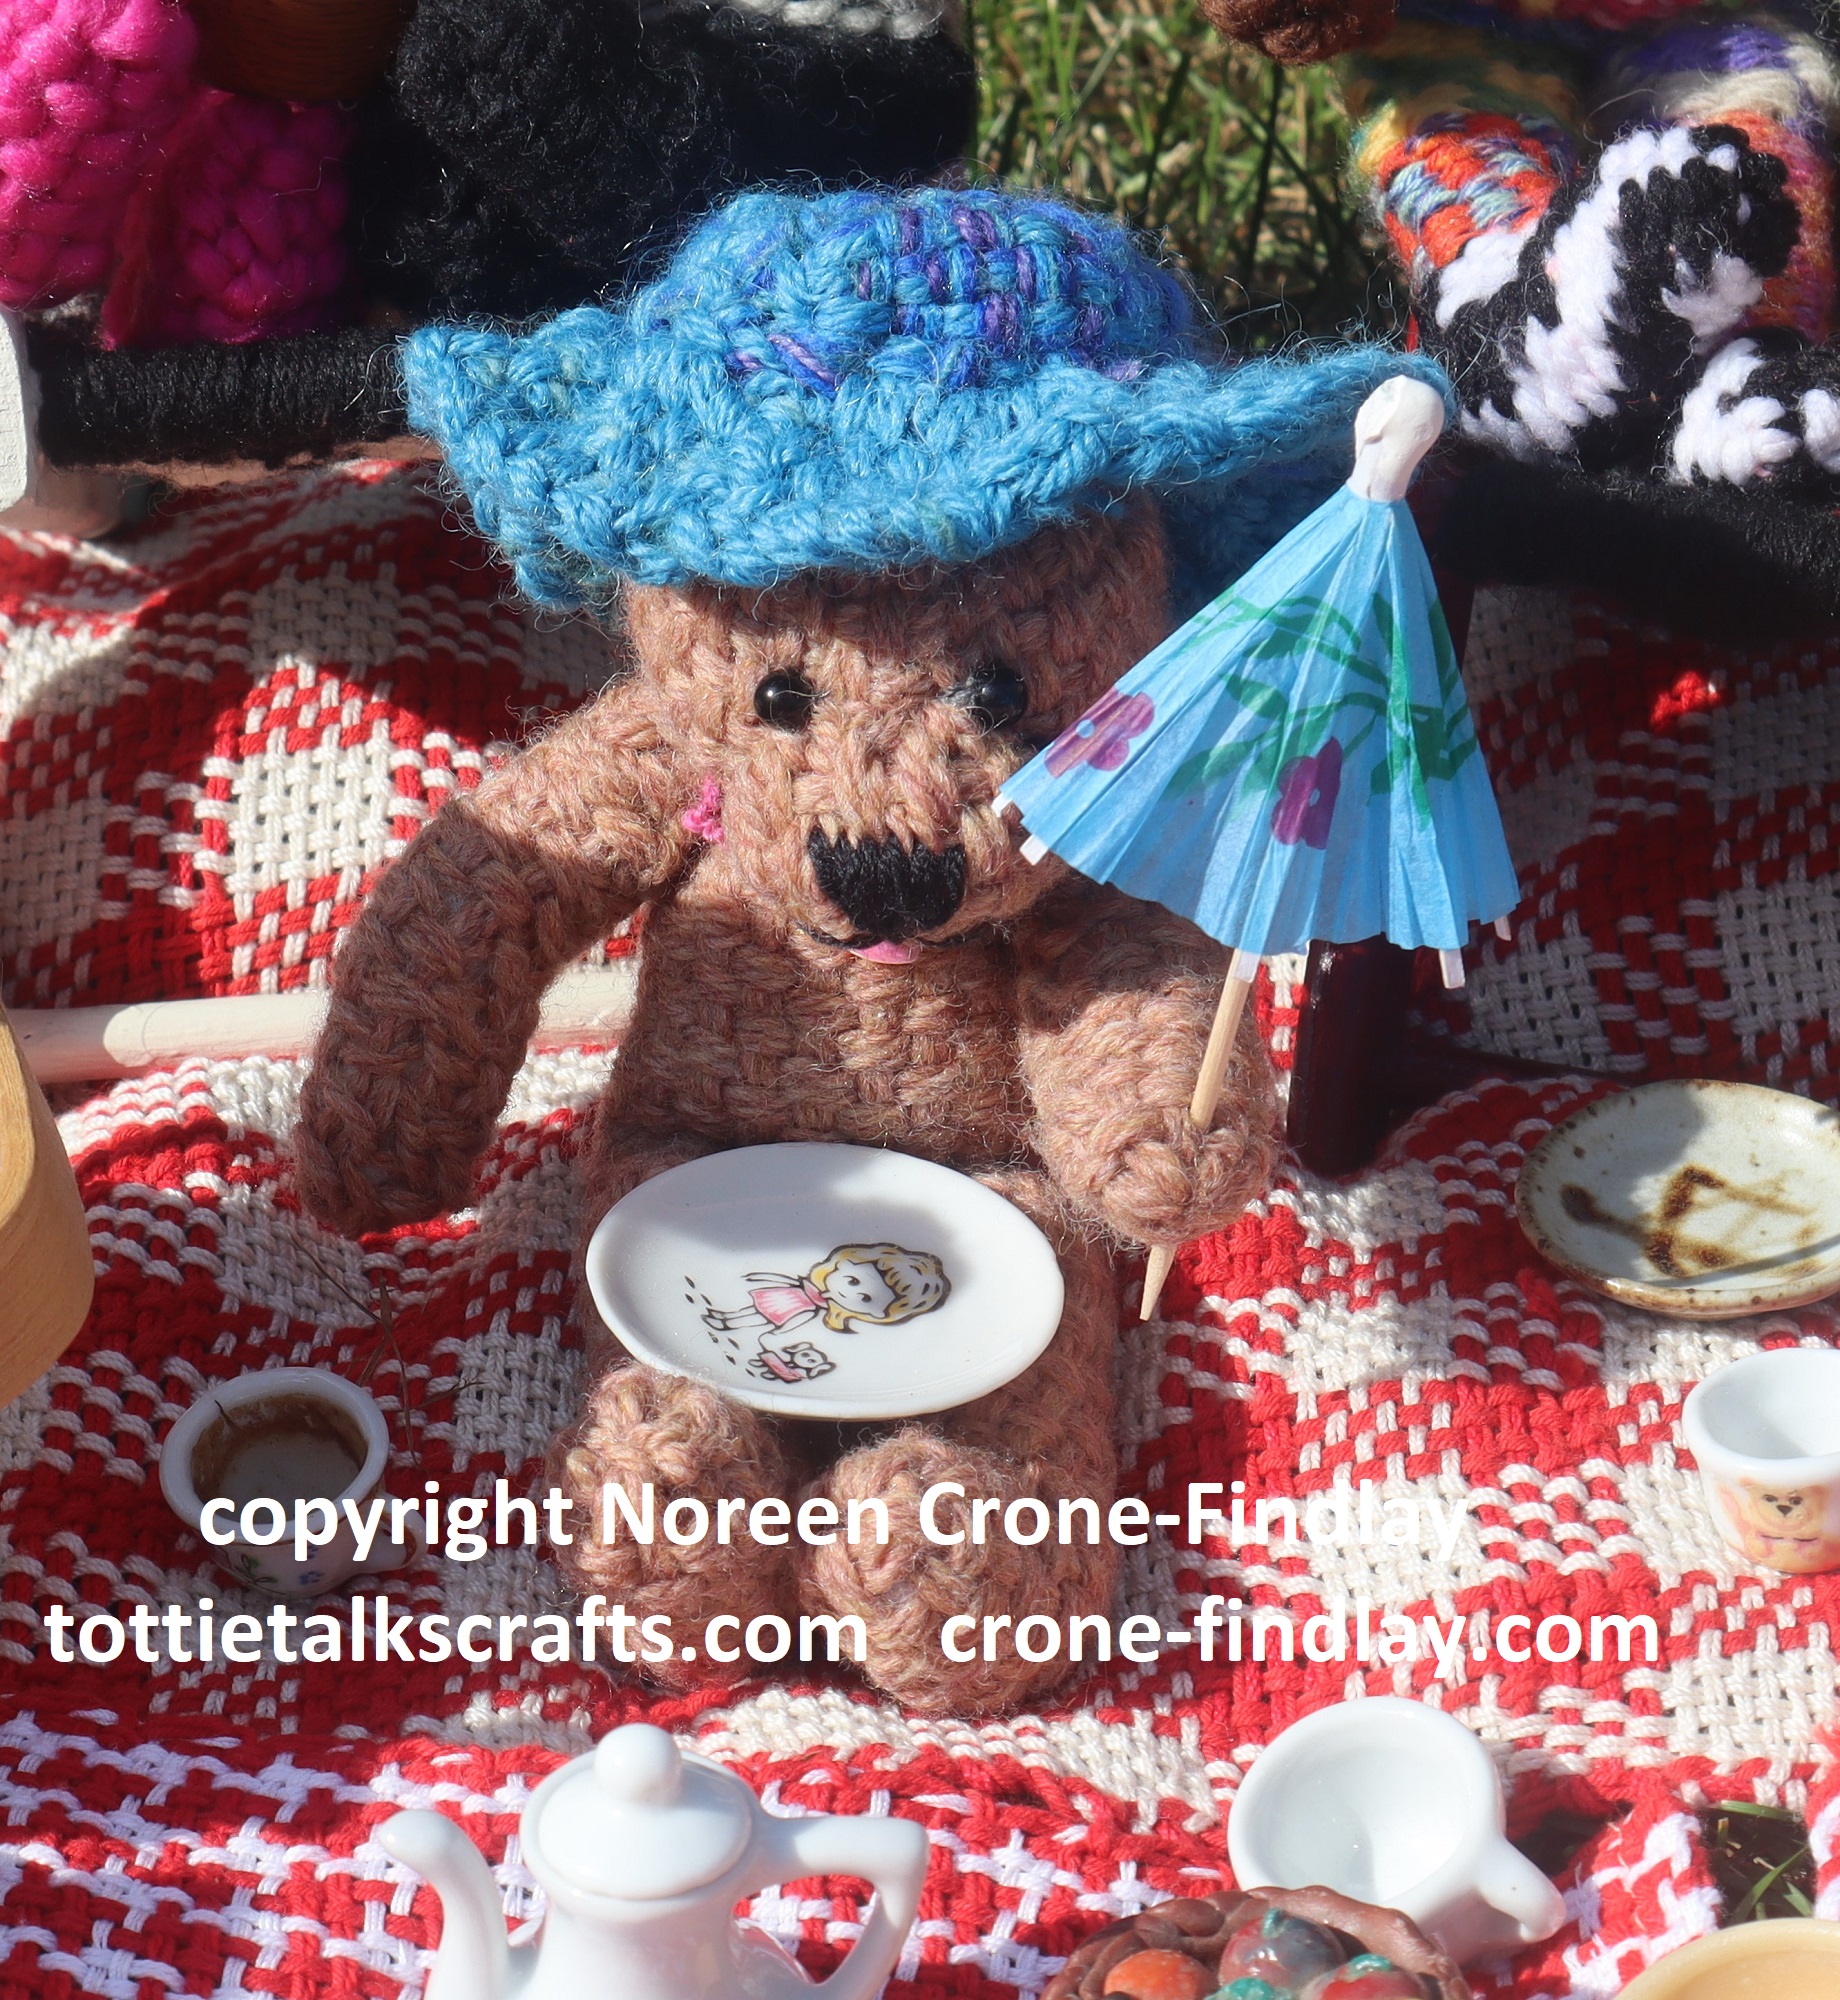
Only one of the bears had remembered to bring a parasol, but shared it when anyone need a little rest from the sun.
The pandas wondered if the grass might taste like bamboo, but the hot sun had dried it out so much that they decided to not sample it.
And two little bears leaned back in their folding chair and quietly dozed off right after this picture was taken.
The tiniest bears were so glad that someone had remembered to bring their travelling bed along and after some giggling and wiggling, they fell asleep, too….
While the Blue Bear of Happiness and Wee Brown Bear enjoyed the shade of their umbrella.
All in all, it was a fine afternoon on an incredibly hot and sunny summer day.
I designed and wove all the Teddy Bears for the Mirrix Summer Weaving Challenge 2022.
The Saffron Bears were all woven on the Mirrix Saffron Loom. LINK
The tiny Bears were woven on the Baby Duo looms from Hello! Looms. LINK
All the ‘how to’ links to the videos for the step by step process of weaving all the looms are listed on
L I N K (Note: They will be added one by one through the week of August 8 to 15, 2022 and will remain available once they have been released, so there is no time limit on getting the weaving done.)
Happy Weaving! And, may the teddy bears bring you delight!
When I started designing the Teddy Bears to weave on the Saffron loom from Mirrix for the
2022 Summer Weaving Challenge, I had NO IDEA that I would go down such an amazing Rabbit Hole
There are so many ways to weave the Saffron Teddy Bear.
Even though the same basic ‘recipe’ is used to weave all the bodies, using different weaving techniques and different weights of yarns makes each of the Saffron Bears totally unique.
Here are some video tutorials showing how to weave the variations of the Saffron Bear’s Body:
The Basic Body:
The Black Panda Body:
The Pink Panda Body (How to Weave the Body with Super Bulky Yarns):
The Striped Body (Tapestry/Weft Face Technique):
Some Notes about Tapestry Weave for the Body:
See the Teddy Bear’s Picnic to see all the Bears having a wonderful day:
I have been weaving up a delightful basket of bears for the week of Aug 8- 14, 2022.
That’s the week that I will be leading the Summer Weaving Challenge that is hosted by Mirrix looms.
The Teddy Bears will be revealed in their full adorableness and by then, I will have finished editing the heap of ‘how to’ videos that I have been obsessively filming about the making of the teddy bears.
The Teddy Bears will be having a wonderful picnic, and I will show how each of them (and those that are still in the works) are in fact, samplers of techniques in my book: Innovative Weaving on the Frame Loom.
I’ll be posting links for the videos for the Saffron Teddy Bears here LINK on my blog beginning Aug 2, 2022.
If you don’t have my book, you can order it from Mirrix, and yup, you’ll want a Saffron loom, too (it’s one of my most favorite looms ever- so adaptable!).
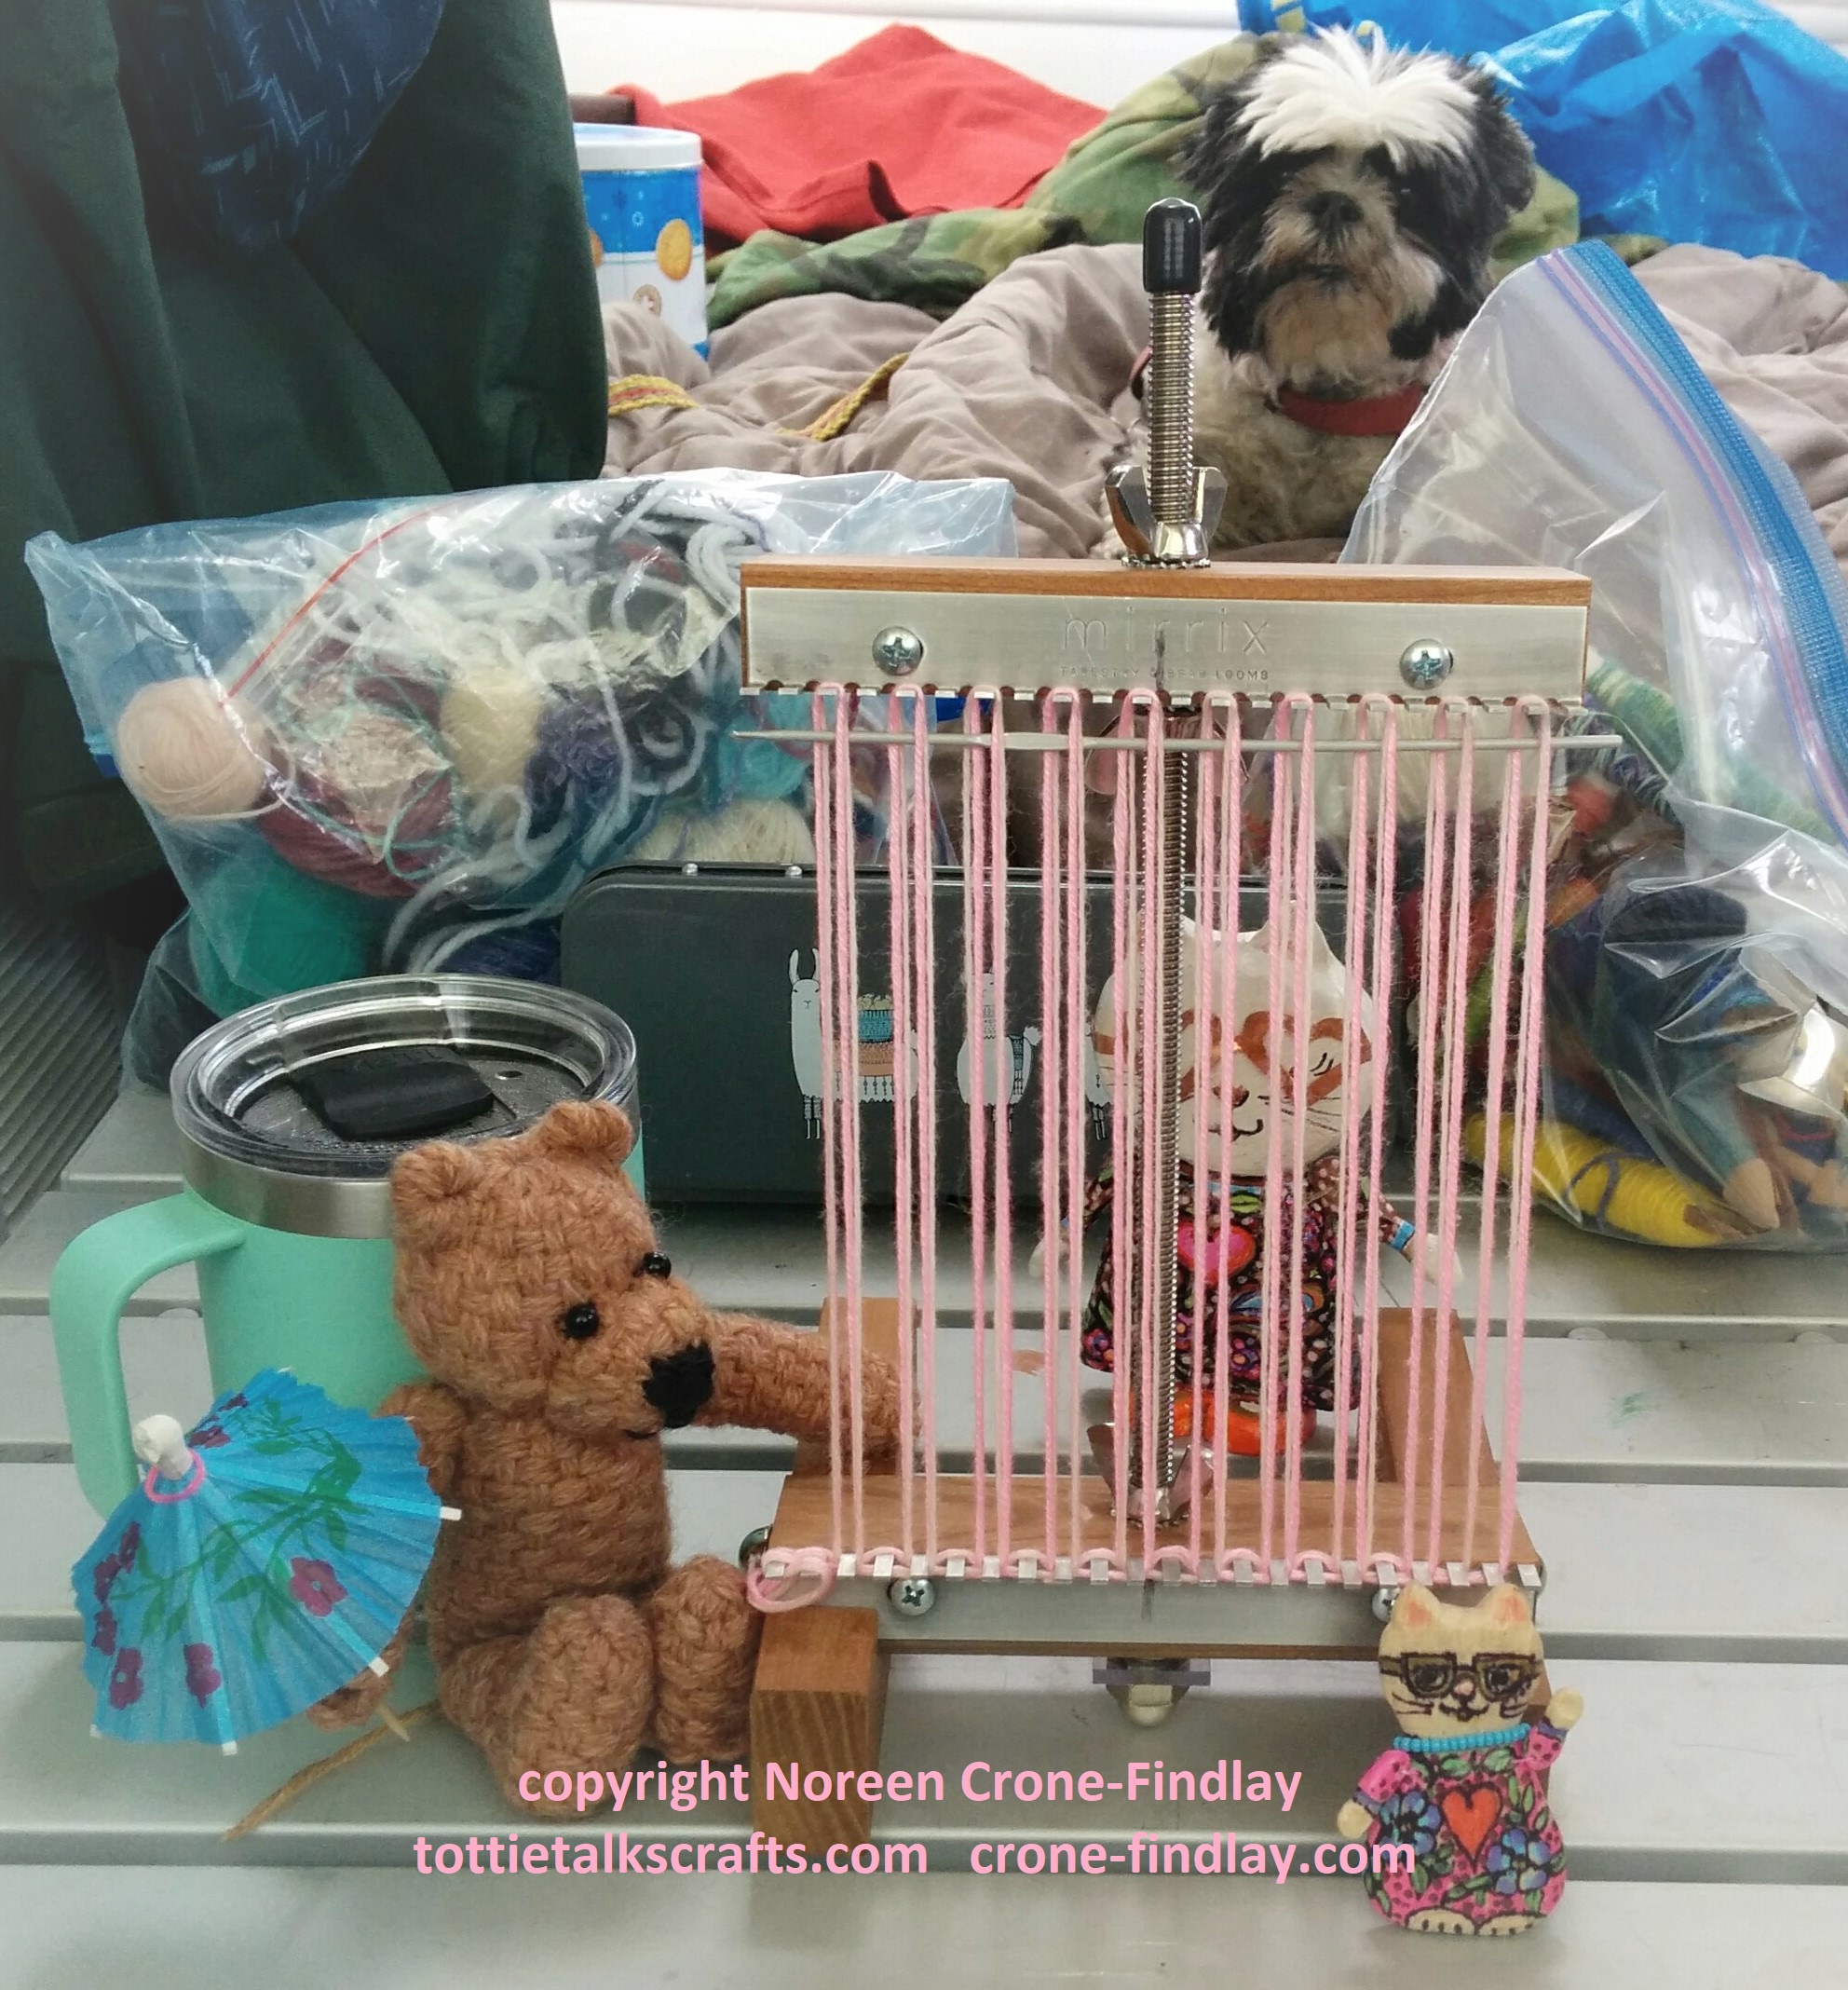
A couple of weeks ago, we went camping and my much loved little Mirrix Saffron loom came with us.
I was weaving away while we were camping (and I still am, but I have advanced to the video filming and editing stage) for the week that I will be leading the Summer Weaving Challenge (August 8 to 15, 2022).
Here’s the link to join in the fun (and you can buy my book: Innovative Weaving on the Frame Loom on the Mirrix website, too on the Starter Kit page 😊 or at any of the online book selling websites.
Normally, we wrap all our presents in bags that I have made over the years. We never buy paper for gift wrapping.
But, this year, my husband and I made some gifts that needed special packaging.
So I set my mind to working on how to do this in an eco friendly way.
(I’ll show the special gifts in my next blog post)
Several years ago, Jim bought a roll of cardboard to build a case for his Oud (Turkish Lute).
It came as a roll that is 12 inches wide by ever so long, and it’s been kind of in the way ever since, but I didn’t want to get rid of it because I have a huge fondness for cardboard.
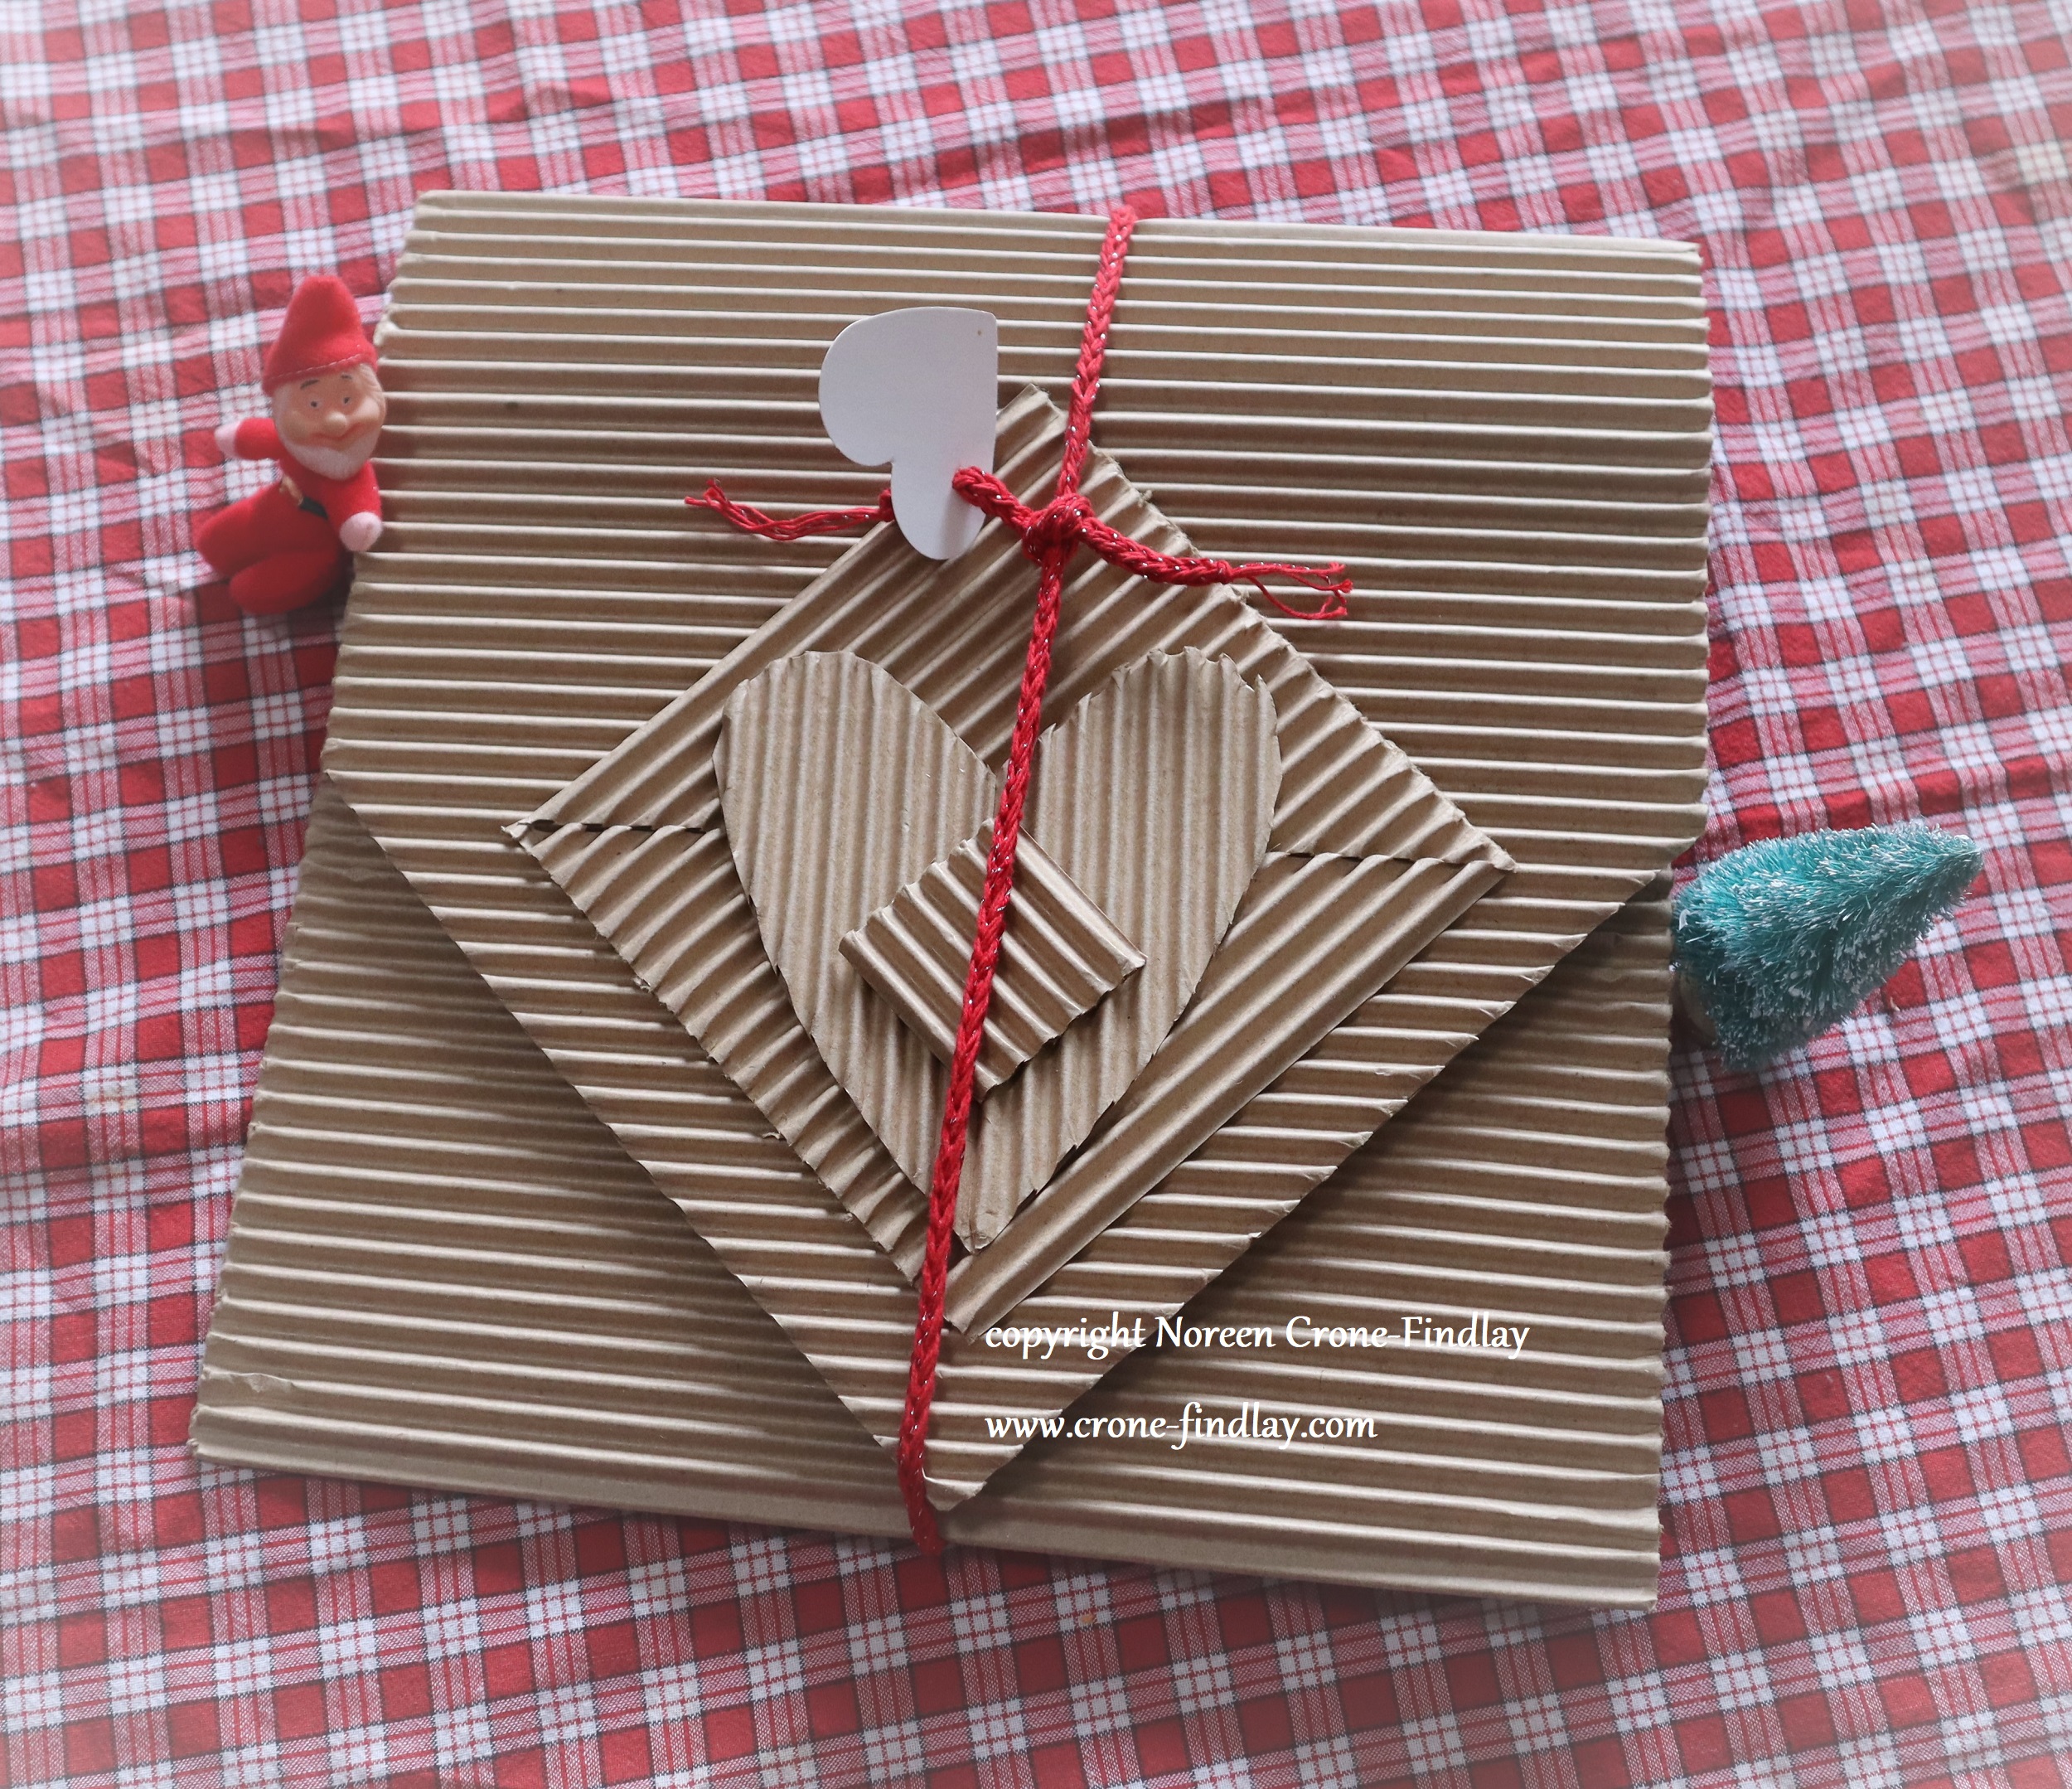
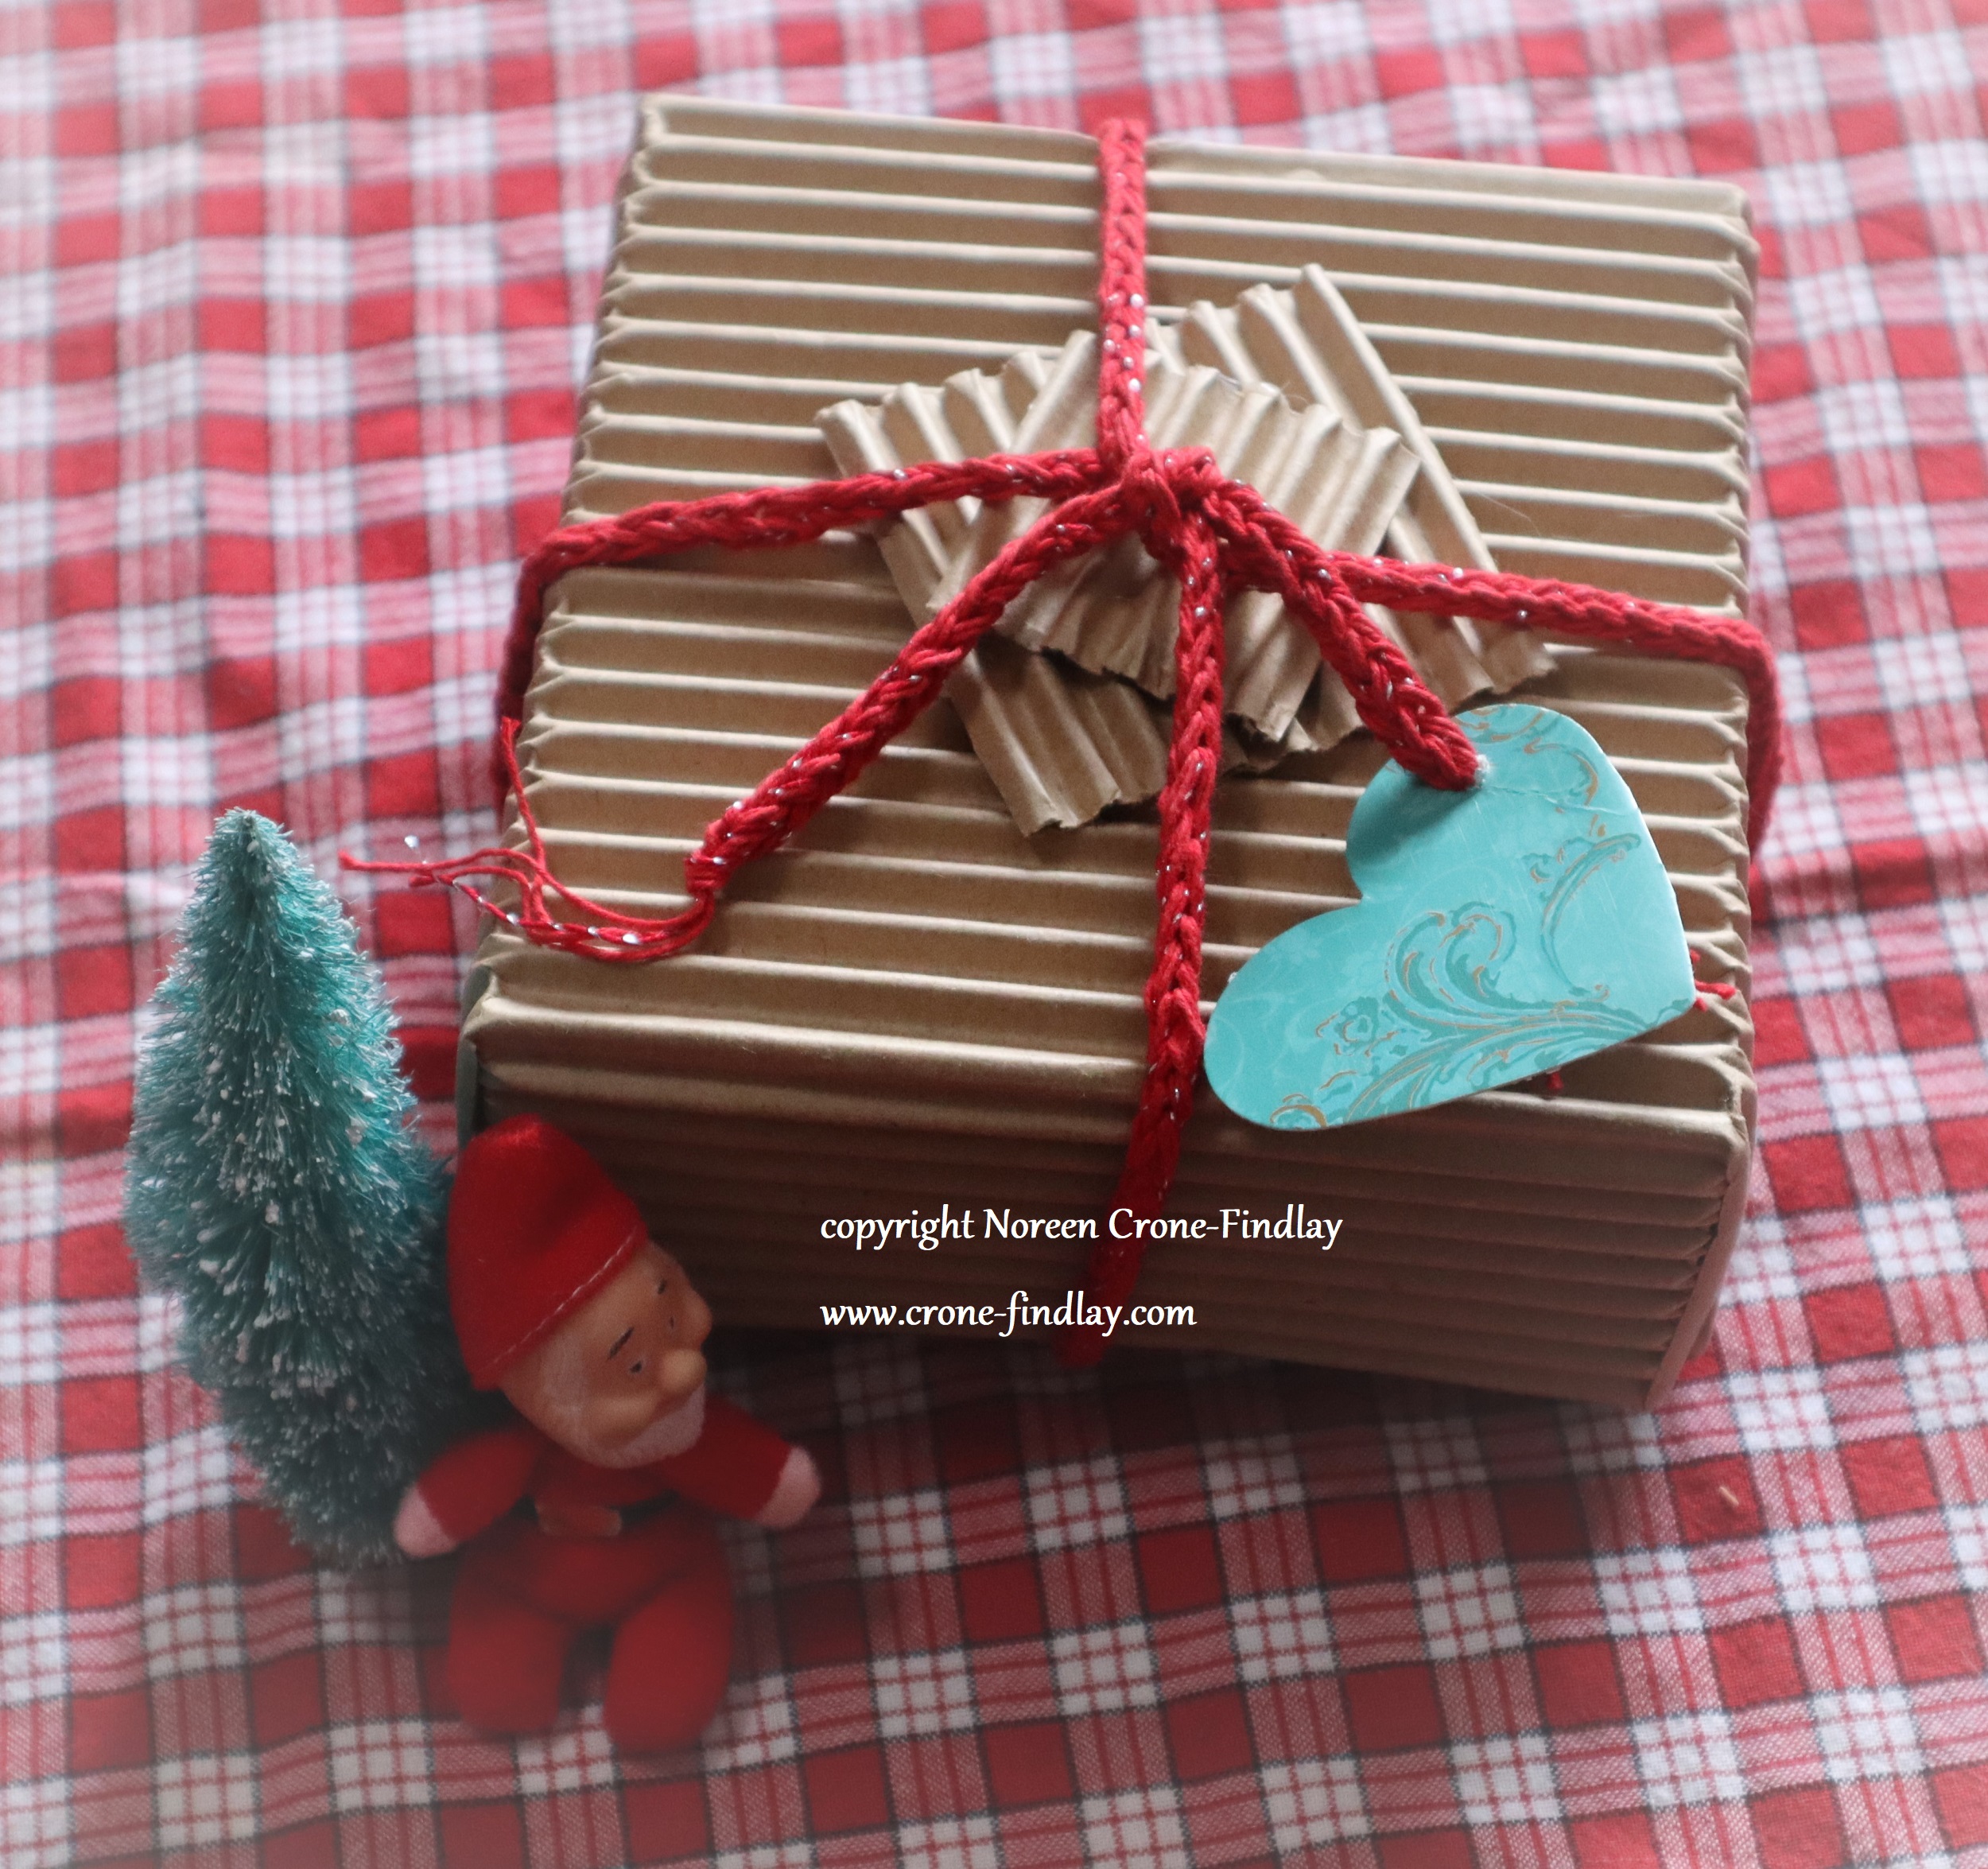
Jim wrapped the first gift in a protective swath of the cardboard, but that seemed rather ‘less than’ to me, so I mulled it over and came up with the folder idea.
I LOVE it.
It’s super simple:
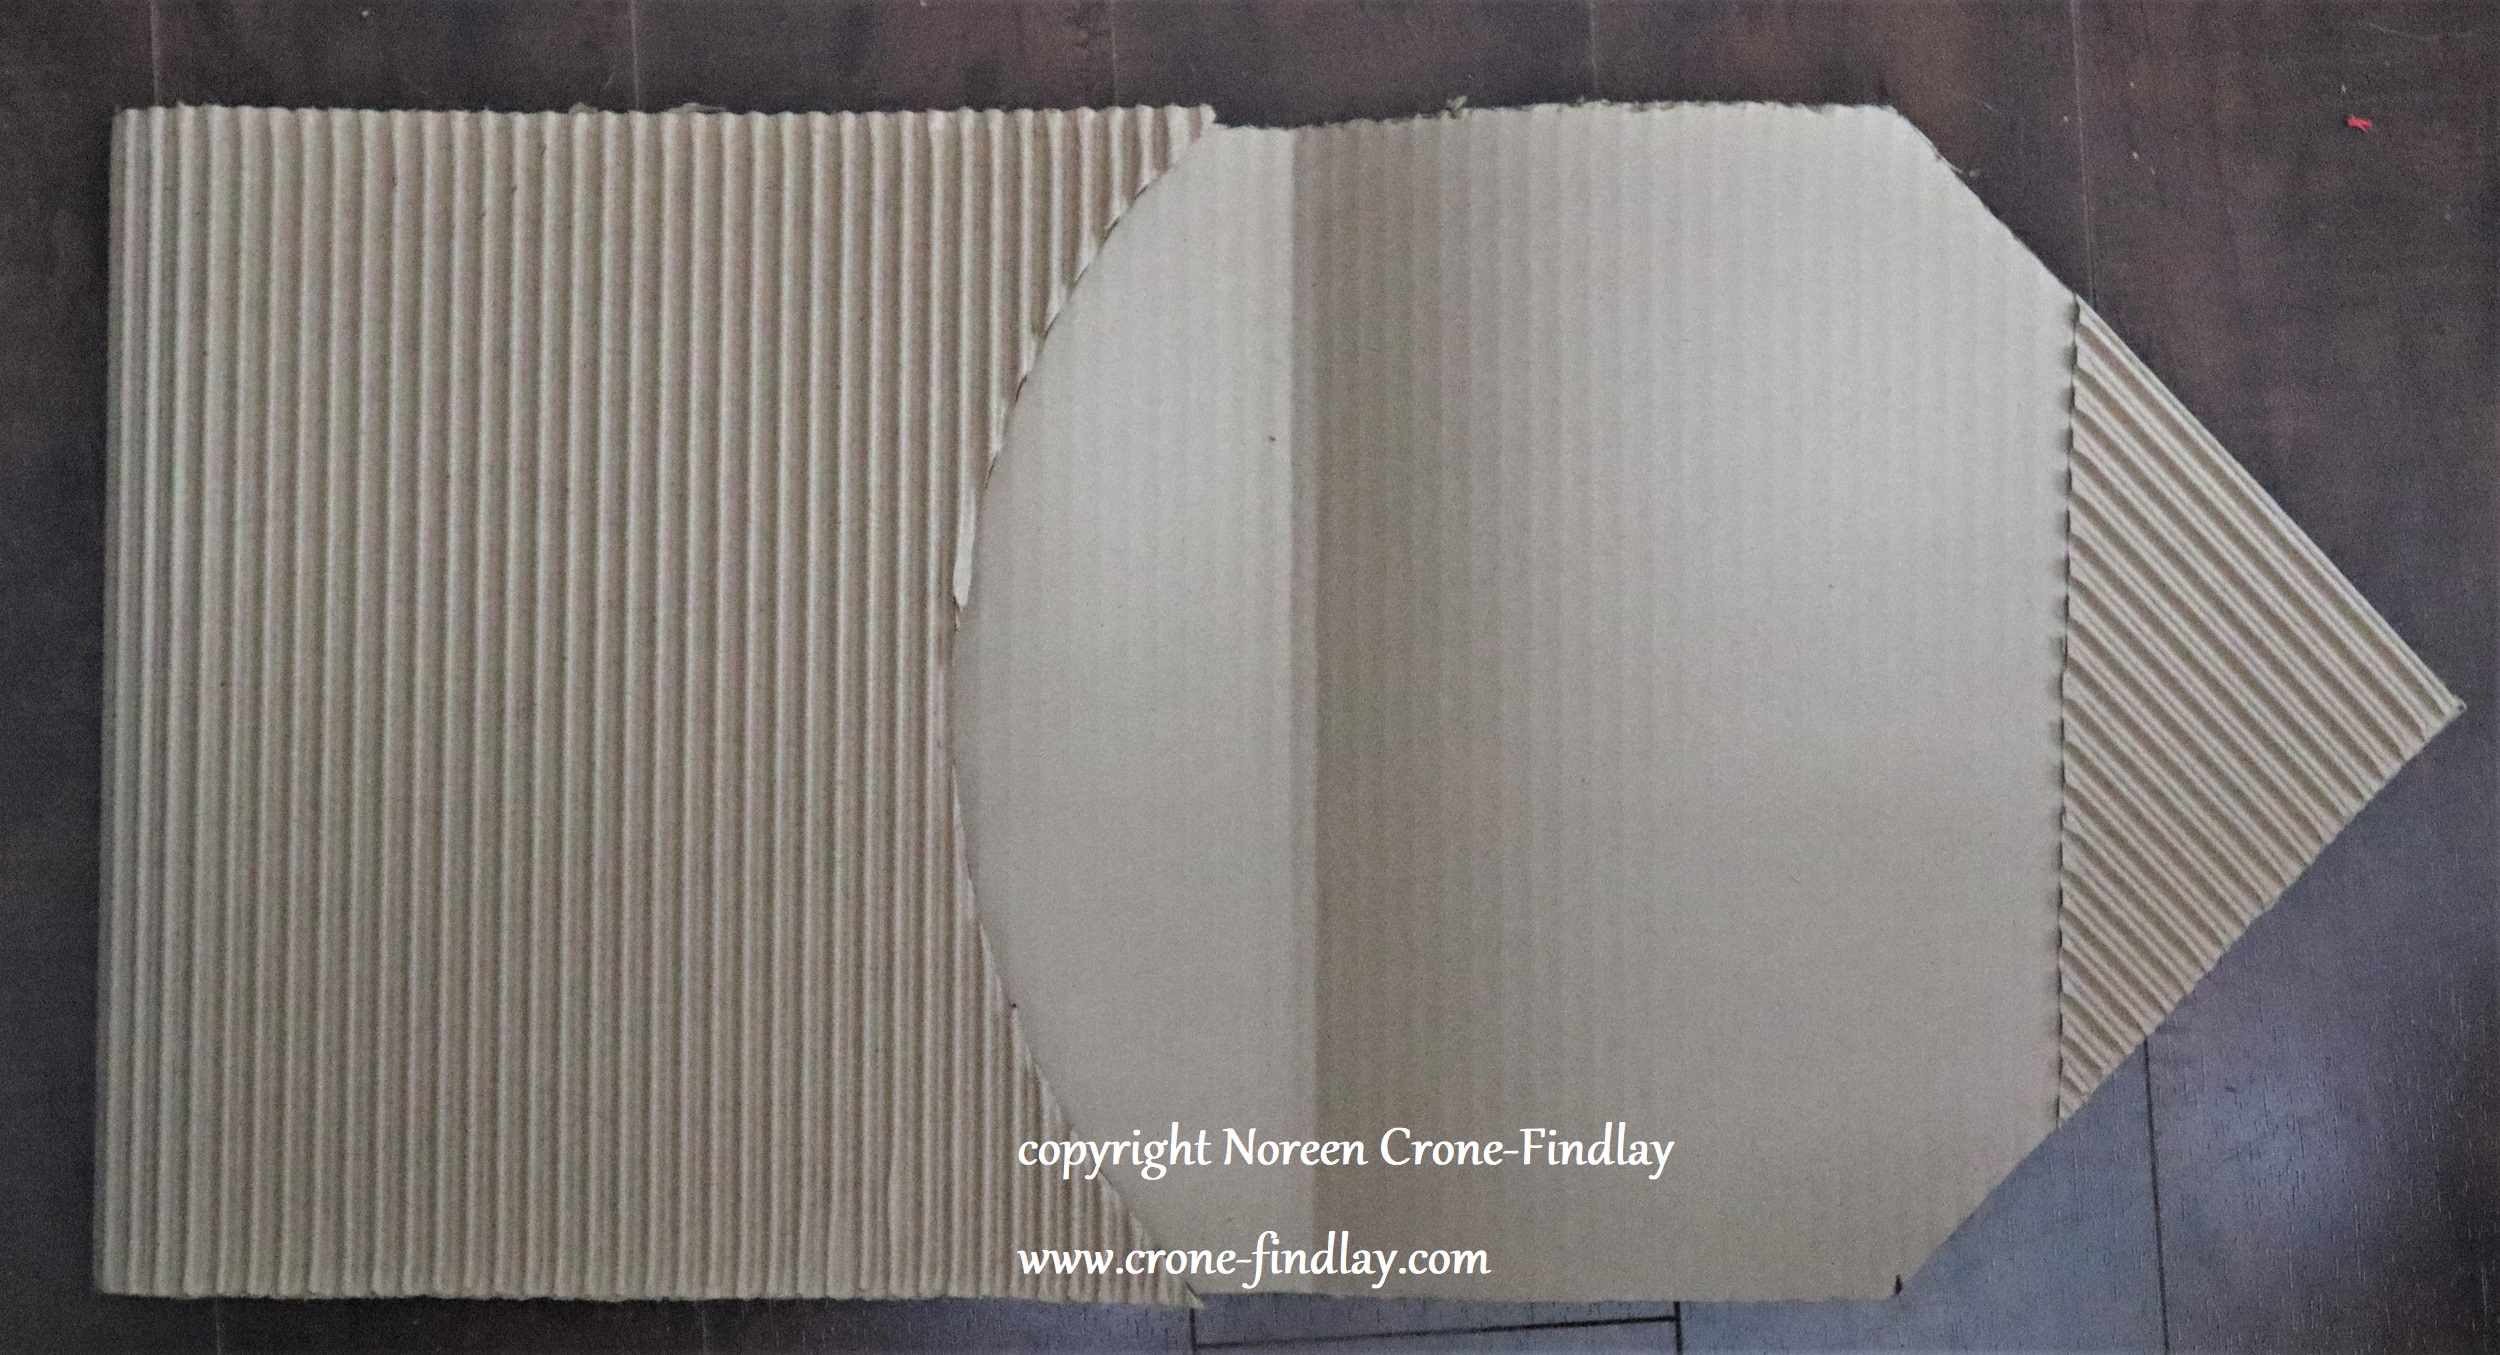
I cut a 36 inch long piece of the cardboard and cut triangles off one end to make the point.
Then glued one triangle to the inside of the point to stabilize it.
I traced a tray to make the curve and then glued the edges.
Next time I will add strips of cardboard along the sides to give more dimension to the folder.
I used the off cuts to decorate the front.
The cord is made from crochet cotton that was given to me last summer (see Tea Towels) and a Lucet (LINK) and I am pleased as can be.
Another cluster of gifts needed special packaging, so I tried to fold origami boxes with the cardboard.
FAIL.
Instead, I came up with trial and erroring in making fitted boxes that were a time consuming pain in the neck to make. I tried using this technique, which works great with ‘normal’ card stock and paper: LINK
I won’t bother doing this again- not with this cardboard.
(Note- even though these were the pits to make, they were still made with love and some mild cussing).
BUT, by now, I was seriously on a roll with this whole box/package designing thing and remembered those nifty containers that are tubes that have semi-circular ends that push in to close them.
Of course, I probably could have looked up a tutorial online and found the simple way to do this, but, oh no, that’s not the way my brain works.
My brain likes ~to figure things out~…..
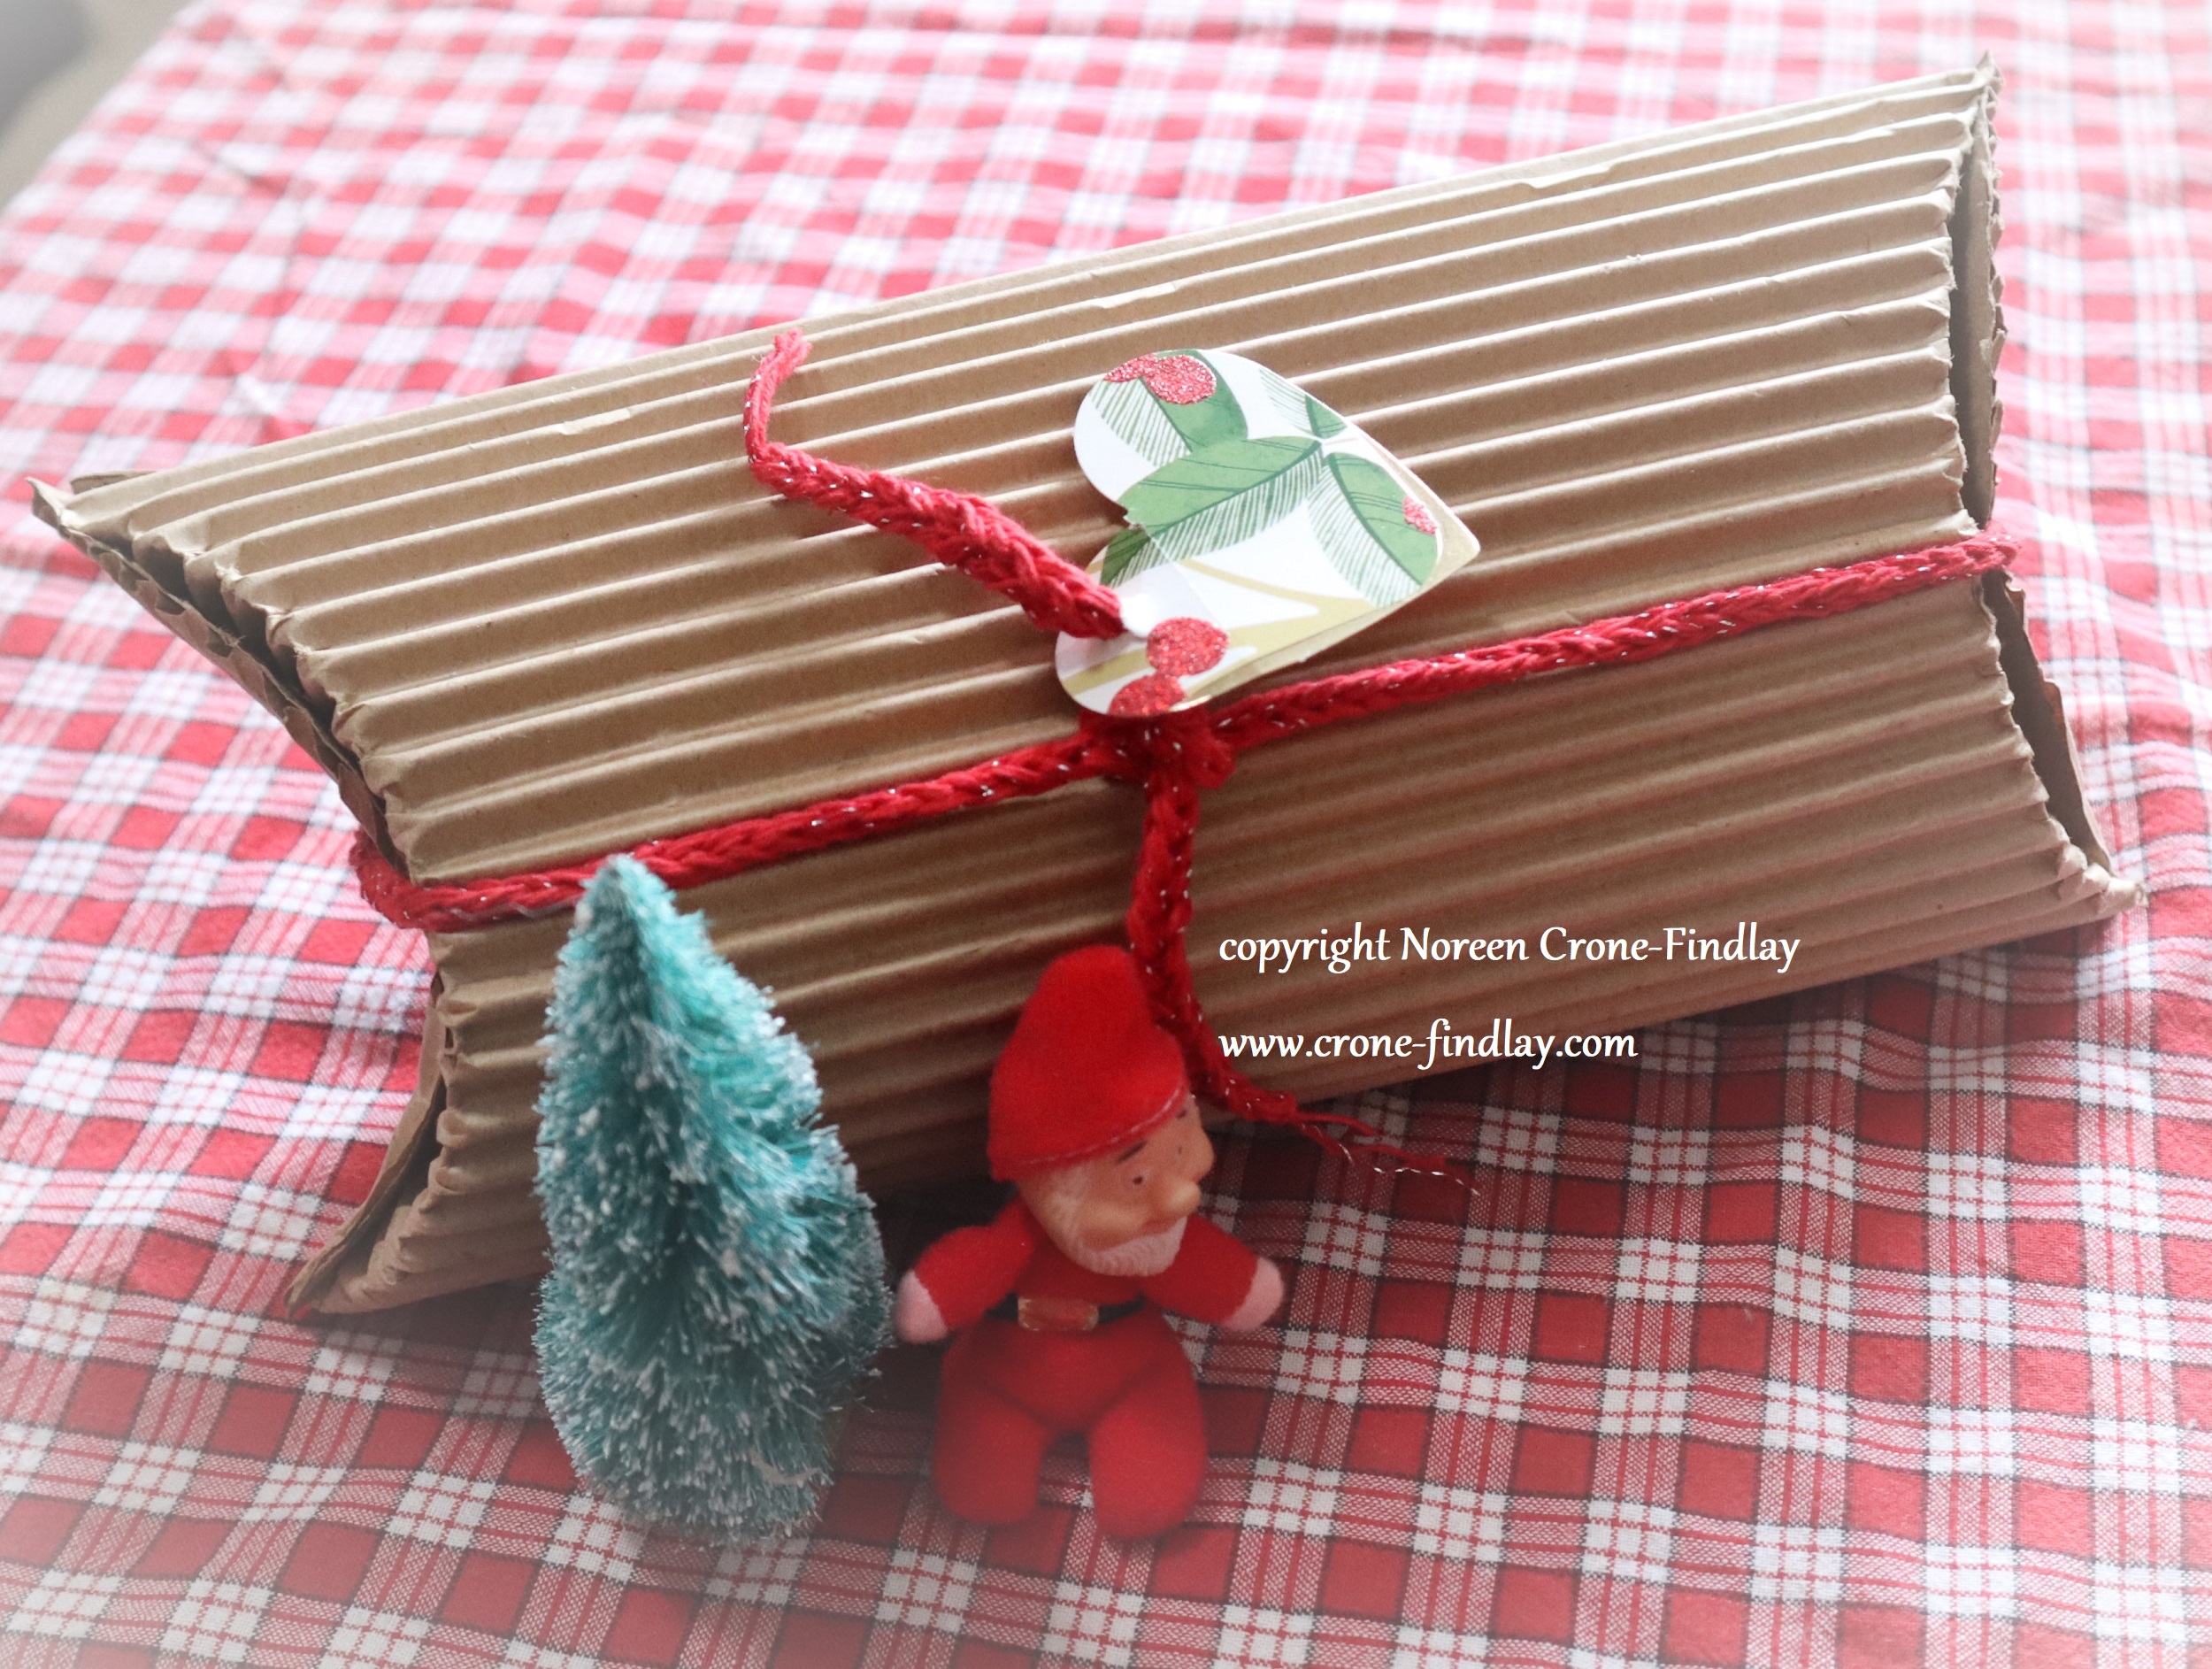
So I pushed cardboard around and flipped and folded it and measured and hummed and finally came up with this ‘Slightly Tube-ish’ container:
I had made several of the ‘Slightly Tube-ish’ ‘ containers when I twigged to the fact that they had a big old mistake, which I then fixed.
I made proper templates for the ‘right’ ‘Slightly Tube-ish’ containers , since I really like these and plan on using the concept again.
But, I wasn’t going to waste the ‘wrong’ ones, so I used them anyhow, with an apology to the recipients of the gifts and an explanation that I have got it right now, and they’ll get a better iteration next time.
Until then, the wrong ‘Slightly Tube-ish’ containers can be re-used and eventually be recycled or used as fire starters.
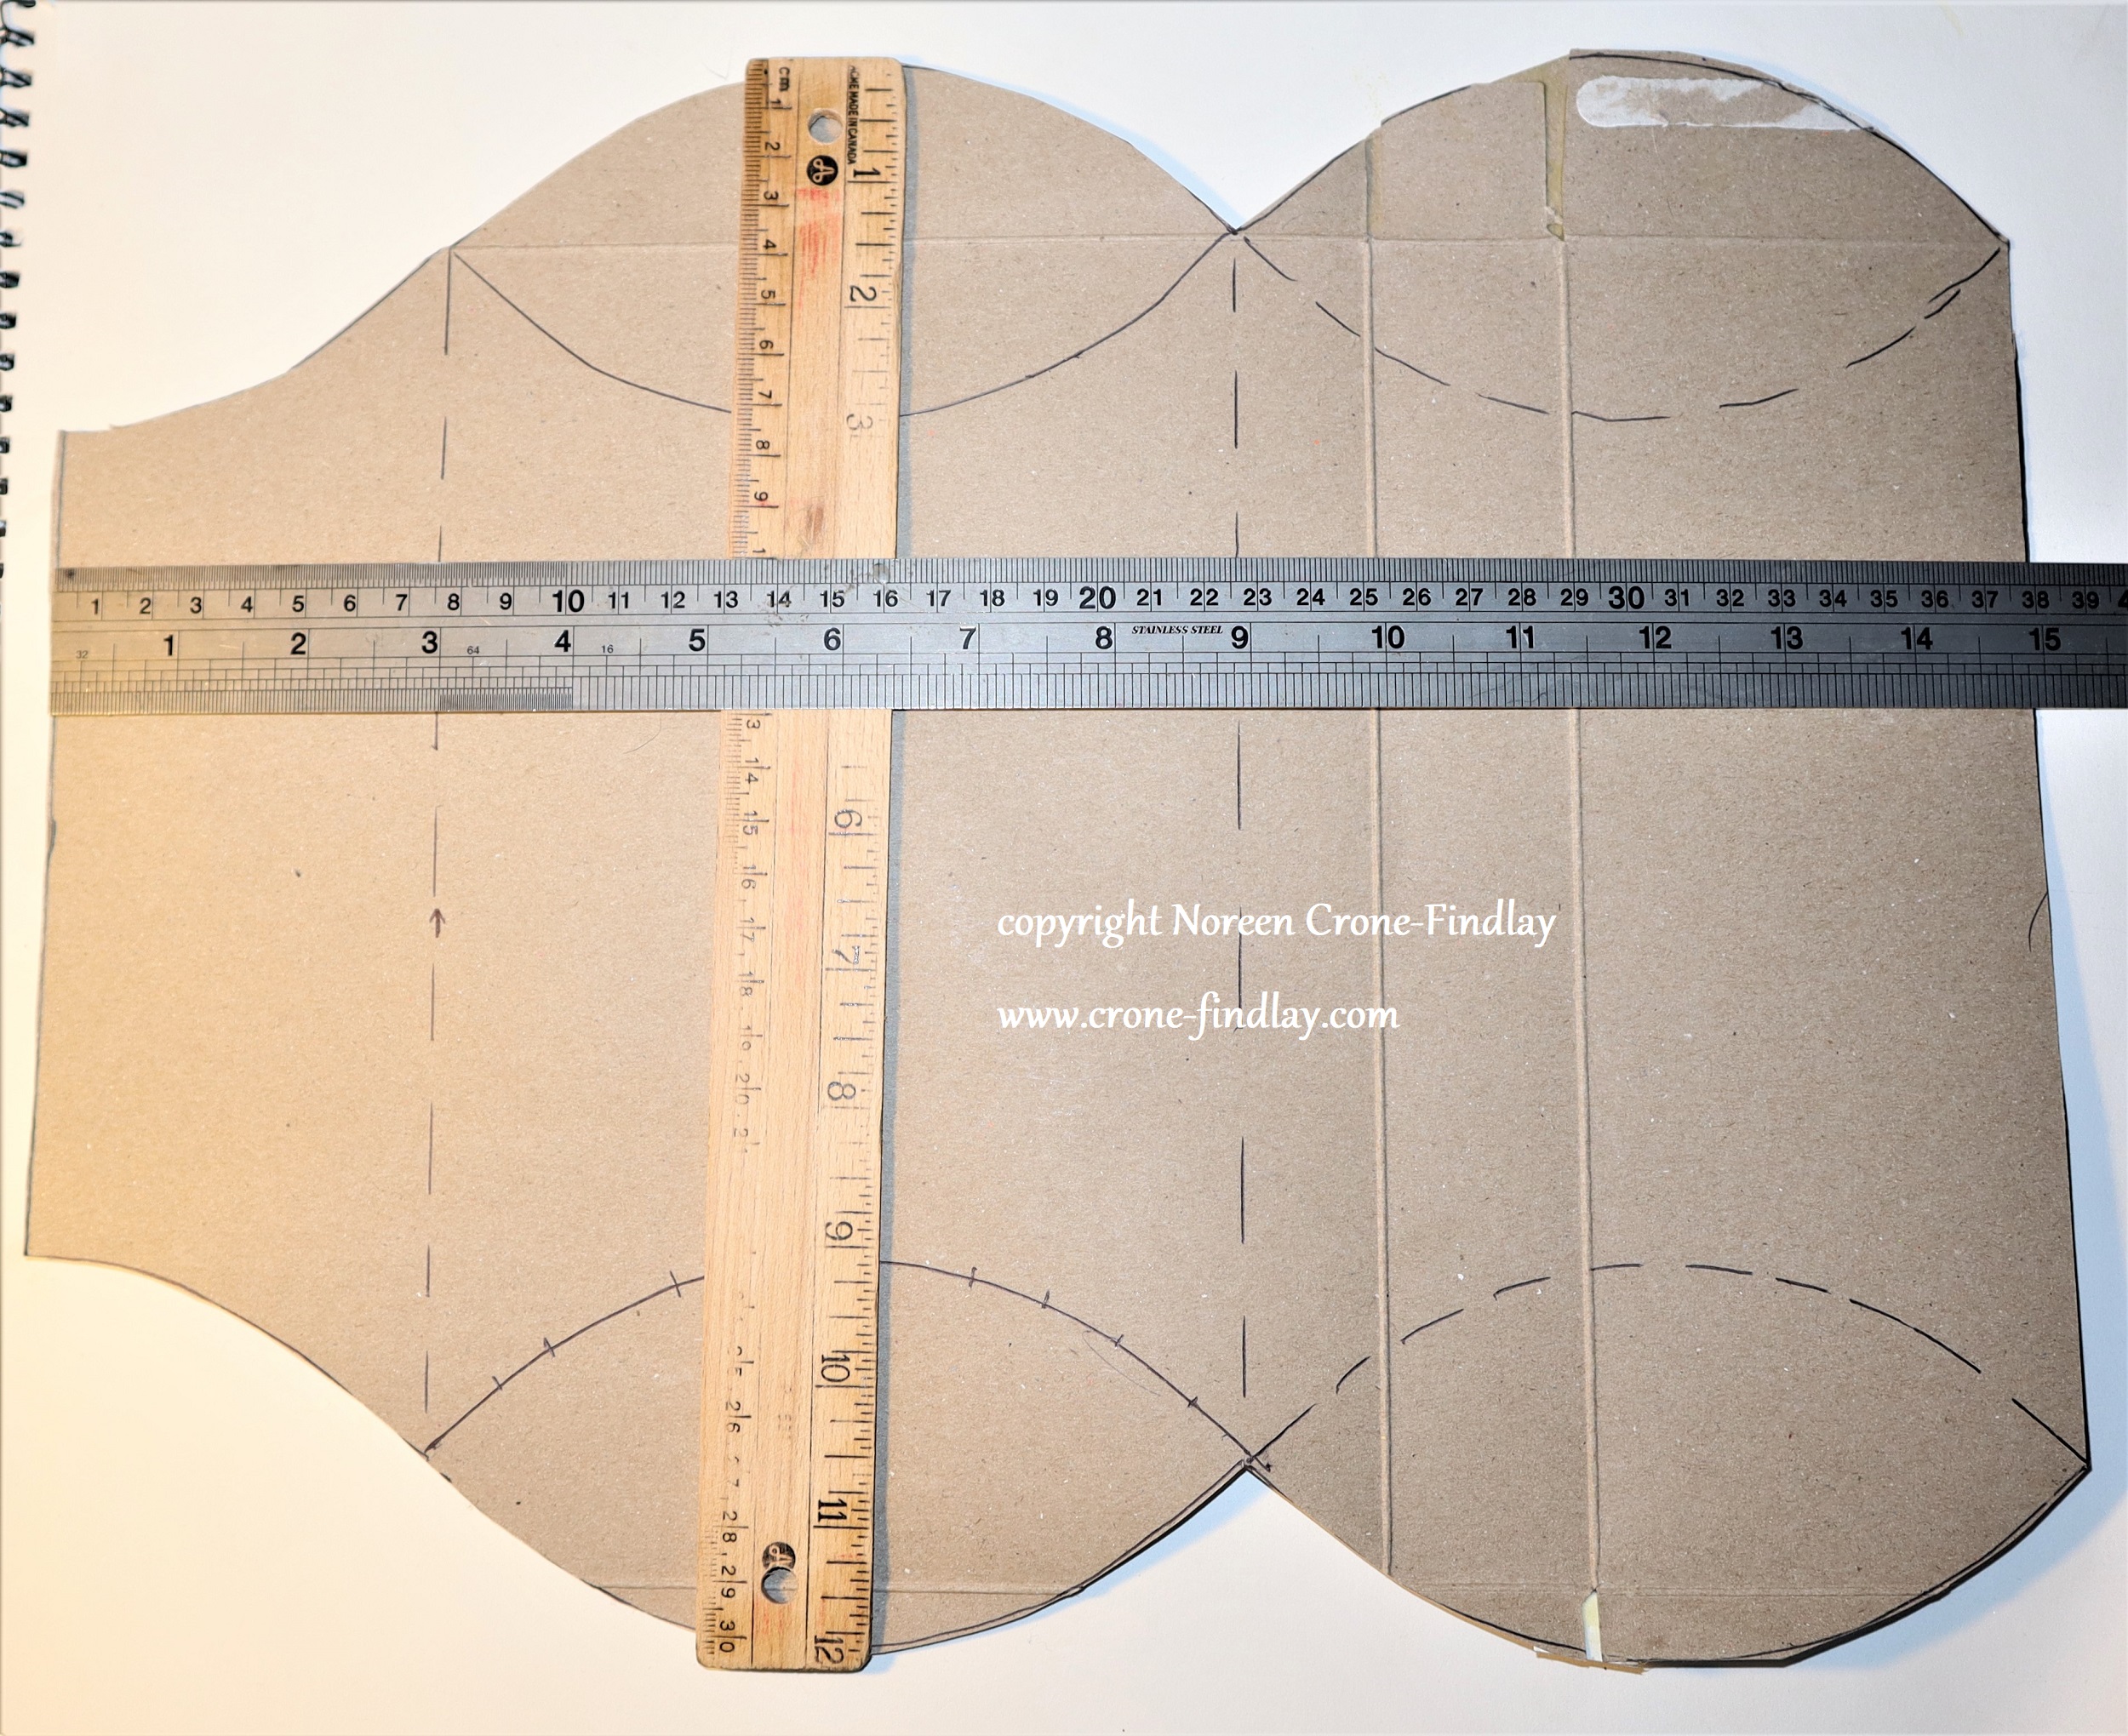
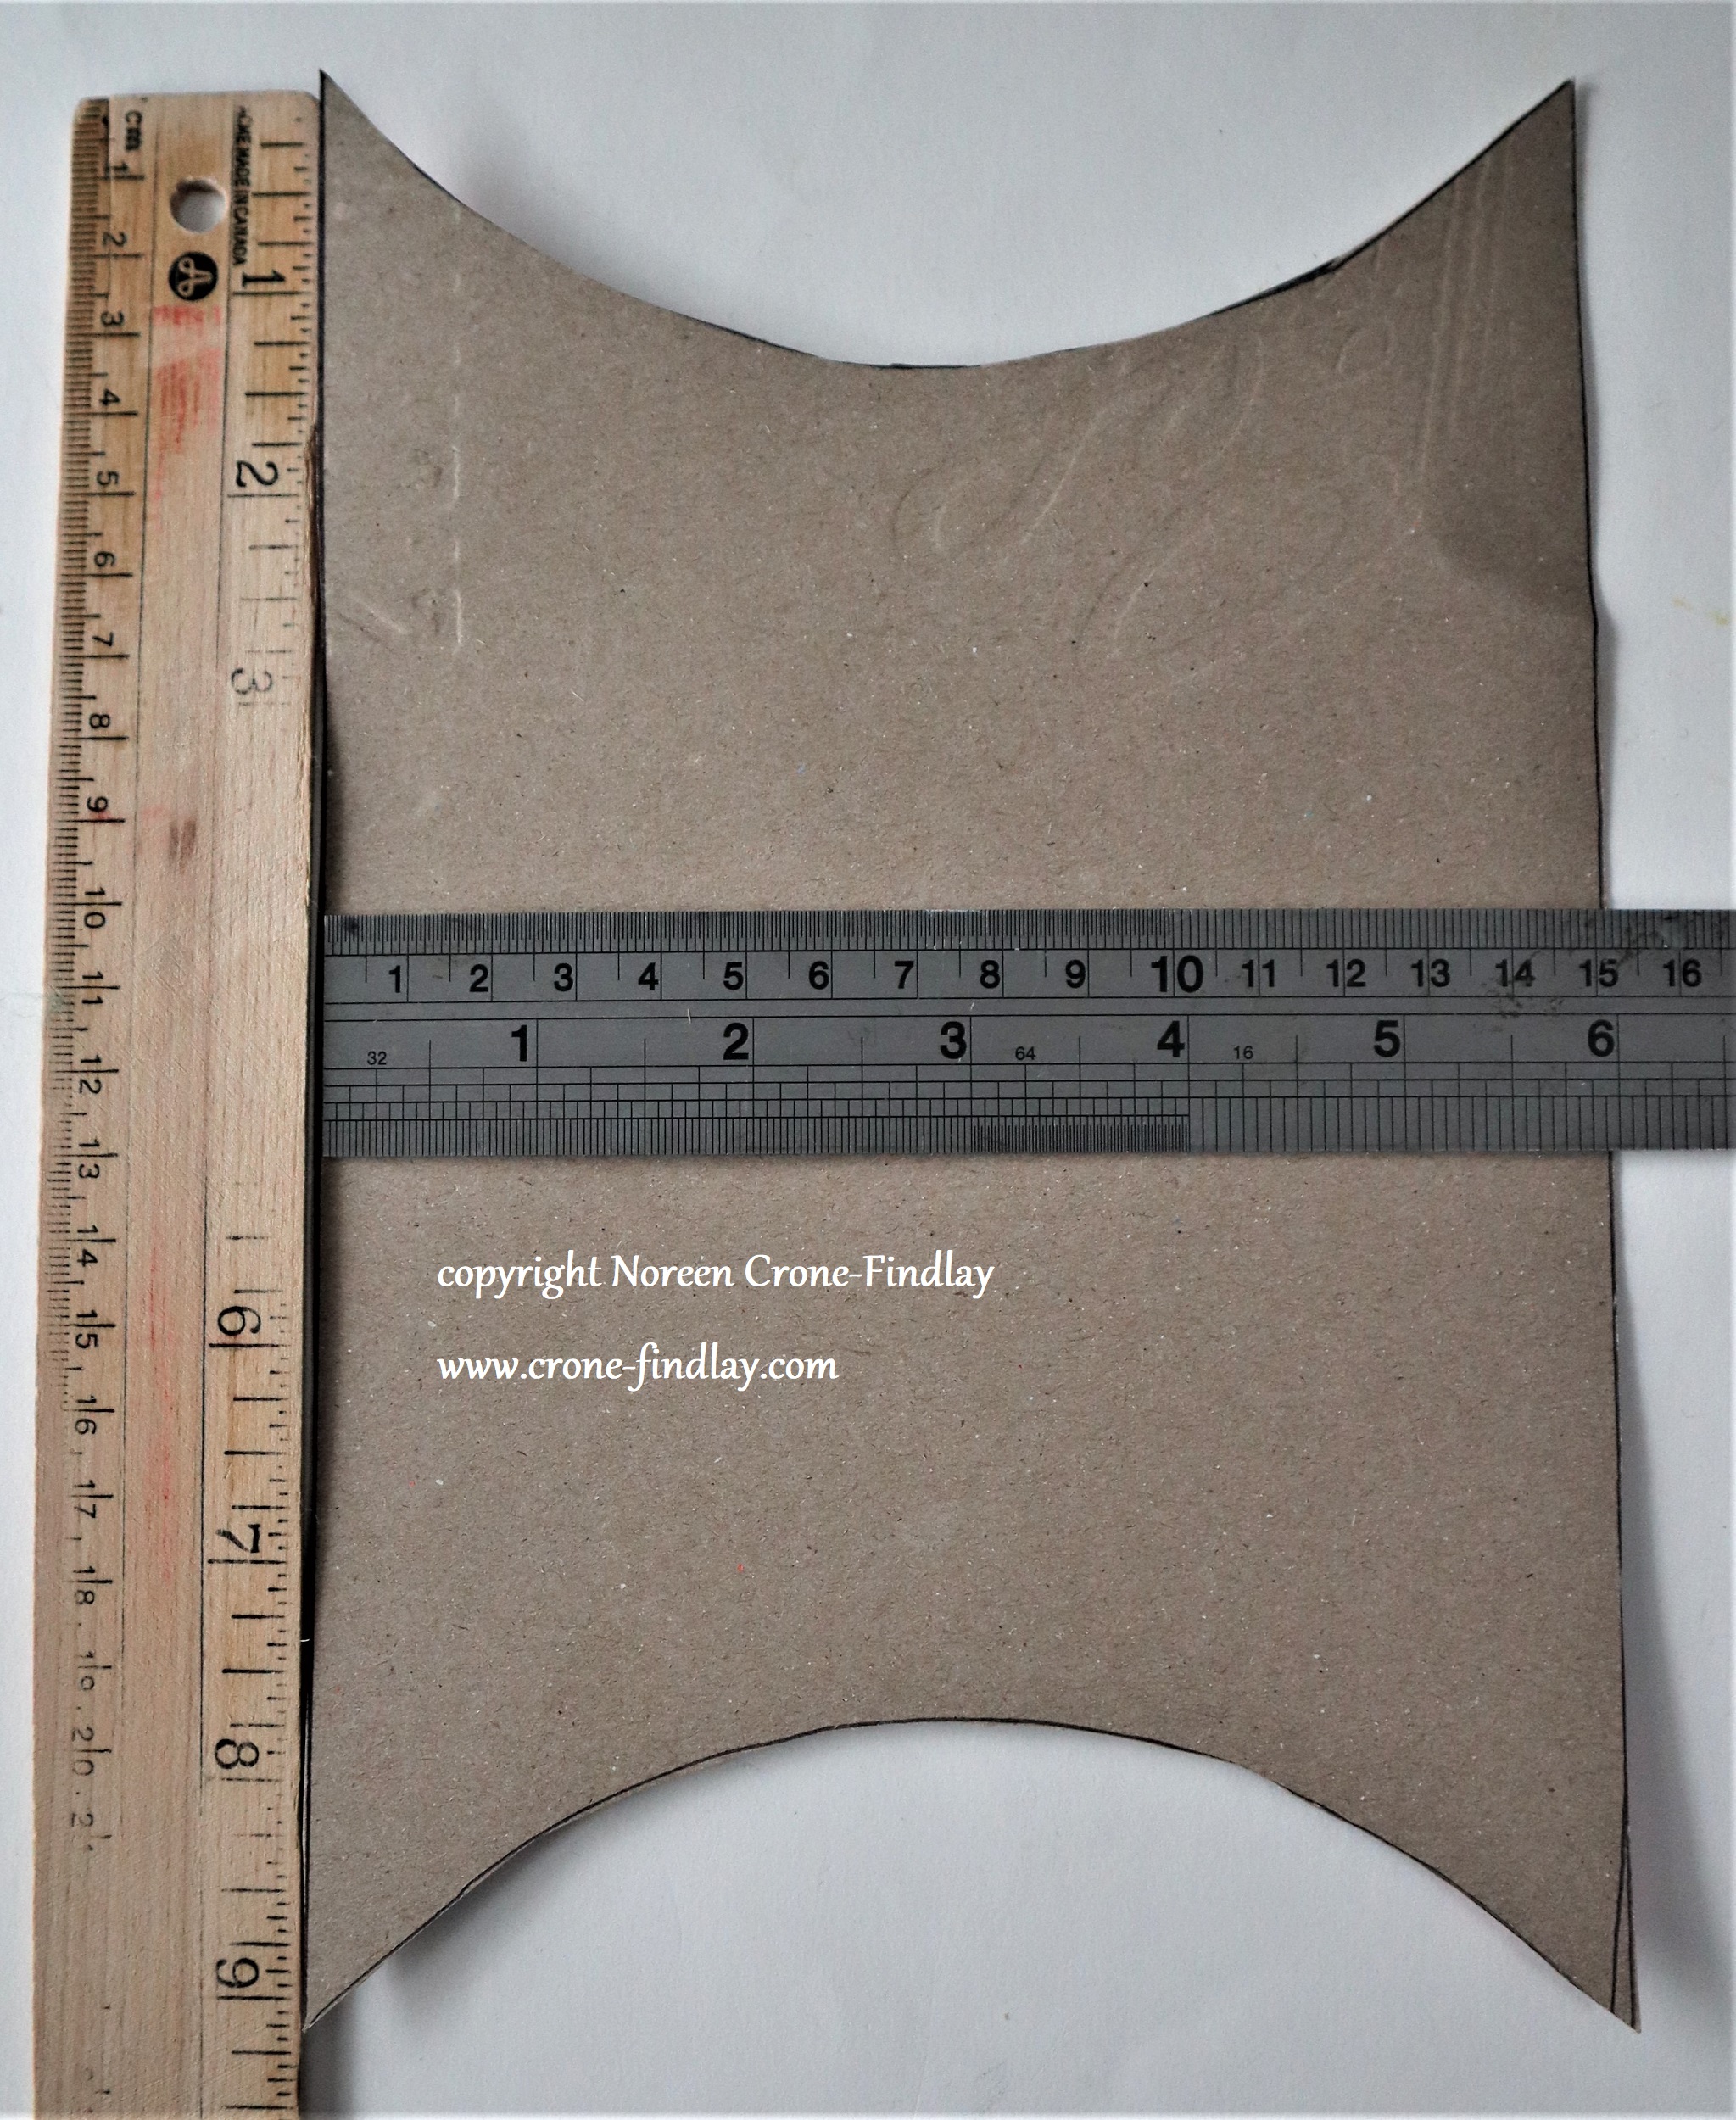
Here are the proper templates:
This one is for cutting out the ‘Slightly Tube-ish’ containerAnd, this one is for scoring the curves on the ends.
All in all, it was a lot of work, but I loved doing it and I hope that my family liked the nifty boxes and folders.
Even though I used cardboard that we had bought years ago for another project, these techniques will work really well on regular upcycled cardboard and cardstock, which pleases me very much!
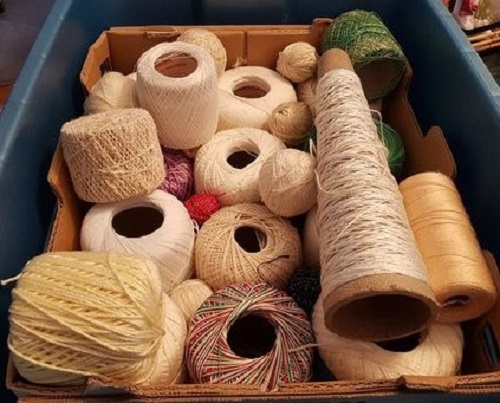
Last summer, loved relatives gave me 2 boxes of crochet cotton that they had adopted from the ReUse Centre in their town.
This is the smaller of the 2 boxes.
I immediately used some of the cotton to tat butterflies, and thought about what to use the generous and unexpected treasure that remained.
I decided to weave Tea Towels for my family – I wanted the cotton to become something useful, rather than just languishing as ‘stash’.
I had no idea, when I began, just how much I would love weaving the Tea Towels!
It was so meditative and contemplative- and watching the play of shadow and light on the various shades of cream and white cotton was deeply pleasing.
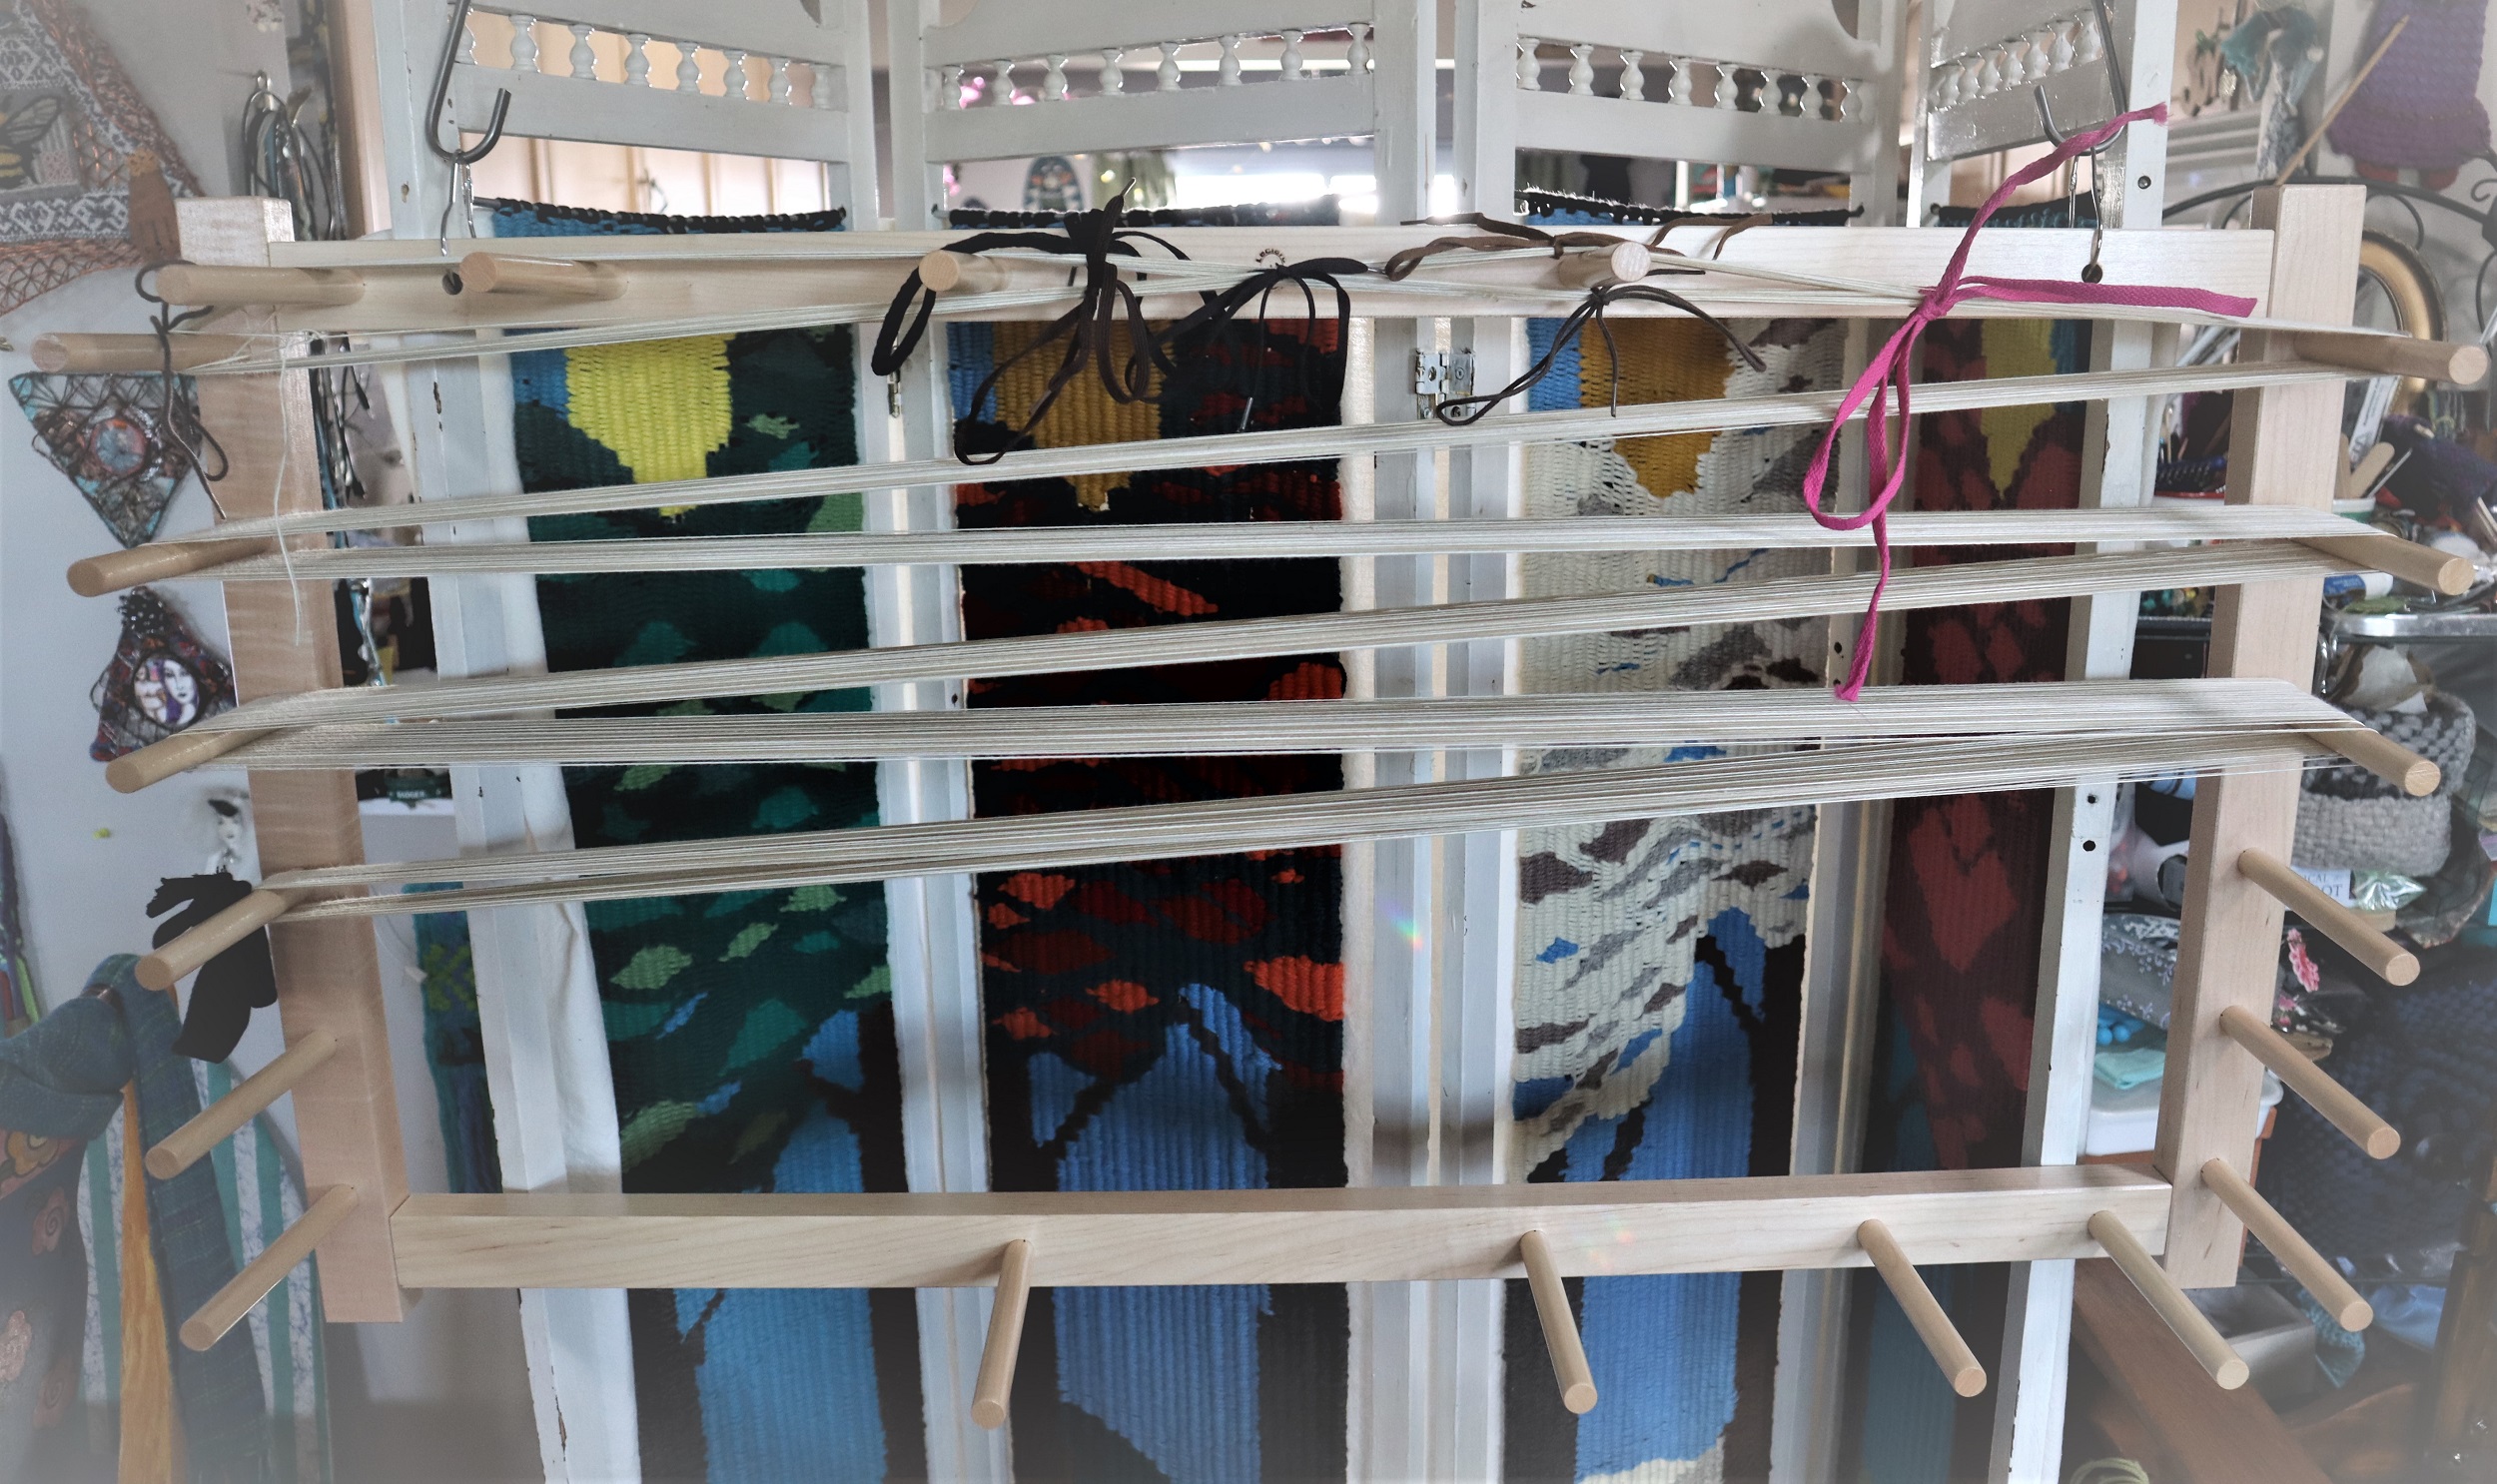
To begin the journey, I warped up several warp chains.
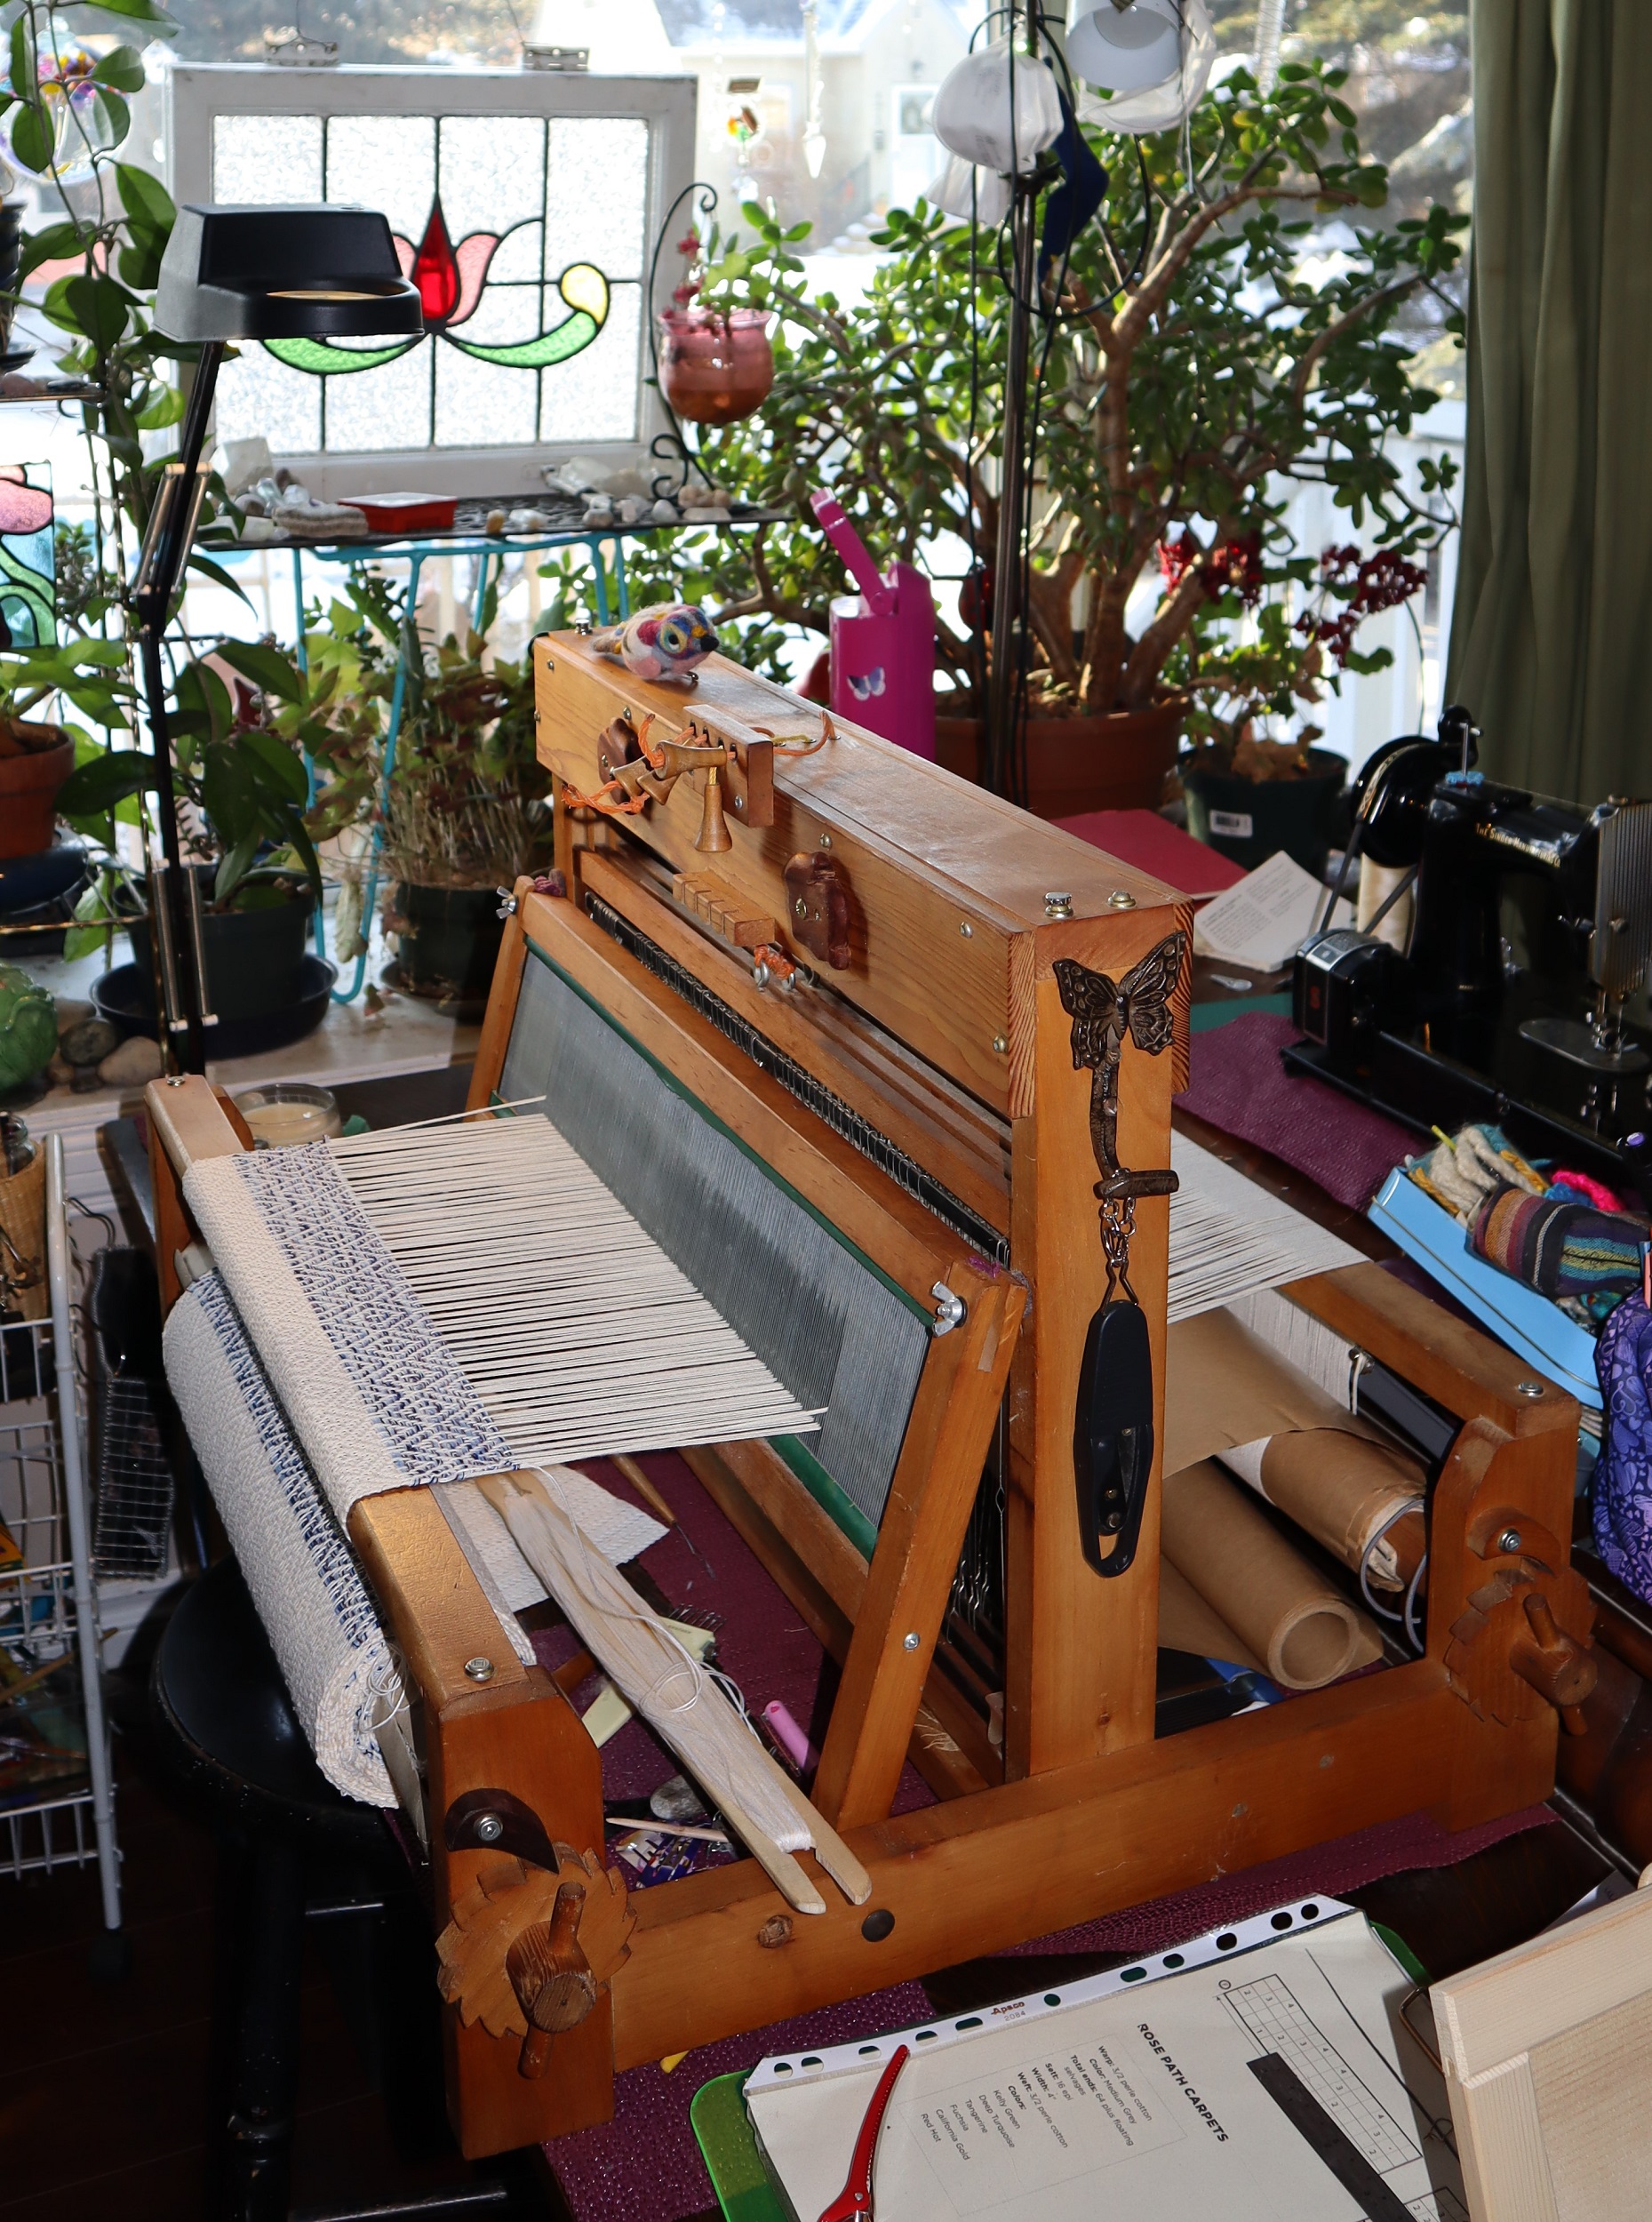
And wove
and wove and wove….
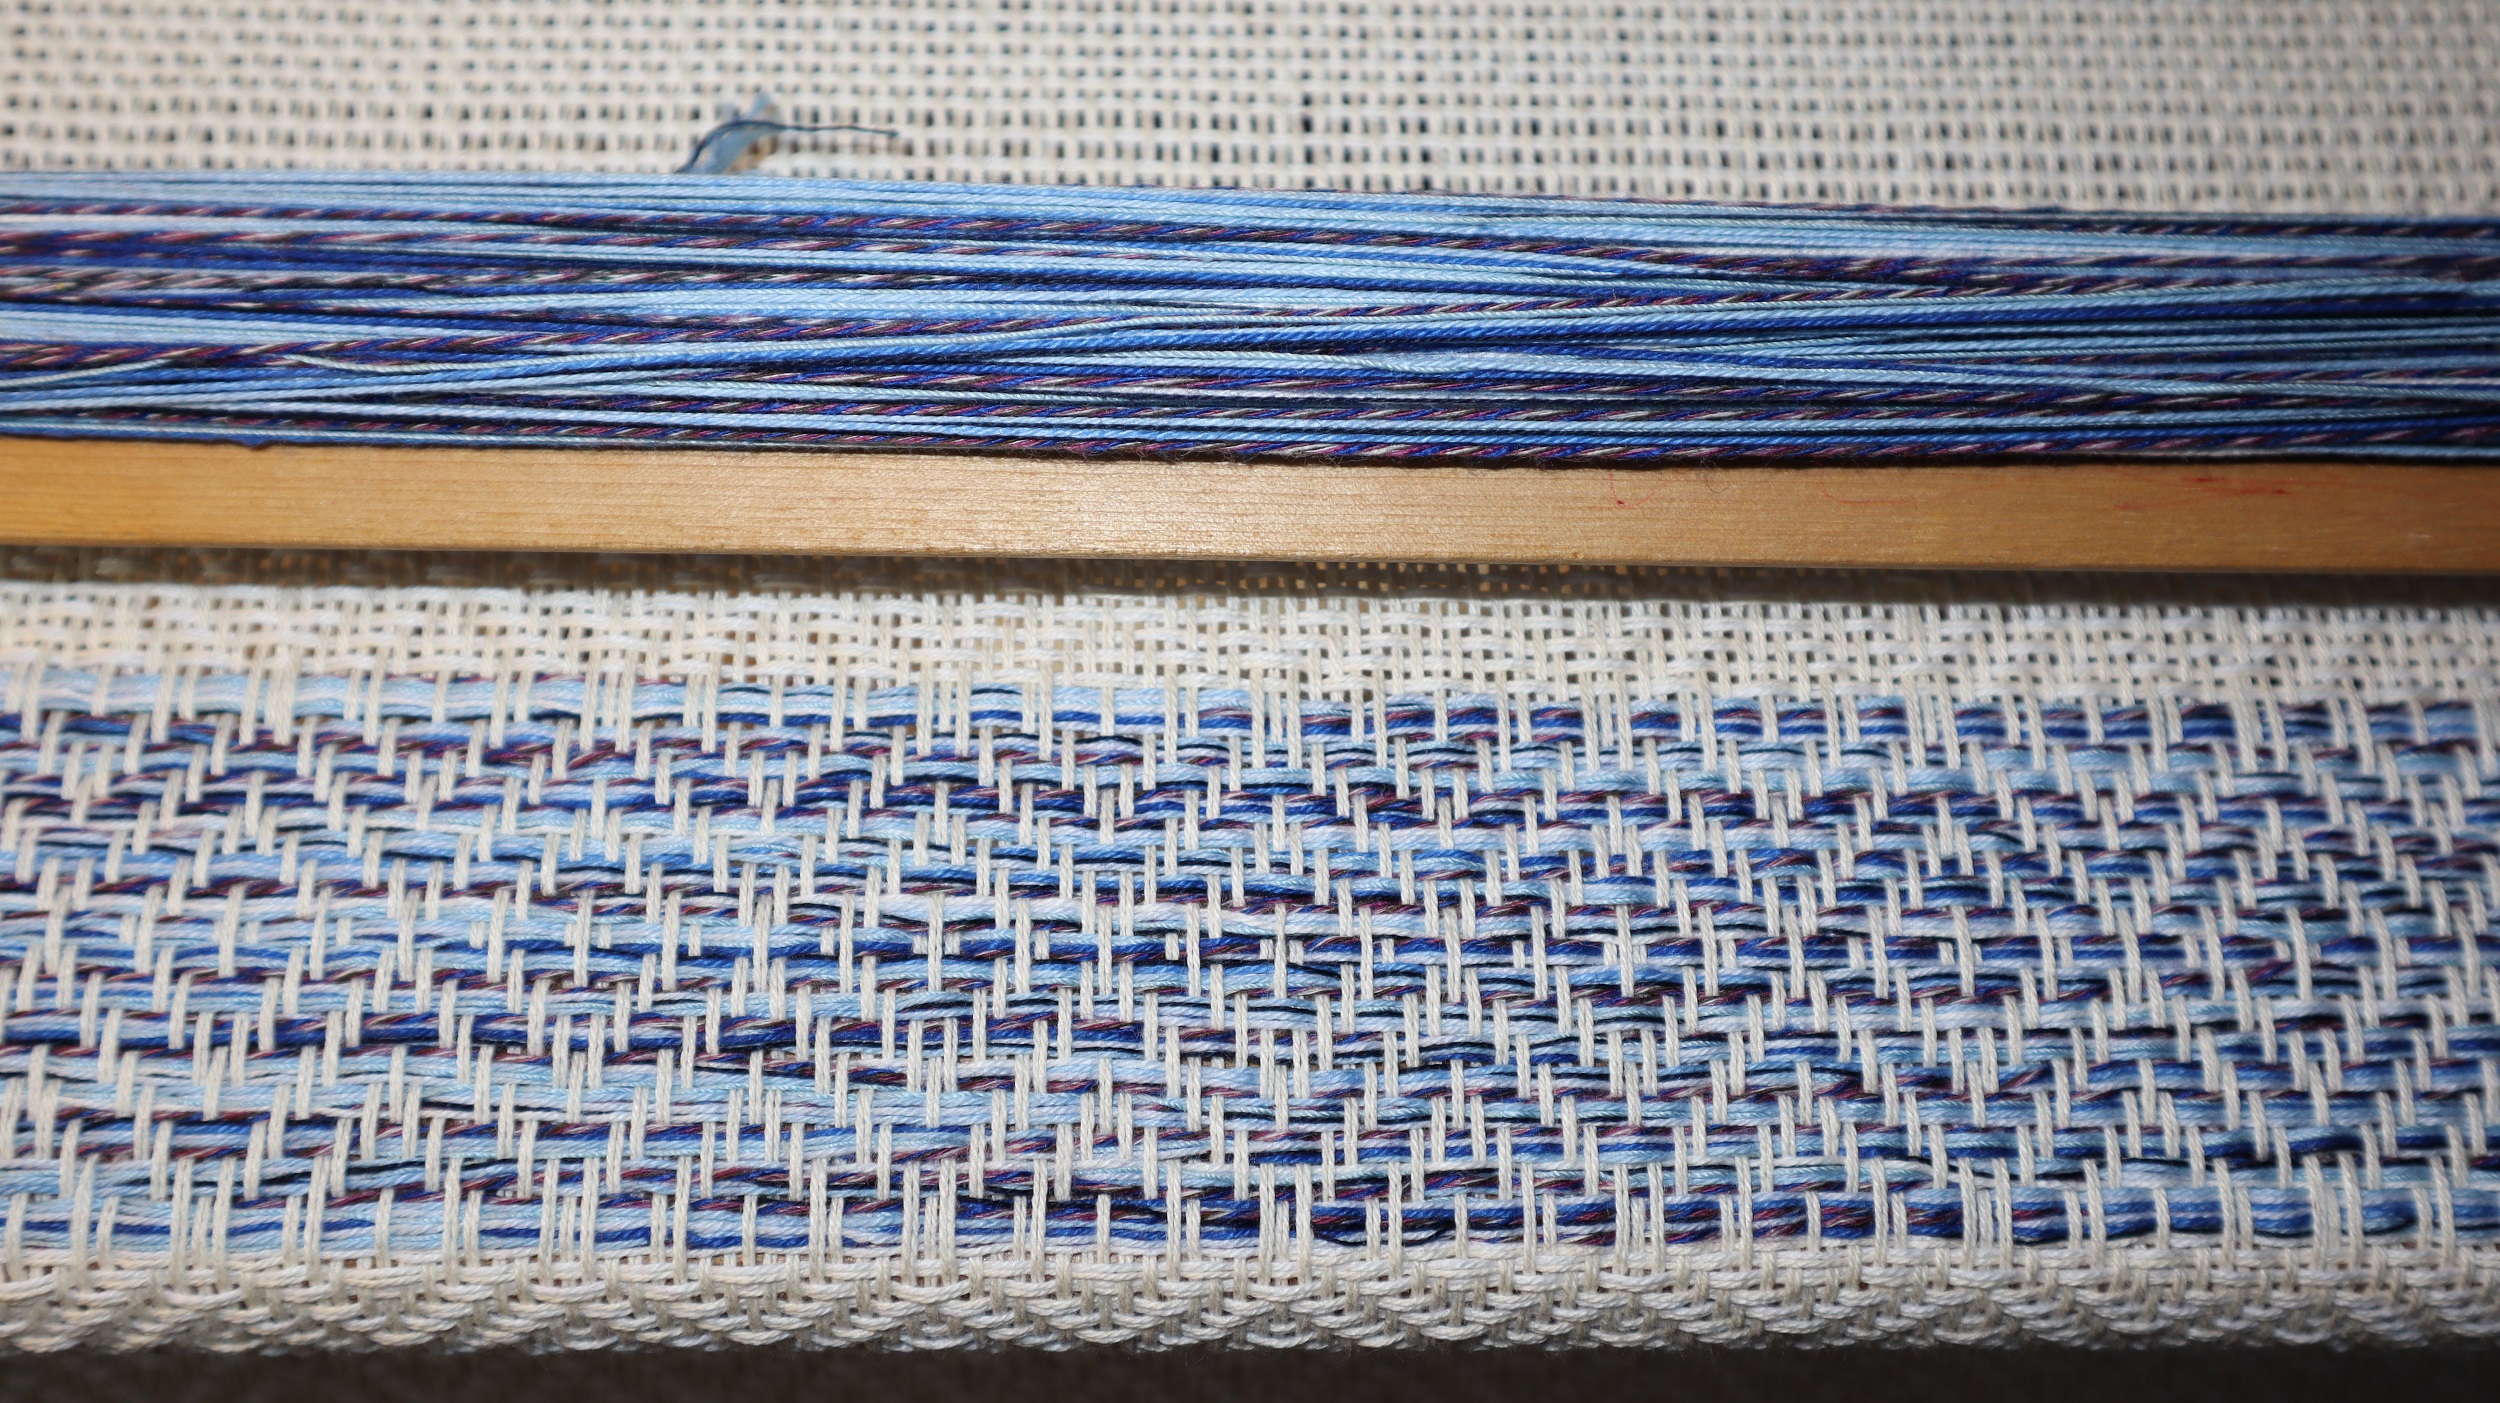
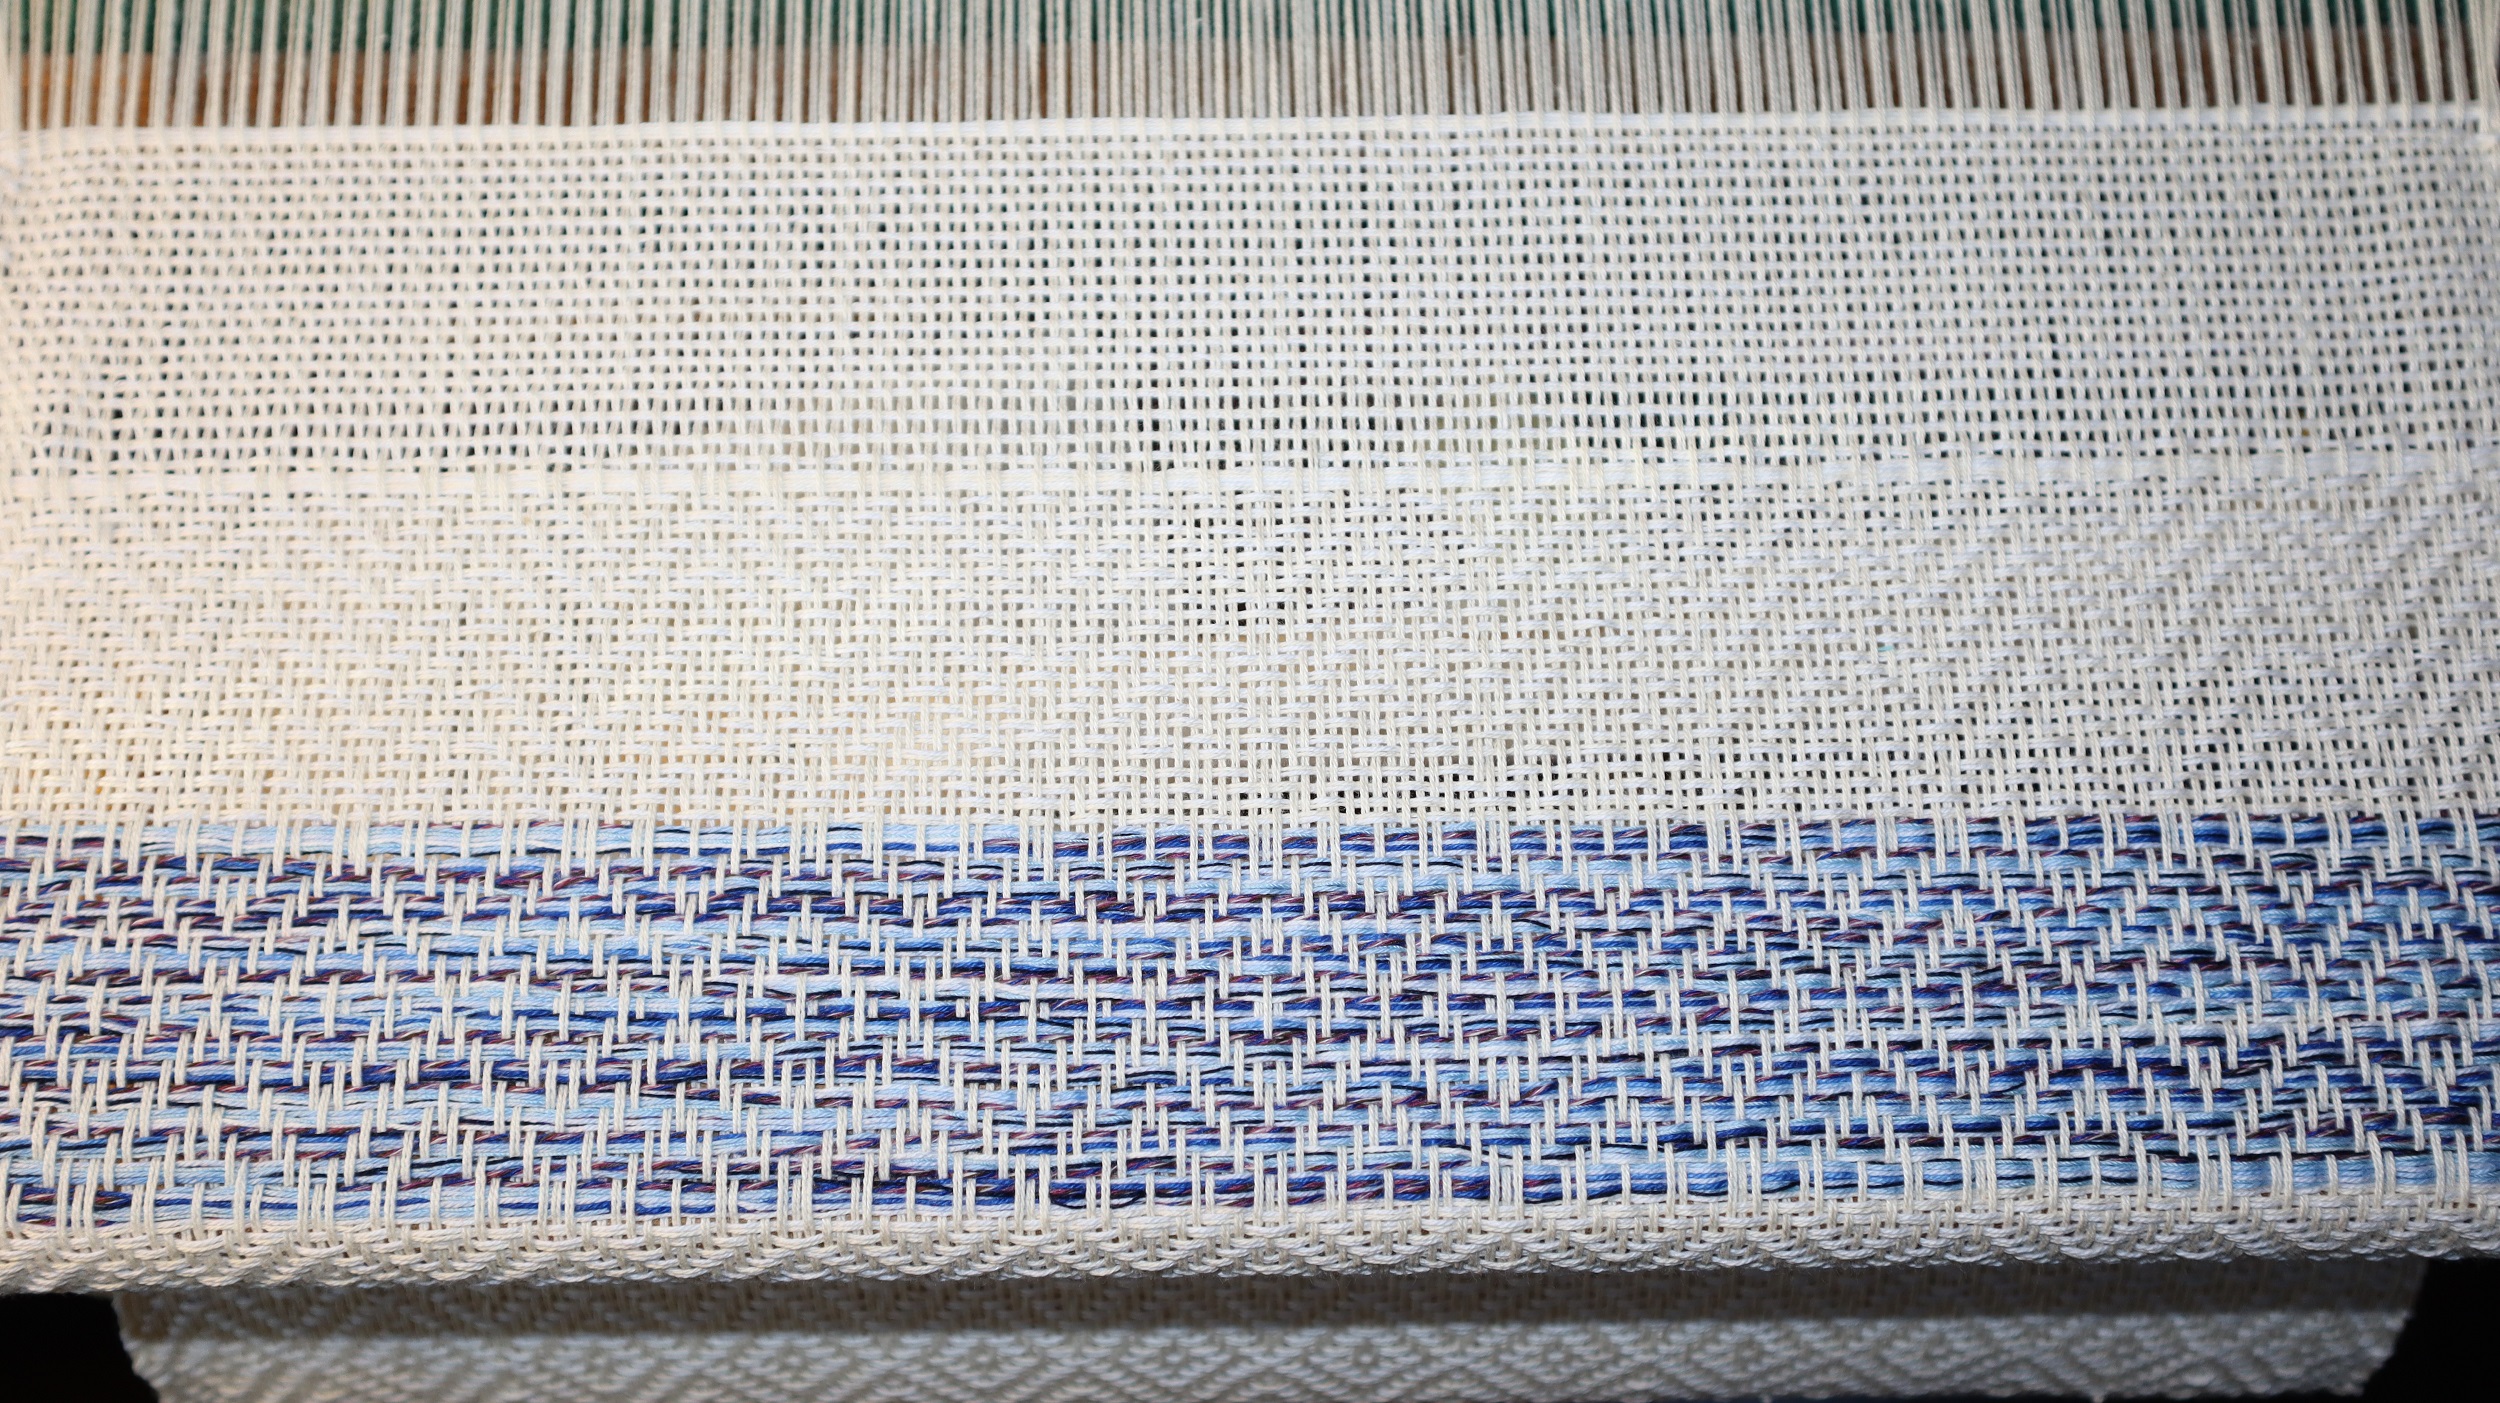
The blue bands look odd, because I used several strands of variegated blue thread held together…
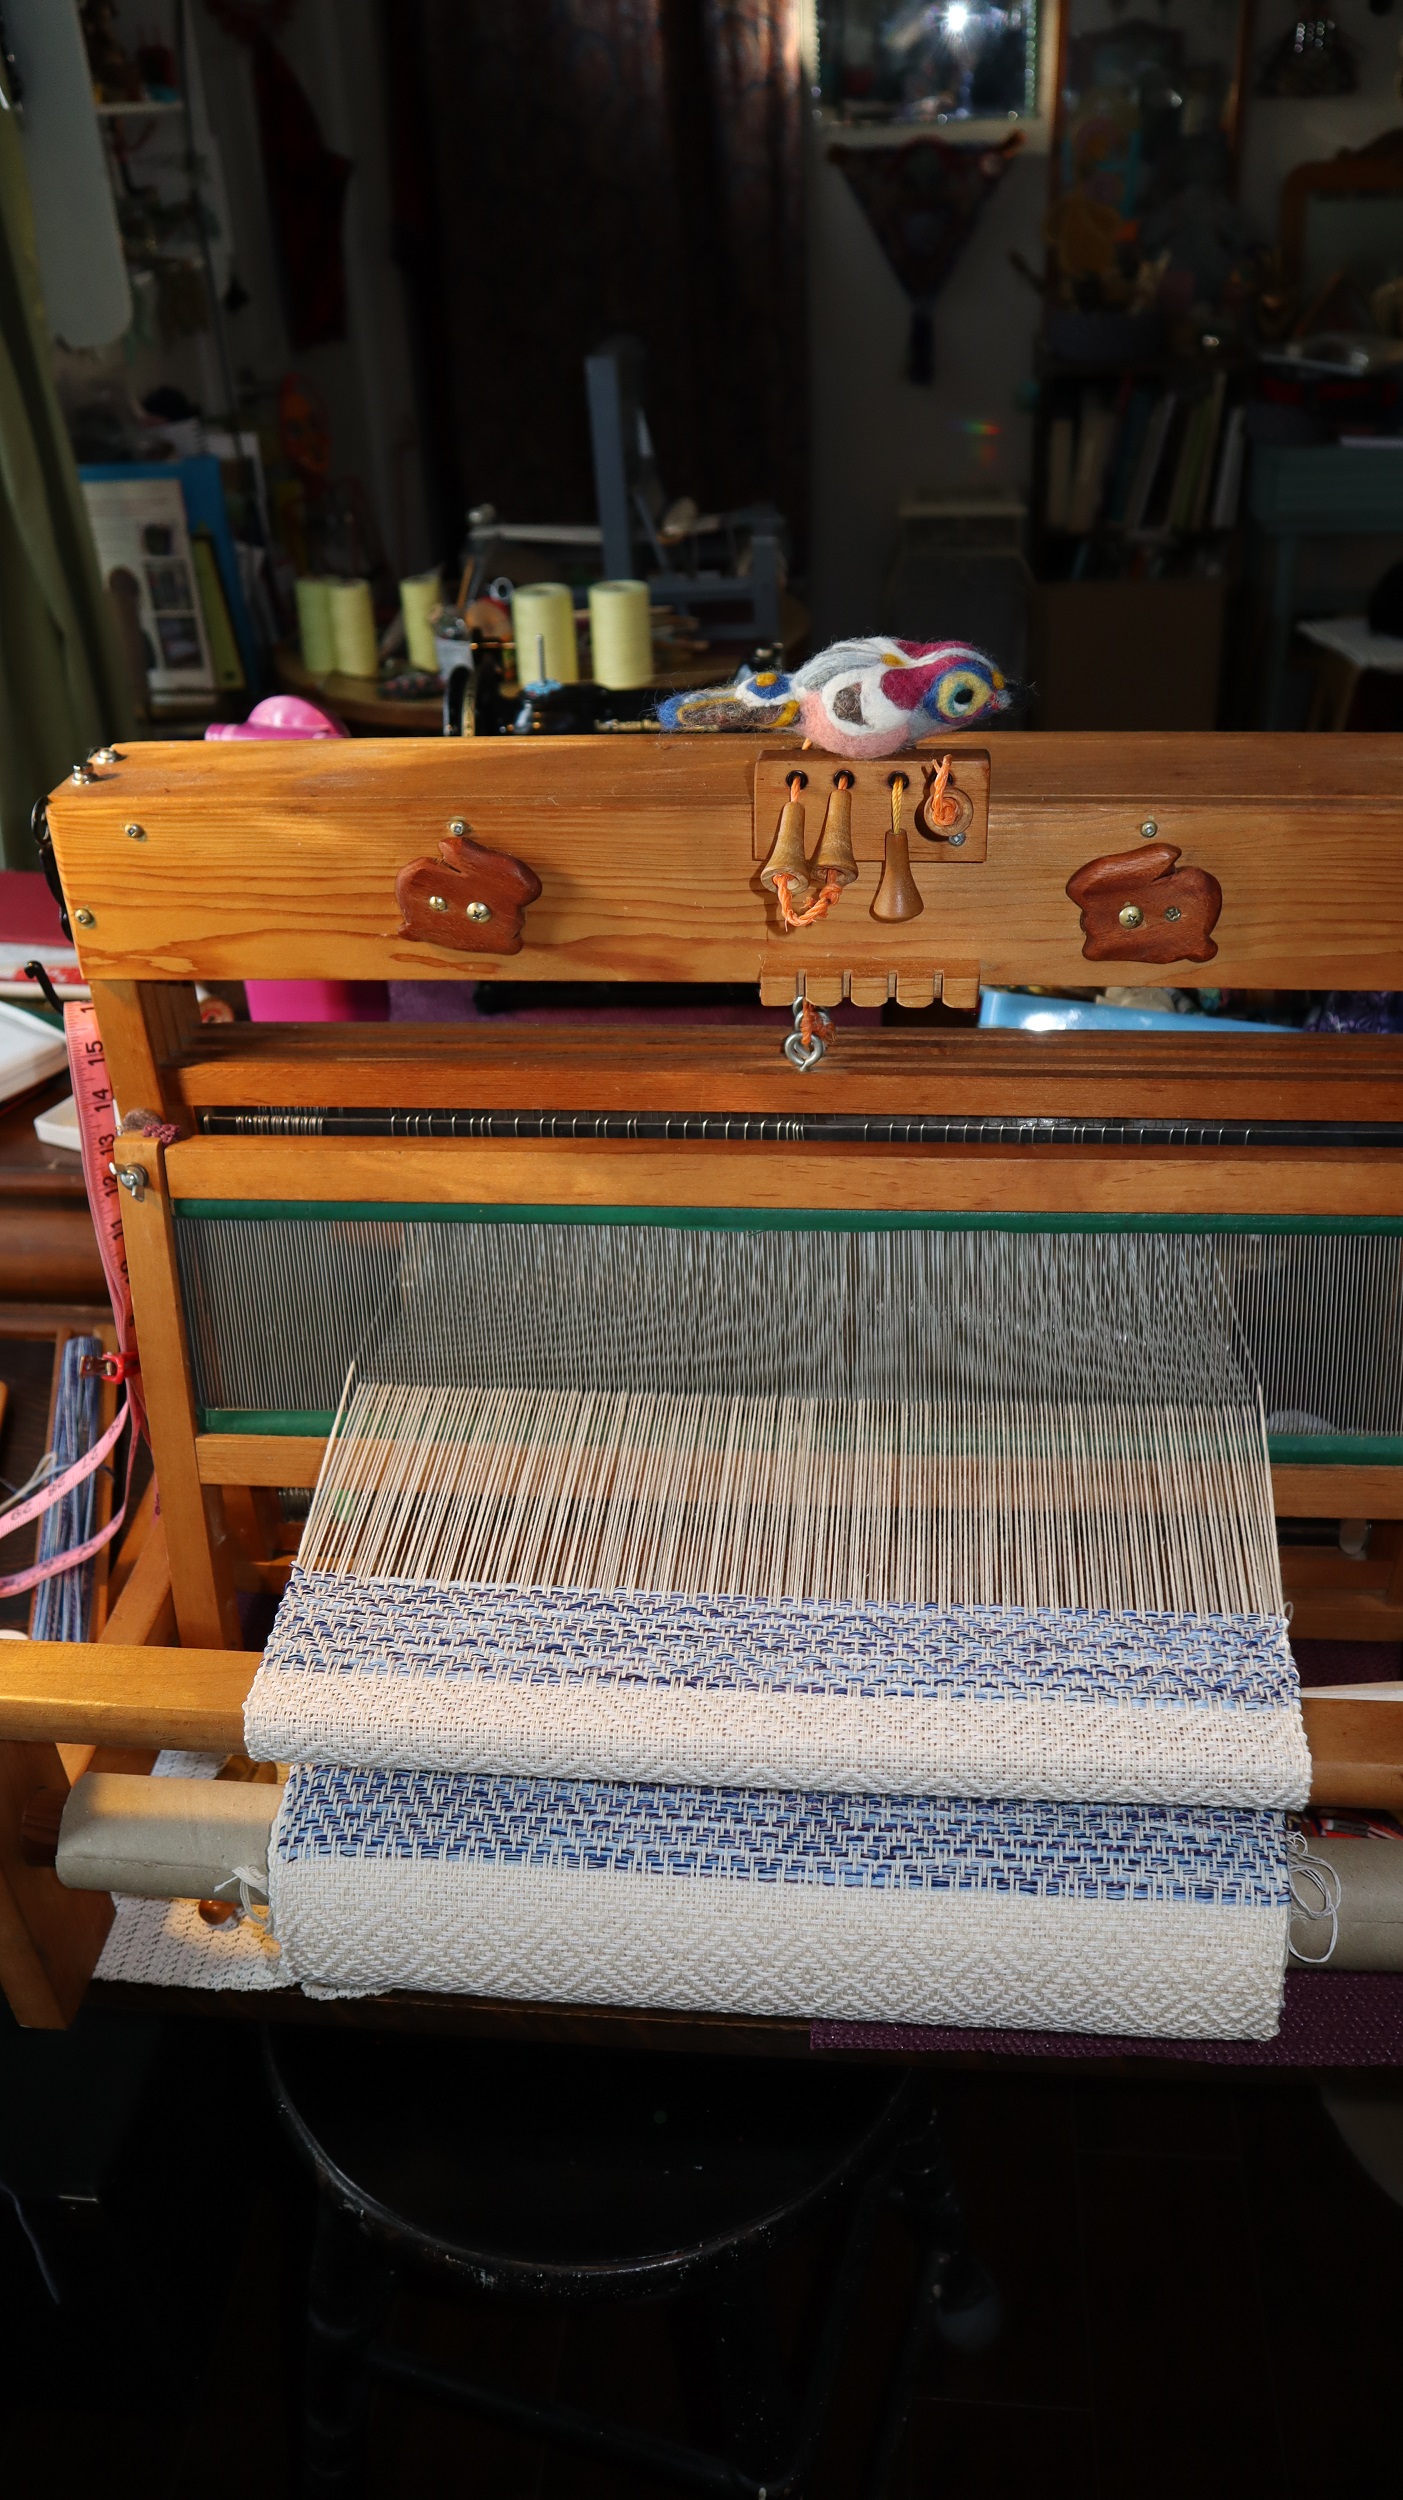
I used one of my favorite weaving drafts, ‘Rosepath’, which gives the diamond effect when woven to the ‘correct’ treadling, but also a pleasing zig zag twill and of course, plain weave tabby.
This was perfect for me, as it allowed me to add definition to the hems, the cream colored borders, the blue bands and the body of the tea towels.
Once the tea towels were all woven, washed them and then ironed them and hemmed them.
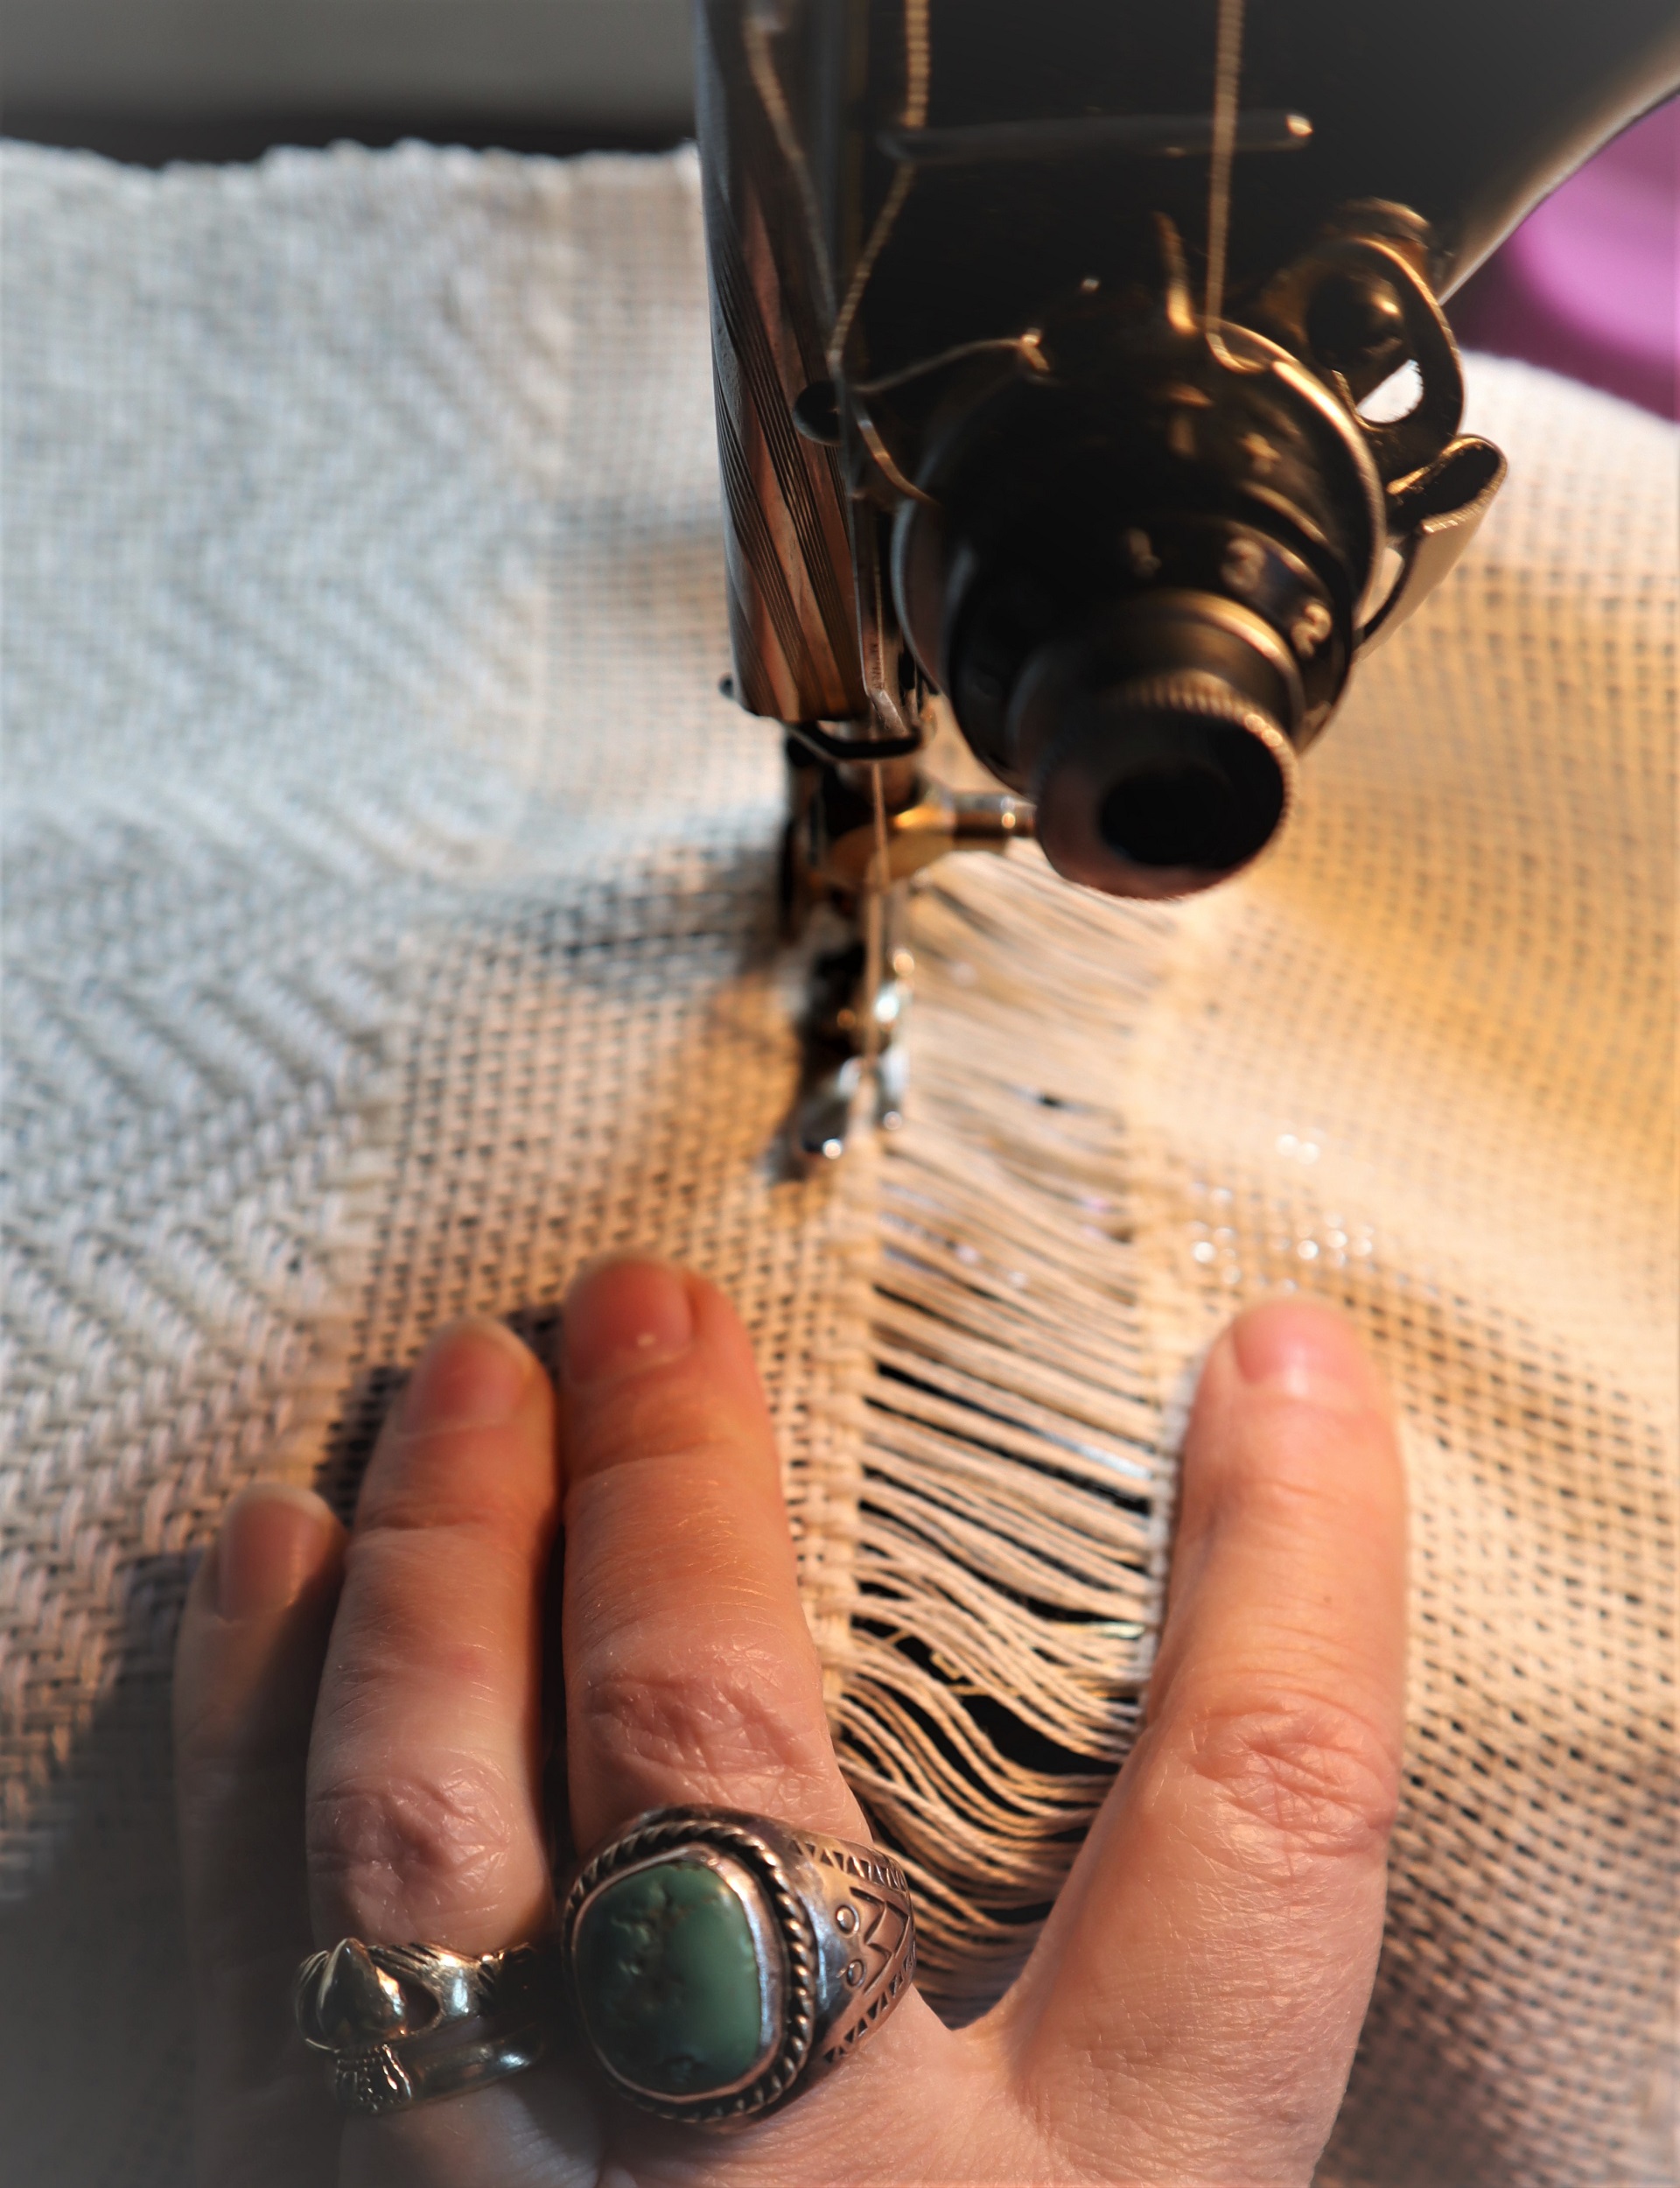
I had hand stitched the hems between each of the towels while they were on the loom, but then stitched the hand stitched edges again by machine before cutting them apart.
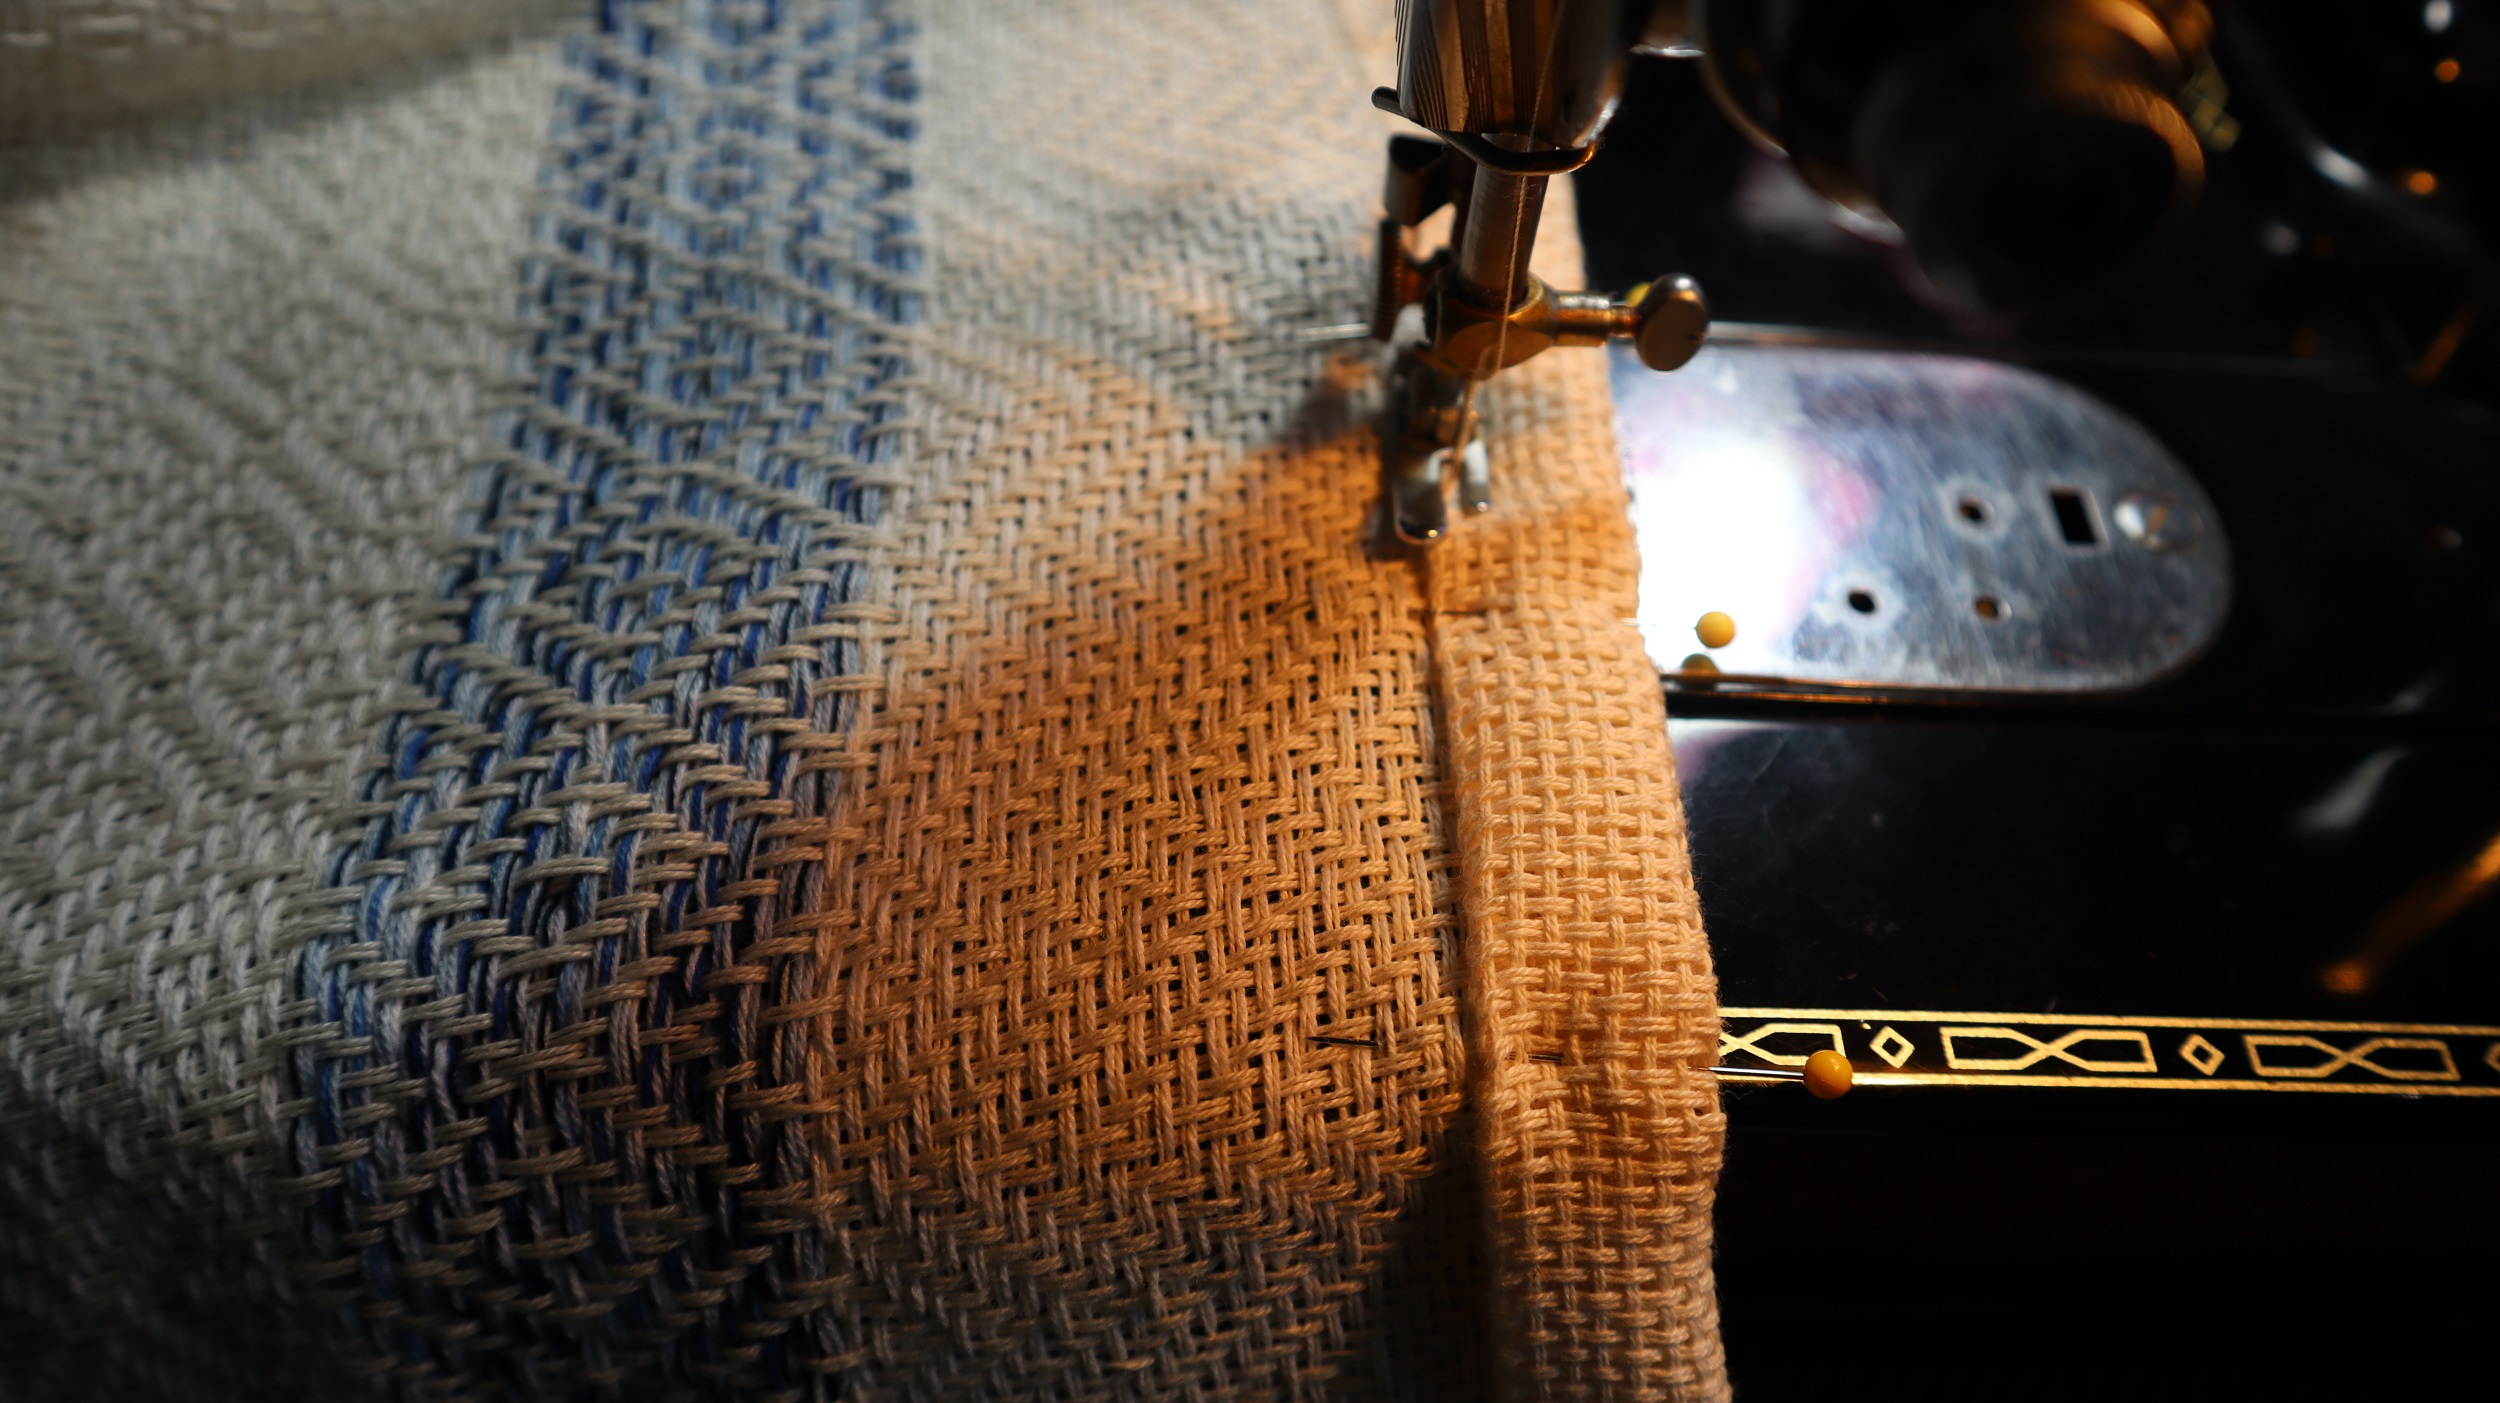
I then rolled and pinned the hems and stitched them by machine.
I had hand stitched the hems on some of the prototype tea towels, but wasn’t happy with the way they looked, so opted for the machine.
Ooops… at one point, my grandson, who has been taught how to sew on the machine by his mother, chastized me for sewing over a pin. Oops!
He has the family ability to raise one eyebrow very high and fix you with a baleful gaze.
This is also a family trait. We pass along such interesting legacies, don’t we?
My father could transmit a world of ‘ahem’ with his eyebrow. Ahem.
I didn’t sew over any more pins after I was given ‘the eyebrow’!
Earlier in the process, I wove miles of tape on my narrow band loom.
But, I forgot to take a picture of the weaving process for the tape.
I cut lengths of tape from the miles of narrow band.
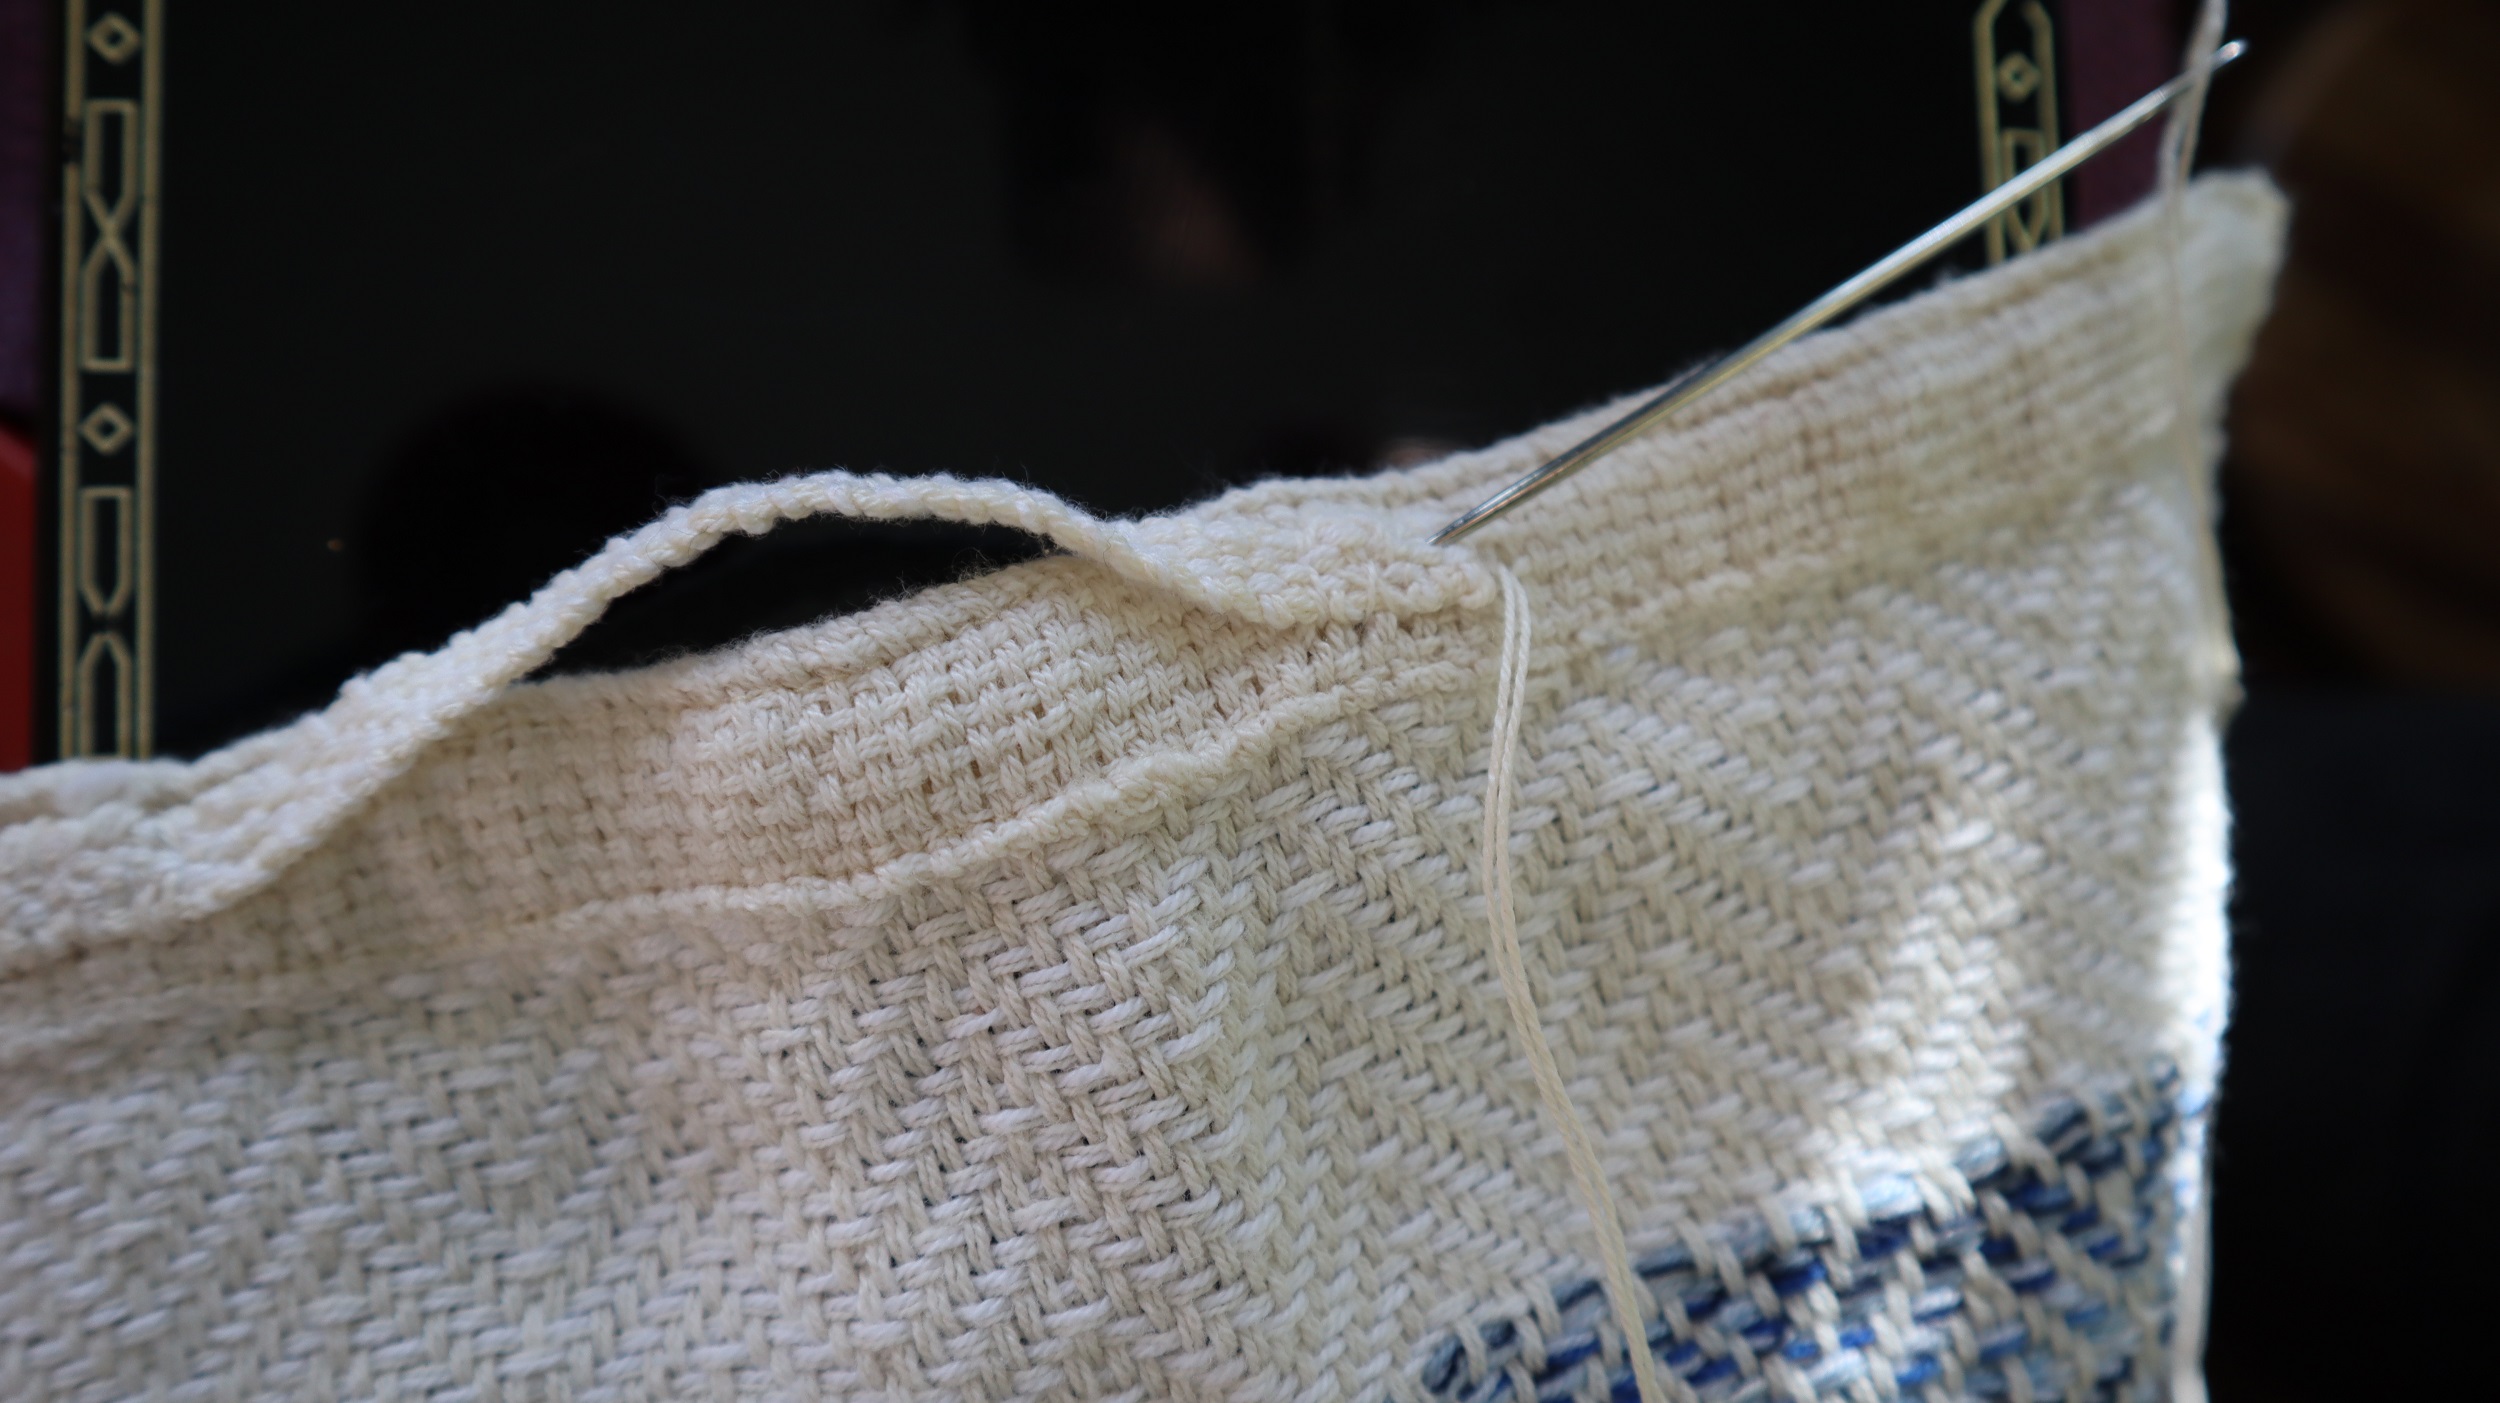
Then I sewed the hanging loops with it onto the tea towels by hand.
Then, off to the washing machine for the towels….
It was so exciting to see how washing the towels snugged them up and made them all soft and inviting.
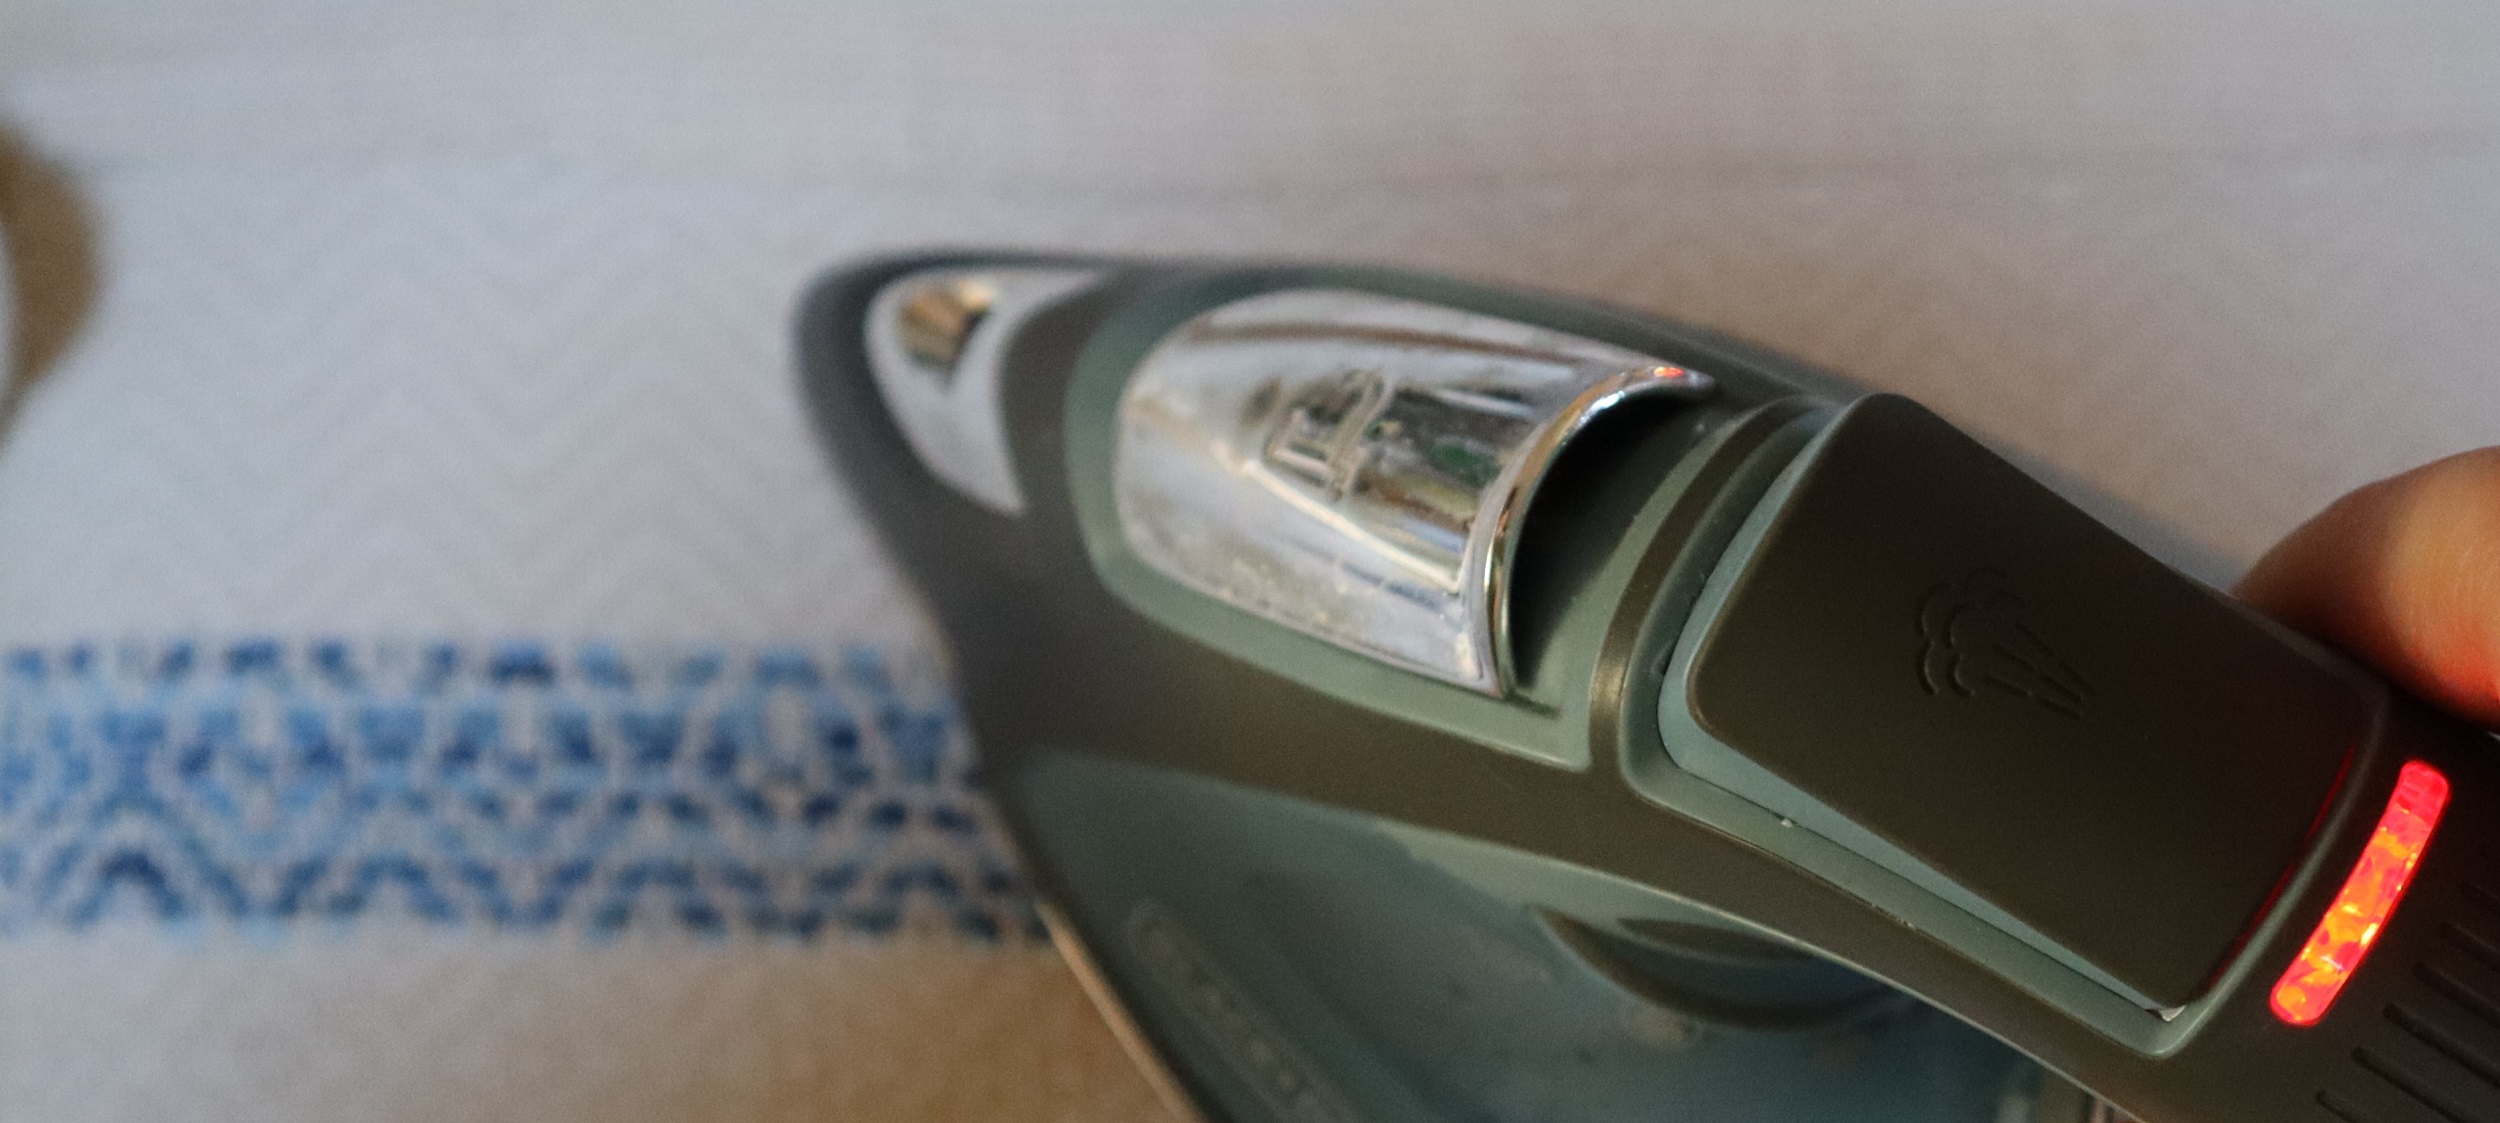
And then ironed the living daylights out of the tea towels again.
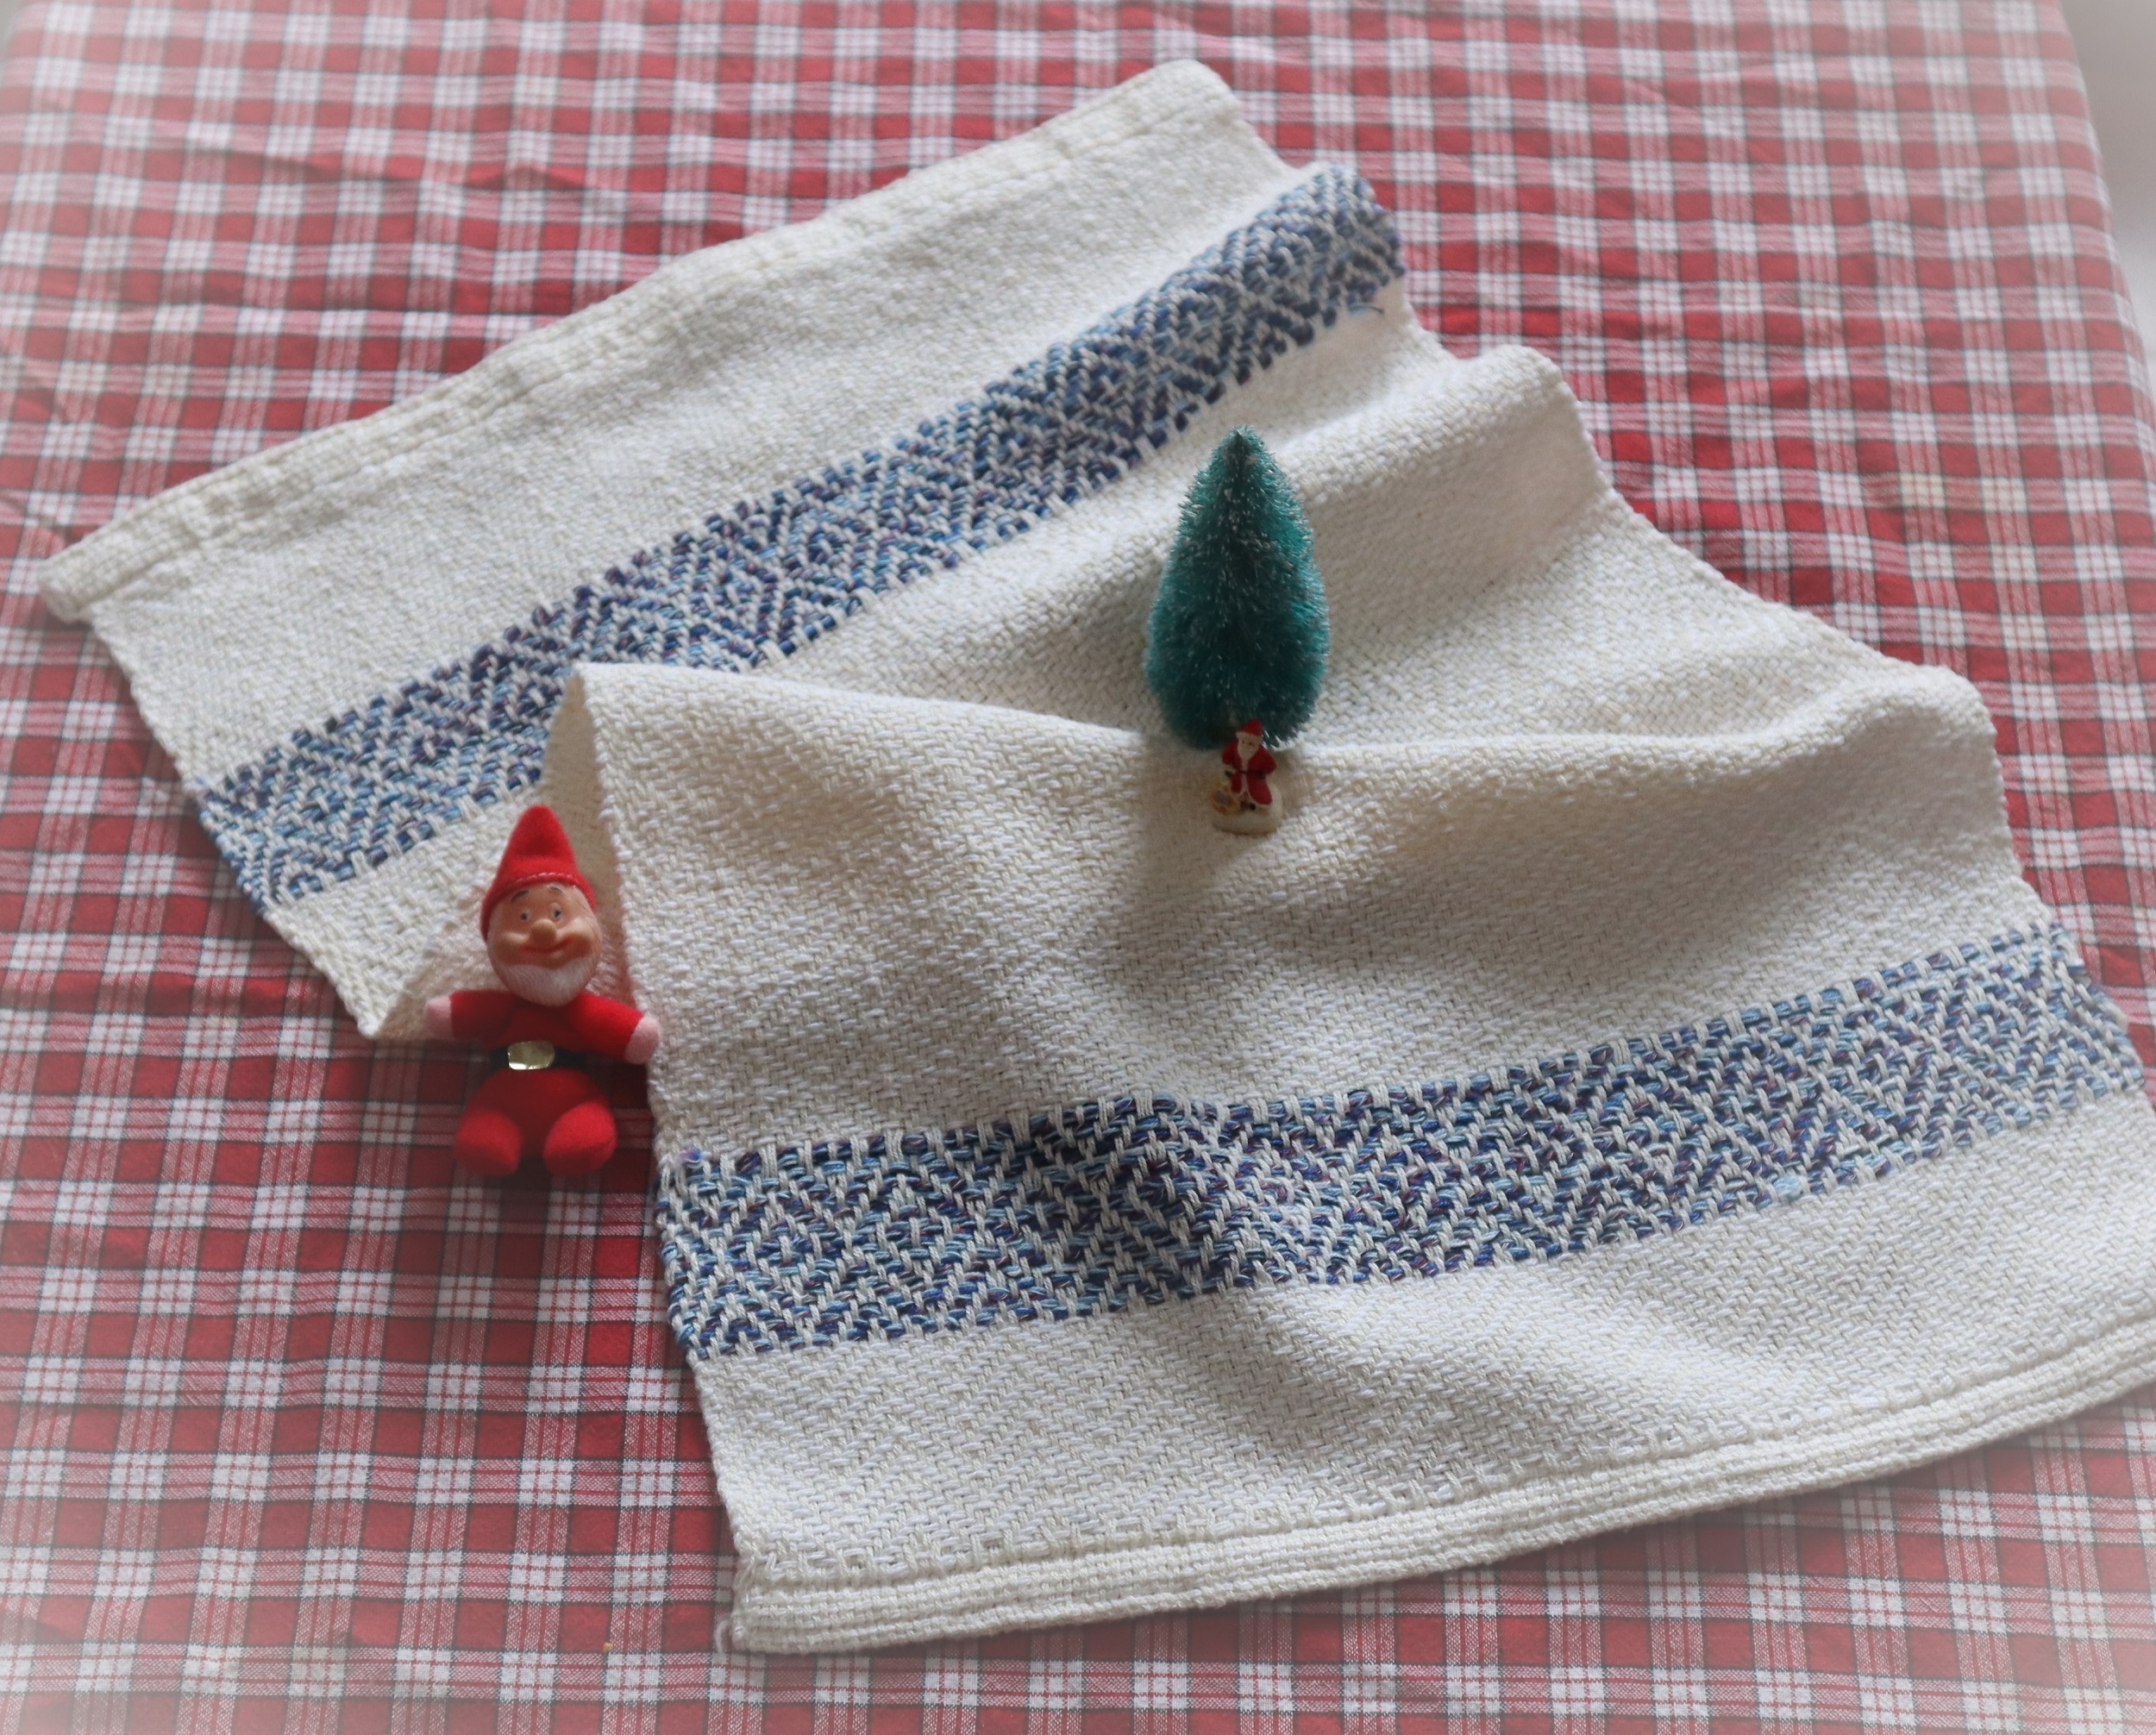
Most of them have been designated as gifts.
Generous gifts of boxes of abandoned crochet cotton by our relatives turned out to be such a lovely gift for me.
I loved the process of bringing the cotton to life again and I hope that the towels will be a pleasure in some small, quiet way for years to come.
I have been weaving a lot of butterflies lately, as a metaphor of hope, transformation, healing, creativity, community, and so much more.
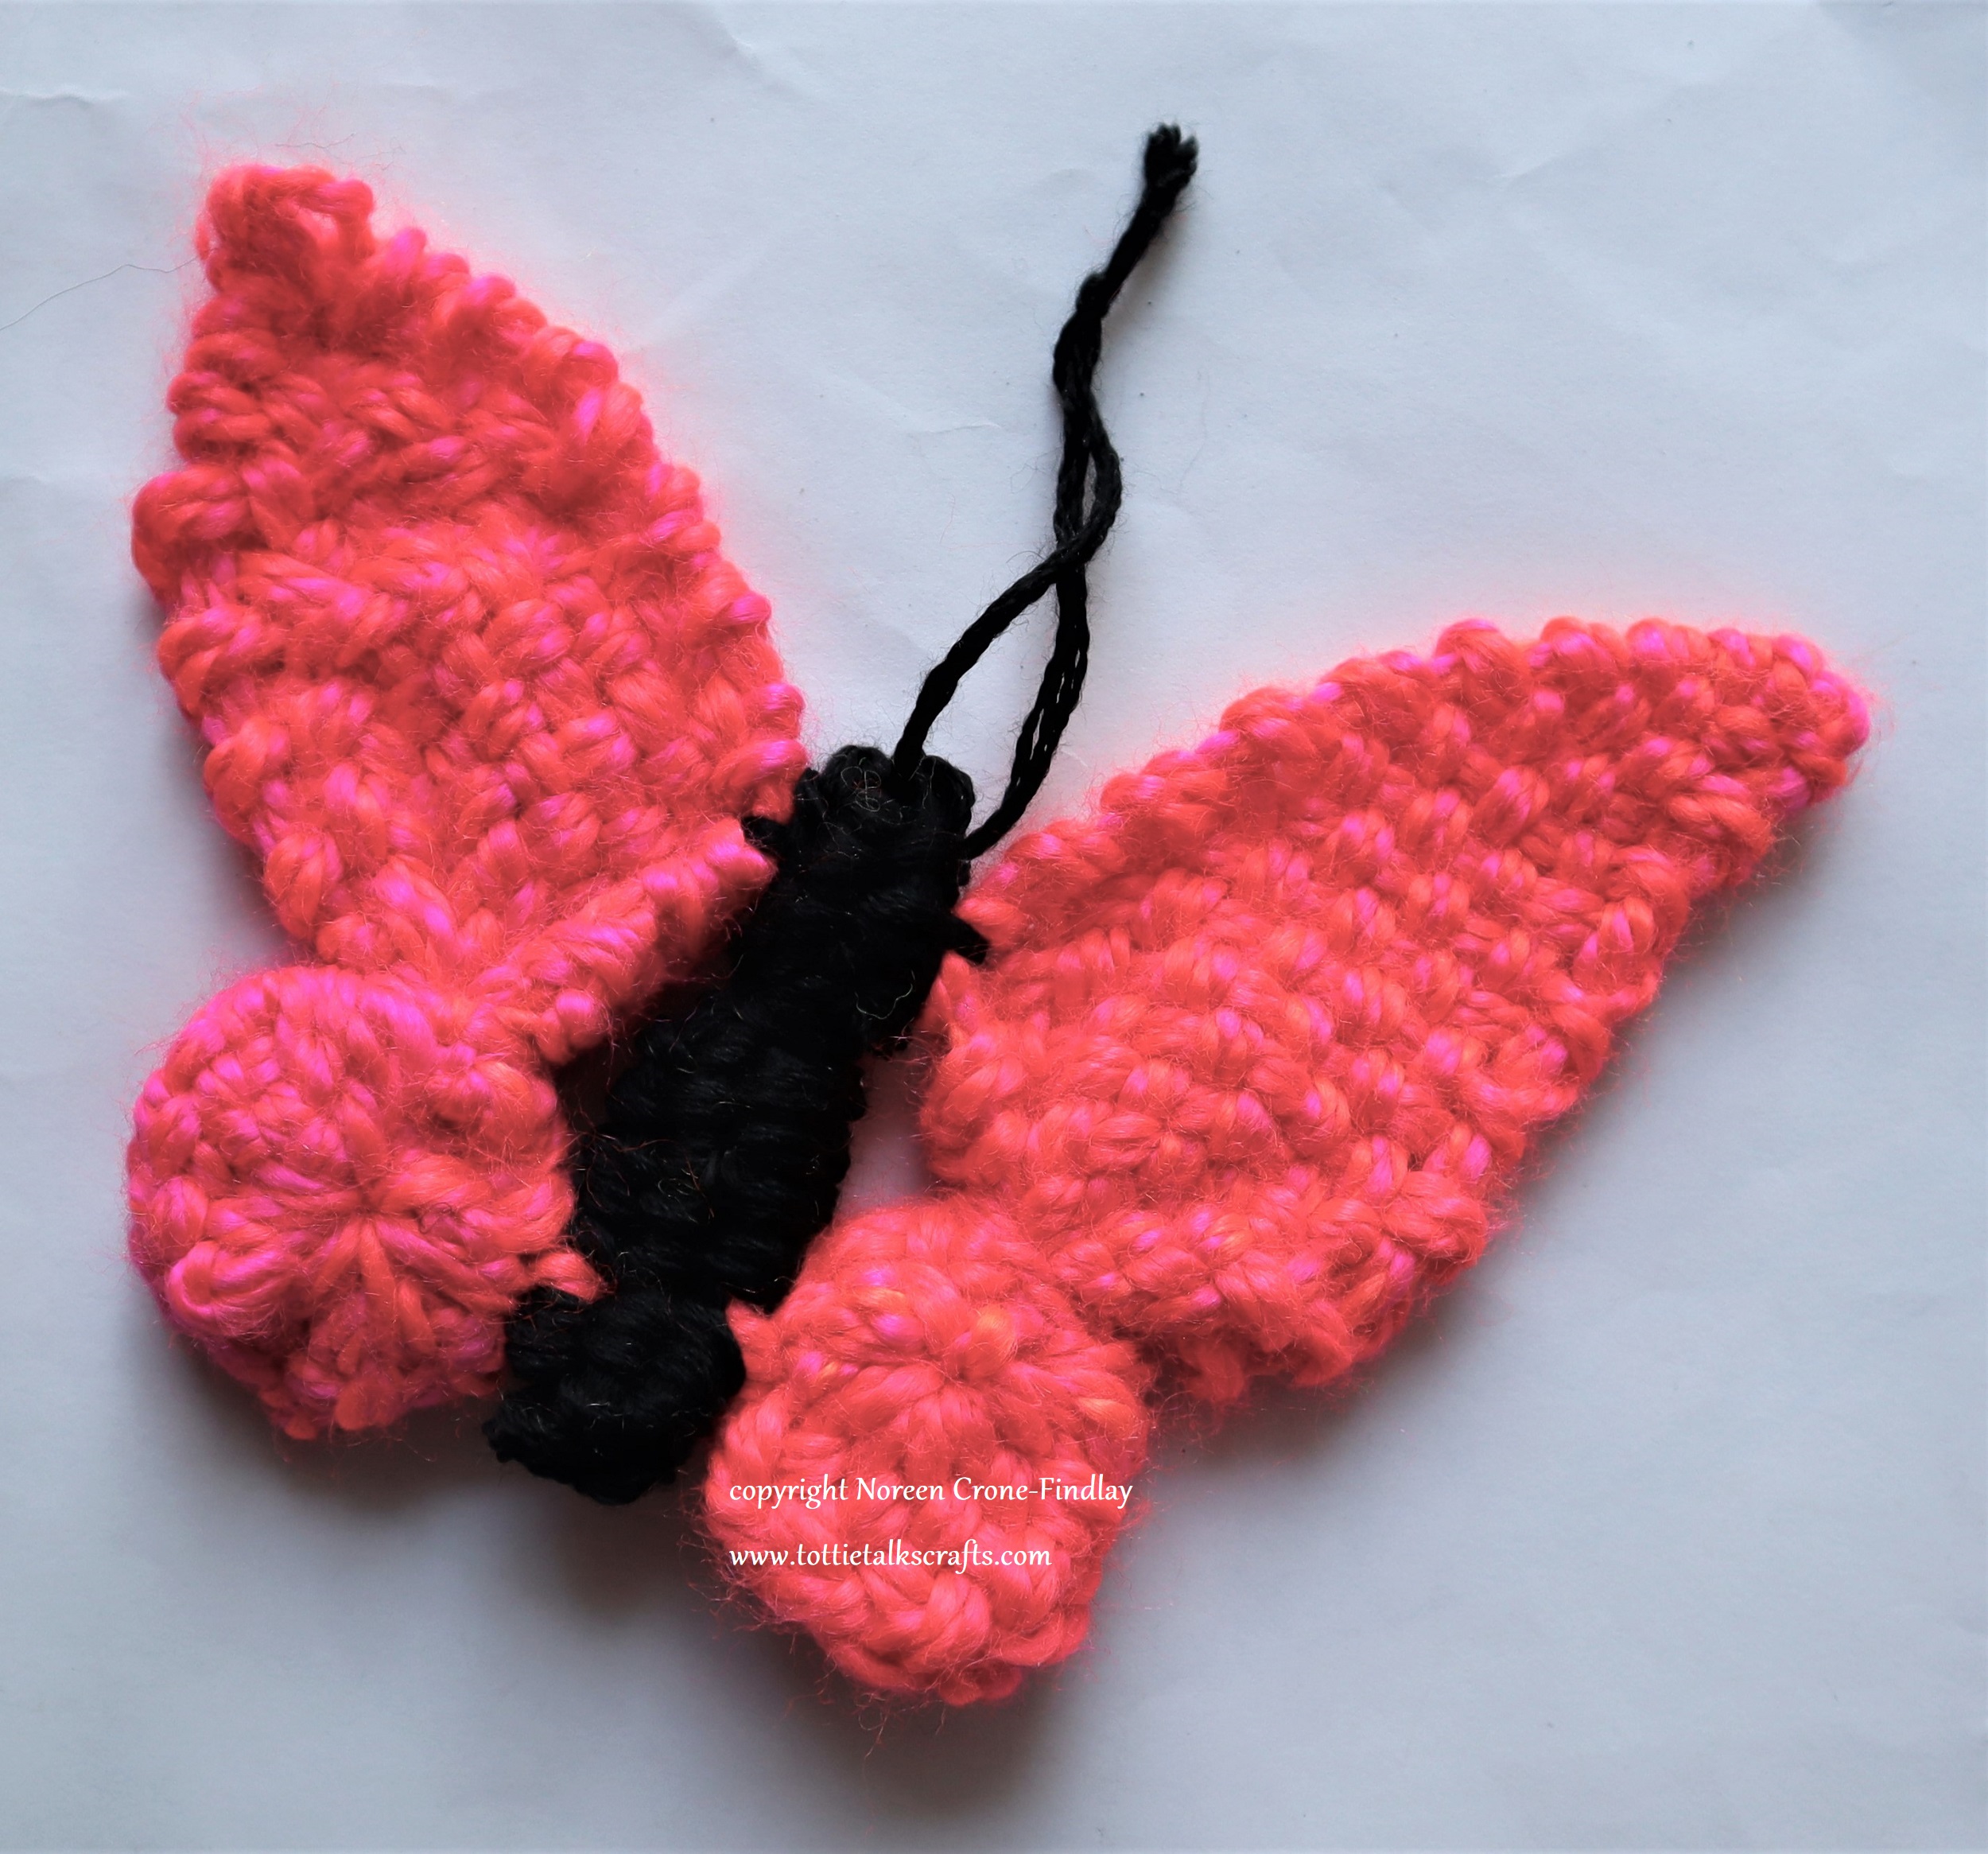
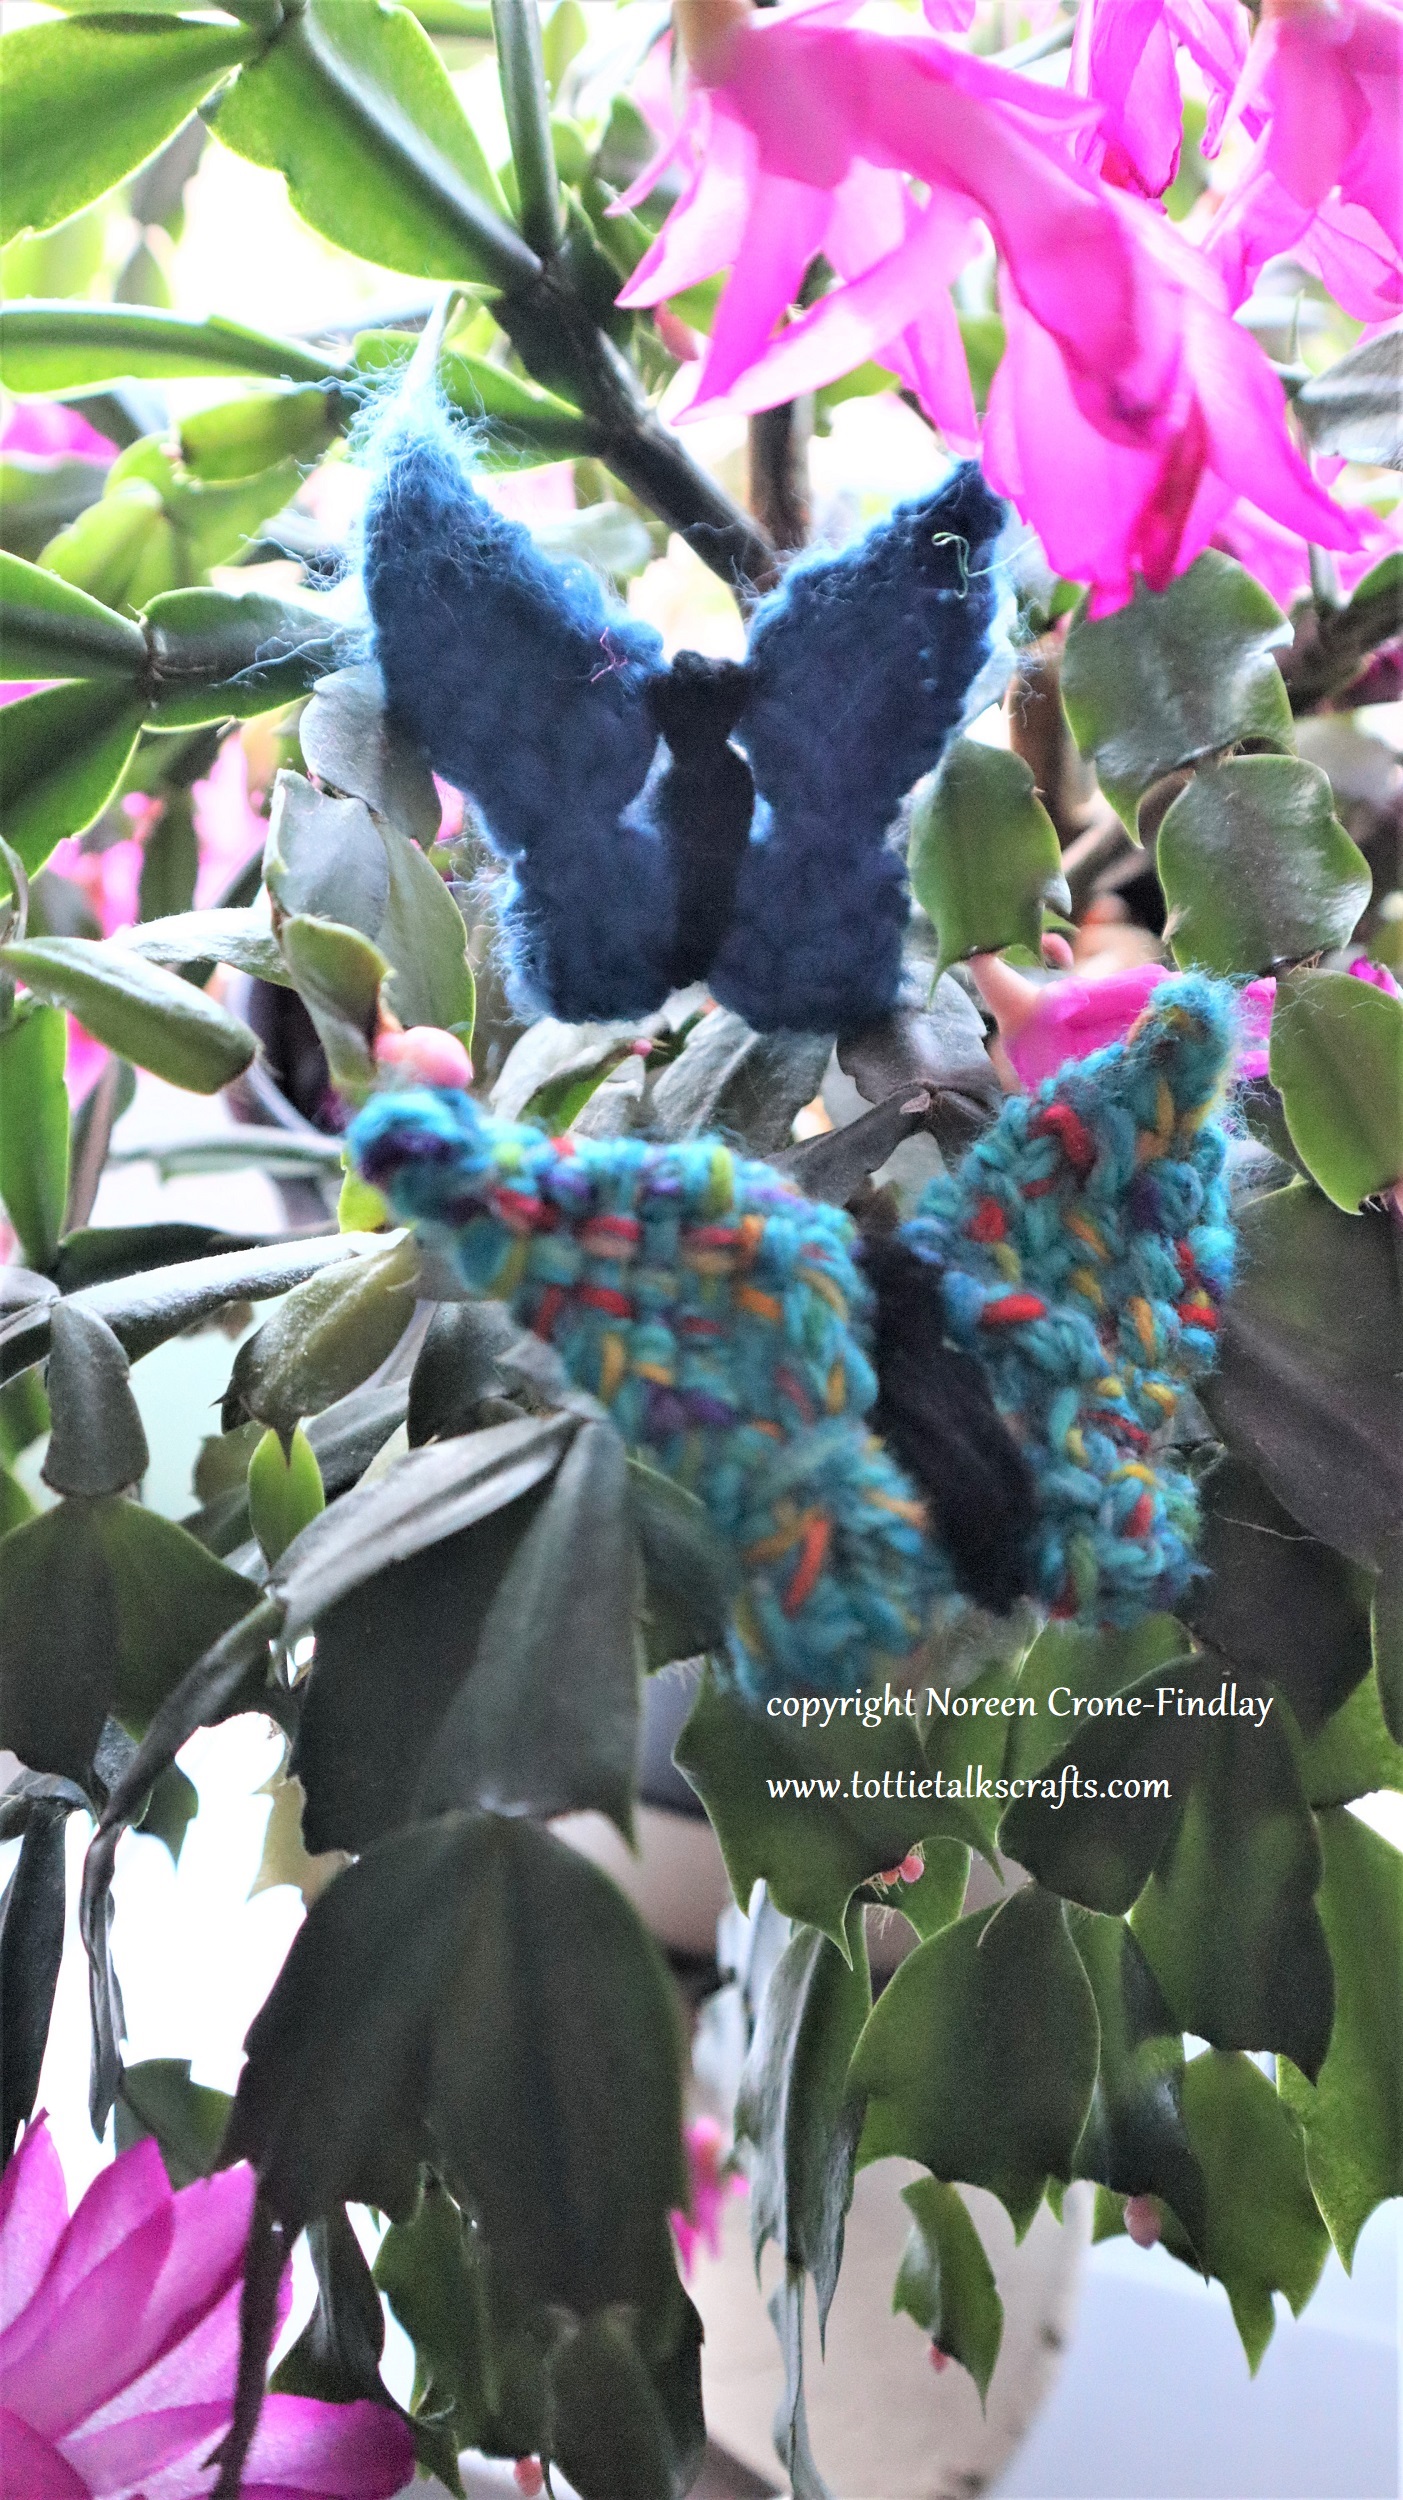
These butterflies are ones that I designed to weave on the Mirrix Saffron loom.
I love the way that I can set up the Saffron to the exact size that I want….
The pink butterfly is made by weaving a full size triangle on the Saffron (see instructions in my book: Innovative Weaving on the Frame Loom).
And, the blue butterflies are made by weaving half size triangles.
Because the smaller butterflies are woven using a variation on the technique that I developed for the book,
I have made a video showing how to weave them.
The bodies are made on the loom, using the same setup as the wings, so you can weave away without having to re-set the loom. Yay!
Here’s the link to the Video How to Tutorial:
Mirrix looms are selling a wonderful kit that includes my book: Innovative Weaving on the Frame Loom, as well as the Saffron Loom and the Sandy Stand for it. It’s a great kit! Here’s the link for it:
To see all the links for the ‘How To’ posts for the “Imagine” Banner Weave along, please go to L I N K S
To order the loom, book and extras kit for the Weave Along from Mirrix, please go K I T
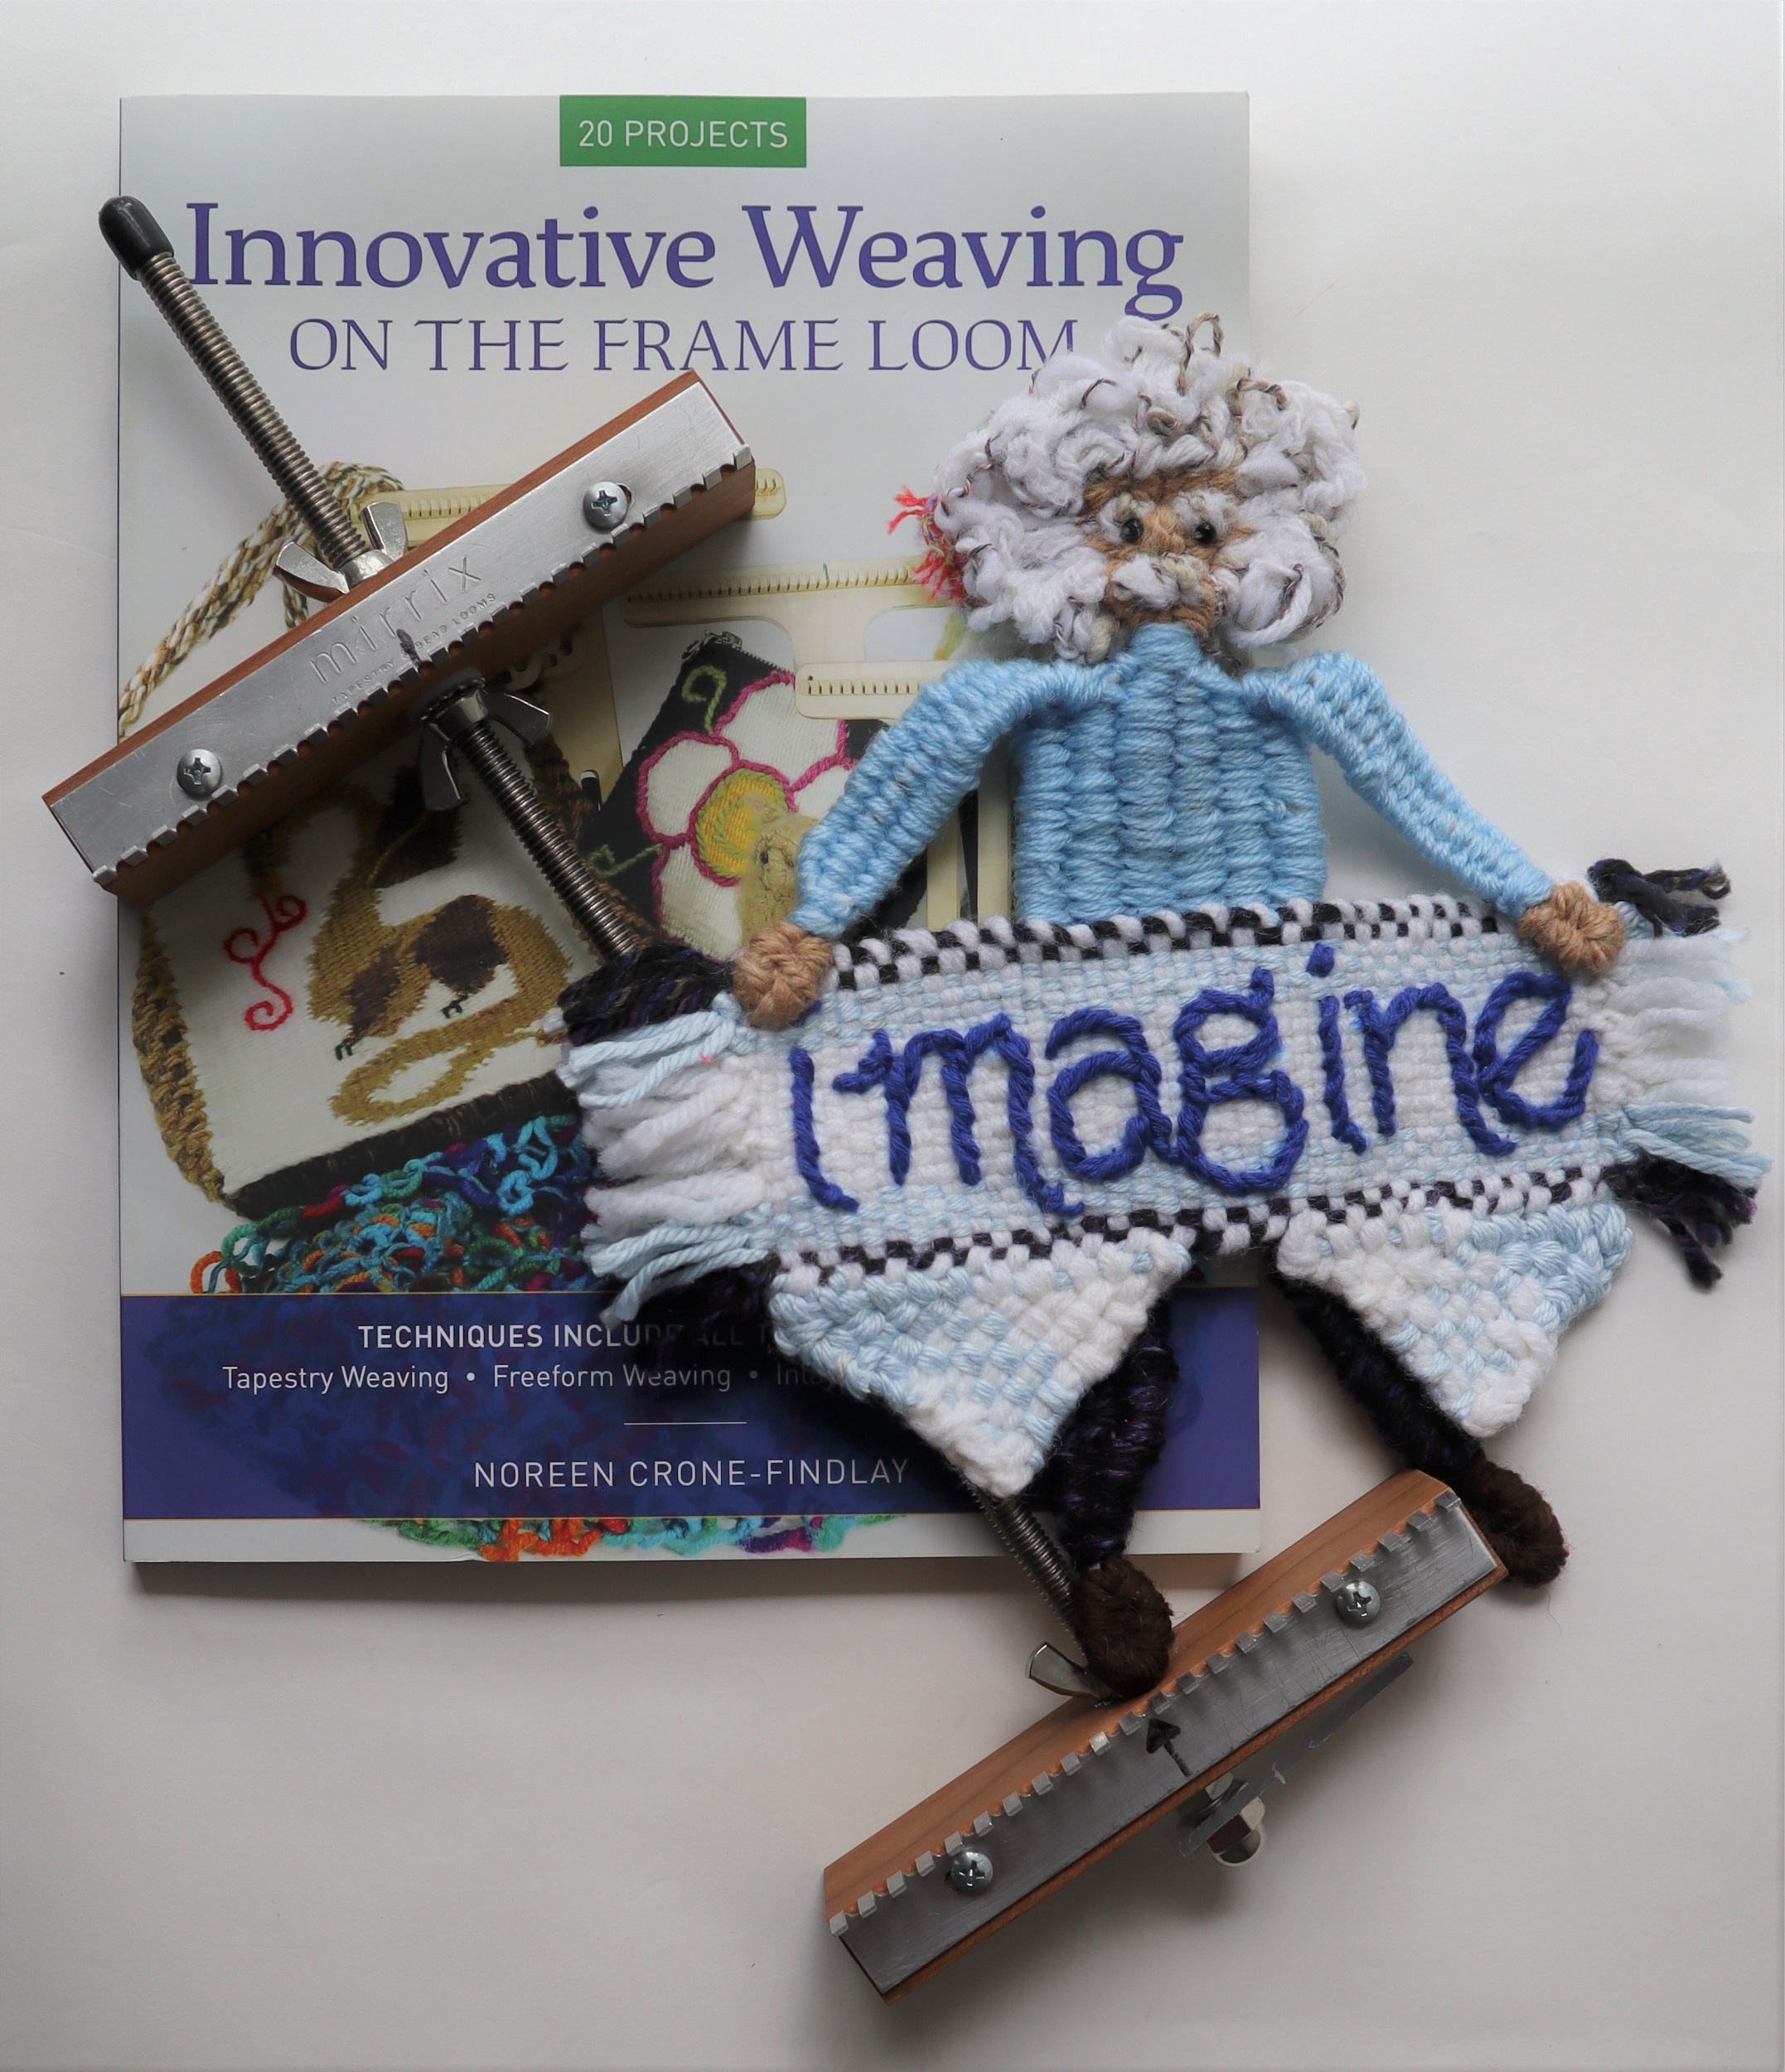
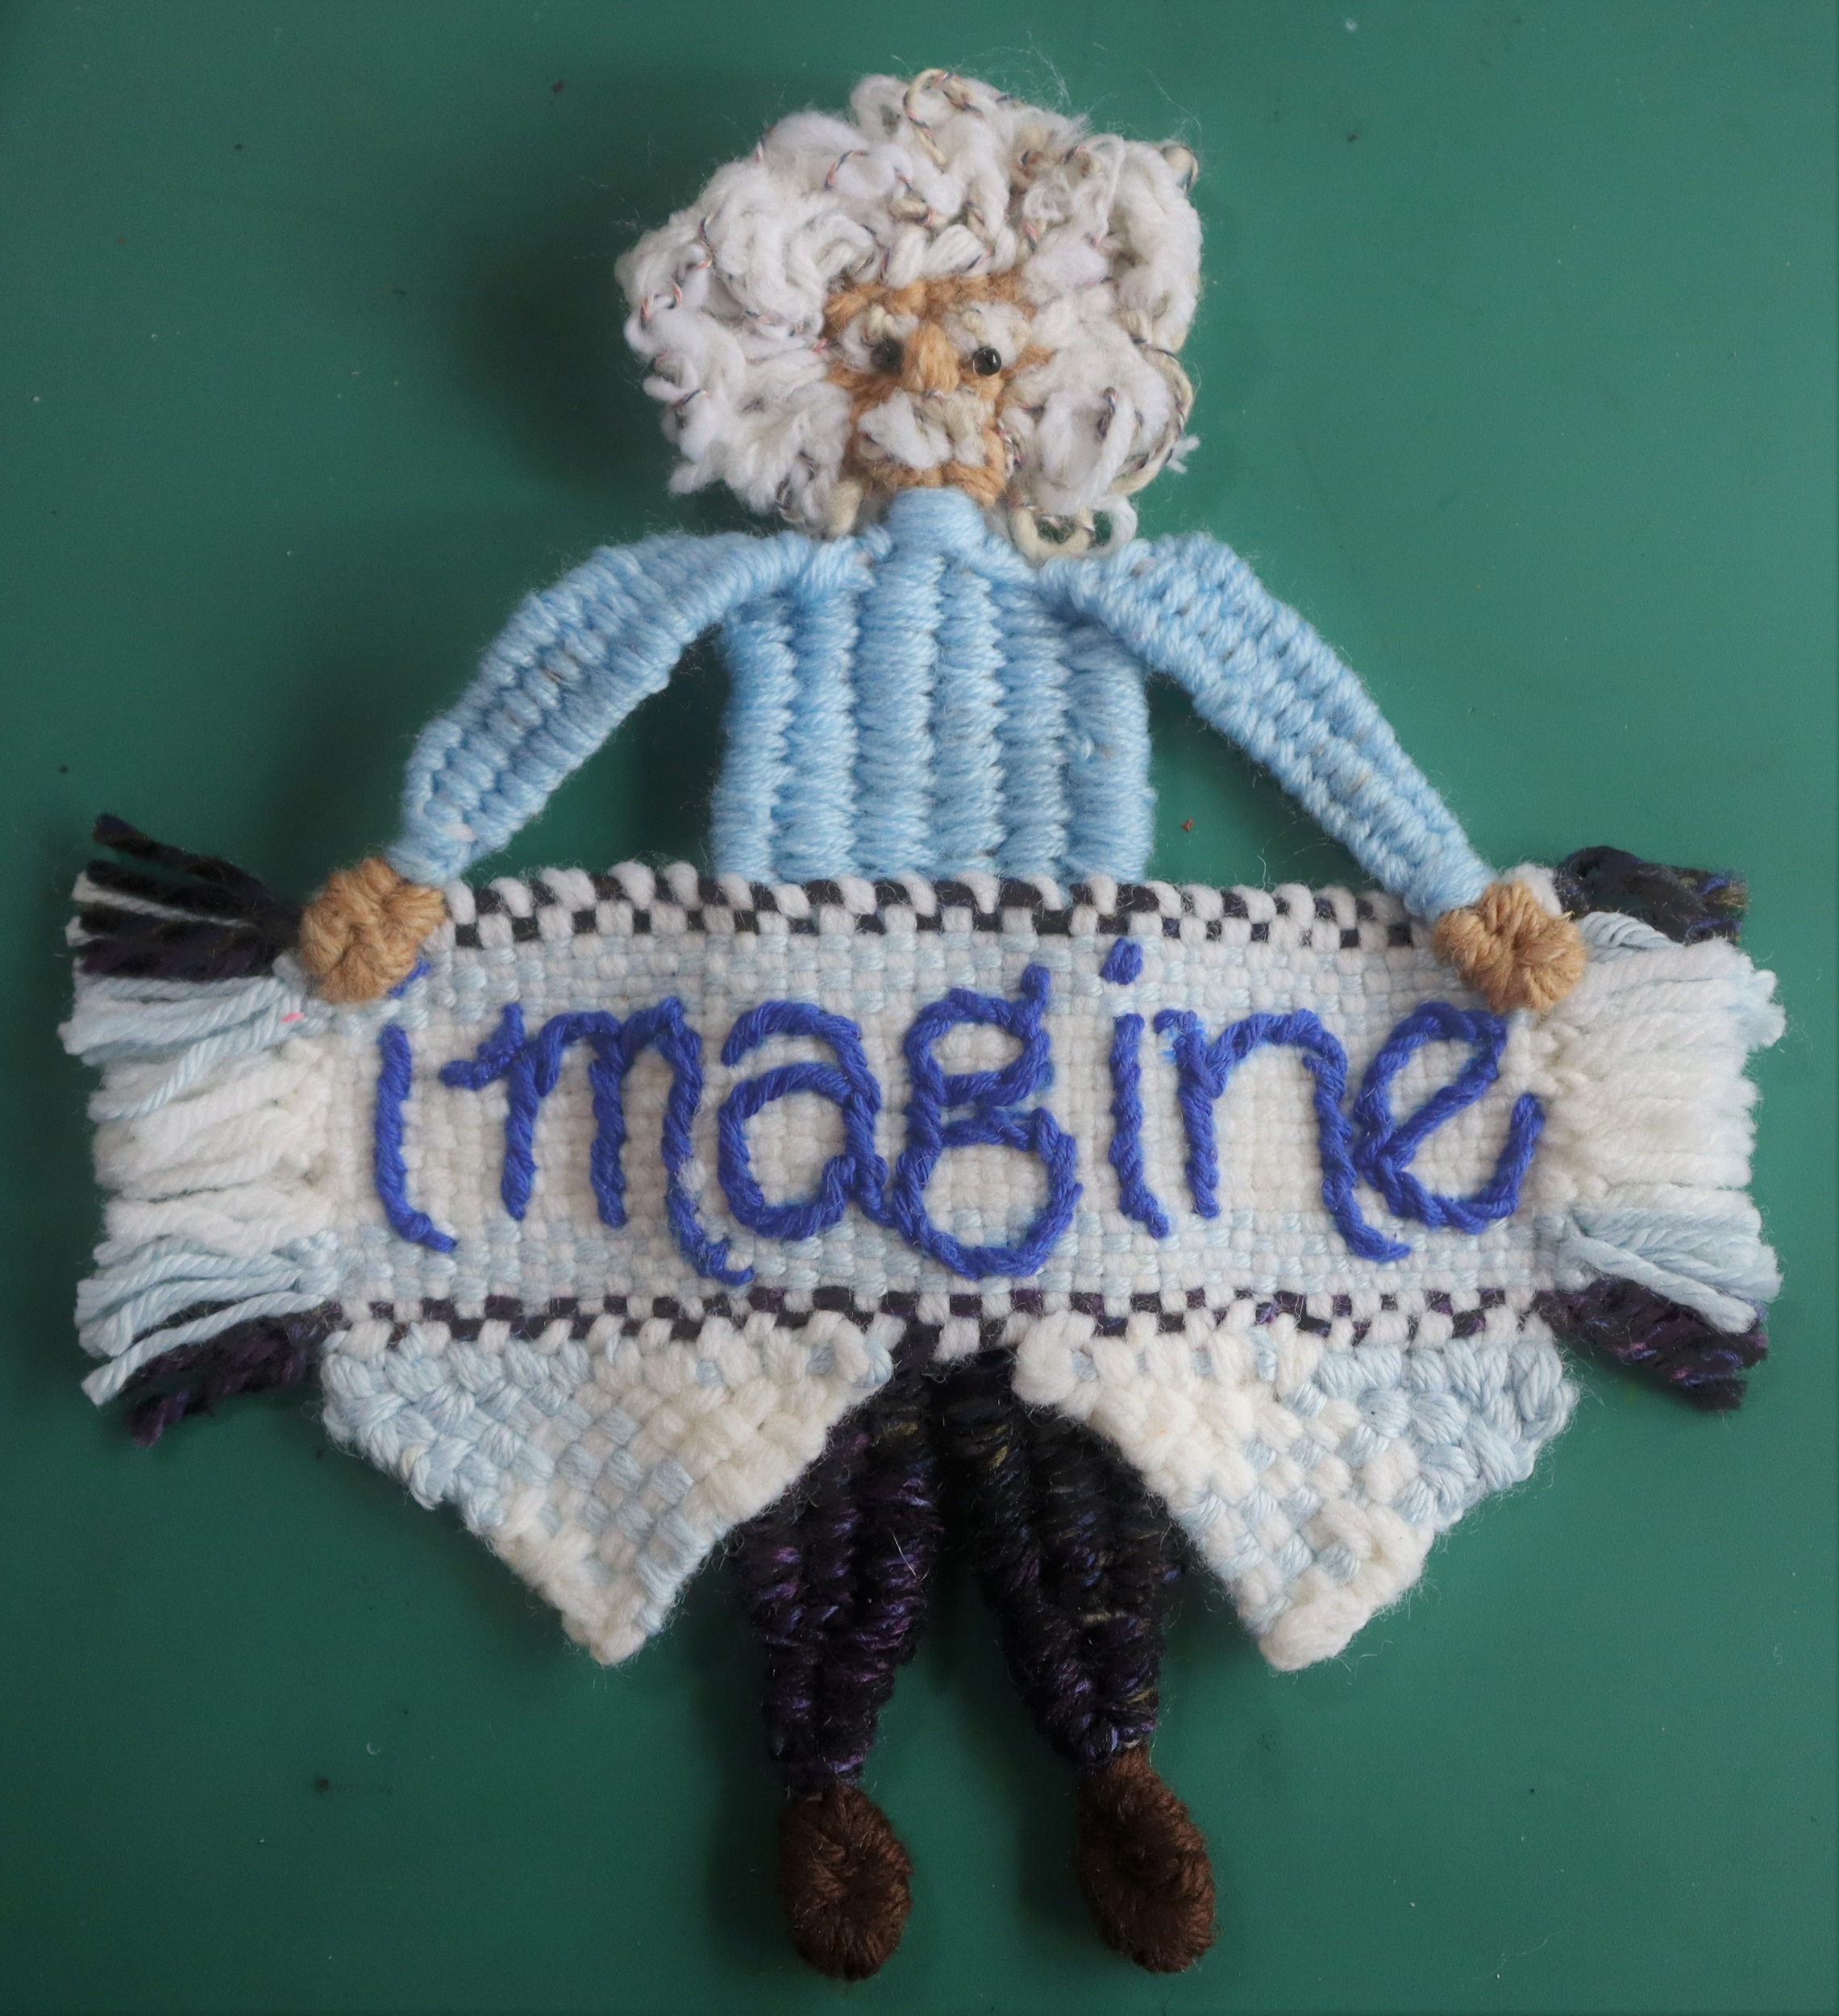
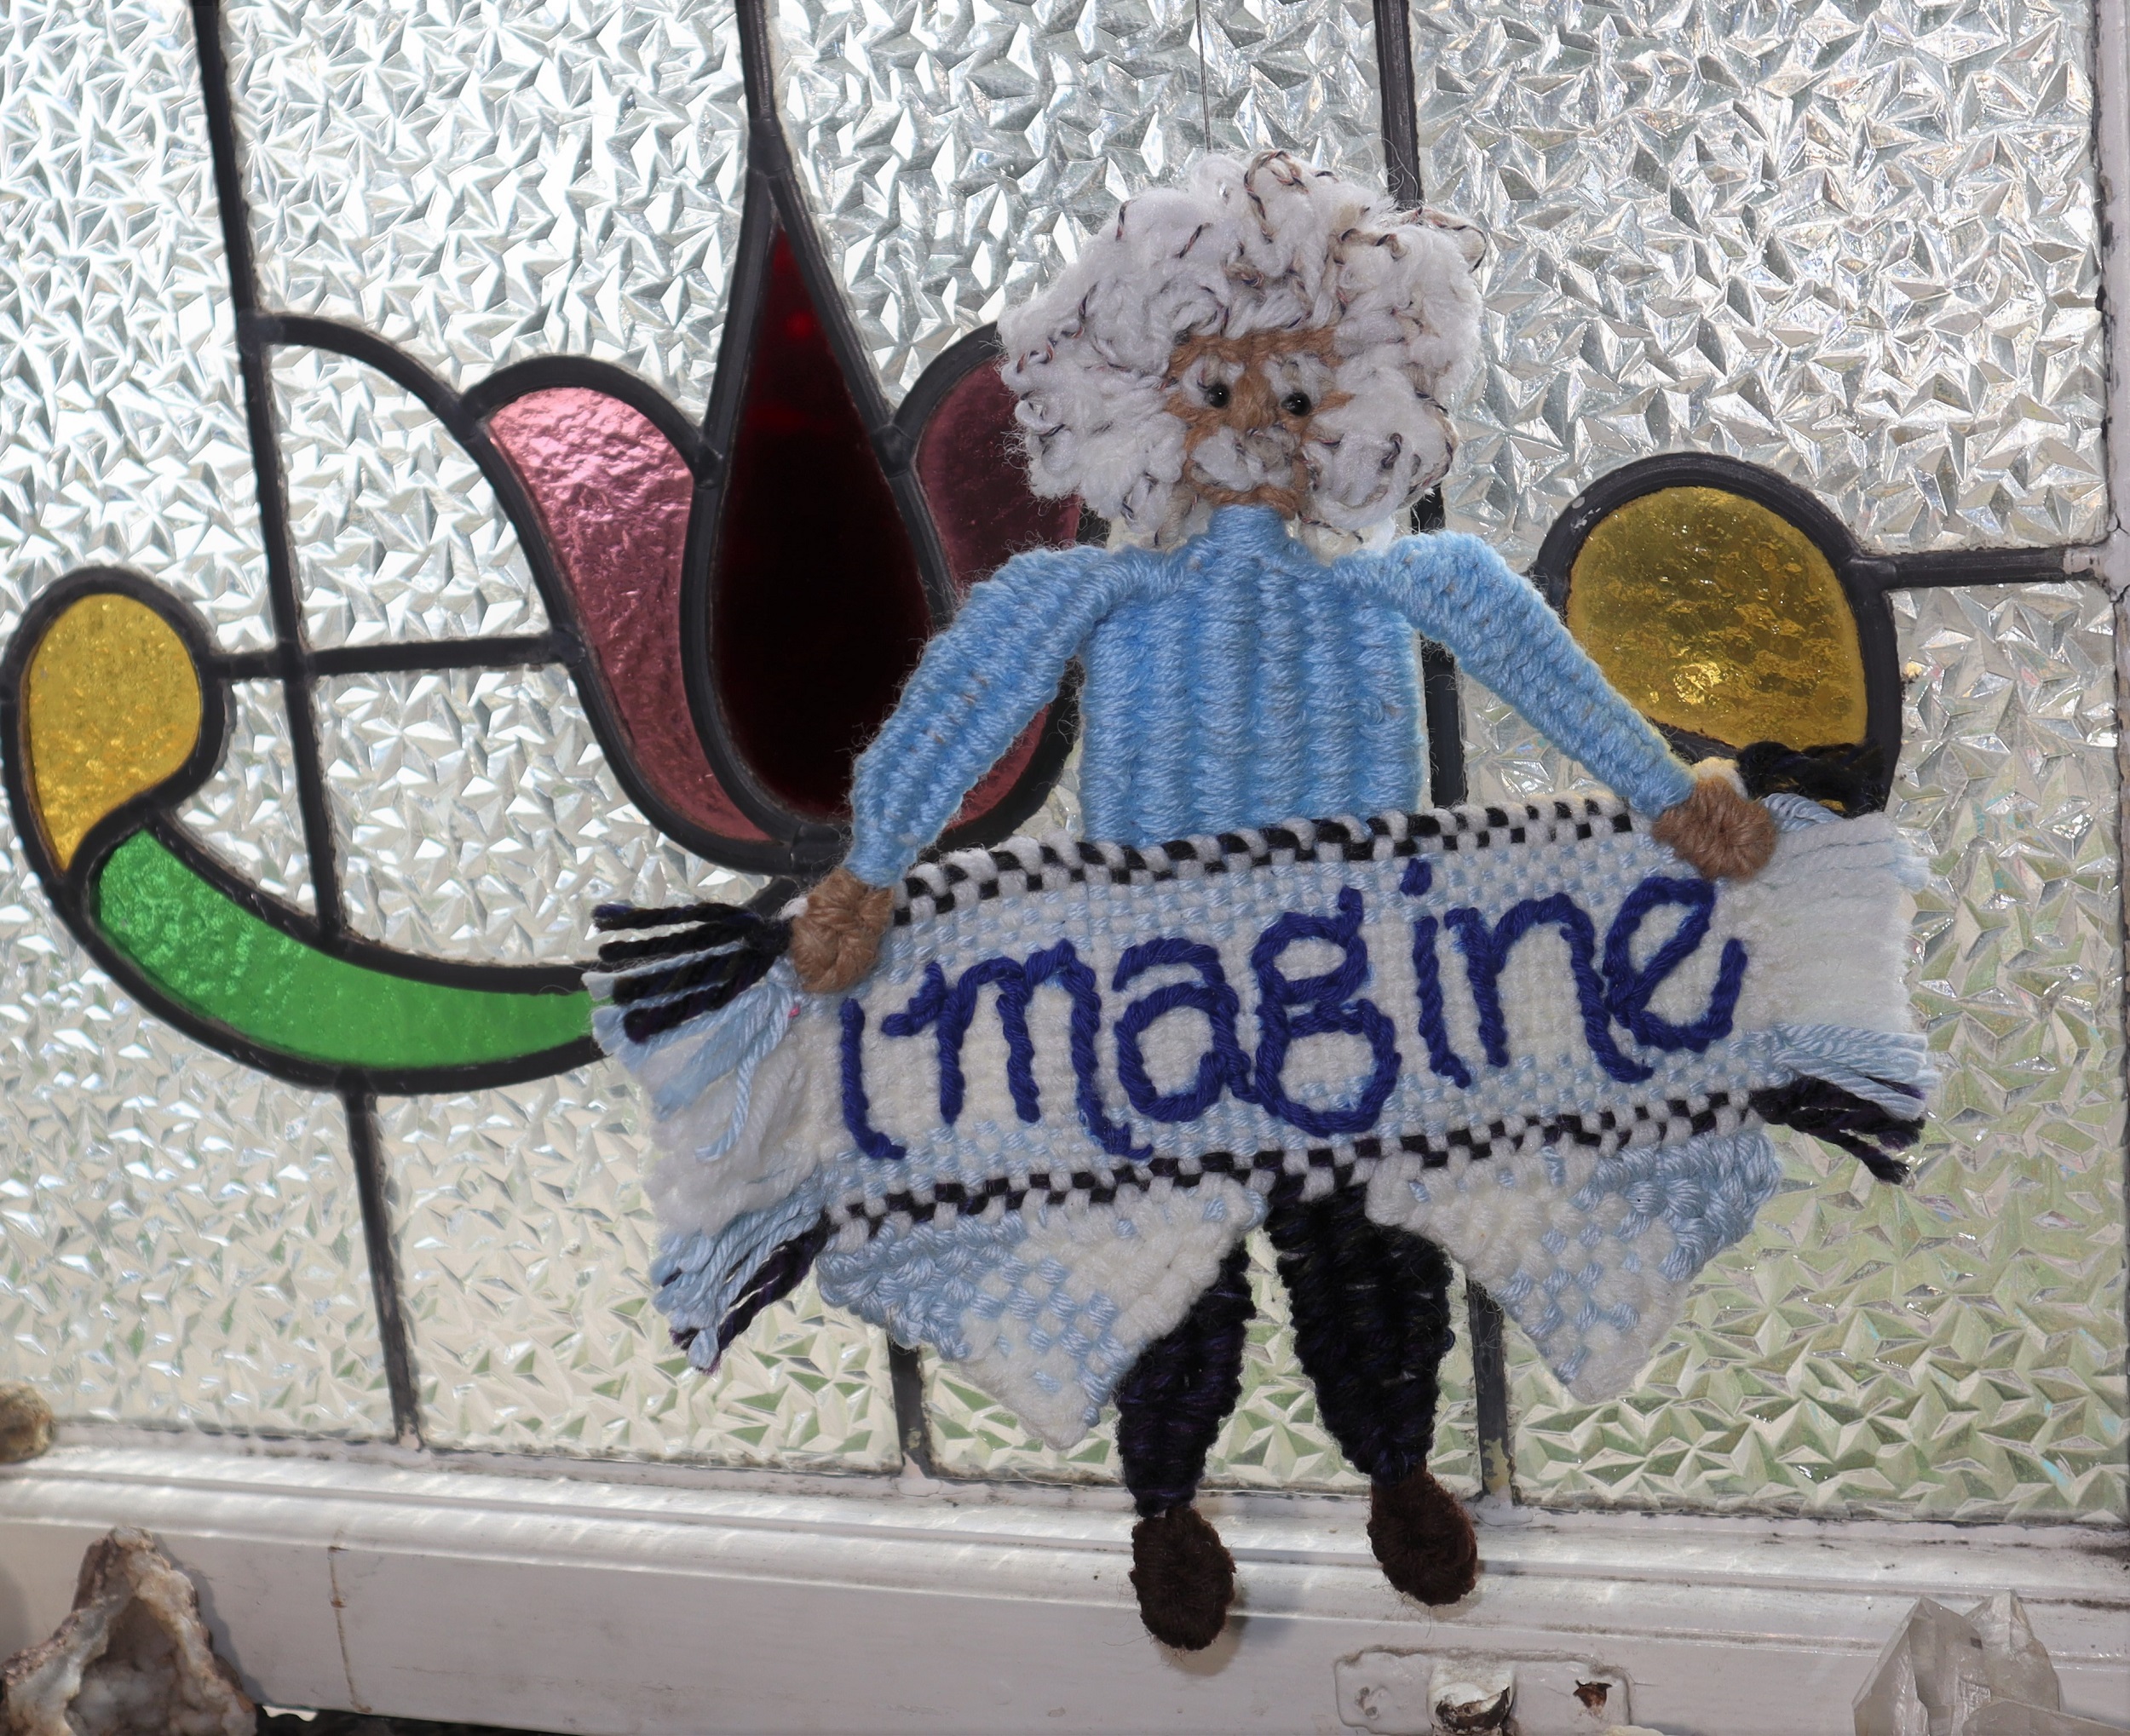
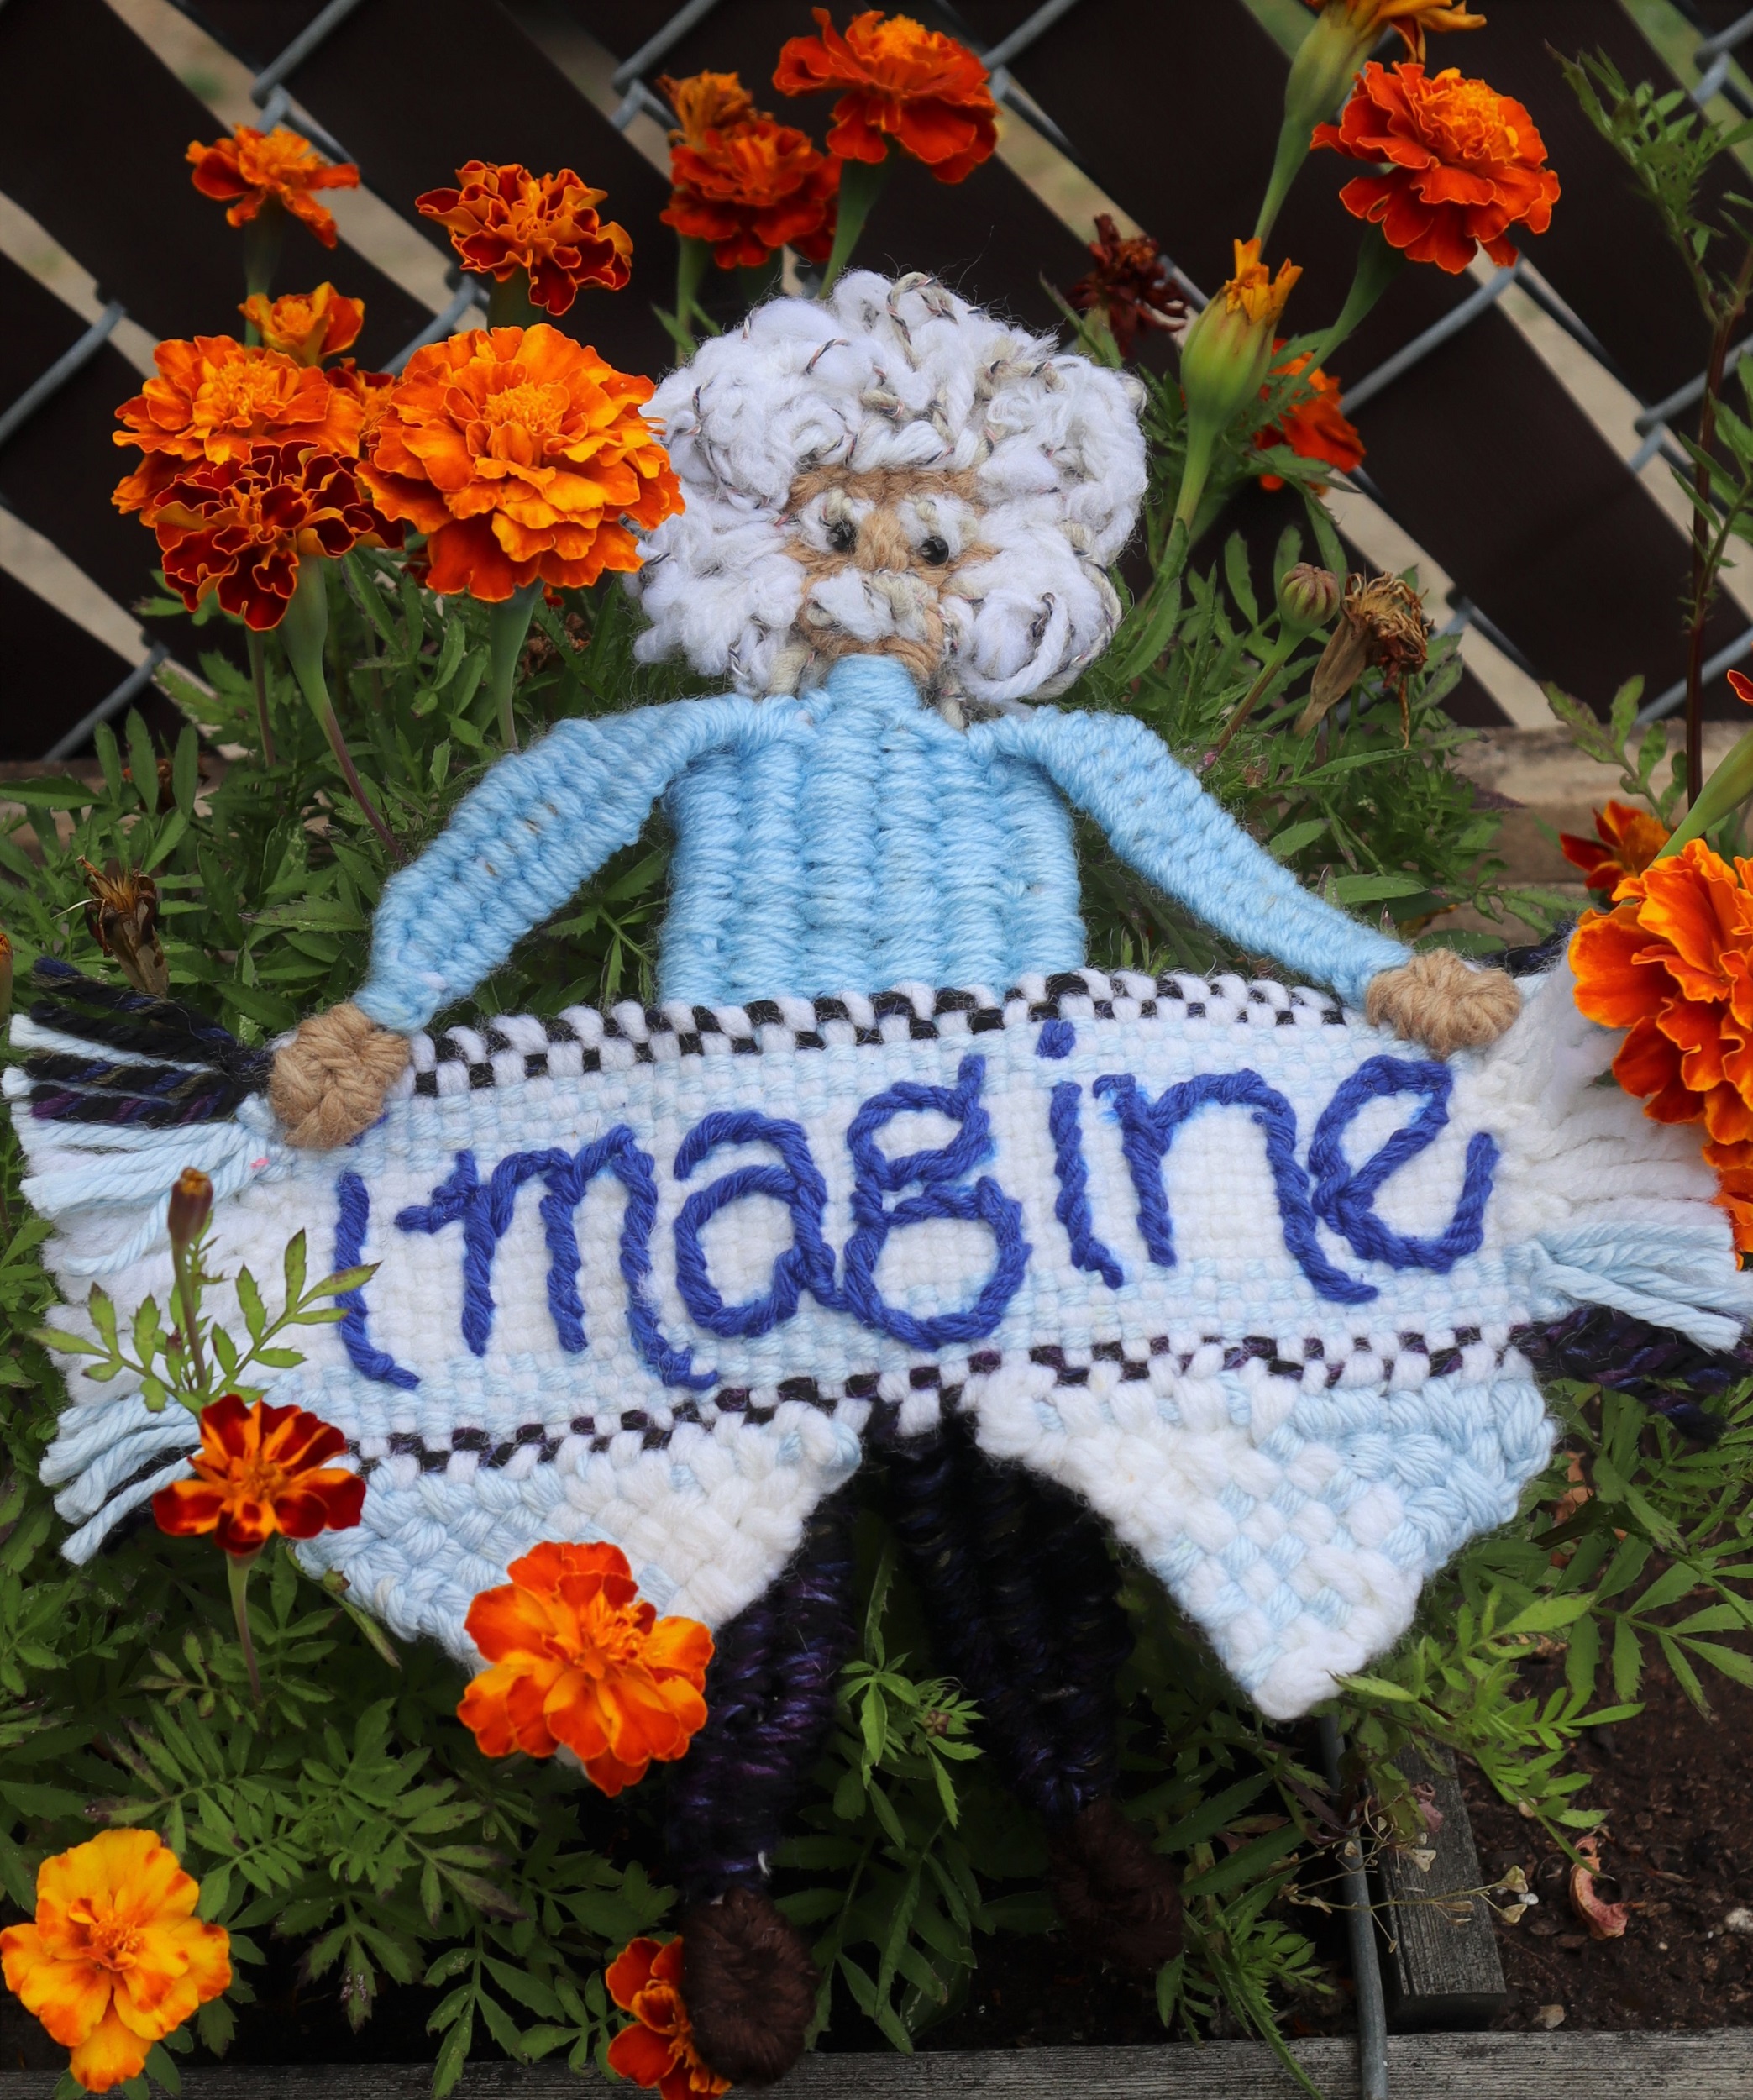
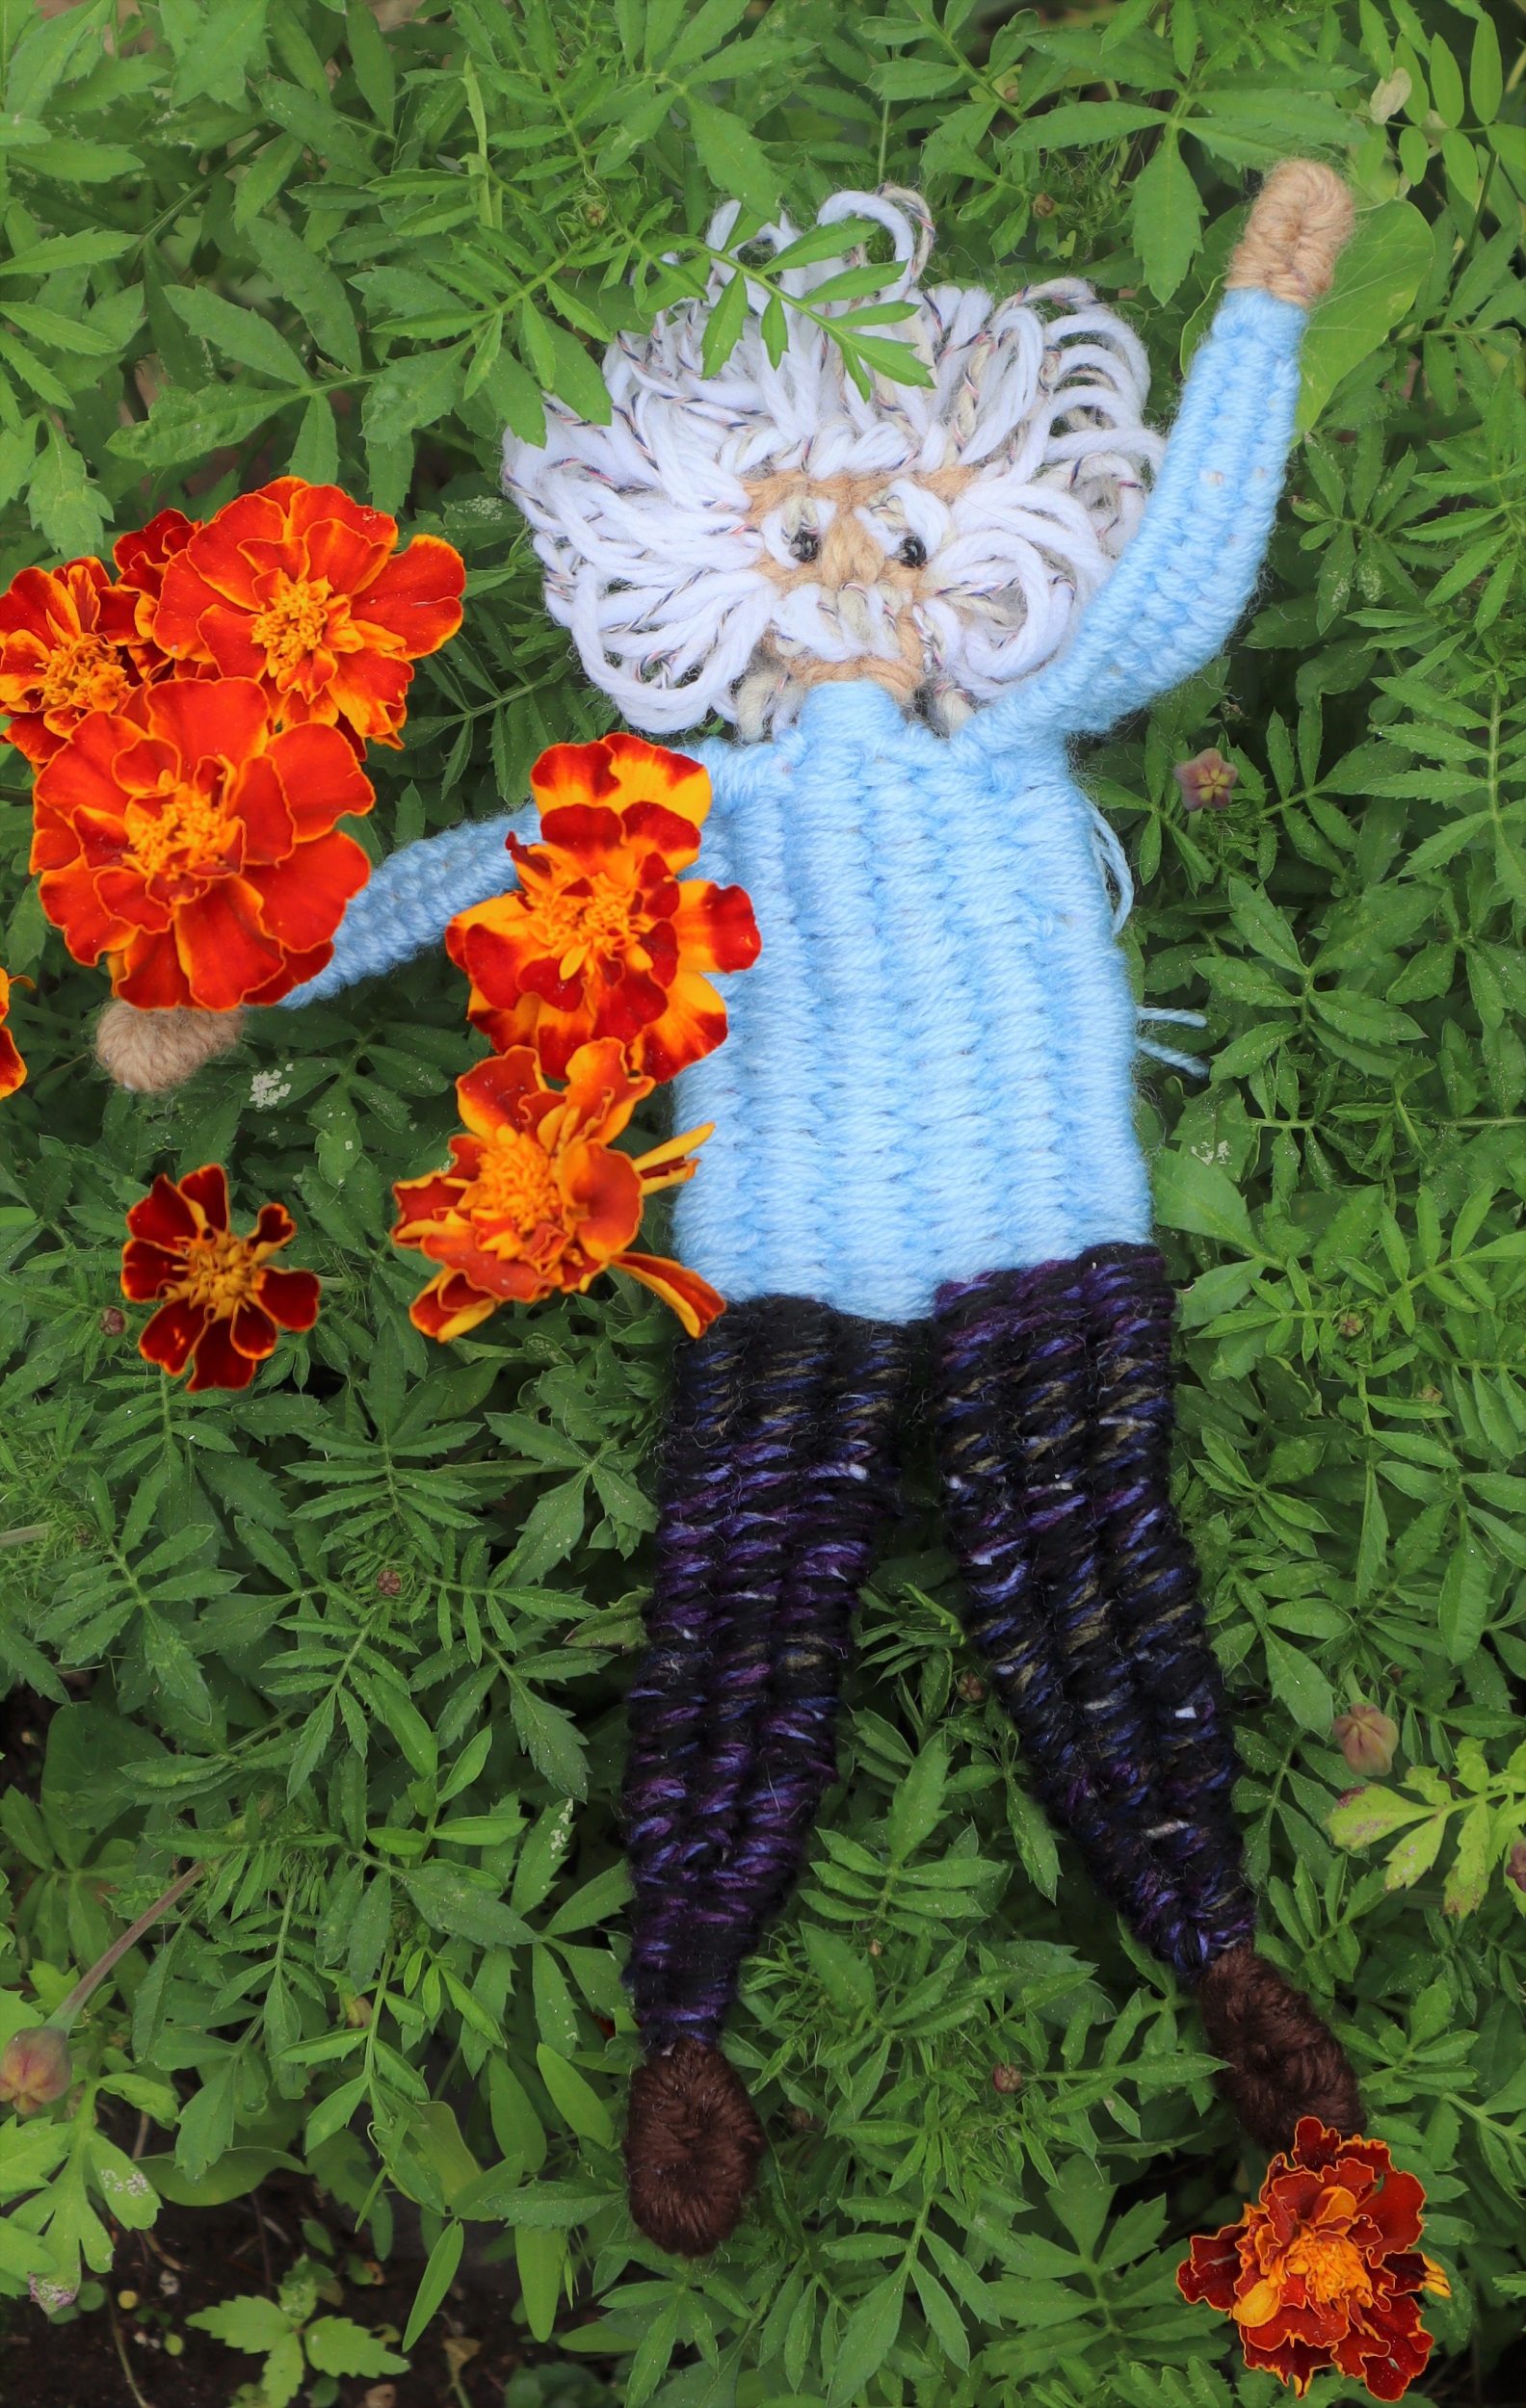
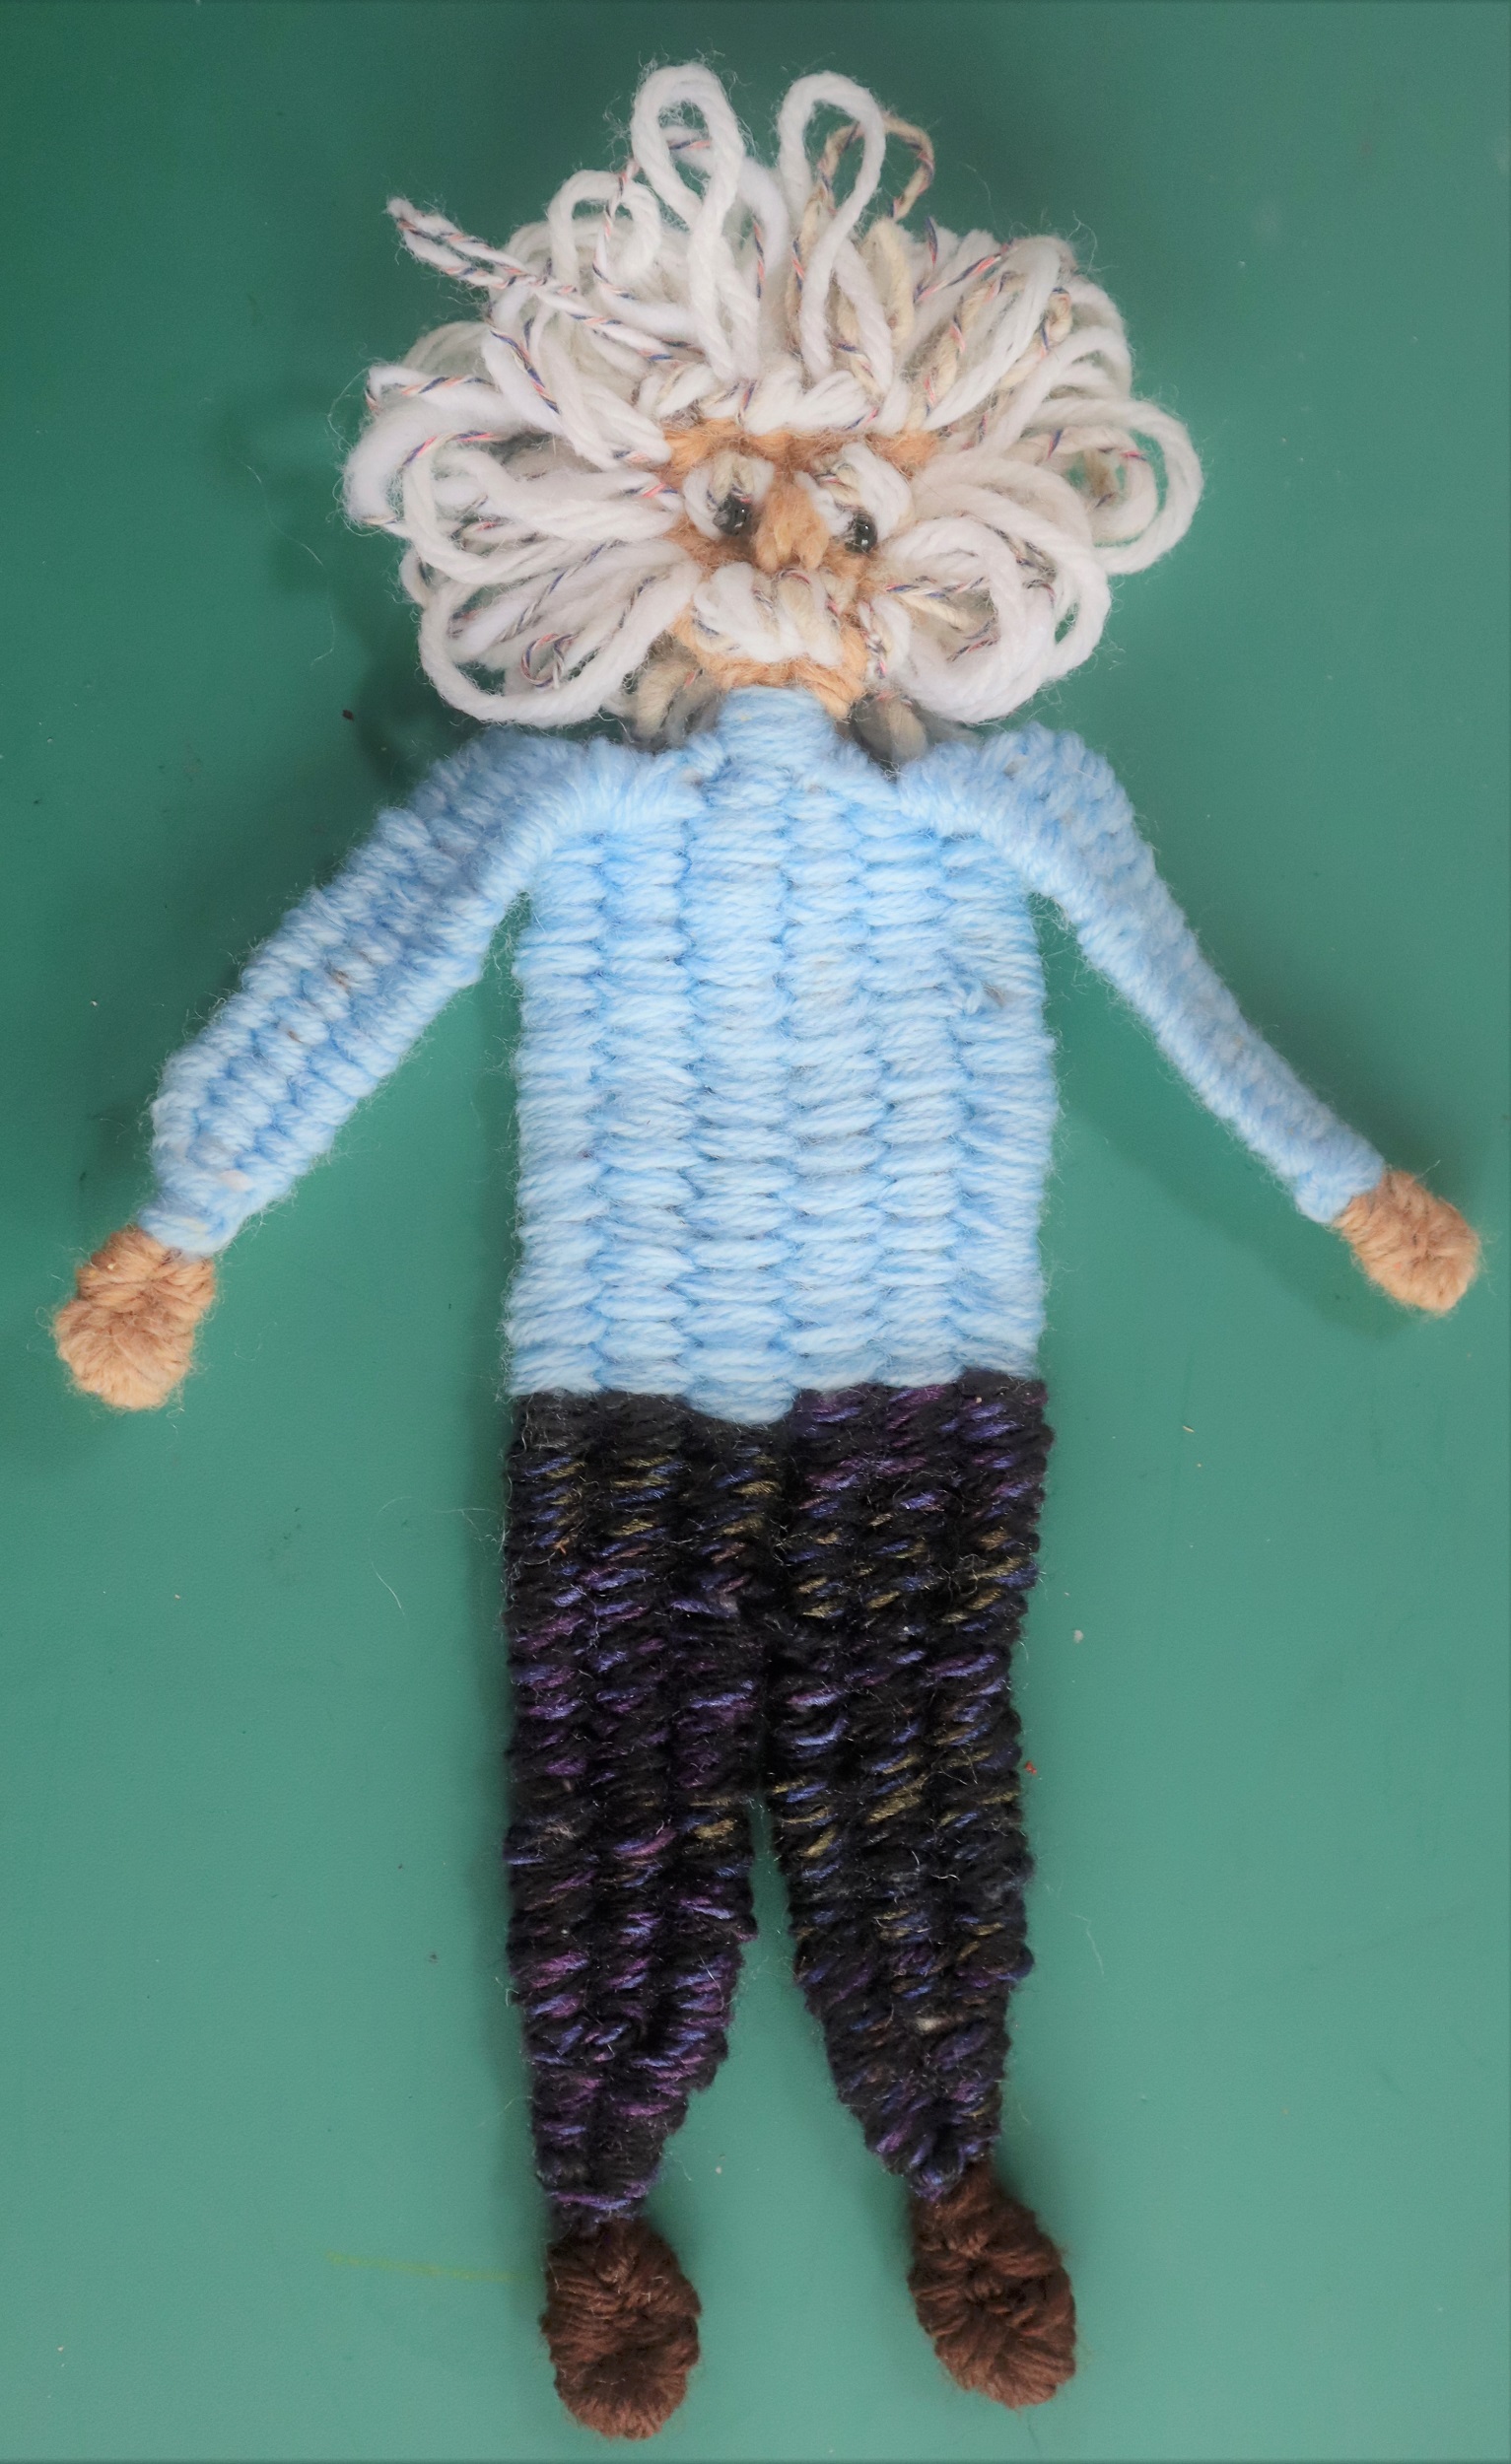
FREE FORM WEAVING: HOMAGE TO ALBERT EINSTEIN:
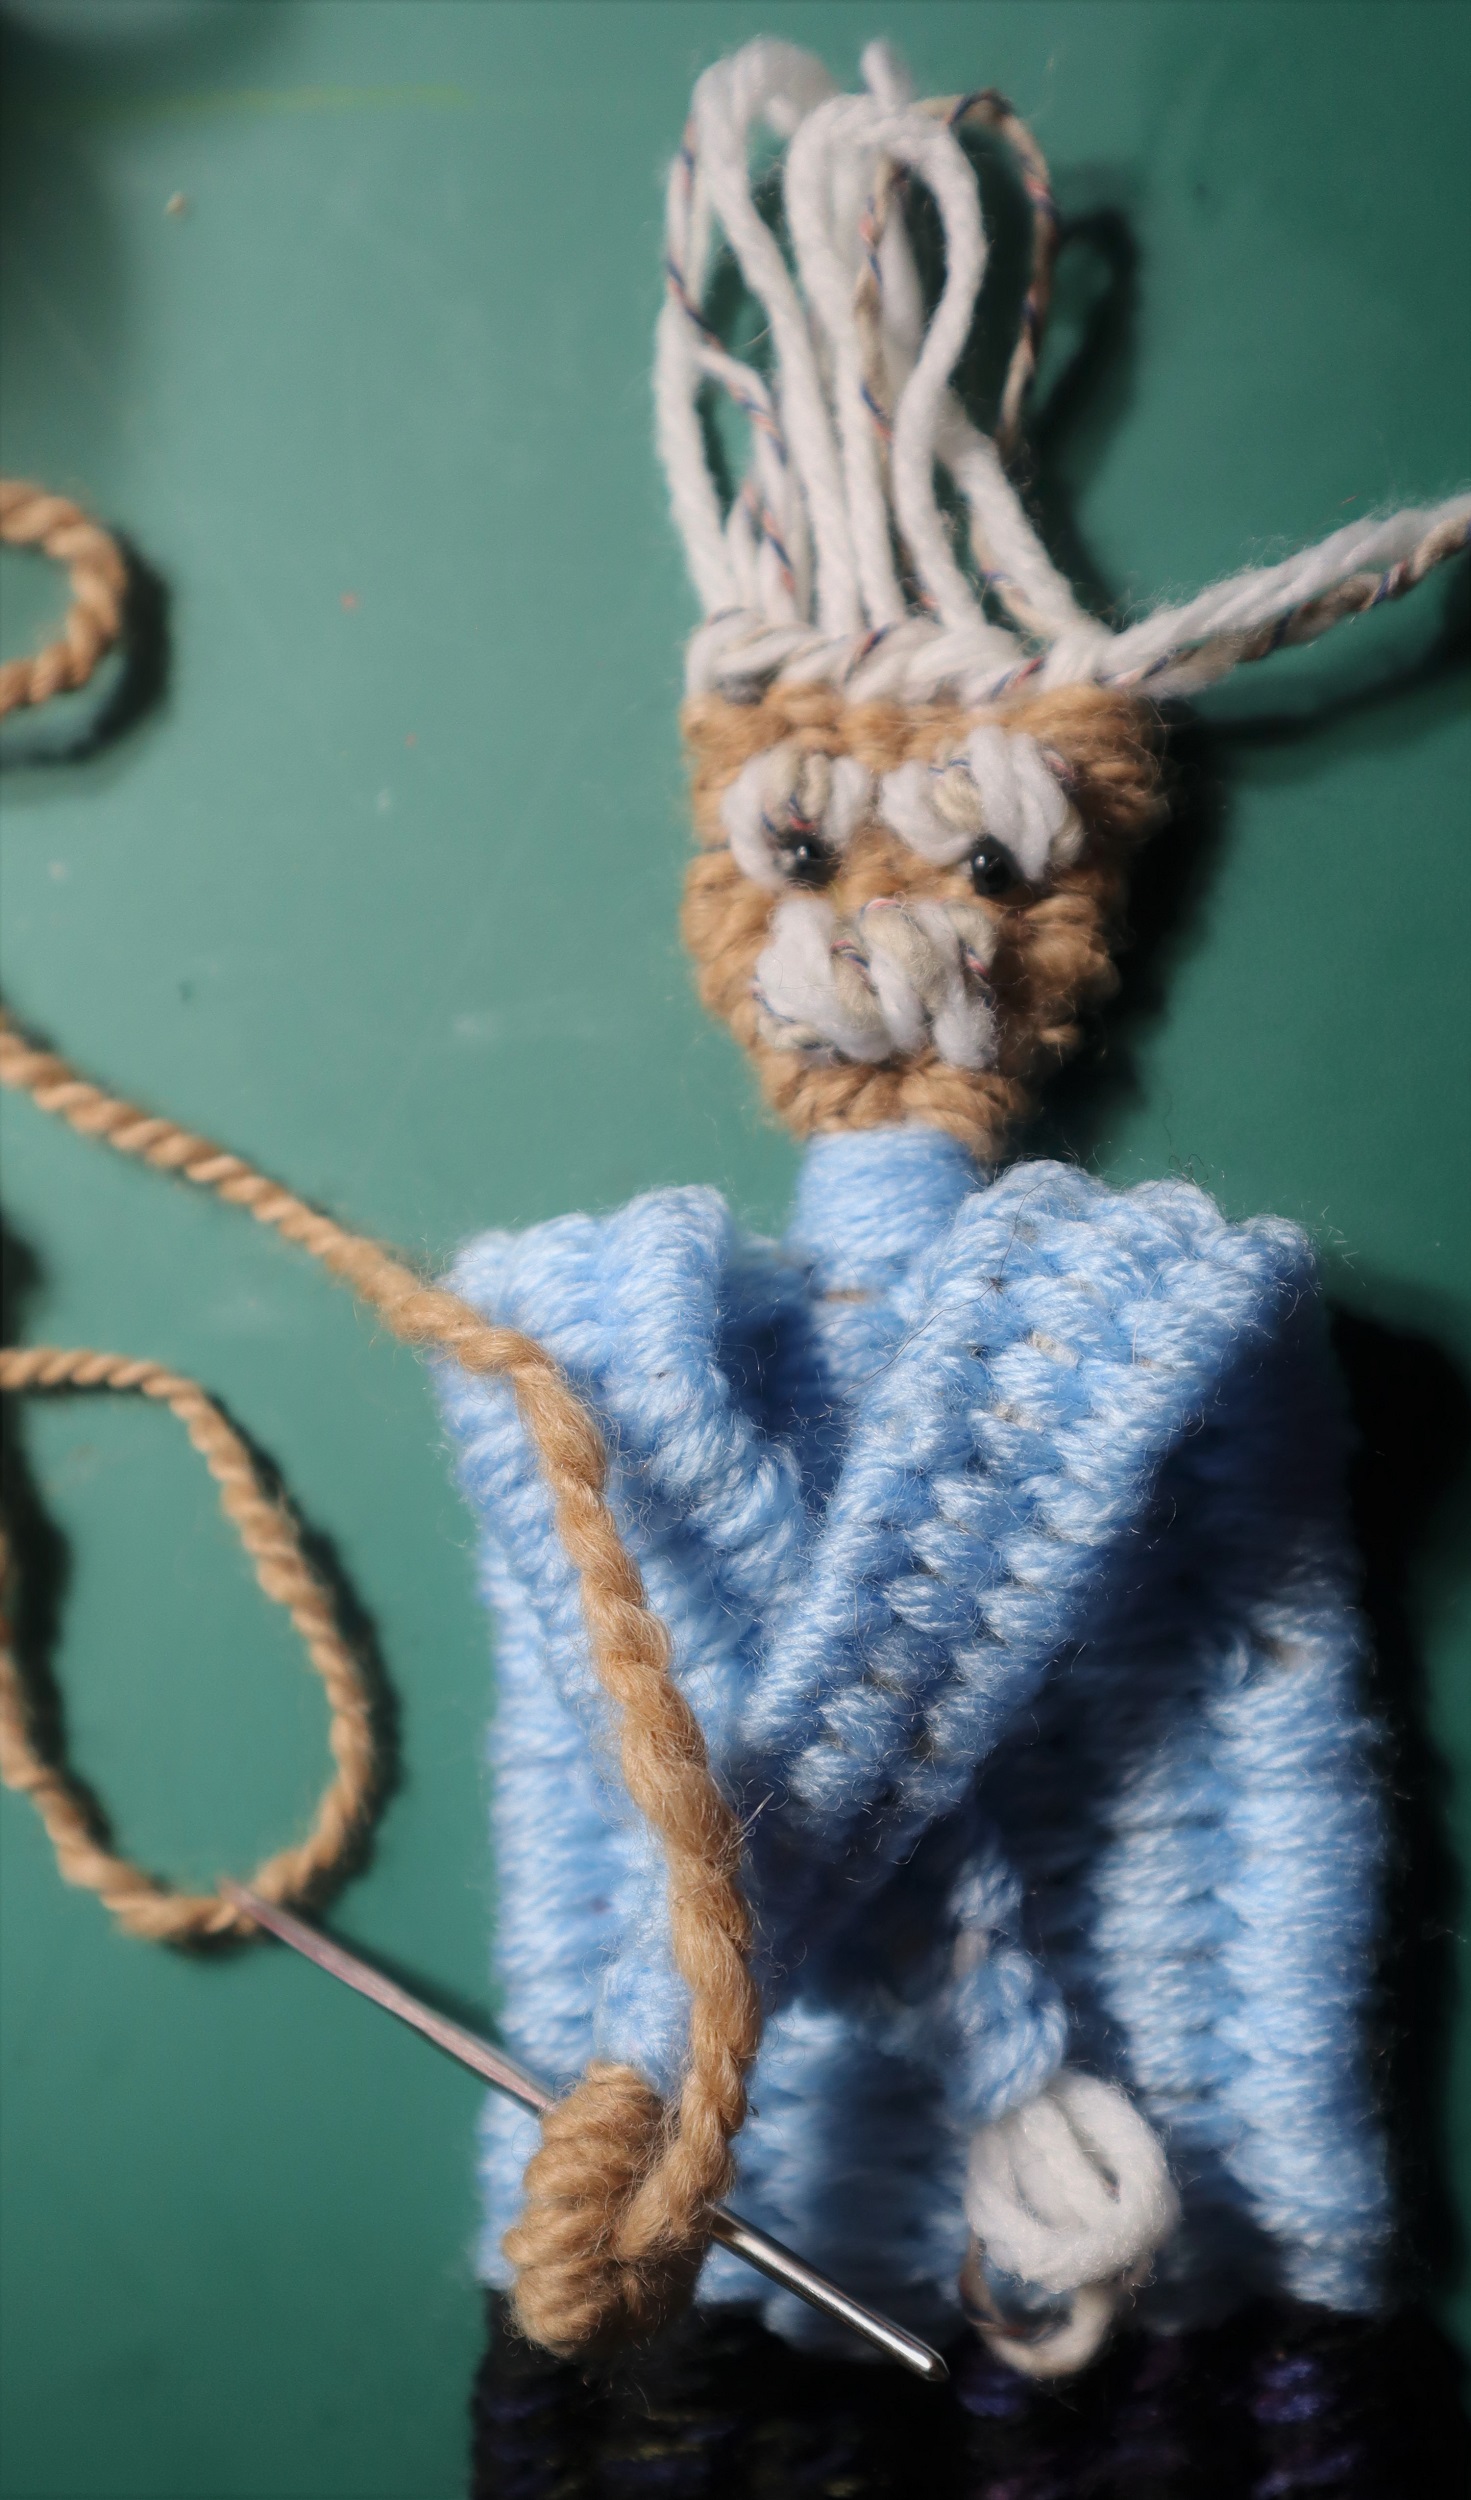
Albert Einstein is woven (with a few extrapolations and a slight adjustment to the waistline) following the instructions for the Woven Dancer on page 30 of “Innovative Weaving on the Frame Loom”.
In order to hold the pattern onto the loom, a backing board is needed. See: LINK
INSTRUCTIONS:
HOW TOWEAVE THE ALBERT EINSTEIN FIGURE:
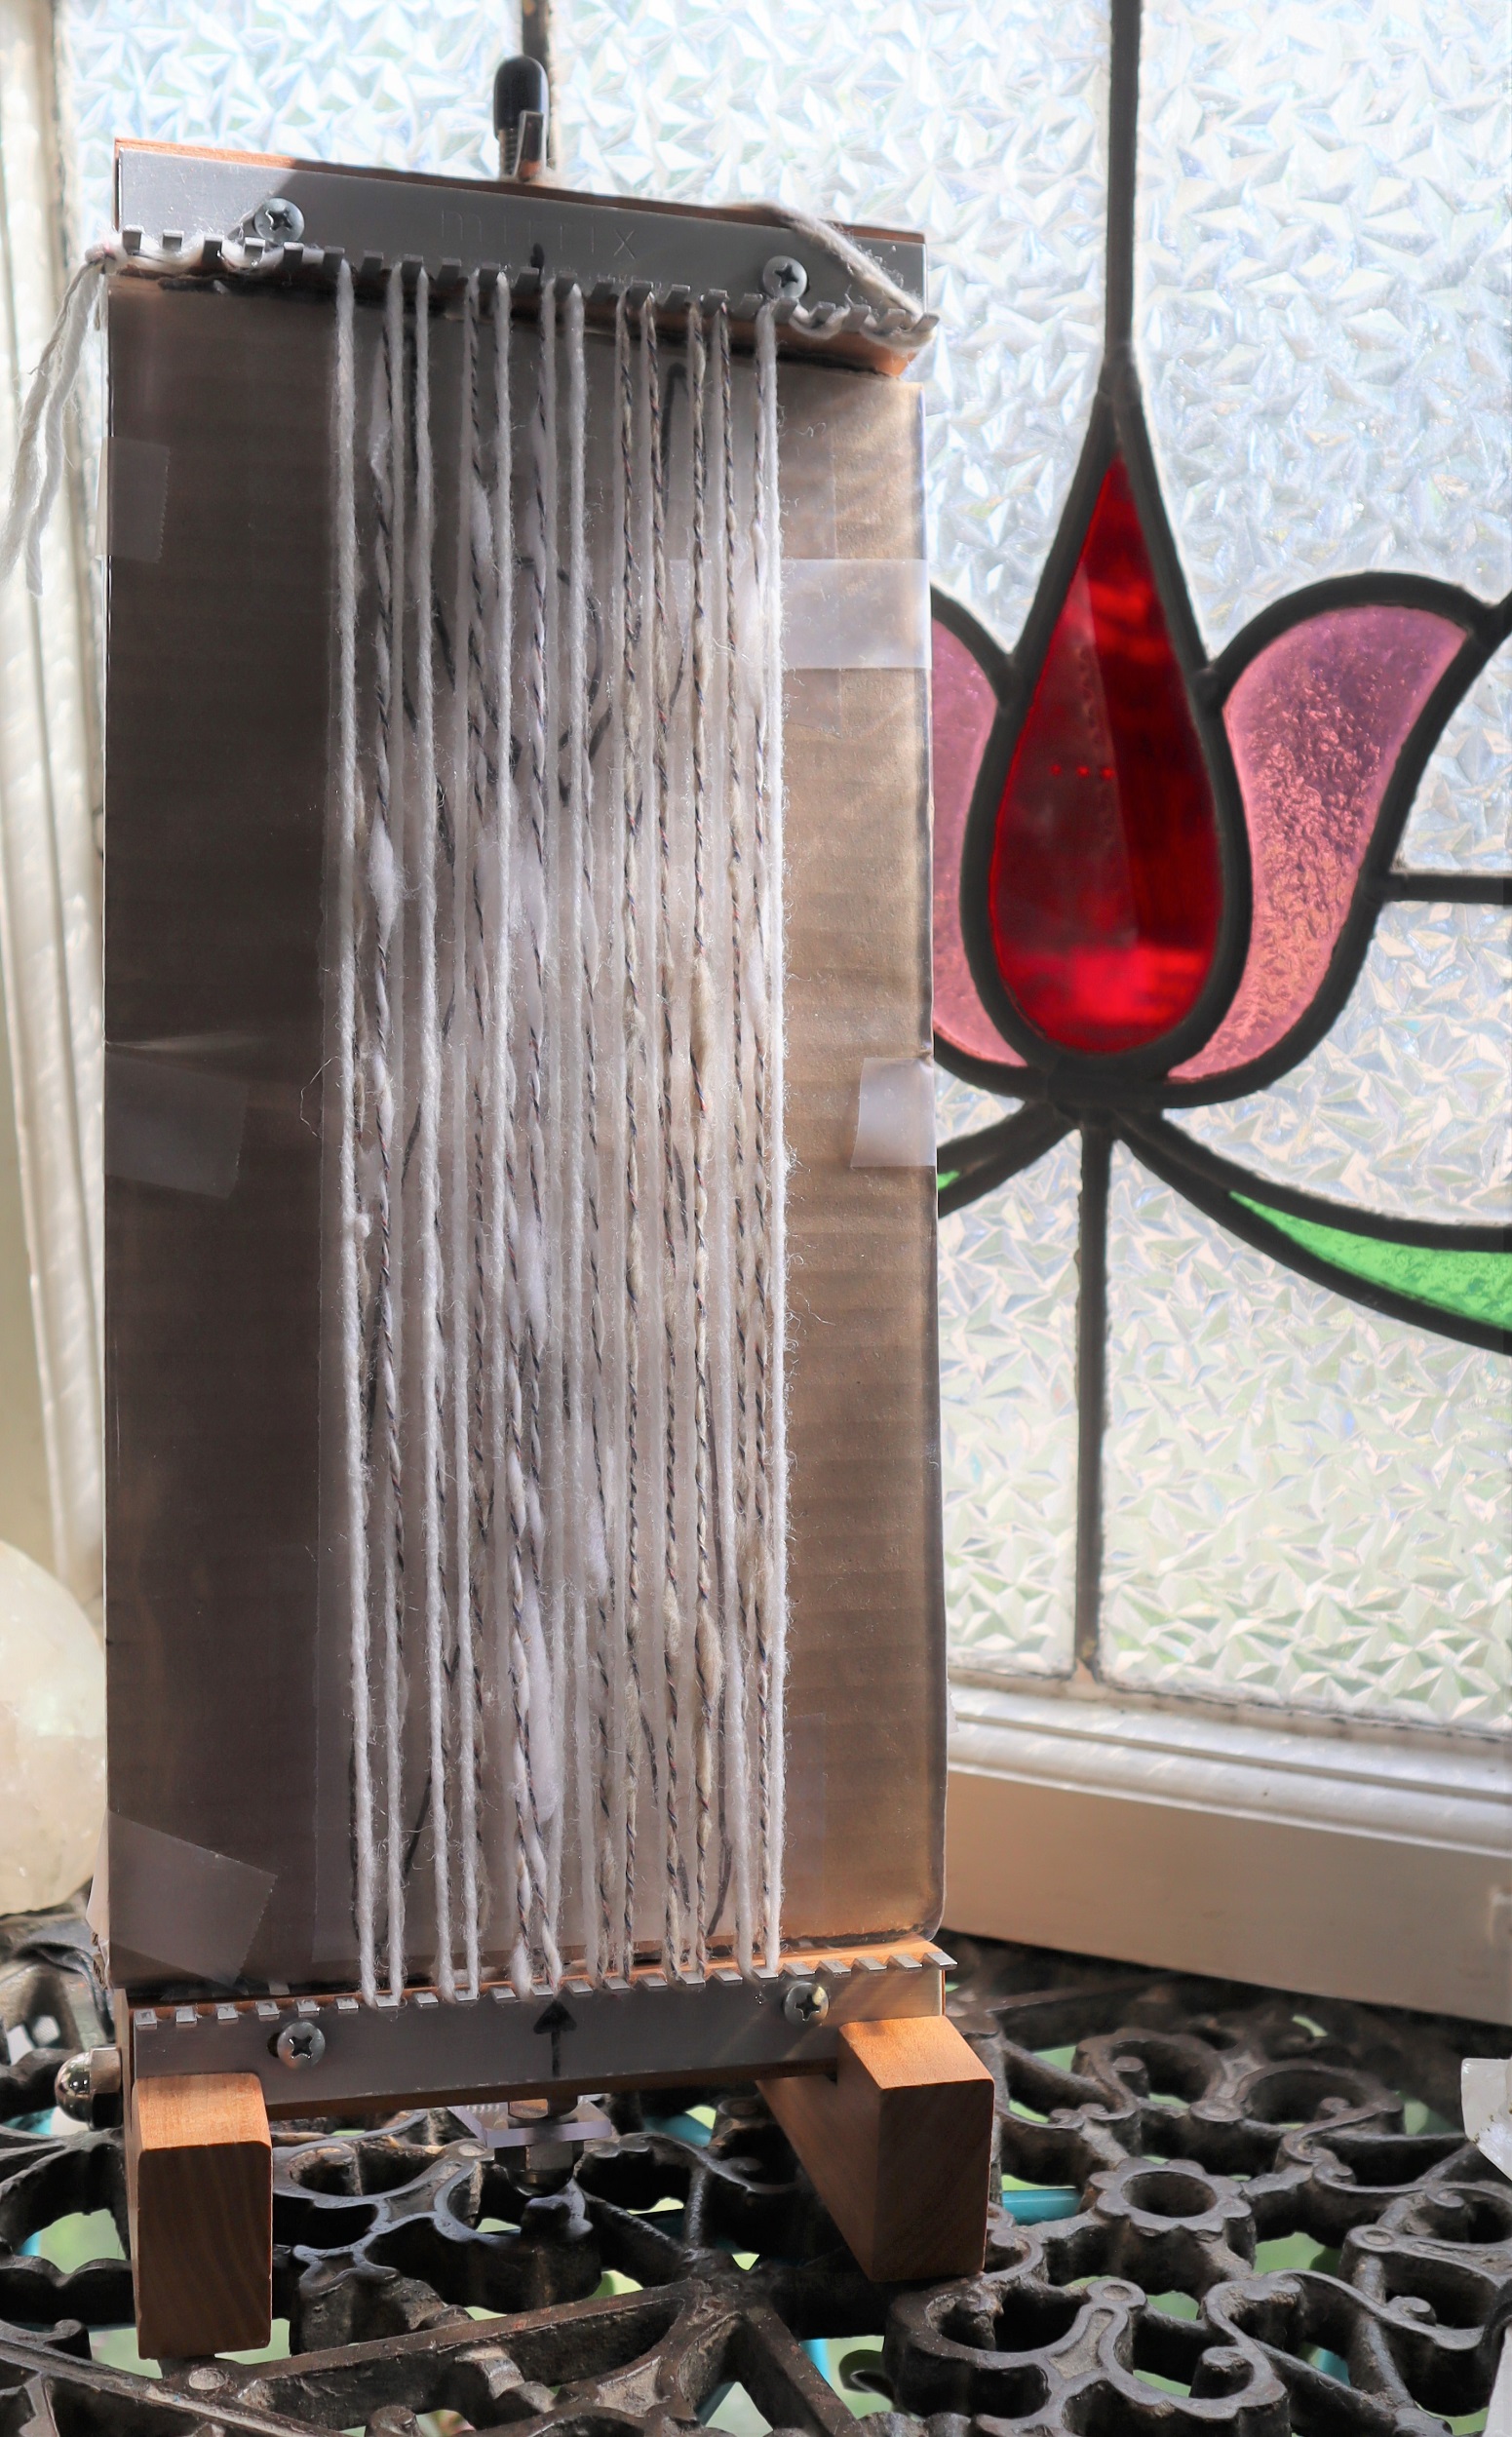
1: SET UP THE LOOM so it is 11 inches/27.5 cm) from the lower set of pegs to the upper set. Lock it into the ‘Sandy Stand’.
Fold the ends of the backing board to the back and slide it in place on the loom.
2: WARP THE LOOM: Following the instructions for the Woven Dancer on page 30 of ‘Innovative Weaving on the Frame Loom’, with 1 strand of #4 Medium weight (Worsted or Sport weight) yarn white and 1 strand grey held together as if they are a single strand:
Skip 6 pegs at each side of the loom and warp the loom, following the instructions in the book closely.
3: WEAVING:
LEGS:
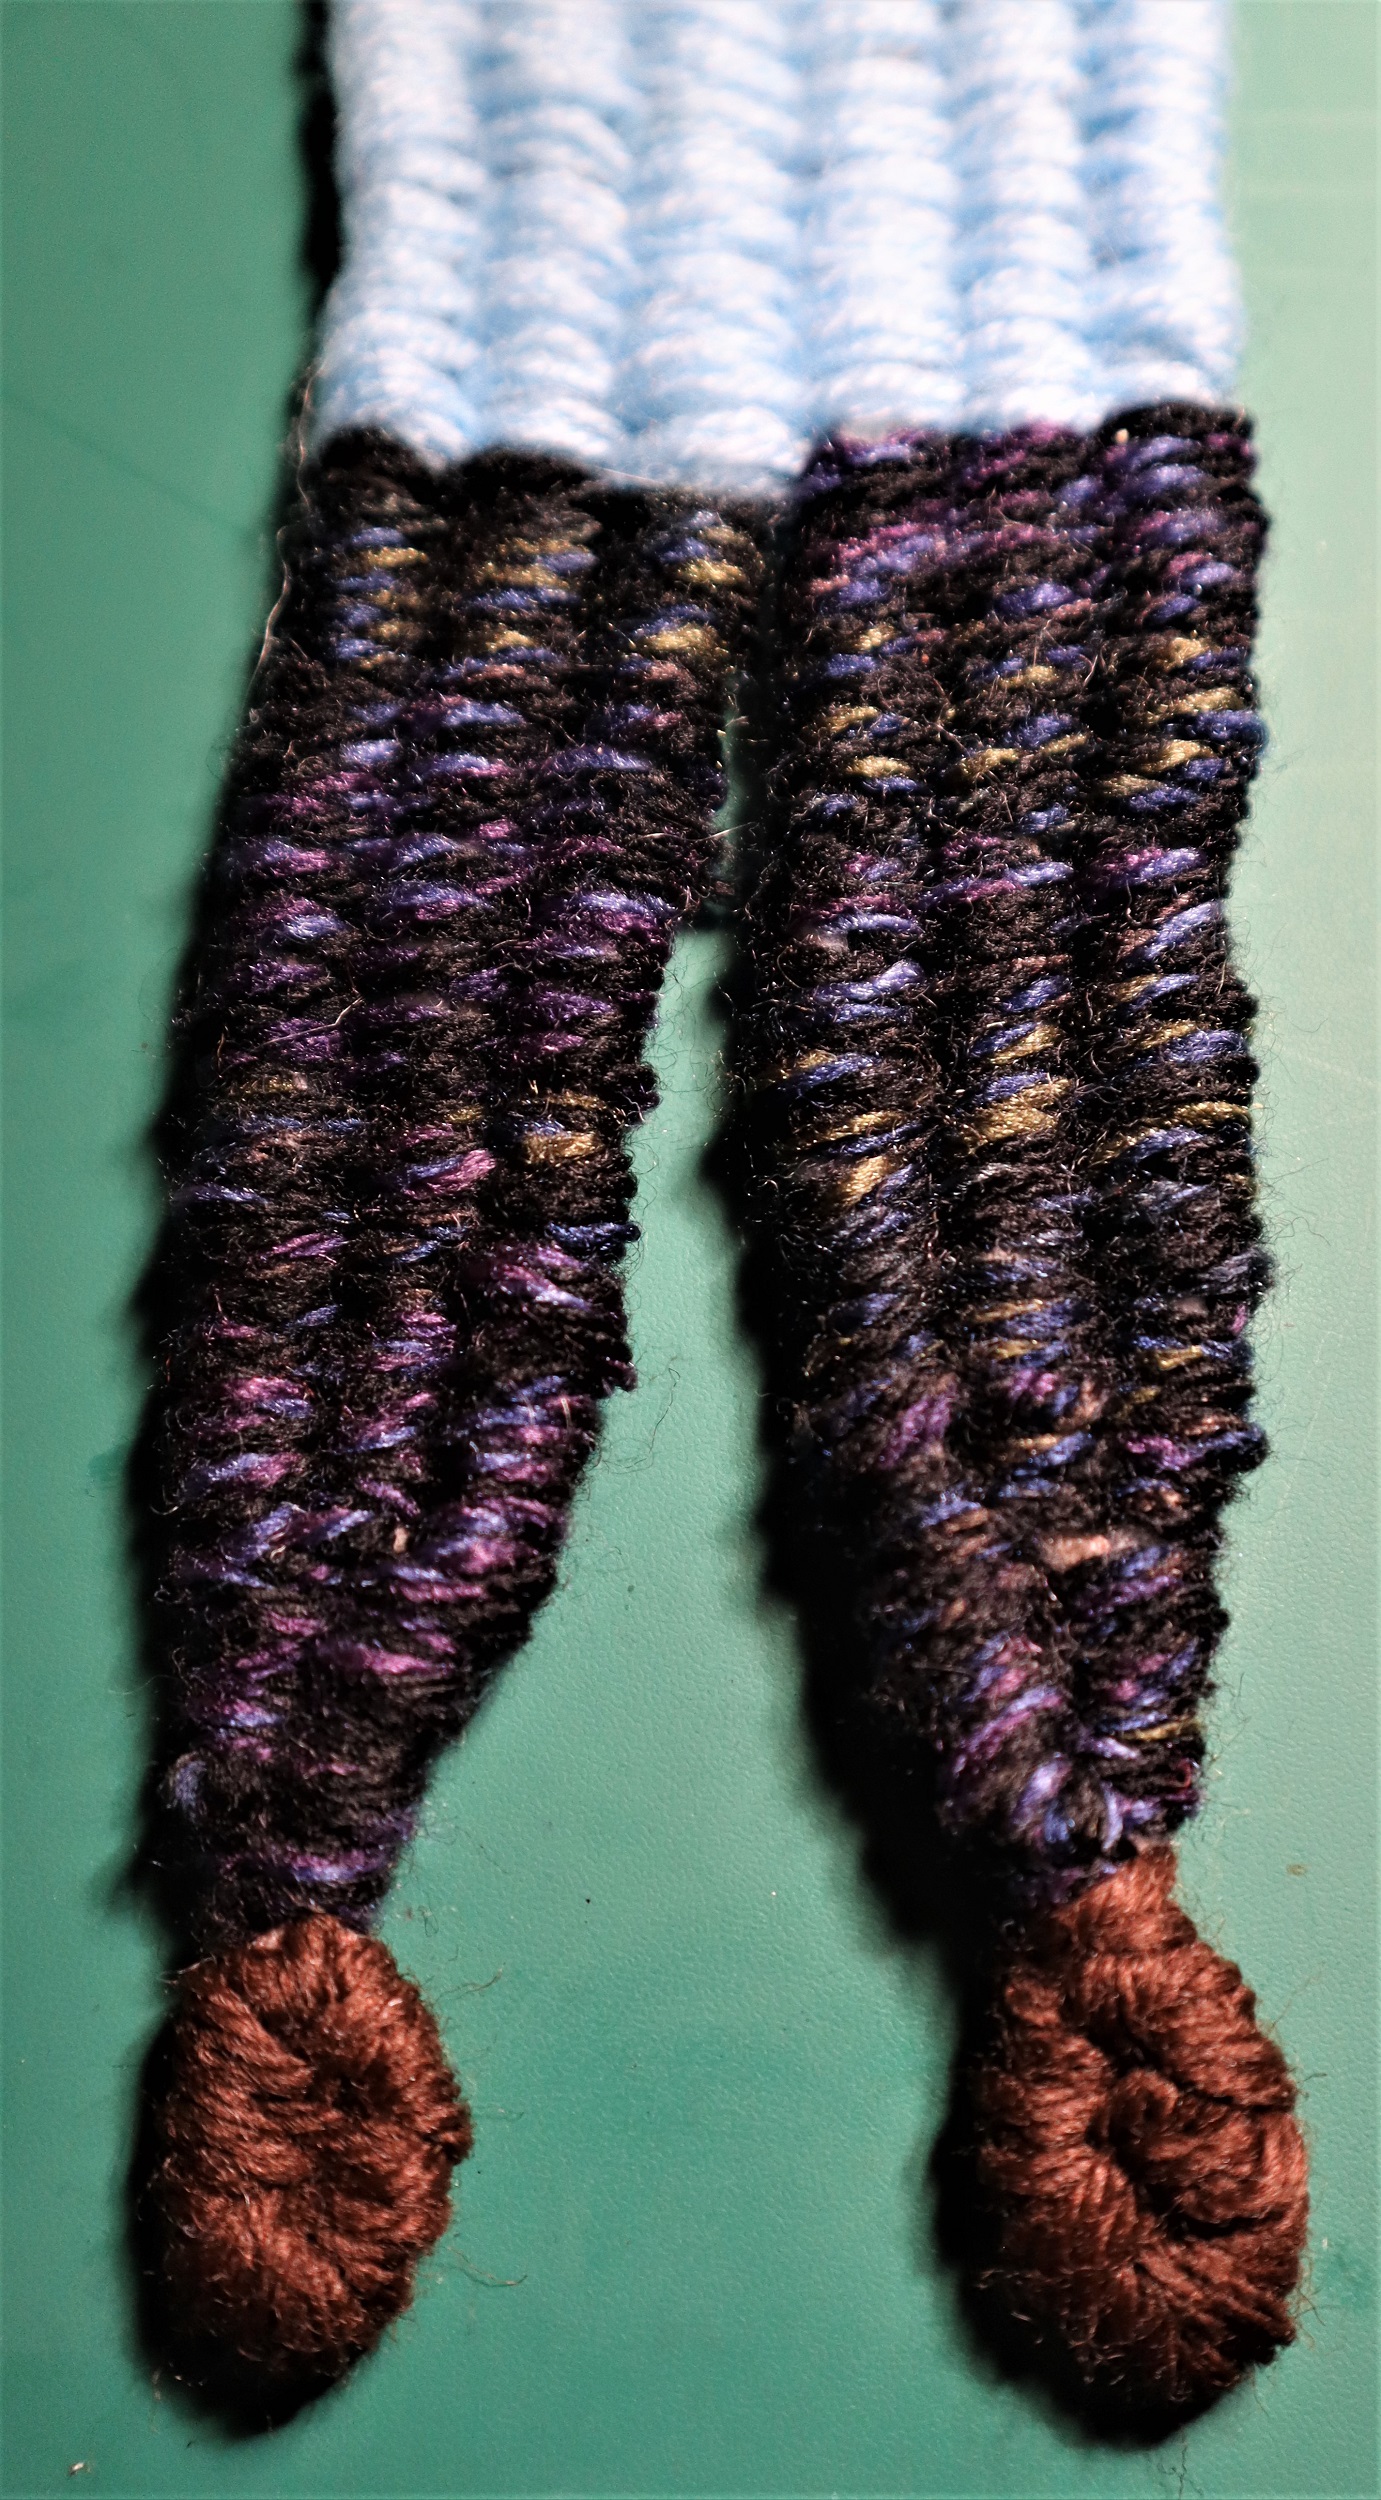
Leaving only an inch or of a tail end rather than the long tail end listed in the instructions in the book, weave the legs with 2 strands of black yarn held together as if they are a single strand, and packing the weaving down closely to completely cover the warp strands. Follow the instructions in the book for weaving the legs, but noting that you will be beating the weft yarn in more densely than in the book.
SWEATER:
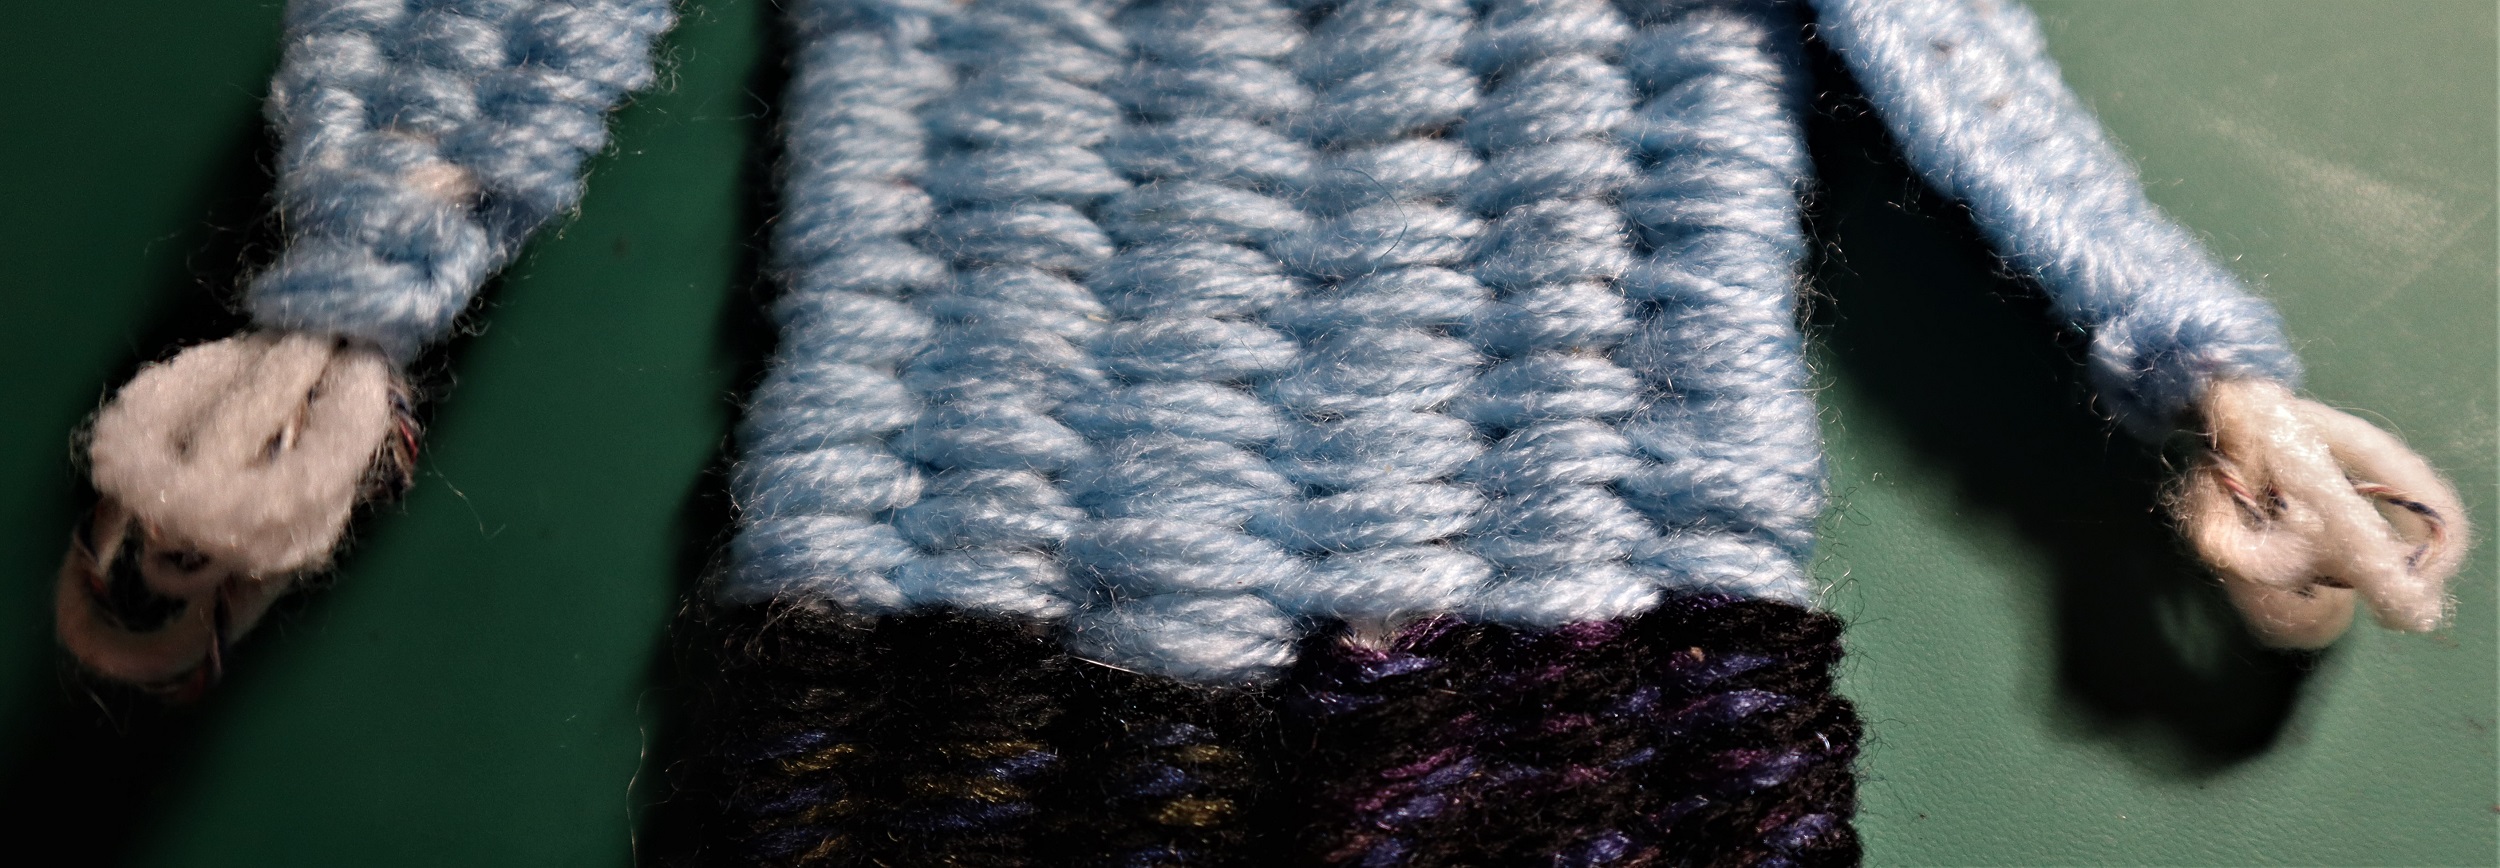
With 2 strands of light blue yarn held together as if they are a single strand, weave up to the neck. Beat the weft so it completely covers the warp strands.
DO NOT pull in the waistline as it is drawn in the book. Weave the sweater straight up to the shoulders.
Wrap the neck with the blue yarn and weave in the ends.
SLEEVES:
Weave the sleeves following the instructions for the arms, but, once again, beat the weft so it completely covers the warp strands.
FACE:
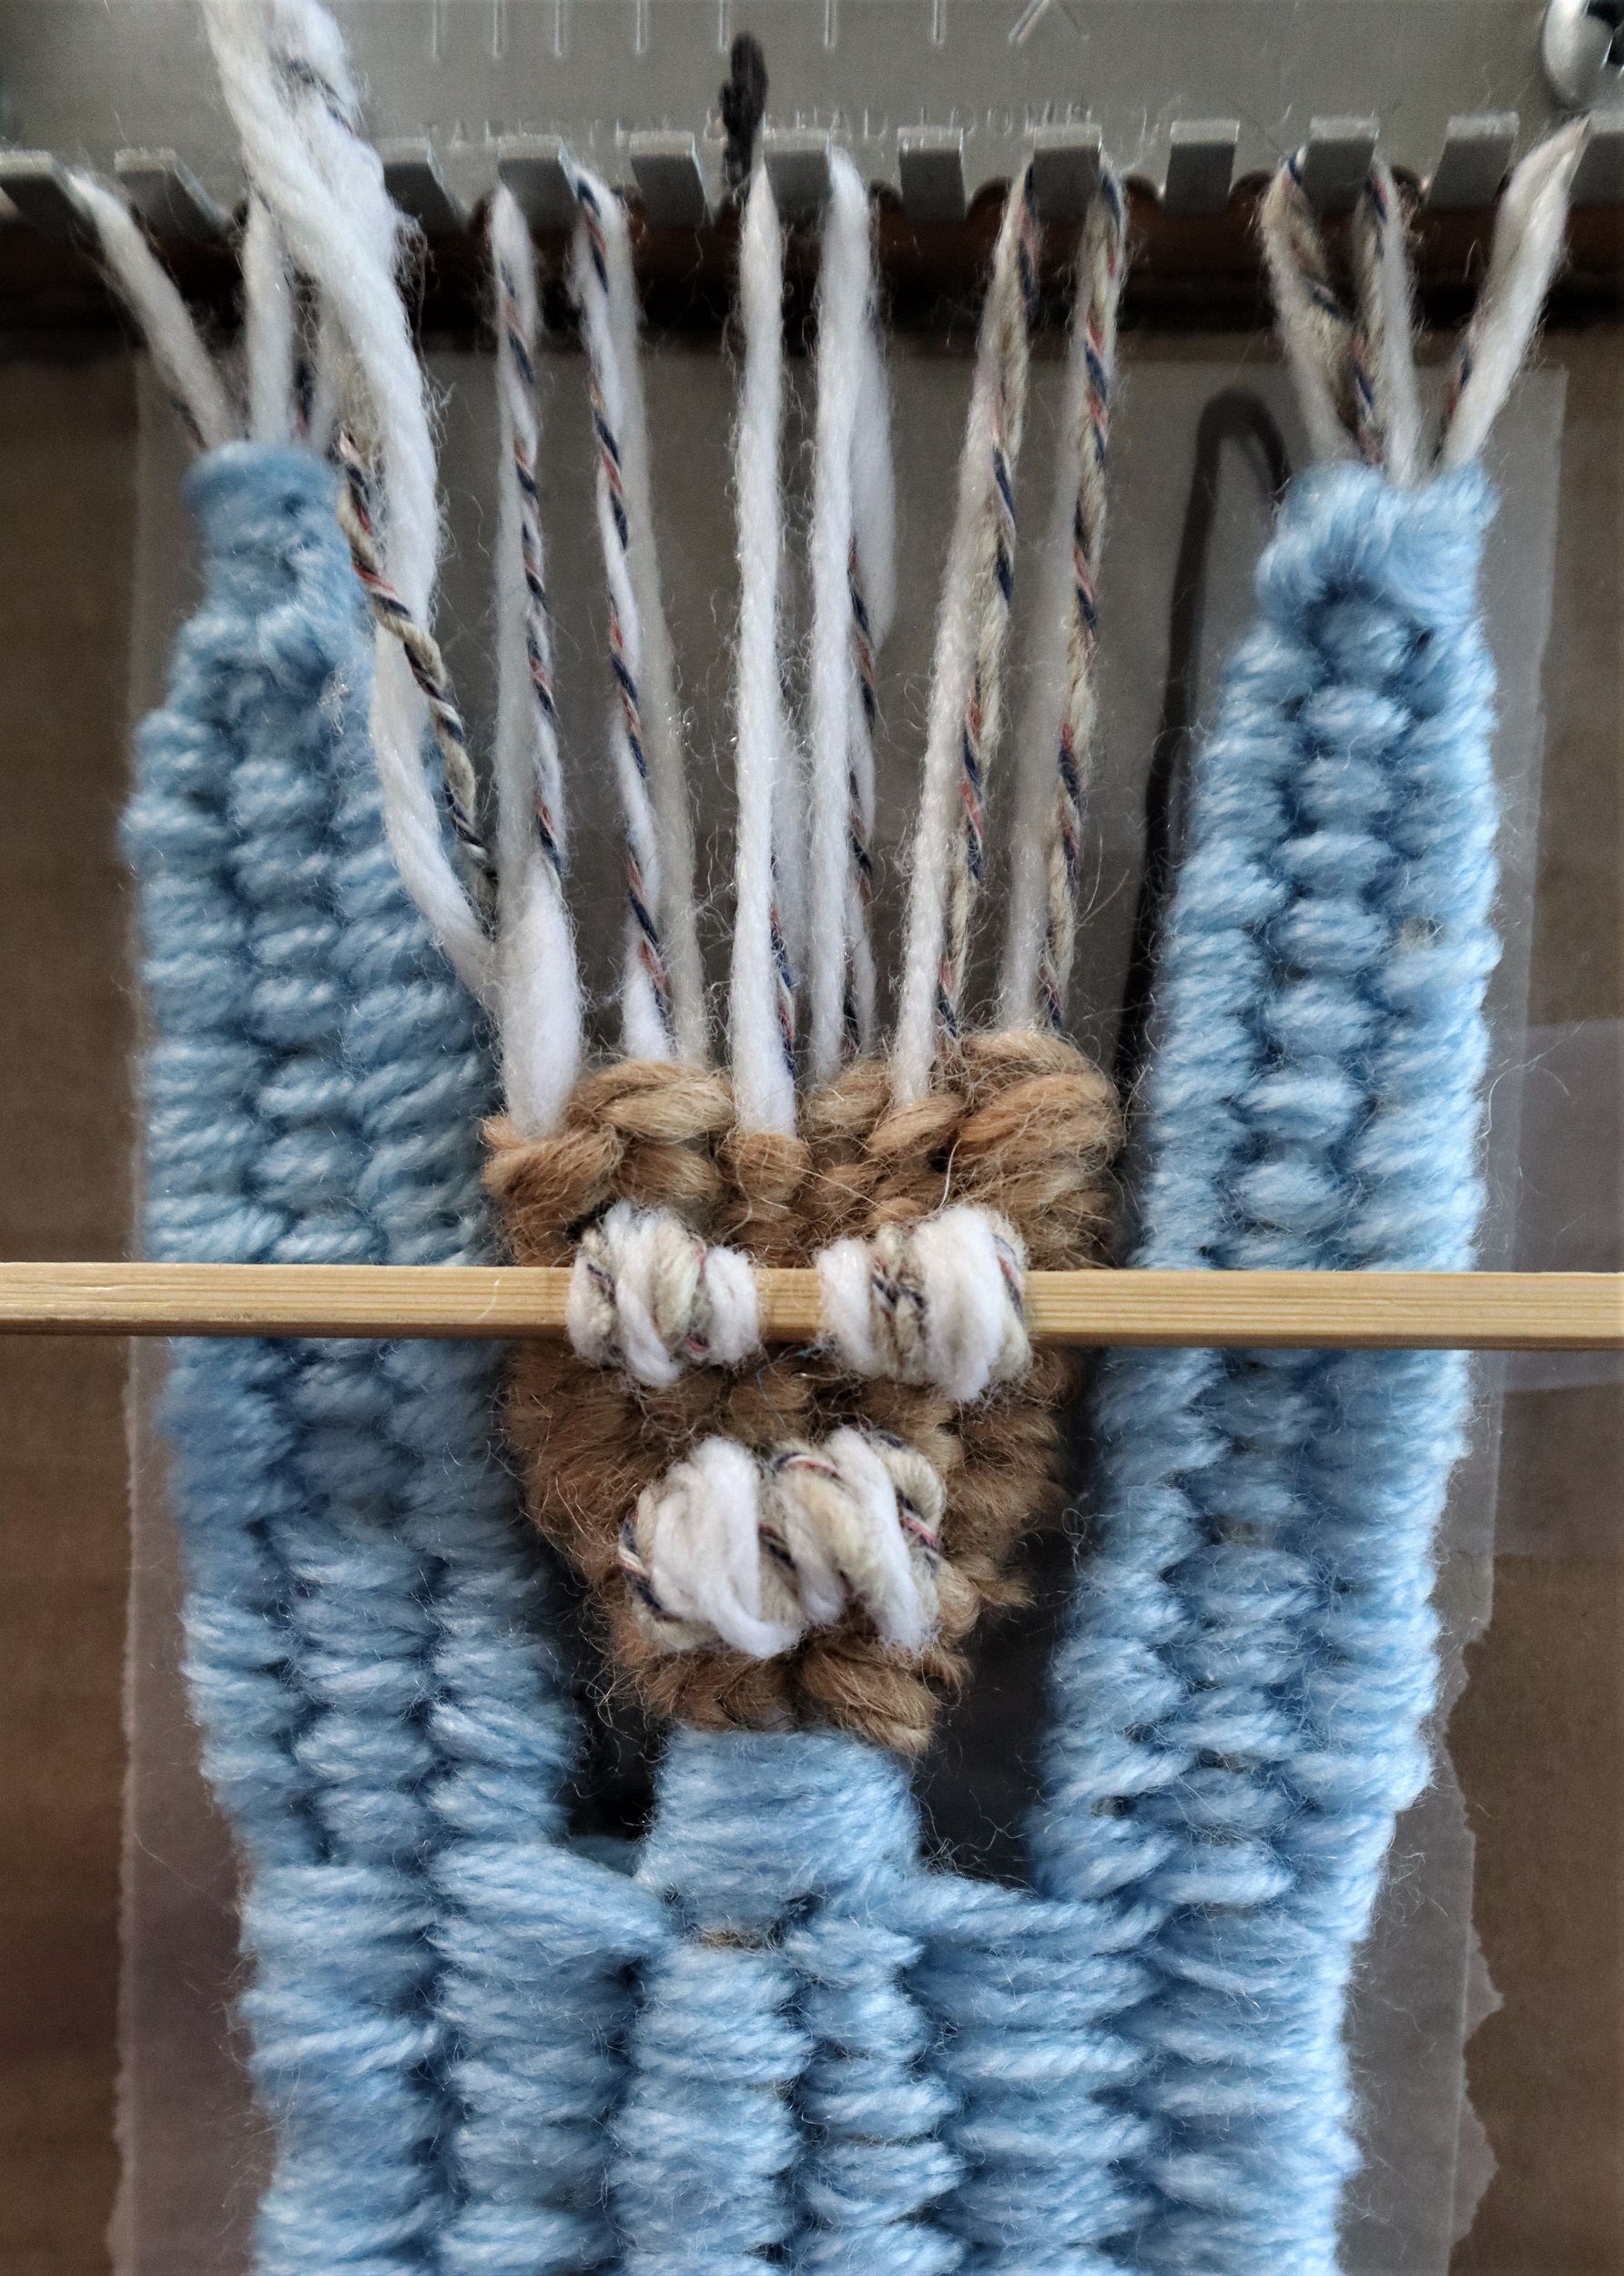
With skin tone yarn, weave the face, weaving under 1/over 1 and over 1/under 1.
MOUSTACHE:
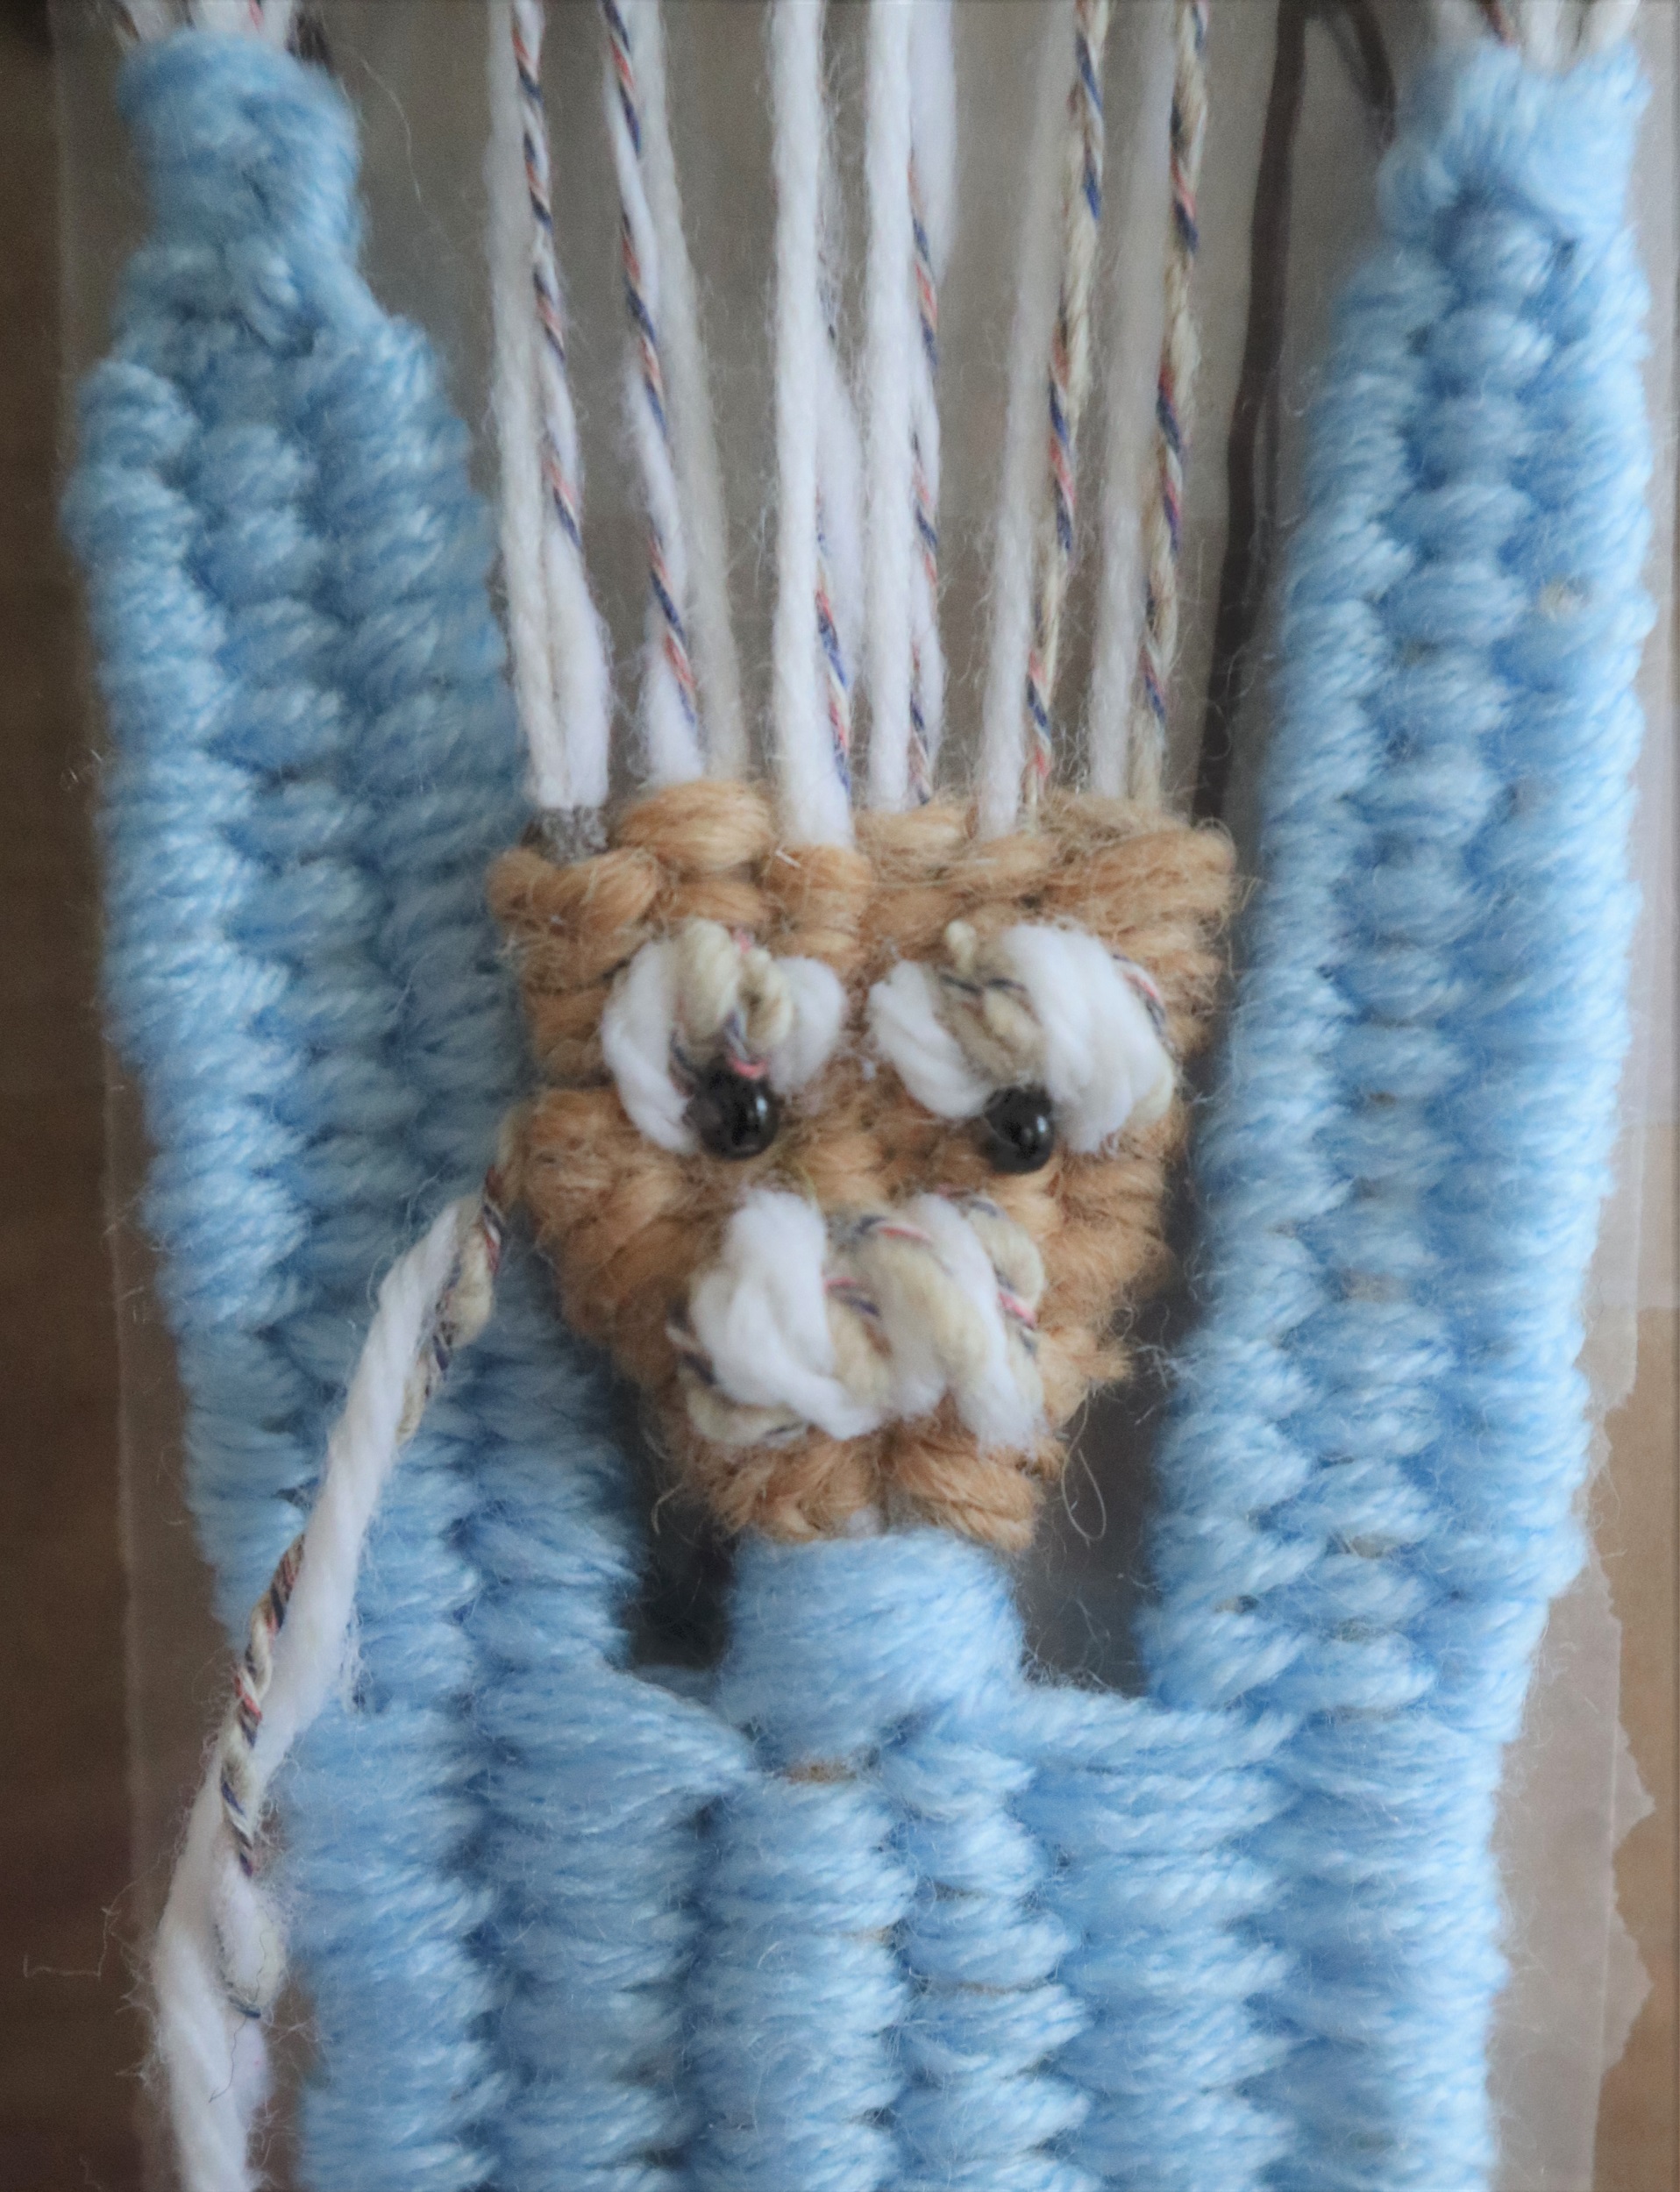
Stitch loosely over the shed stick with 1 strand of white yarn and 1 strand grey yarn held together as if they are a single strand at least 3 times. Take the ends to the back of the head.
EYEBROWS:
Take 2 slightly tighter stitches over the shed stick for each eyebrow.
EYES:
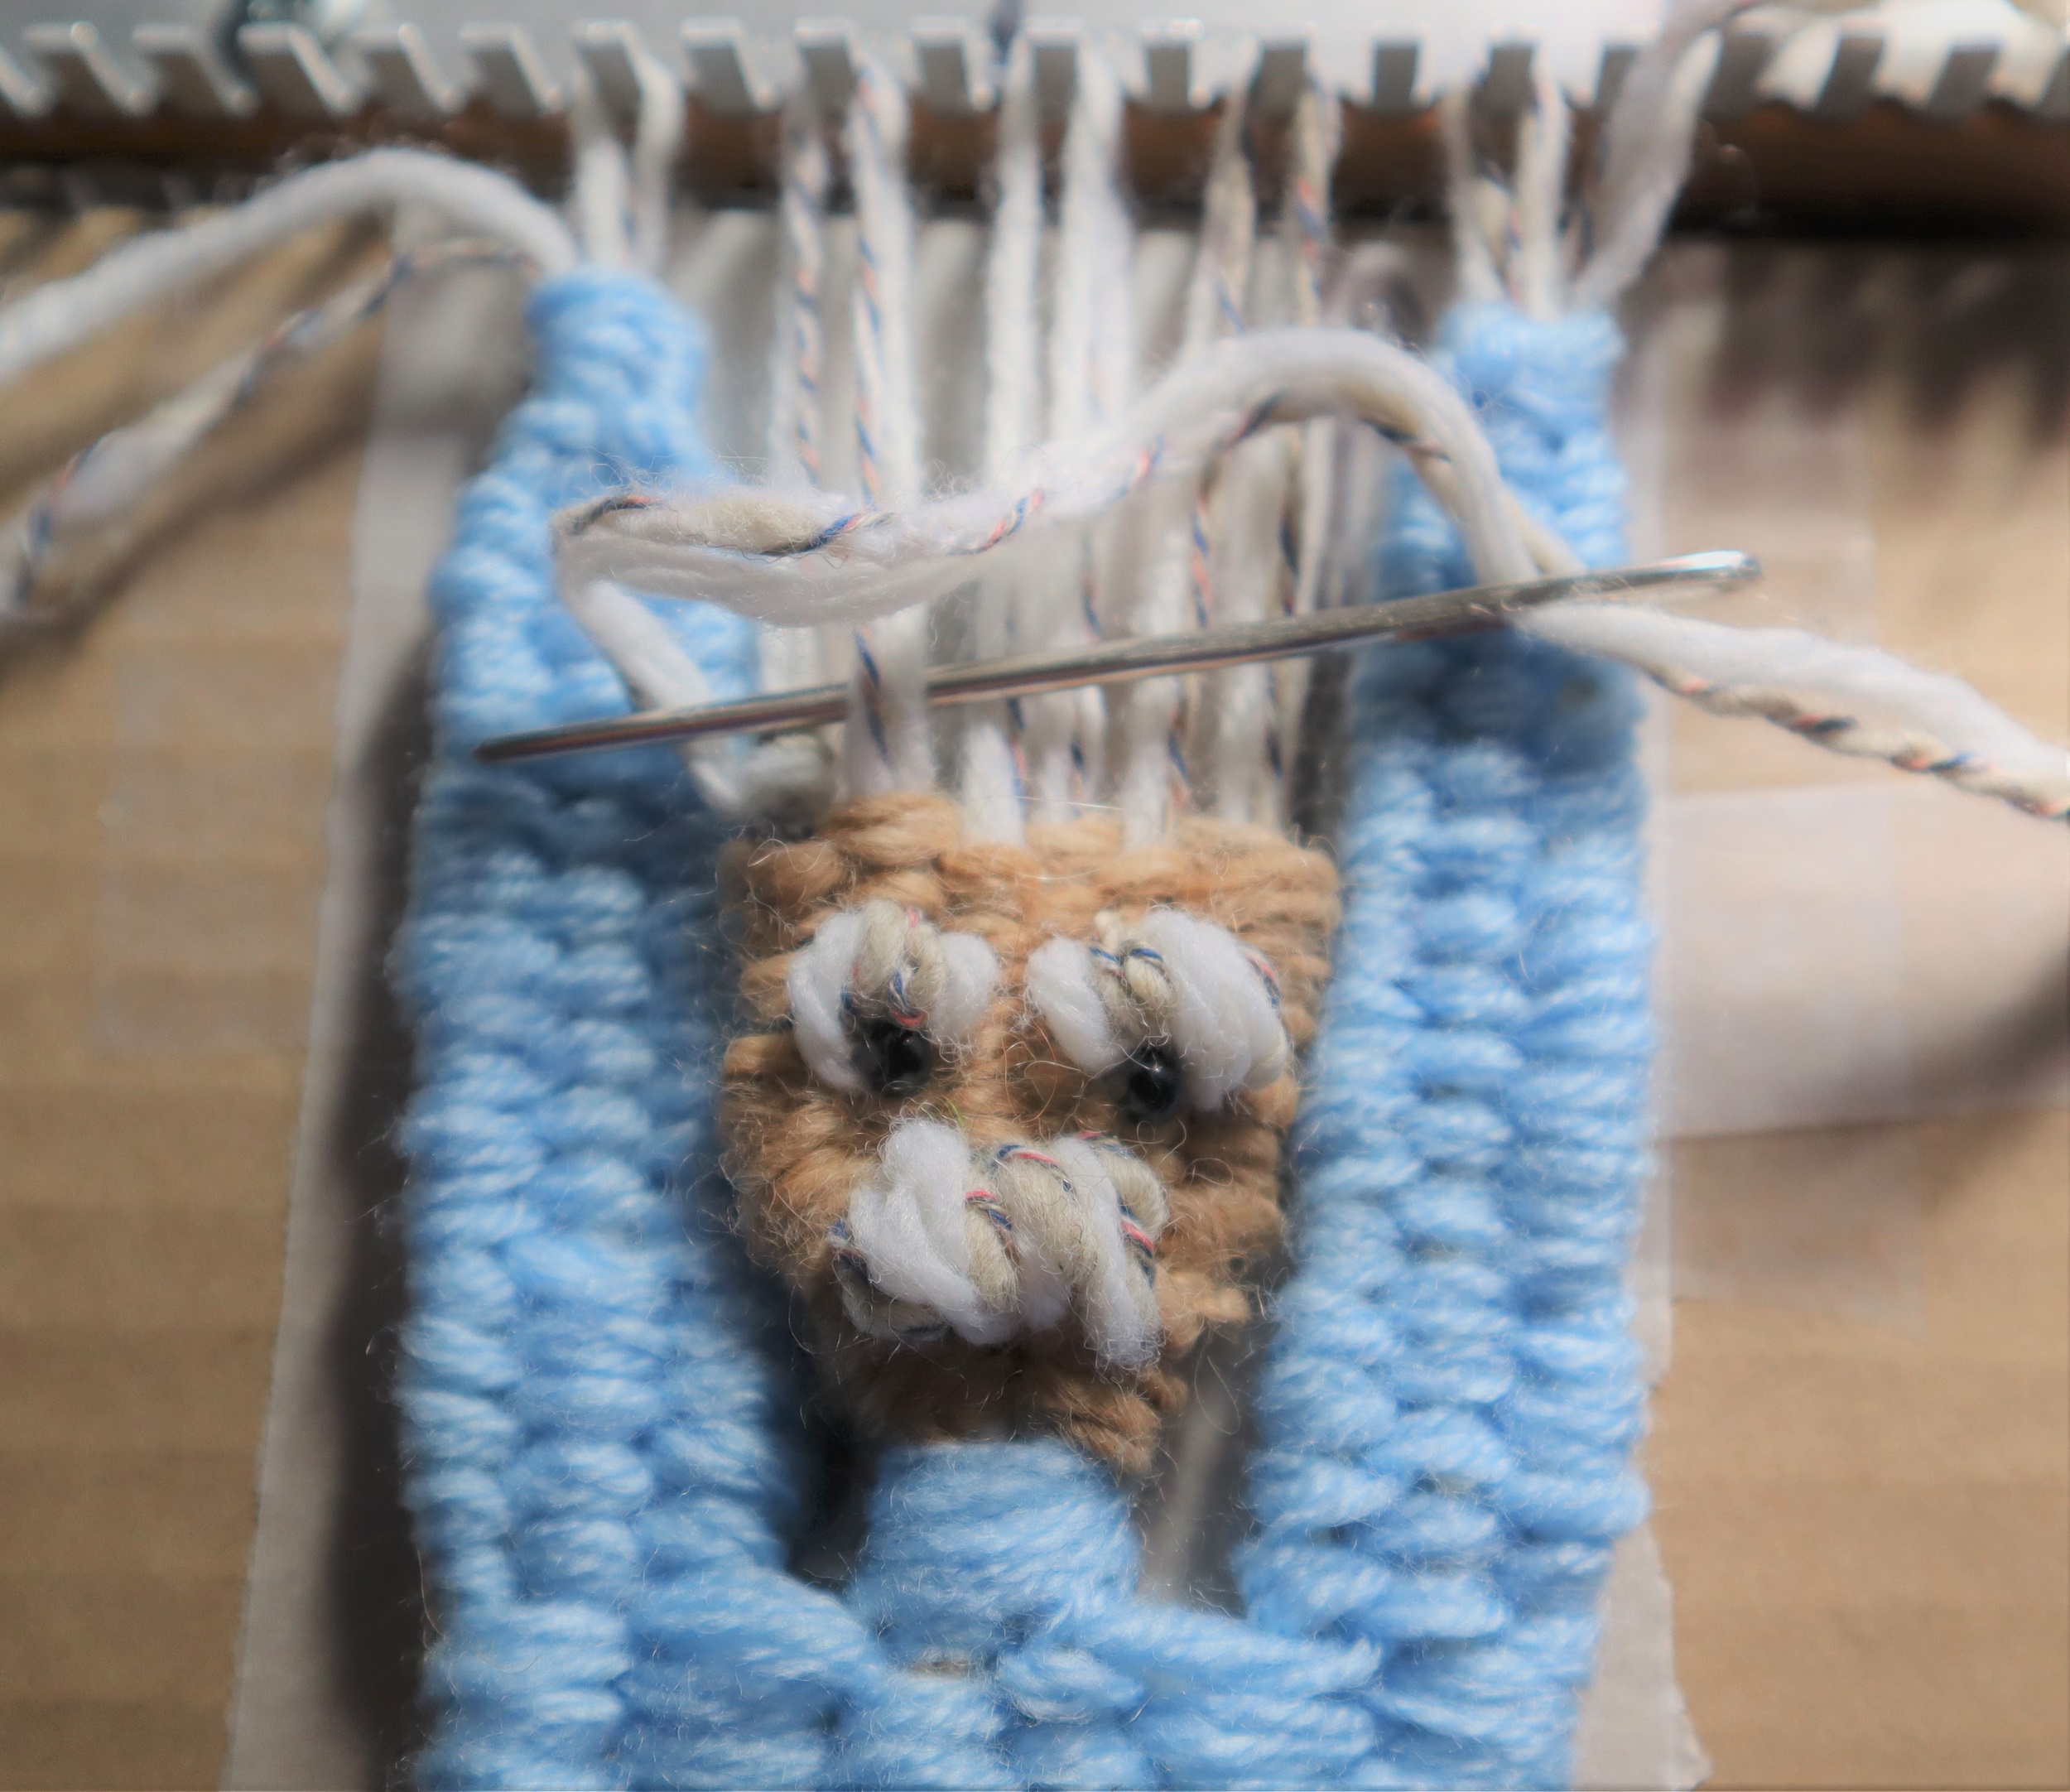
Stitch 2 small black ‘e’ size beads on for eyes.
HAIRLINE:
Lock the top of the head in place by stitching around each warp strand at the top of the forehead.
Lift Einstein off the loom.
NOSE:
Stitch 2 vertical stitches with skin tone yarn.
SHOES:
With Brown yarn follow the instructions for the feet on page 36. Weave the yarn ends into the legs.
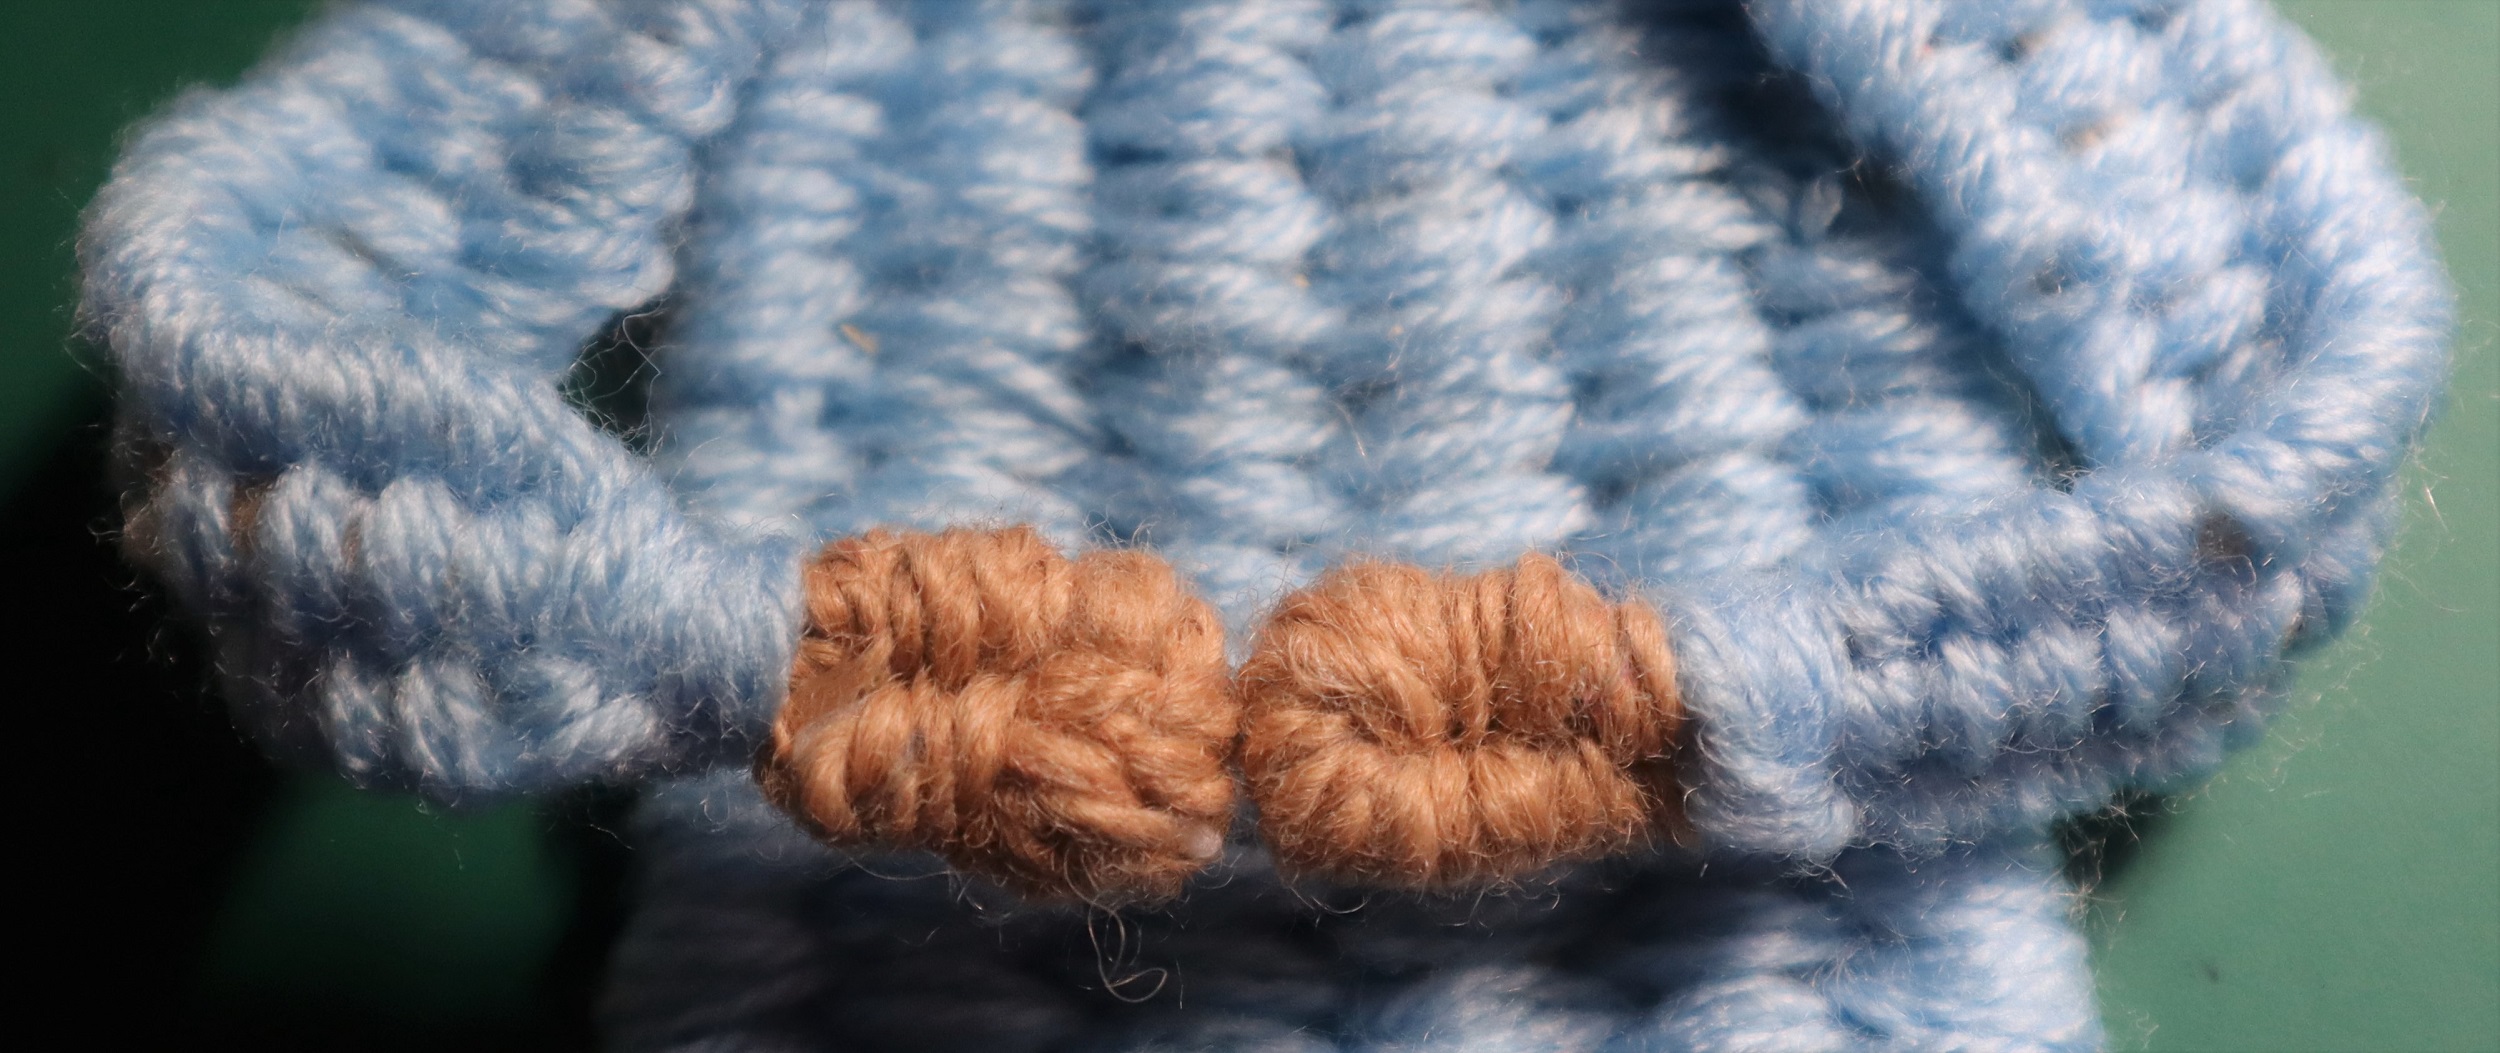
HANDS:
Weave in the single strand at the side of each hand into the arm so that it is the same size as the loop of the hand.
With skin tone yarn make hands the same way as the feet. Weave the yarn ends into the arms.
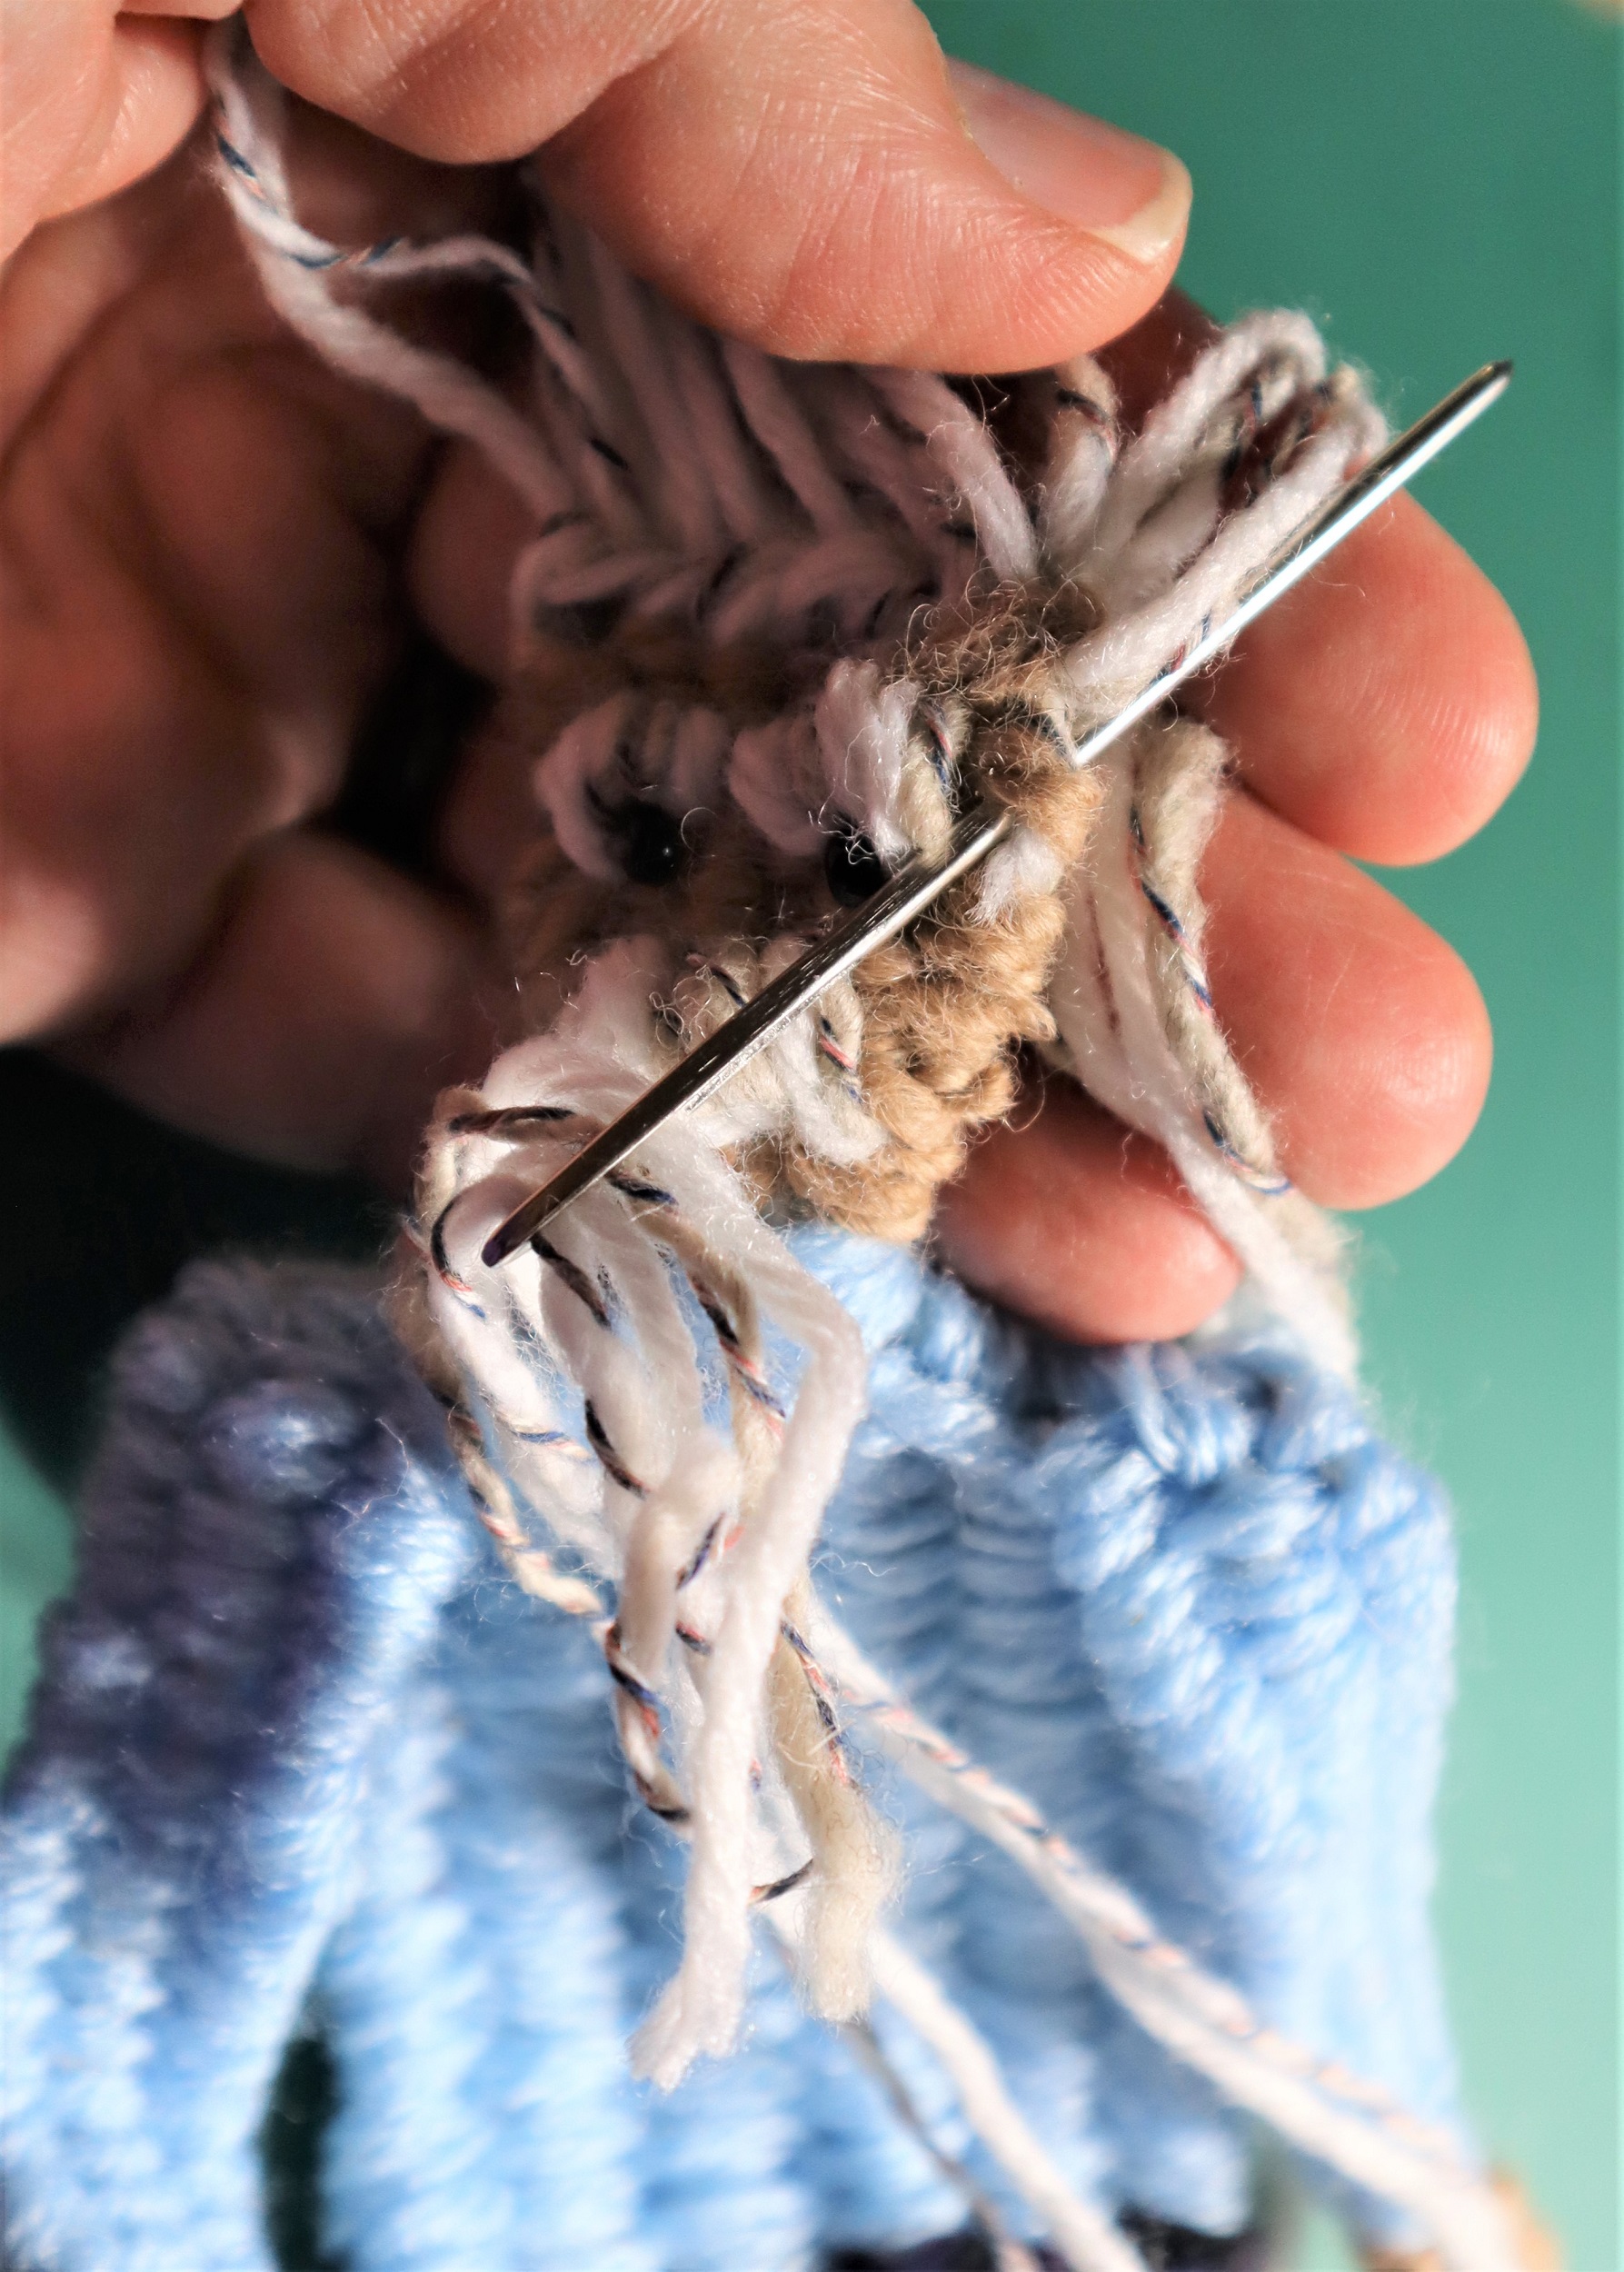
HAIR:
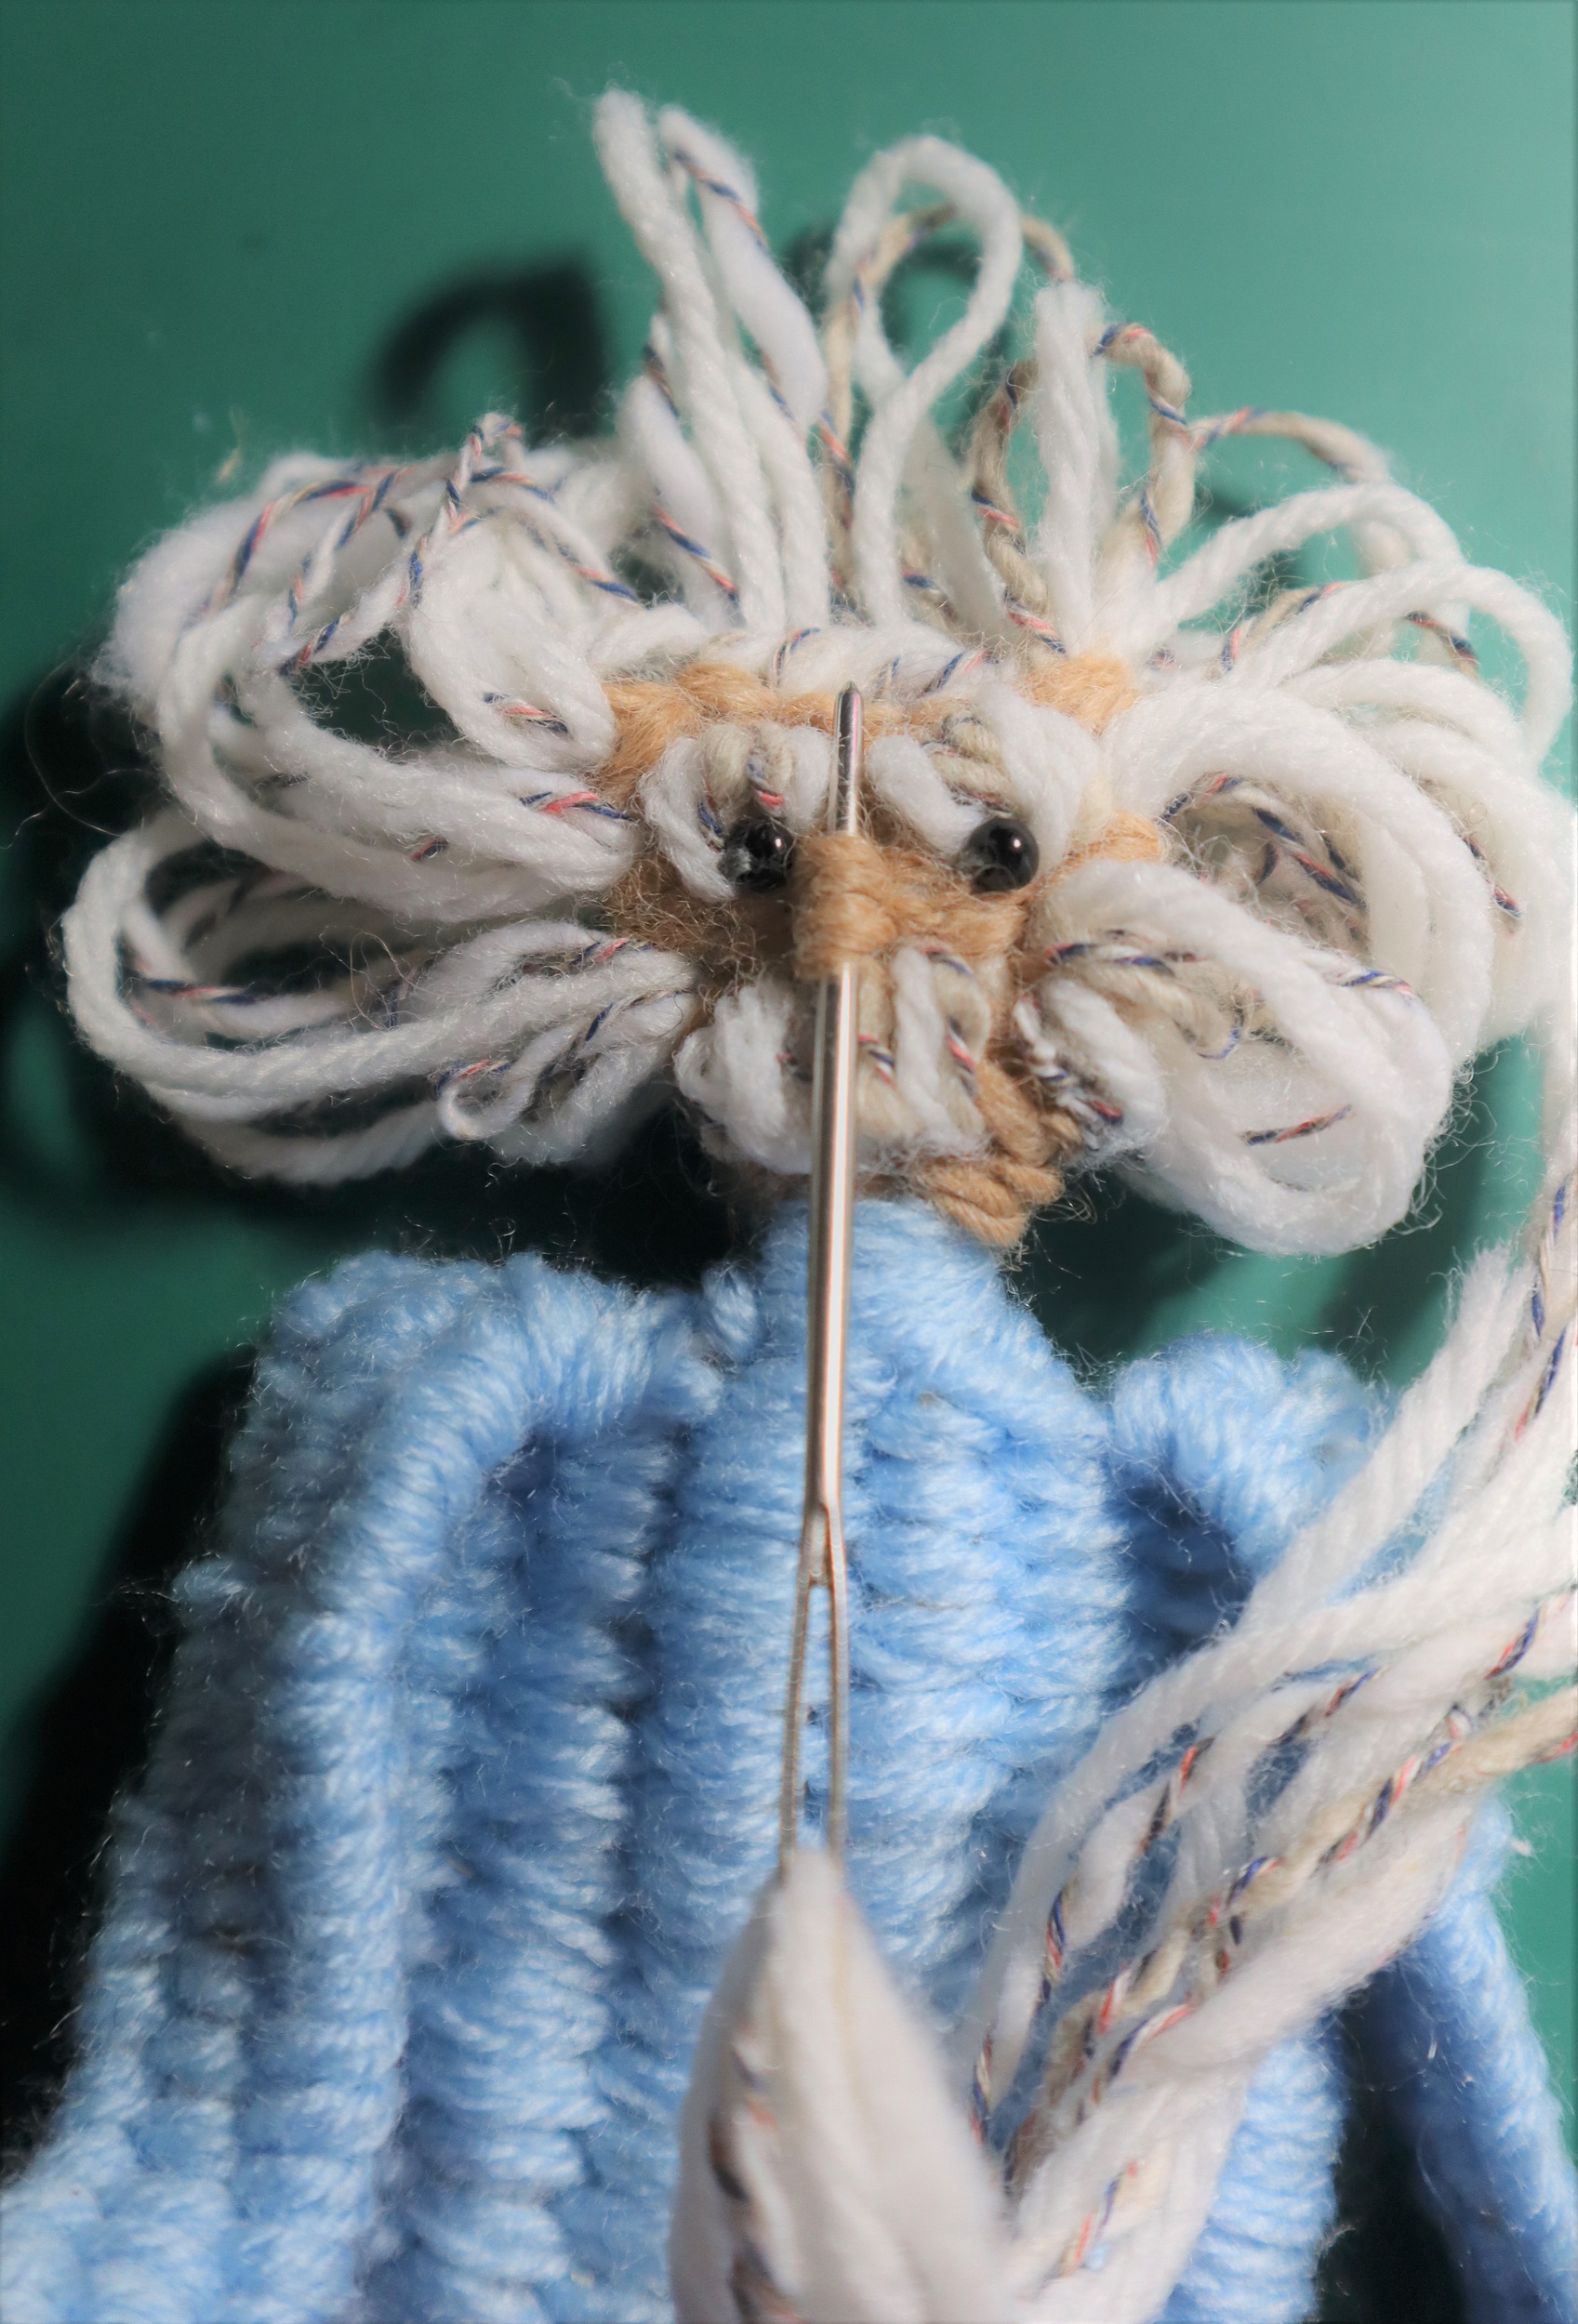
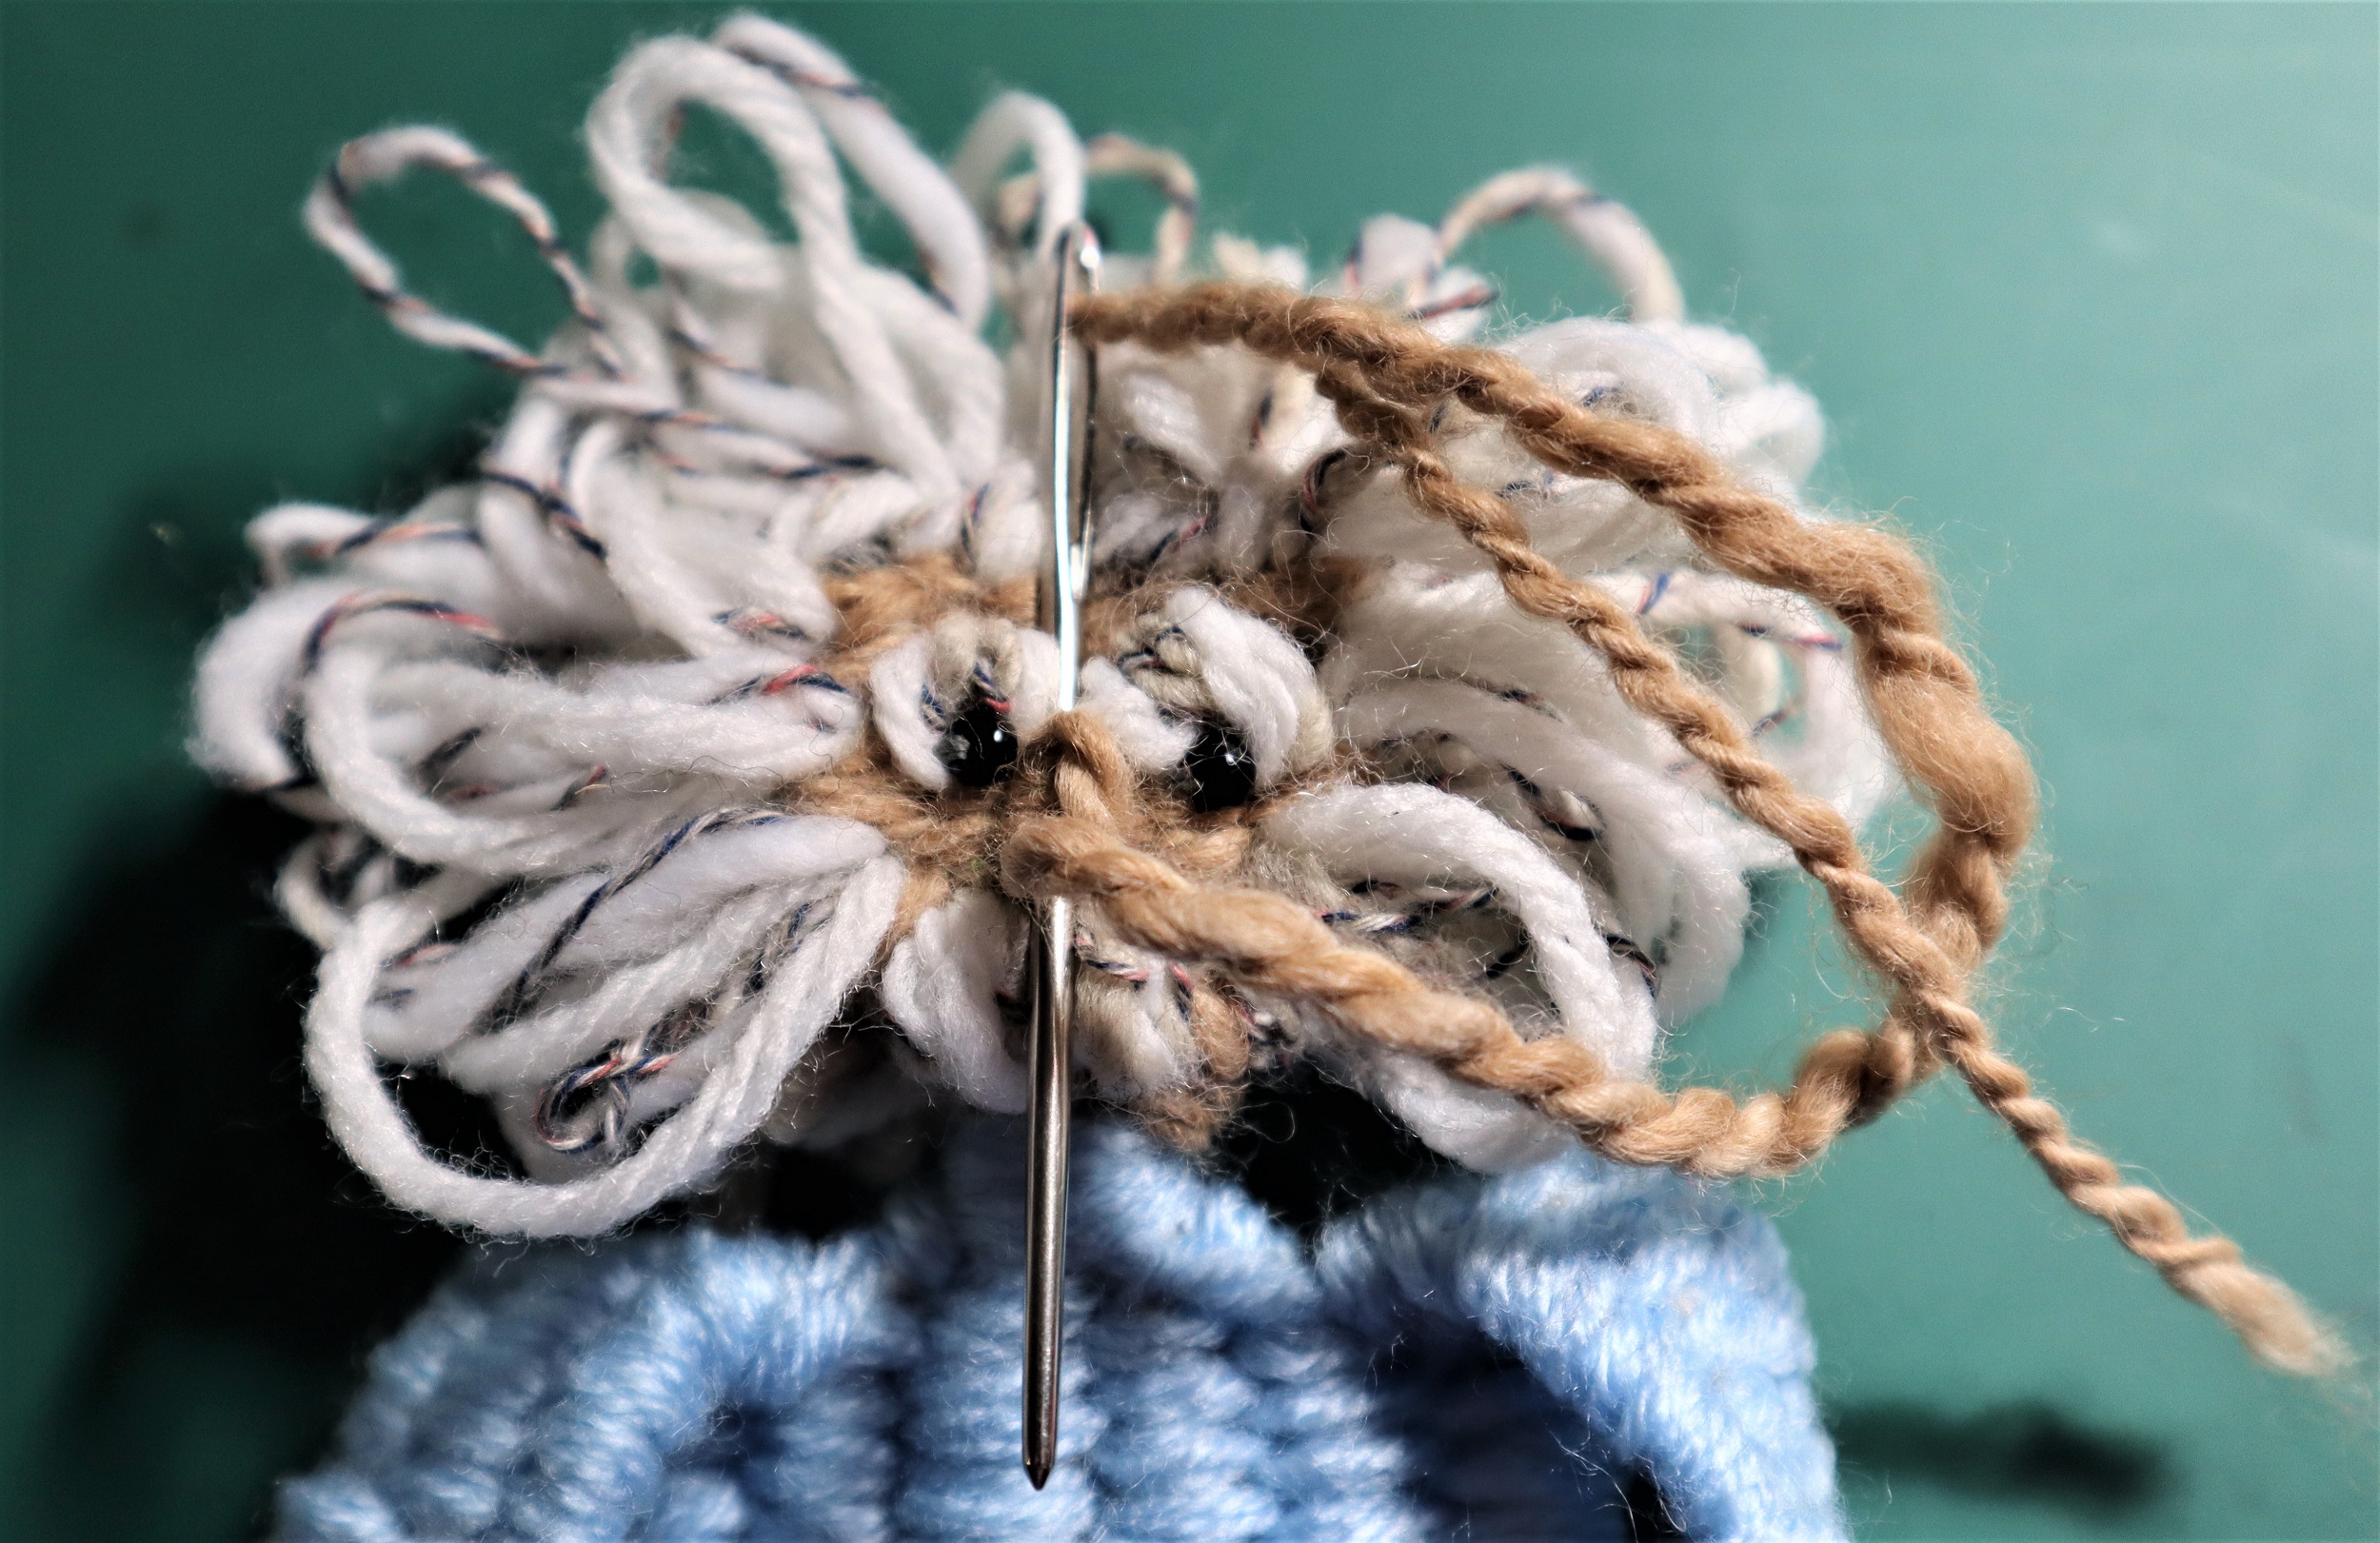
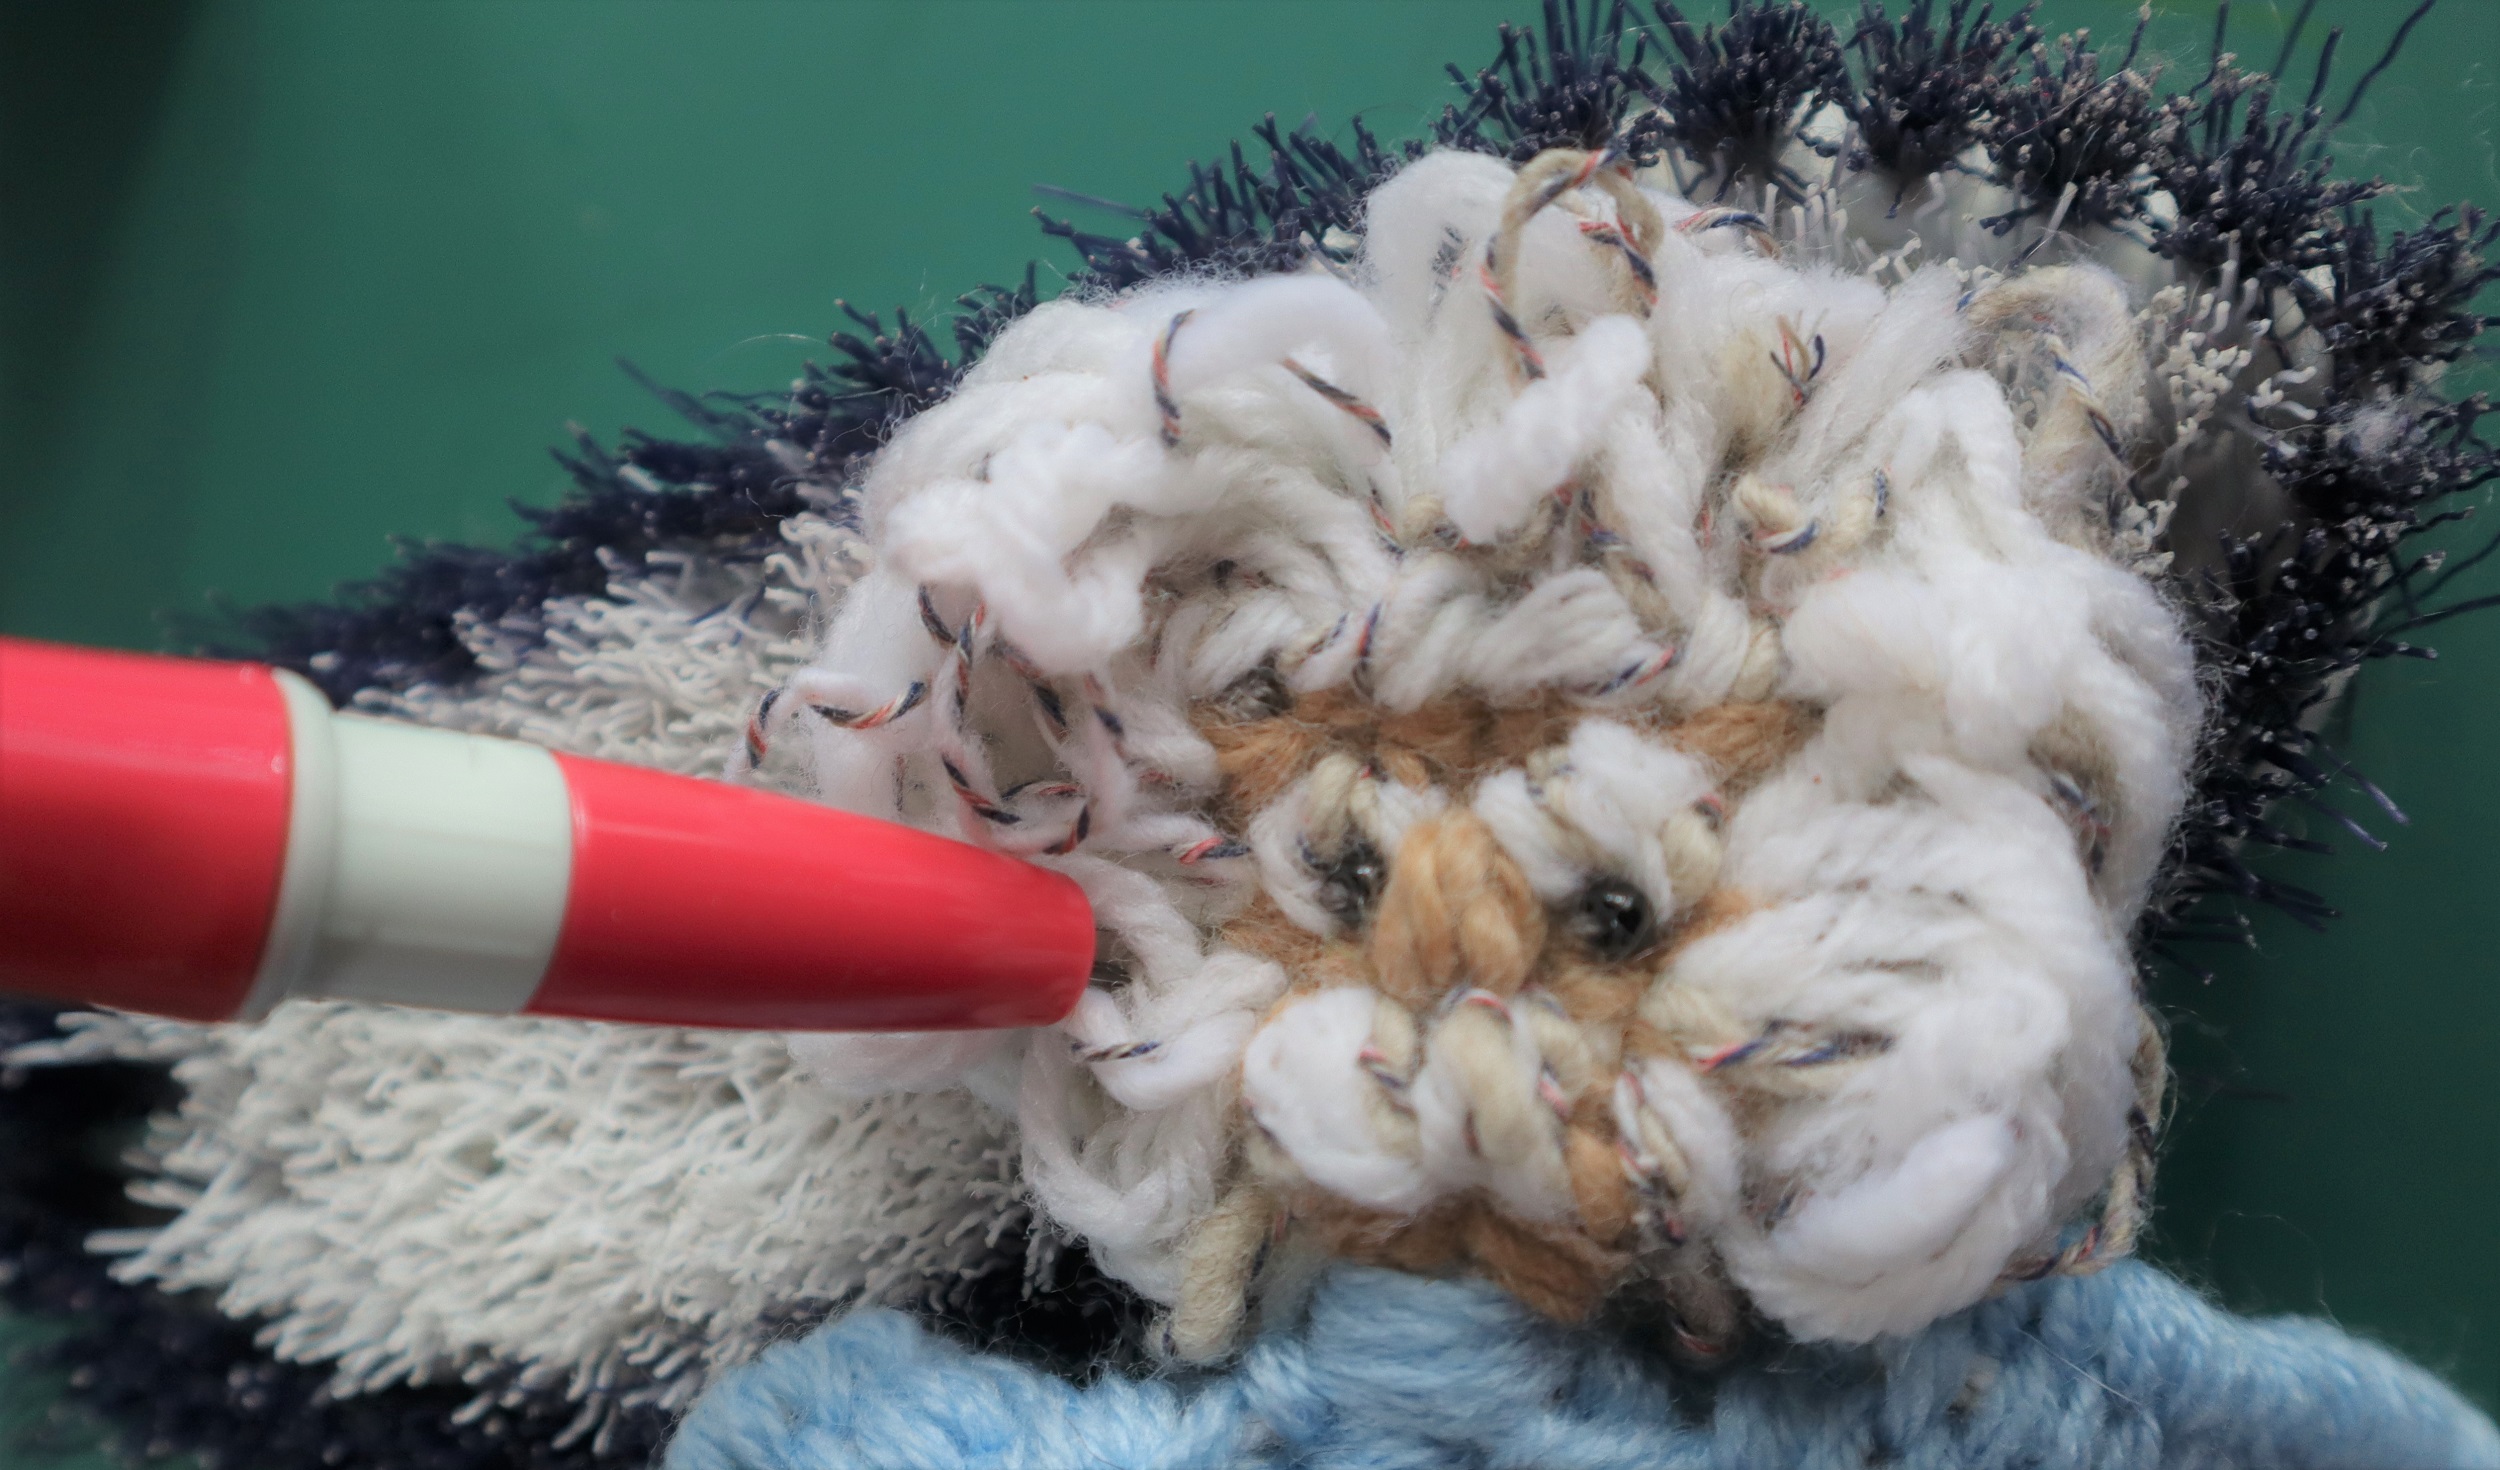
Stitch loops of hair yarn around the edges of the face and on the back of the head.
Use felting needles to finalize the loops into the ‘dandelion’ shape of his classic signature hairstyle.
FINISHING:
1: Steam the woven figure on the wrong side with a steam iron, being sure to not touch the iron to the weaving.
Finger press the arms down and the hair into place.
Weave in the ends.
Trim any ends.
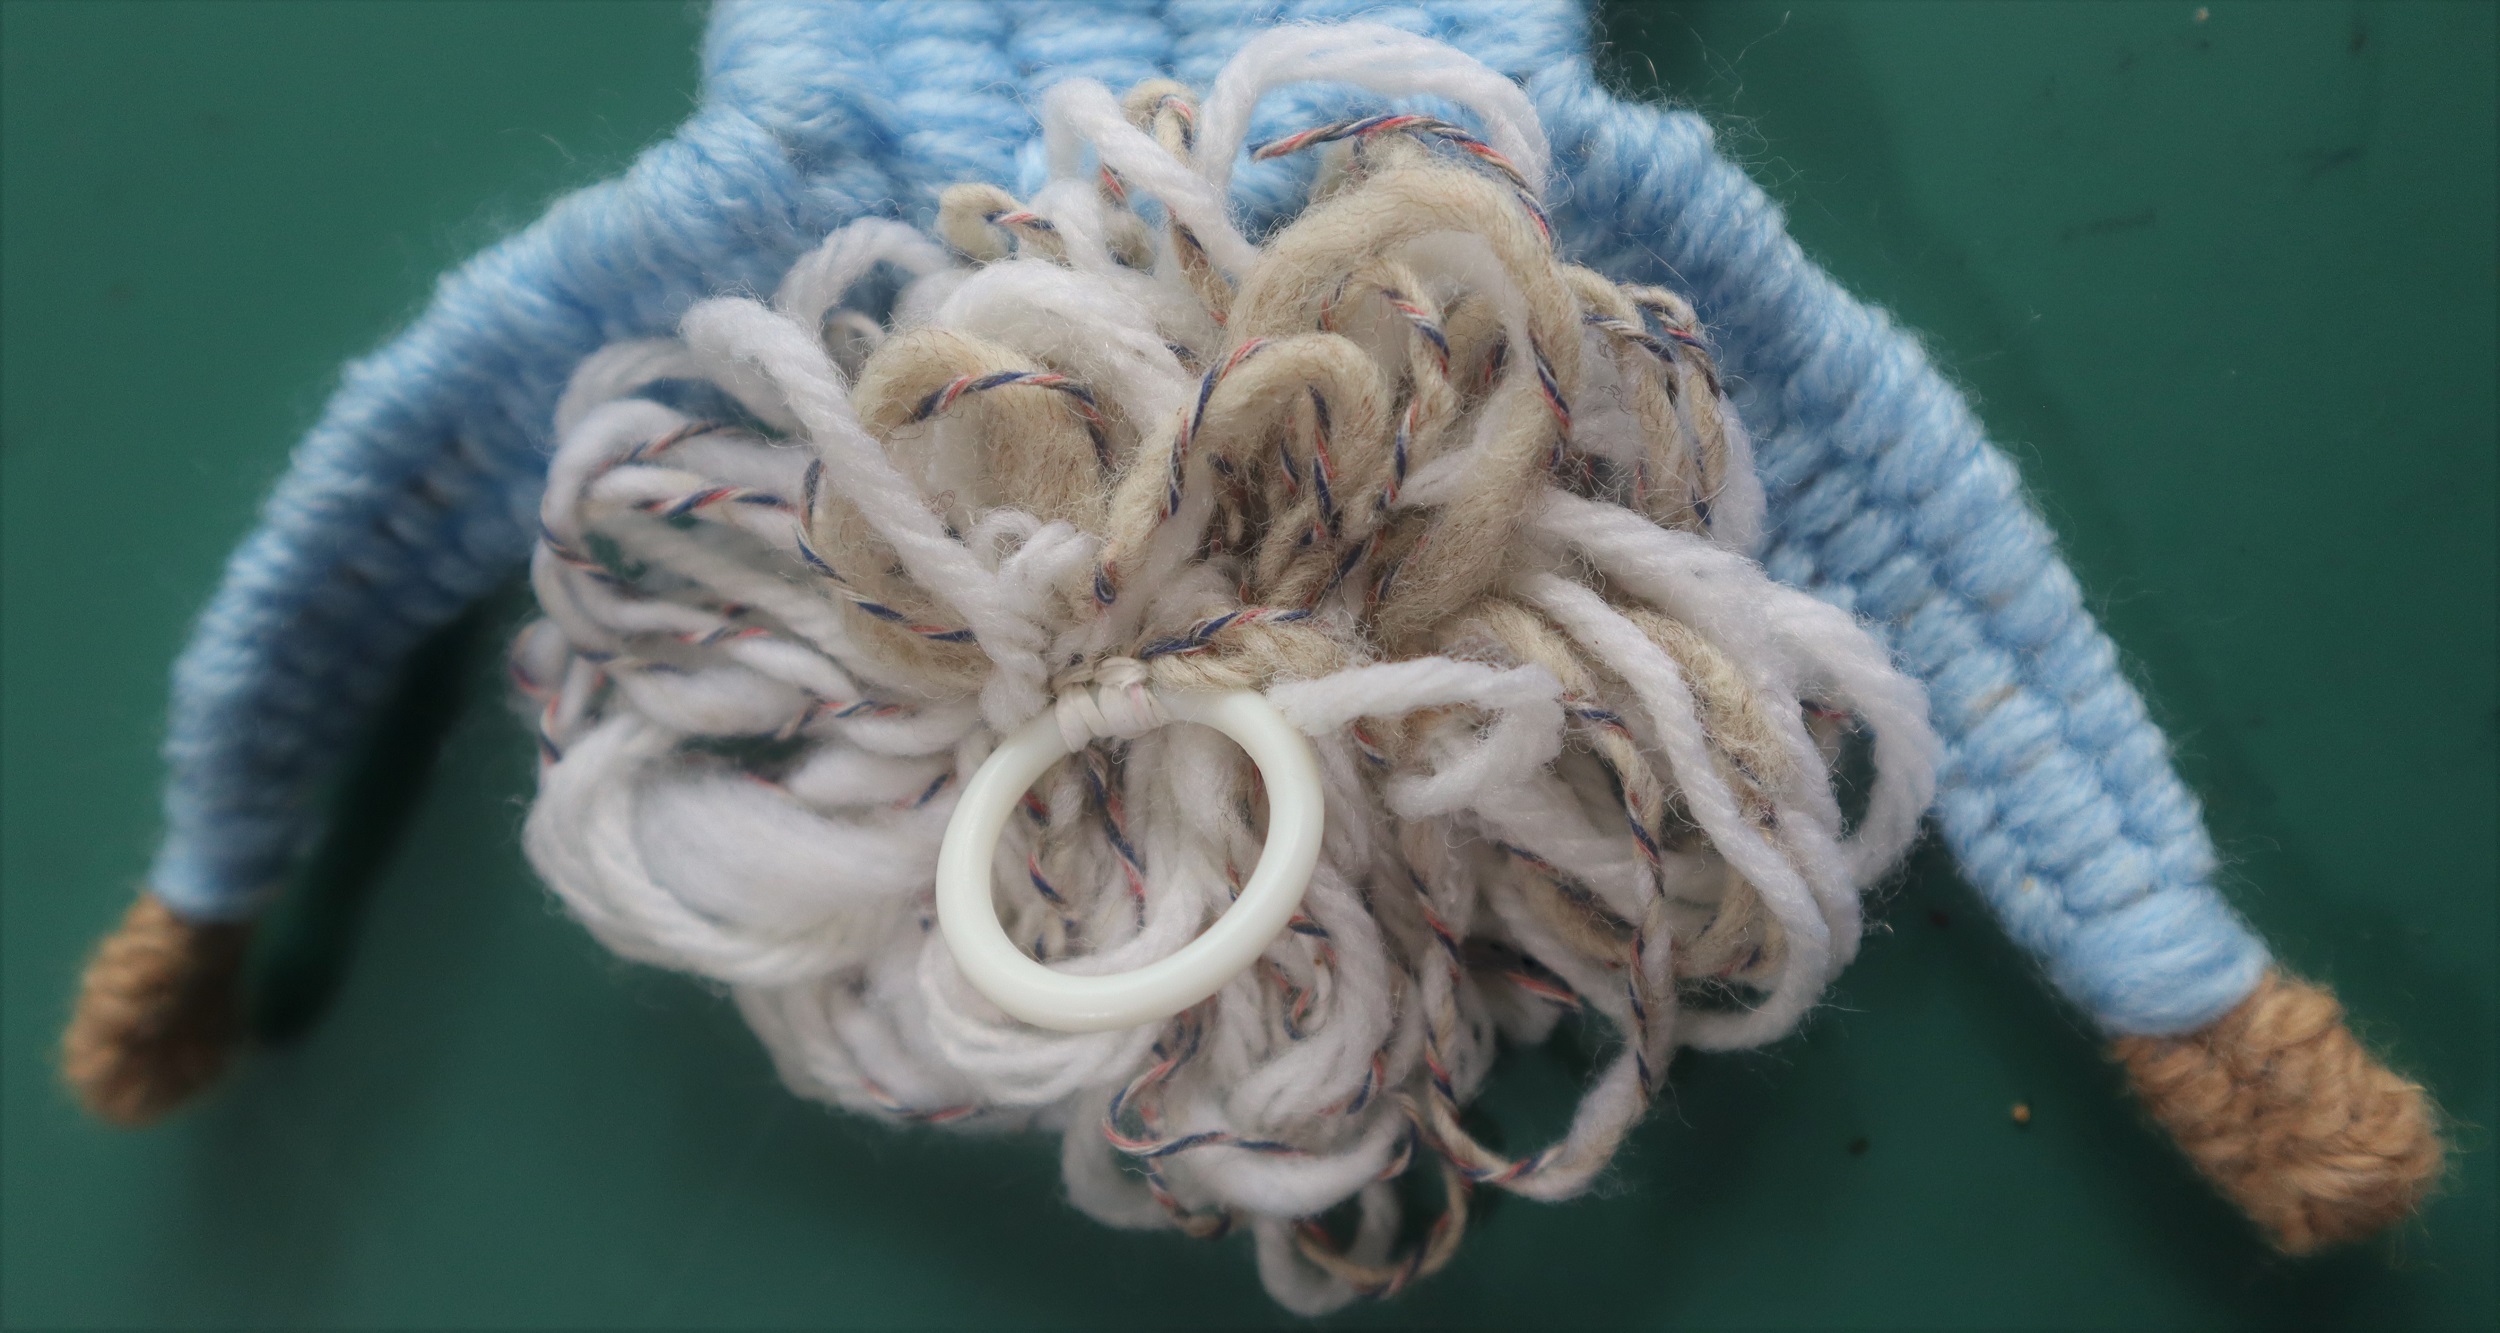
2: Sew a plastic or metal ring to the back of the head for hanging the banner.