When I started designing the Teddy Bears to weave on the Saffron loom from Mirrix for the
2022 Summer Weaving Challenge, I had NO IDEA that I would go down such an amazing Rabbit Hole
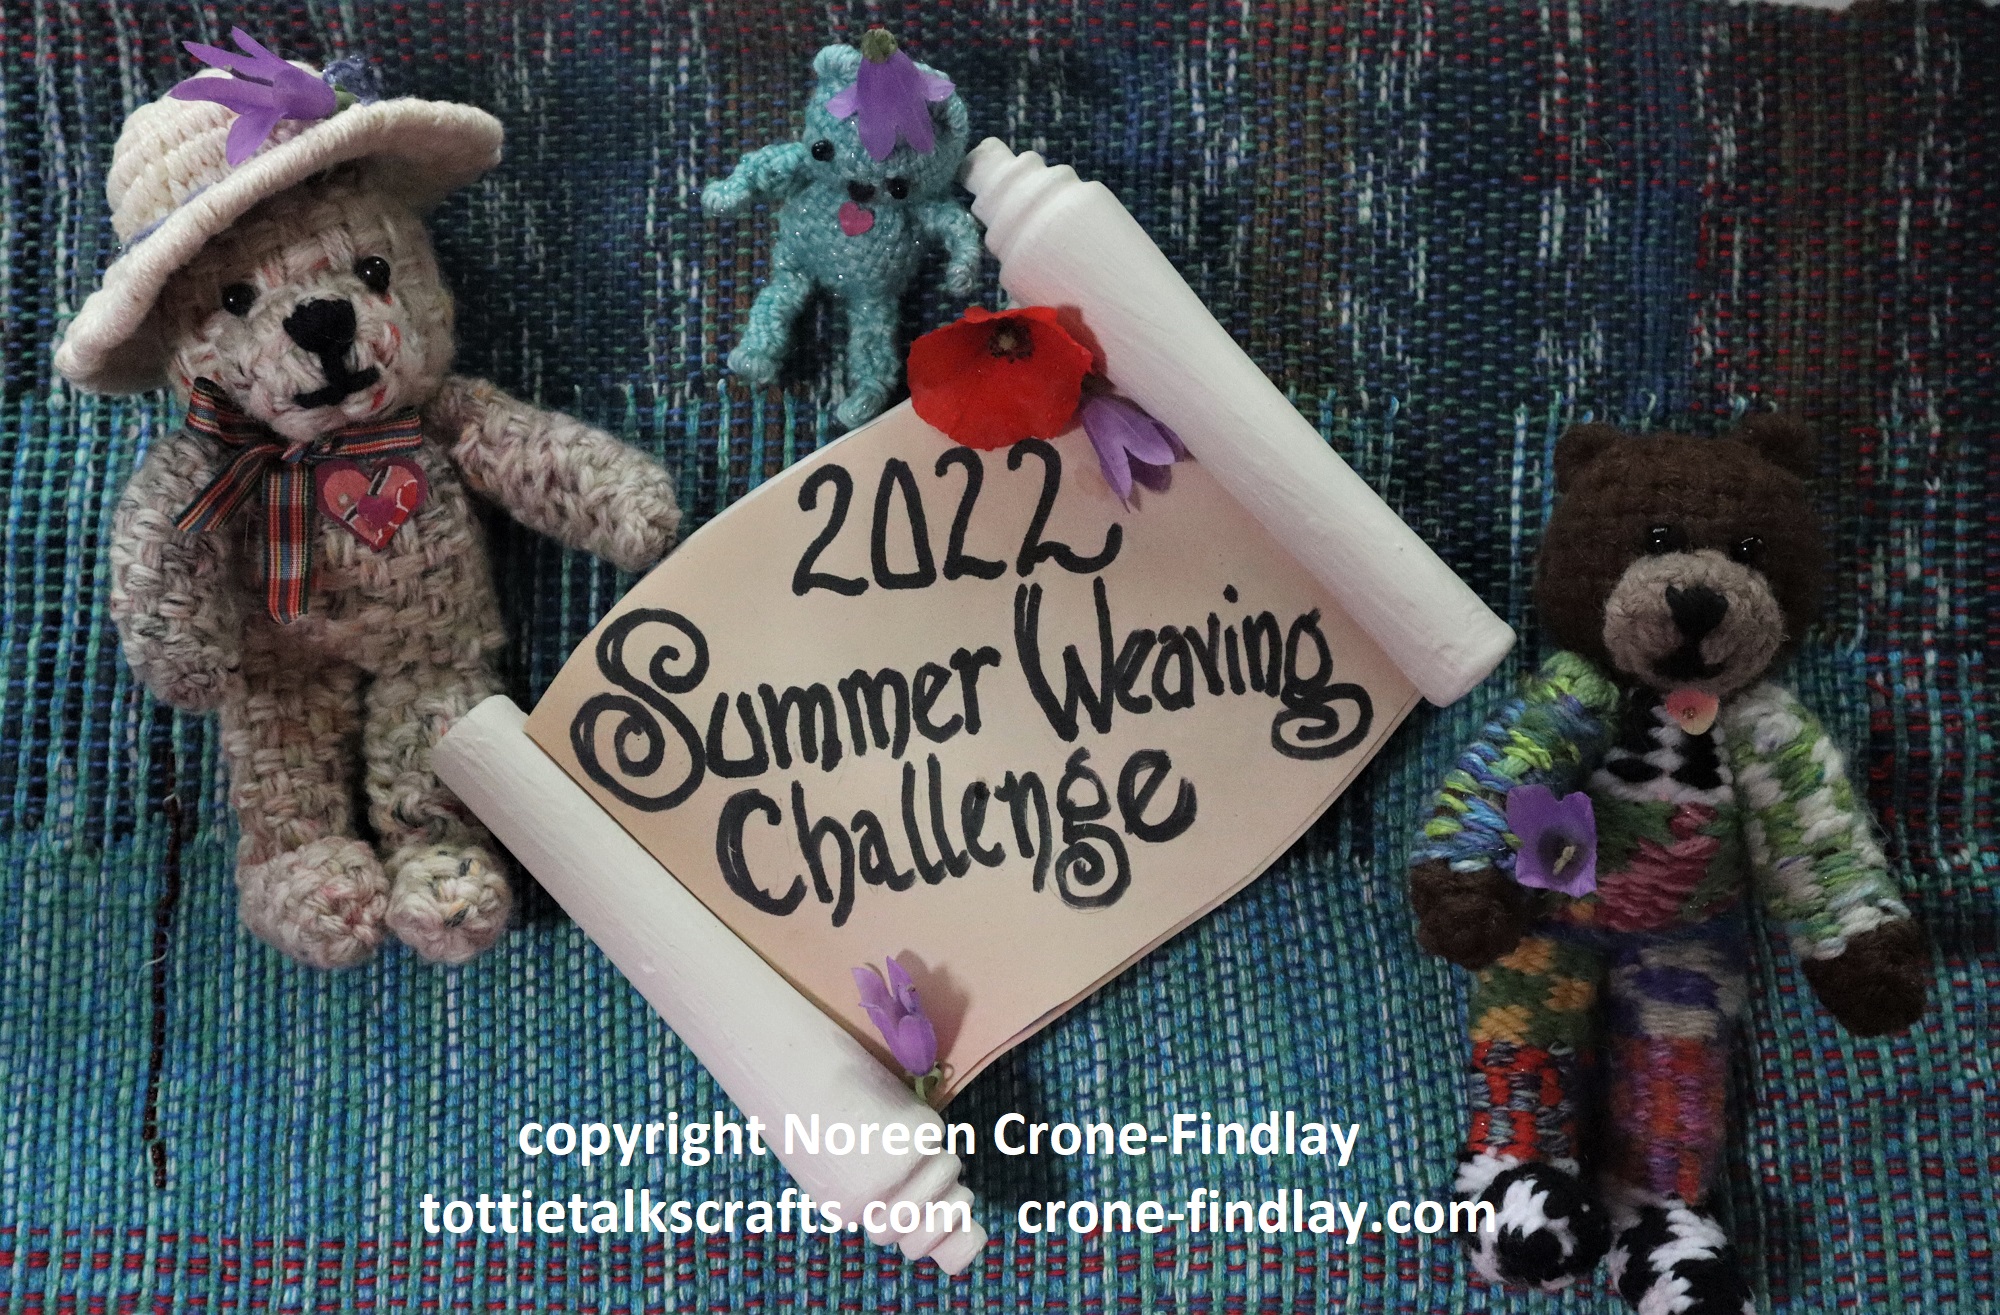
There are so many ways to weave the Saffron Teddy Bear.
Even though the same basic ‘recipe’ is used to weave all the bodies, using different weaving techniques and different weights of yarns makes each of the Saffron Bears totally unique.
Here are some video tutorials showing how to weave the variations of the Saffron Bear’s Body:
The Basic Body:
The Black Panda Body:
The Pink Panda Body (How to Weave the Body with Super Bulky Yarns):
The Striped Body (Tapestry/Weft Face Technique):
Some Notes about Tapestry Weave for the Body:
See the Teddy Bear’s Picnic to see all the Bears having a wonderful day:
This post is where I’ll be putting all the links to all the ‘how to’ videos for the woven Teddy Bears that I have designed for the Mirrix Summer Weaving Challenge for the summer of 2022.
The videos will stay up as long as I have a YouTube channel.
For starters…..
Here’s the link to the Summer Weaving Challenge on the Mirrix website: LINK
If you don’t have my book, you can order it from Mirrix, and yup, you’ll want a Saffron loom, too (it’s one of my most favorite looms ever- so adaptable!). LINK
How to carve a weaving hook from a chopstick using a few simple tools: LINK
LINKS TO THE POSTS FOR ALL THE VIDEO TUTORIALS:
INTRODUCTION: The Teddy Bears have a Parade and a Picnic: LINK
1- What is needed for weaving the Saffron Bears LINK
2- Saffron Teddy Bears- How to weave the Arms LINK
3- Saffron Teddy Bears- How to weave the Teddy Bear Body, with lots of variations LINK
4- Saffron Teddy Bears- How to weave the Teddy Bear Head and Nose LINK
5- Saffron Teddy Bears- How to Assemble the Teddy Bears LINK
6- Saffron Teddy Bears- How to Weave Sun Hats for the Teddy Bears LINK
7- Tiny Teddy Bears woven on the Baby Duo Looms from Hello! Looms LINK
I have been weaving up a delightful basket of bears for the week of Aug 8- 14, 2022.
That’s the week that I will be leading the Summer Weaving Challenge that is hosted by Mirrix looms.
The Teddy Bears will be revealed in their full adorableness and by then, I will have finished editing the heap of ‘how to’ videos that I have been obsessively filming about the making of the teddy bears.
The Teddy Bears will be having a wonderful picnic, and I will show how each of them (and those that are still in the works) are in fact, samplers of techniques in my book: Innovative Weaving on the Frame Loom.
I’ll be posting links for the videos for the Saffron Teddy Bears here LINK on my blog beginning Aug 2, 2022.
If you don’t have my book, you can order it from Mirrix, and yup, you’ll want a Saffron loom, too (it’s one of my most favorite looms ever- so adaptable!).
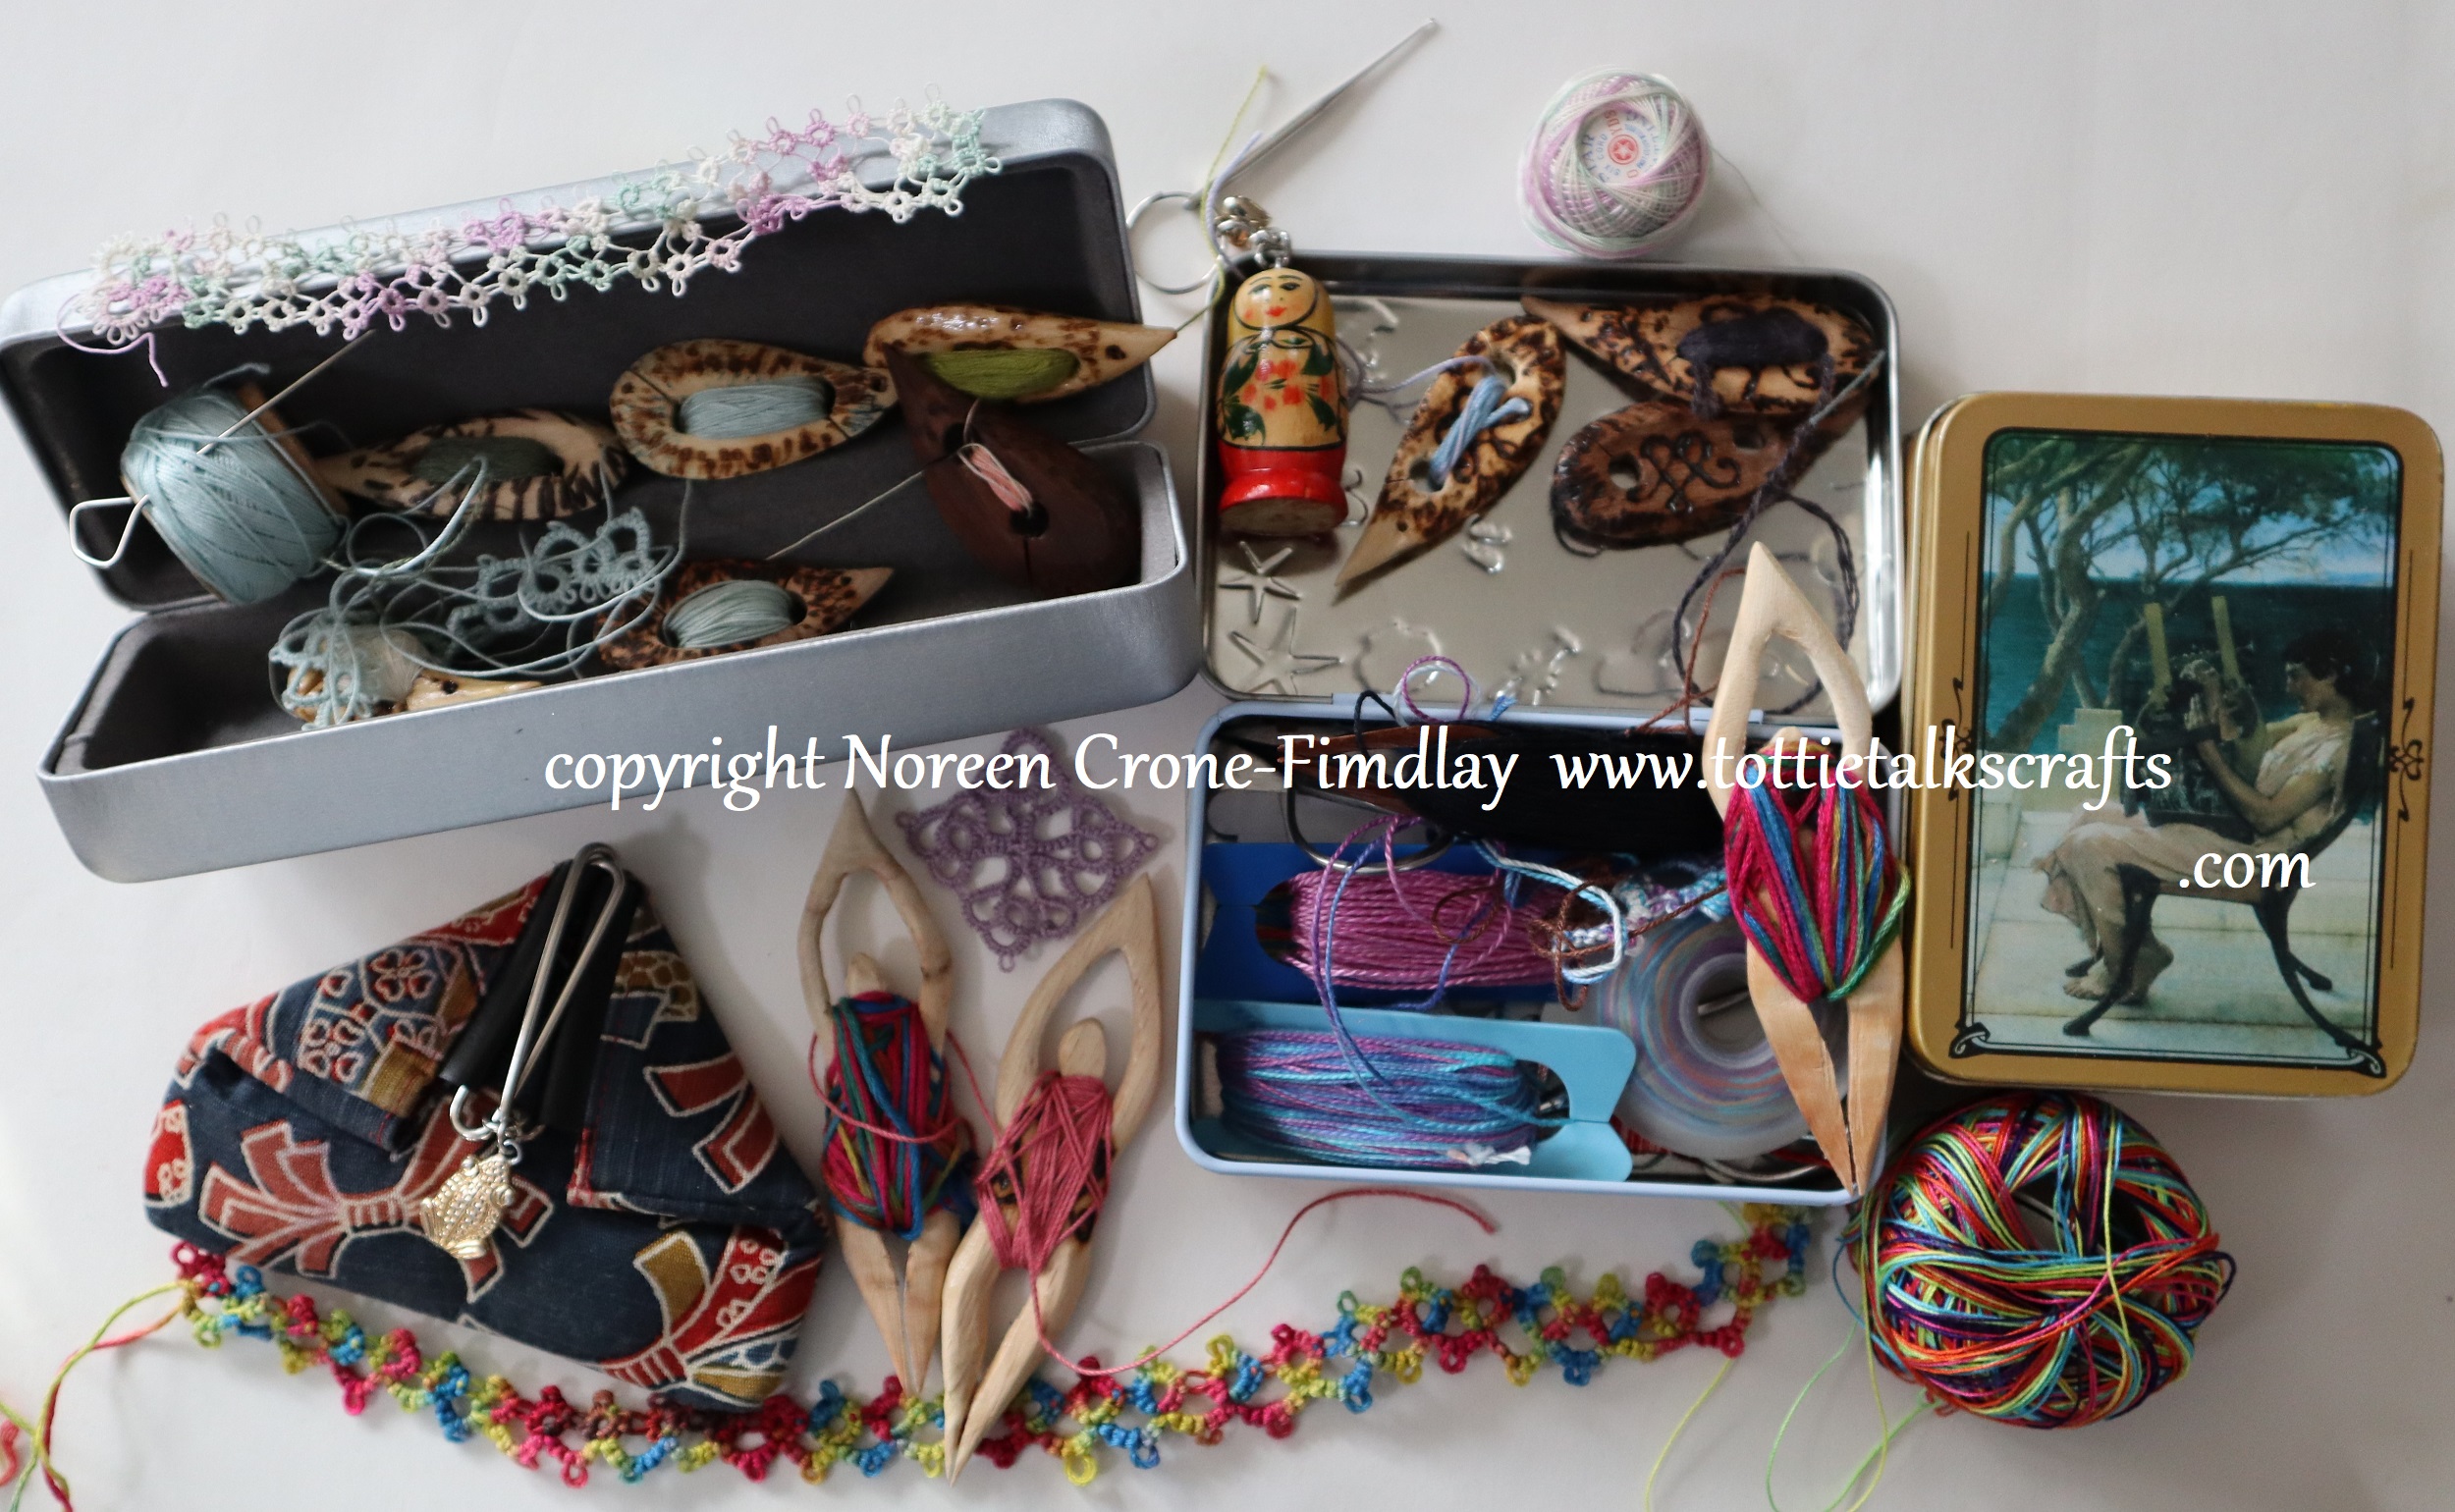
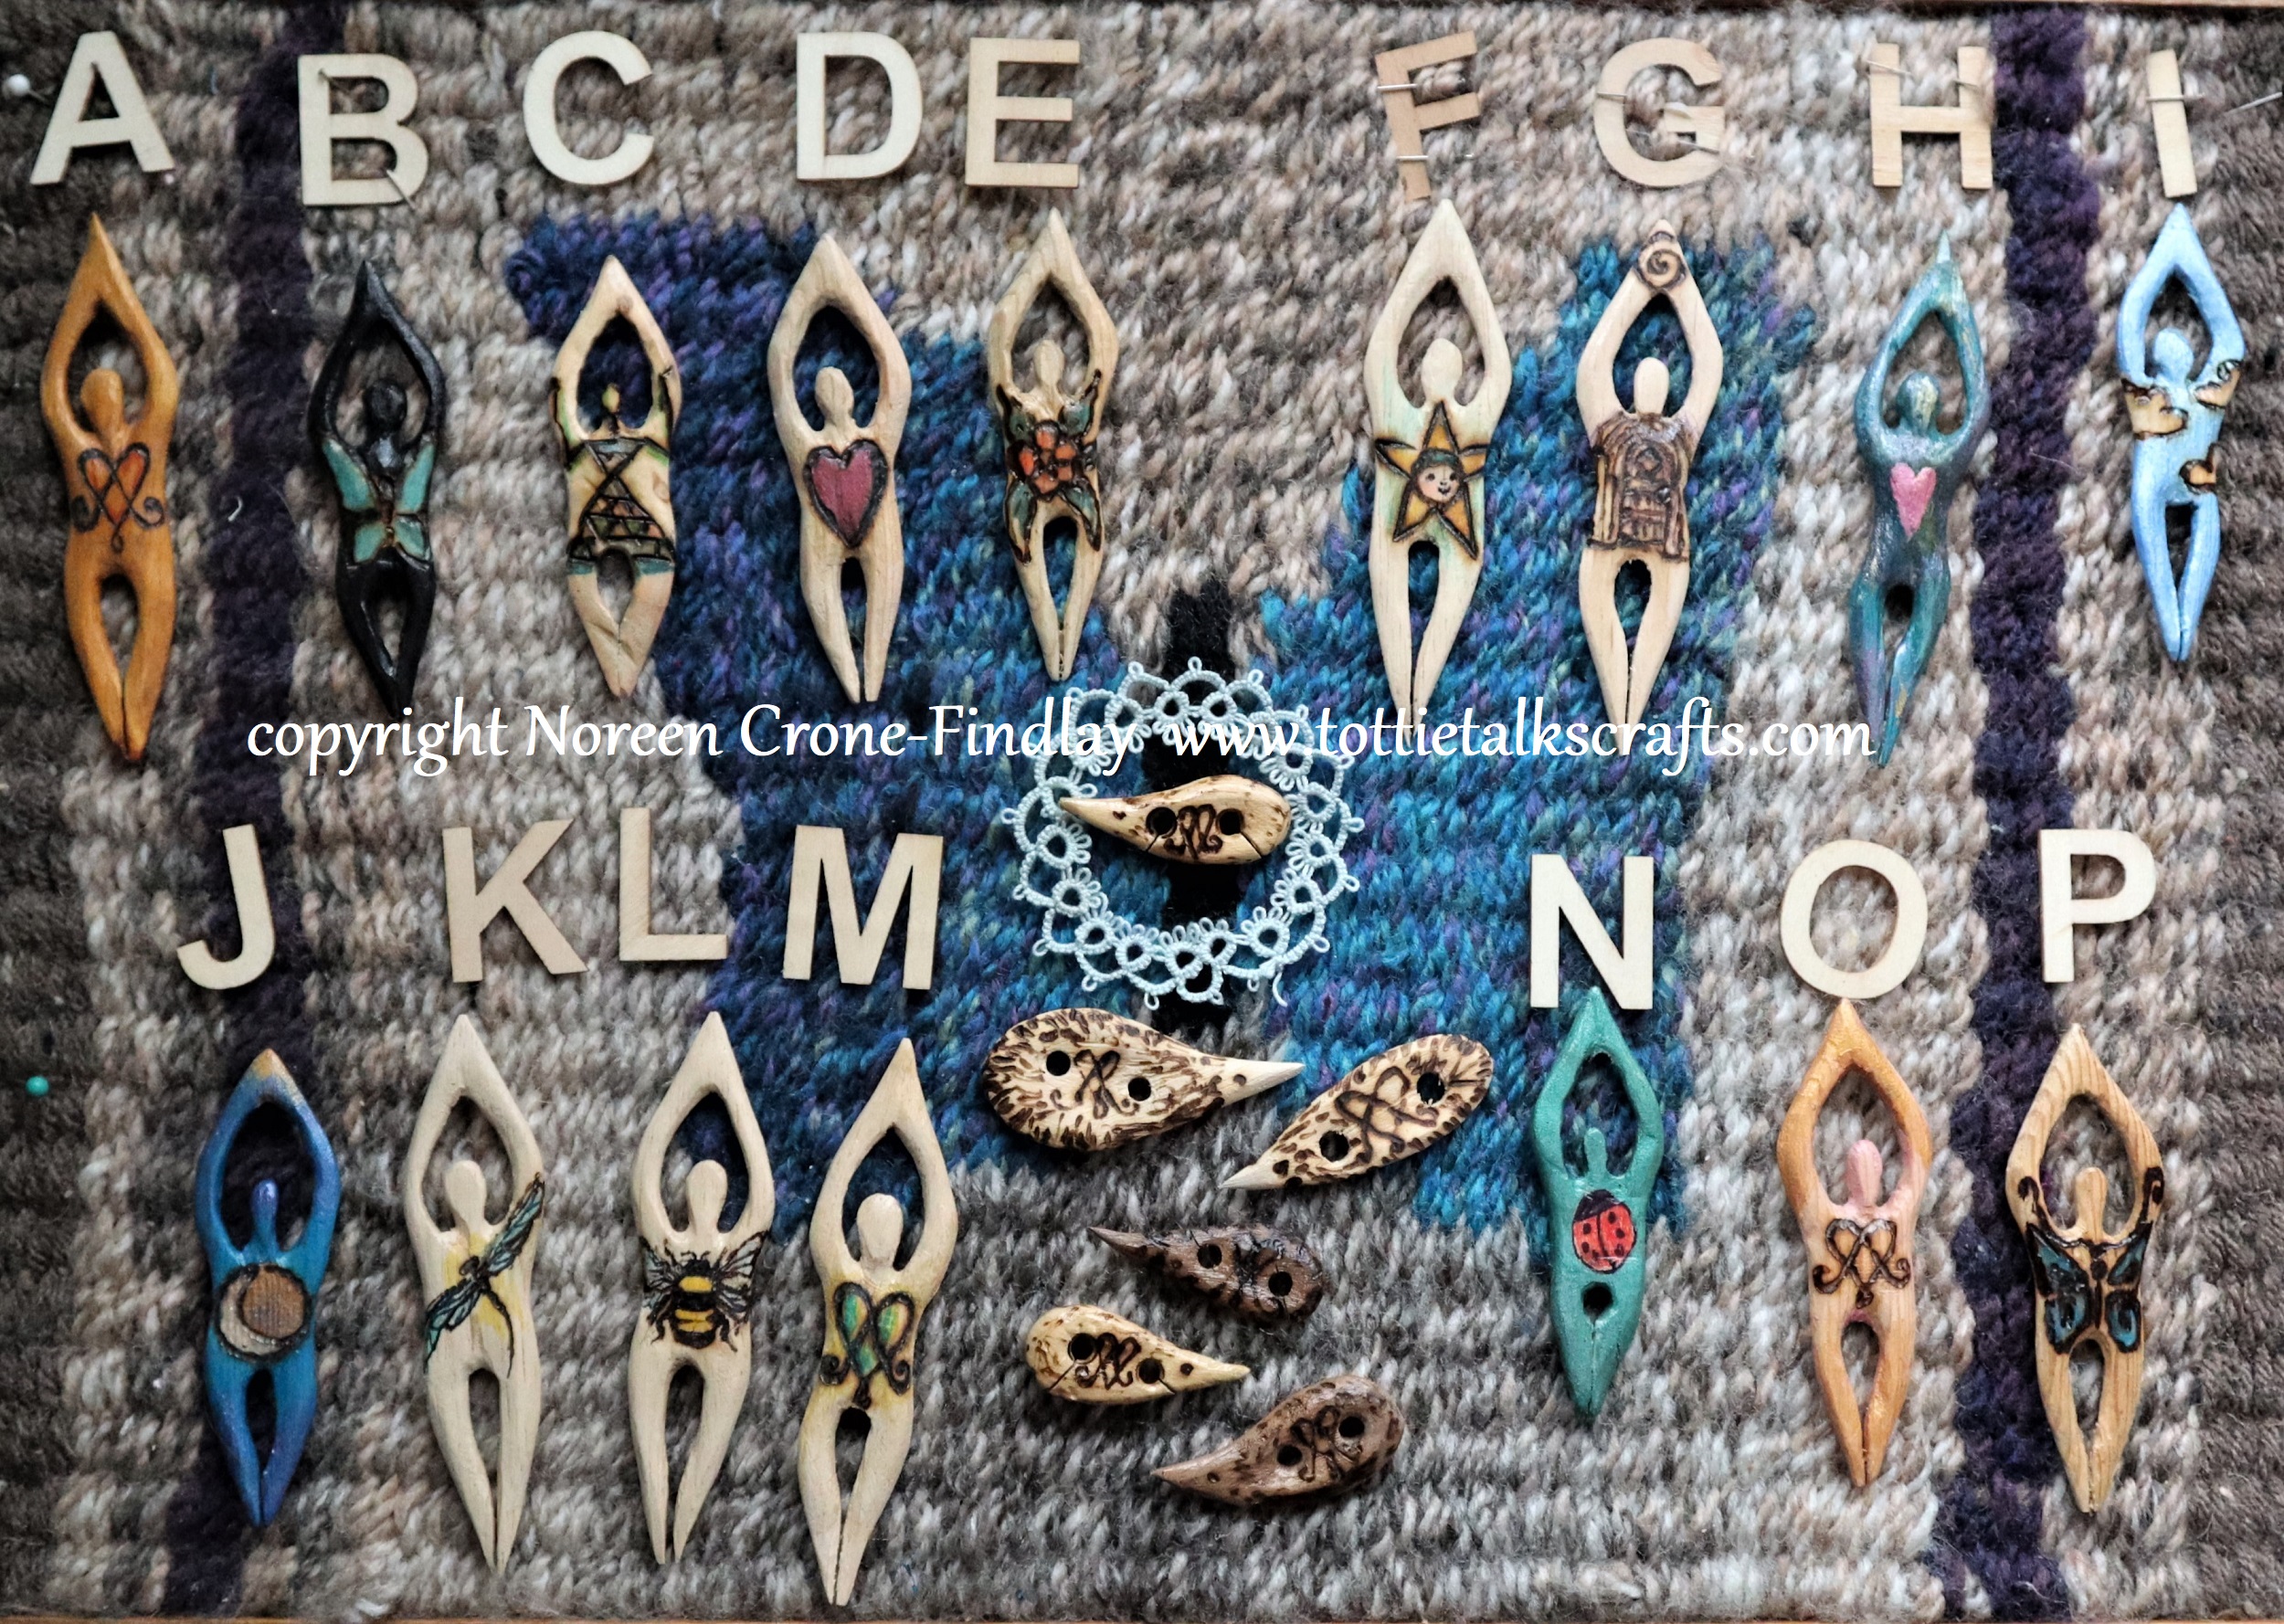
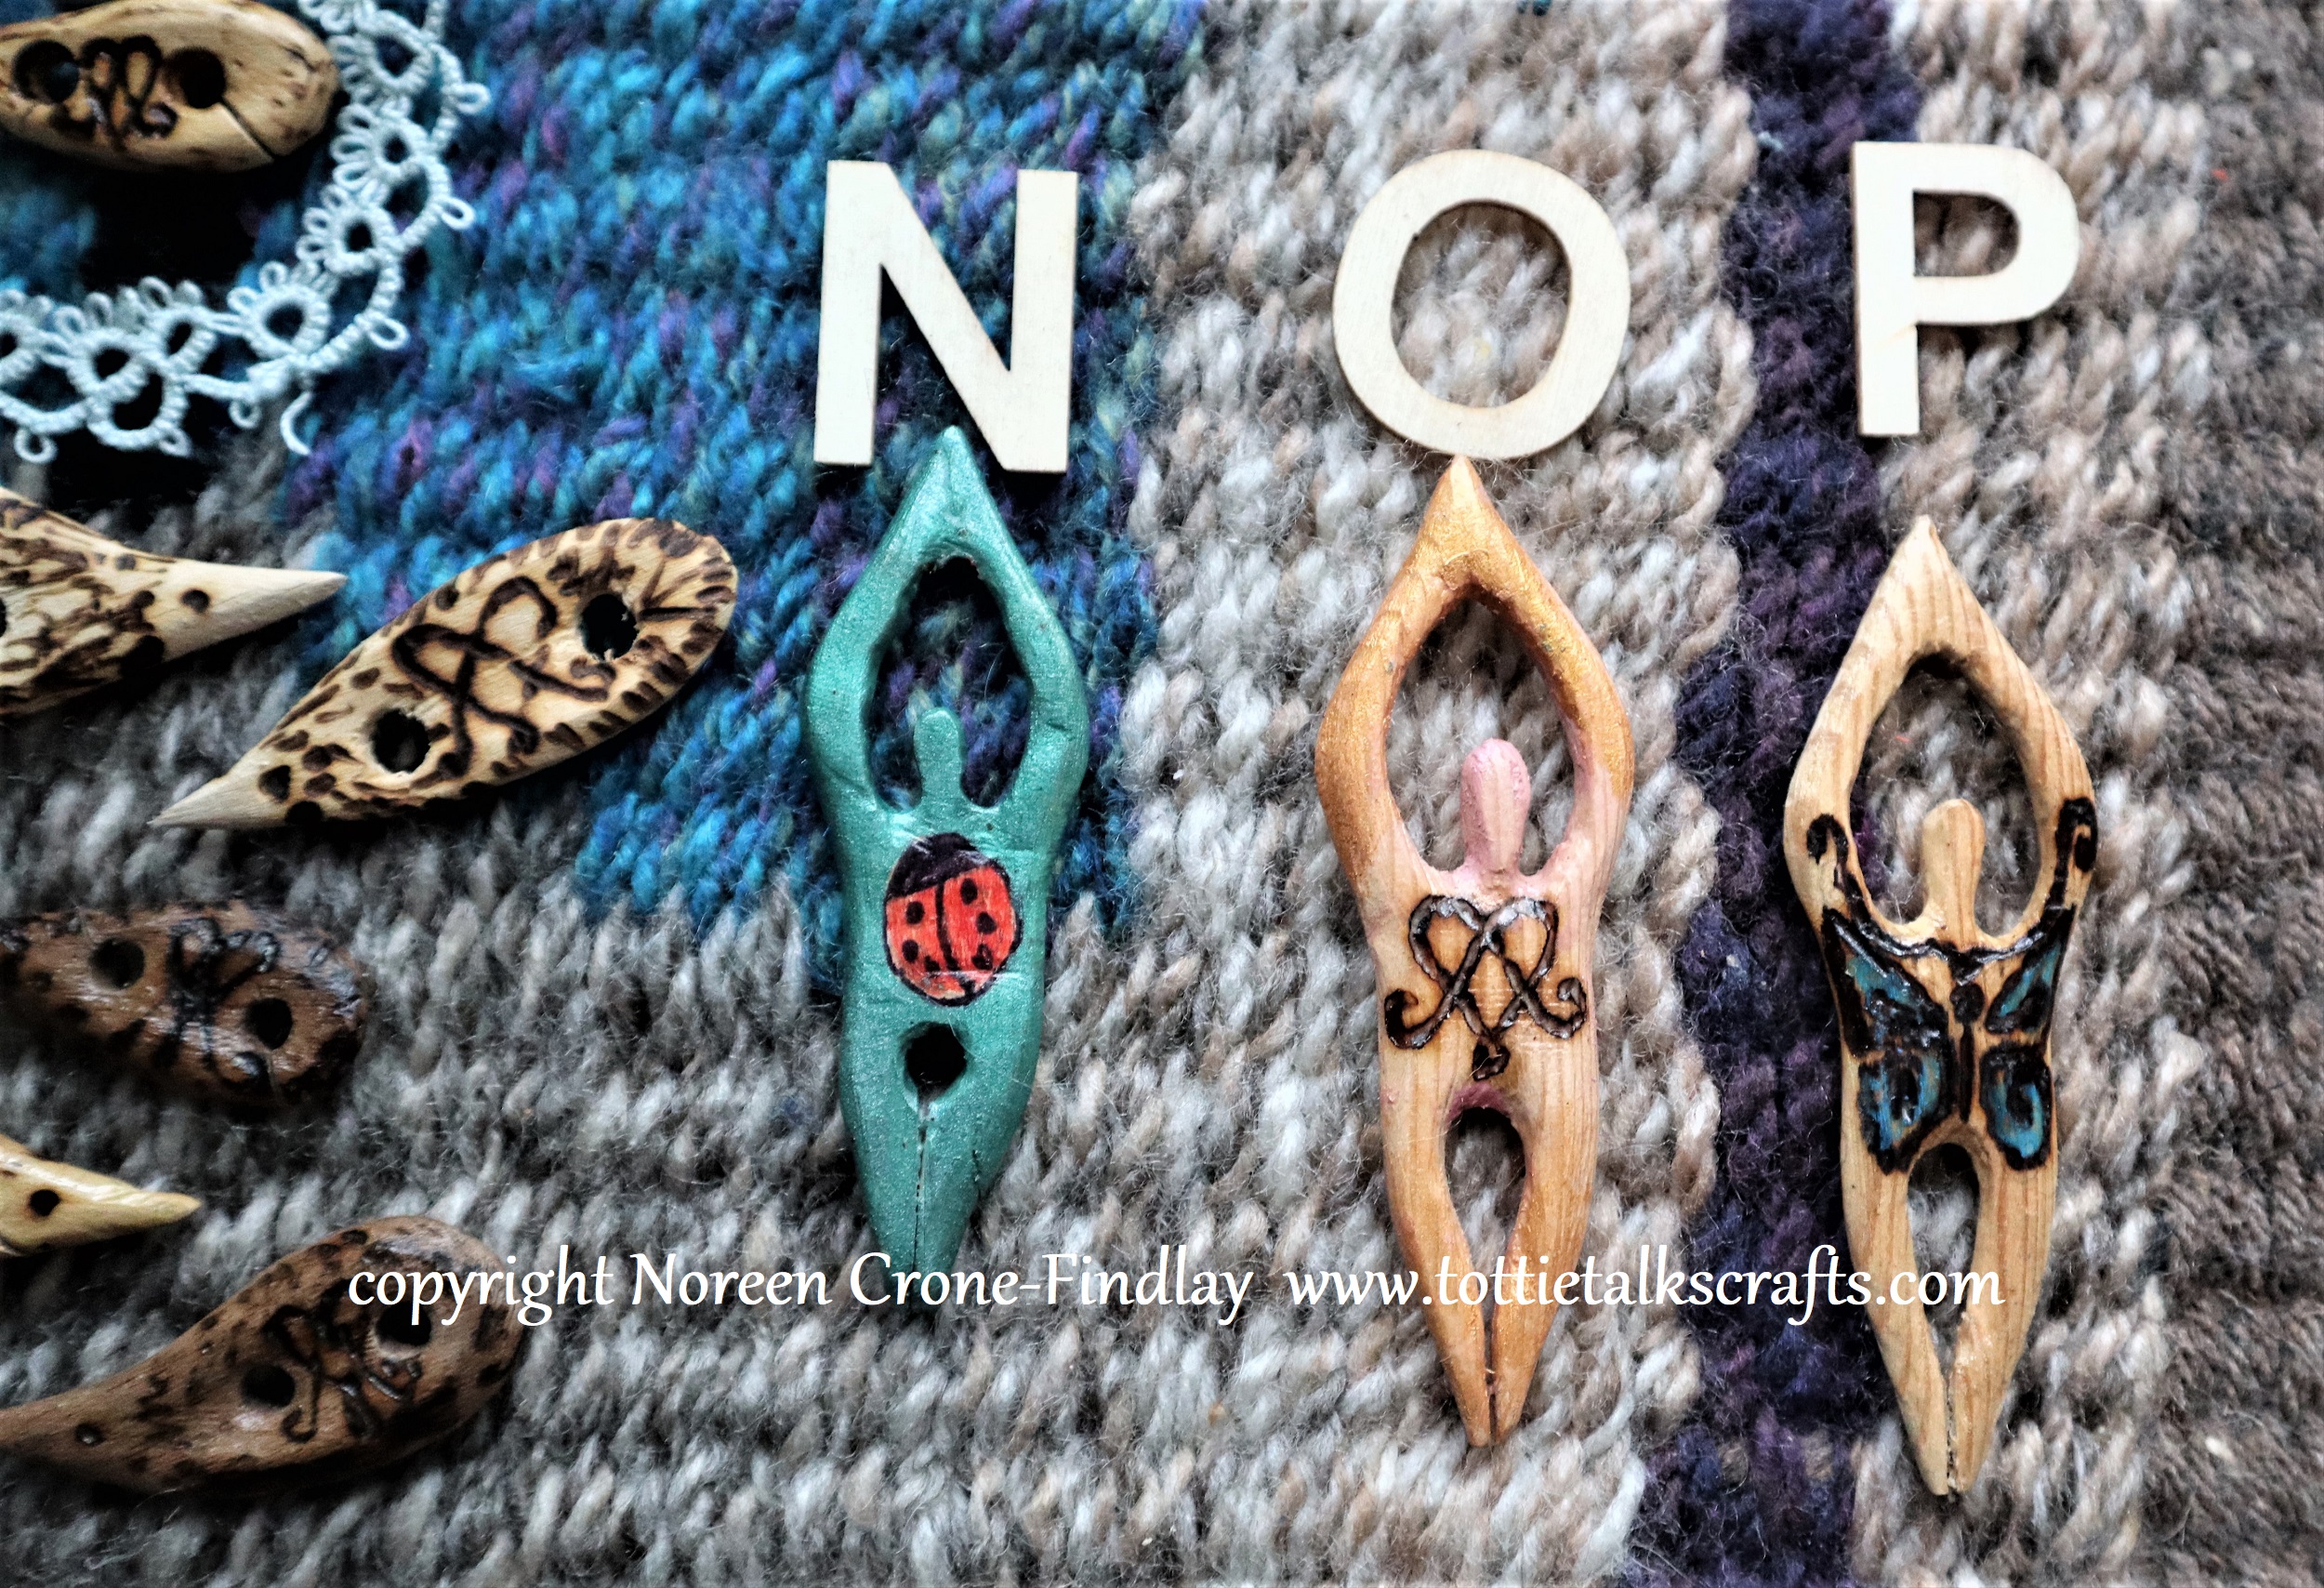
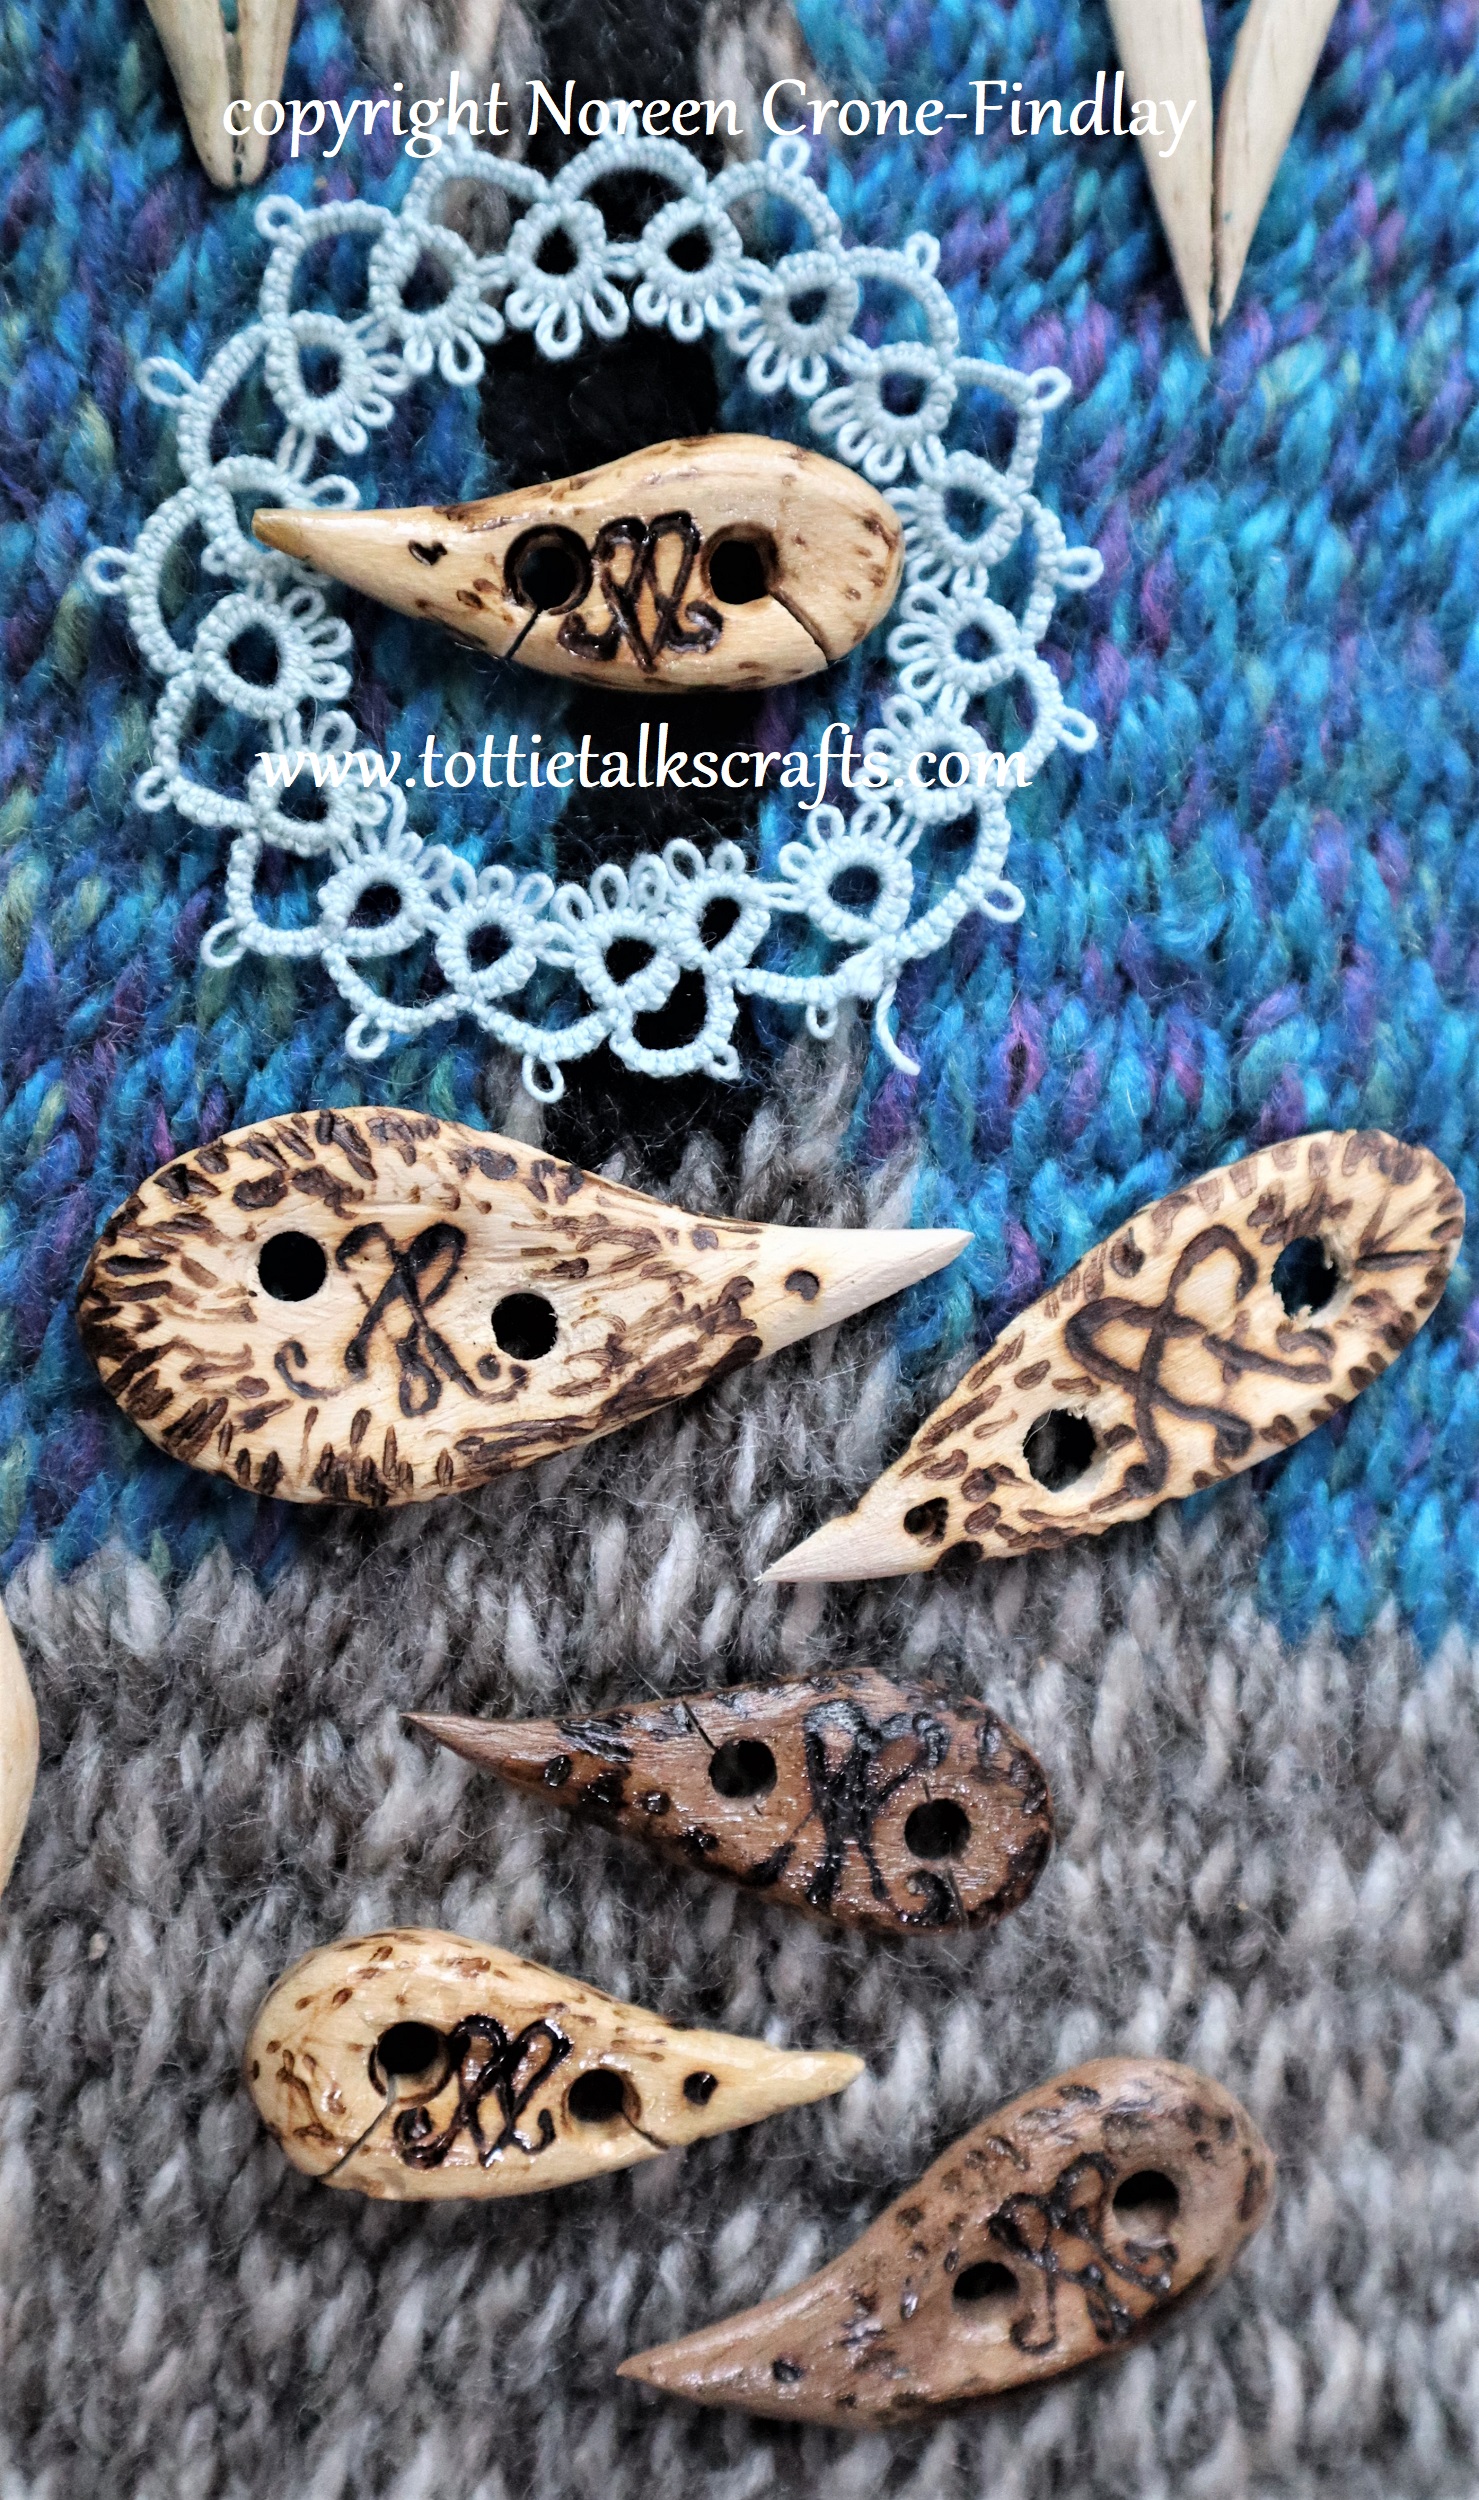
Tatting is one of my most favorite things- I never leave the house without a little tin or pouch that has tatting shuttles, thread, a tiny hook and tiny scissors in it.
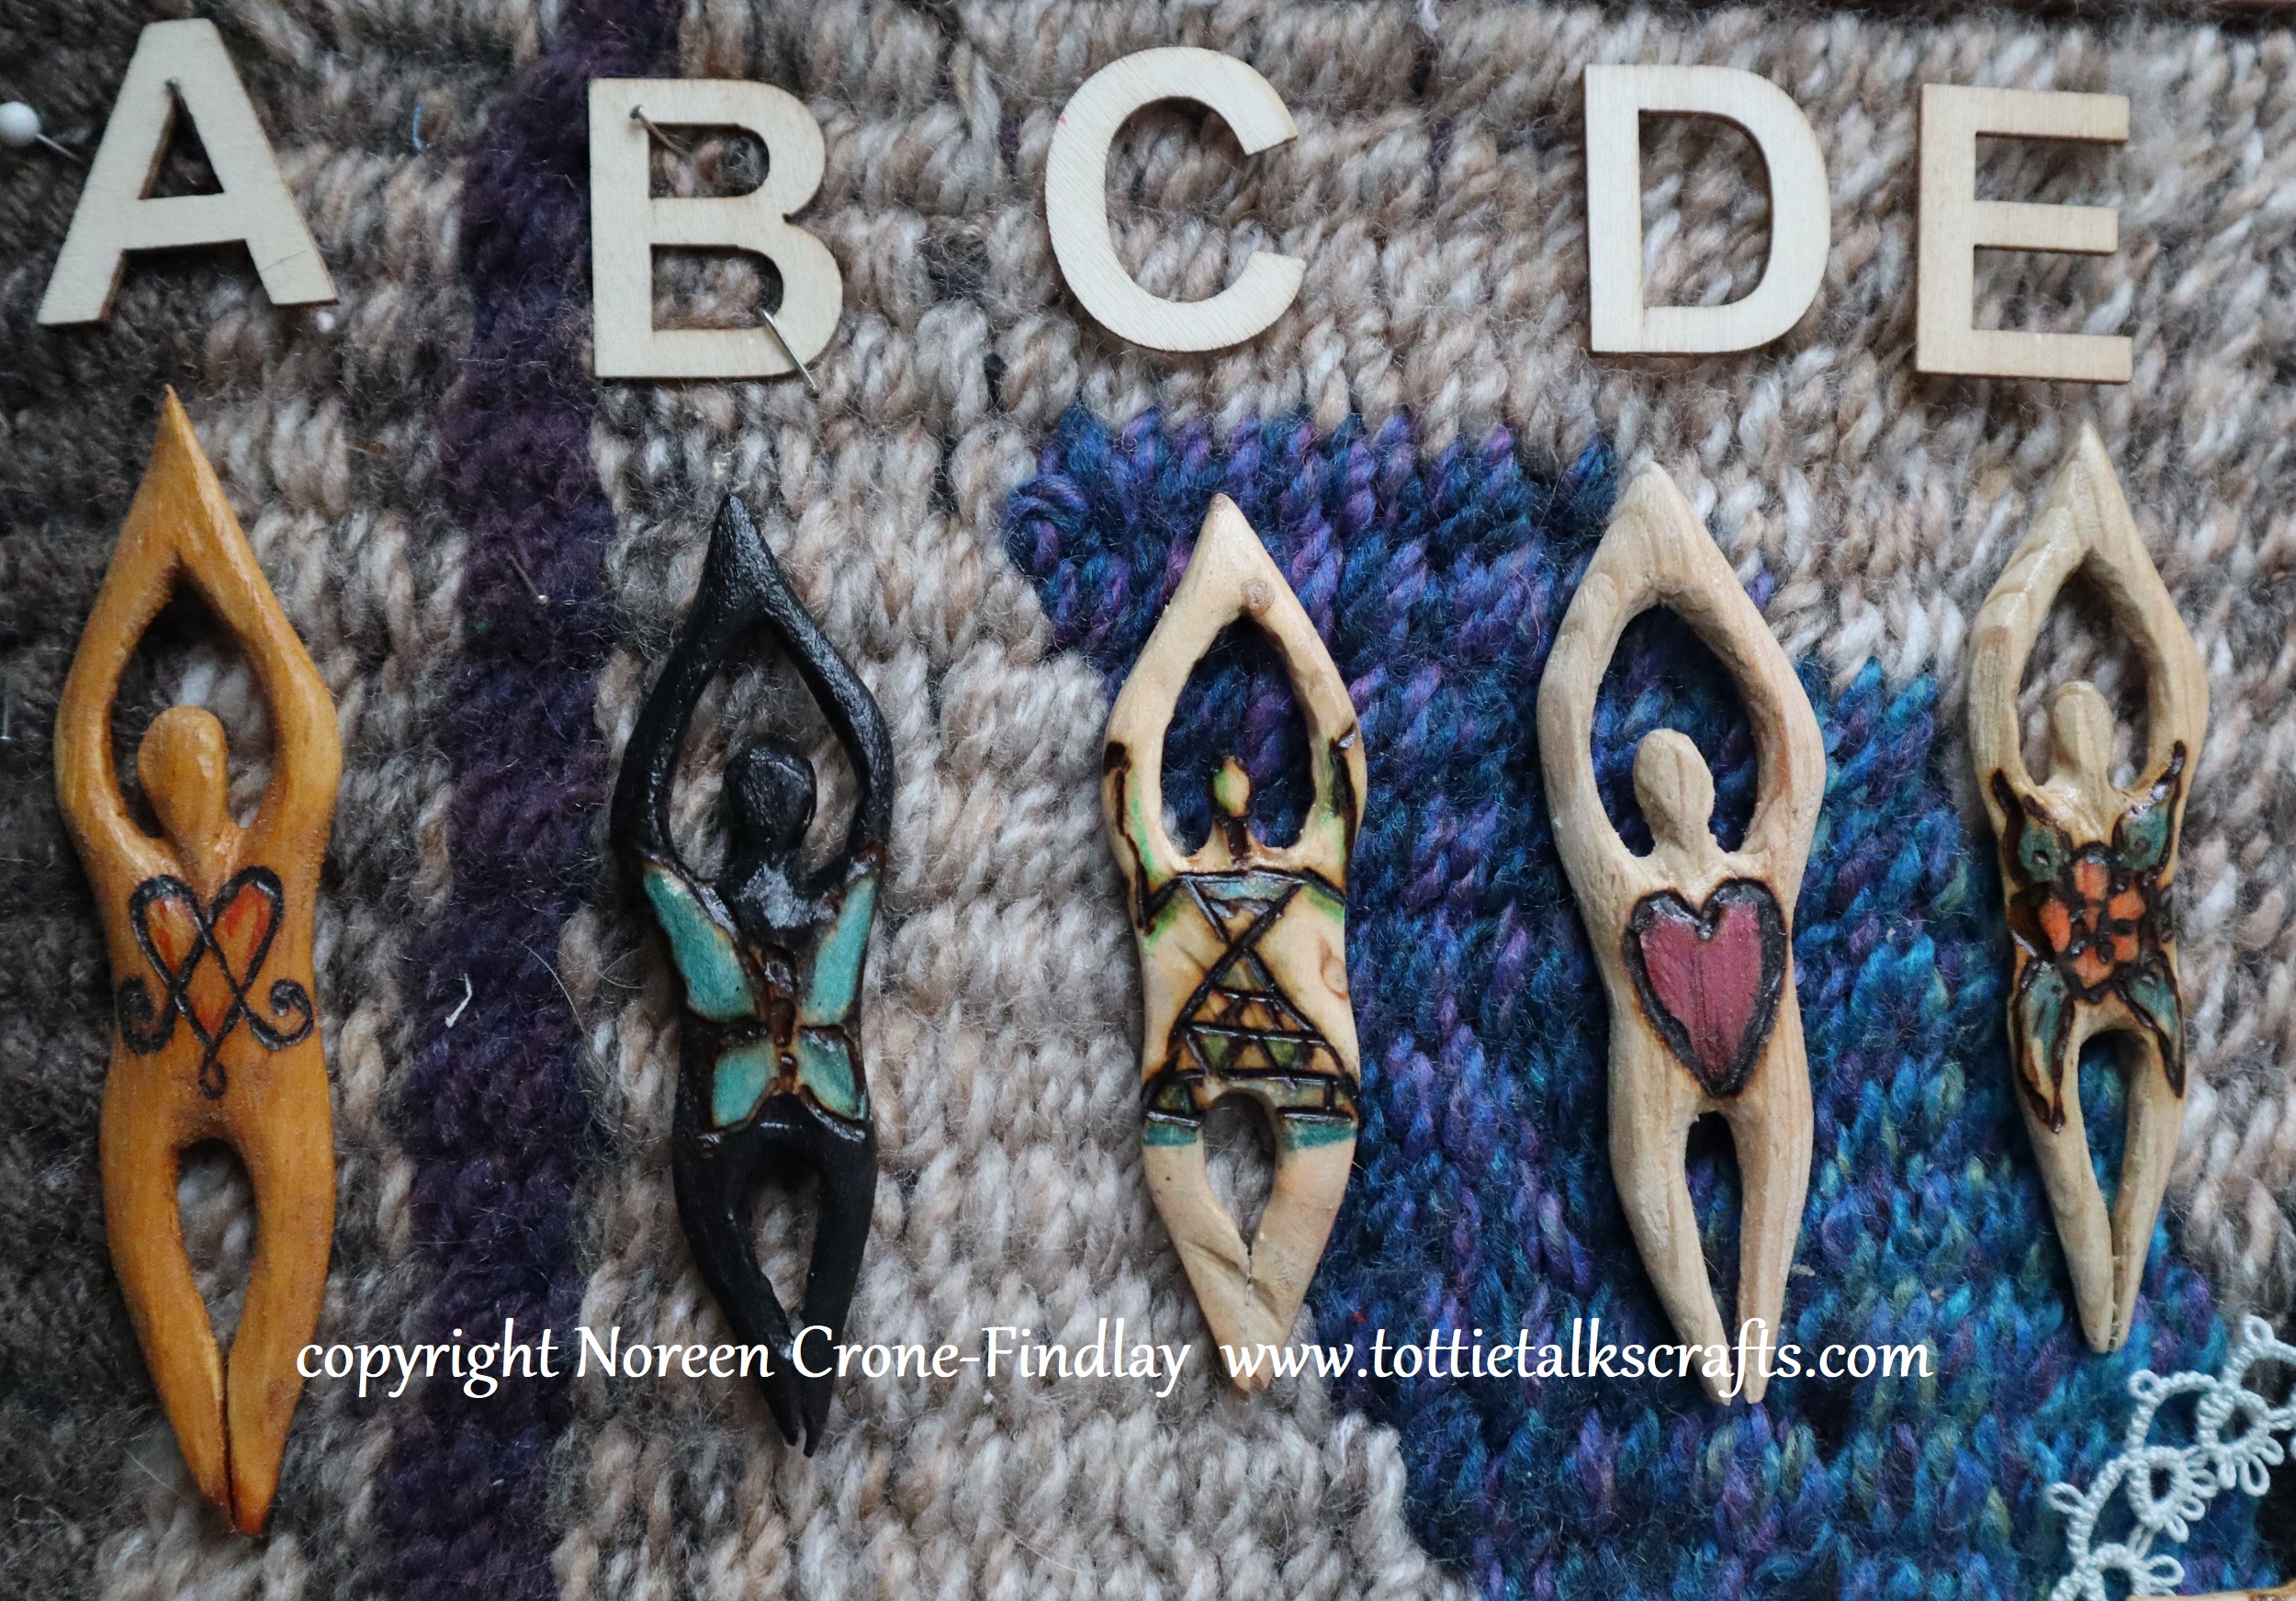
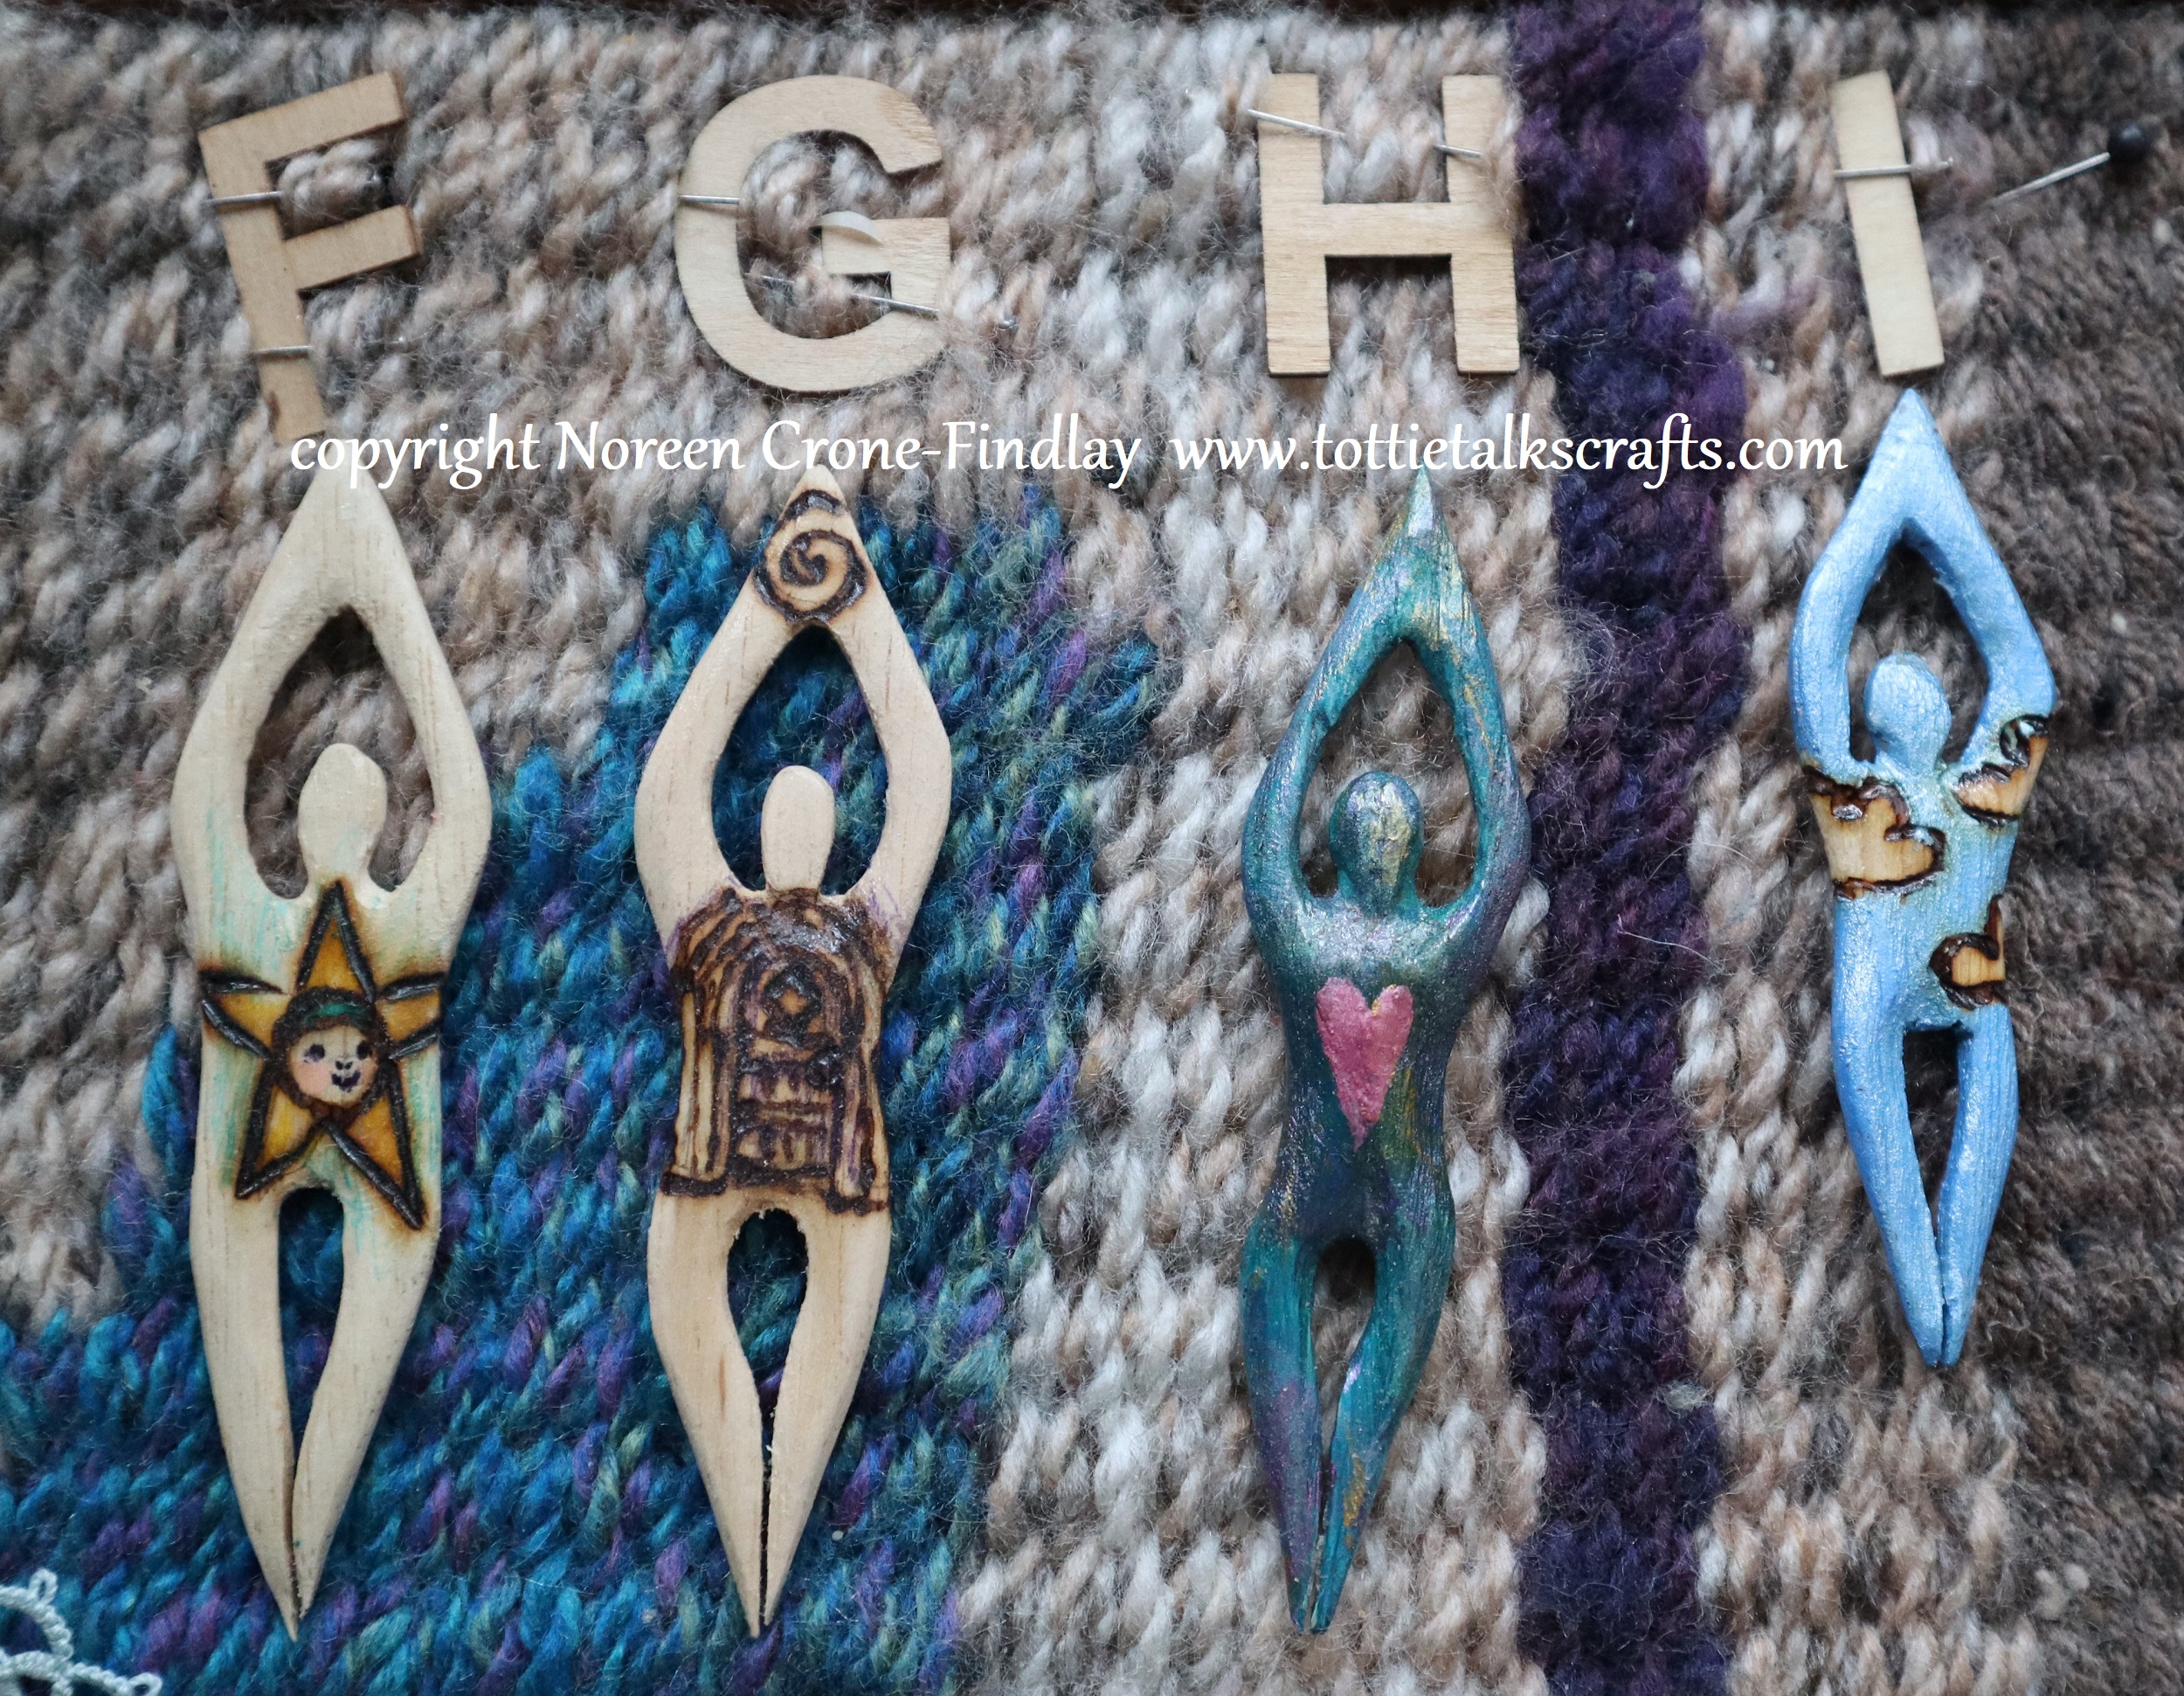
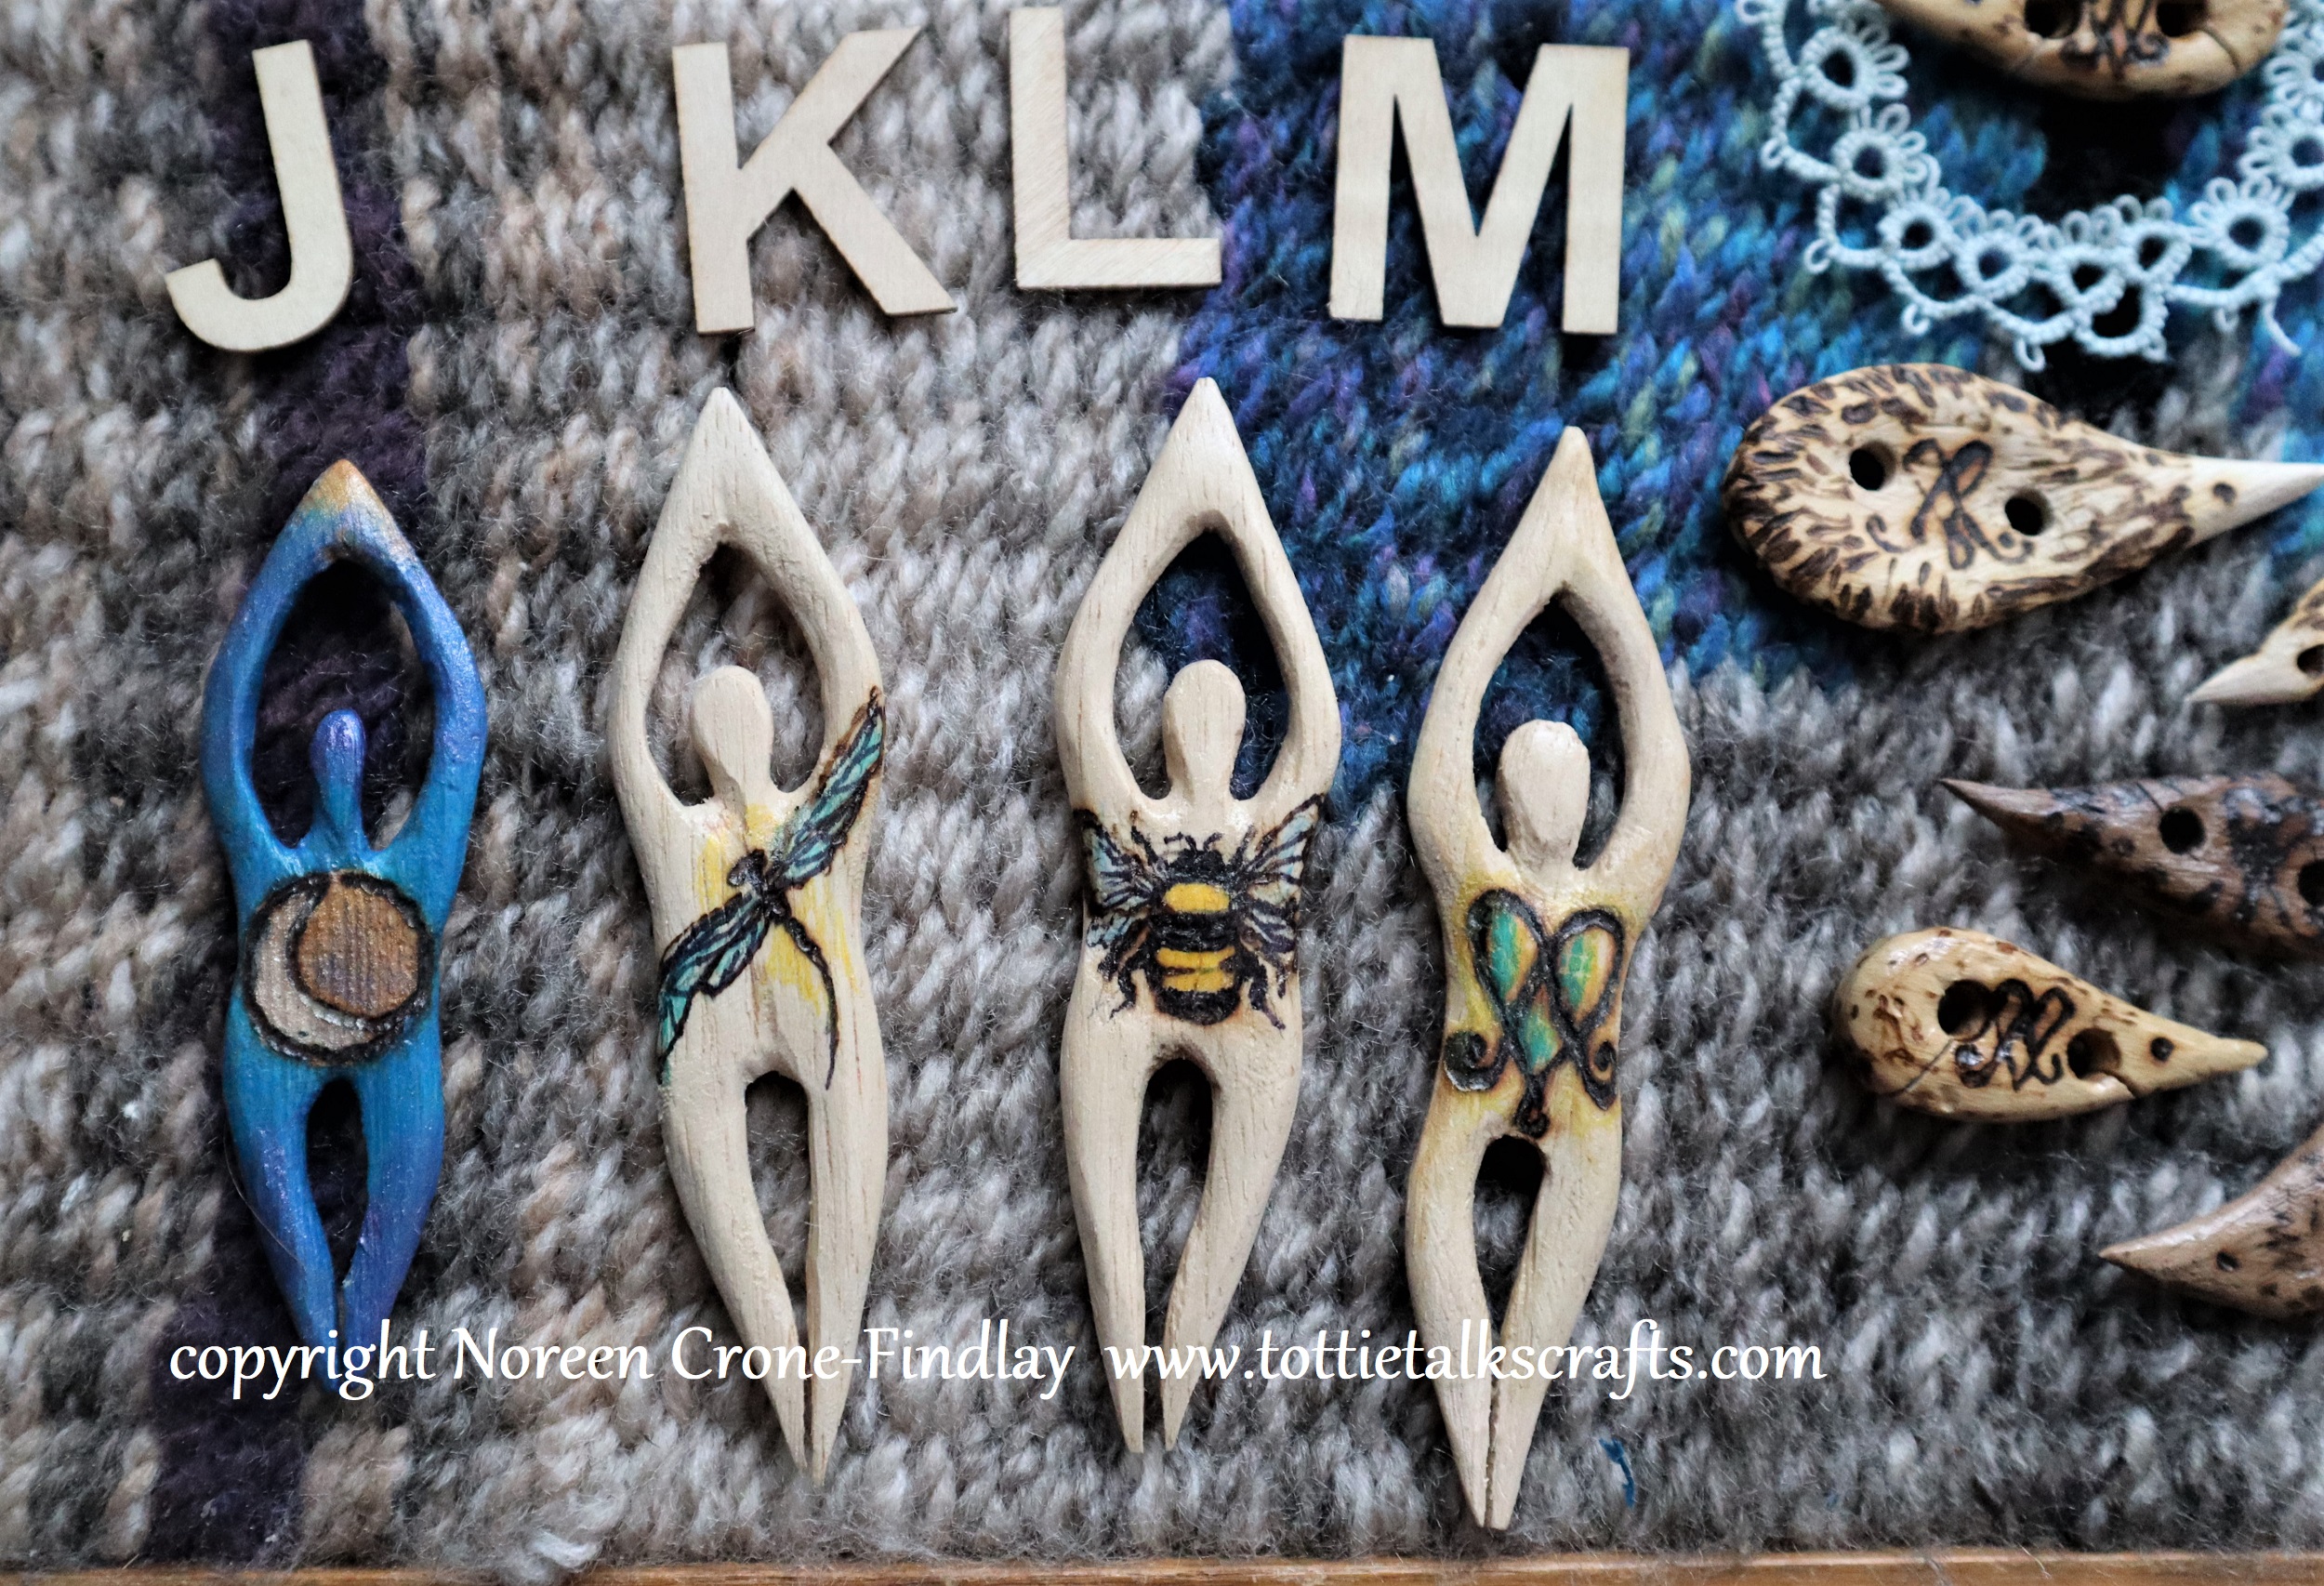
I have been busy in the woodworking room again… carving more Goddess and Hedgehog tatting shuttles.
Until the end of the year, I will be reducing the price of the Goddess shuttles to $39 + shipping and the Hedgehogs to $25 + shipping.
Please message me if you are interested.
Here are some helpful videos about my Goddess Tatting shuttles:
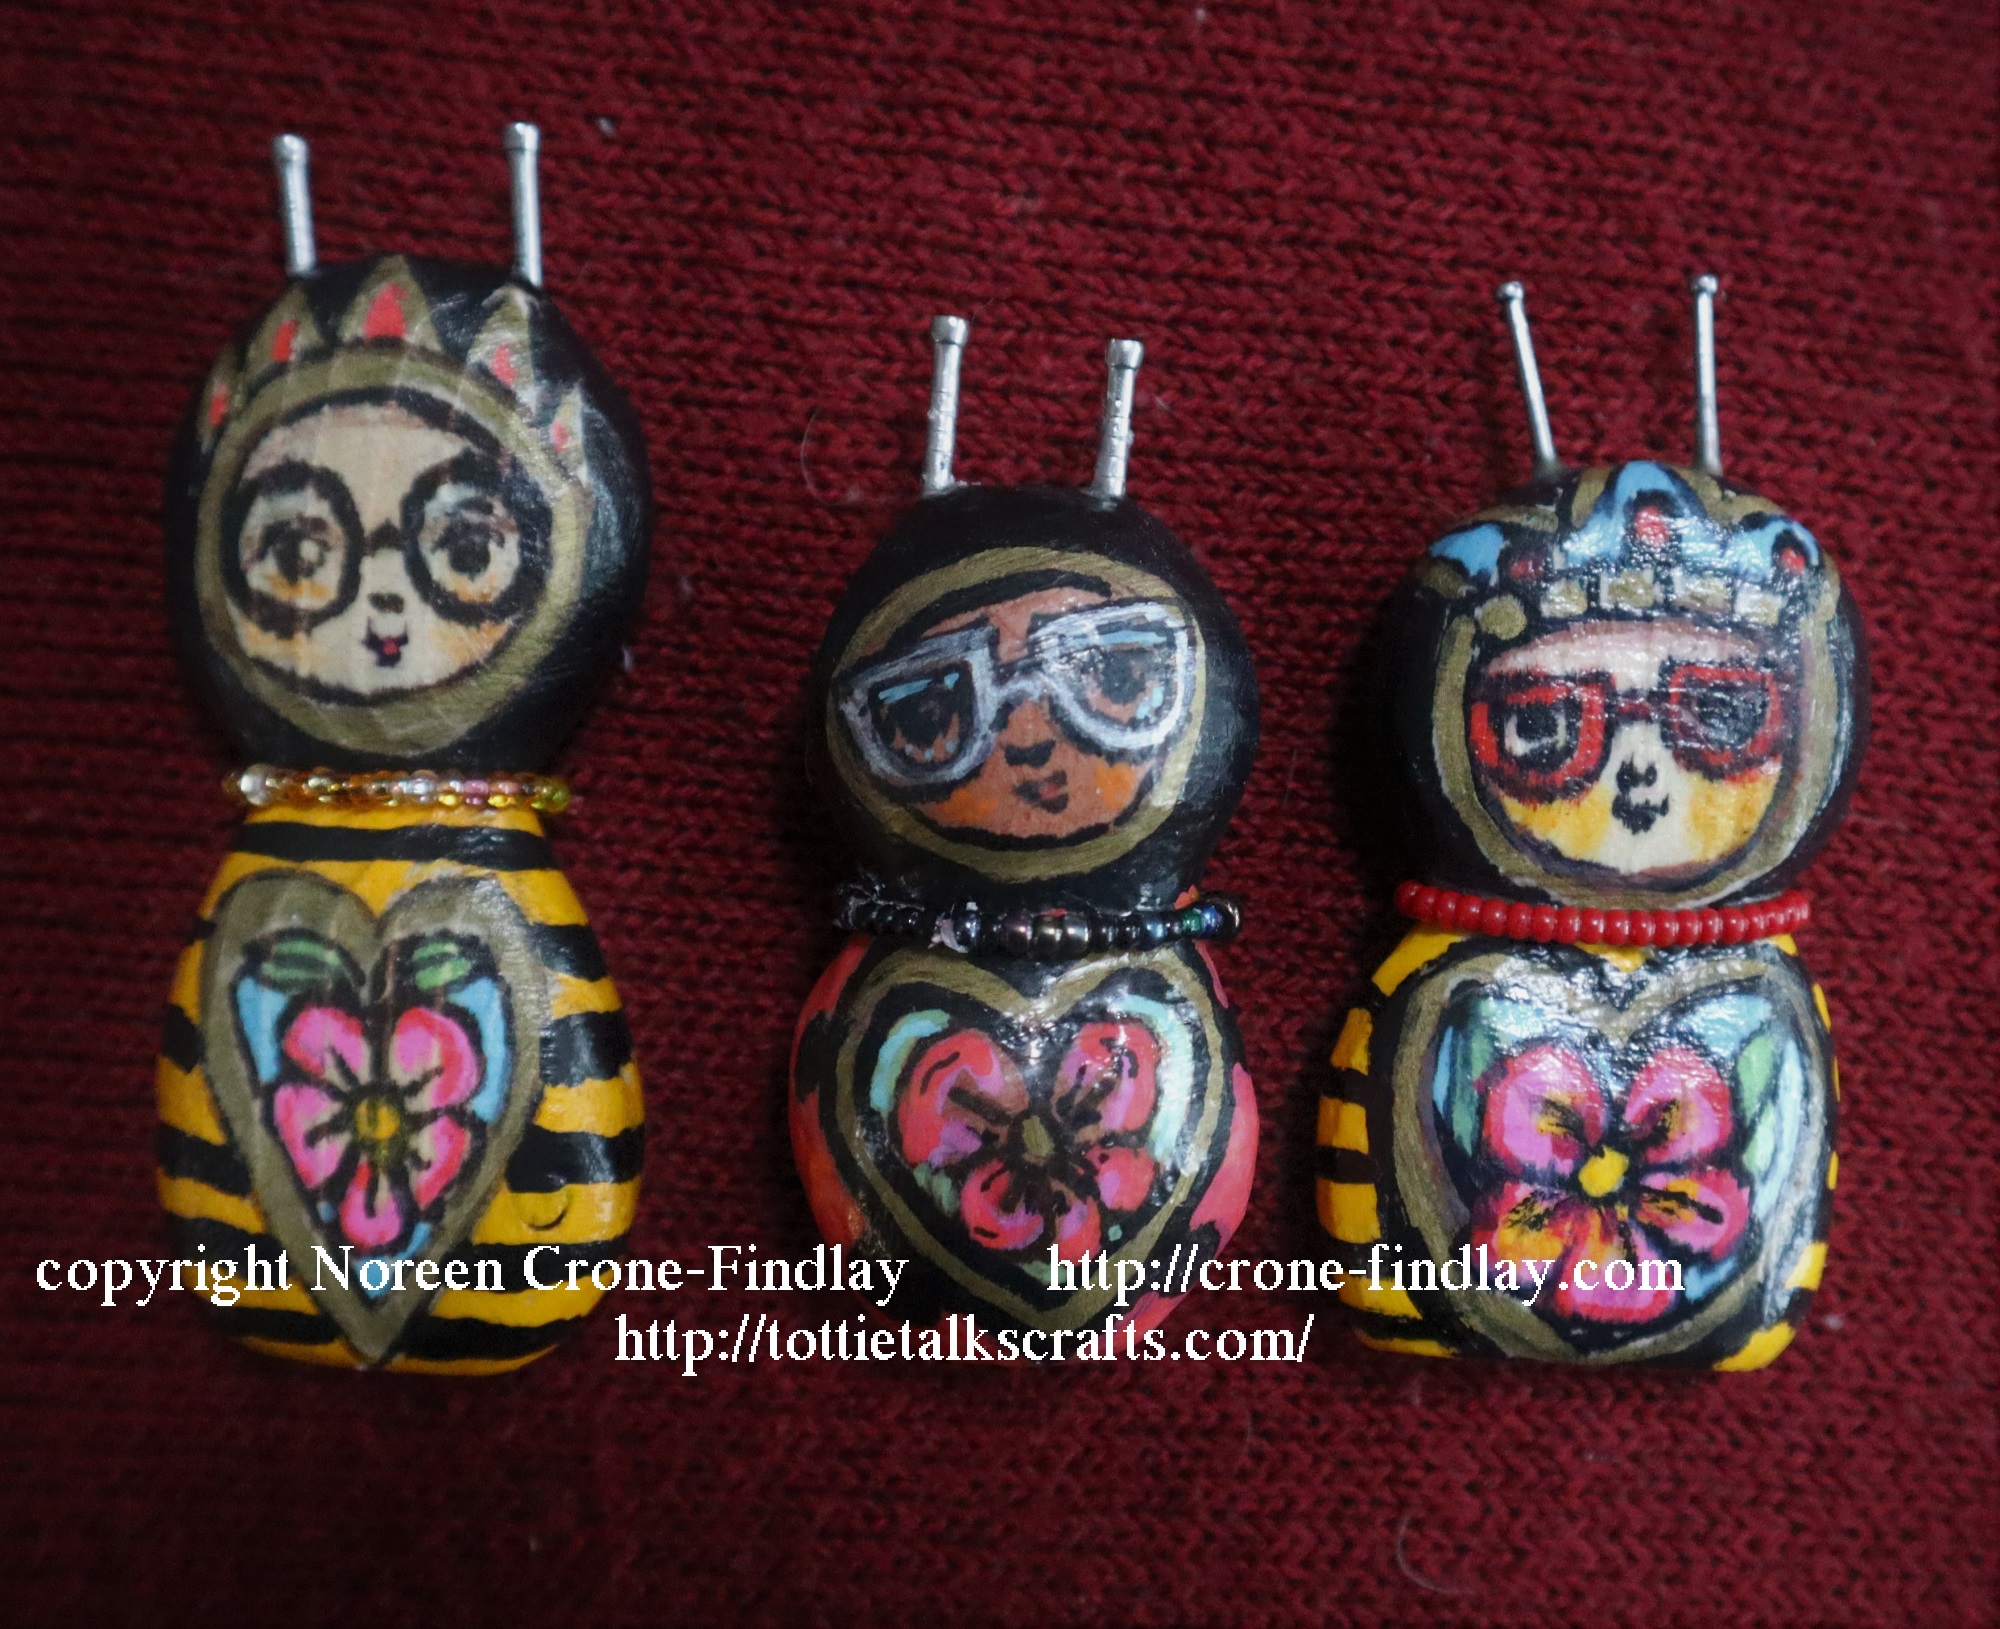
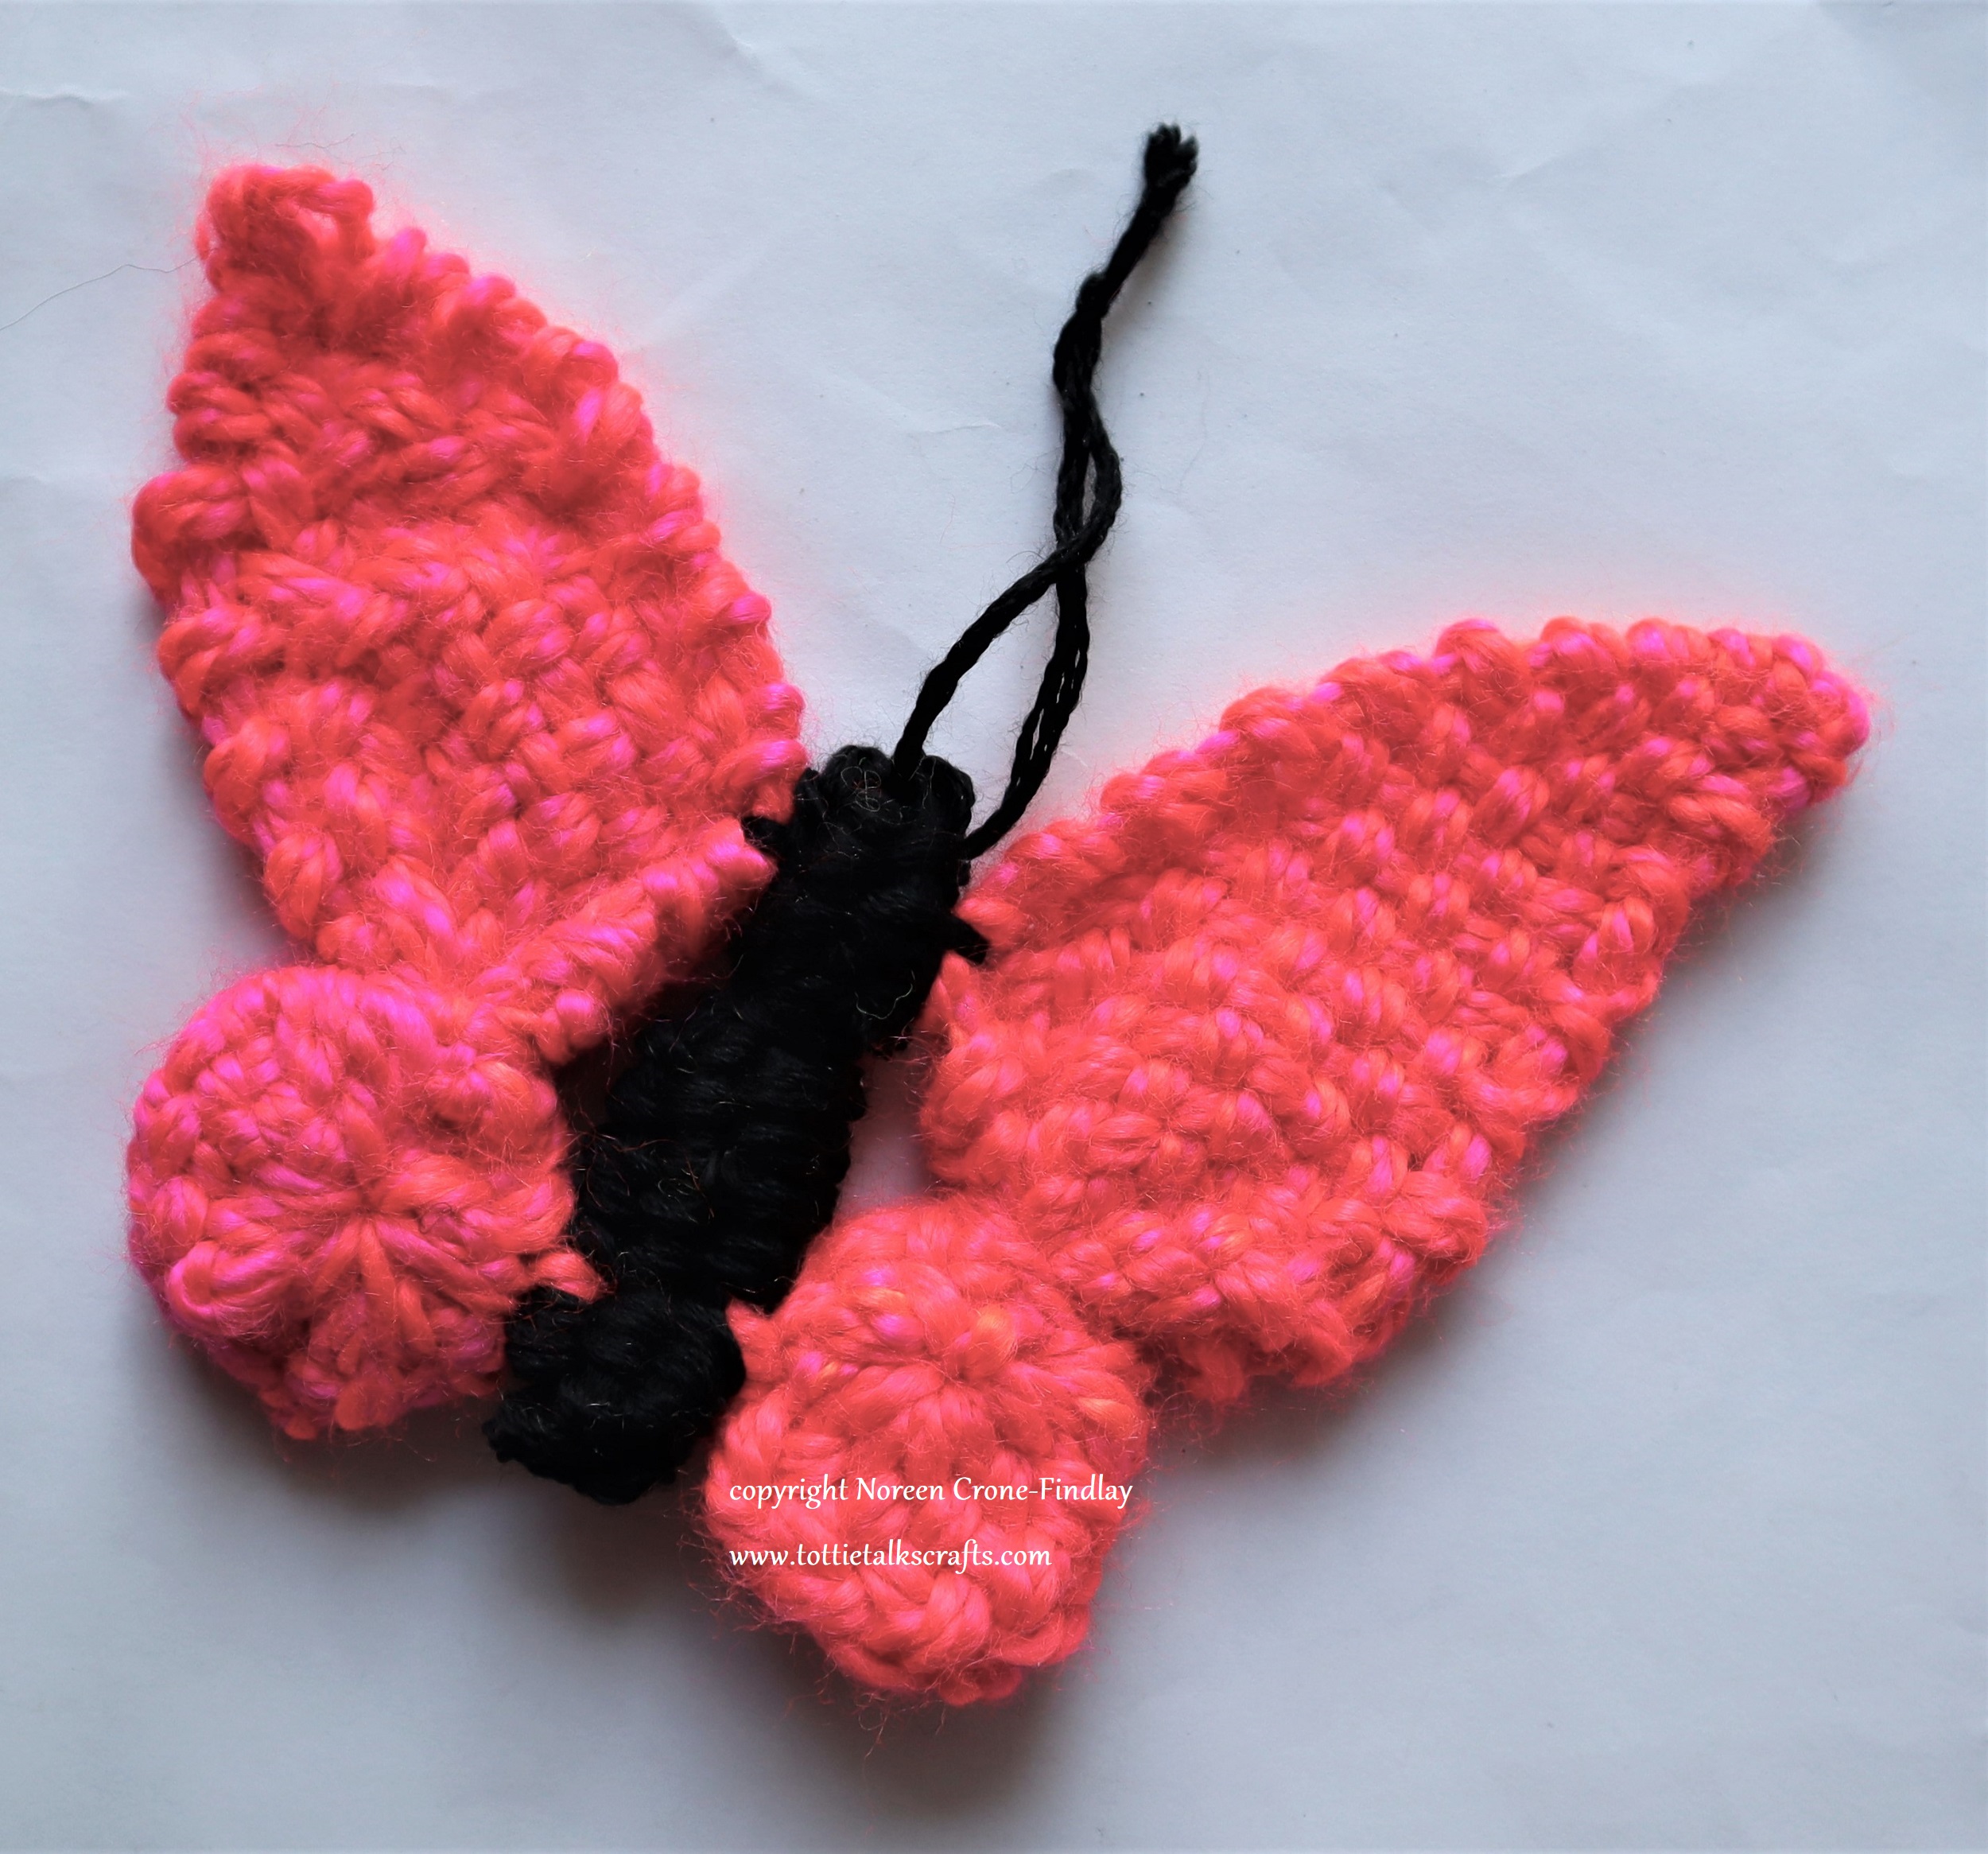
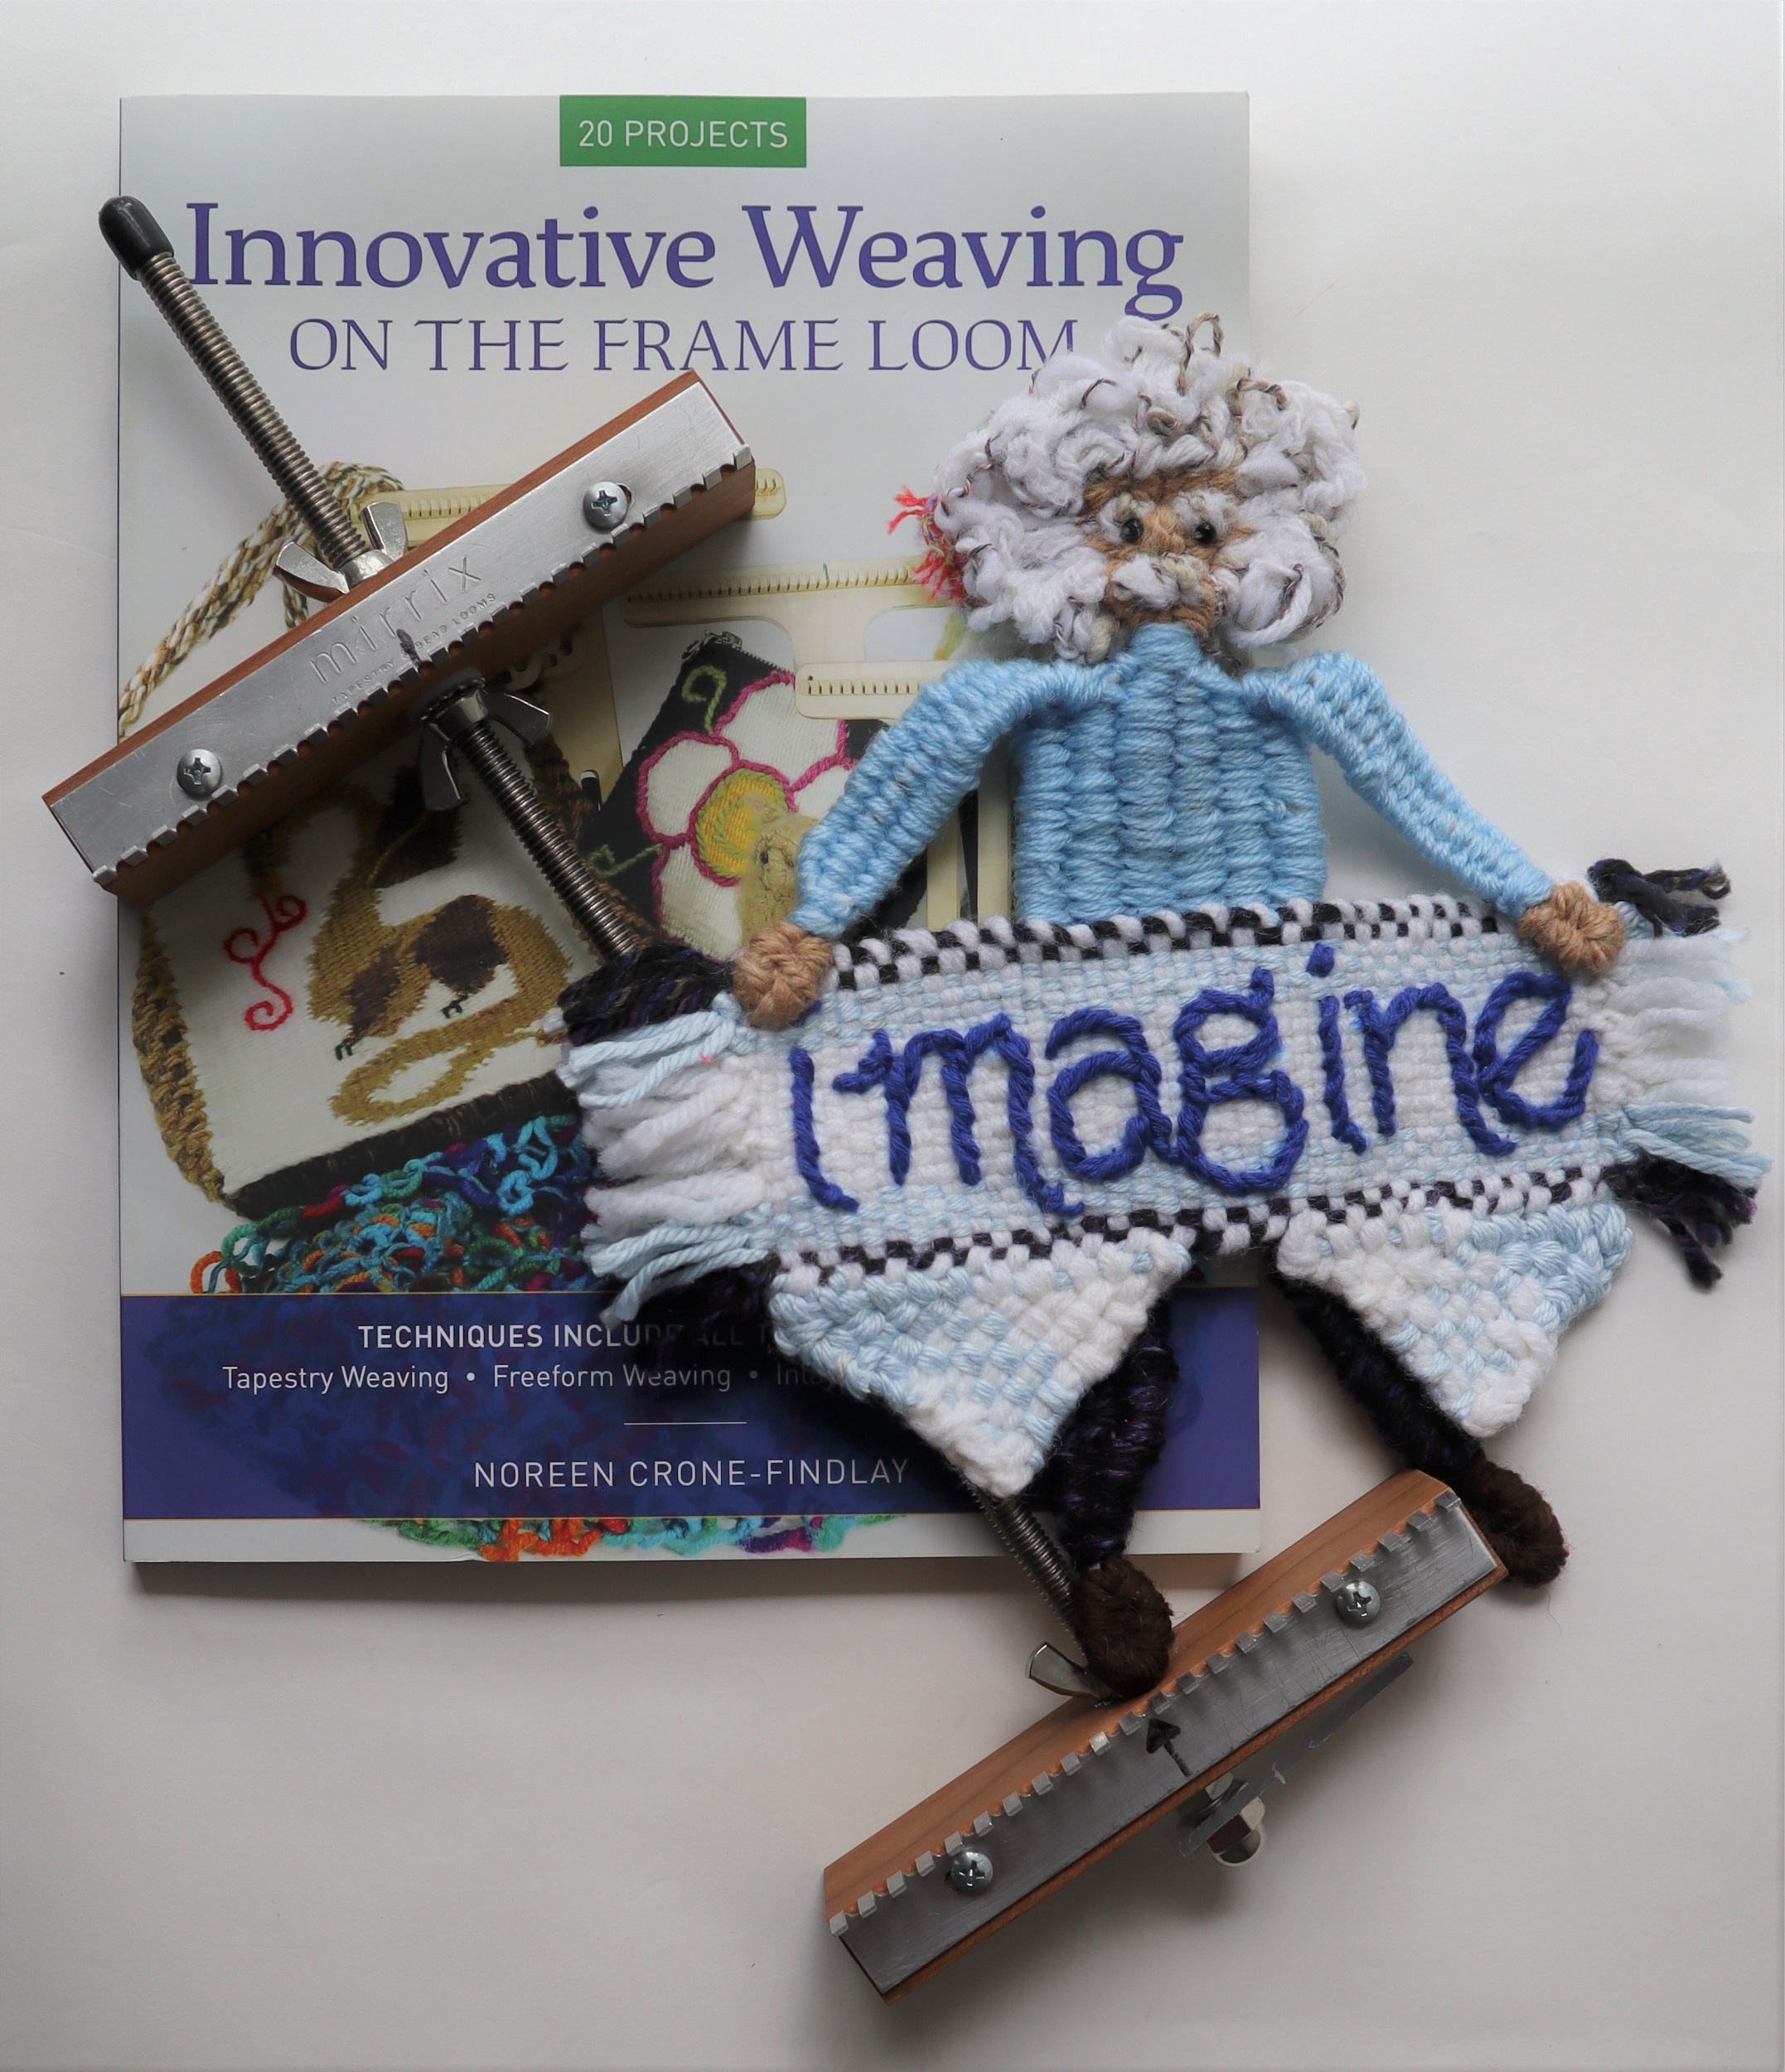
I have been weaving a lot of butterflies lately, as a metaphor of hope, transformation, healing, creativity, community, and so much more.
These butterflies are ones that I designed to weave on the Mirrix Saffron loom.
I love the way that I can set up the Saffron to the exact size that I want….
The pink butterfly is made by weaving a full size triangle on the Saffron (see instructions in my book: Innovative Weaving on the Frame Loom).
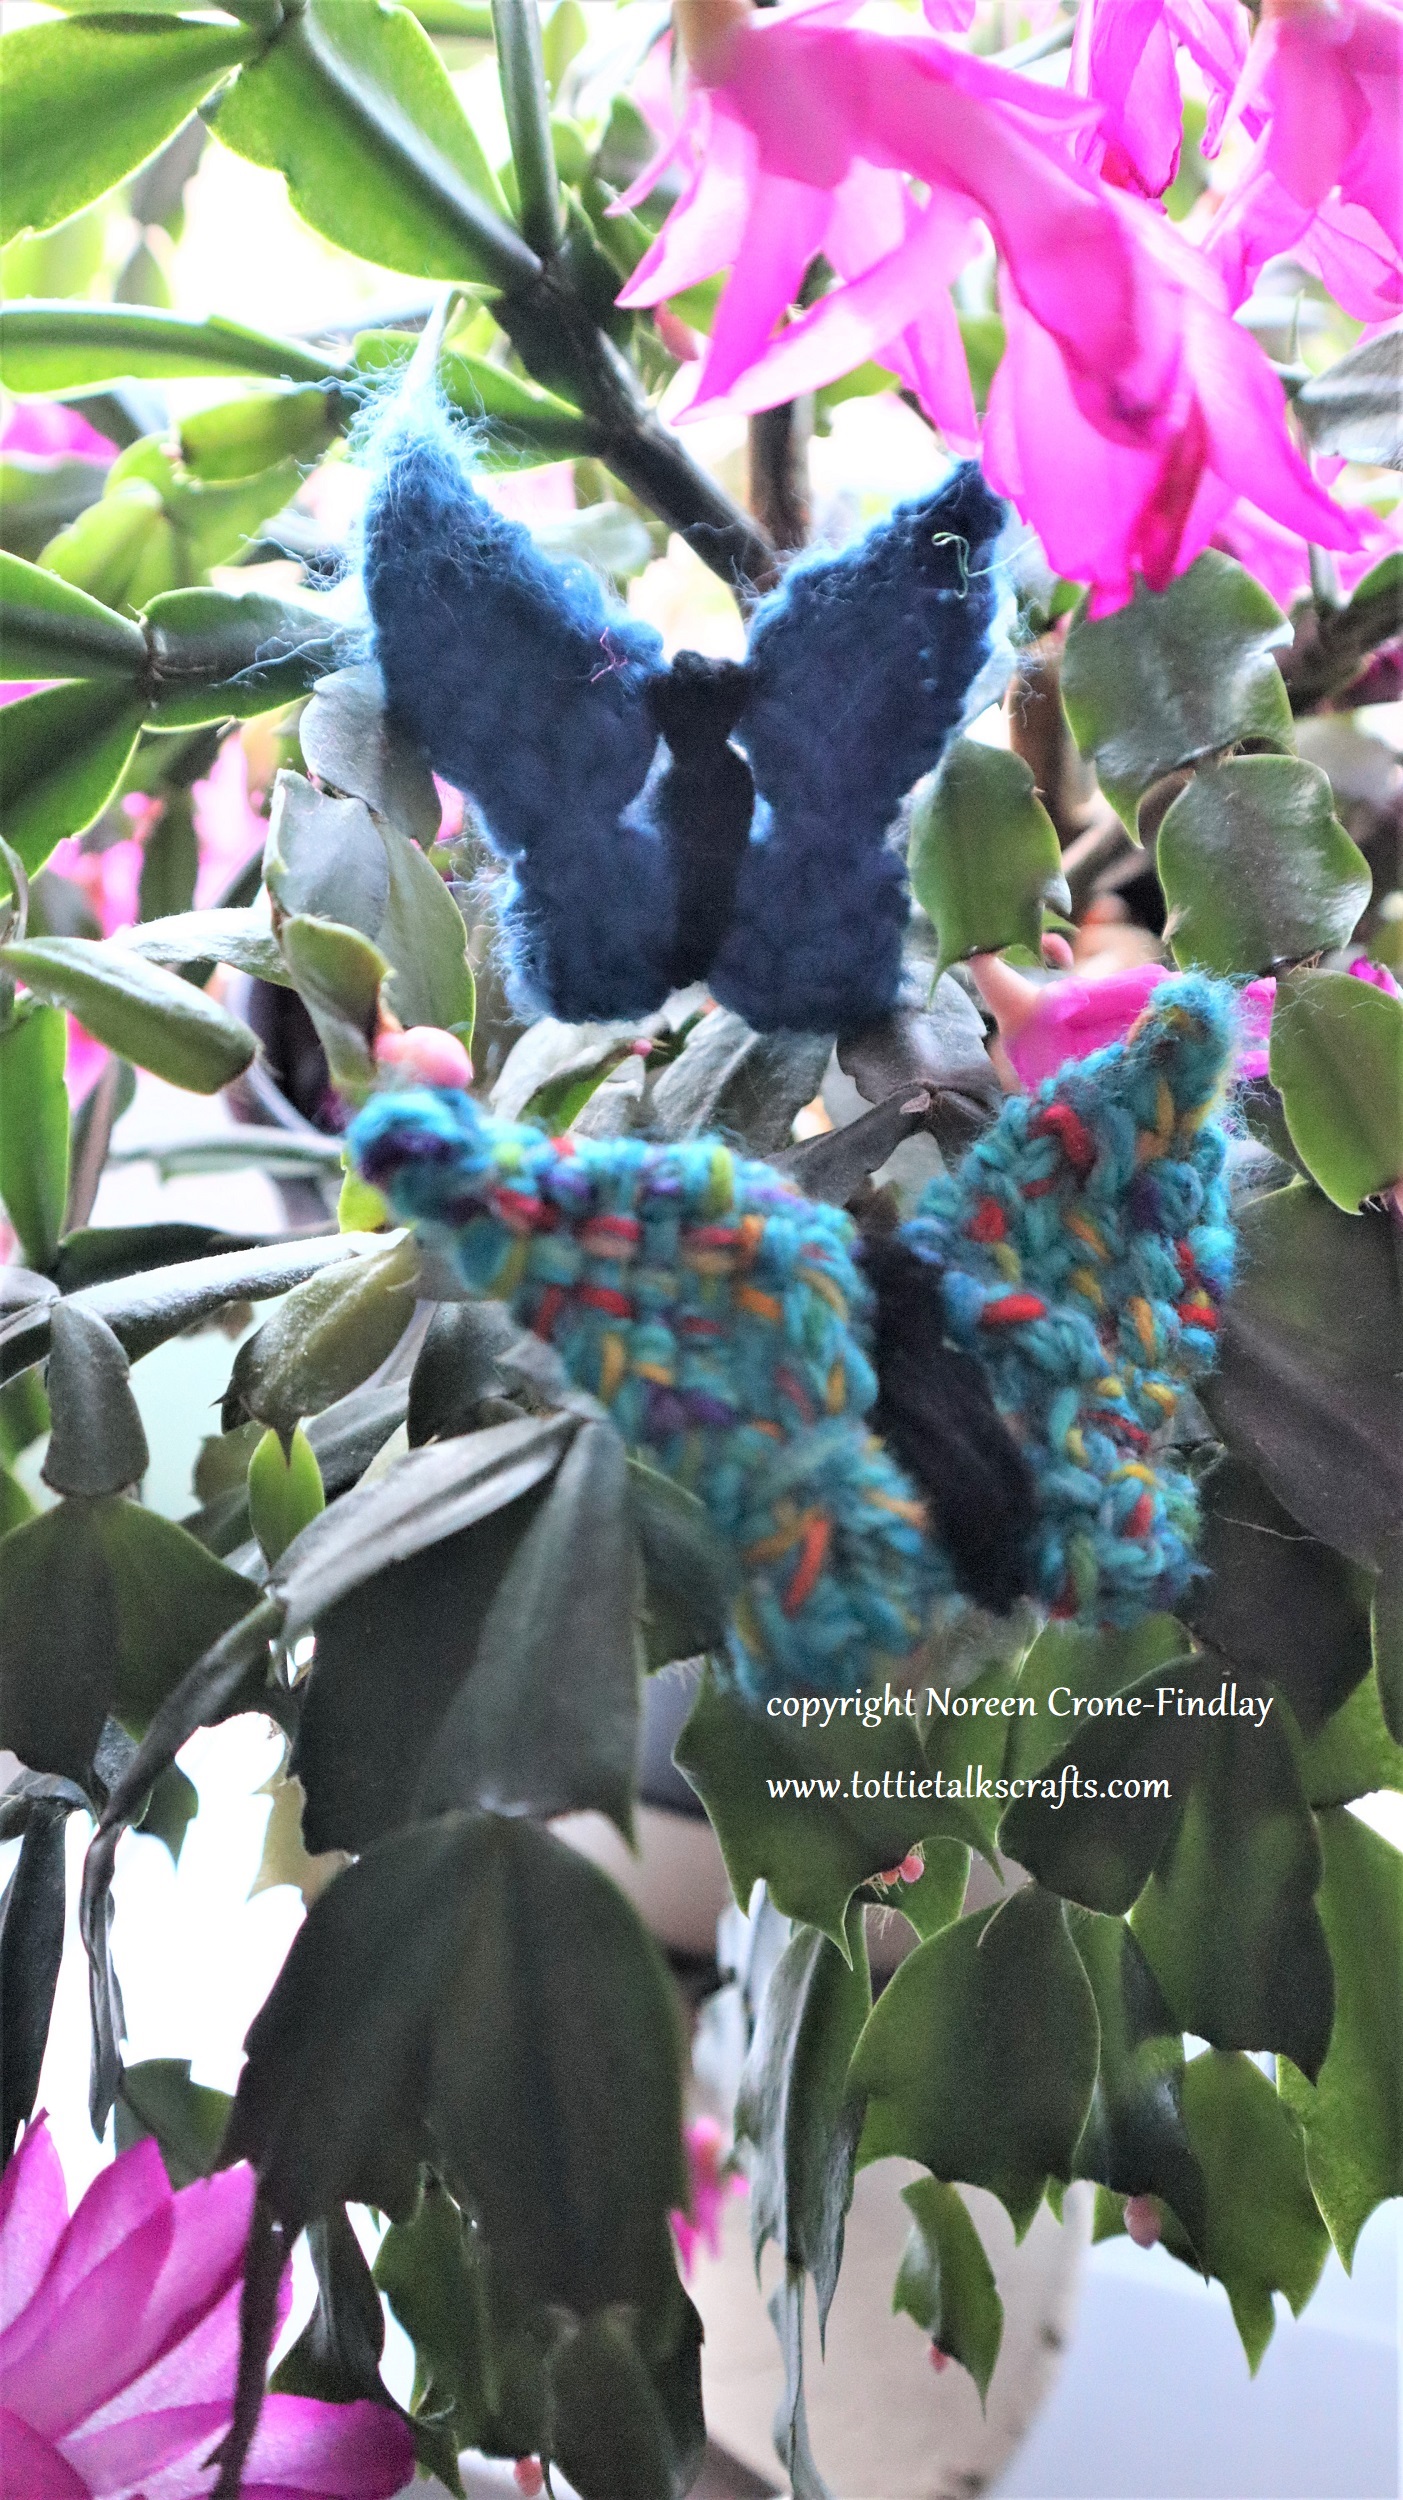
And, the blue butterflies are made by weaving half size triangles.
Because the smaller butterflies are woven using a variation on the technique that I developed for the book,
I have made a video showing how to weave them.
The bodies are made on the loom, using the same setup as the wings, so you can weave away without having to re-set the loom. Yay!
Here’s the link to the Video How to Tutorial:
Mirrix looms are selling a wonderful kit that includes my book: Innovative Weaving on the Frame Loom, as well as the Saffron Loom and the Sandy Stand for it. It’s a great kit! Here’s the link for it:
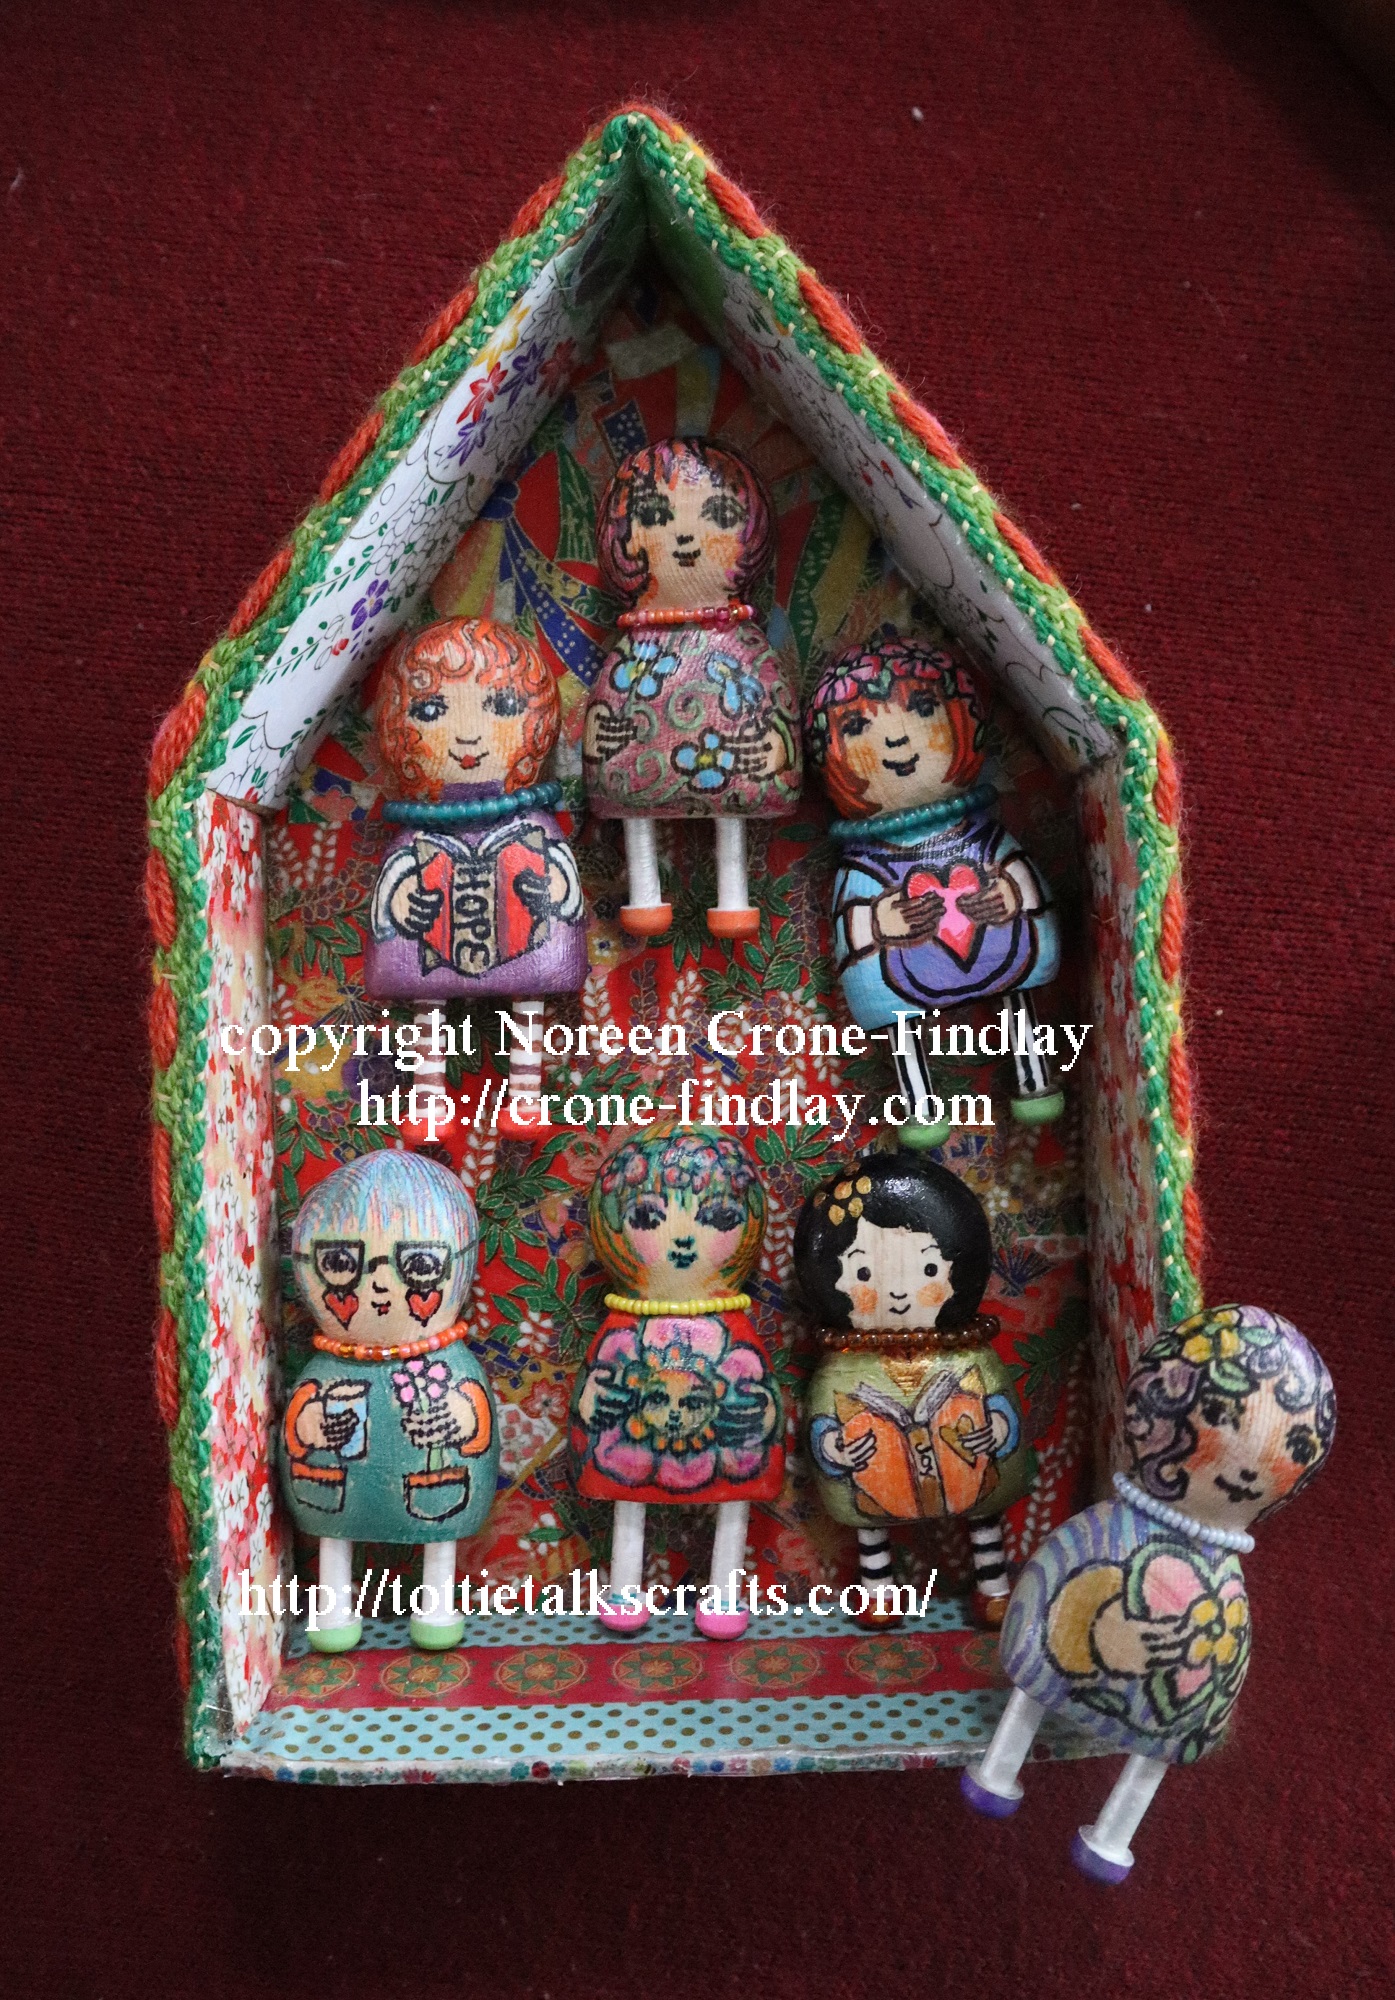
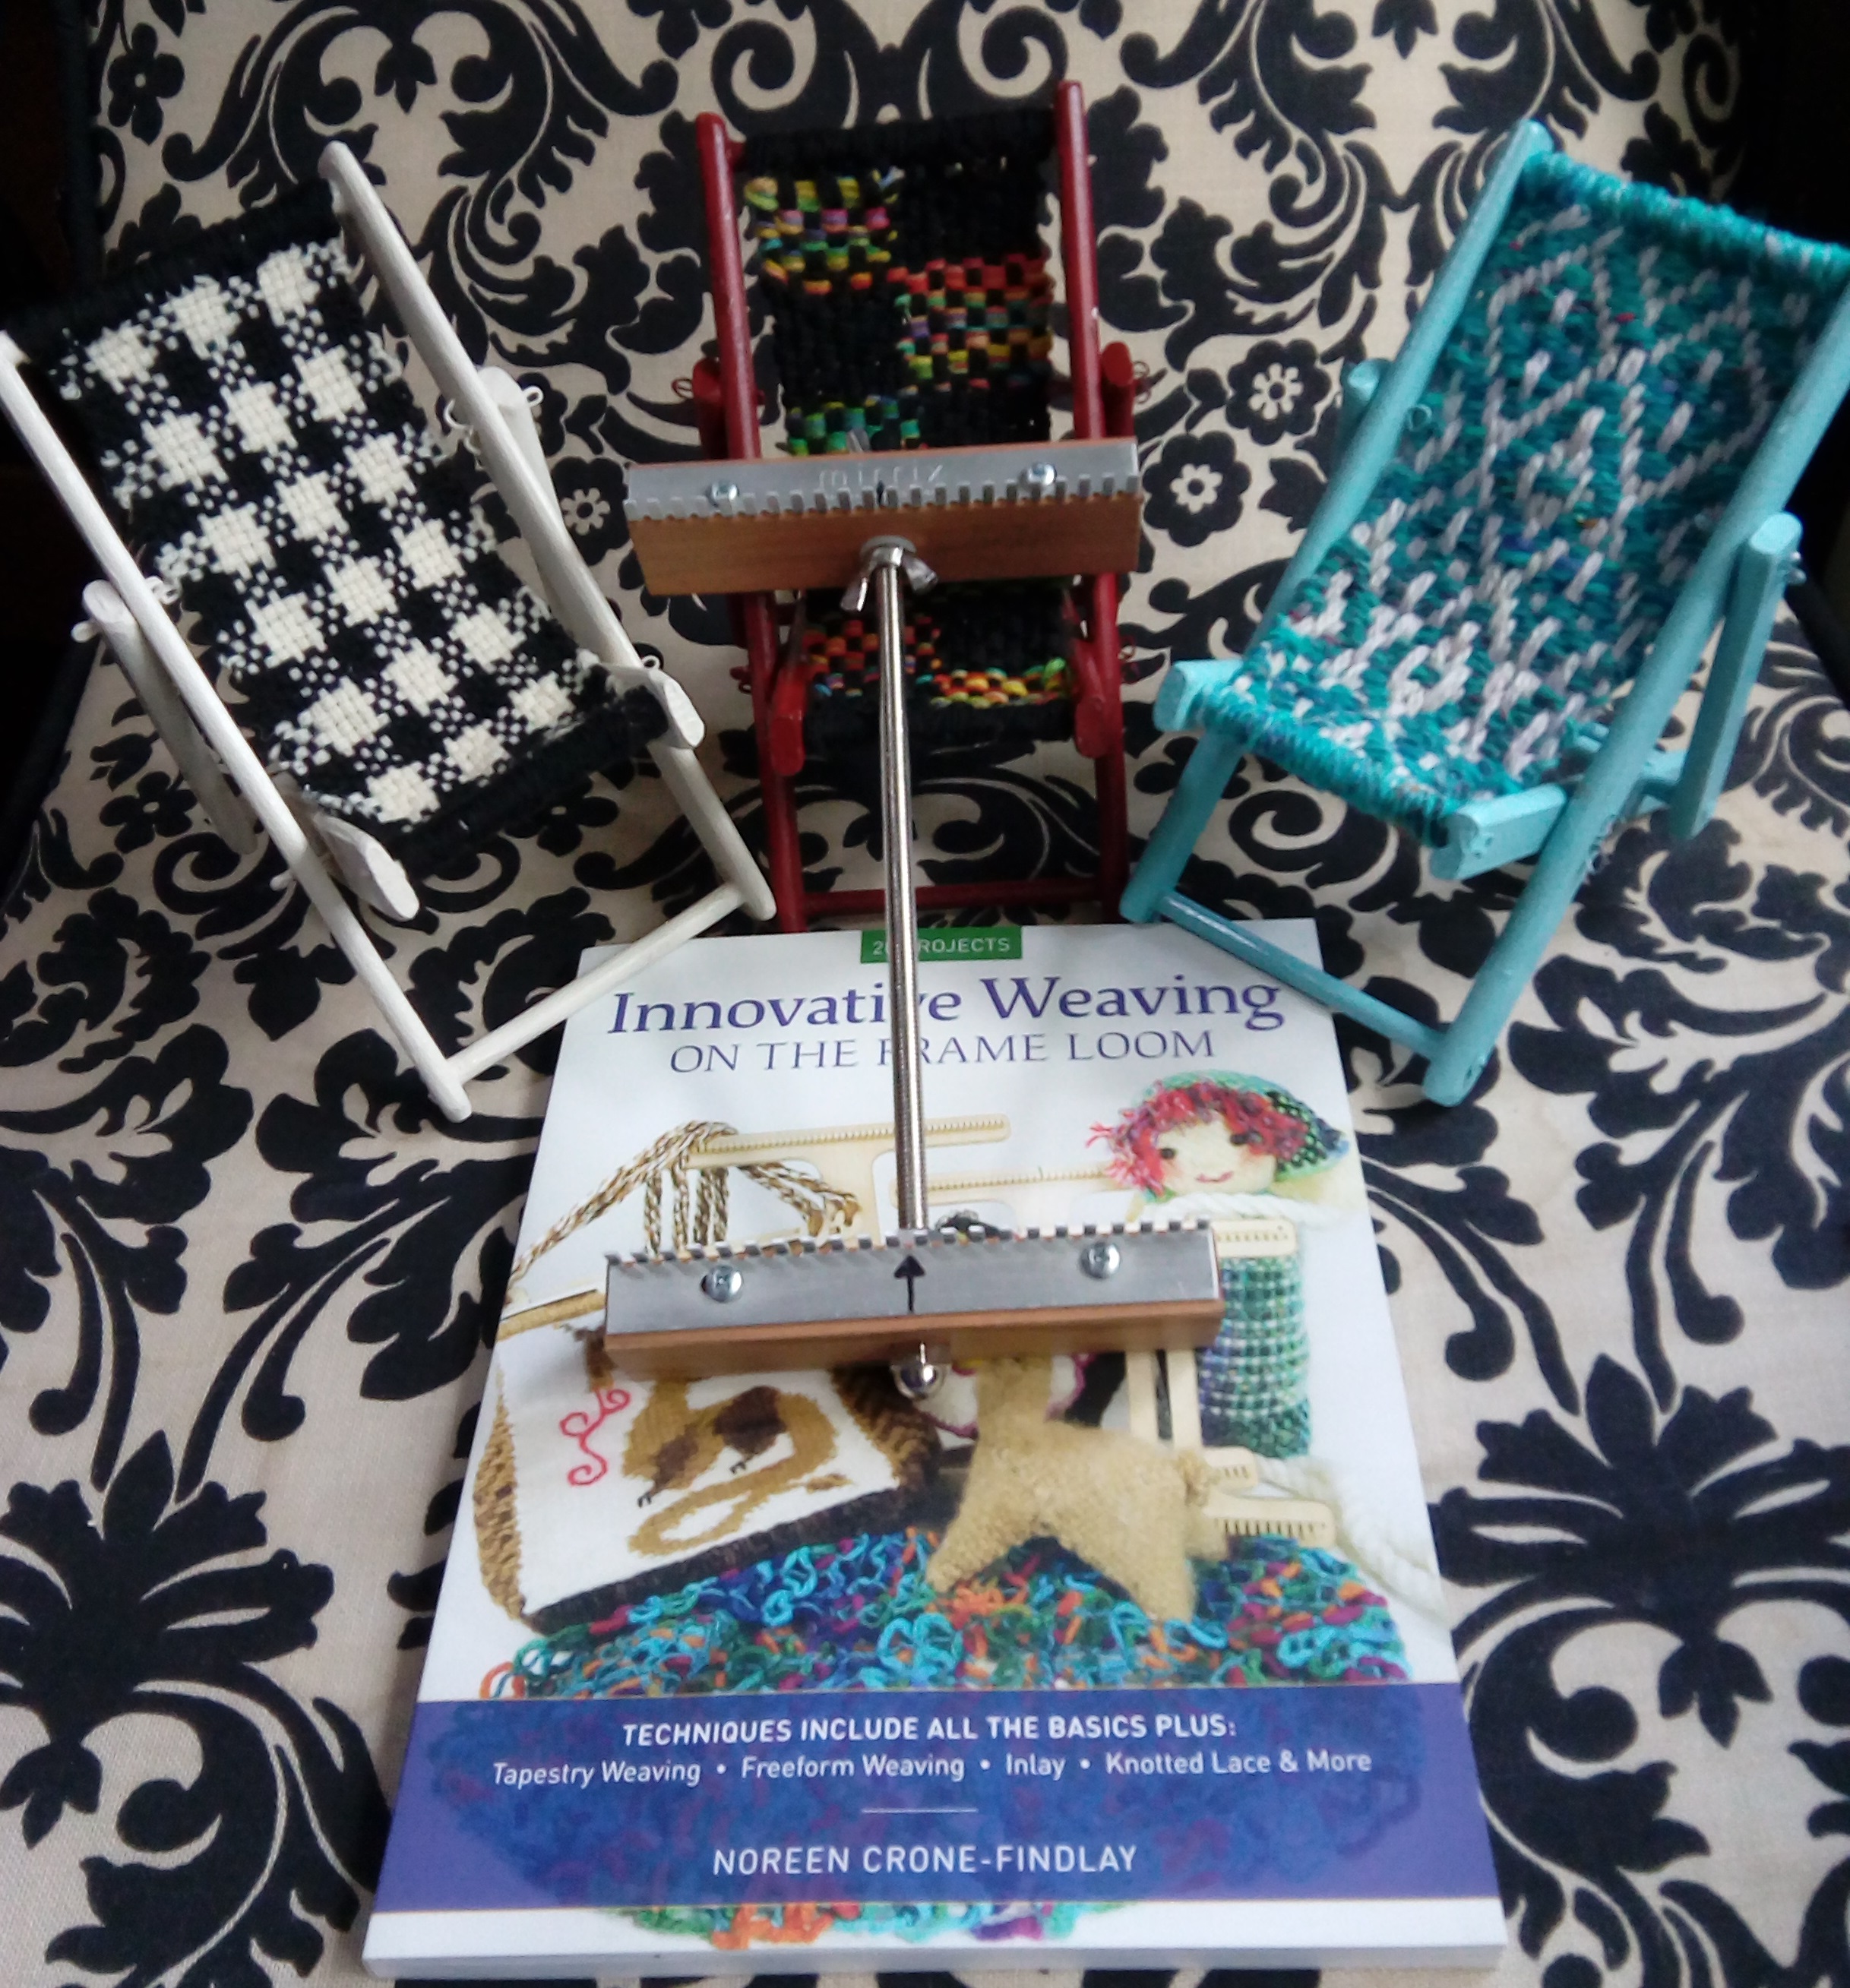
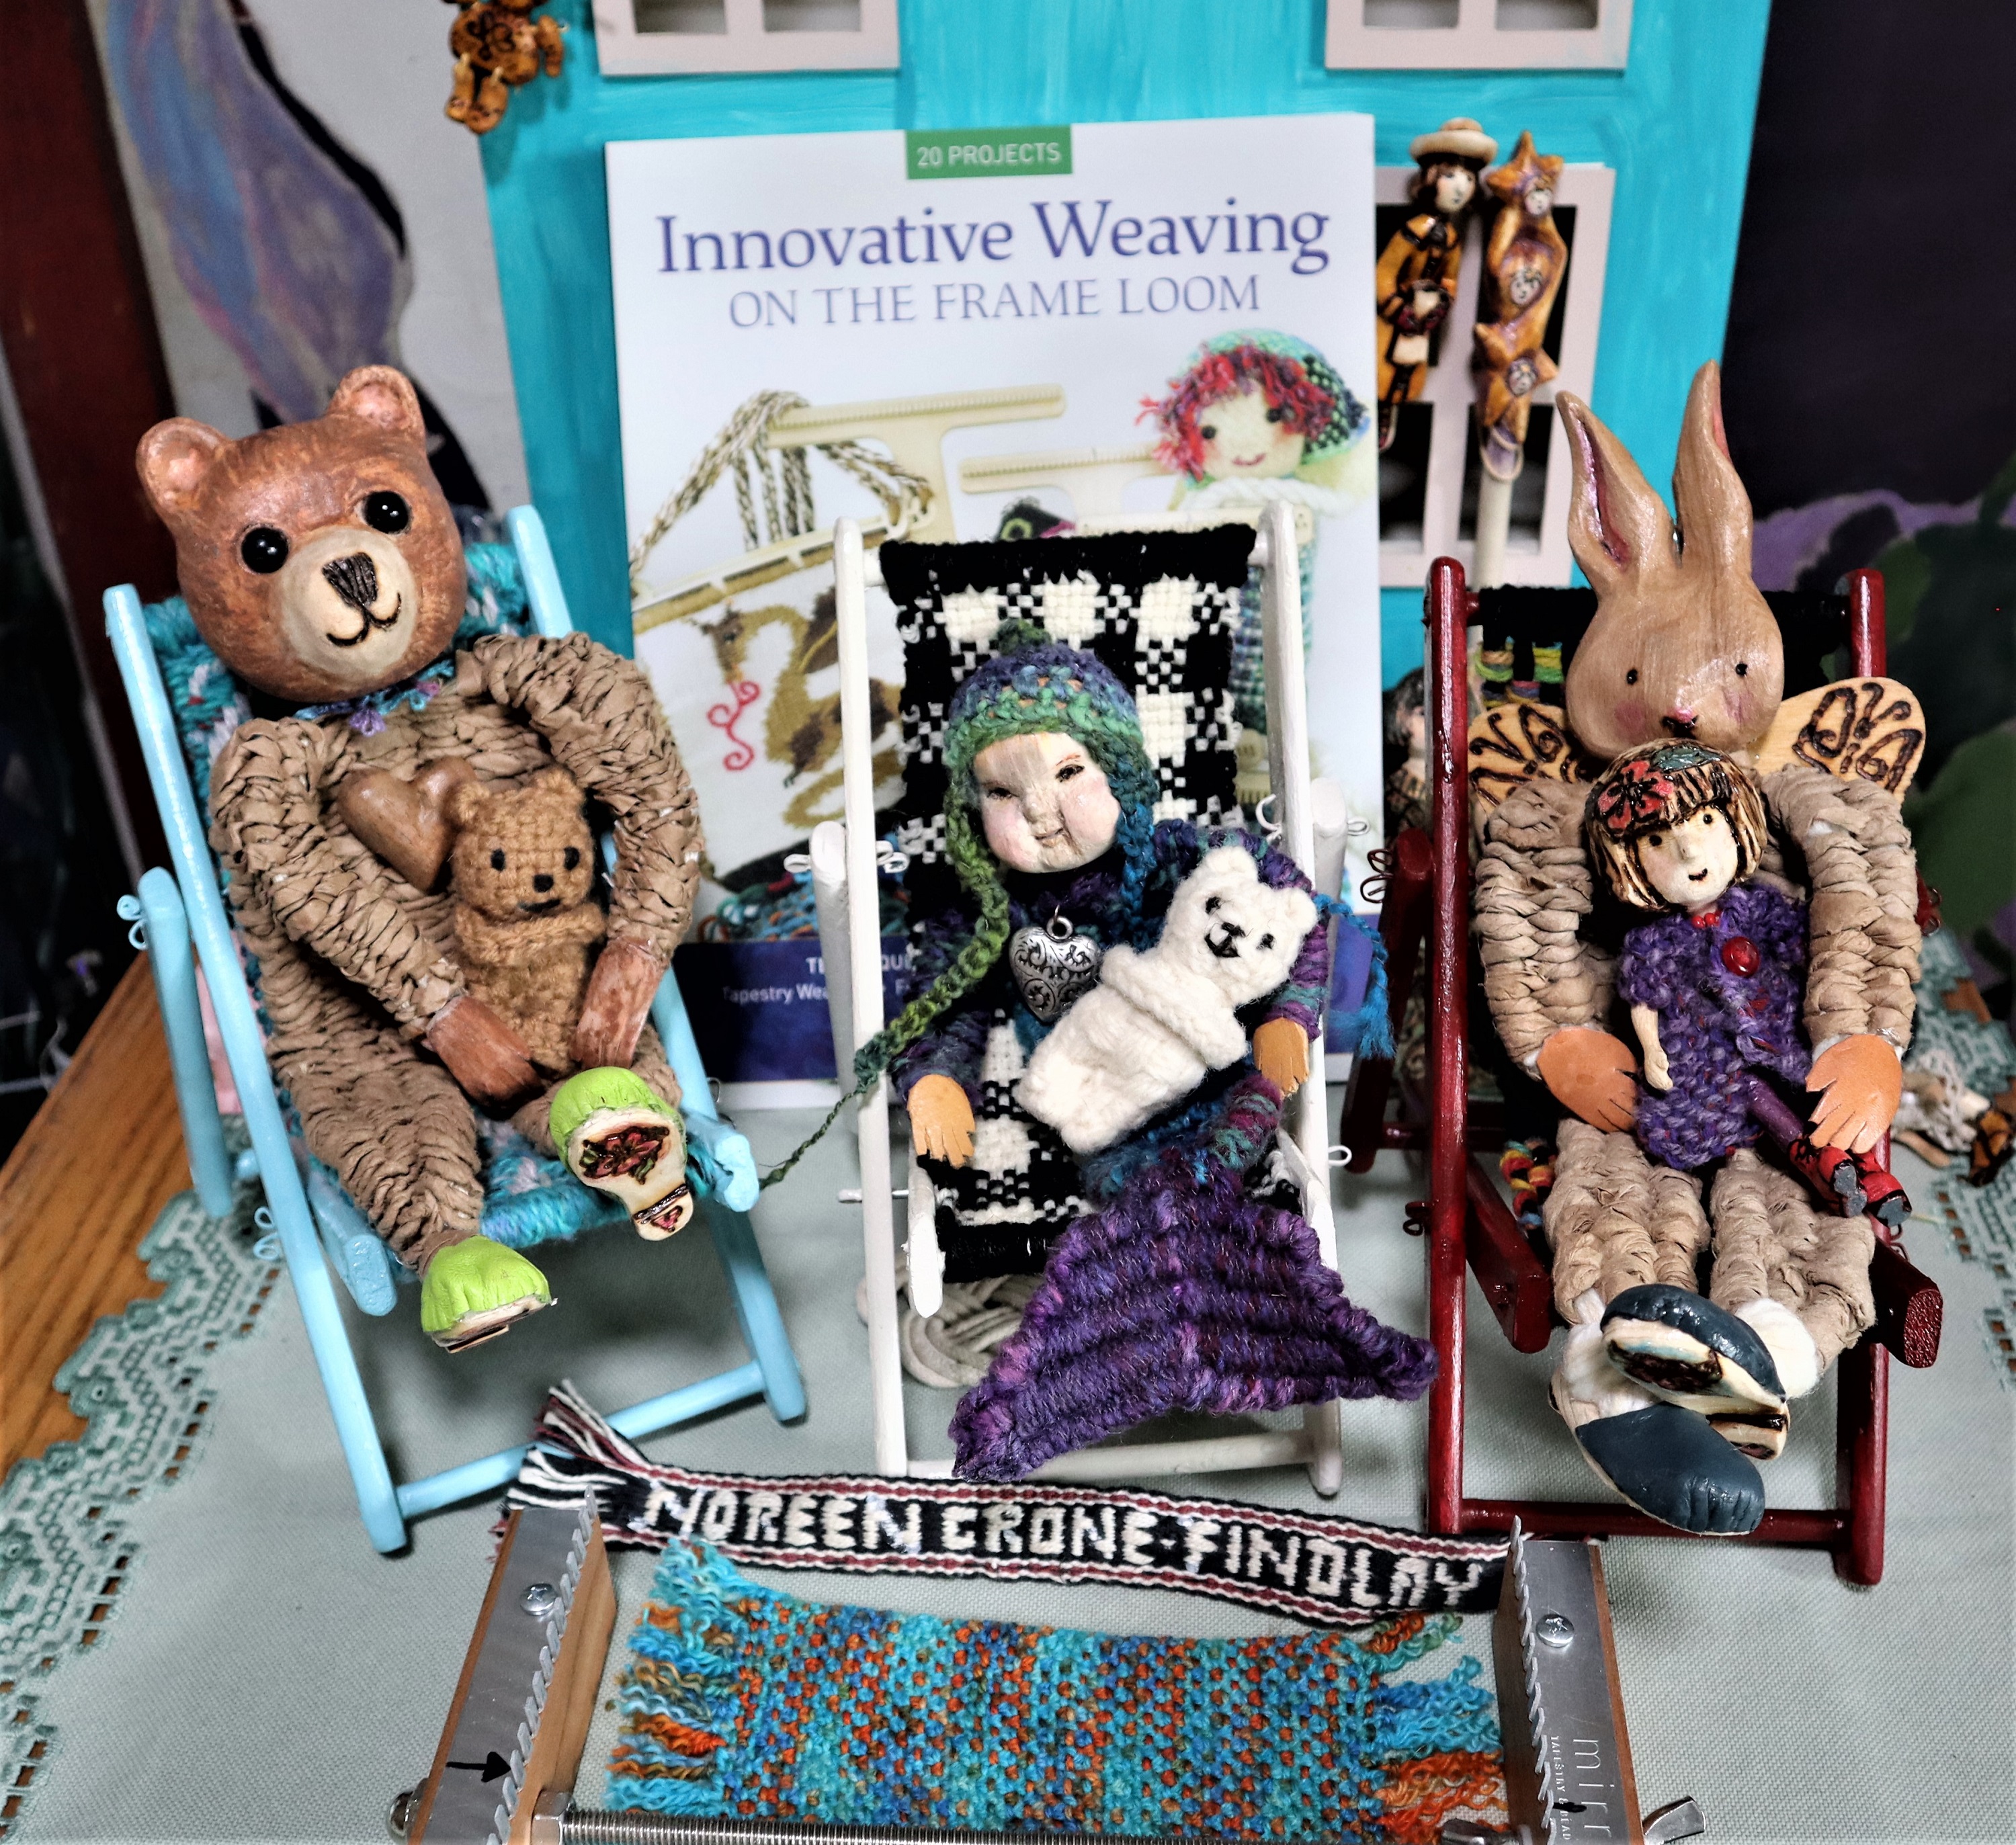
After I carved and wove 3 dolls that didn’t fit the doll furniture that I already had, (see Brown Paper Yarn Dolls) ,
I decided that I had to build them each a chair.
And so I built them each their own little chair with a seat woven on the Mirrix Saffron Loom, using instructions from my book: Innovative Weaving on the Frame Loom.
The Chairs are not in the book, but the weaving patterns are. See pages: 68, 50 and 45.
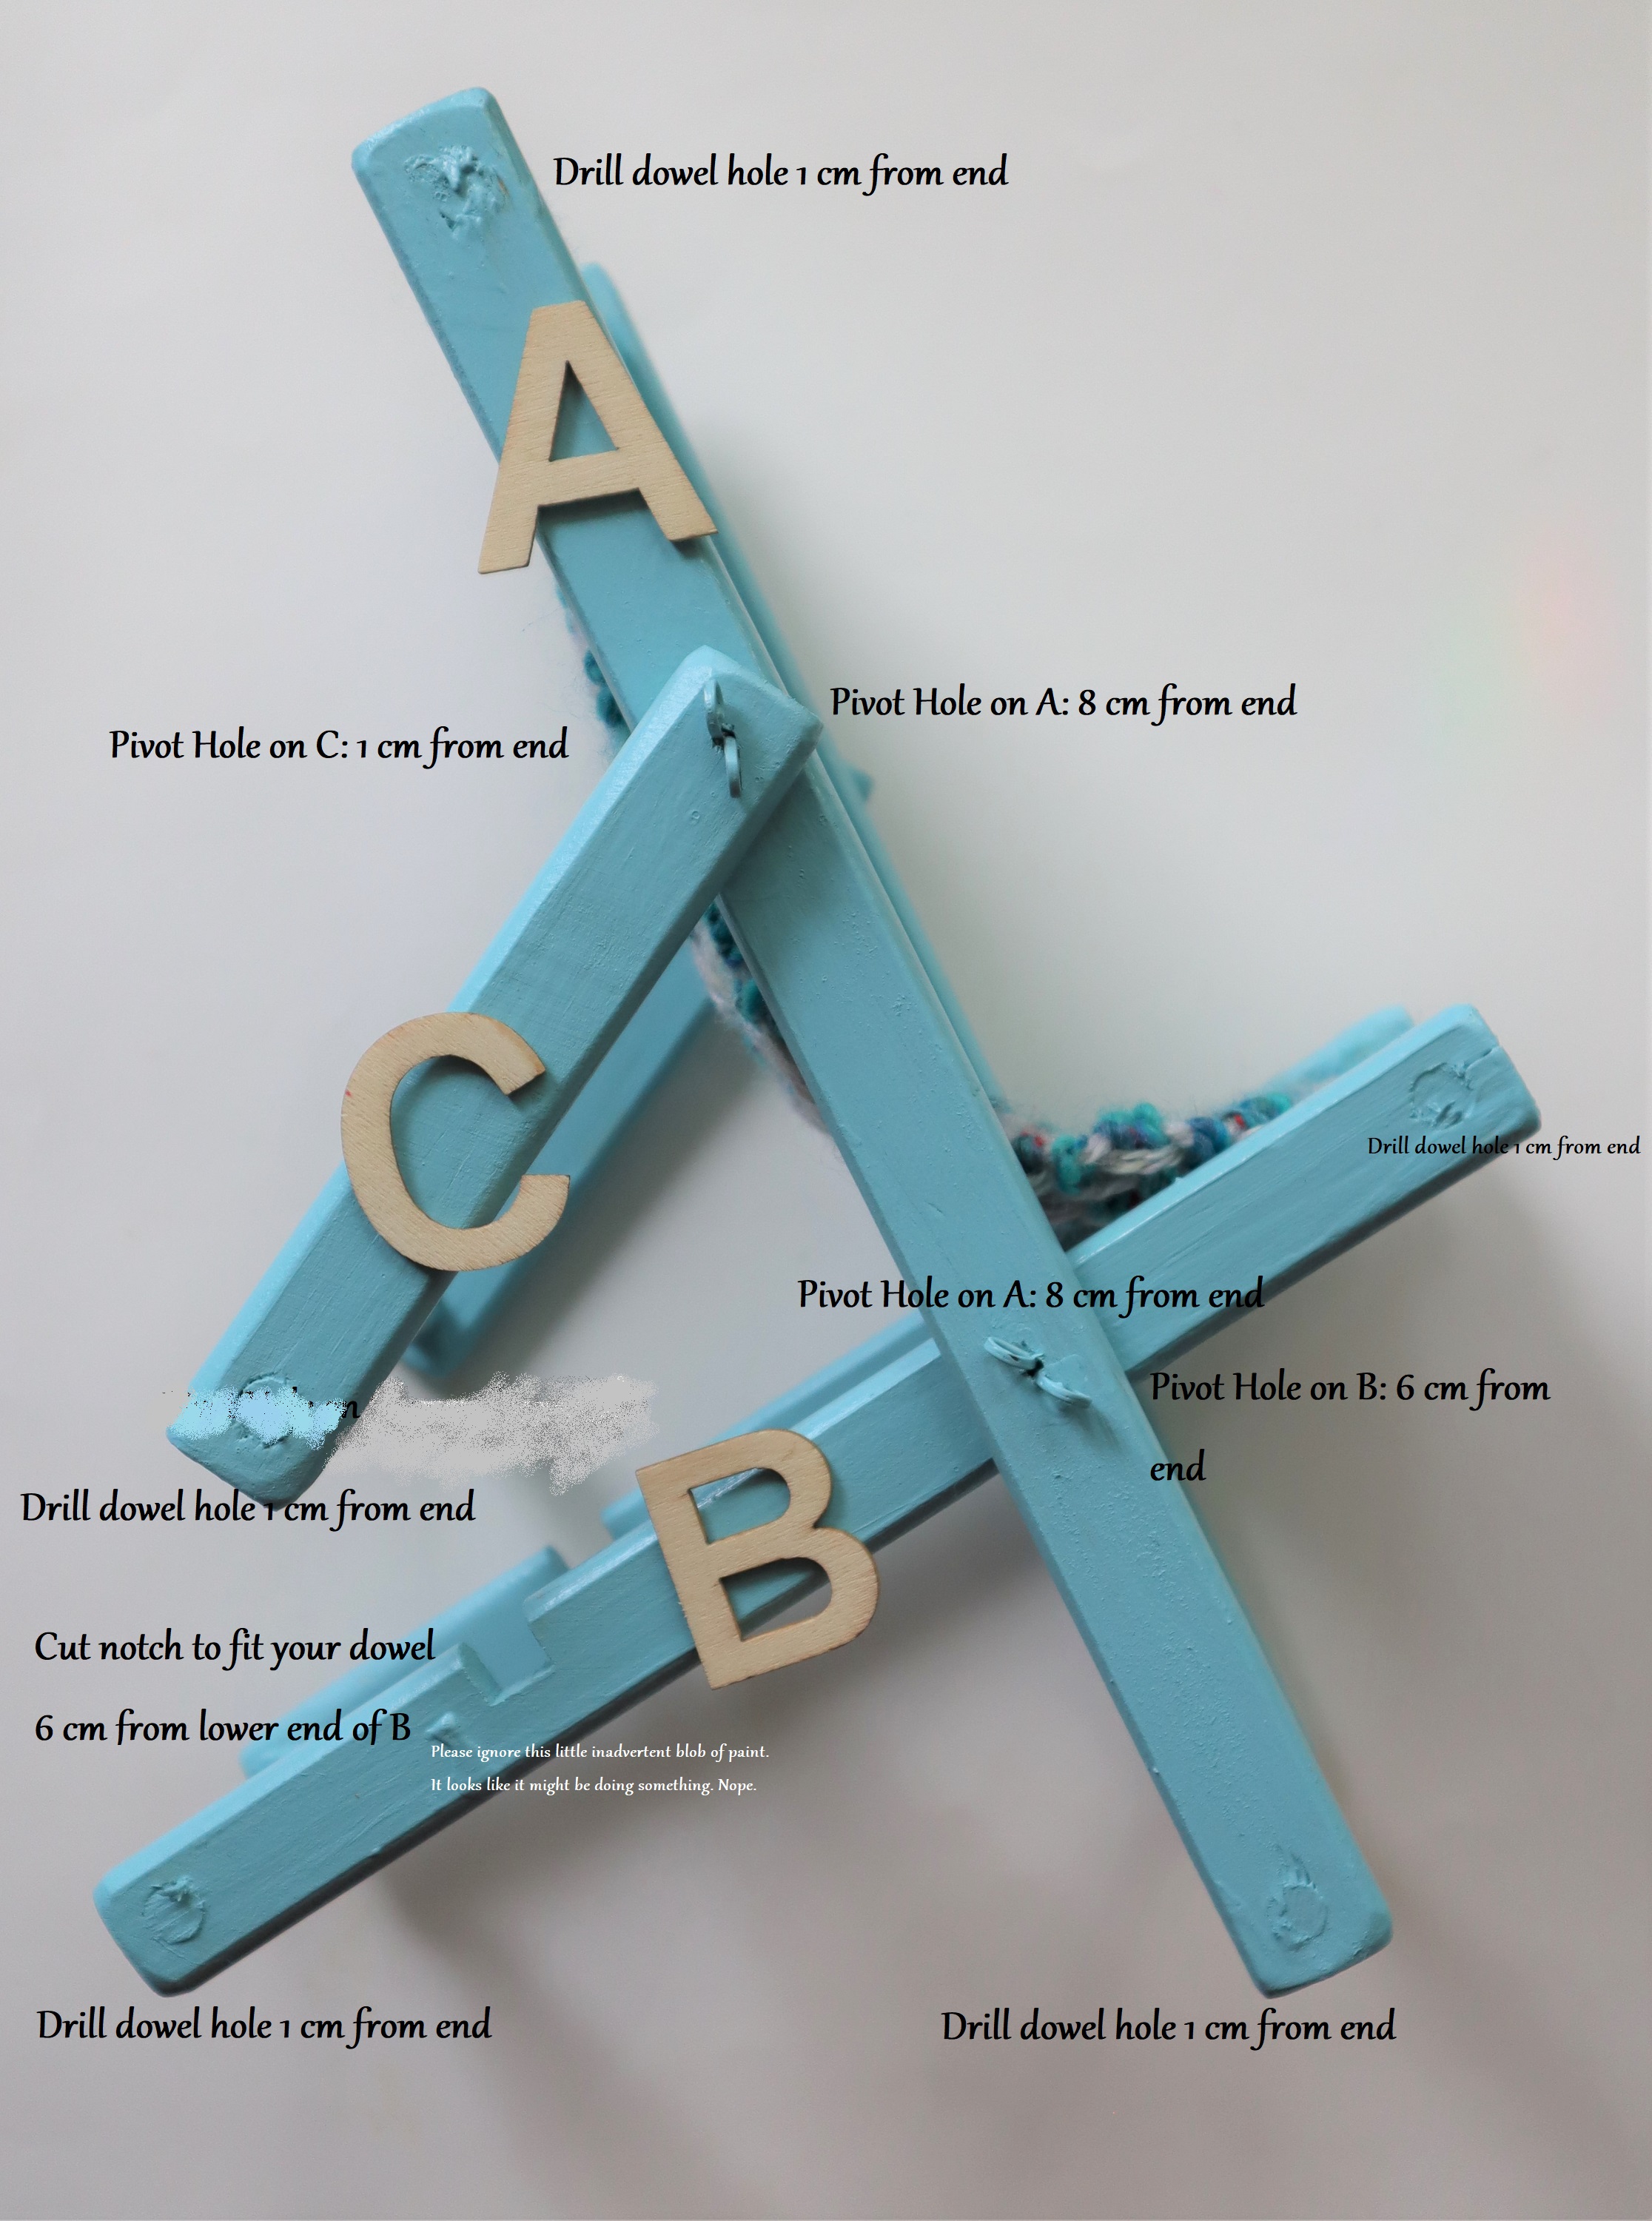
Here are the dimensions for the wooden parts of the chair:
The wooden pieces are all 1 cm thick and 2 cm wide.
Pieces A are 24 cm long (cut 2)
Pieces B are 20 cm long (cut 2)
Pieces C are 11 cm long (cut 2)
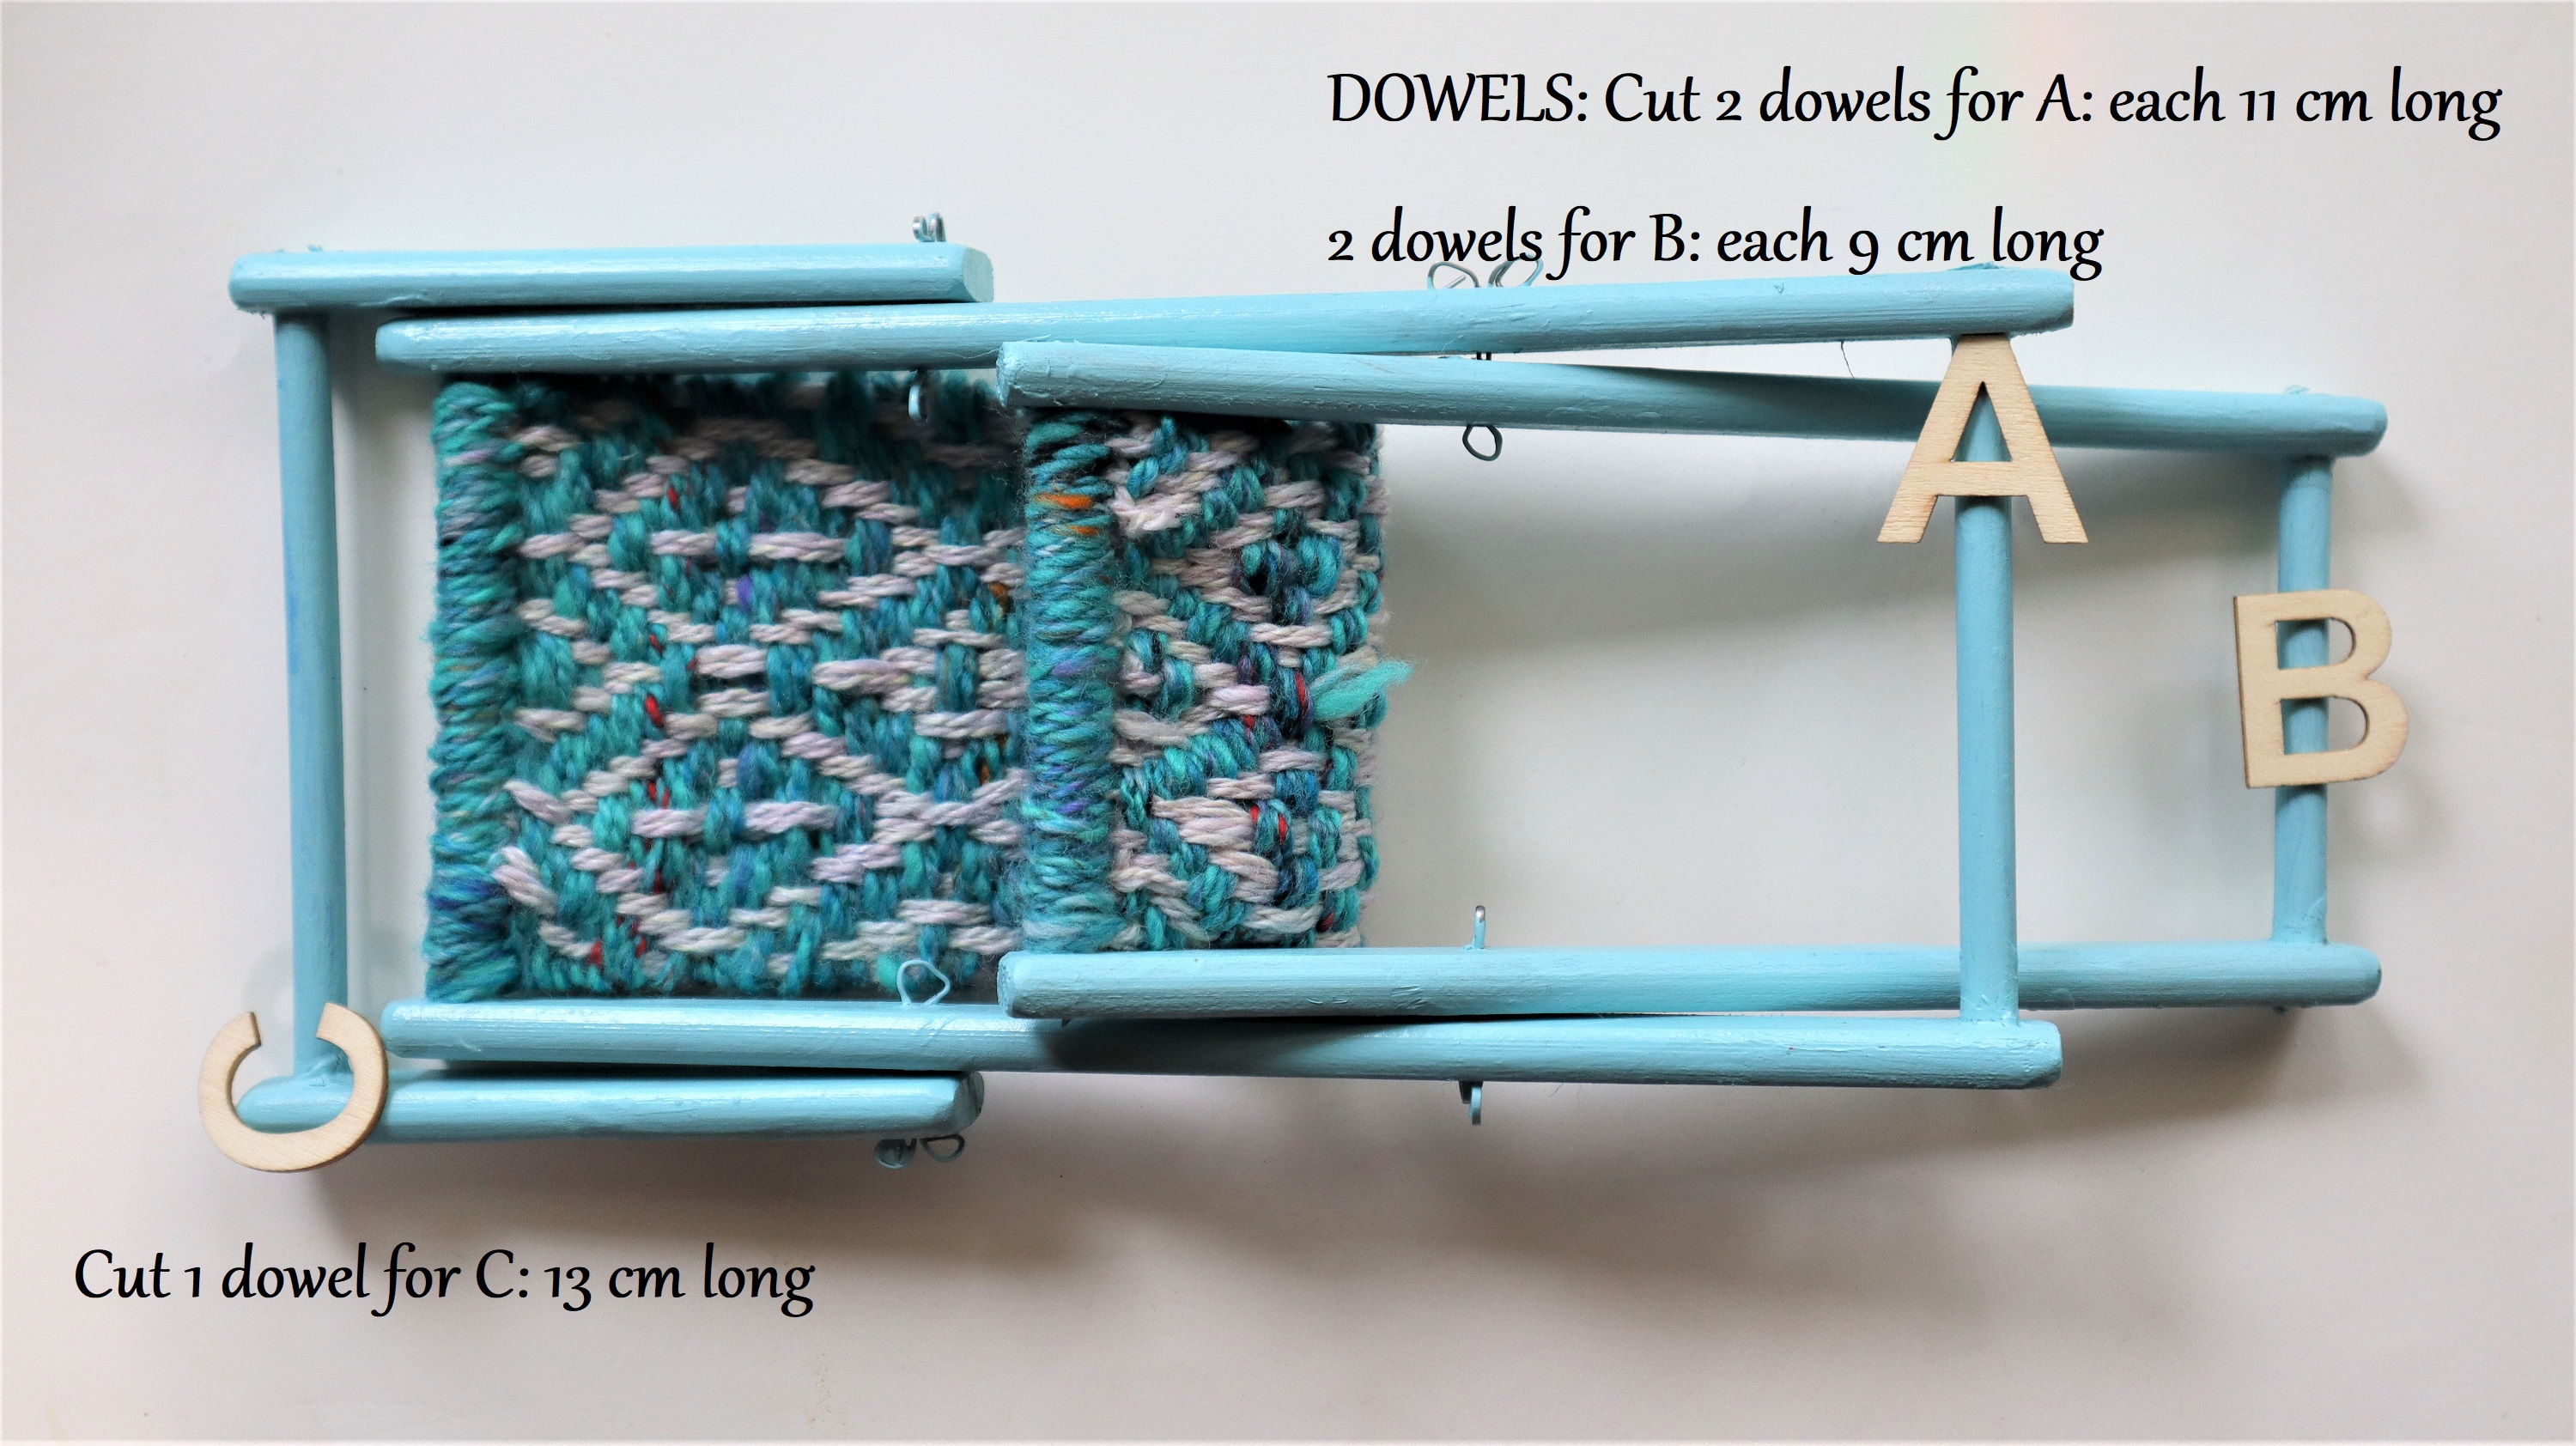
The Dowels are 1/4 inch in diameter:
A: Cut 2 that are 11 cm long
B: Cut 2 that are 9 cm long
C: Cut 1 that is 13 cm long
The Seat: Weave a piece of fabric that is 20 cm long by 7 cm wide and stitch through the end of the warp loops, over the top dowel of A and the front dowel of B.
The finished size of the chair is:
Height: 20 cm (8 inches)
From front to back: 18 cm (almost 7 inches)
Width: 13 cm at widest point (about 5 inches)
The dolls are very happy in their new chairs!
I have made a video, showing how to build the chairs- but please note that I forgot to show how I sew the weaving to the chair.
Oops.
I simply lifted the weaving off the loom and stitched through the warp loops with 2 strands of yarn, going over the dowel.
I hope that you will have fun making doll chairs for your dolls and teddy bears, too. ❤
One of my favorite eco friendly crafts is spinning yarn from brown paper….
This video shows how:
And, then, I love to weave the brown paper yarn into all kinds of fun things like this bunny and teddy bear.
I carved their heads from wood, and made their little shoes from scraps of garment leather that I glued to wooden soles that I carved. The navy shoes were made from a thrift shop coat that I cut and sewed into a ton of different things- bags and doll shoes and doll clothes.
I made their hands from scraps of heavy weight leather that I was given years ago.
Bunny’s face is lopsided because the scrap of firewood that I carved her from was wonky, but she forgives me for that!
I adapted this pattern from my etsy shop to weave their bodies on weaving sticks, using the brown paper yarn that I had spun: Here’s the link:
I love all the neat things that can be made with brown paper yarn. In our house, brown paper is NEVER thrown away!
It always gets upcycled into nifty new things 😀
This is my contribution to the monthly ‘Scrap Happy’ Blogging group- people who delight in making things from scraps and upcycled bits of this and that post on the 15th of each month.
Here’s the links to the rest of the group. I always enjoy seeing what each of them has done each month: