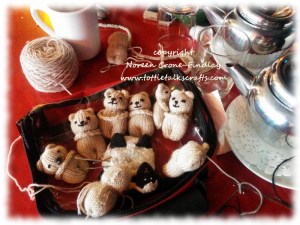
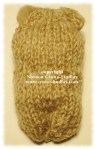
Because I offered to make the tiny knitted comfort bears LINK TO PATTERNfor the Women’s Shelter, and they responded enthusiastically by asking for 40 of them by Dec 21 (eegads), I have been taking them with me everywhere I go, making making making little comfort bears.
I’ve been so grateful that friends have offered to help me with them.
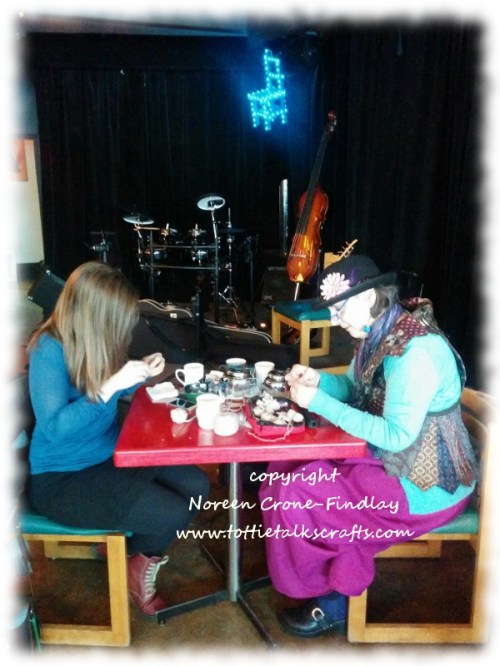
It’s such a joy to sit together making these wee ambassadors of love and connection:
Arwen & Noreen at the Blue Chair cafe making Kindness Bears
I have been hearing really touching stories from people- the tiny bears have the amazing capacity to open hearts, so people feel safe to tell their stories…. some of which are really painful to hear, but must be heard even so.
Emily Dickinson’s poem:
If I can stop one heart from breaking, I shall not live in vain; If I can ease one life the aching, Or cool one pain, Or help one fainting robin Unto his nest again, I shall not live in vain.
has taken on even deeper meaning to me as I make these tiny ‘Kindness’ bears.
I have to admit that some of the stories that I have heard have brought tears to my eyes, and sometimes cause rage to well up at the horrors some people have endured.
If these little bears can bring solace, well, then, I , and all those who join me in making them, shall not have lived in vain.
It brings me such joy to see people everywhere finding ways to create comfort and to show their love of humanity.
Recently, I went to a benefit concert for Syrian refugees, and one of the organizers said: If you want to help, don’t ask us what you can do, tell us what your strengths are, and then do that.
I thought about what she said and then asked one of the other organizers if knitting teddy bears for the Syrian children was culturally acceptable, and she said that it is indeed.
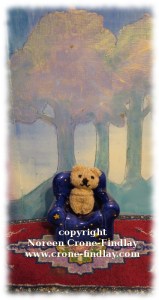
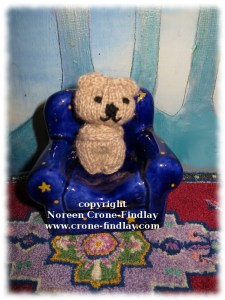
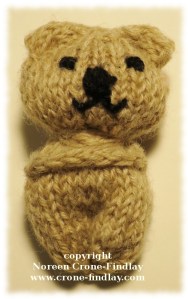
And, so, I have designed a tiny knitted teddy bear that fits in a pocket to be a perfectly portable comfort, cuddle or hug.
I decided that I also need to help out with children who are already here, and are in distress.
So I offered to knit some for the children in the Women’s Shelter as well as for the Syrian Refugee children.(The lady at the Women’s Shelter was delighted with my offer and has heartily taken me up on it 🙂 )
Also, I am going to knit a few to keep in my bag for those times when I meet someone who just needs a little extra TLC.
I invite you to knit them for whatever charity makes your heart sing.
Feel free to share the link to this page… it would be wonderful to have knitters all over the world knitting these wee ambassadors of love and comfort!
copyright Noreen Crone-Findlay
Note:the finished size of this Tiny Comfort Bear is determined by the size of knitting needles that you choose and the thickness of the yarn.
YOU WILL NEED:
EQUIPMENT: Knitting needles (the Cuddle Bear in the photos was knitted with 2.75 mm needles); scissors; darning or tapestry needle; embroidery needle; ruler or tape measure.
Note: You can also knit these Comfort bears on a knitting machine if you have one. Because I have been requested to knit so many, I have made a whole bunch of them on my knitting machine.
YARN: 1 ball of sock yarn will make 10 or more Comfort Bears.
ALSO: A small amount of stuffing; black sock yarn or embroidery floss to embroider the features.
FINISHED SIZE:
With sock yarn and 2.75mm needles, the Comfort Bear is 3 inches/ 7.5 cm tall.
With sock yarn and 2.25mm needles, the Comfort Bear is 2 1/2 inches/ 6.25 cm tall
NOTE:For a very small bear: Use smaller needles and thinner yarn, such as lace weight.
For a larger bear, use thicker needles and heavier yarn.
copyright Noreen Crone-Findlay
INSTRUCTIONS:
BODY:
Leave at least 6 inches/ 15 cm of yarn for finishingand cast on 12 stitches.
Row 1: K 12
Row 2: K 1, P 1 in each stitch. (24 stitches)
Set up your knitting: You can either work the Comfort Bear flat on 2 needles, then sew the center back seam after finishing, OR, work it in the round, using 4 dpns, OR in the round on a magic loop on 1 long circular needle OR in the round on 2 shorter circular needles.
Rows or Rounds 3 – 15: Work in st st.
NECK:
(Eyelet Row/Round): Row or Round 16: [K2tog, yo] 12 times.
HEAD:
Rows or Rounds 17 – 30: Work 24 stitches in st st.
Row or Round 31: [K2tog] 12 times. (12 st)
Cut yarn, leaving 8 inches/20 cm for finishing.
copyright Noreen Crone-Findlay
FINISHING:
(Note: If you knitted your Comfort Bear flat on 2 needles, sew up the back seam now before completing the steps.)
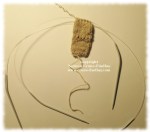
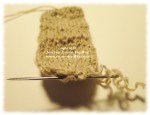
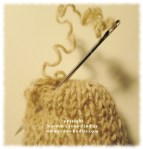
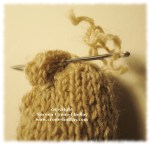
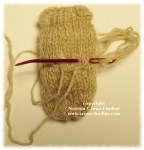
1] Thread the yarn end at then end of the last round into a darning or tapestry needle and take it through all the stitches.
copyright Noreen Crone-Findlay
2] Pull up the stitches to close the top of the head, then take the needle through all the stitches again to secure them.
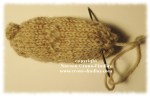
3] Stuff the entire body.
4] EARS:
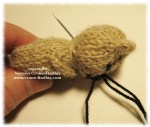
Pinch a semi-circle out at the side of the head and stitch through the base to form the ear. Stitch along the base of the ear, back and forth to define it well.
copyright Noreen Crone-Findlay
Stitch in place at the top of the head, then take the yarn inside the head and come out at the other side. Stitch in place to secure the yarn and then stitch the other ear in the same way.
copyright Noreen Crone-Findlay
Take the yarn end inside the body.
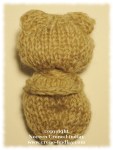
5] LEGS:
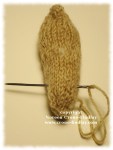
Thread the yarn end at the lower edge of the body into the needle and then pull up to gather the lower edge closed. Stitch in place to secure the gather.
Take the needle through the body about 1/4 inch/.5 cm up from the base.
copyright Noreen Crone-Findlay
Go through the body again, slightly up from the last stitch.
Now, stitch back down towards the feet.
Stitch through the body several more times, to create the line between the legs.
copyright Noreen Crone-Findlay
Stitch in place at the base, then take the yarn end back into the body.
copyright Noreen Crone-Findlay
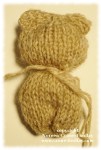
6] NECK: Cut a piece of yarn about 30 inches/75 cm long and fold it in half.
Thread the ends into the darning needle then go in and out the eyelet round at the neck.
copyright Noreen Crone-Findlay
Wrap the yarn around the neck several times and then tie a tight knot to secure the neck.
copyright Noreen Crone-Findlay
Take the ends inside the body.
ARMS:
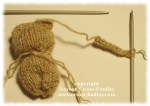
1] Leaving several inches of yarn at each end for attaching the i cord, knit a 3 stitch i cord that is 1 3/4 inches/4.5 cm long.
copyright Noreen Crone-Findlay
2] Sew the arms to the body.
copyright Noreen Crone-Findlay
FACE:
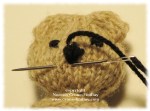
With black sock yarn or embroidery floss, embroider the face:
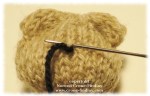
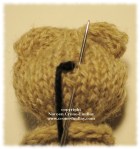
Bring the needle up through the head from the back of the neck to the center of the face.
Take a couple of tiny stitches to secure the yarn.
copyright Noreen Crone-Findlay
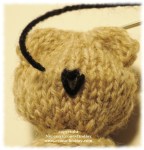
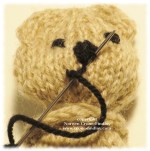
Stitch a ‘V’ for the nose, then take the needle out at the first eye.
copyright Noreen Crone-Findlay
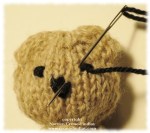
Take a couple of tiny stitches for the first eye.
copyright Noreen Crone-Findlay
Then across to the second eye. Take a couple of tiny stitches for the second eye.
copyright Noreen Crone-Findlay
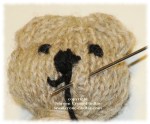
Take the needle from the top of the nose, down to the point of the V, then out to one side for the first half of the smile:
copyright Noreen Crone-Findlay
Pull the needle through the face at the point of the V and out to the end point of the smile.
copyright Noreen Crone-Findlay
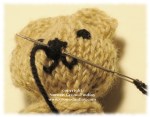
The needle goes back in almost where it came out to catch the middle of the smile line, then comes out at the point of the V.
Repeat for the second half of the smile.
copyright Noreen Crone-Findlay
Take a couple of tiny stitches in the nose to secure the end.
copyright Noreen Crone-Findlay
Then, go through the body to bury the yarn end.
Snip the yarn end at the back of the neck.
copyright Noreen Crone-Findlay
And there you have it!
Here’s a video tutorial on how to embroider a teddy bear face:
I hope that you’ll enjoy the tiny comfort bear to bring joy into your life in the knitting of it, and joy into the life of whoever you give it to.
I absolutely love weaving Scandinavian style woven bands, using different styles of rigid heddles.
A few weeks ago, as we were cleaning and clearing in preparation for our big move, we found some sweet little drawers that my father in law had made many decades ago.
He had reclaimed some tiny little wooden butter boxes and made wee drawers for his workshop with them:
I have made a small video that shows what I did to build this little charmer:
This is the ratchet and pawl that I designed for my loom.
I made them from a scrap of marine plywood, which allowed me to curve the pawl.
I am going to make the next one from a piece of purpleheart that we’ve been saving, so I am going to make the pawl straight, to make it stronger and not risk breaking it by cutting a curve against the grain.
If you are interested in learning more about weaving Scandinavian style narrow bands, definitely seek out the work of the marvelous weaver extraordinaire, Susan Foulkes:
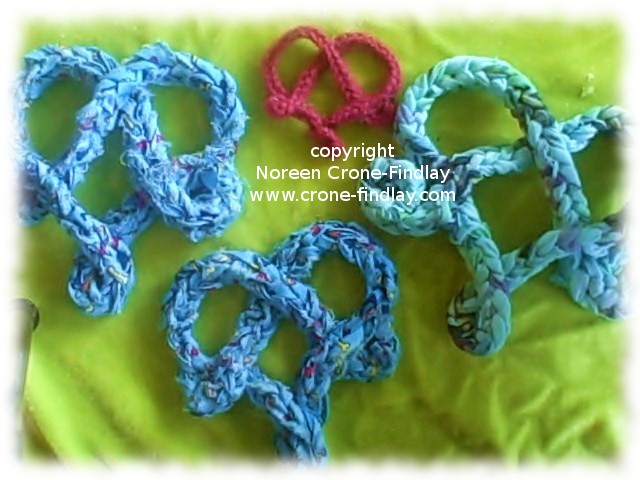
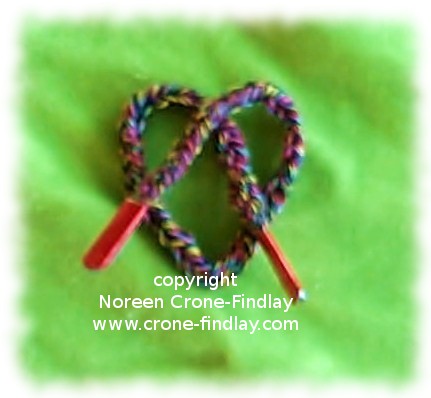
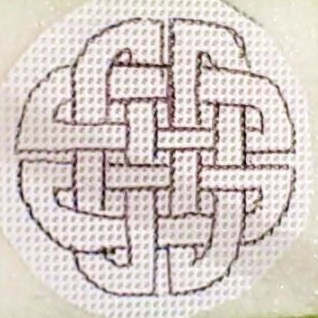
In this video, I show how to make gorgeous Celtic interlace hearts that you can use to embellish woven, knitted, crocheted or sewn fashion accessories or home decor items.
They are also great for scrapbooking and can be used on stationery.
They are perfect Valentines or as Christmas or birthday decorations and ornaments.
Another wonderful way of using these Celtic Interlace hearts is to hang them up as ‘Yarn Bombs’ for people to find and adopt. What a lovely way to brighten someone’s day!
The video shows how to make different sizes of the Celtic Interlace Heart.
Here is the template- print it out so that it’s about 5 inches square, but smaller or larger works just fine, too.
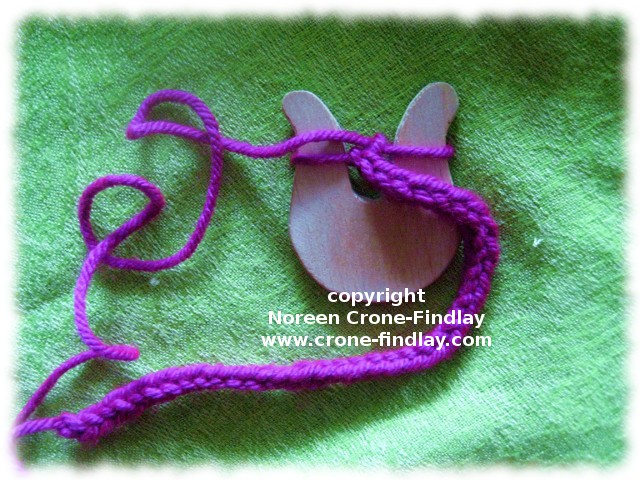
In this video tutorial, I show how to make awesome shoelaces, and a great upcycling way of making those little thingies at the end of the laces.
I couldn’t remember the right name for them when I was making the video, and called them ‘aplets’, but the correct name is ‘aglets or aiglets’.
Wikipedia defines them as: The word aglet (or aiglet) comes from Old French aguillette (or aiguillette), which is the diminutive of aguille (or aiguille), meaning needle.[1] This in turn comes from acus, Latin for needle. An aglet is like a small needle at the end of a corde
For the last month or so, I have been building and weaving up a storm.
I am part of a project in Edmonton, Alberta, called, Green Windows City, that has partnered 13 artists with small shops in the arts district.
The artists are creating installations built from upcycled or recycled stuff, and are creating magic!
Today is installation day, so I will take photos after I complete my installation and post them.
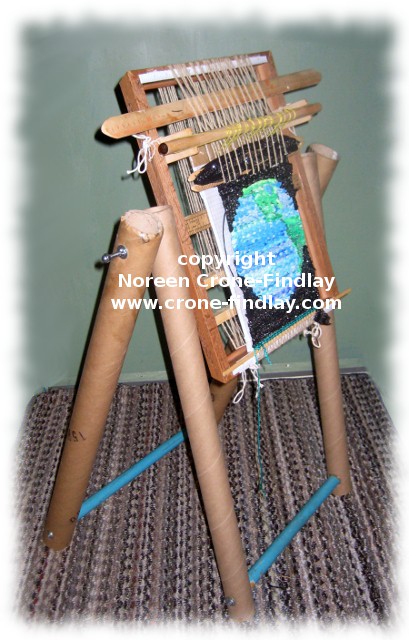
One of the really fun things that I have done is to design and build a tapestry loom (although it can be used for other things than tapestry) and stand from trash.
I built the loom from a picture frame and the stand for the loom using heavy cardboard tubes thrown away by the fabric store, an old broomstick and a few nuts and bolts.
It has ingenious ways of tensioning the warp strands, and opening the sheds for ease of weaving.
All it all, it is a wonderfully functional loom and stand that is almost no cost.
To my delight, I have found it to be a loom that I love and will be using for years.
I liked it so much that I have built a second one to be weaving on while this one is busy being in the installation.
I made a video showing how to make the loom and stand, and how to warp it (including the warping device that I messed up on and then replaced LOL)
Here’s the video- it’s a cheap and cheerful way of creating a really great little tapestry loom.