I absolutely love weaving Scandinavian style woven bands, using different styles of rigid heddles.
A few weeks ago, as we were cleaning and clearing in preparation for our big move, we found some sweet little drawers that my father in law had made many decades ago.
He had reclaimed some tiny little wooden butter boxes and made wee drawers for his workshop with them:
I have made a small video that shows what I did to build this little charmer:
This is the ratchet and pawl that I designed for my loom.
I made them from a scrap of marine plywood, which allowed me to curve the pawl.
I am going to make the next one from a piece of purpleheart that we’ve been saving, so I am going to make the pawl straight, to make it stronger and not risk breaking it by cutting a curve against the grain.
If you are interested in learning more about weaving Scandinavian style narrow bands, definitely seek out the work of the marvelous weaver extraordinaire, Susan Foulkes:
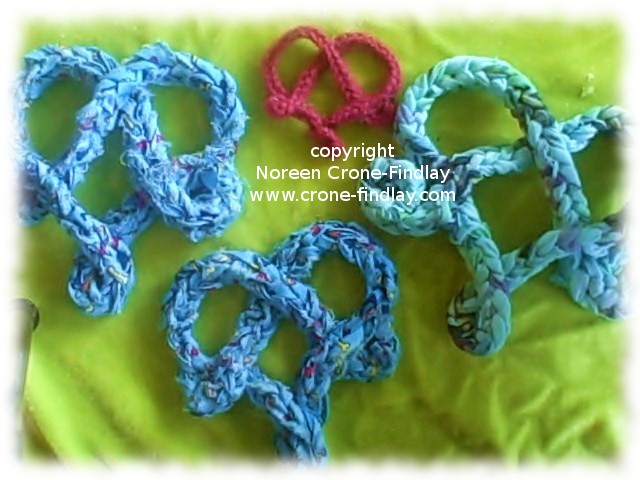
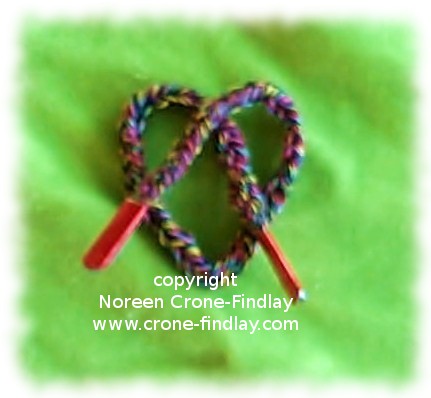
In this video, I show how to make gorgeous Celtic interlace hearts that you can use to embellish woven, knitted, crocheted or sewn fashion accessories or home decor items.
They are also great for scrapbooking and can be used on stationery.
They are perfect Valentines or as Christmas or birthday decorations and ornaments.
Another wonderful way of using these Celtic Interlace hearts is to hang them up as ‘Yarn Bombs’ for people to find and adopt. What a lovely way to brighten someone’s day!
The video shows how to make different sizes of the Celtic Interlace Heart.
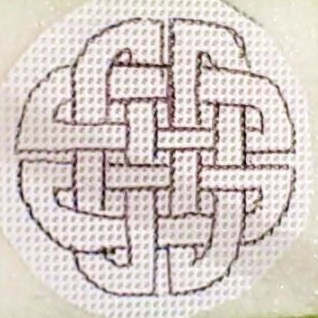
Here is the template- print it out so that it’s about 5 inches square, but smaller or larger works just fine, too.
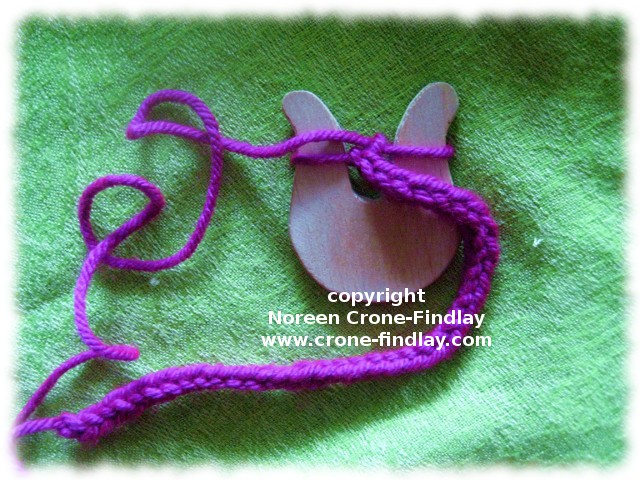
In this video tutorial, I show how to make awesome shoelaces, and a great upcycling way of making those little thingies at the end of the laces.
I couldn’t remember the right name for them when I was making the video, and called them ‘aplets’, but the correct name is ‘aglets or aiglets’.
Wikipedia defines them as: The word aglet (or aiglet) comes from Old French aguillette (or aiguillette), which is the diminutive of aguille (or aiguille), meaning needle.[1] This in turn comes from acus, Latin for needle. An aglet is like a small needle at the end of a corde
So many people are afraid to cut their handwoven fabric….
BUT…. conquering the fear of snipping means that you can chop away with great gusto and whip up fabulous, one of a kind garments and accessories! So, YAY!
I was cutting out a spiffy hat today, and it struck me that I should make a quick little video to show what I do to cut off a length of fabric from my main piece of hand woven. So here’s what I do when I am cutting out the pieces for a project:
Several years ago, we bought a metal Ikea computer desk at the thrift store.
I didn’t like having half of the top attached at an angle.
So my beloved DH, Jim and I drilled some holes, took the angled section off and re-attached it so it was nice and flat.
I had passed the desk along to my daughter and her husband, and when they gave it back to me last week, I was inspired.
First, to make the desk a comfortable height for weaving, I cut 3 inches off the legs with a pipe cutter- whew!
That was HARD work!
I mulled over how to attach the loom to the top of the desk, as it was just a hare’s breath away from fitting properly.
I took the top apart and played with the sections to see if I could come up with a workable solution- and then- woohoo!
I discovered that the chanels for a sliding mouse pad section that were supposed to be on the under side of the desk top, fitted the crosspiece of the loom perfectly! Jubilation!
I zip tied the sides of the loom to the desk and was happy as a clam…..
except…. for the pesky owees of the tendons grizzling about the side levels, and my back spazzing out on me.
Hmmmmm…..
Inspiration! add lamms and treadles!
I started by cutting a support piece at the side, and bolting it to the side of the stand.
I used 2 angle brackets as the support for the lamms (with a little block to fill in excess space).
Then, I drilled holes in the lamms for cords to the levers and to the treadles.
I tied the lamms to the levers and was verrrrrrrry pleased! Things were moving along quite nicely!
There had to be a way of supporting and securing the treadles, so I used a board from an old pallet, and drilled 2 holes for the legs. Poifeck.
I had a 6 inch length of threaded 1/4 inch steel rod, which I ran through the treadles (which I had cut out of scrap lumber).
The treadles were too wide at first, so I cut dippsy doodles into them to make them fit better.
The most frustrating part of the whole process was finding nuts that would go onto the threaded rod. Grrrrrrrrr!
I finally ended up filing the ends of the rod, as I just couldn’t get anything to thread onto the rod. Once I did that, zip! on went 2 nuts, happy as can be.
I screwed the whole treadle mechanism to the crossboard on the floor, and tied the treadles to the lamms…..
and held my breath…… what if it didn’t work? eep….. that would have been 3 hours down the tubes….
BUT! Joy! and whee and halleujah! It works like a dream!
So, if you would like to have a floor loom, but don’t have the ca$h, watch for a table loom on the various online places, and convert a desk into a stand for it.
You’ll need to have some basic carpentry skills, and I couldn’t have managed drilling the holes through the sides of the treadles without a drill press, but I bet you could do it if you had to.
Here’s the video that I made about how to convert a computer desk into a loom stand with treadles:
Here are some notes to keep in mind if you would like to adapt my project for your table loom:
Things to look for in a desk or table that you want to use for a loom stand:
1: Being able to bolt or screw the lamm support piece along the left hand side of the table/desk legs is essential.
2: Being able to shorten the legs to drop the height of the table to a comfortable ergonomic height is also essential.
3: Being able to attach the loom to the table is one more essential. (Clamps? Zip ties? A channel like the one on mine was a piece of beautiful serendipity)